
 Sign In
Tiny, narrow spaghetti straps look so pretty and delicate, especially on elegant pieces like lingerie and evening gowns. But if you've made them before, you know that turning those tiny tubes of fabric right side out after sewing can be more than a little irritating. If your fabric is prone to fraying, your frustrations are only multiplied.

Spaghetti straps keep the shoulders bare in lingerie and lingerie-like
garments such as the Savannah camisole.
Luckily, there are several methods you can use to make this process easier, or to simply get the look of spaghetti straps without having to turn at all. Try each of them out to see which you like best.
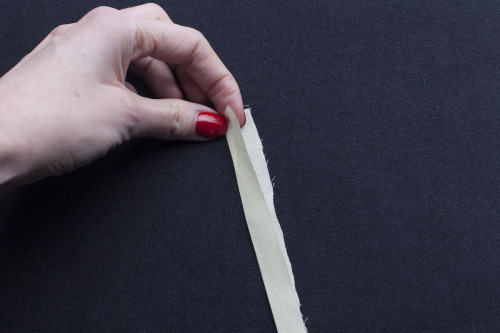
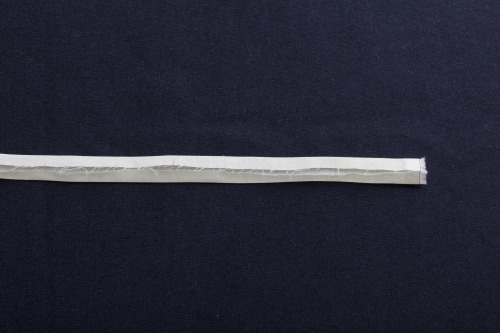
Begin by cutting your spaghetti straps from the fabric according to your pattern. For extra thin straps, cut the fabric on the bias instead of the straight grain, then pull gently and press when you are finished. Cutting straps on the bias also adds a bit of stretch and makes turning easier.
01 Method
Cording
The thickness of cording can help you turn straps quickly and easily.
Use cording to turn loops easily without thread breakage.
You'll need:
- Lengths of fabric for the straps
- A length of cording several inches longer than the finished strap
- sewing machine
- thread
Step | 01
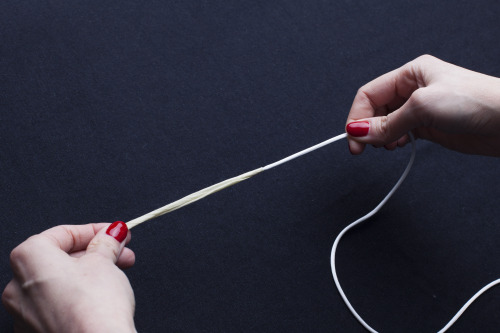
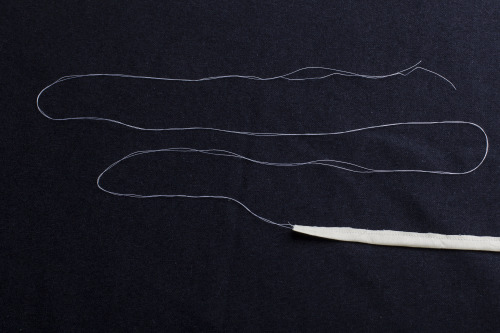
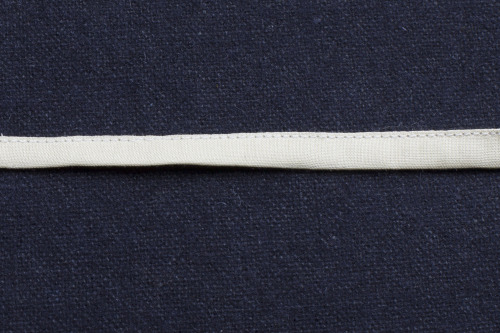
Lay the cording down the middle of the strap lengthwise, on the right side of the fabric. Stitch in place across the short end.
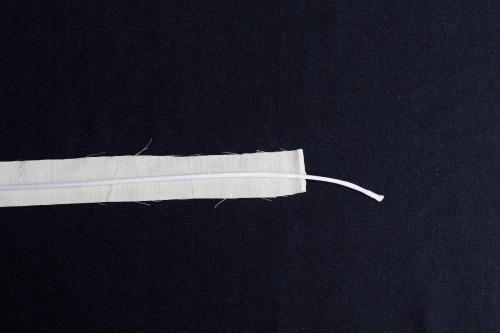
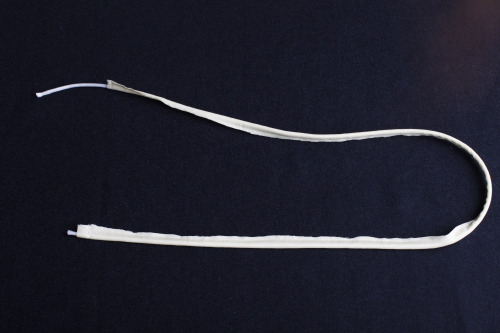
Step | 02
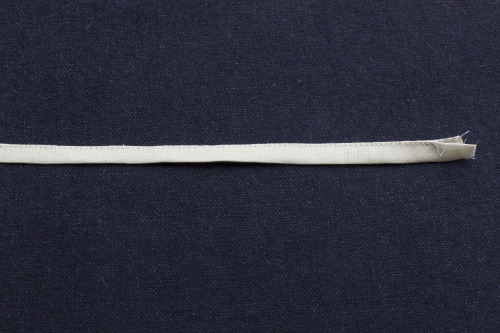
Wrap the fabric around the cording and stitch lengthwise, using a 1/4 inch seam allowance. Be careful not to catch the cording in the seam. Trim the seam allowance to 1/8 inch after stitching (see sidebar).
Step | 03
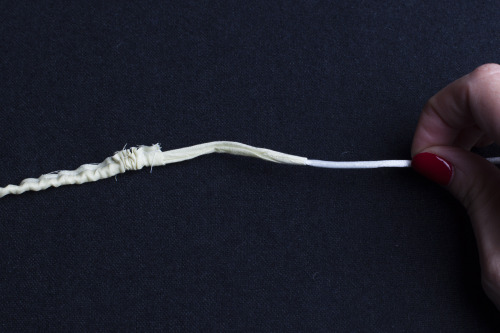
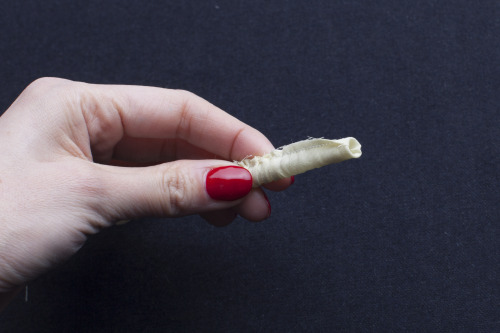
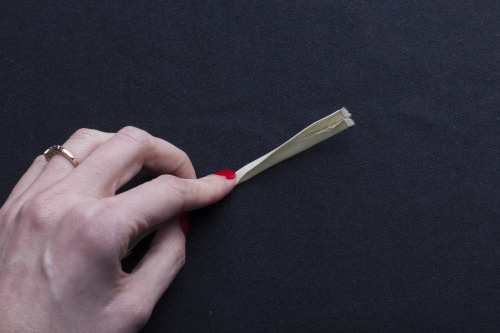
Pull the cording to turn the loop to the right side, pushing the end around the cord as it begins to bunch up.
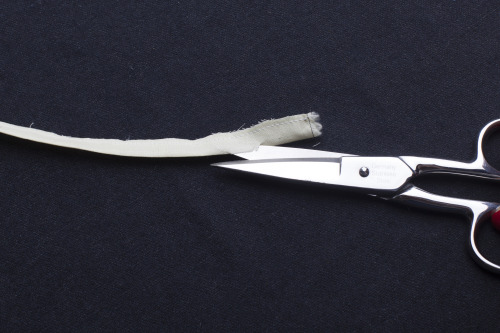
Fraying Fabric
If your fabric is prone to fraying, the small seam allowances required for spaghetti straps can cause the straps to fall apart as you handle them. To prevent this, stitch a second line next to the first at a scant 1/8 inch. Trim the seam allowance down next to this outer line of stitches.
02 Method
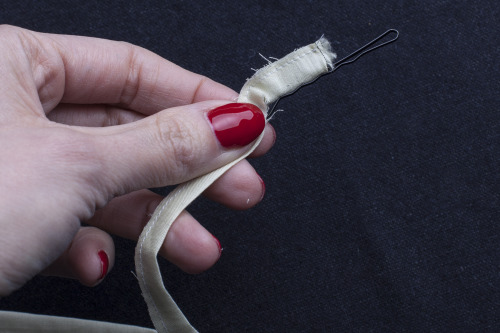
Bobby Pin
If you don't have cording handy, this old trick using a hair pin will save you time.

A simple hair pin can guide your fabric through even better than a needle or safety pin.
You'll need:
- Lengths of fabric for the straps
- One bobby pin
- sewing machine
- thread
- small, sharp shears
Step | 01
Fold the strap in half lengthwise and stitch using a 1/4 inch seam allowance. Trim seam allowance to 1/8 inch.
Step | 02
Cut a small slit in the tube, approximately 1/2 inch from the end.
Step | 03
Insert one end of the bobby pin through the top of the tube, and one end through the slit.

Step | 04
Work the bobby pin down through the tube and out the other end. Pull to turn completely right side out.
03 Method
Plastic Straw
This nifty trick uses a humble drinking straw to help make the turning process easier.
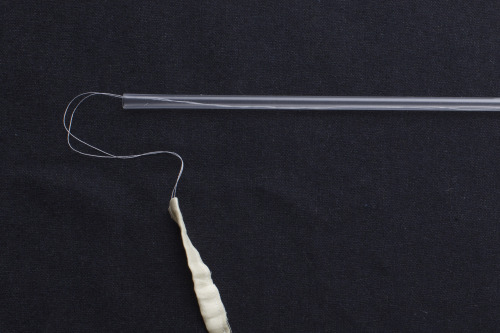
A straw adds a stiff channel to pull the fabric through.
You'll need:
- Lengths of fabric for the straps
- plastic drinking straw
- sewing machine
- thread
- hand sewing needle
Step | 01
Fold the strap in half lengthwise and stitch using a 1/4 inch seam allowance. Leave a very long thread tail at the end, a few inches longer than your entire strap. Trim seam allowance to 1/8 inch.
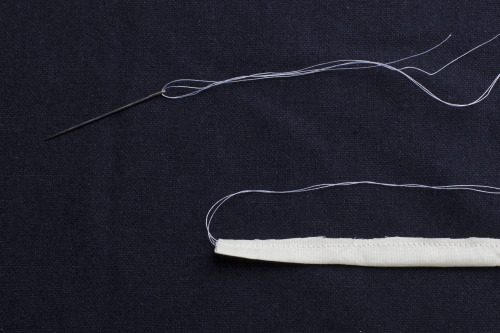
Step | 02
Thread both pieces of the tail onto a hand sewing needle.
Step | 03
Drop the needle into the fabric tube, eye end first. Work the needle through and pull out the other side.
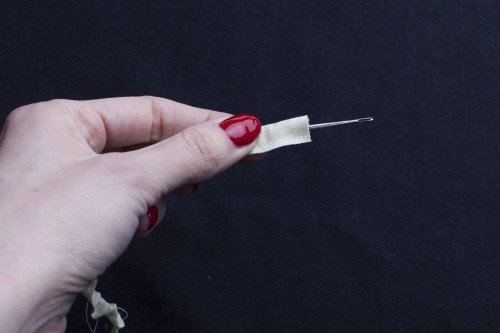
Step | 04
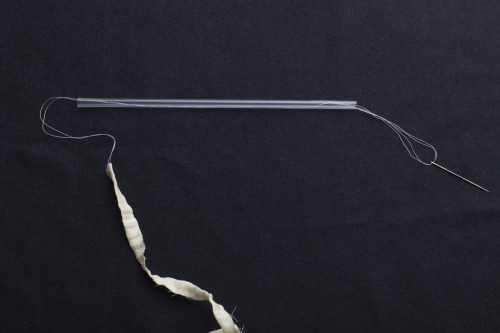
Drop the needle into the drinking straw and insert the straw into the tube.
Step | 05
Work the straw almost to the other end. Begin pulling on the thread tail, so that the end folds into the center of the straw. Pull gently. The straw will prevent your fabric from bunching up at the end.
04 Method
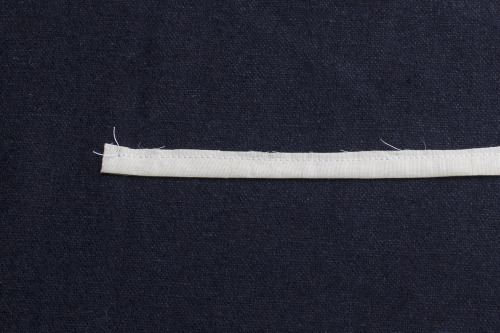
Flat Strap
Don't want to bother turning loops at all? Try a folded and flat strap instead.
To avoid turning all together, try flat stitched straps instead of rounded ones.
You'll need:
- Lengths of fabric for the straps
- sewing machine
- edgestitch presser foot
- thread
- iron
Step | 01
Fold the strap in half, wrong sides together, and press.
Step | 02
Fold each raw edge again toward the center and press, similar to creating bias tape.
Step | 03
Fold the strap in half along the first pressed line, tucking in the raw edges.
Step | 04
Edgestitch along the open edge to secure the strap, making sure to catch both edges.

