
 Sign In
Block Paper Scissors is a monthly column featuring patternmaking hacks that will help you give your Seamwork patterns a custom spin—all you need is paper, a ruler, and a pencil! Each month we walk you through three different pattern hacks so you can create a garment exactly to your preference.
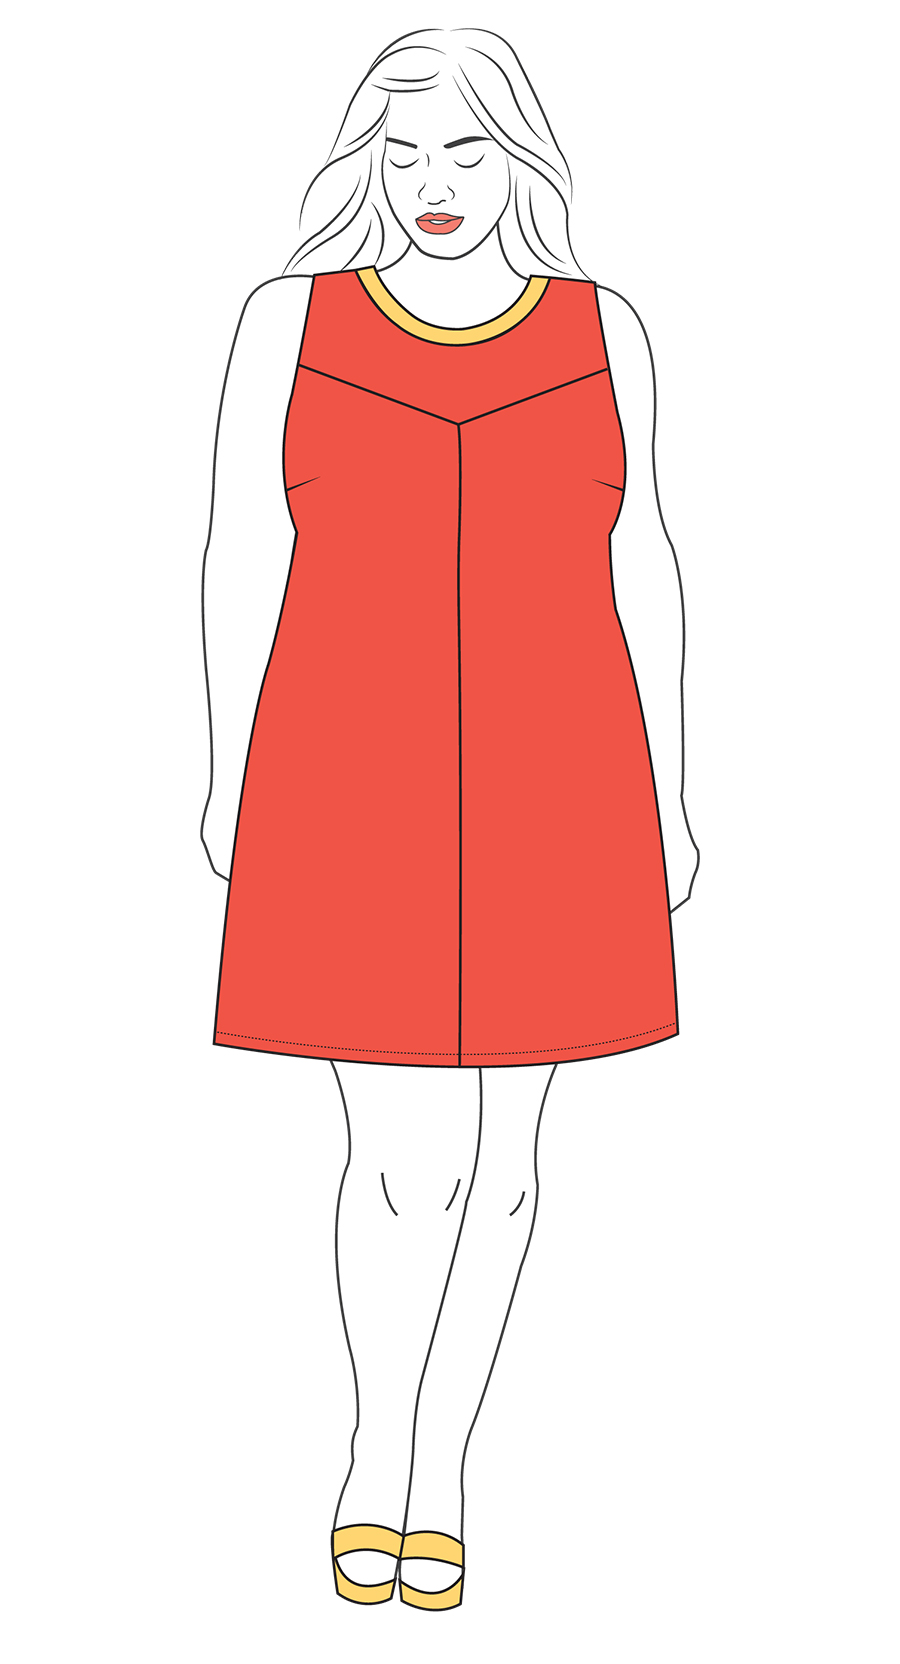
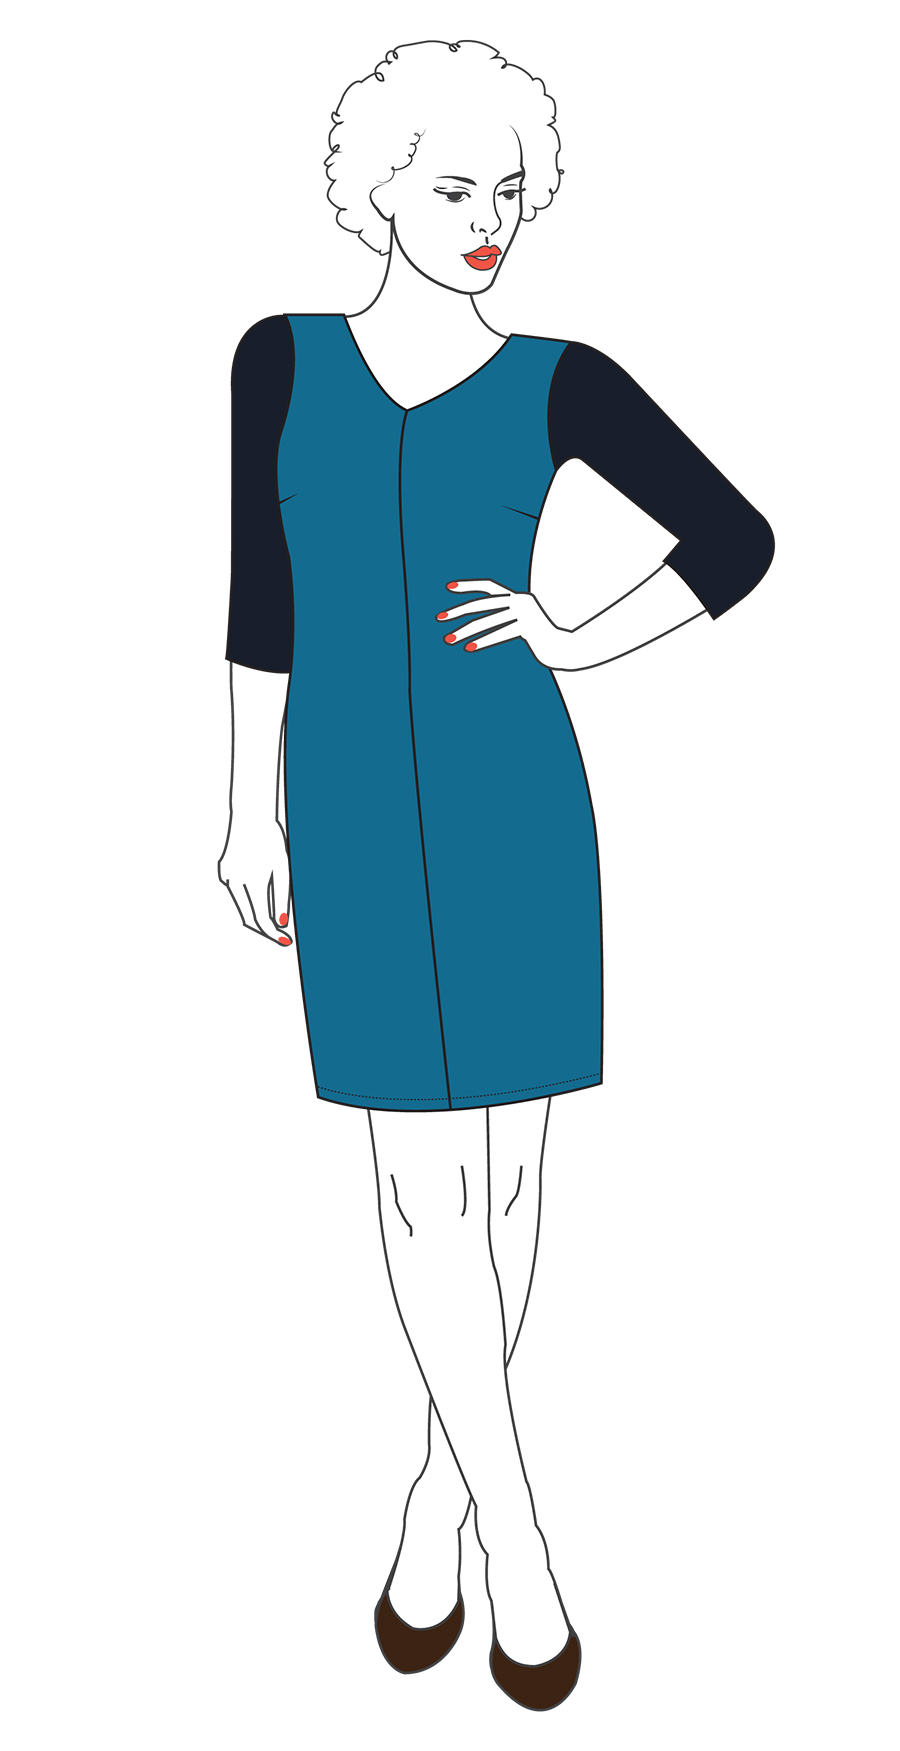
This month we will teach you three customizations for Sonya that you can mix and match to create a unique dress.
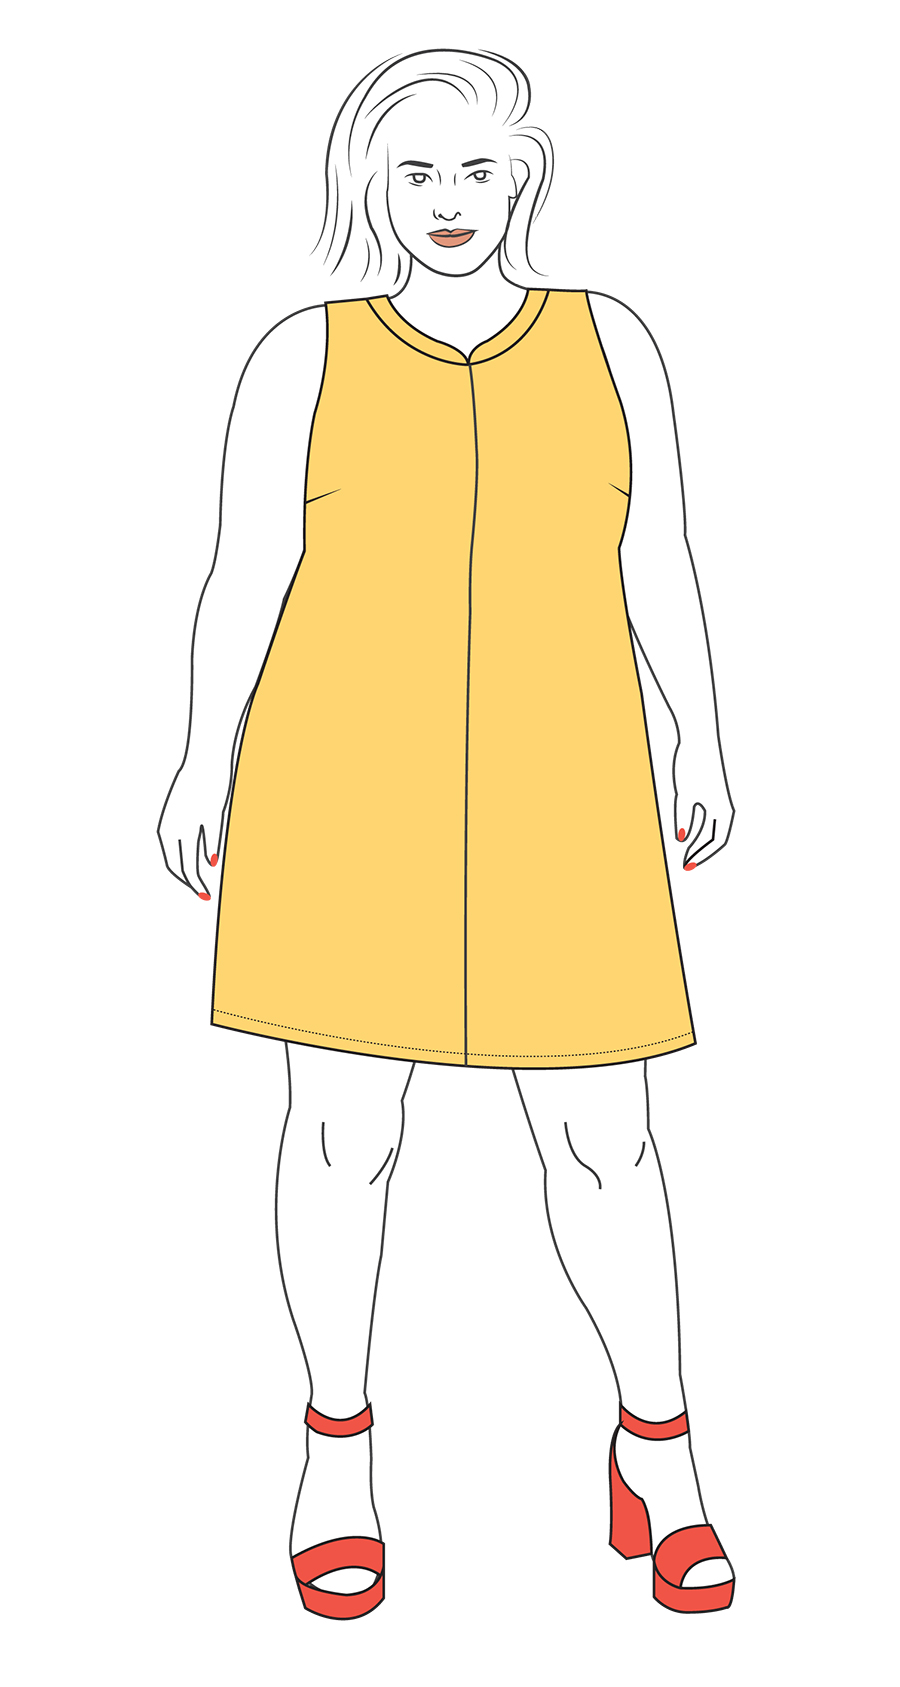
In the first customization, we’ll create a mod-style collar, remove the center front panel, and transform the shift dress into a trapeze shape with a yoke.
In the second customization, we’ll create a curved collar, remove the center front panel, and transform the shift dress into a trapeze shape without a yoke.
In the third customization, we will create a v-neck dress with long sleeves.
Note: Be sure to make any fit adjustments before doing the pattern hack.
You'll Need:
- Sonya
- Paper
- Pencil
- Tape
- Scissors
- Clear ruler
- Curved ruler (optional)
Trapeze Dress with a Yoke and Collar
Step | 01
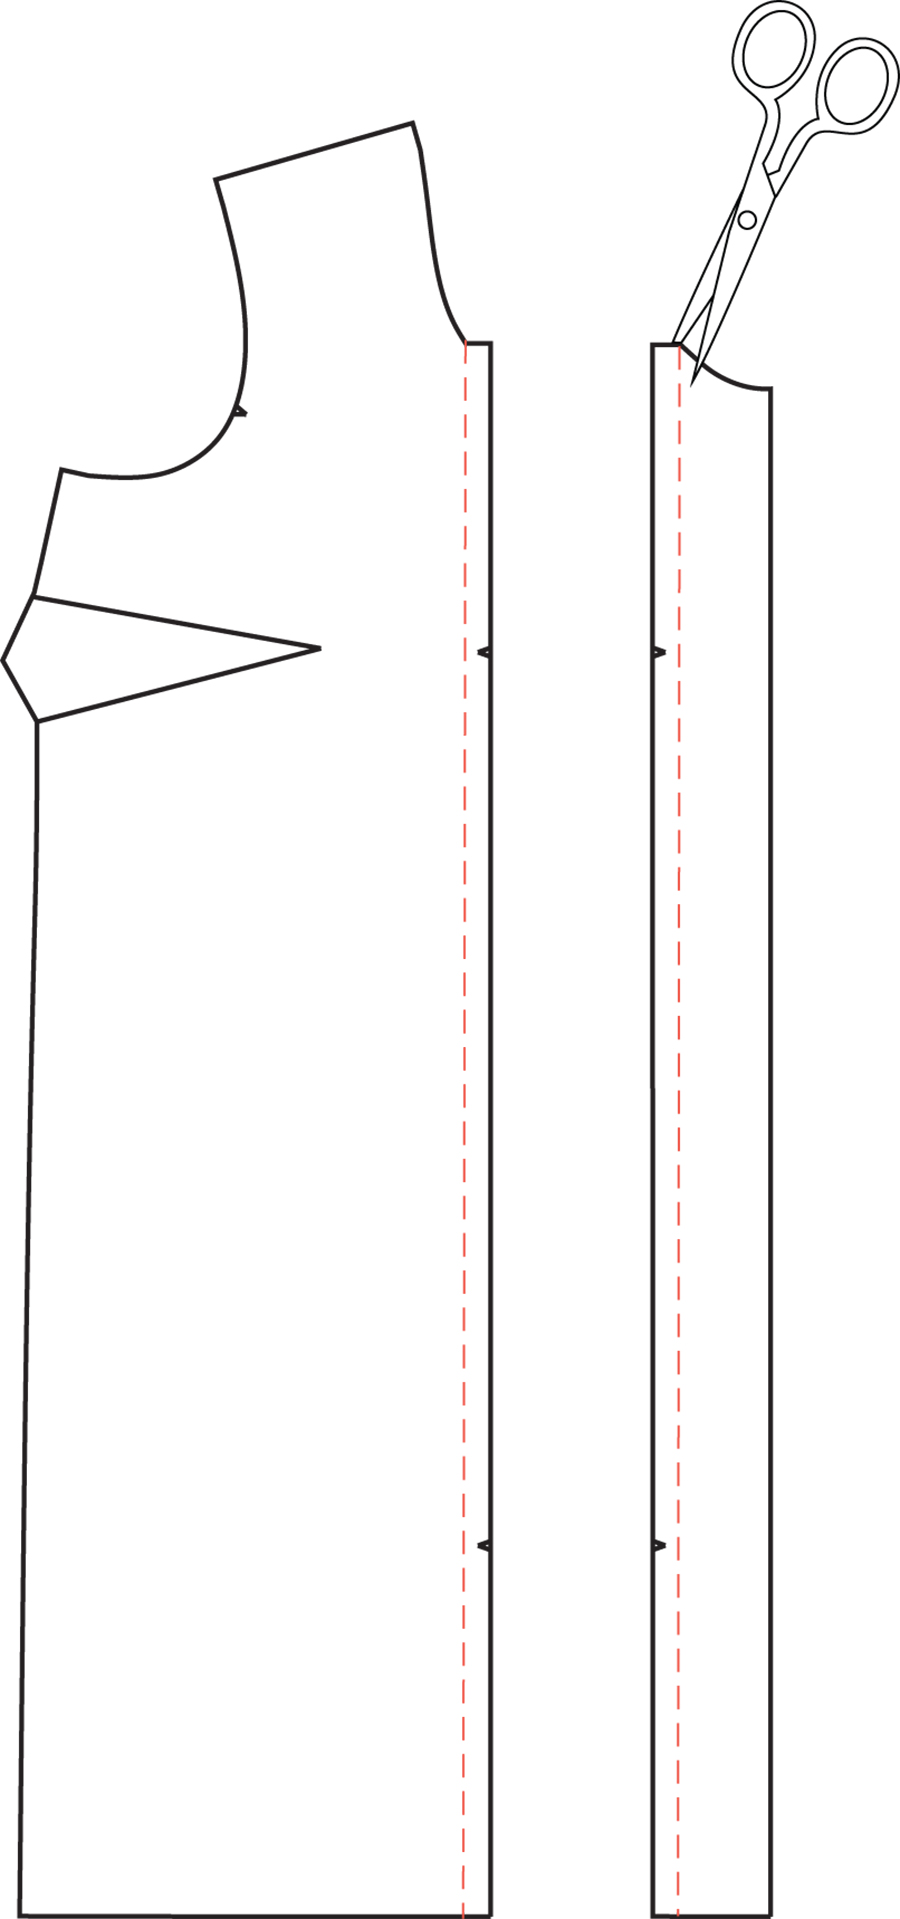
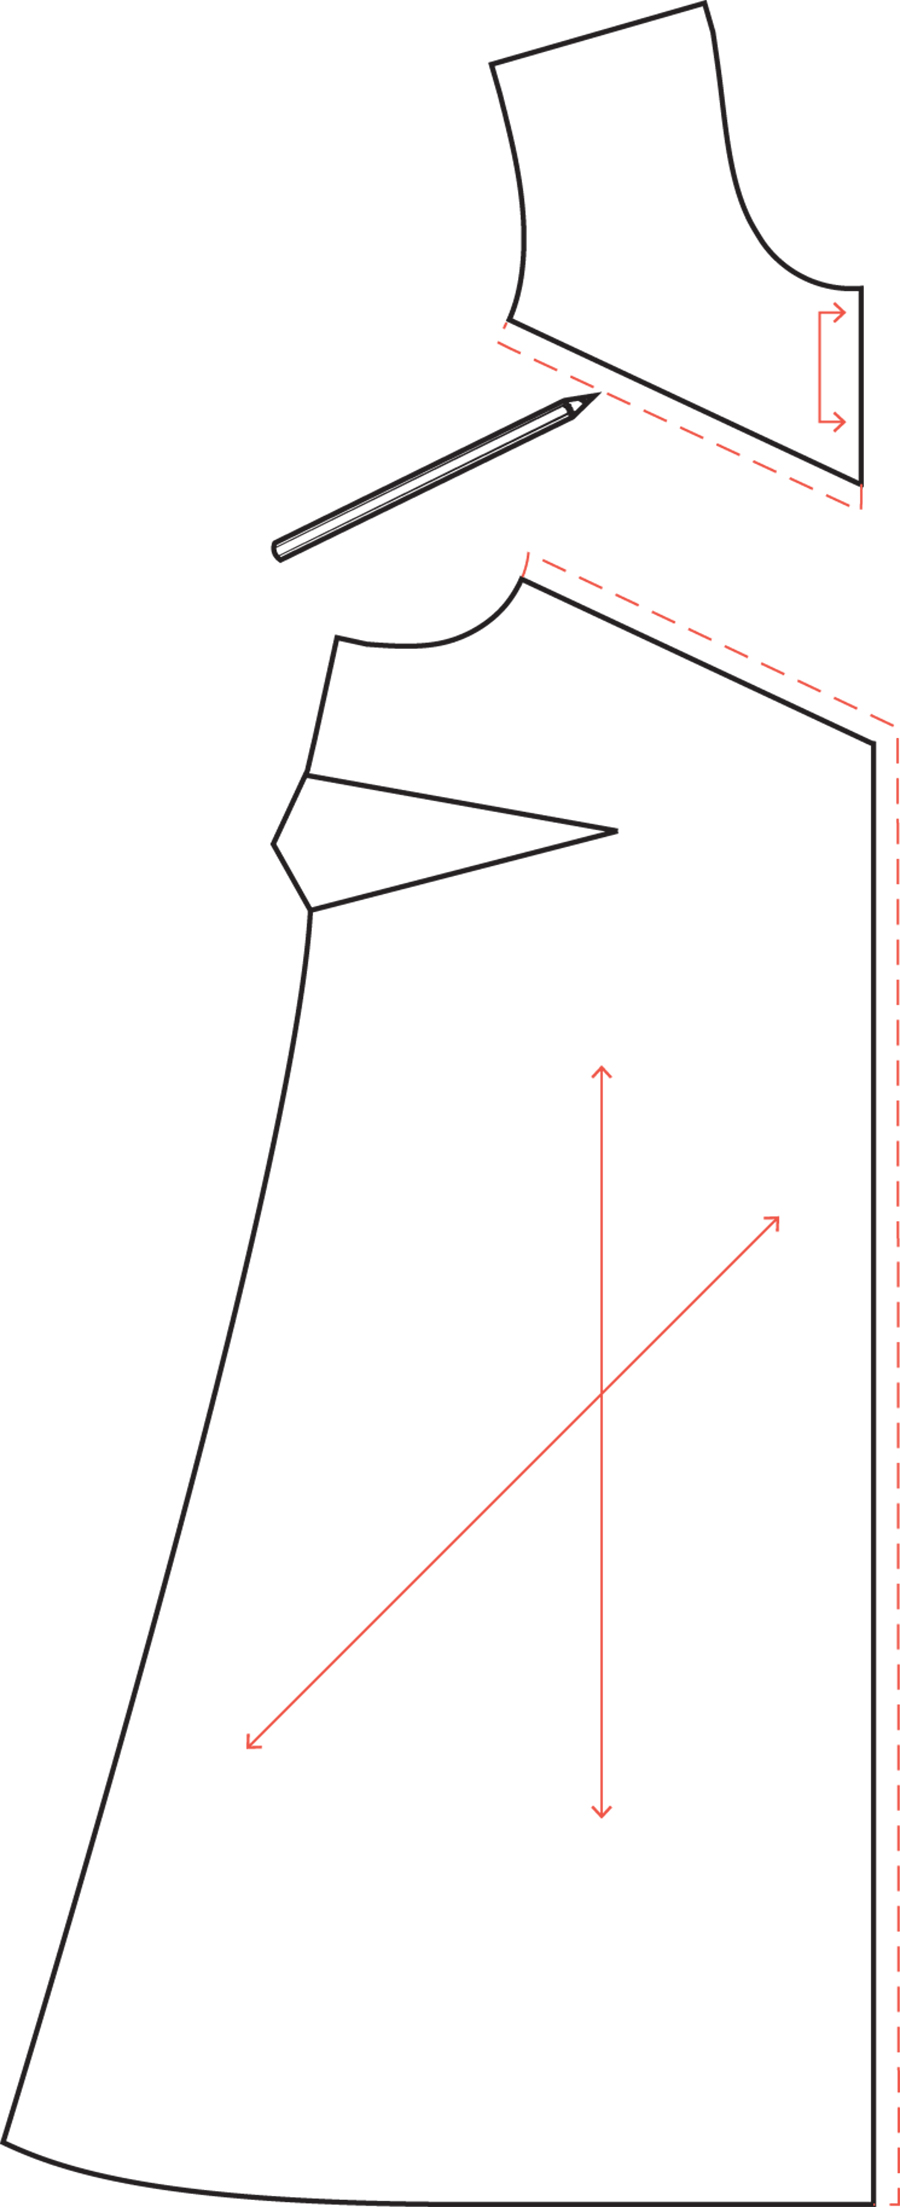
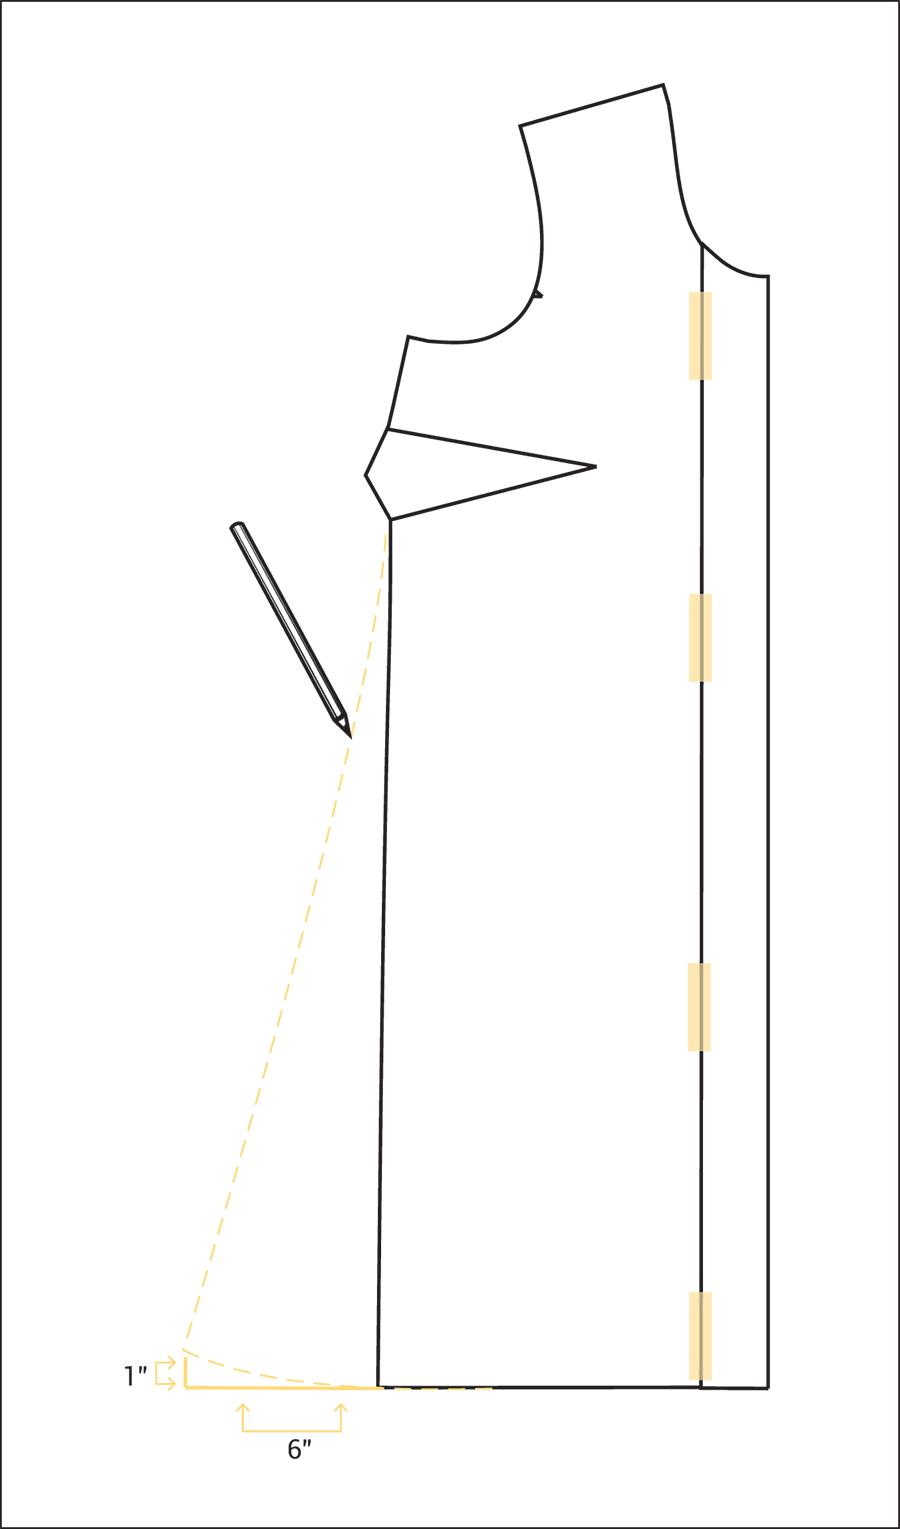
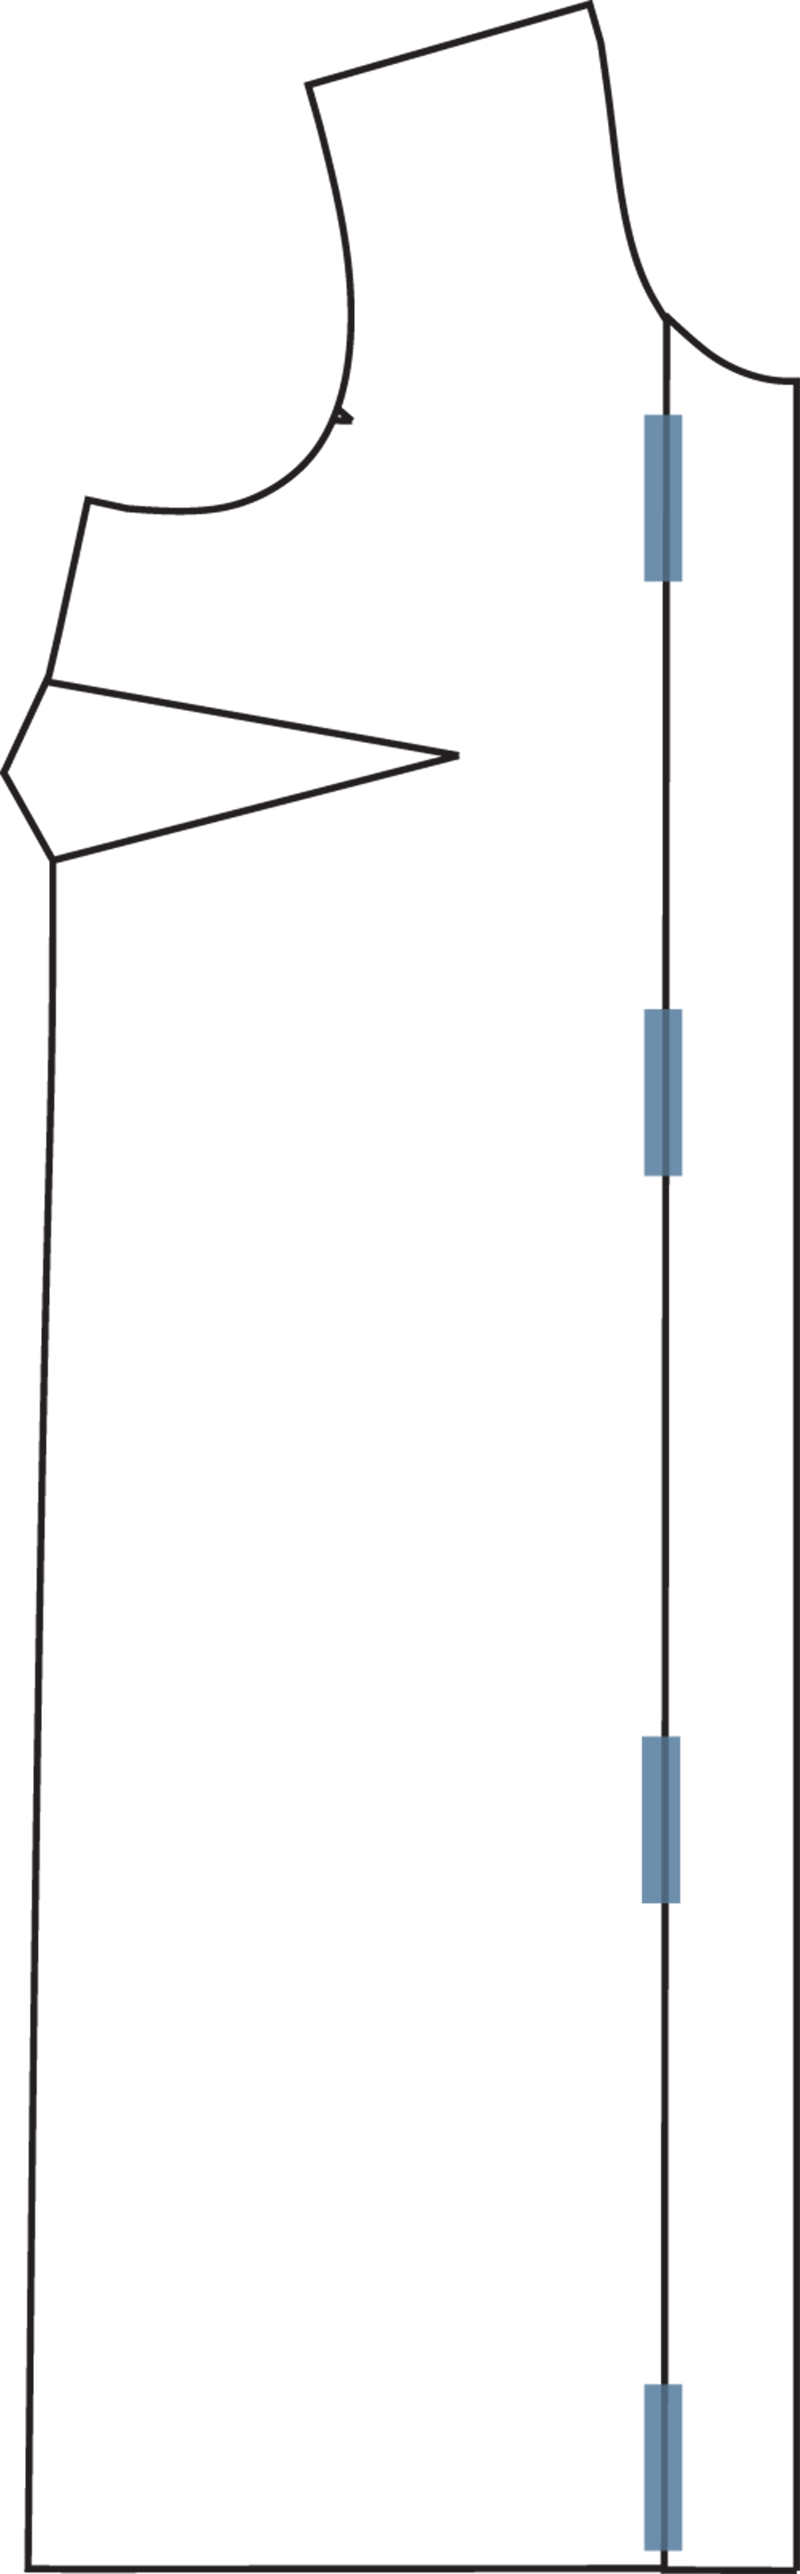
Remove the seam allowances from the side front and center front.
Step | 02
Tape the side front and center front together to create one piece.
Step | 03
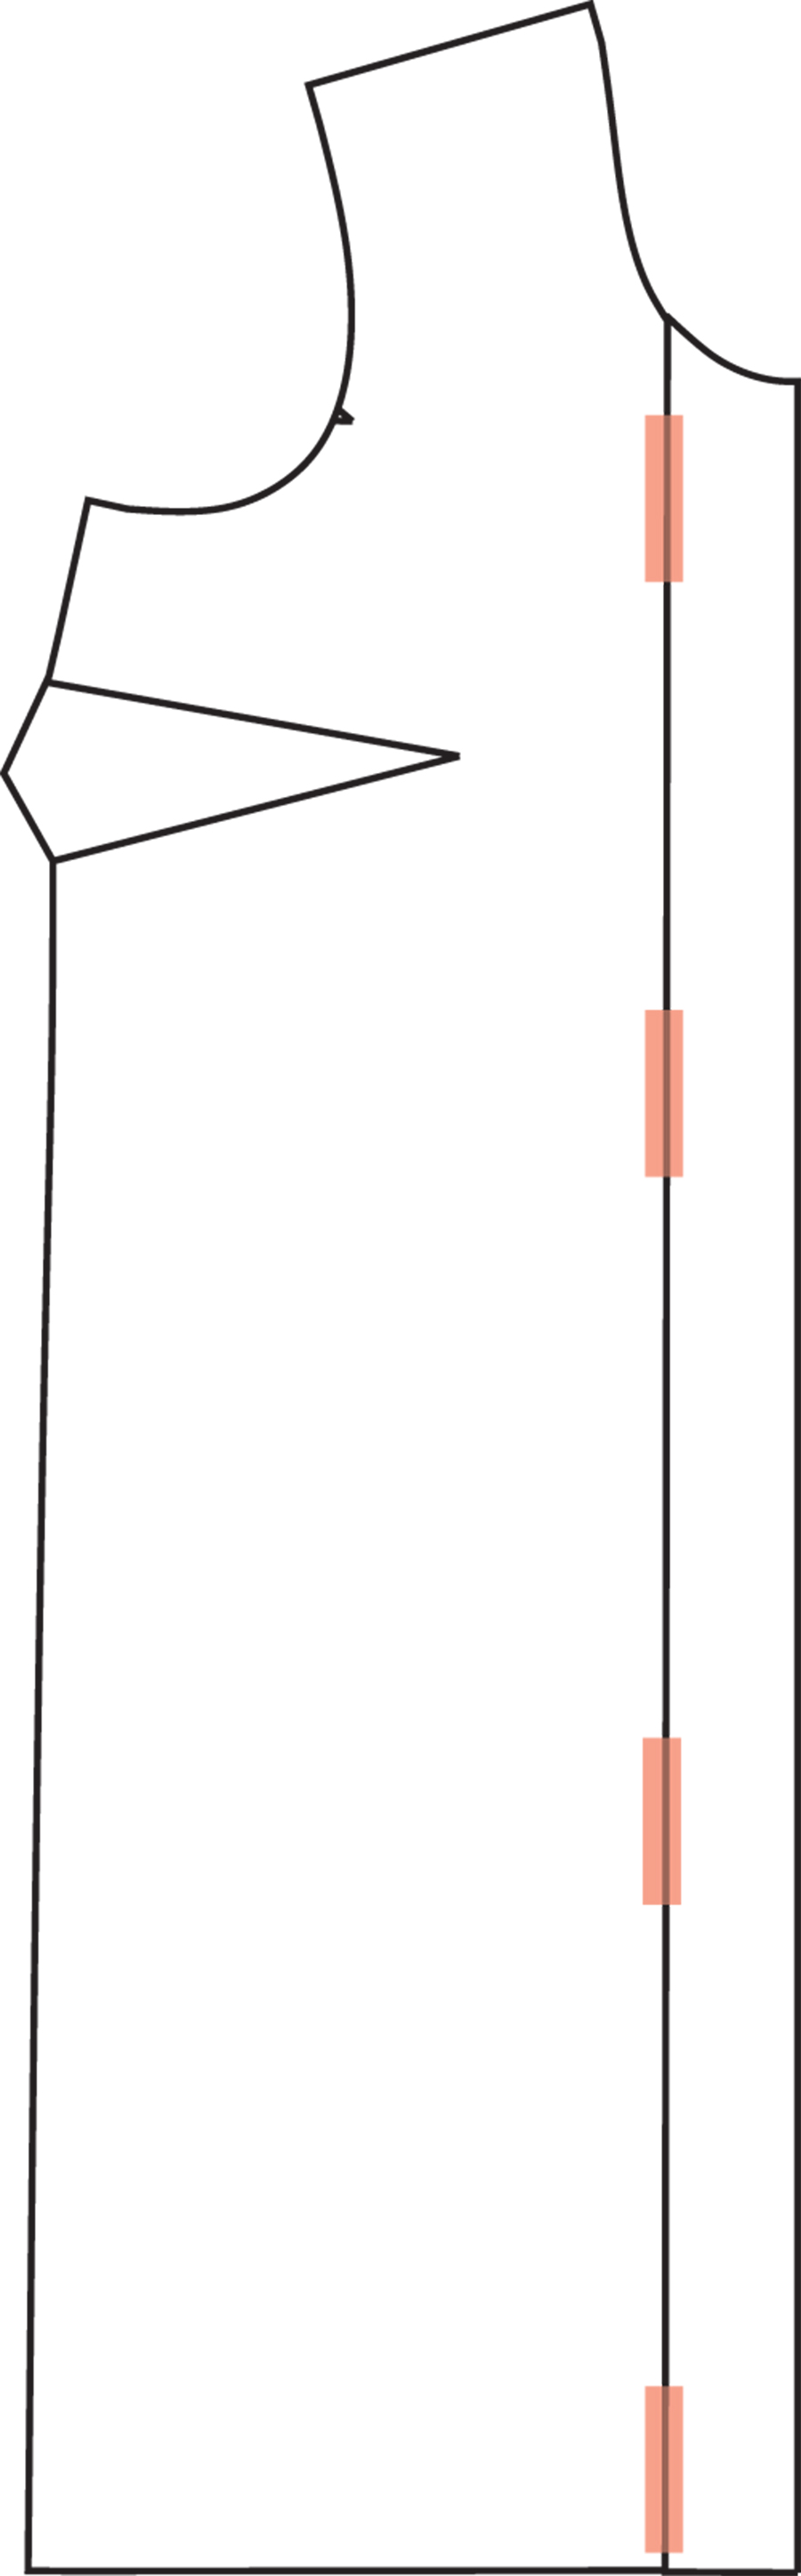
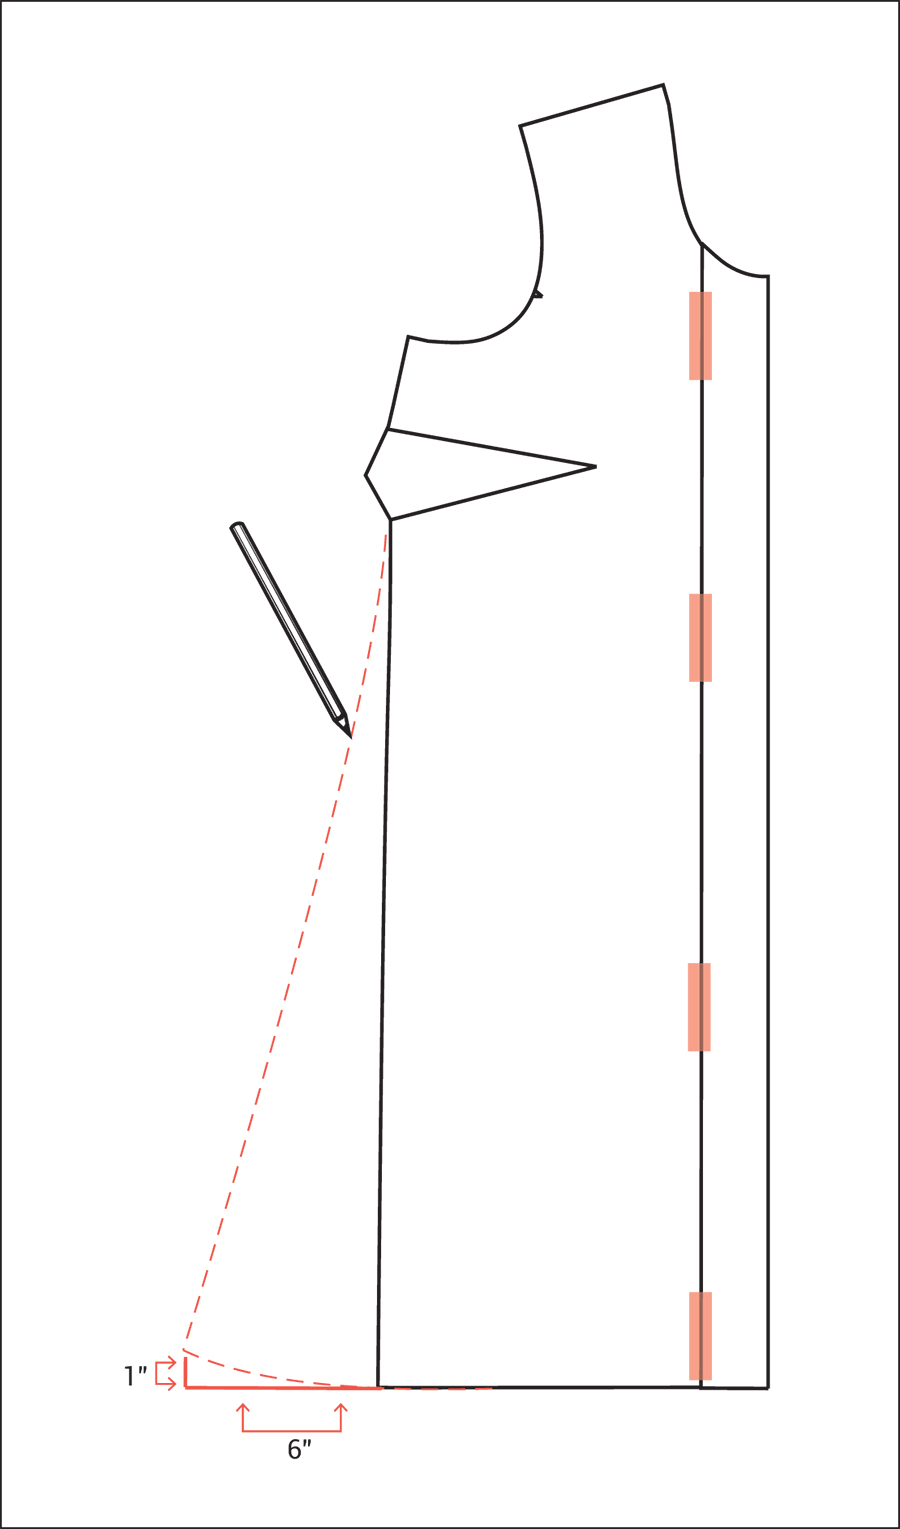
Trace the pattern onto a new sheet of paper. Extend the hem of the side front about 6”. You can adjust this length to your preferred width for the trapeze shape. Measure 1” up, perpendicular to the hem, and make a mark.
Step | 04
Trace a new side seam, blending from the bust dart to the mark you just made.
Step | 05
Trace a new, slightly curved hemline from the original side seam to the new side seam.
Step | 06
Repeat steps 1-5 on back dress.
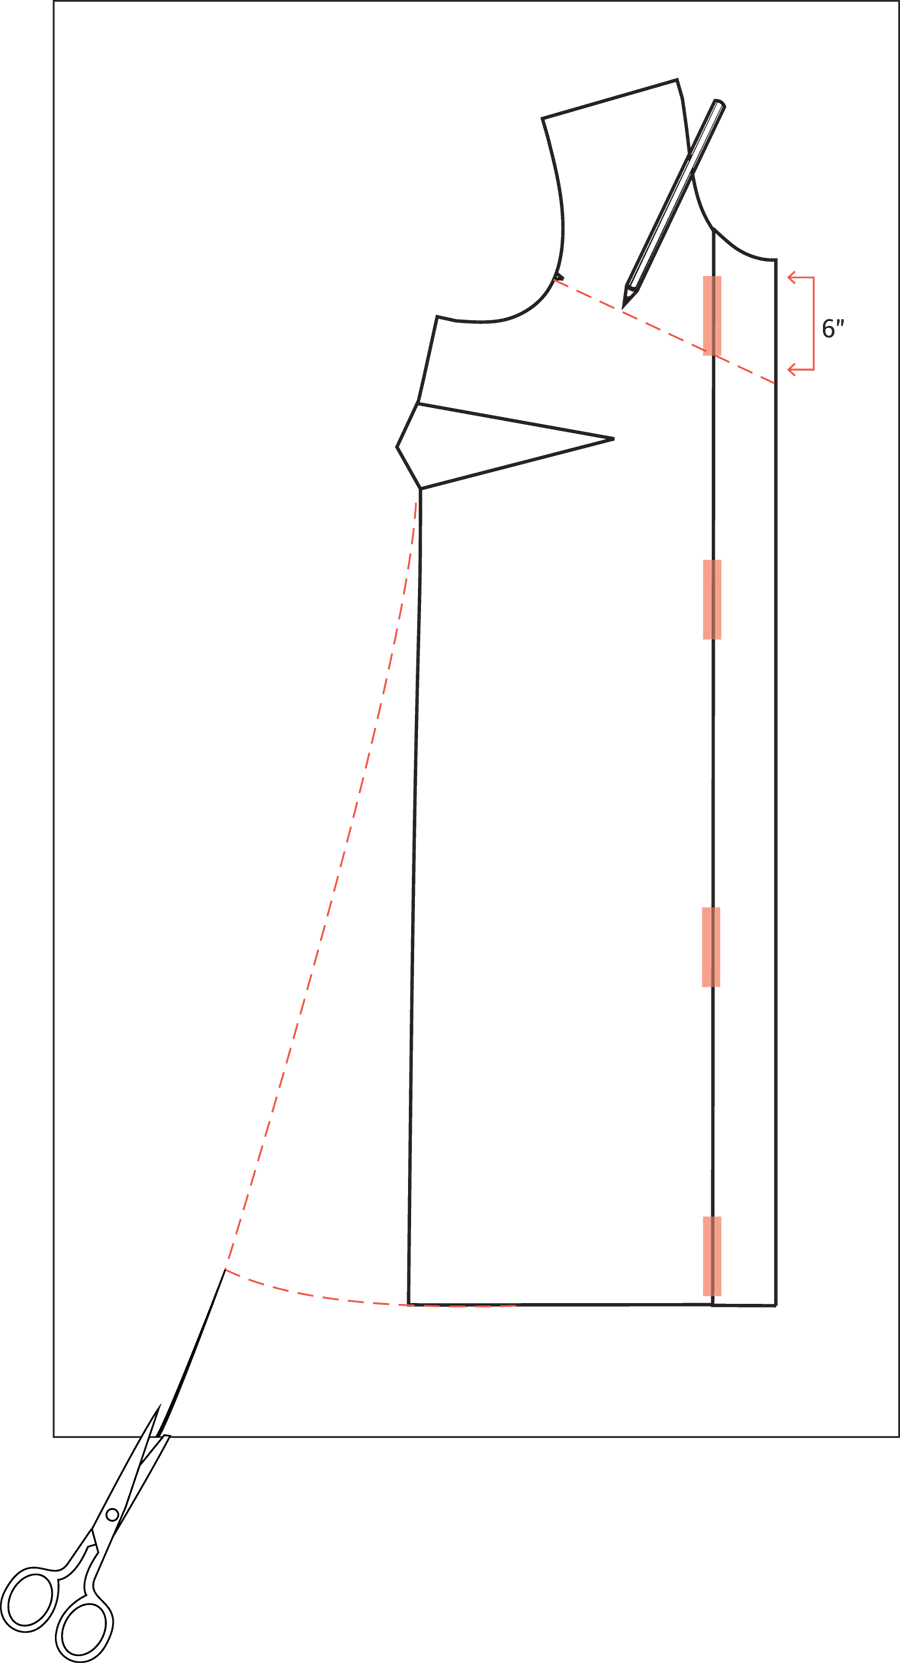
Step | 07
Measure about 6” down from the center front neckline and make a mark. You can adjust this length to be longer or shorter, depending on your preference. Be careful not to extend the yoke past the bust dart.
Step | 08
Draw a line from the armhole notch to the center front marking, creating a yoke.
Step | 09
Cut out the new front pattern pieces. Add seam allowance to the yoke and front dress, where indicated.
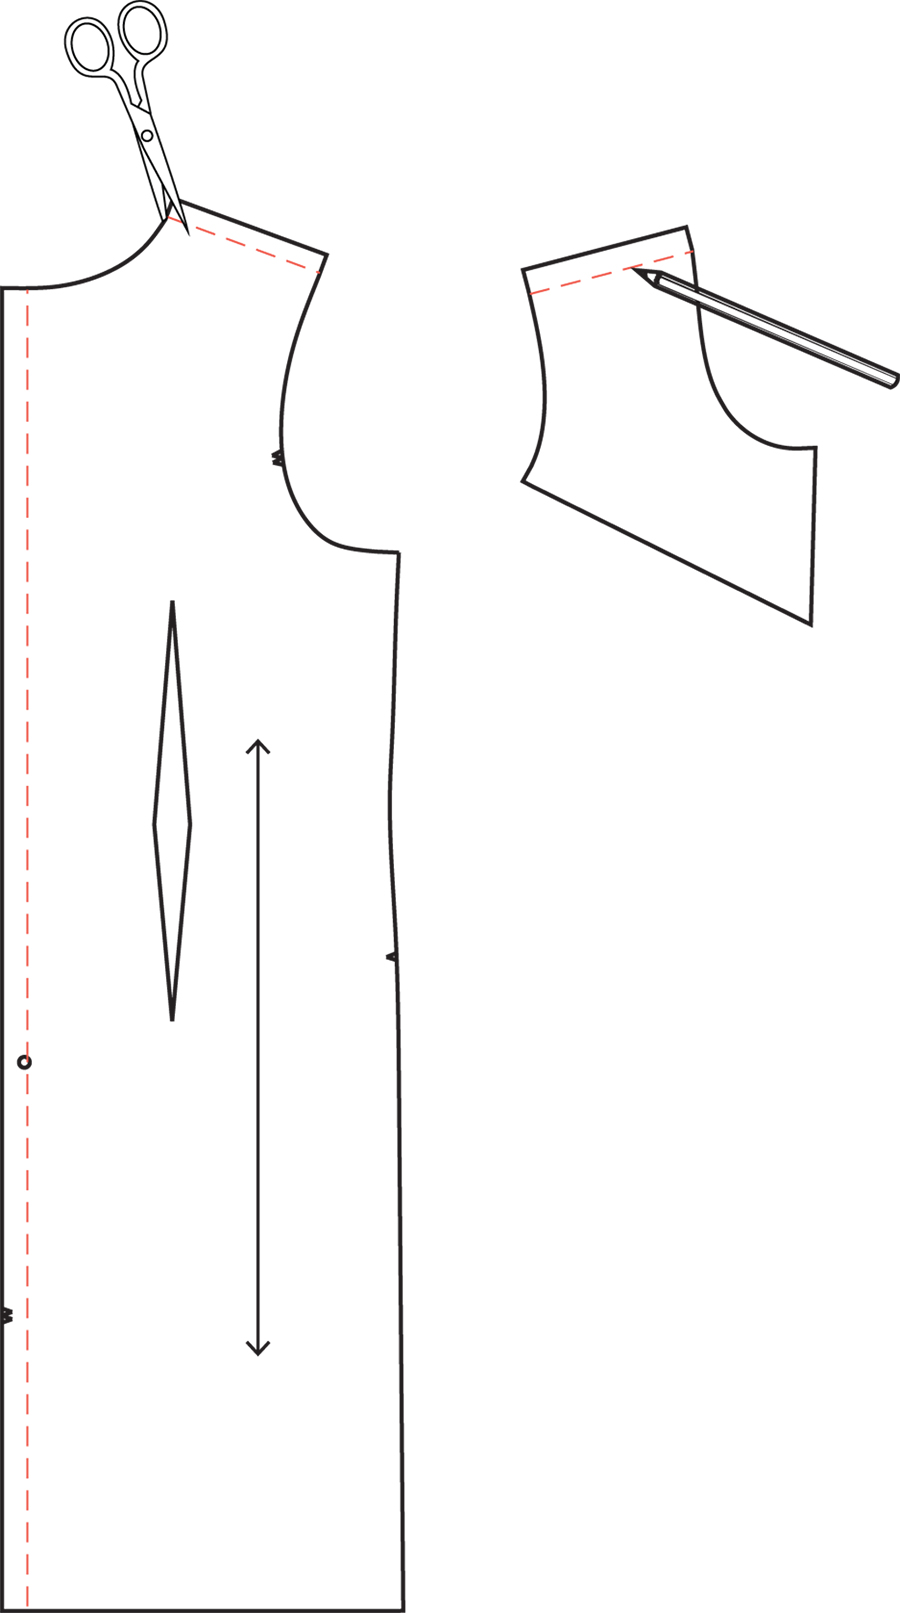
Step | 10
To create the collar, remove the seam allowance from the front yoke and back dress pieces. Mark the center back of the pattern pieces.
Step | 11
Tape the front yoke to the back at the shoulder seam.
Step | 12
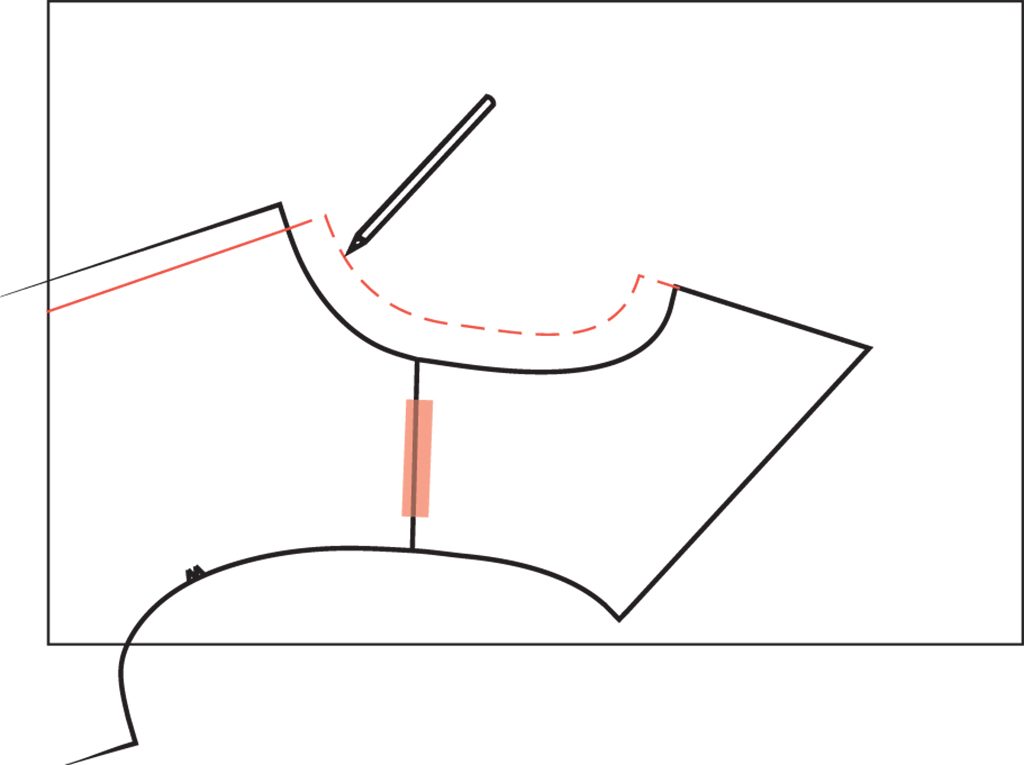
On a new piece of paper trace a curved line, 1” away and parallel to the neckline, between the center front and center back seam lines, creating your collar.
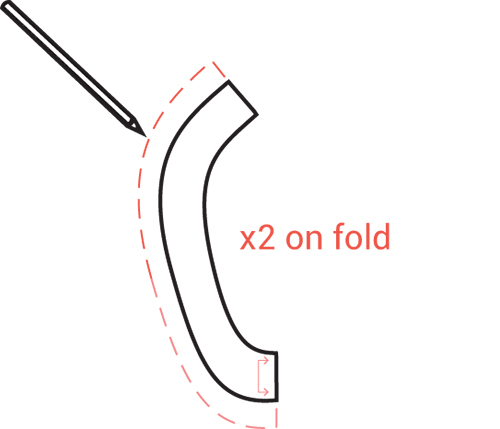
Step | 13
Add 5/8” seam allowance to the neckline seam of the collar. Add 1/4” seam allowance to the inner curved edge of the collar.
Step | 14
Label the center front “cut on fold.” Label the pattern piece “cut 2 on fold.”
Trapeze Dress with a Curved Collar
Step | 01
Follow steps 1-6 in the previous section to create a trapeze dress.
Step | 02
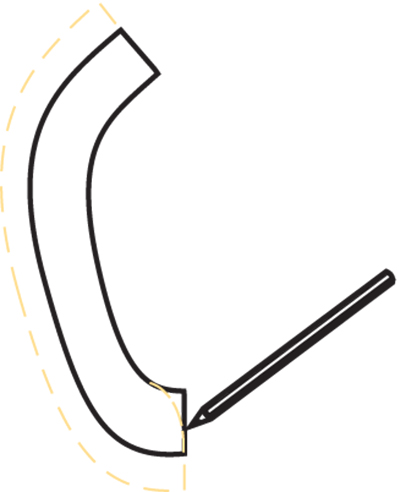
Follow the steps in the previous section to create a collar. To create a curved collar, draw a slight curve at the center front of the collar piece. Trim away the corner.
Step | 03
Add 1/4” seam allowance to the center front and curved portion of the collar.
Step | 04
Label this collar “cut 4.”
V-neck Dress with Long Sleeves
Step | 01
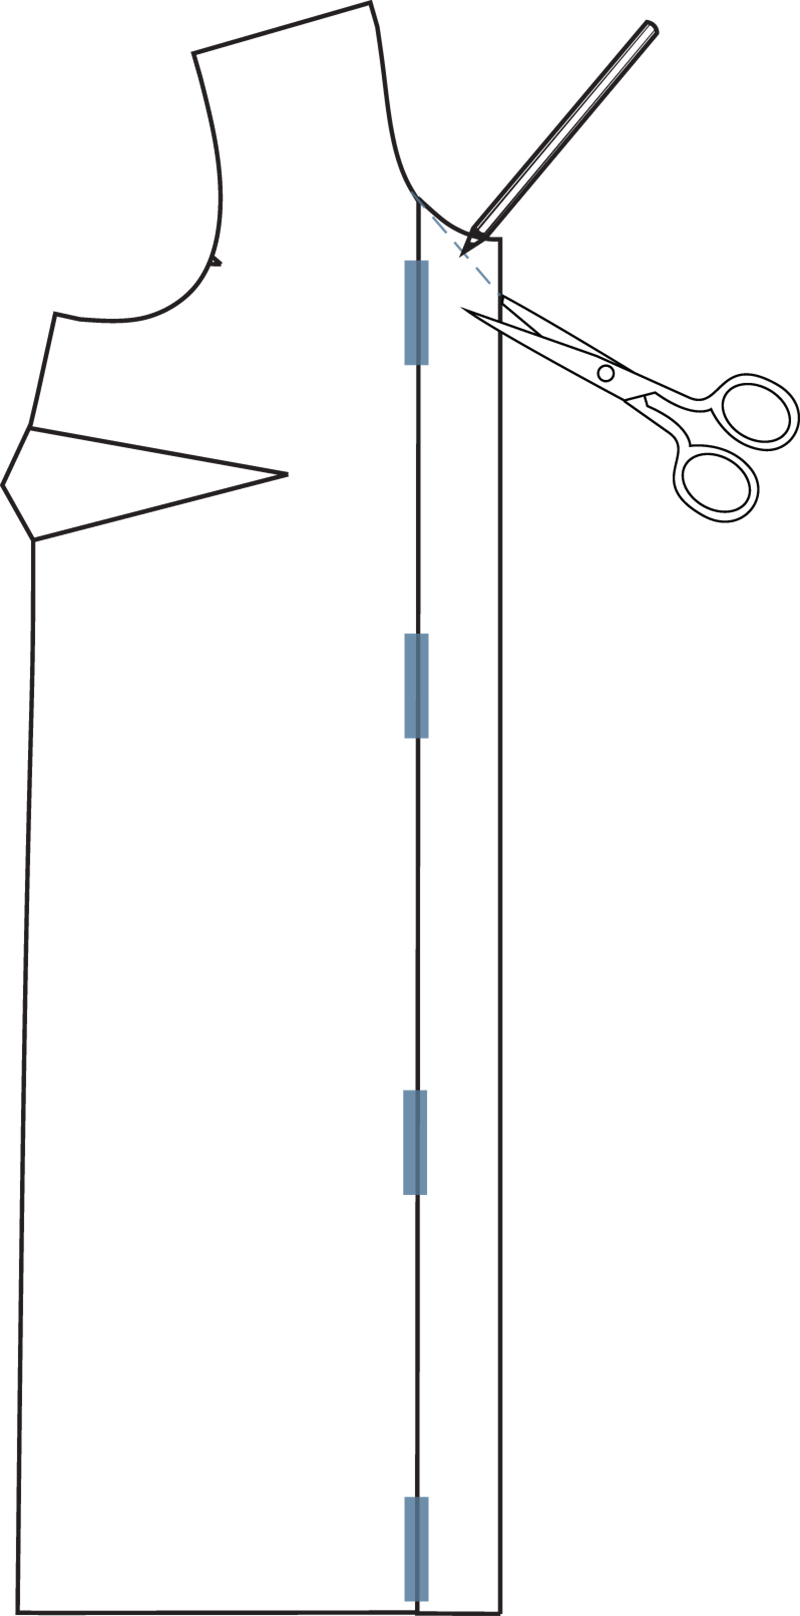
Repeat steps 1 - 2 in the first section to remove the center front panel.
Step | 02
Create a v-neck by blending from the curved portion of the neckline to a point at center front. Use a straight ruler to create a point. Trim away the corner.
Step | 03
To create a long sleeve, remove the seam allowance from the sleeve and sleeve cuff, at the place where they would join.
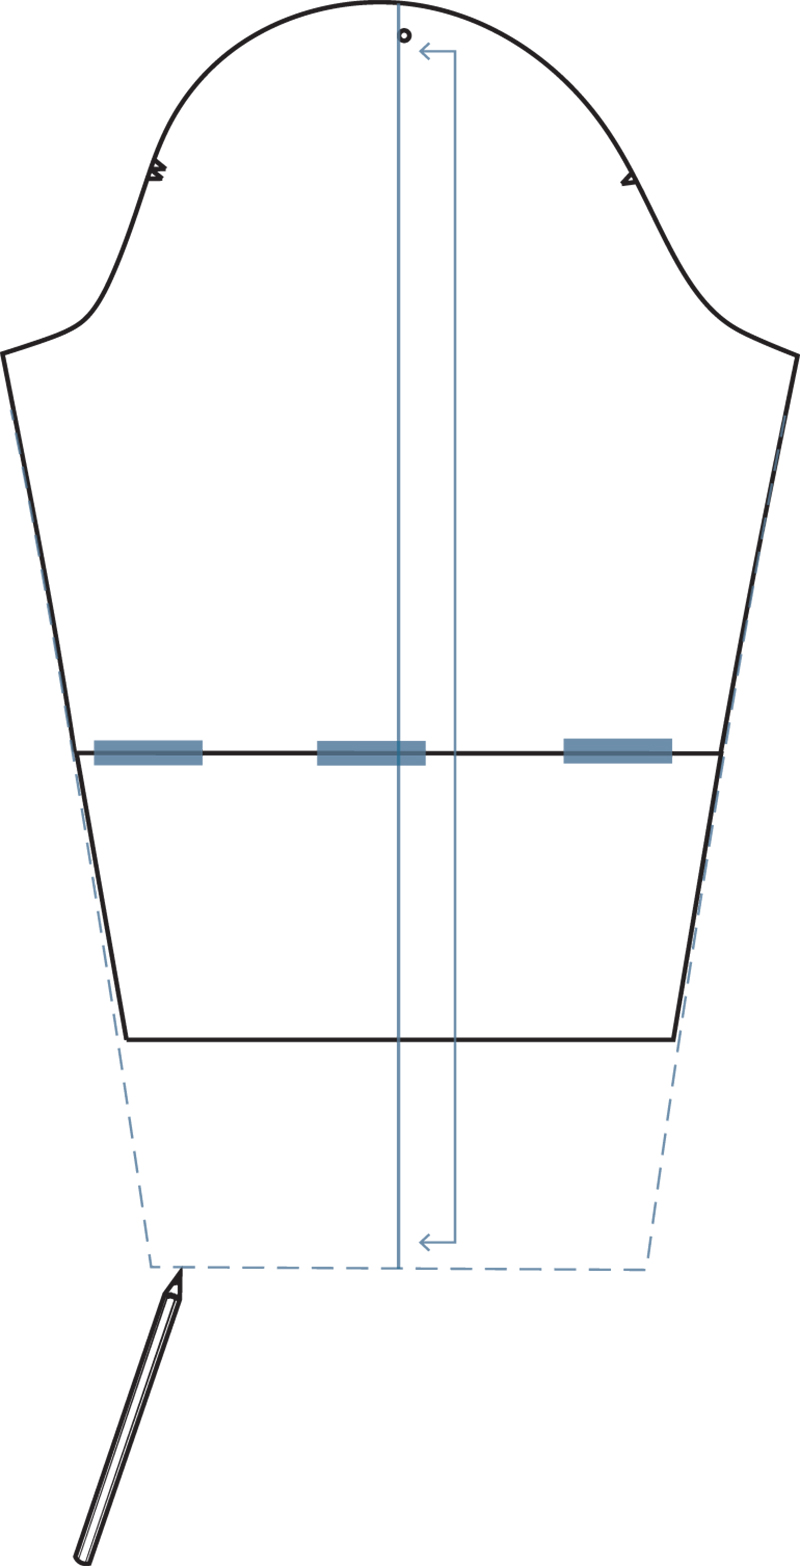
Step | 04
Tape the sleeve cuff to the sleeve at the seam line.
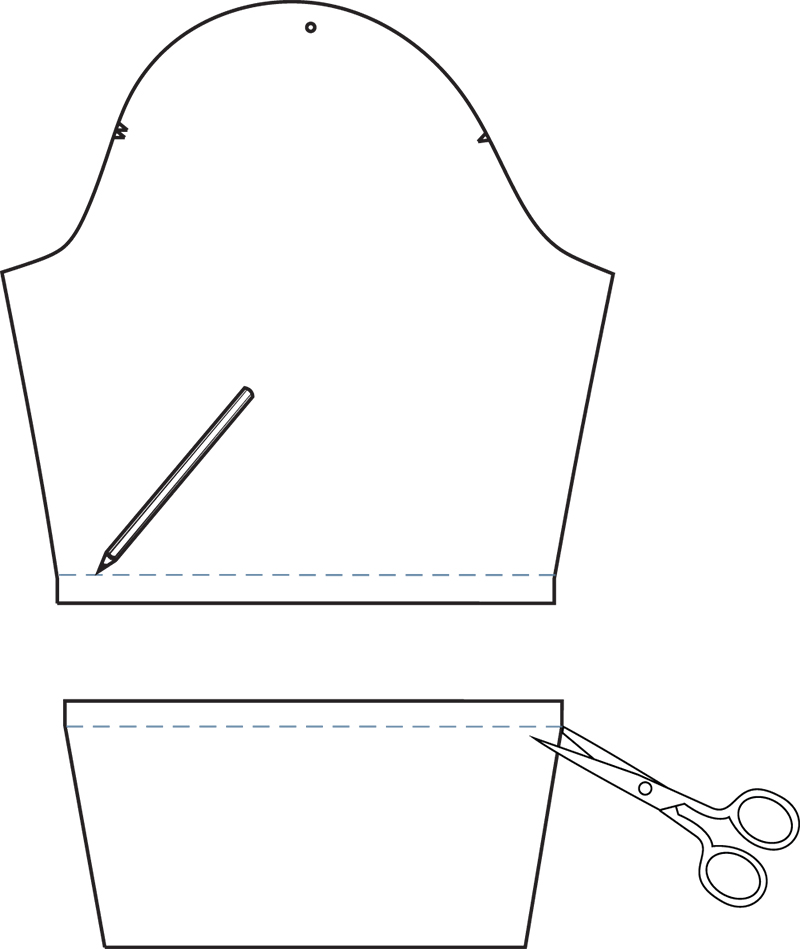
Step | 05
Measure from your shoulder cap to the desired length of your sleeve.
Step | 06
On a new sheet of paper, trace the sleeve unit. Draw a straight line from the sleeve cap circle to the sleeve hem, at the length you would like your sleeve.
Step | 07
Trace new underarm seams by blending from the original seam lines.
Step | 08
Add seam allowance to the sleeve hem.

About the Author
As pattern designer, Anna works hard to make sure our sewing patterns boast both great style and instructions. She believes in the power of chocolate and coffee to cure just about anything.


