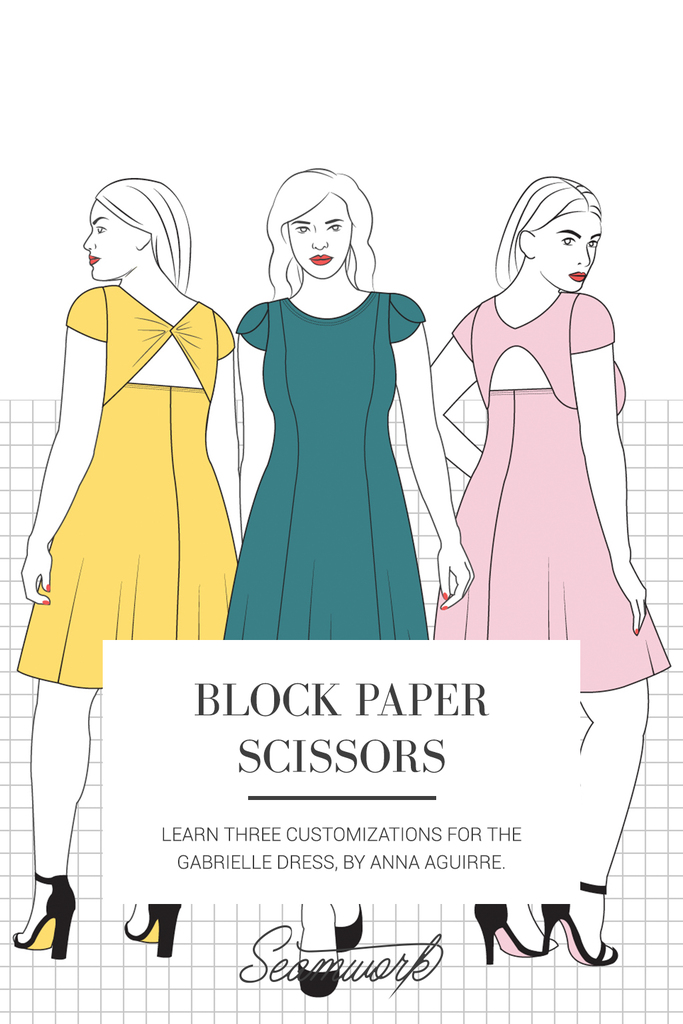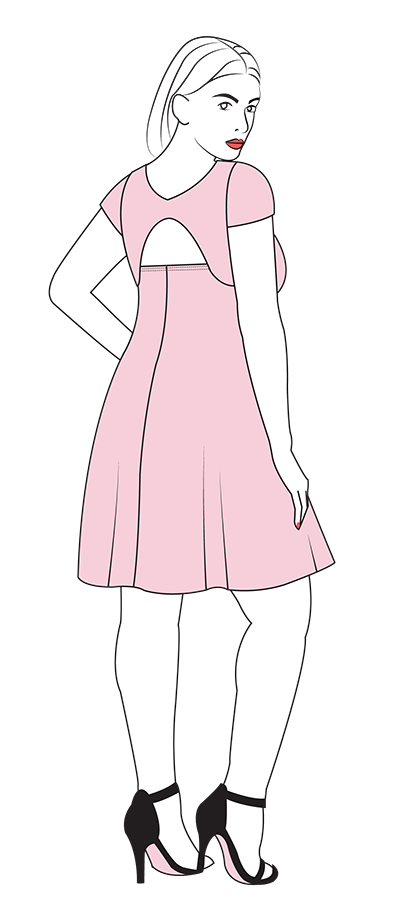
Block Paper Scissors is a monthly column featuring patternmaking hacks that will help you give your Seamwork patterns a custom spin—all you need is paper, a ruler, and a pencil! Each month we walk you through three different pattern hacks so you can create a garment exactly to your preference.
This month we walk you through three different pattern hacks for the Gabrielle dress, which you can mix and match to create a unique garment. Learn how to create a smooth back yoke, a twist back yoke, or a petal cap sleeve.
Note: Be sure to make any fit adjustments before doing the pattern hack.
You'll Need:
- The Gabrielle dress
- Paper
- Pencil
- Scissors
- Clear ruler
- French curve
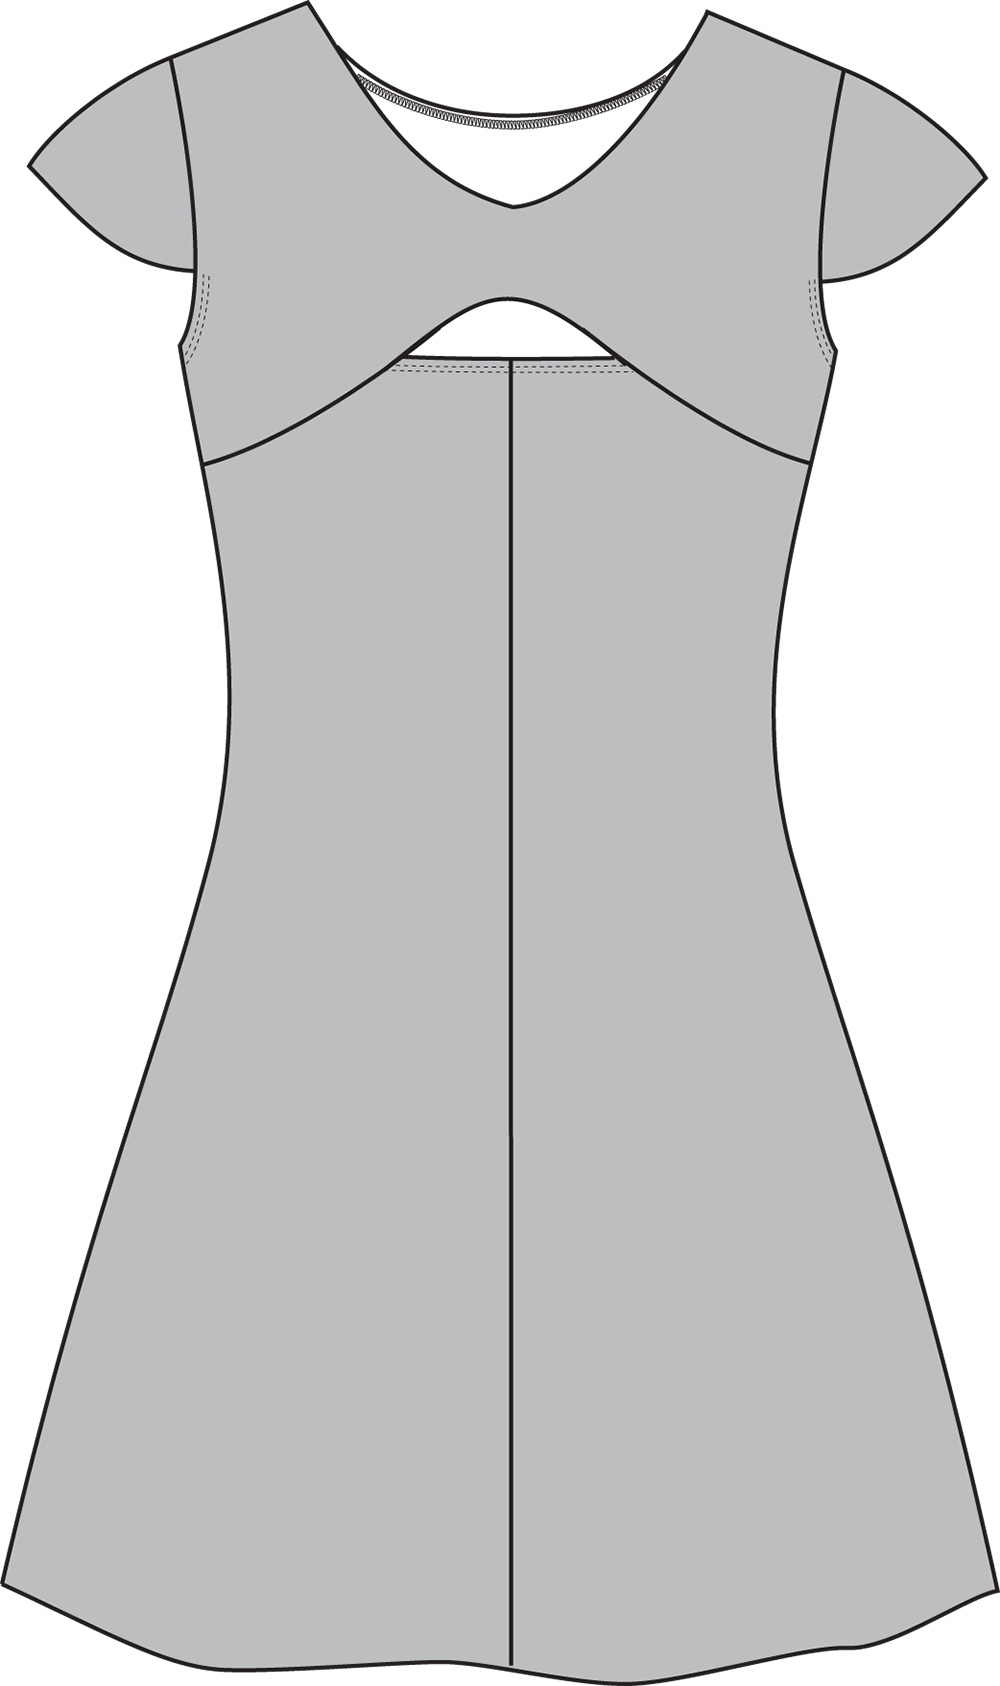
Smooth Back Yoke
Step | 01
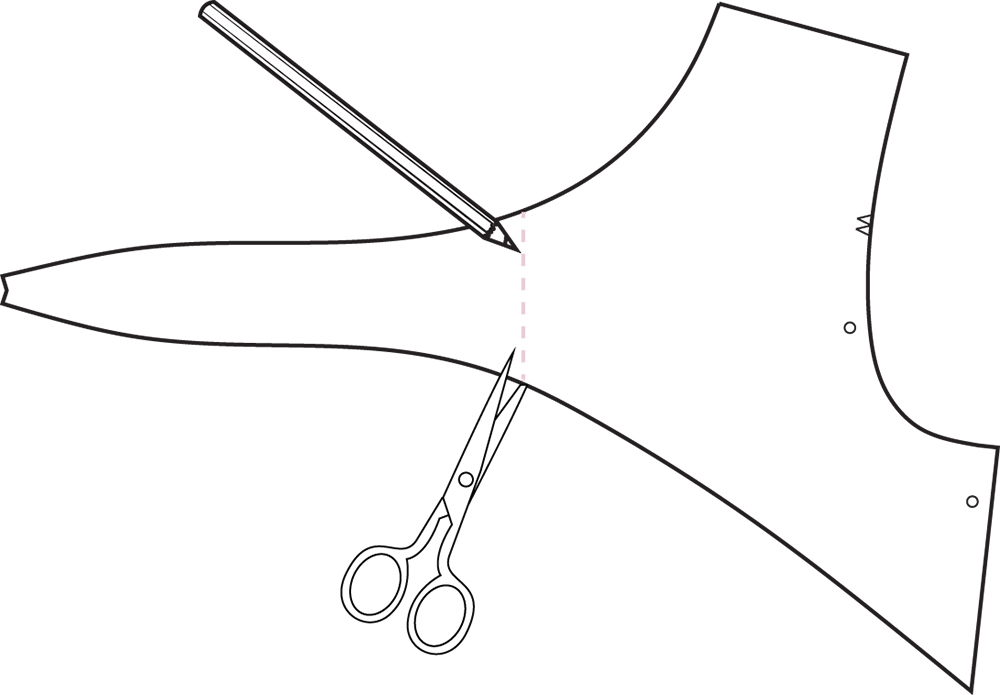
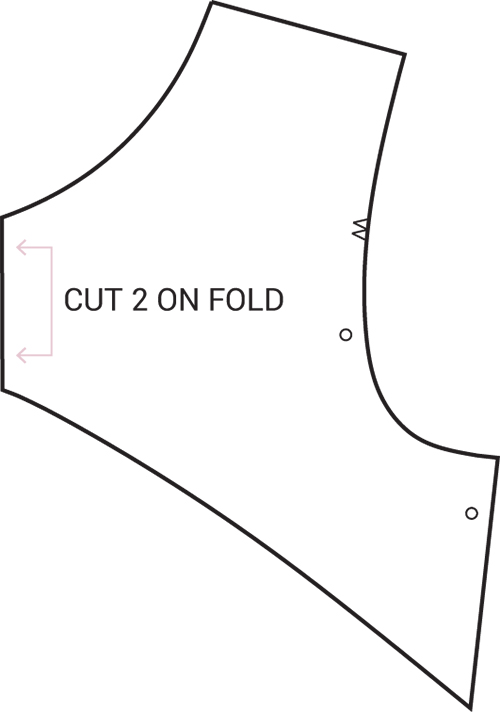
Draw a line at the center back on the back yoke pattern piece (about 9 1/2” [24 cm] for misses sizes, about 10” [25 cm] for plus sizes). Cut along this line to trim off the tie.
Step | 02
Label the pattern piece “cut 2 on fold” along the center back.
Step | 03
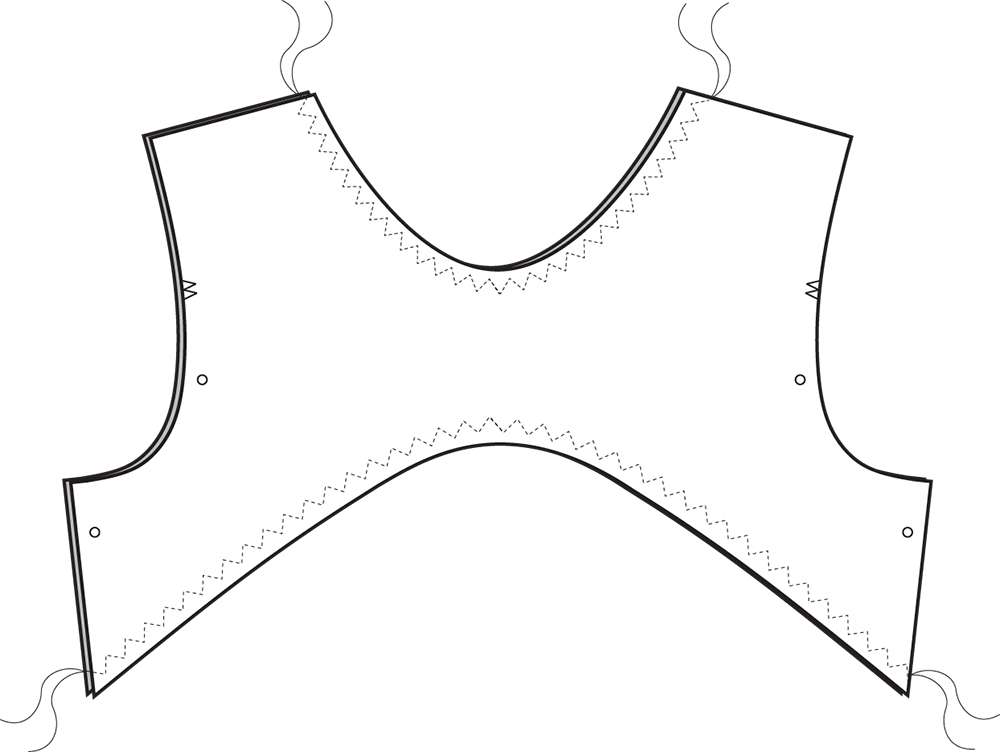
Cut out the pattern pieces in fabric. With right sides together, match the two back yoke pieces at the neckline and bottom curved edge. Pin. Stitch.
Step | 04
Turn the back yoke right sides out.
Step | 05
Attach the back yoke to the dress according to the pattern instructions.
Twist Back Yoke
Step | 01
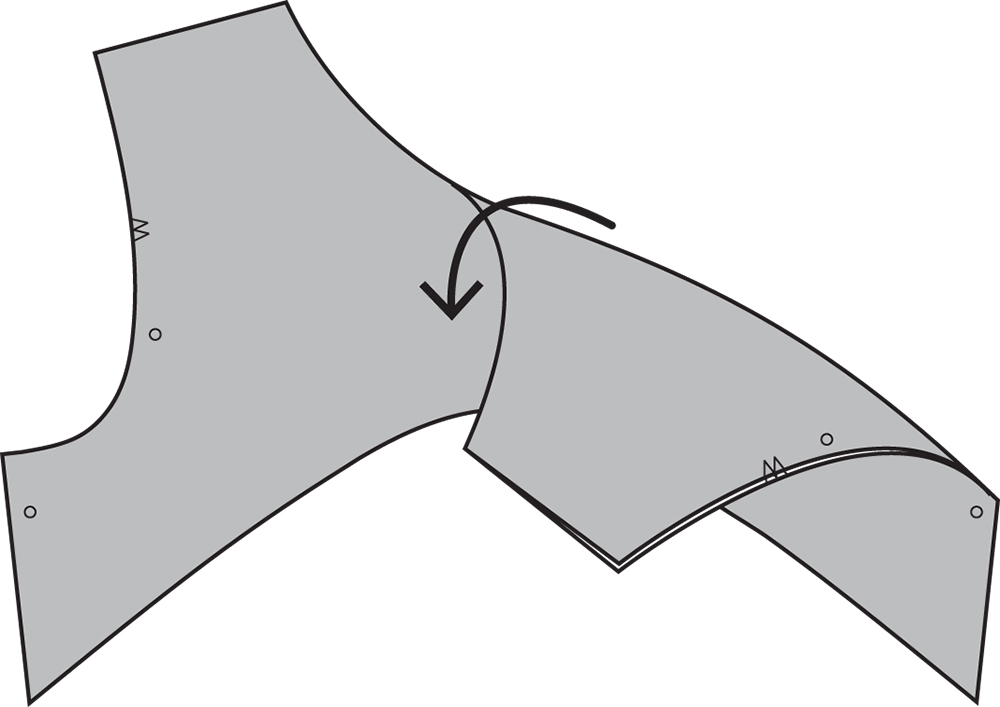
Follow steps 1 - 4 from the previous section to assemble the back yoke unit.
Step | 02
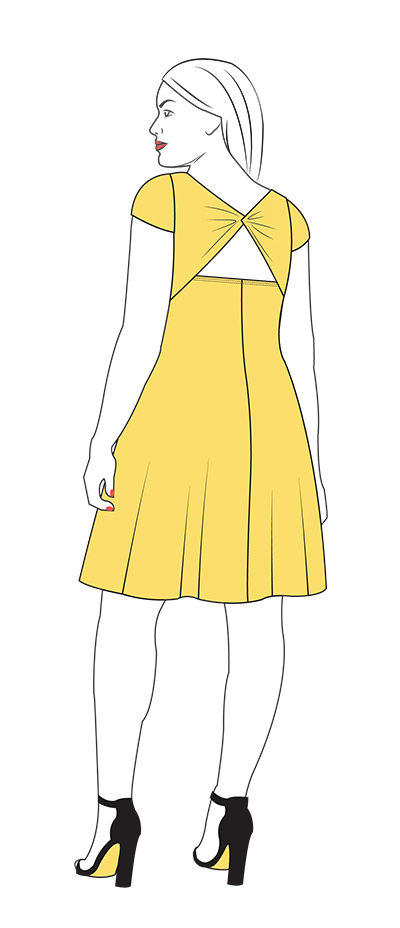
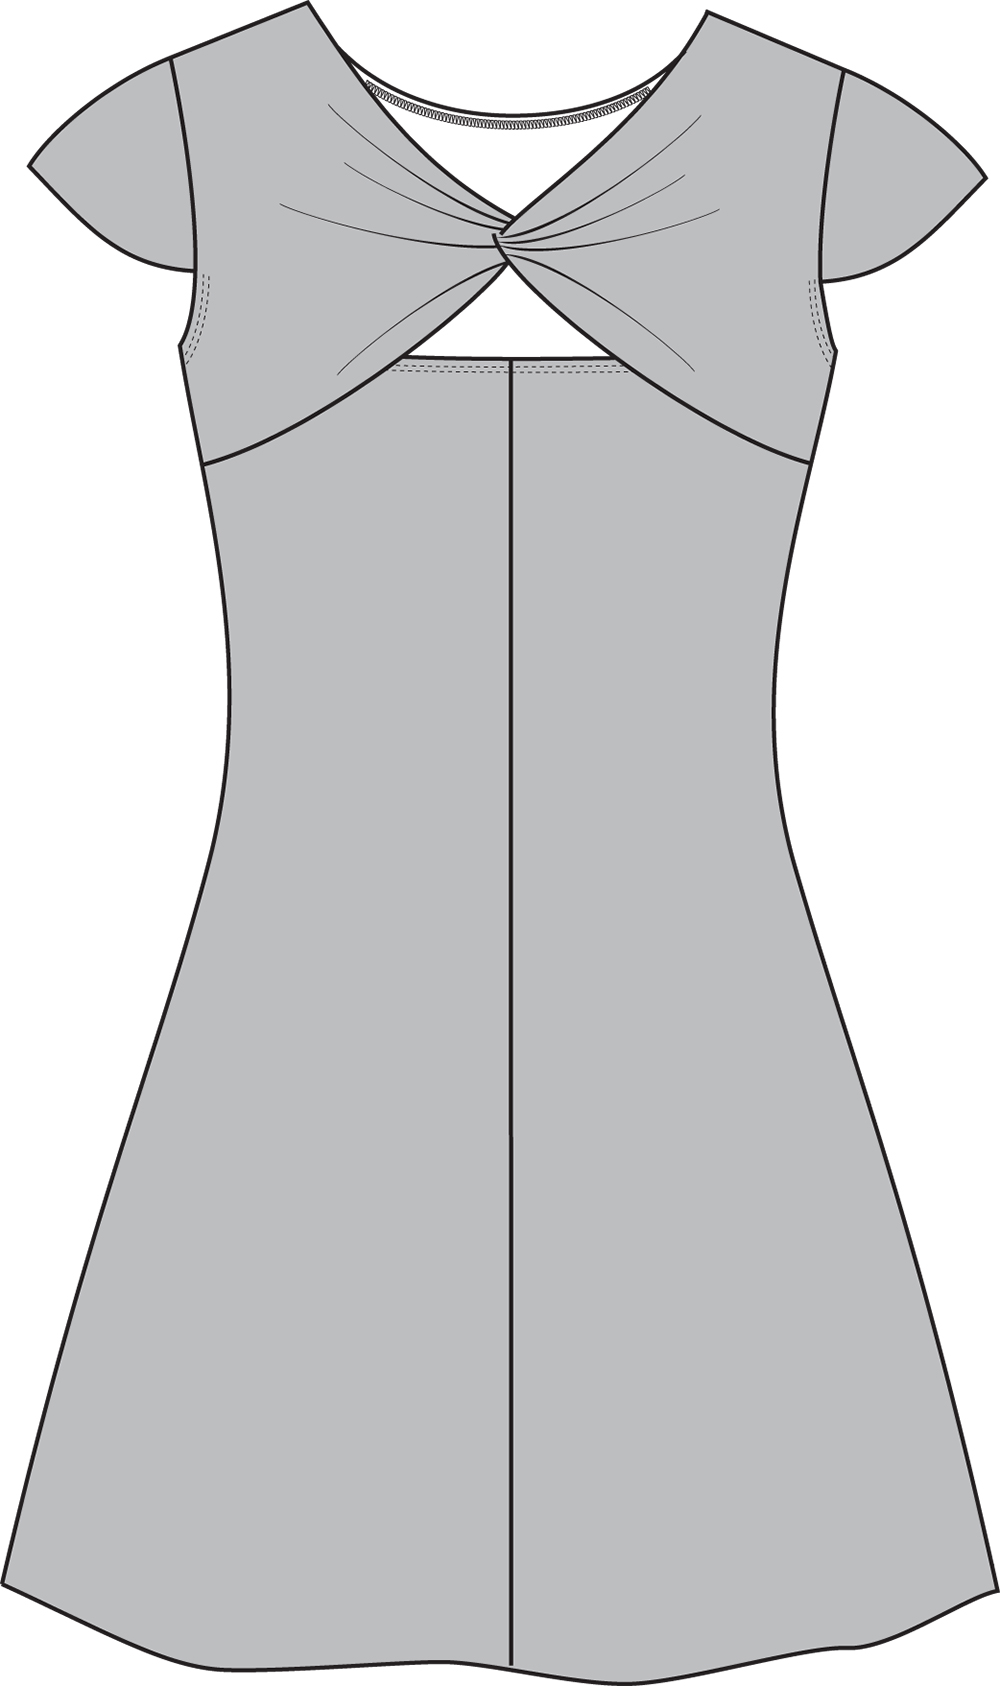
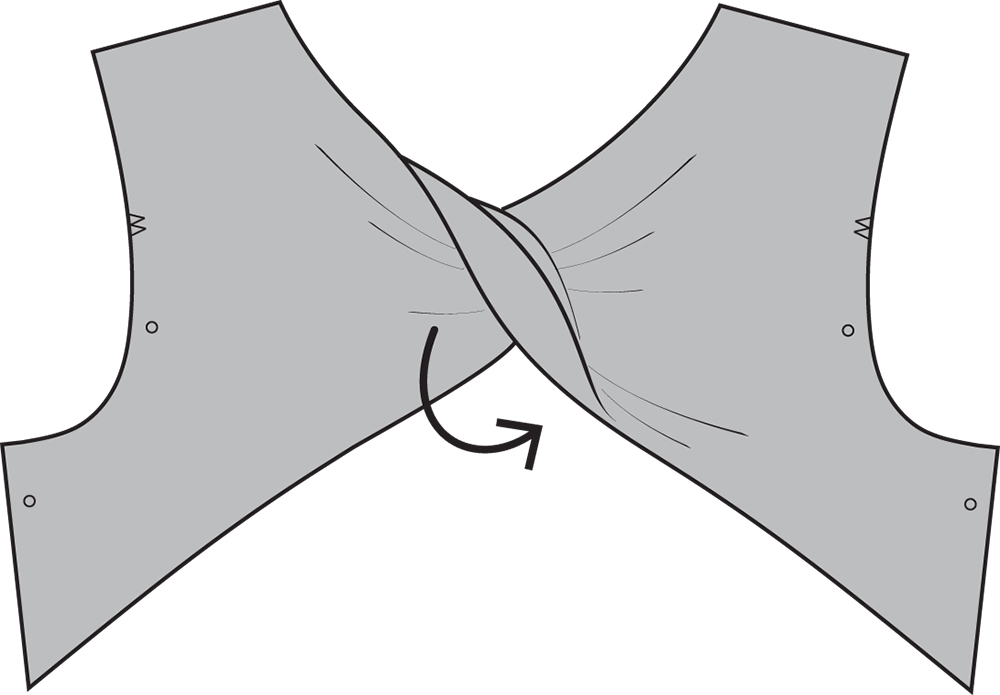
Twist the back yoke at the center back. Depending on the stretch and thickness of your fabric, you can make one or two twists.
Step | 03
Attach the back yoke to the dress according to the pattern instructions.
Petal Cap Sleeve
Step | 01
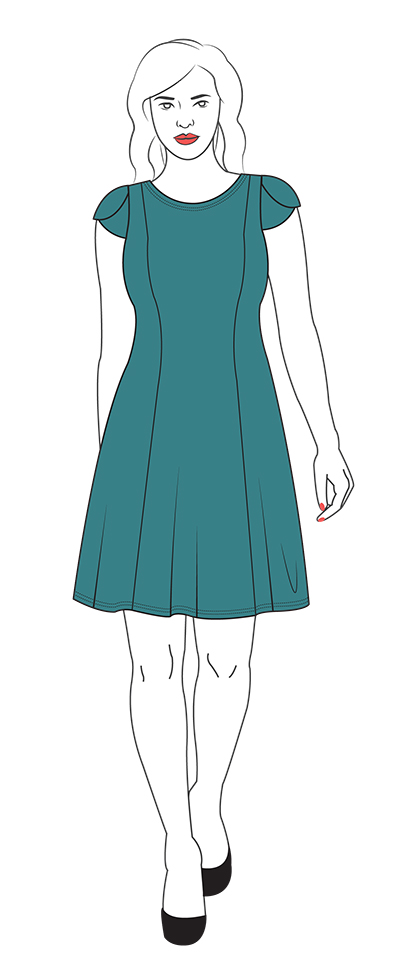
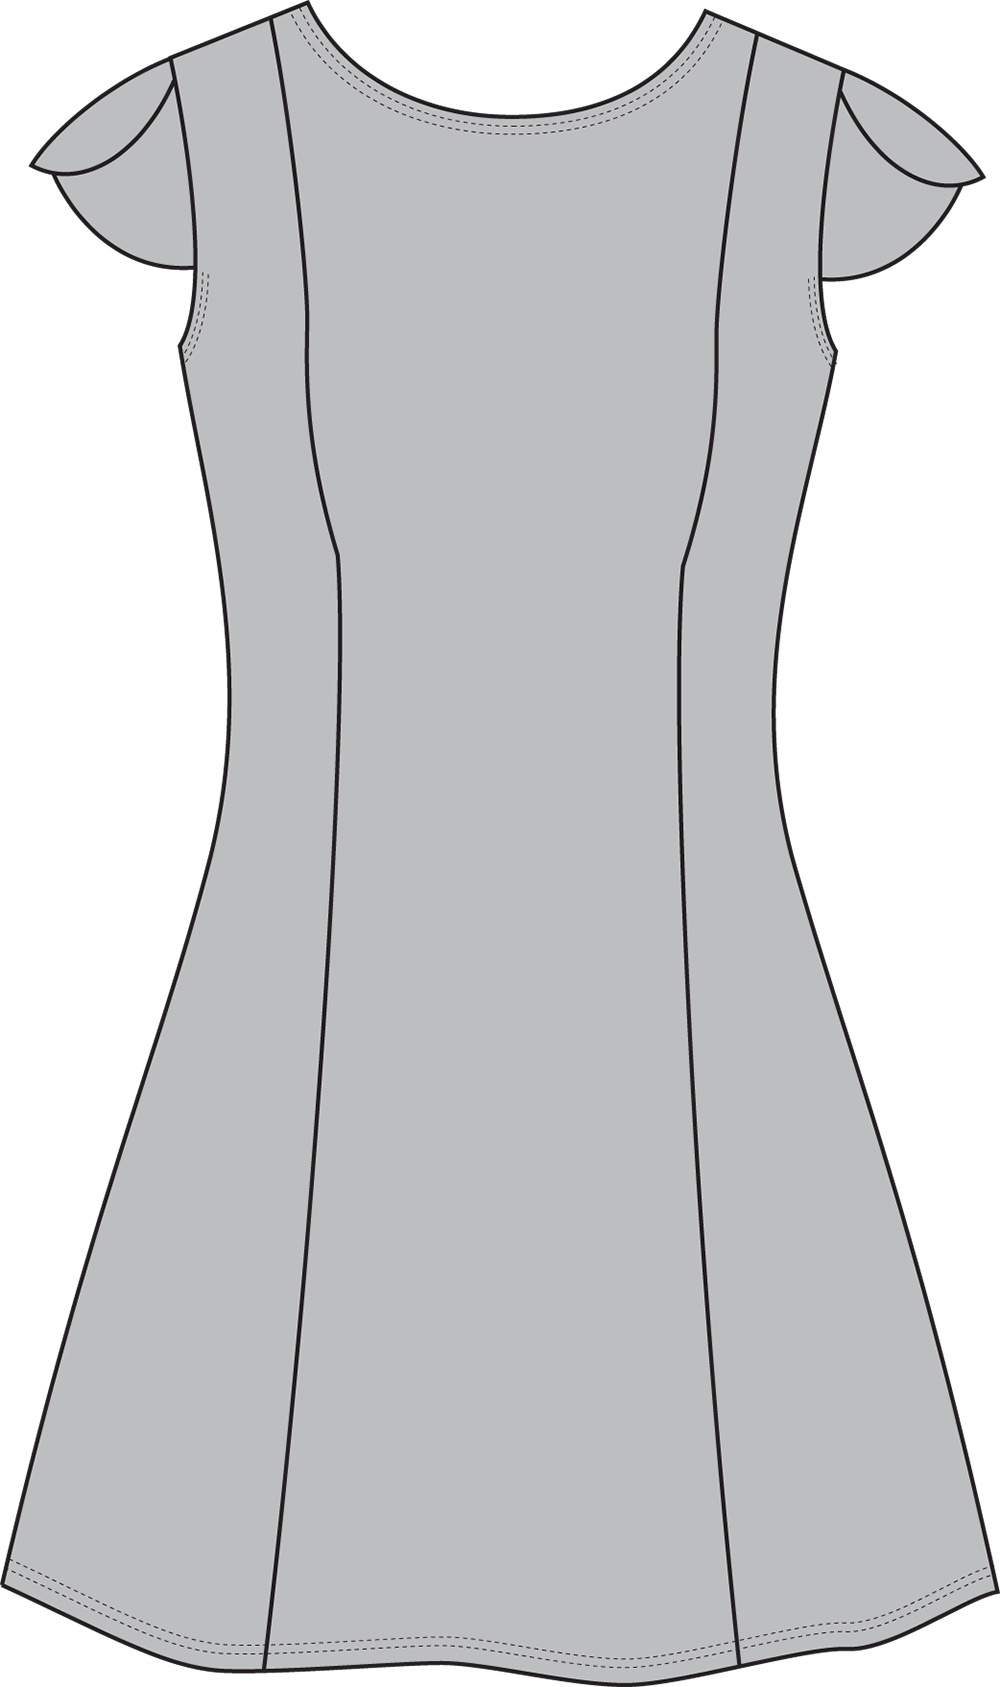
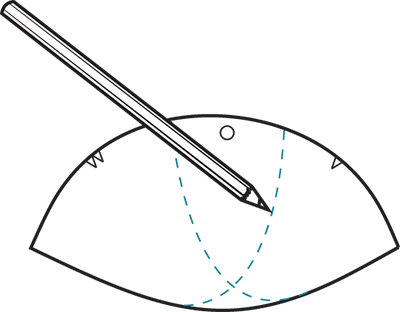
Using a French curve, draw two overlapping curved lines on the sleeve piece, from the hem to the sleeve cap.
Step | 02
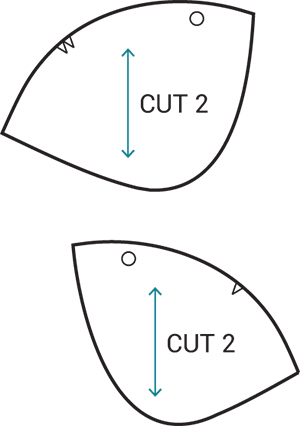
Trace off the sleeve front and sleeve back pattern pieces. Label each “cut 2.”
Step | 03
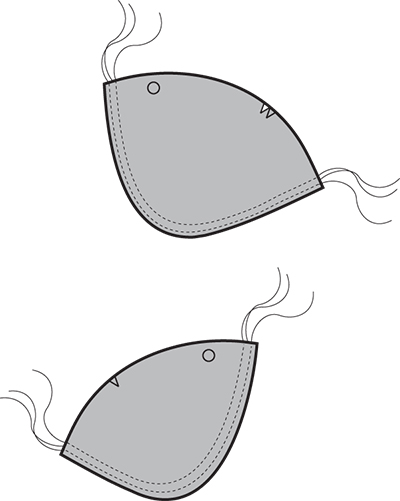
Cut out the pattern pieces in fabric.
Step | 04
Hem the bottom curved edges of the sleeve pieces.
Step | 05
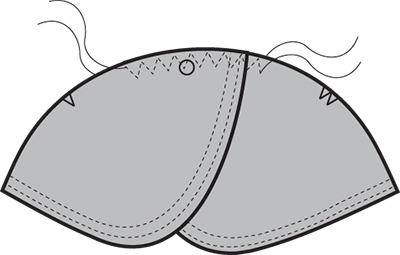
Match the front and back sleeve pieces together by aligning circles. The front sleeve should overlap the back sleeve.
Step | 06
Baste the sleeve caps together.
Step | 07
Attach the sleeve units to the dress according to the pattern instructions.


