
 Sign In
Anyone who has spent any amount of time sewing is probably aware that the act of making is empowering. I have loved making things with my own two hands for as long as I can remember. It started with crocheting, then sewing, more crocheting, then embroidery, weaving, knitting, macrame, and finally back to sewing. About two years ago, I felt a real pull to make my own clothes. I think it felt like a productive way to spend my time, energy, and money because, in the end, I would have something functional—an article of clothing that could be anything I wanted it to be.
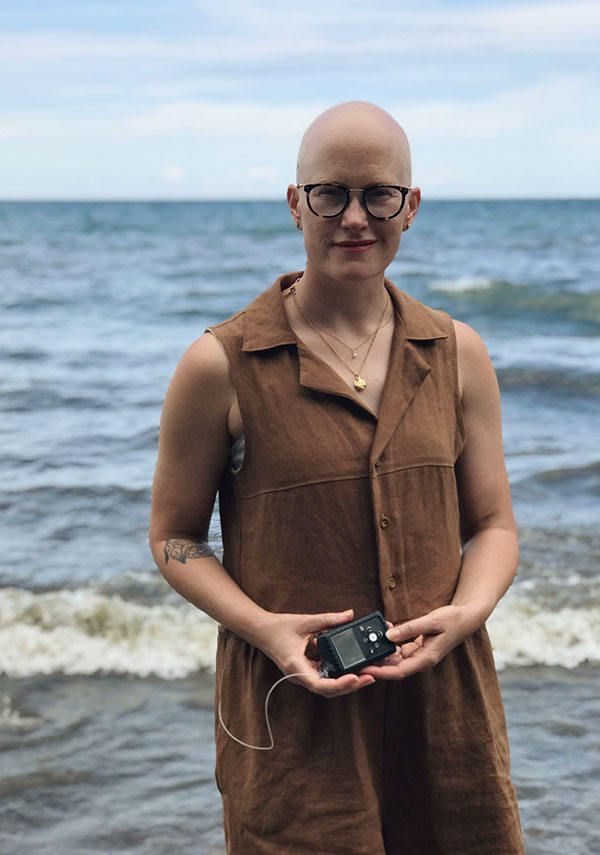
Around that same time, I got a new insulin pump. I have type 1 diabetes and rely on insulin to keep me healthy and alive. An insulin pump generally functions more like a pancreas, which is great for blood sugar management, but it always has to be connected to me in order to work. This presented a bit of an issue for me—it really limited the types of clothes I can wear. Dresses, jumpsuits, rompers, anything without pockets was out of the question.
I could get away with clipping my pump to my undergarments, but if I couldn’t access it easily at all times, I would run into problems with my blood sugars. I felt frustrated that many of my favorite go-to outfits I loved were abandoned because they weren’t designed with me in mind. When shopping for clothes, I felt a sadness and sense of loss, because I was so limited in what items would work for me—and I empathize with the many different body types and abilities not represented in clothing stores or some sewing patterns.
My passion for sewing solidified. I began to feel really empowered by the basic garment construction knowledge that sewing gave me. I could add pockets to anything I make! And inside those pockets, I could add a hole big enough to feed my pump through. So the pump would still be administering insulin via the tubing and infusion set, and I could still access the pump inside my pocket any time I needed to. All of a sudden, my clothing options opened right up again. I also started making holes in the pockets of any ready-to-wear garments that I hadn’t been able to wear for a while.
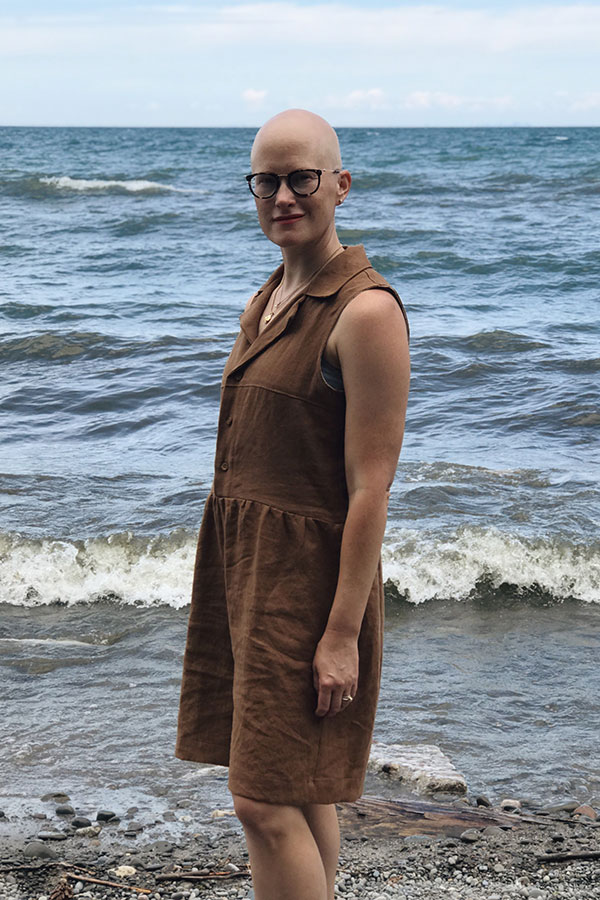
The ability to sew has really been a blessing for me—I can make things work for me and my specific needs and taste. I love that I can modify any pattern to be exactly what I want to wear. This is true of the Seamwork Natalie shirt, probably one of my most-made patterns. I love the Natalie for its boxy fit (I always crop mine to about an inch below the shorten/lengthen line), but it still has that hint of being a bit special given that it has buttons, buttonholes, and a collar.
I have made this pattern several different ways—cropped, without bust darts, without the collar, lengthened the sleeves by about 2 inches, sleeveless, and with the front pattern piece broken up into a yoke and body with a seam including “hidden” pockets.
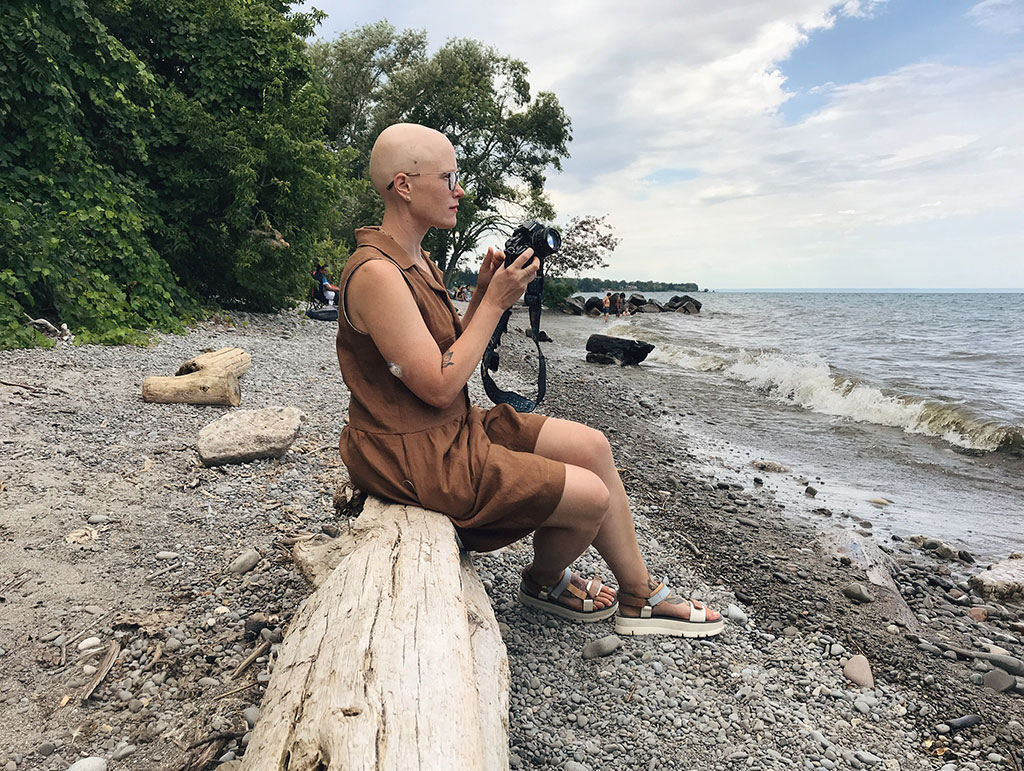
Inspired by the slow fashion brand Ilana Kohn, I thought the Natalie would make a great dress, so I added a gathered skirt (and of course some sneaky in-seam pockets with the hole to allow pump access). The dress turned out so well that I was inspired to try a Natalie romper!
My Pattern Hack Details
I will walk you through all the steps I took to adapt the Natalie into a romper and how I modified it for easy access to my pump, in the hopes that anyone reading this who uses—or knows someone who uses—a medical device, will consider modifying clothes with this need in mind.
This hack involves a combination of design choices and pattern changes that consider access to my insulin pump. It helps to consider the entire garment, details, and construction, as you plan your hack. Here are some questions to ask when you start planning a pattern hack:
Do you need to adjust the size? I sized down from my usual size 12 (which is maybe a bit bigger than my measurements) to a size 10.
Can you adjust the silhouette? I straightened the side seams below the armscye.
Do you want to add or remove any pattern pieces? I omitted the sleeves because I wanted a sleeveless version for the summertime.
Do you want to add or change any design elements? I added style lines to the body pieces.
Do you need to change any steps in the construction? I added an opening in the in-seam pockets for my pump, so I had to add some steps to this part of the assembly.
Can you use pieces from another pattern? I combined the Natalie shirt with the Joss pants, cropped into shorts, for the bottom of my romper.
I approached each of the above changes step by step, which is how I was able to transform this shirt into an entirely different garment.
Make Paper Pattern Adjustments First
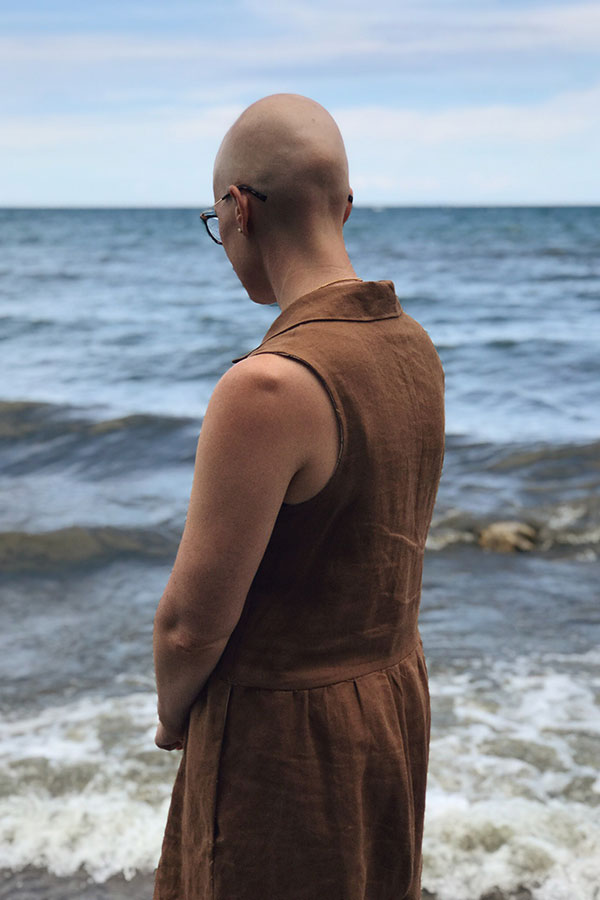
Think about the entire garment’s design before cutting into fabric. If you are removing sleeves, don’t forget to reshape the armholes. An armscye drafted without sleeves is shaped differently than an armscye drafted for sleeves. I used the Willis armscye as a guide for cutting out my front and back pattern pieces.
To add the style lines, I divided the front body piece into two pieces, adding a 3/8" seam allowance to both pieces. When sewing, I assembled those two pieces first for both the left and right front. I pressed the seam up towards the top body and topstitched the seam allowances to the top body pieces.
Don’t Be Afraid to Mix Patterns
I used the Seamwork Joss pants for the bottoms of my romper. I cut out a size 16 based on the pattern measurements because I wanted the bottoms to be gathered before attaching them to the Natalie. I also shortened them to 8 1/2” below the crotch curve to make them into shorts.
These patterns worked together because the Natalie top has a boxy fit, so there is extra ease at the waist. The Joss pants have an elastic waist, so there is plenty of ease there as well. With some gathering stitches, these two patterns can blend.
Little Changes Make a Big Difference
Using a Seamwork article as a guide, I added in-seam pockets. When I sewed the side seam, including the pockets, I sewed it in two parts, leaving a gap at the top of the pocket bags big enough for the pump to fit through. I finished those raw edges differently, with more of a baby hem, whereas the rest of the garment has French seams.
I did end up straightening the side seams from the underarm down to the bottom to get the silhouette that I was after. Starting at the armhole, I took off 5/8”, cutting in a straight line down to the hem.
Use Your Sewing Knowledge to Finish
After assembling the top, I finished the armholes with bias tape and sewed the front pieces together along the hem just at the facing to make it easier to attach the bottoms. With three lines of basting stitches around the top of the Joss shorts, I pinned them to the Natalie top, using the side seams and center back and front as guides. I then gathered the shorts, distributing the gathers equally between those four sections. Lastly, I sewed the Natalie top and Joss bottoms together using a 5/8” inch seam allowance. The armholes are maybe a bit large and loose, but I find that makes it easier to get the romper on and off. After trying on the finished garment, I realized the pockets were moving around with the pump's weight. So, I topstitched the pockets to the front pieces of the Joss shorts. This definitely helps to keep the pocket and the pump in place, which I find more comfortable.
I hope I was able to inspire a few people who struggle with feeling underrepresented to try sewing. A bit of basic sewing knowledge empowers you to create garments that will work for your unique—or lesser represented—body type or needs. This has been a very liberating experience, and I hope you will discover the same feeling.

Heather Holley
Contributing Writer
Heather Holley believes that making is the greatest act of self-care. When she’s not sewing, knitting, or trying to quilt, she can probably be found in the vegetable garden with her sweet little dog Coco or watching a giallo with her husband.

