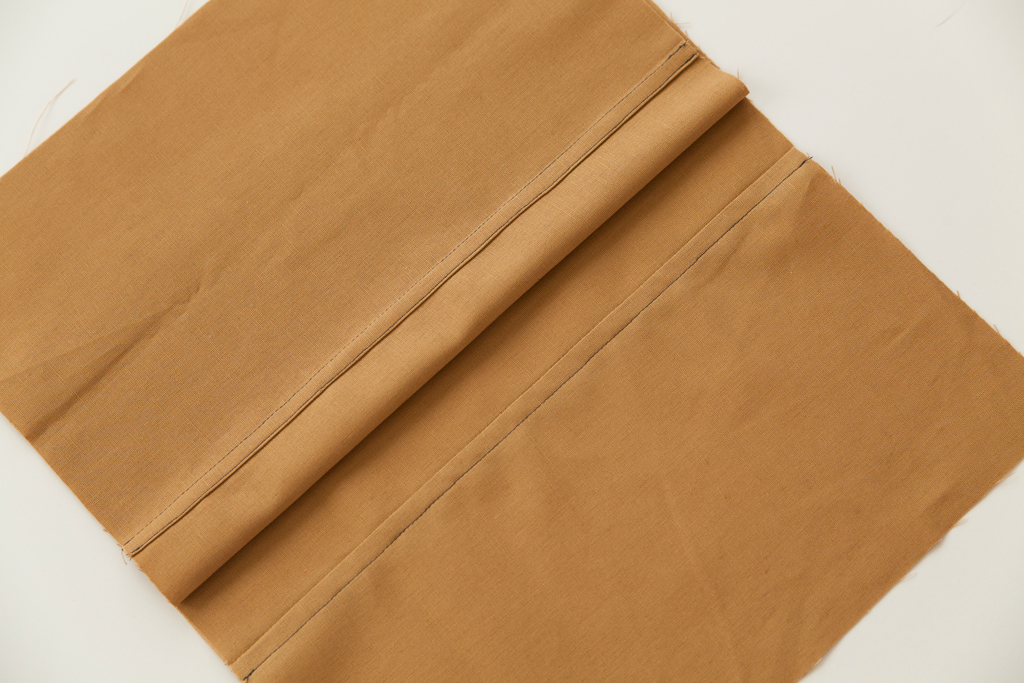
Flat felled seams are strong and sturdy, perfect for tailored shirts, trousers, and denim garments. Use this technique when extra durability is needed.
Classic Flat Felled Seams
There are several ways to create flat felled seams, and this is the most classic technique.
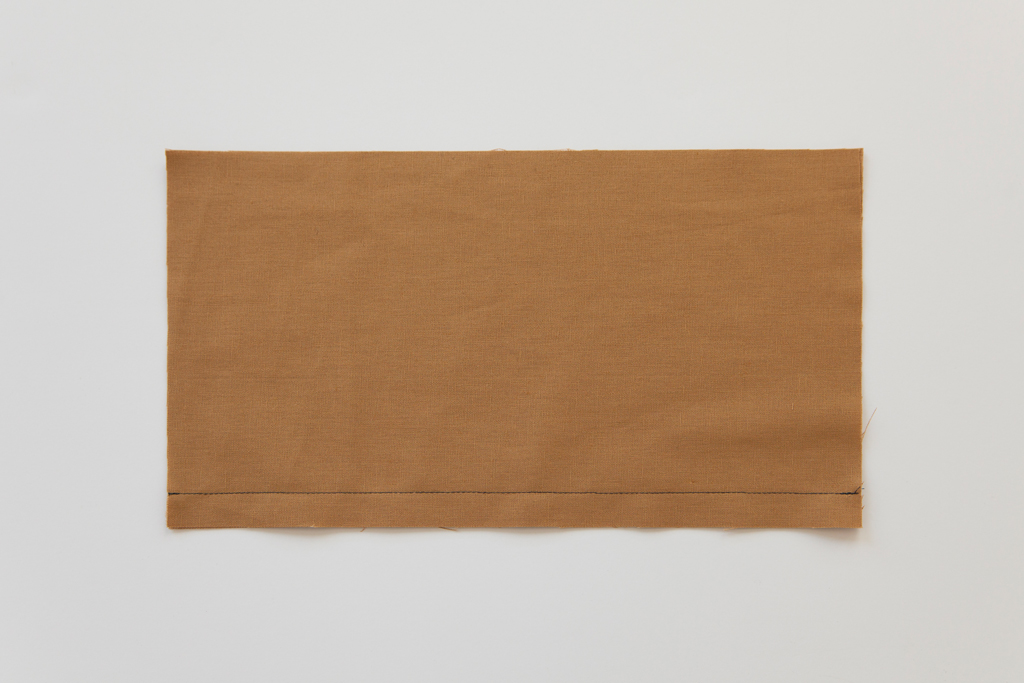
With right sides together, pin corresponding pieces. Using a straight stitch, sew a seam at a 5/8” seam allowance.
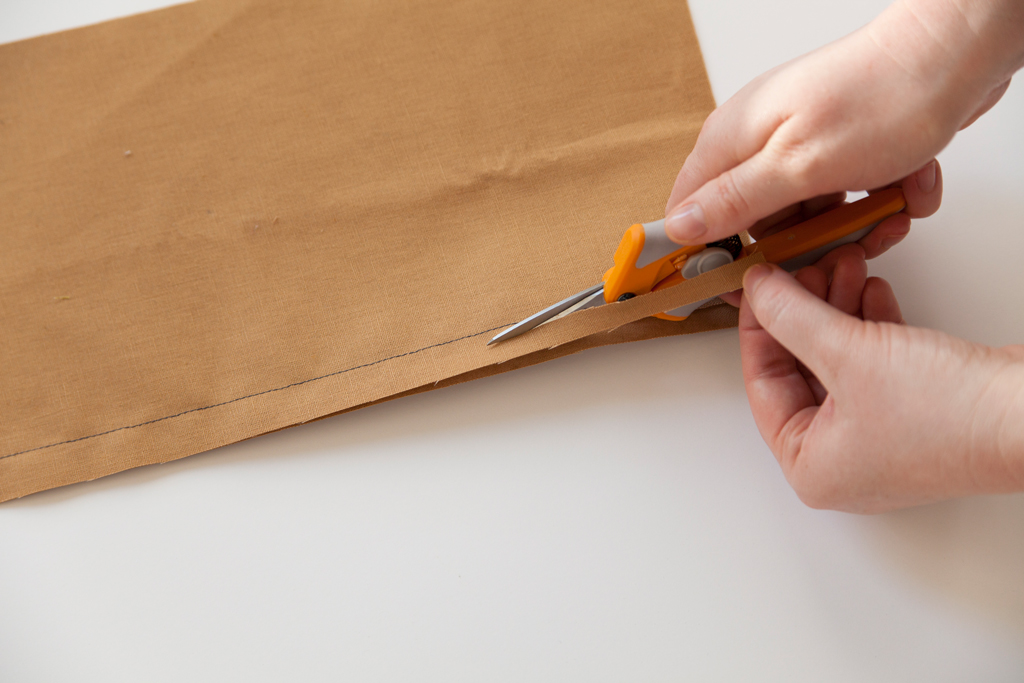
Based on the pattern instructions, decide which direction your seam will be pressed. If you press the seam toward the left, trim the left seam allowance to half the original width.
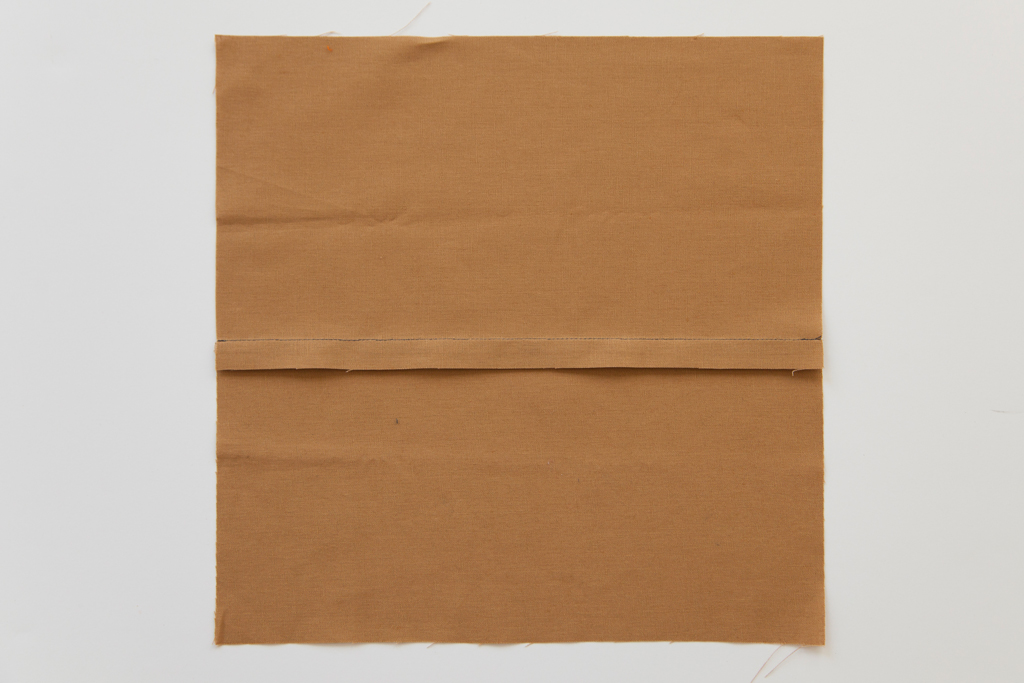
Press the seam allowance toward the side of the trimmed seam.
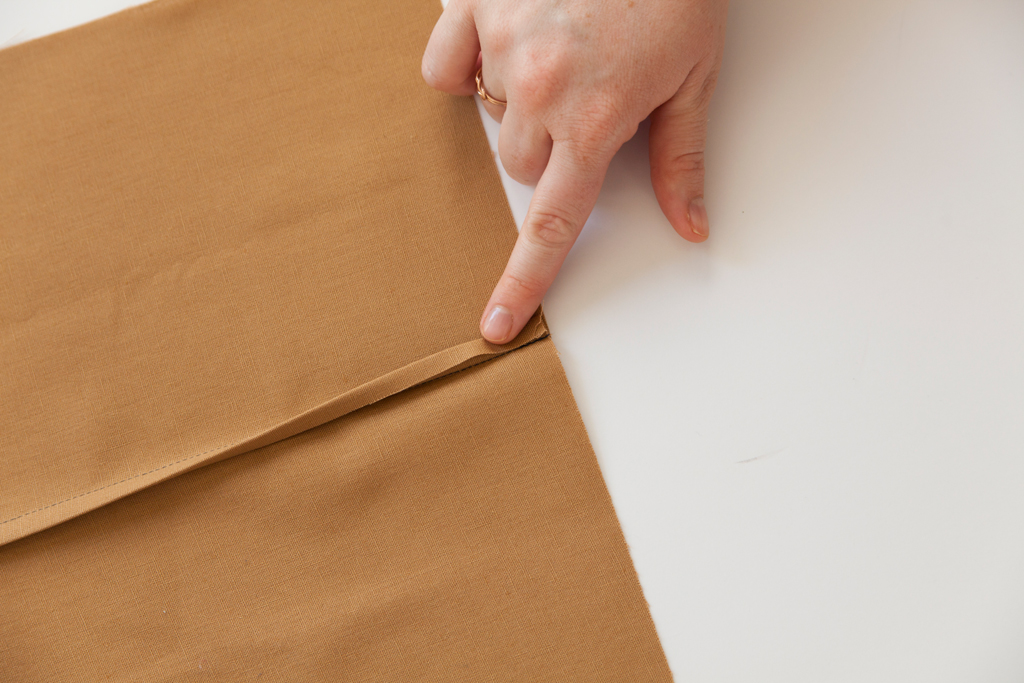
Fold the untrimmed seam allowance under so that it wraps around the trimmed seam allowance. Press.
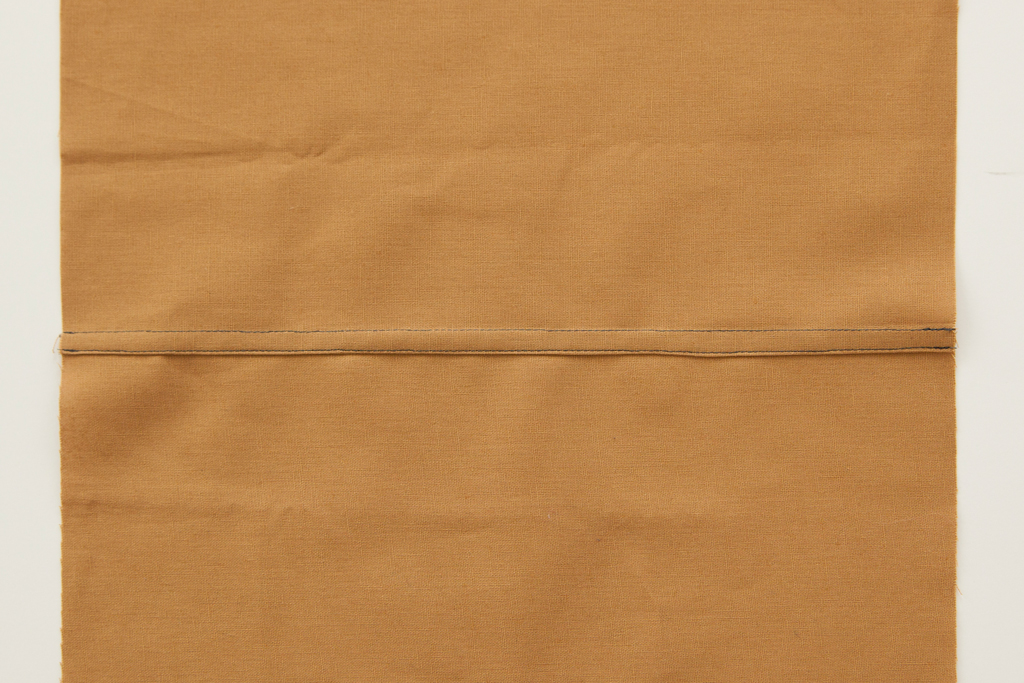
From the wrong side, edgestitch the seam allowance in place.
Faux Flat Felled Seams
This seam finish is ideal for creating the look of a traditional flat felled seam without the bulk or additional time spent at the ironing board.
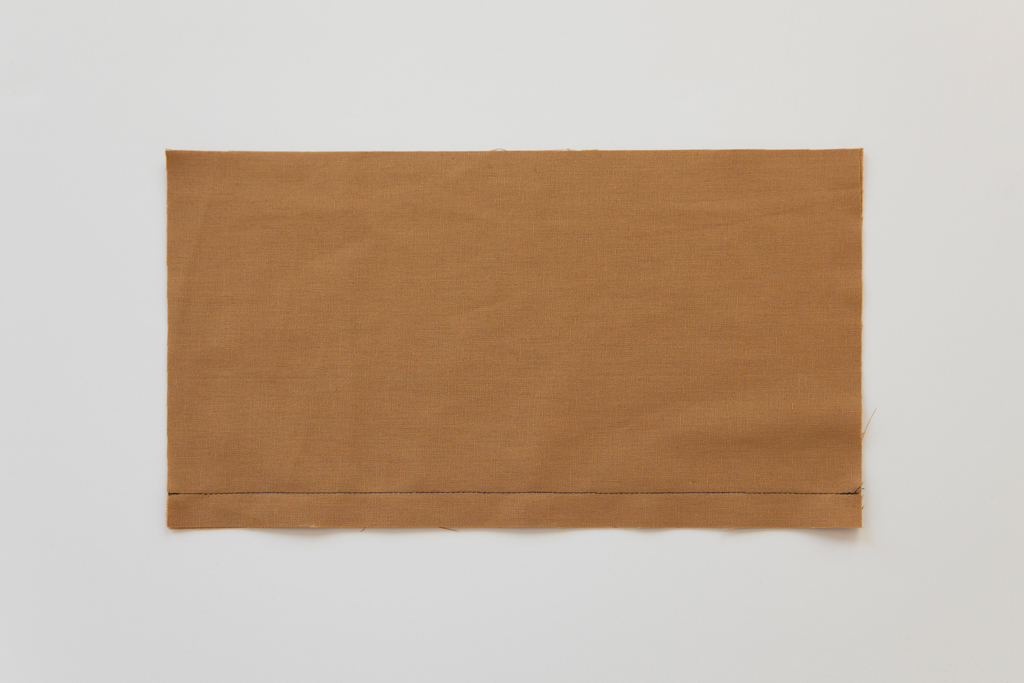
With right sides together, pin corresponding pieces. Using a straight stitch, sew a seam at a 5/8” seam allowance.
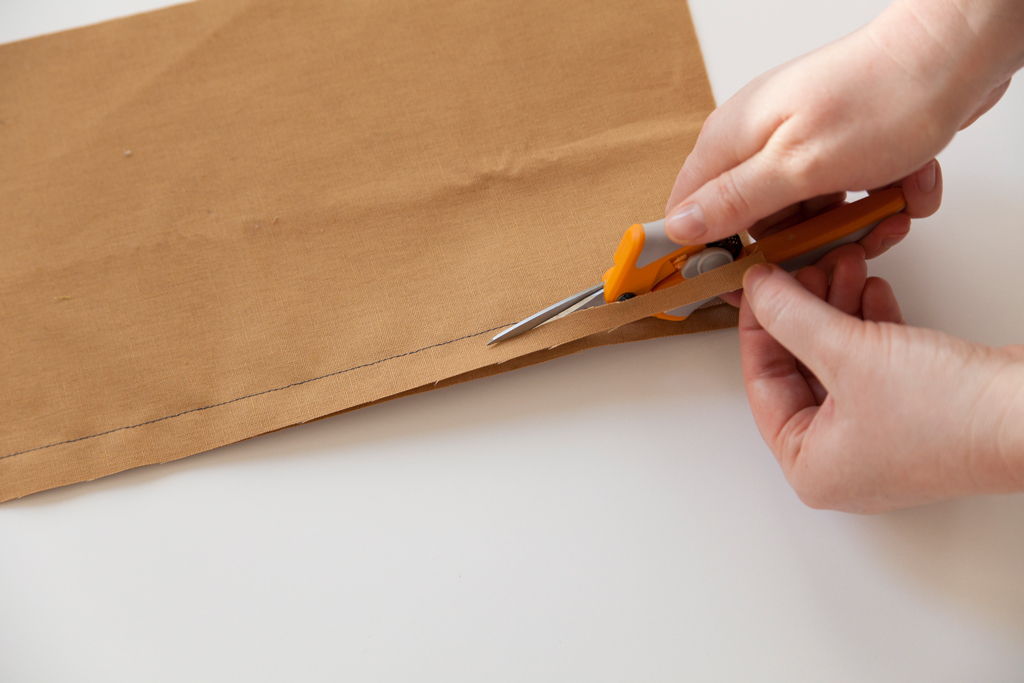
Based on the pattern instructions, decide which direction your seam will be pressed. If the seam is being pressed toward the left, trim the left seam allowance to half the original width.
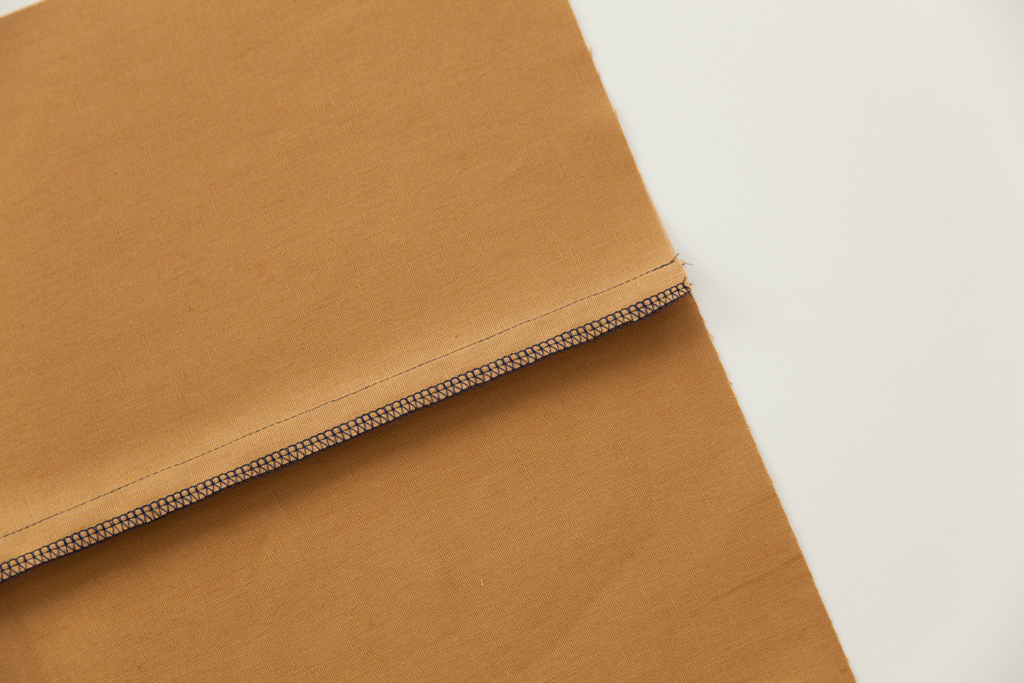
Finish the seam allowance and press flat toward the trimmed side.
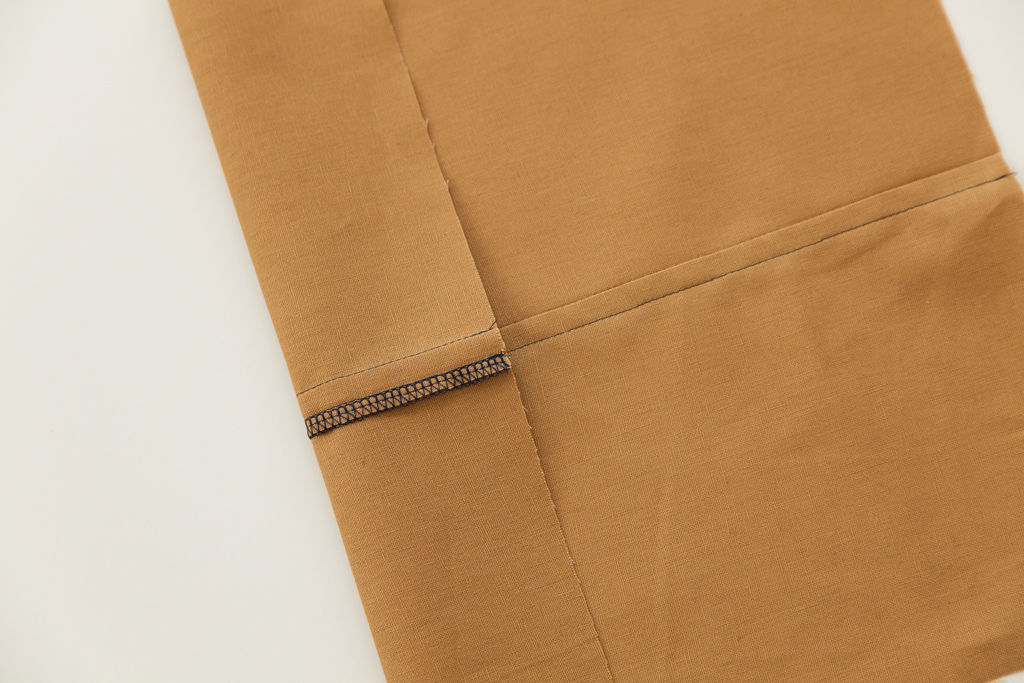
Lastly, from the right side, topstitch the seam allowance in place using a 3/8” seam allowance.
Put your new skills to the test. Try sewing:


