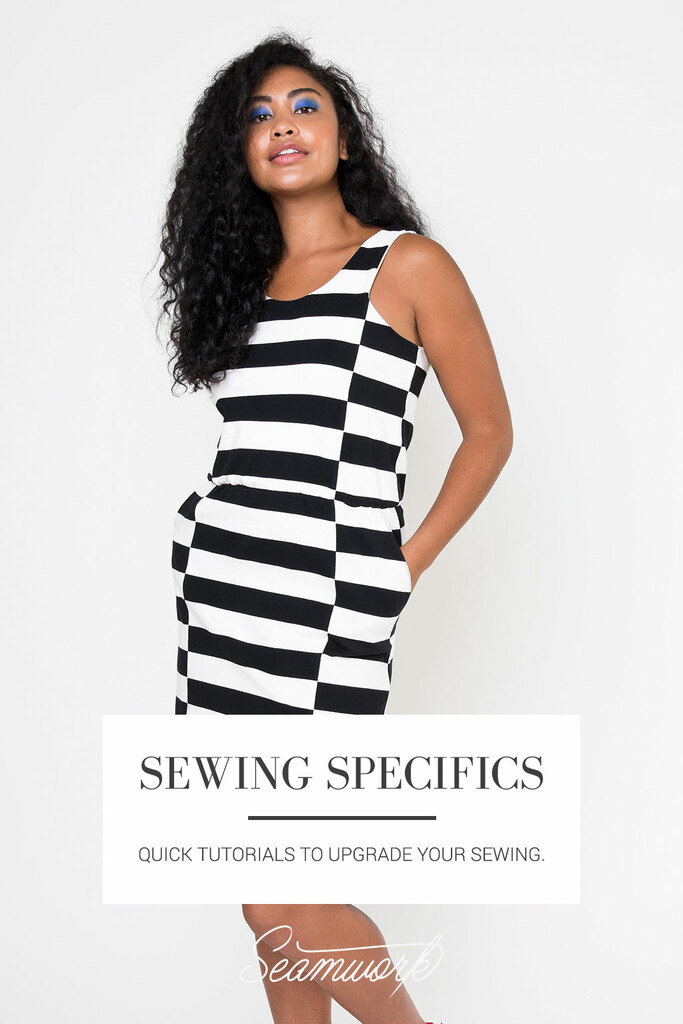
Each month, Seamwork Magazine brings you two new wardrobe-building patterns, along with inspirational articles and informative tutorials. Sewists tend to be detail-oriented by nature. We thrive when fussing over the perfect welt pocket or finding the perfect shade of thread to match.
Those times when we really slow down and cherish the details are when we shine the brightest. This series is dedicated to the small details that take your project to the next level. Whether it is a new seam finish or a fun embellishment, take the time to make your next me-made item one-of-a-kind.
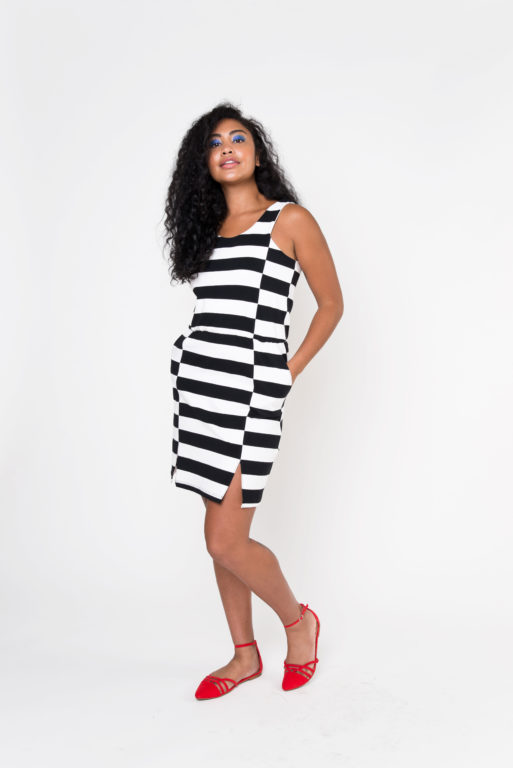
This month we are sharing a technique for lining sleeveless garments. It's perfect for garments like Layton or Moneta.
How To
Step | 01
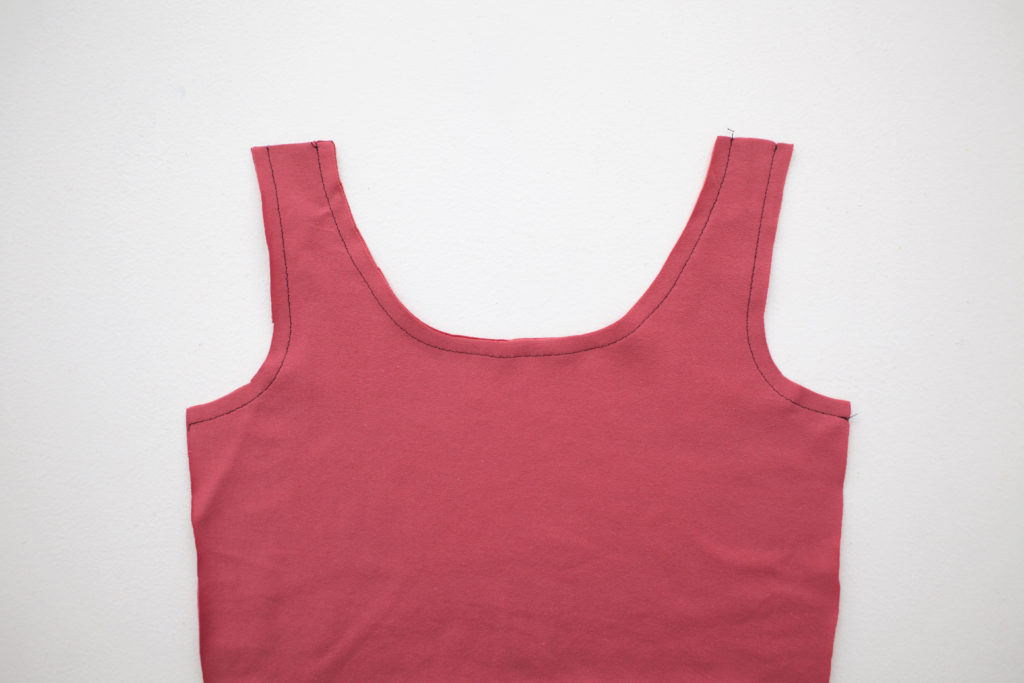
With right sides together, notches and seam lines aligned, match one front bodice shell to the front bodice lining at the neckline and armscye. Pin and stitch at the pattern's recommended seam allowance along the armscyes and neckline.
Step | 02
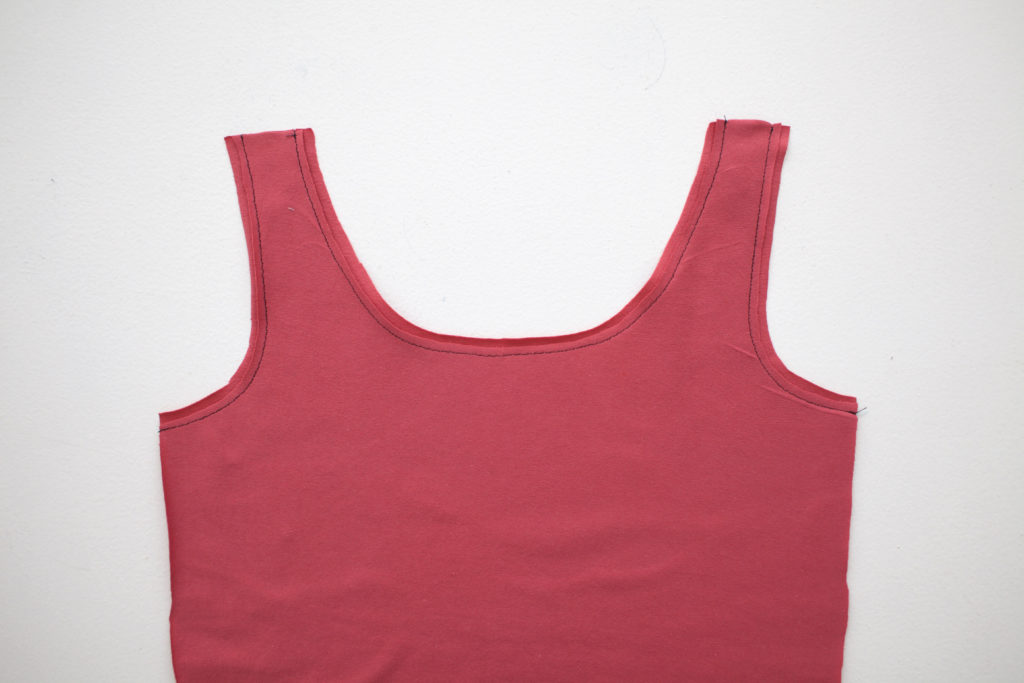
Trim and grade the seam allowances. Clip the curved edges of the neckline and armscye if needed.
Step | 03
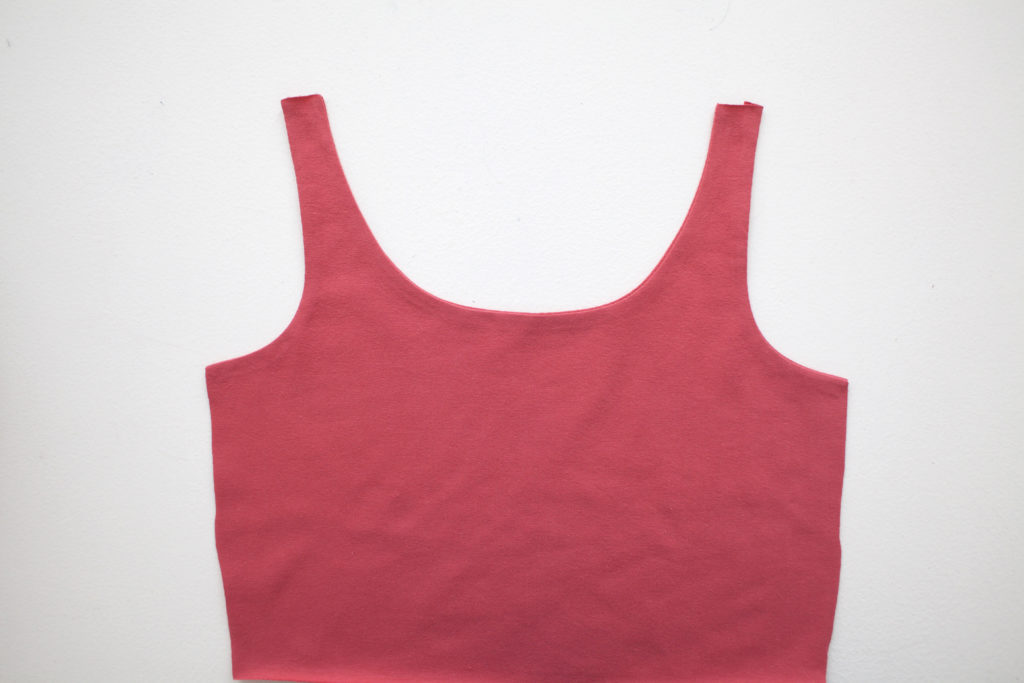
Turn the front bodice unit right side out. Neatly press the neckline and armscye in place.
Step | 04
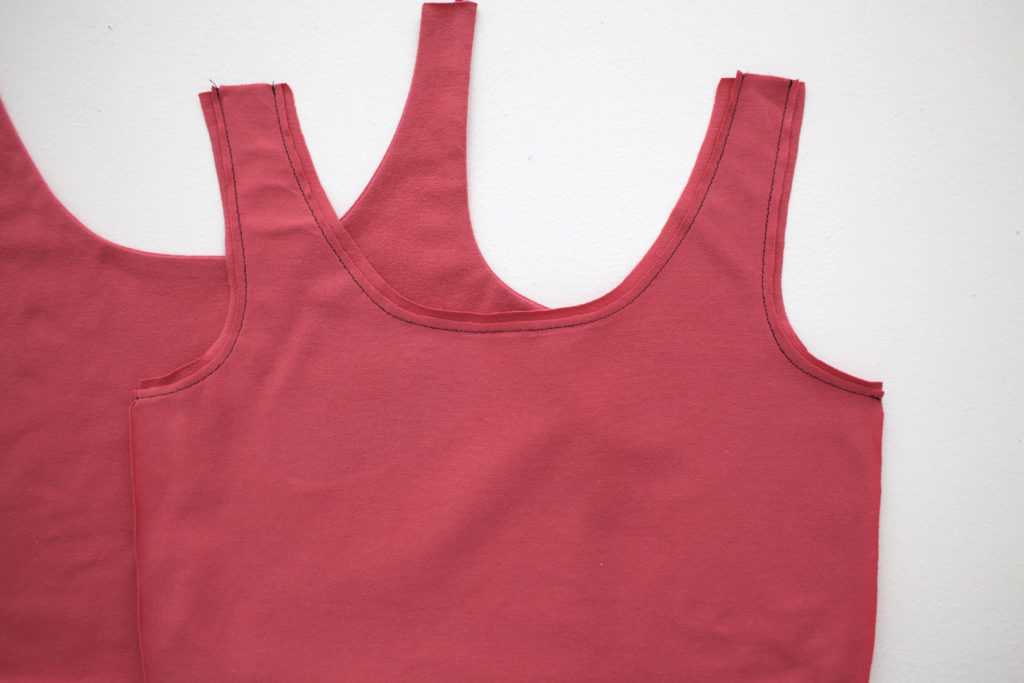
Repeat steps 1-2 with the back bodice and the back bodice lining, leaving the back bodice unit wrong sides out.
Step | 05
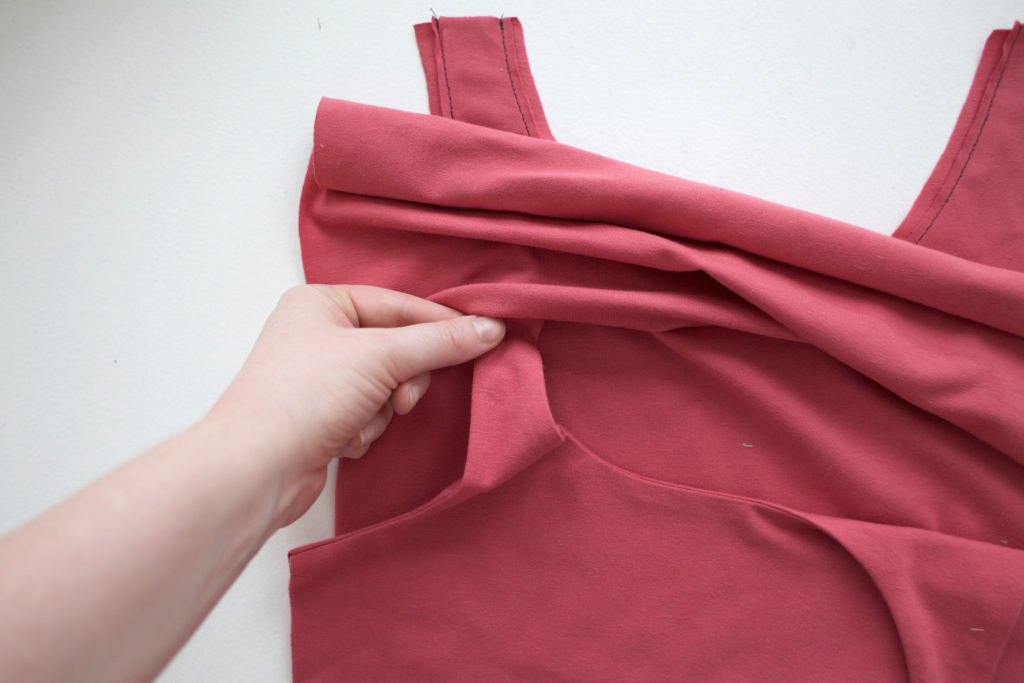
With right sides together and outer shell facing outer shell, slip the bodice front into the bodice back, through the shoulder straps. Align the raw edges of the bodice front and back at the shoulder seams.
Step | 06
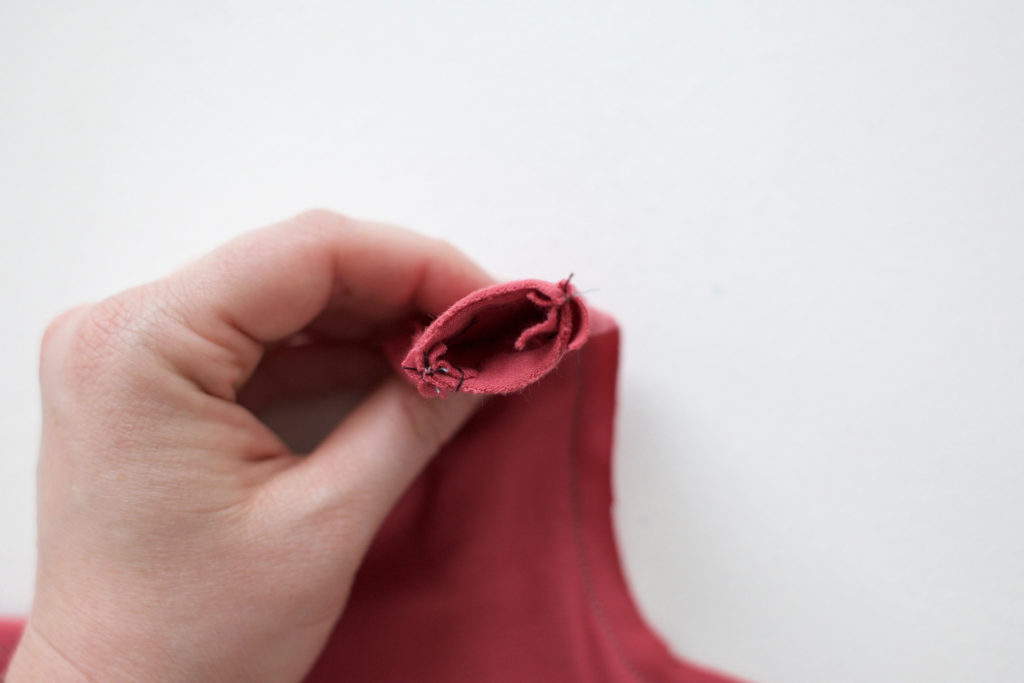
In one continuous stitch, sew the shoulder seams of the bodice front and back shell and lining together in the round. Repeat for the other shoulder seam. Finish the seam allowances together.
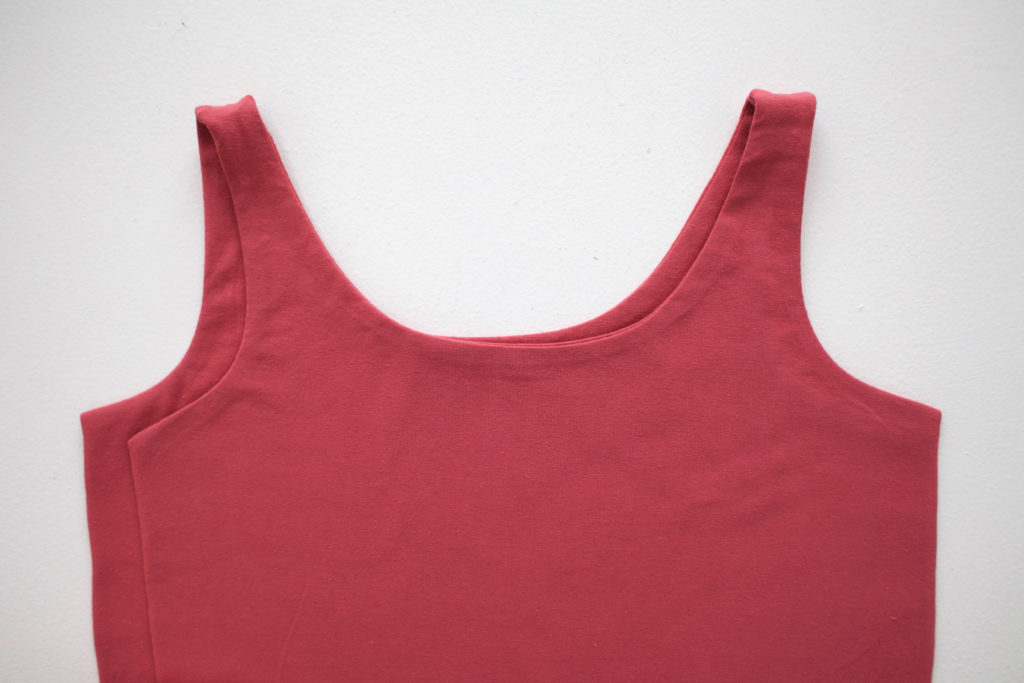
Step | 07
Admire your perfectly lined bodice!
 Related Articles
 Best Articles