Sign In
Use this straightforward technique for inserting coil zippers.
How to Install a Centered Zipper
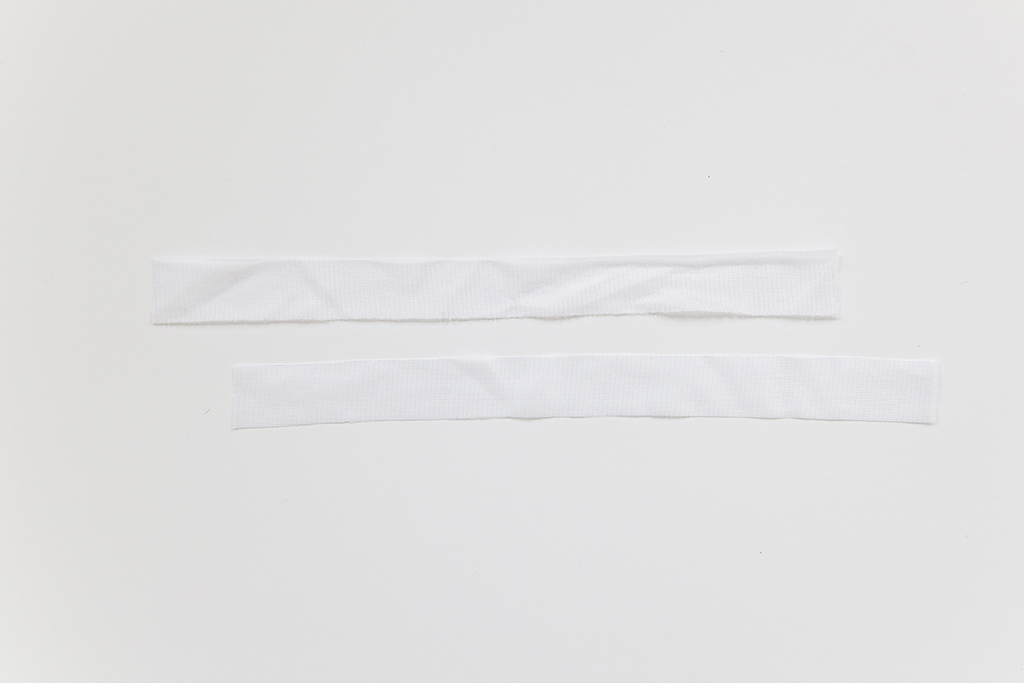
Cut two strips of knit interfacing along the direction of least stretch. The strips should be 1” wide and cut to the length of your zipper plus 1”.
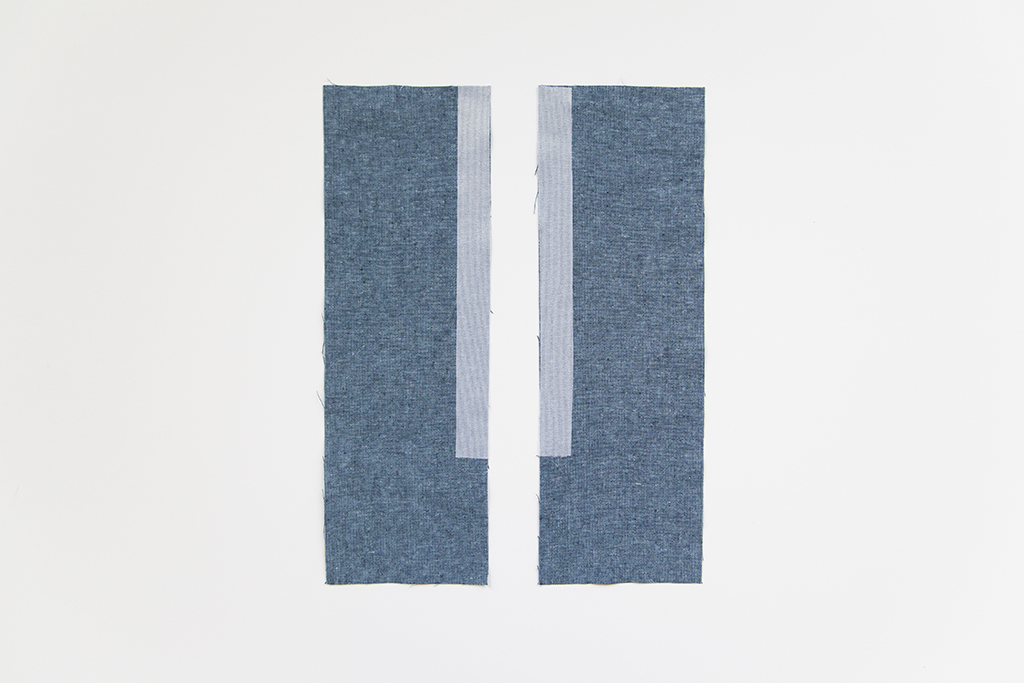
Apply the interfacing to the wrong side of the zipper area.
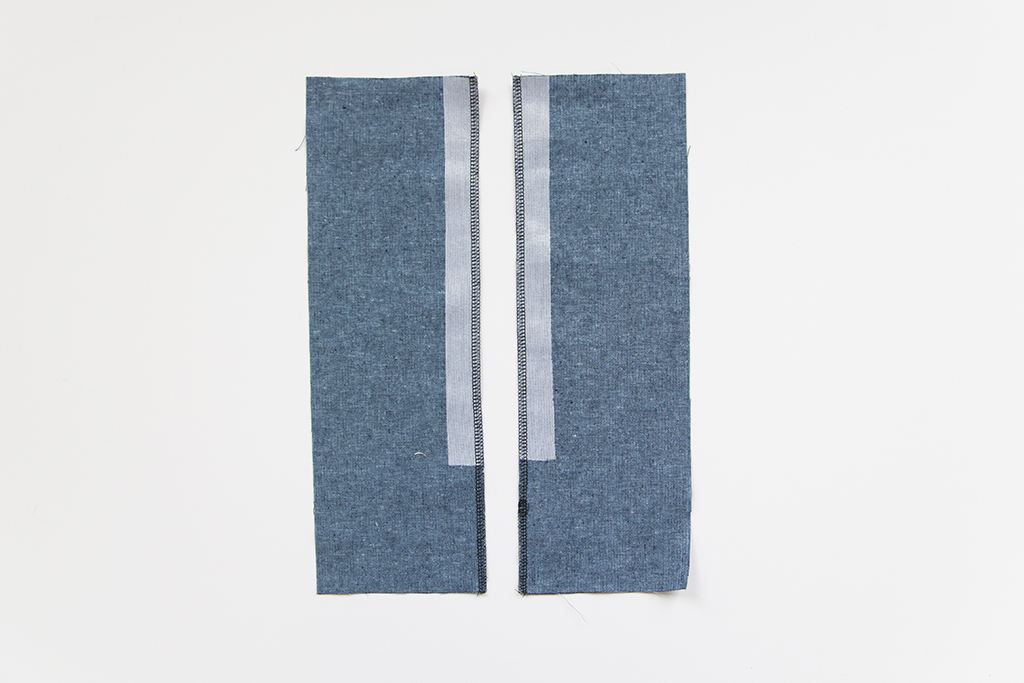
Finish the seam allowance of the zipper area using your preferred seam finish.
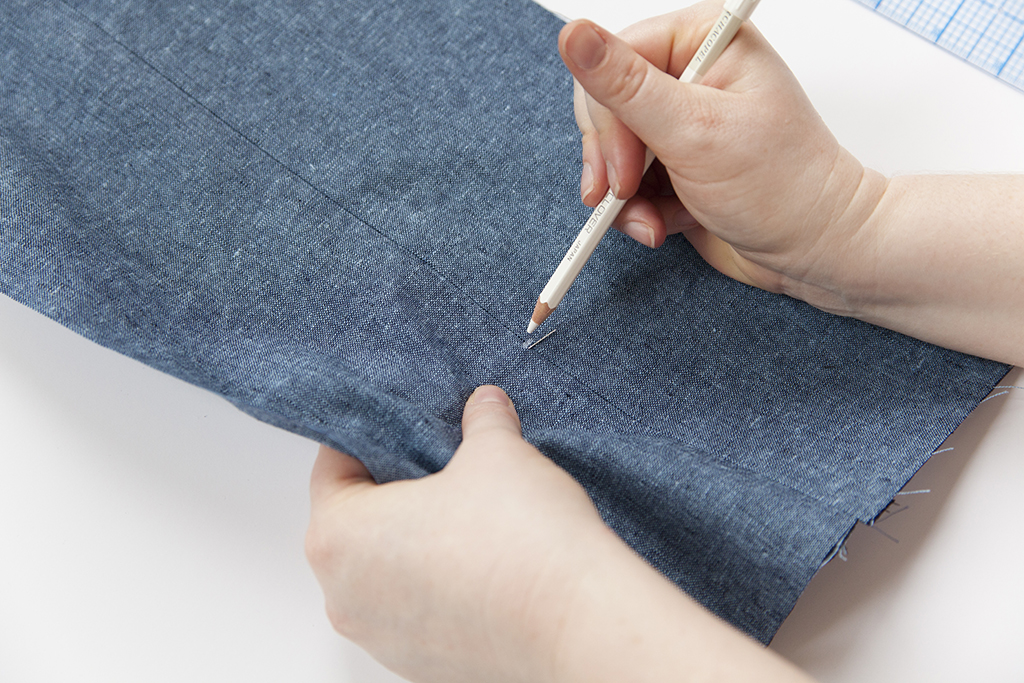
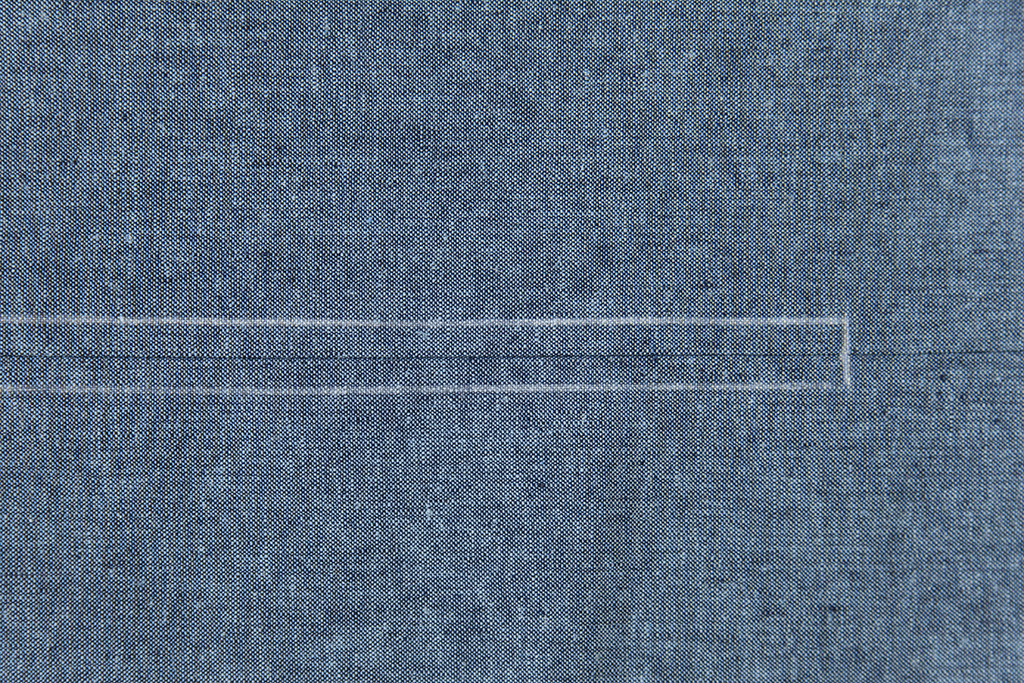
On the wrong side of the seam allowance, make a mark right below where the zipper stop will be.
Pin the garment right sides together at the seam where the zipper will be installed. Set your machine to a basting stitch. Starting at the top of the garment, stitch toward the hem. When you reach the zipper stop mark, adjust your machine to a standard straight stitch. Backstitch below the zipper stop mark to secure the stitch and continue sewing toward the hem of the garment.
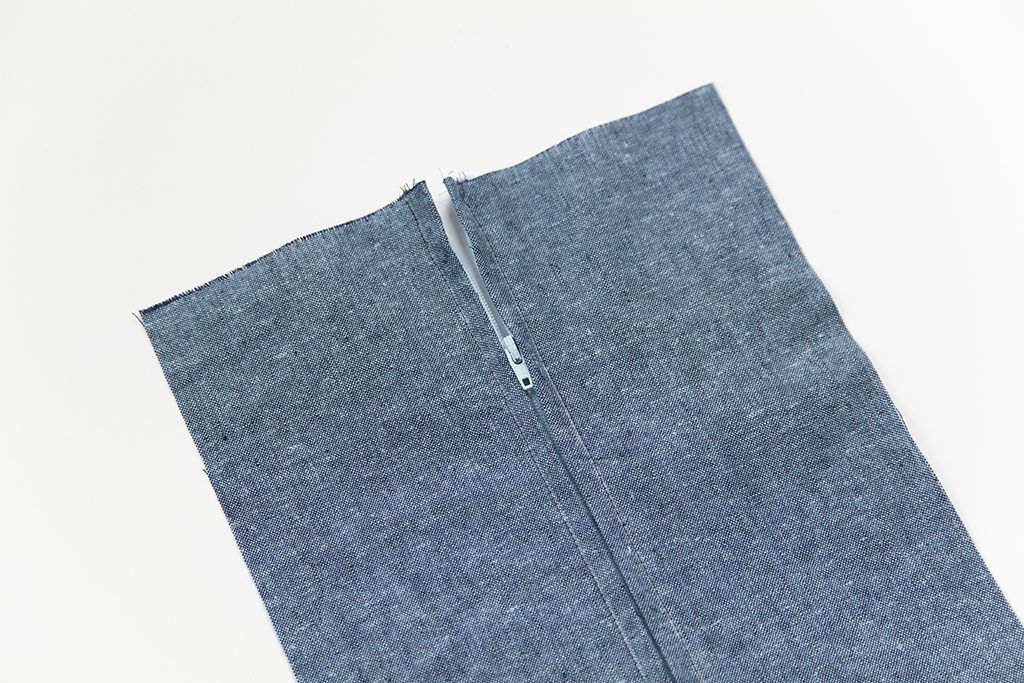
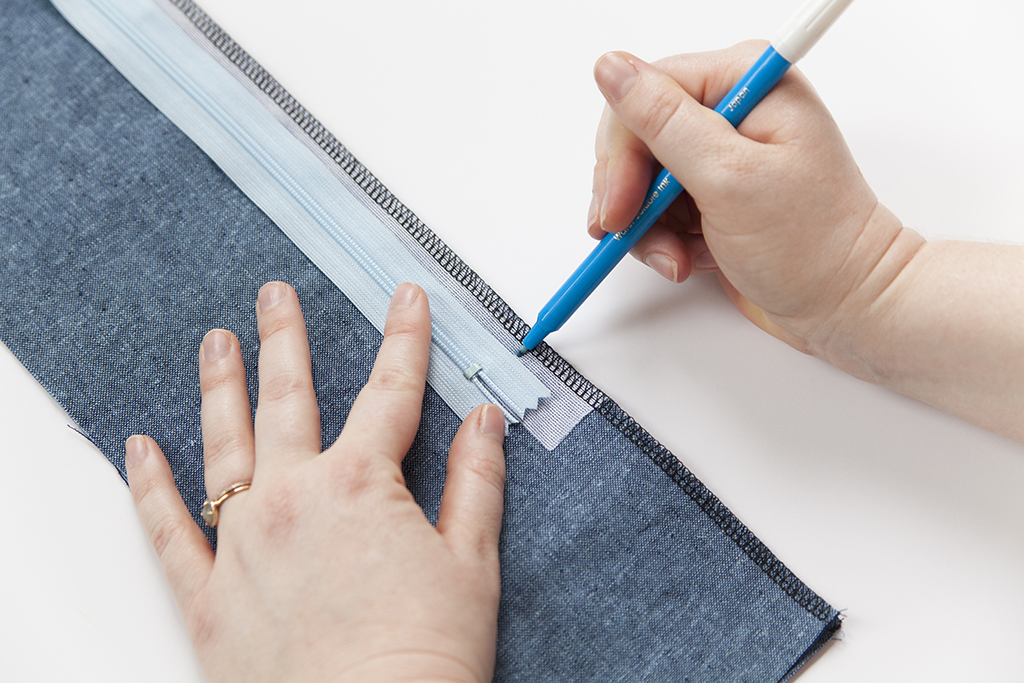
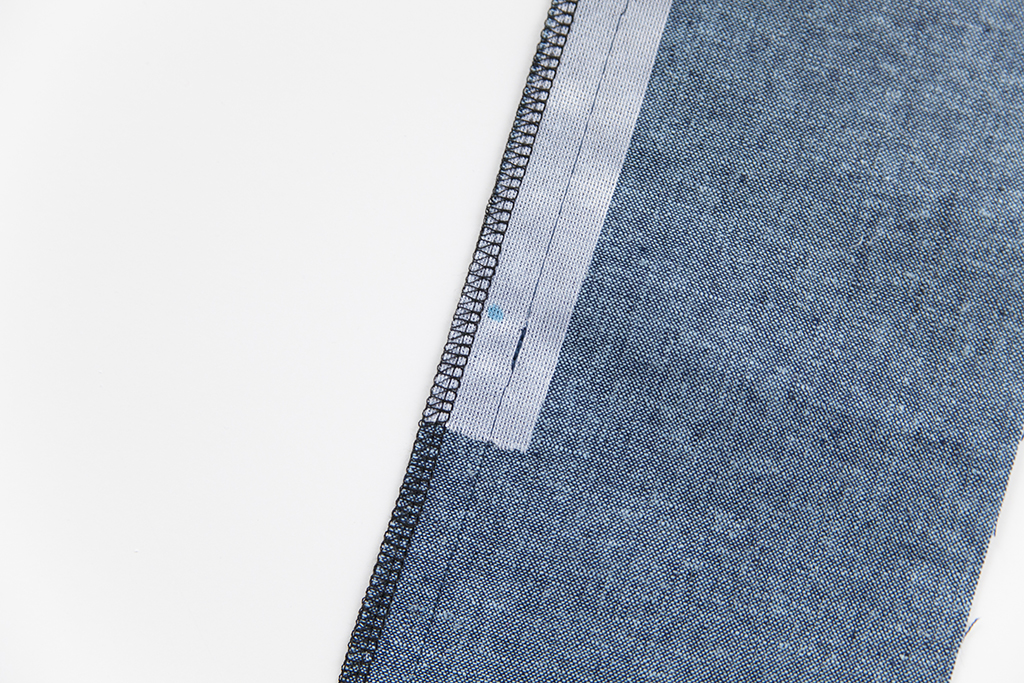
Press the seam open, and transfer the zipper stop mark to the visible part of the seam allowance.
On the right side of the zipper seam, use a clear ruler and a water-soluble marking tool to mark your stitch lines. This will consist of three lines in total. The first two will be parallel to and 1/4″ away from each side of the seam. The third will be perpendicular to the first two lines at the zipper stop mark.
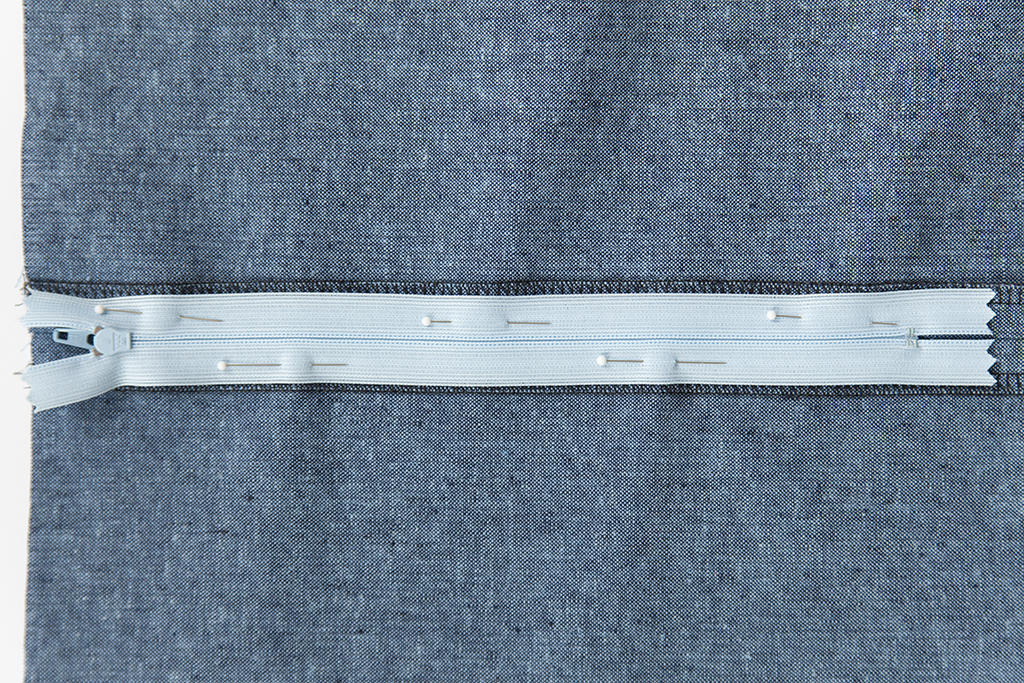
Place the zipper along the basted portion of the seam, aligning the teeth so they are centered with the seam. Make sure the zipper stop is just above the zipper stop mark. Pin into place.
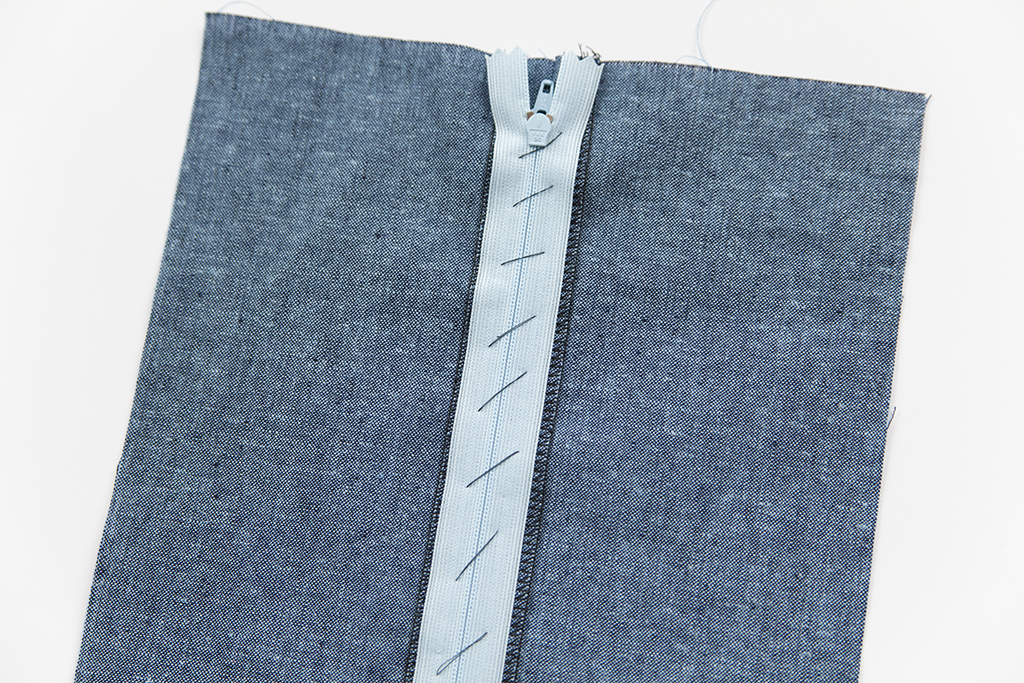
Using a hand-sewing needle, baste the zipper in place.
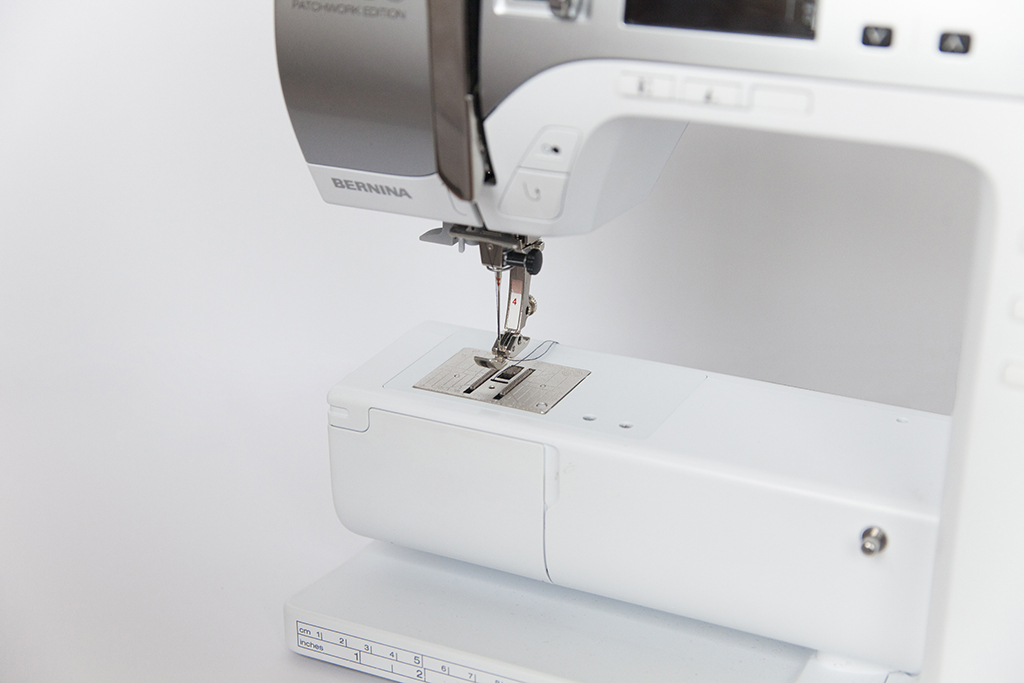
Attach a standard zipper foot to the sewing machine. On most domestic models, this foot has two sides. Secure the ankle of the machine to the right side of the foot. Adjust your needle placement so that it is in the right-most position.
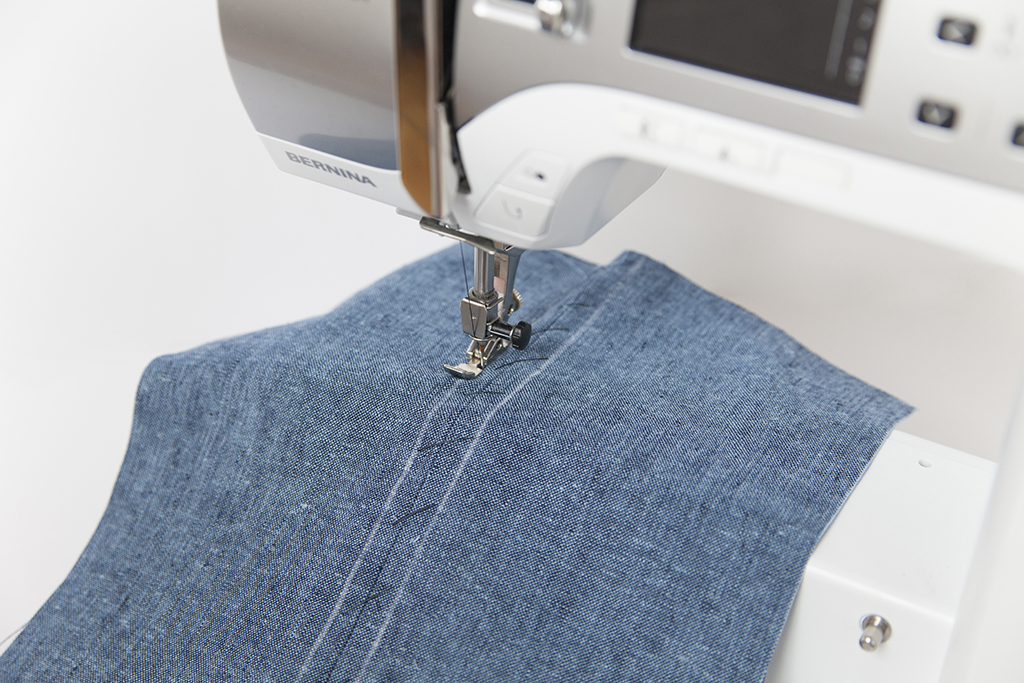
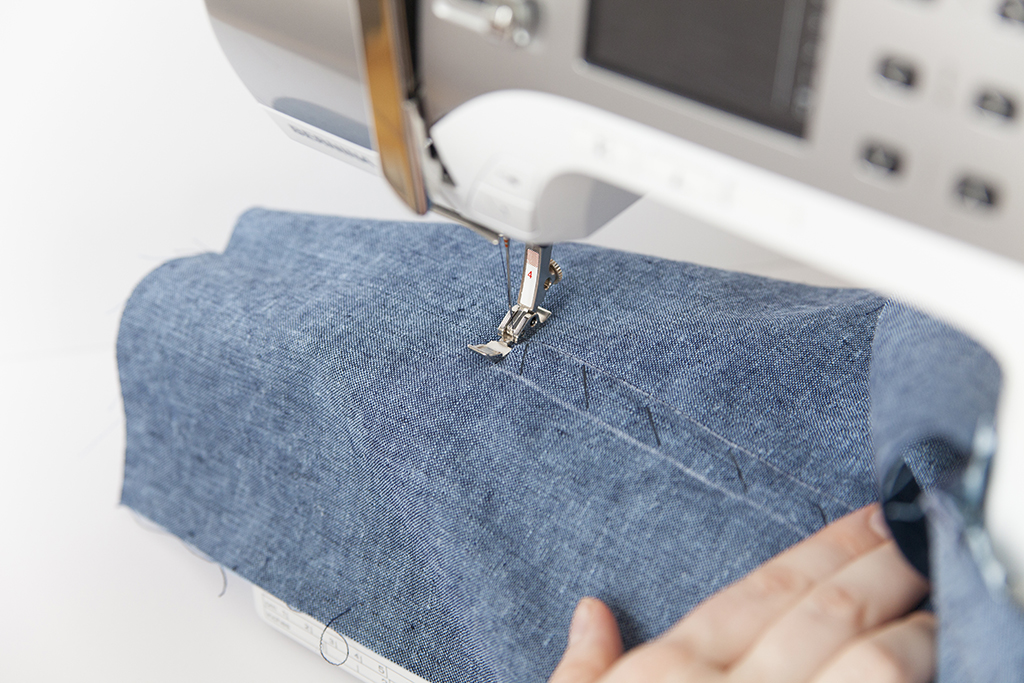
Sew along the guidelines drawn earlier, with your zipper facing right side up. Begin on the top left side of the zipper and sew to the bottom. Pivot at the bottom corner and backstitch before sewing the second corner.
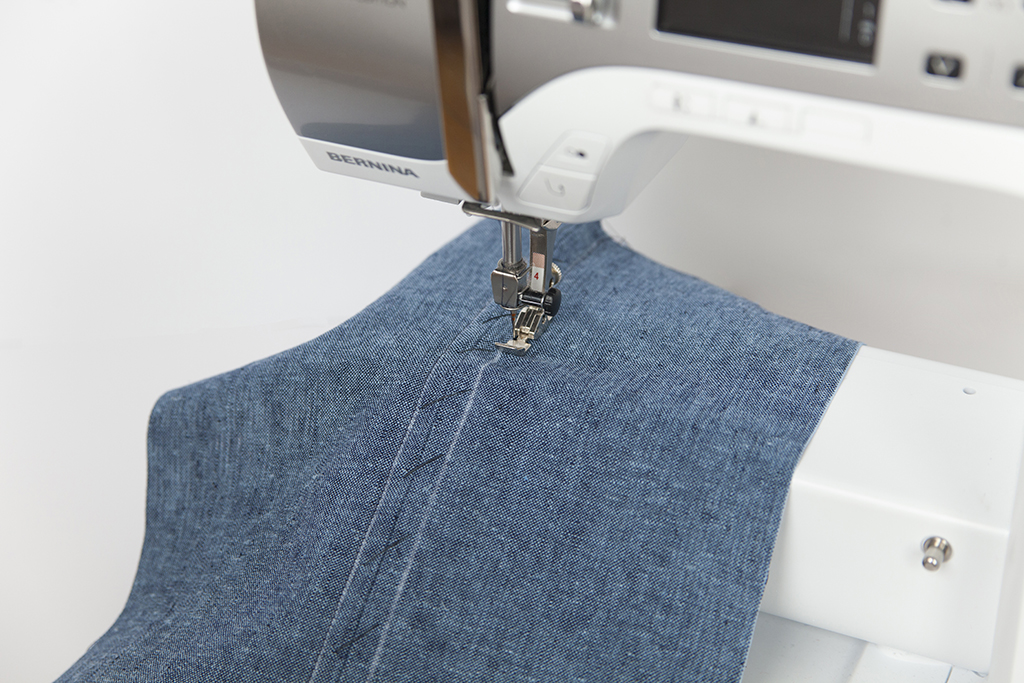
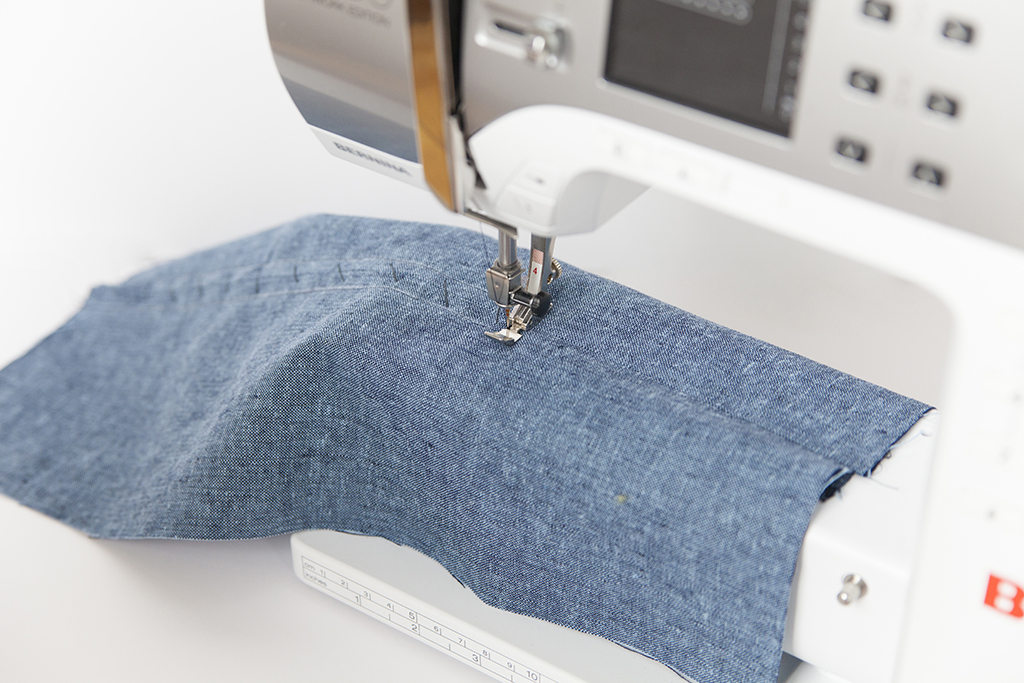
Switch your needle to the left-most position and repeat step 11 on the right side of the zipper.
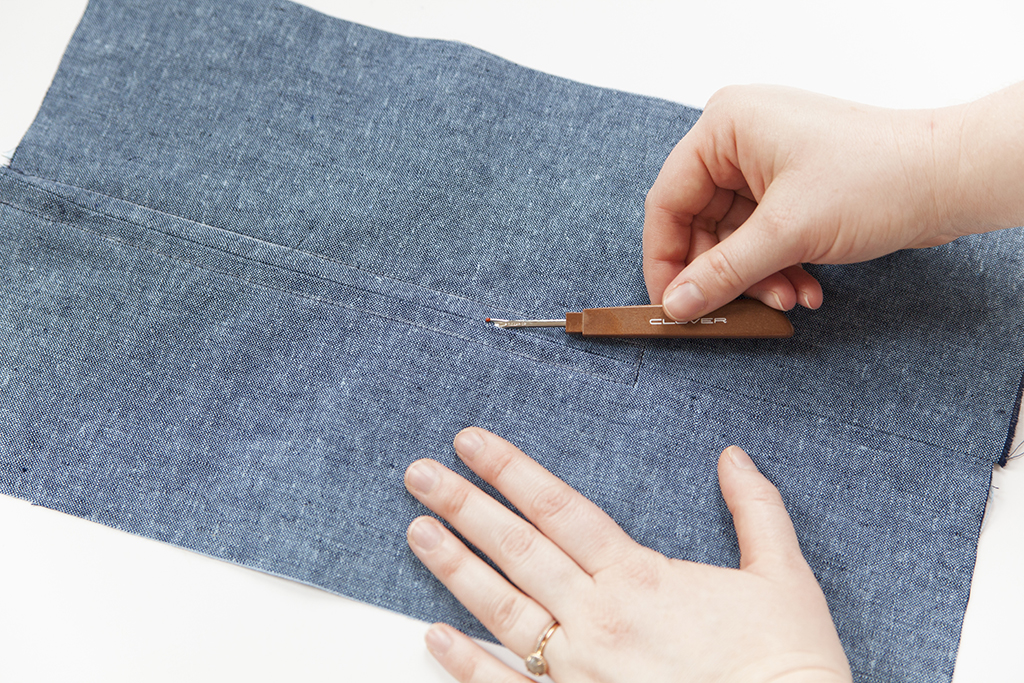
Carefully use the seam ripper to remove all hand and machine basting. Remove any stray threads and press.