Sign In
Invisible zippers are a clean and nearly invisible closure commonly found on both ready-to-wear and home-sewn garments. This type of zipper is easy to install despite its professional appearance.
How to Install an Invisible Zipper
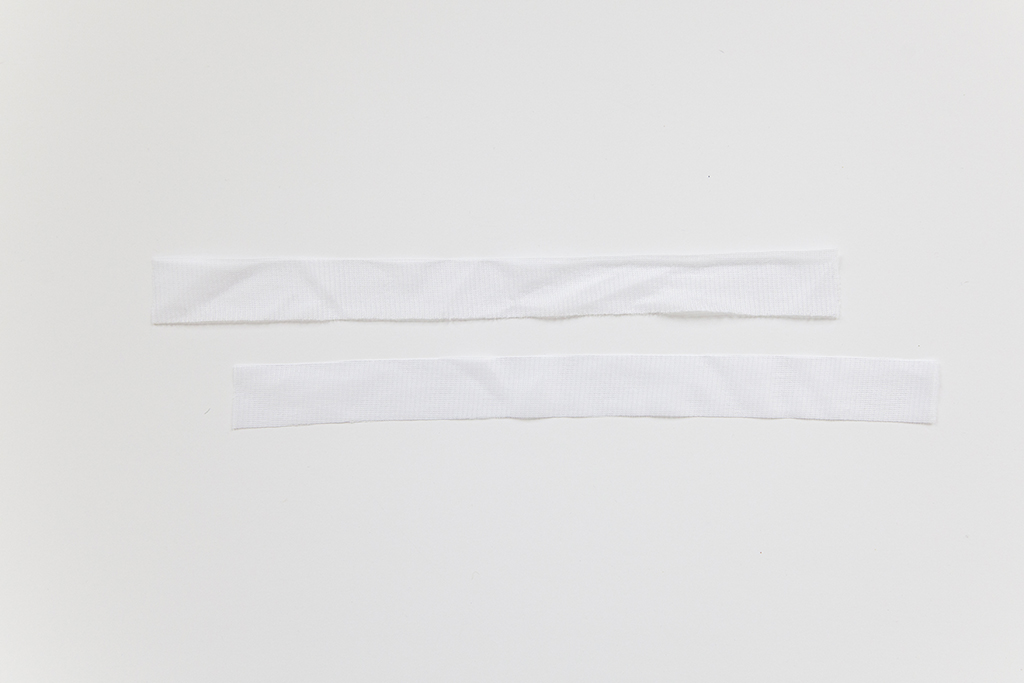
Cut two strips of knit interfacing along the direction of least stretch. The strips should be the length of your zipper plus 1” and 1” in width.
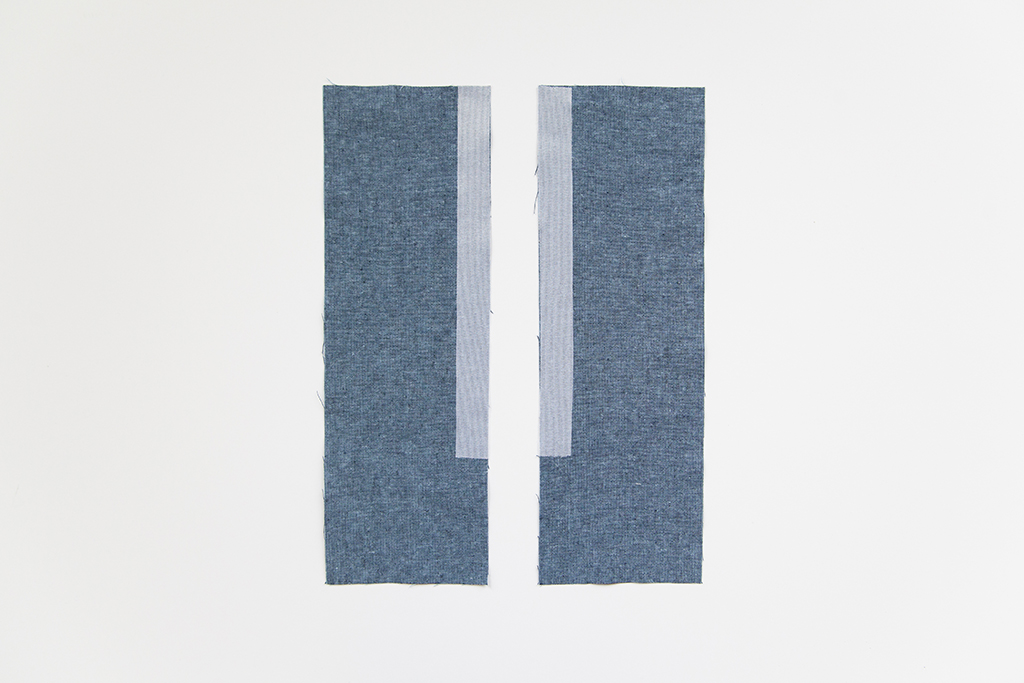
Apply the interfacing to the wrong side of the zipper area.
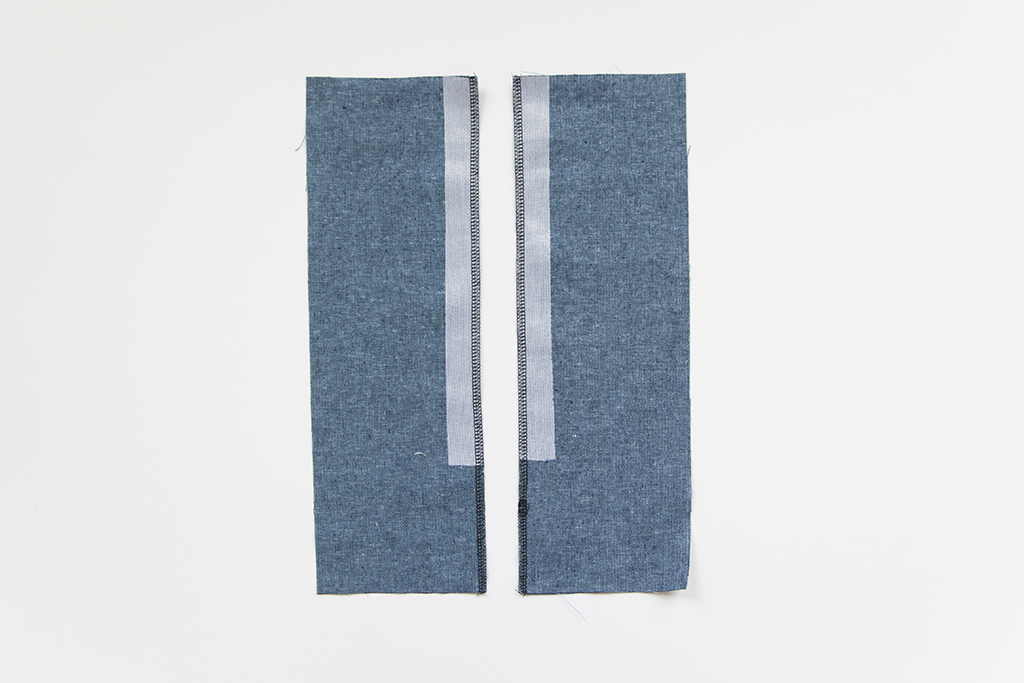
Finish the seam allowance of the zipper area using your preferred seam finish.
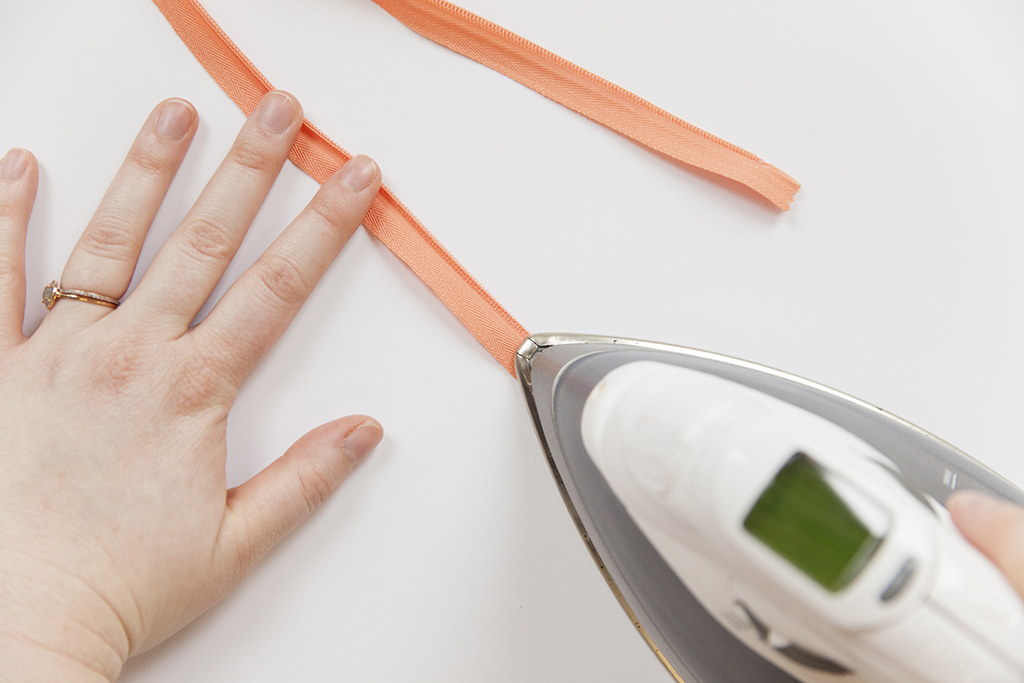
Lay your zipper wrong side up, with the zipper open. Set your iron on warm (or the synthetic setting). Use your fingers to uncurl the teeth of the zipper while pressing it flat with the tip of your iron. Do this on both sides.
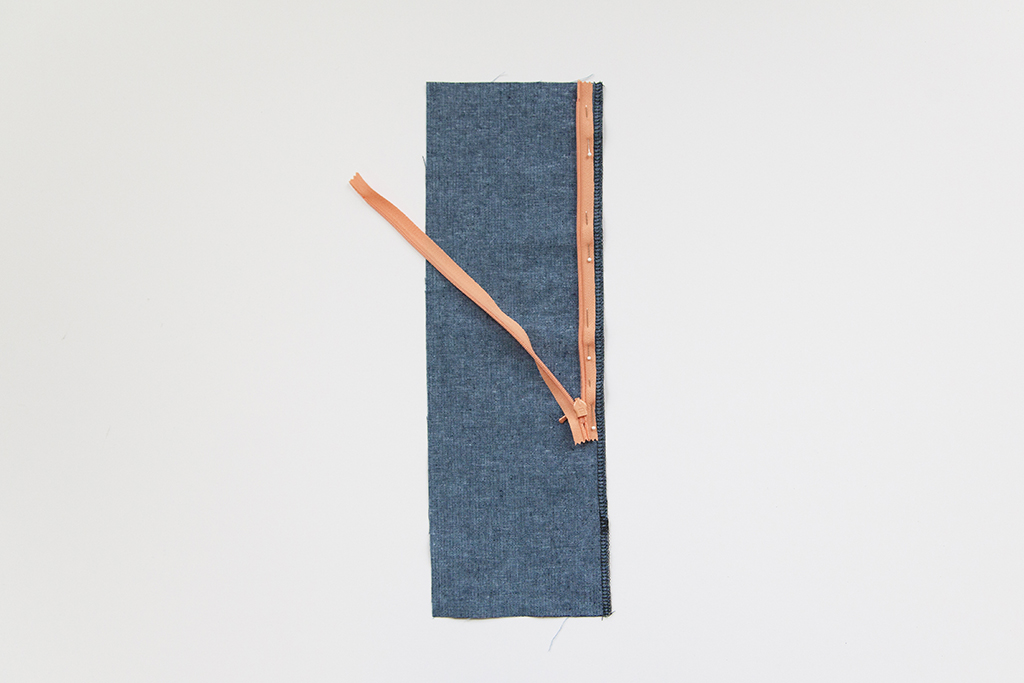
Put your garment right side up, facing you. Place the zipper face down on the fabric. Here we left about 1/4″ between the zipper tape and the edge of the fabric because the zipper tape was thin. Use a seam guide or measuring tape to make sure the zipper coil lines up with the seam allowance. In this instance, a 5/8″ seam allowance was used. Pin.
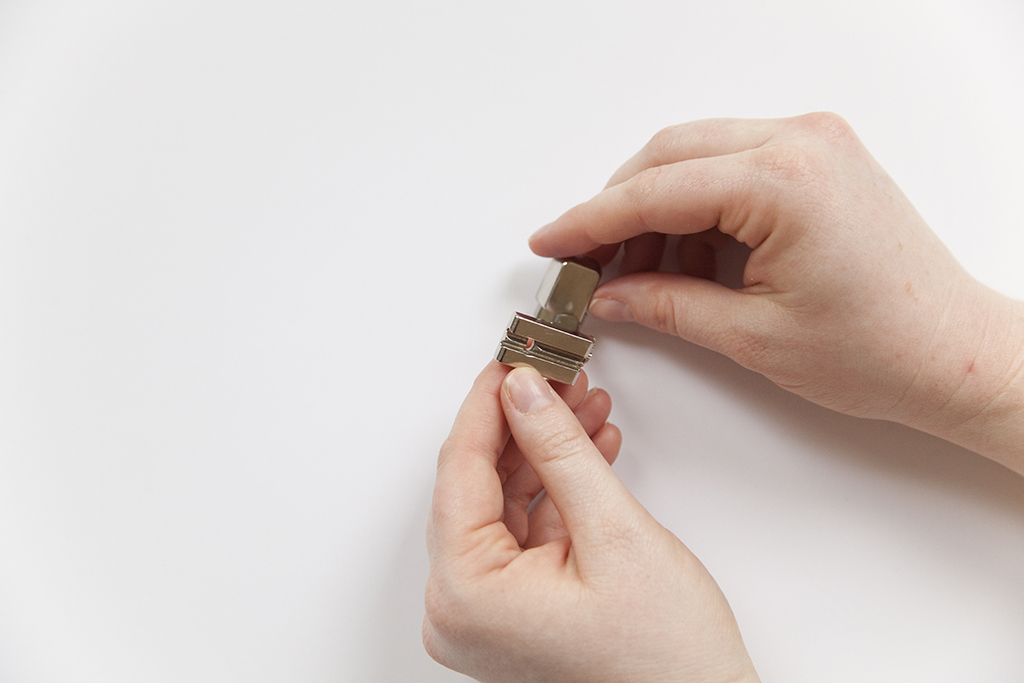
Attach the invisible zipper foot to your machine. To learn how to swap out presser feet, refer to your sewing machine manual.
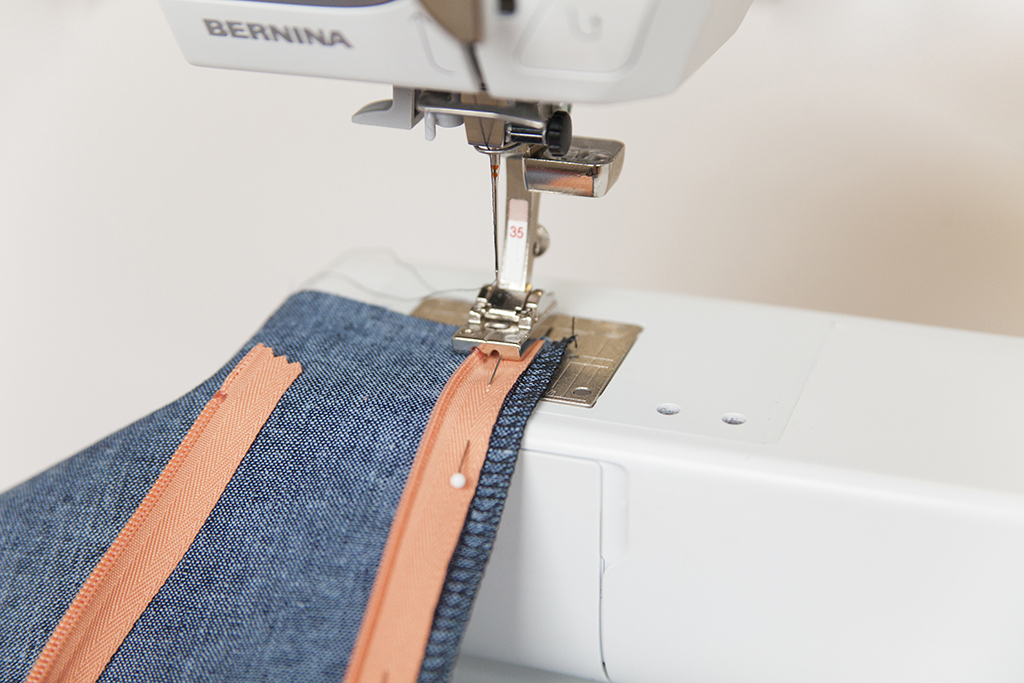
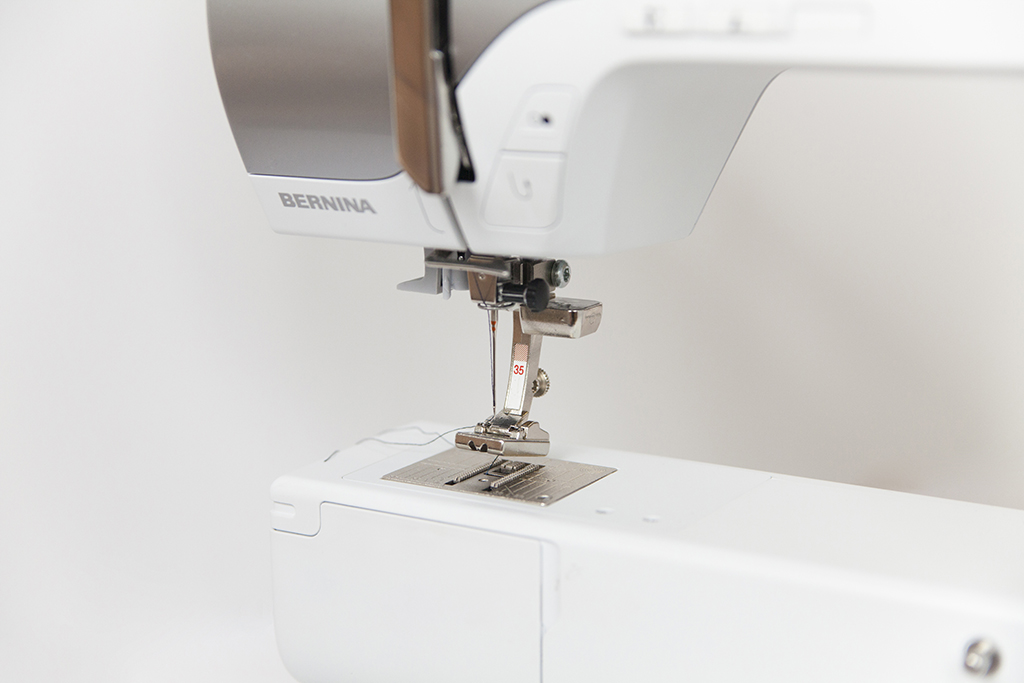
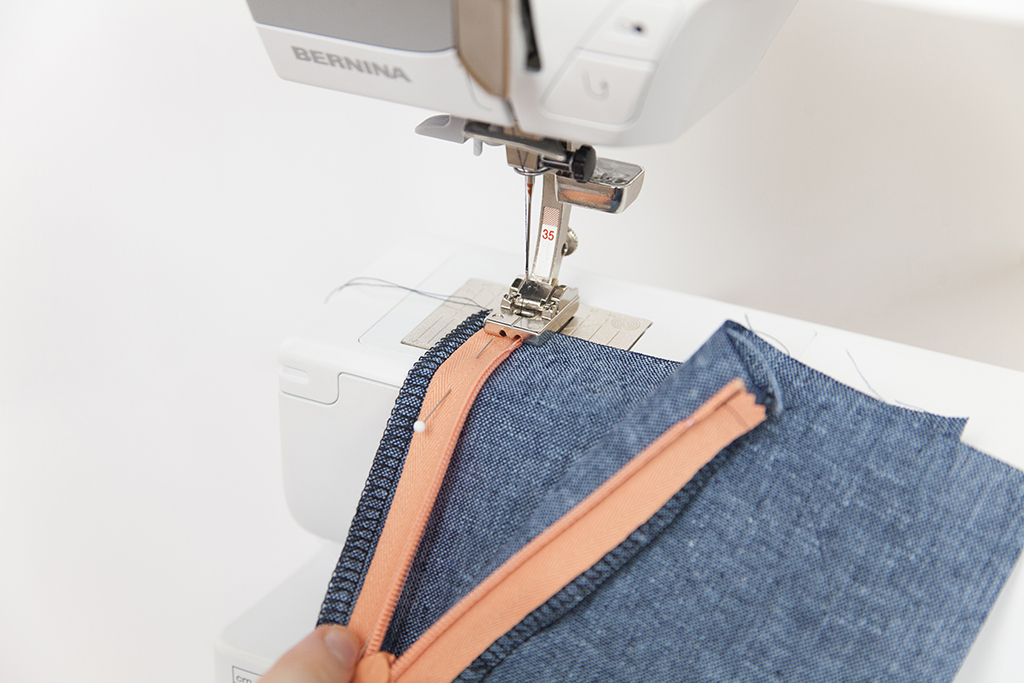
Place the garment underneath your presser foot and lower the foot down onto the zipper. Make sure that the zipper coil is in the left groove of the foot.
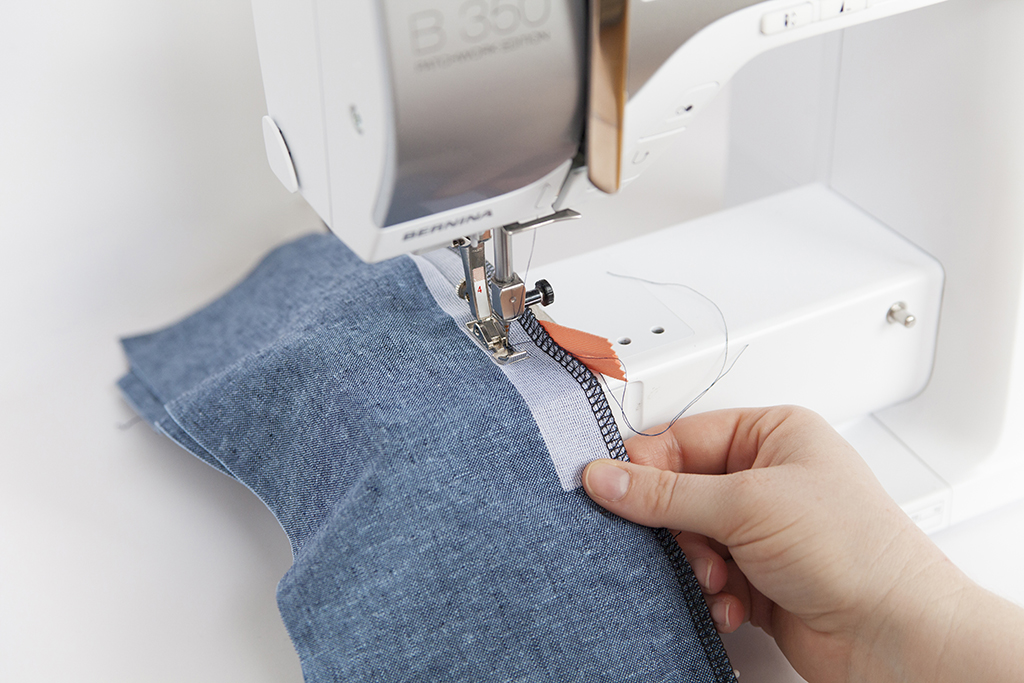
Stitch the pinned zipper. Sew slowly, removing the pins before they reach the foot. Stop when you reach the end of the zipper or the mark on your garment where the zipper should end. Backstitch about 1/2 inch to secure.
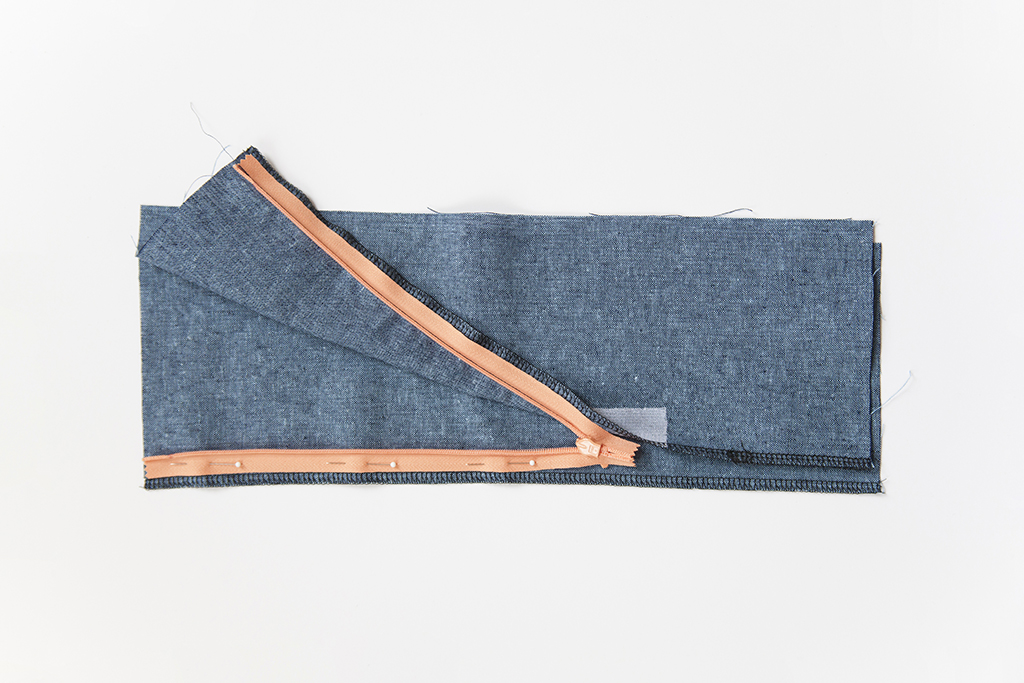
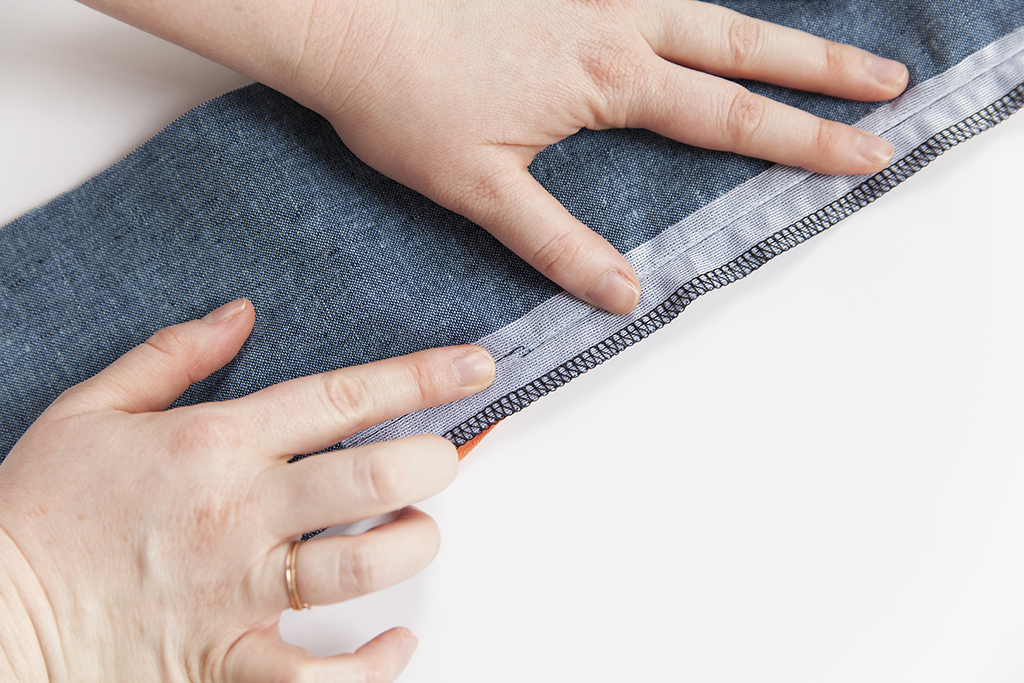
On the opposite side, pin the zipper to the garment so that it resembles the above photo. Again, make sure that the right side of the fabric is facing up.

Close the zipper to make sure that you’ve pinned it correctly. This part can easily get twisted, so it’s best to double check before you do any sewing. Once you’ve checked, unzip it before sewing.
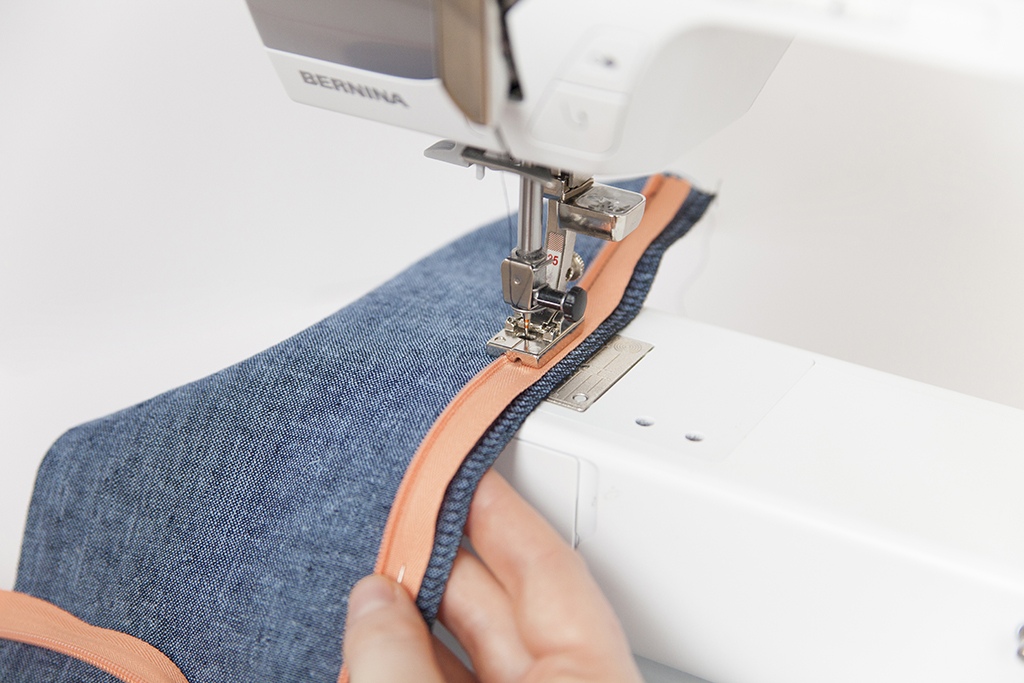
Sew the zipper as you did the other side. However, this time make sure that the zipper coil is in the right-side groove of the foot.
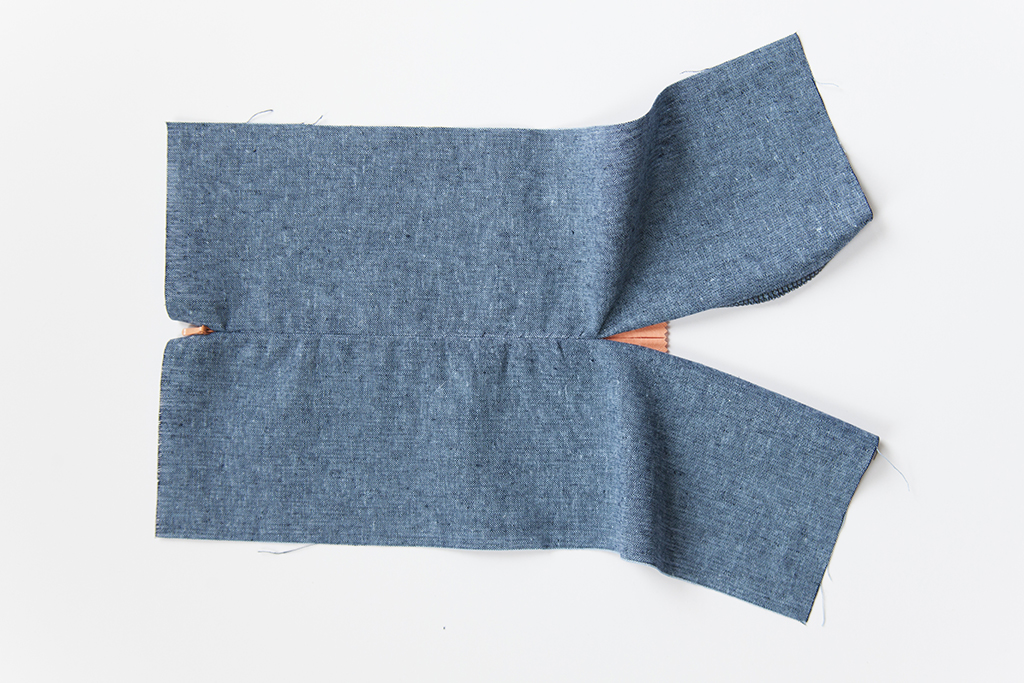
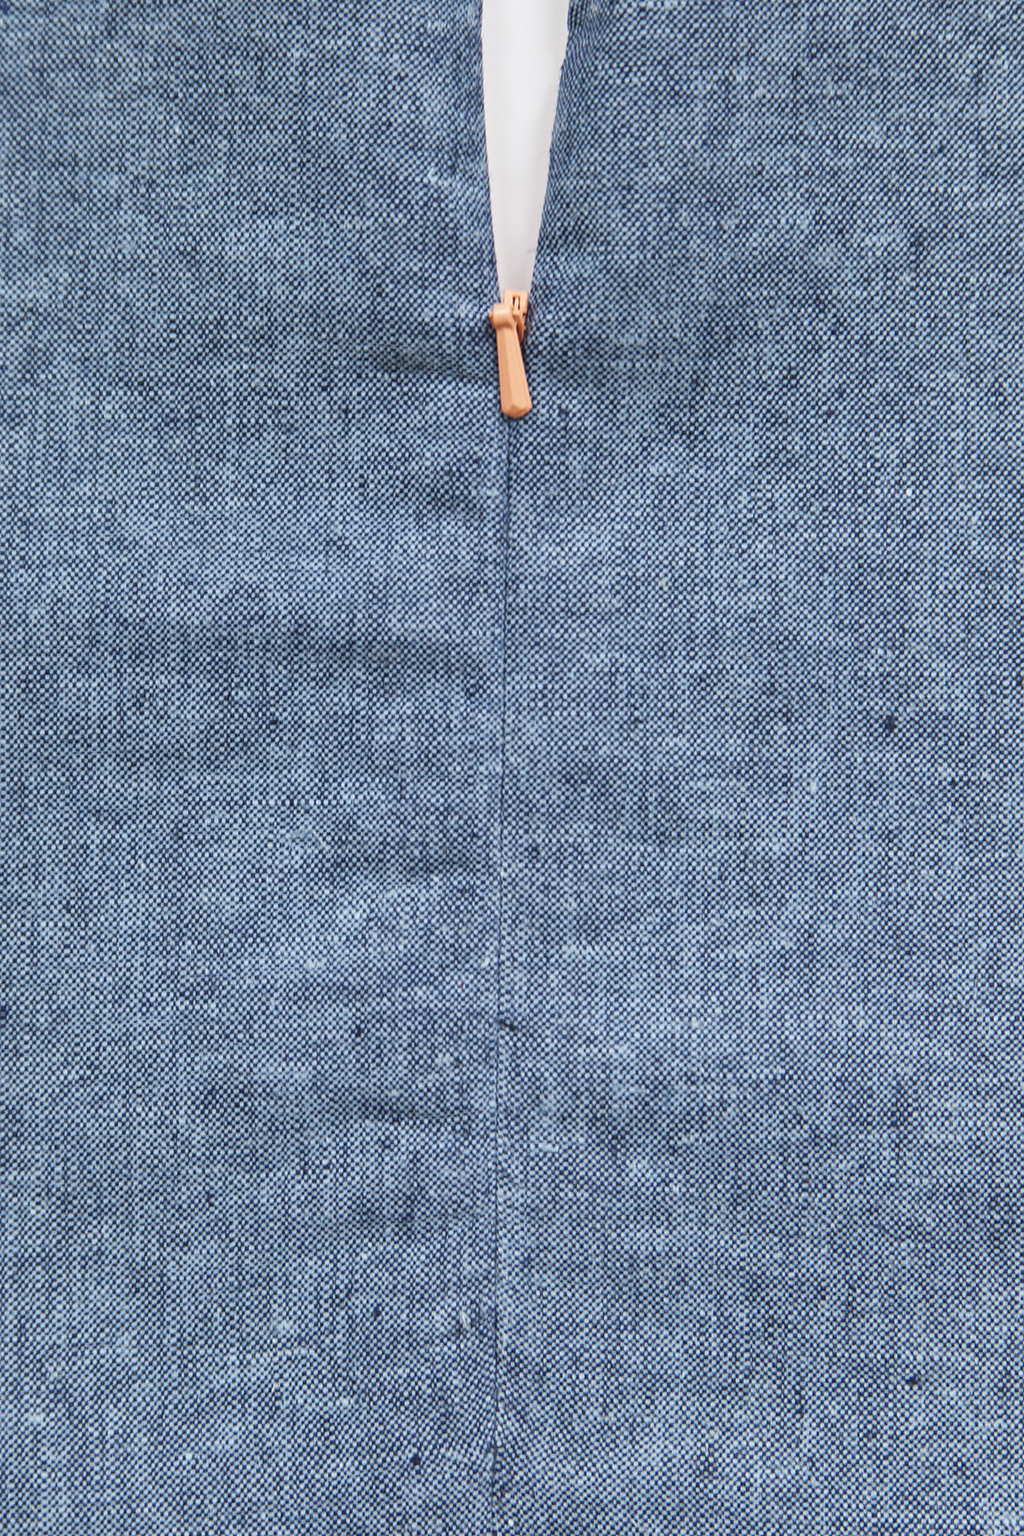
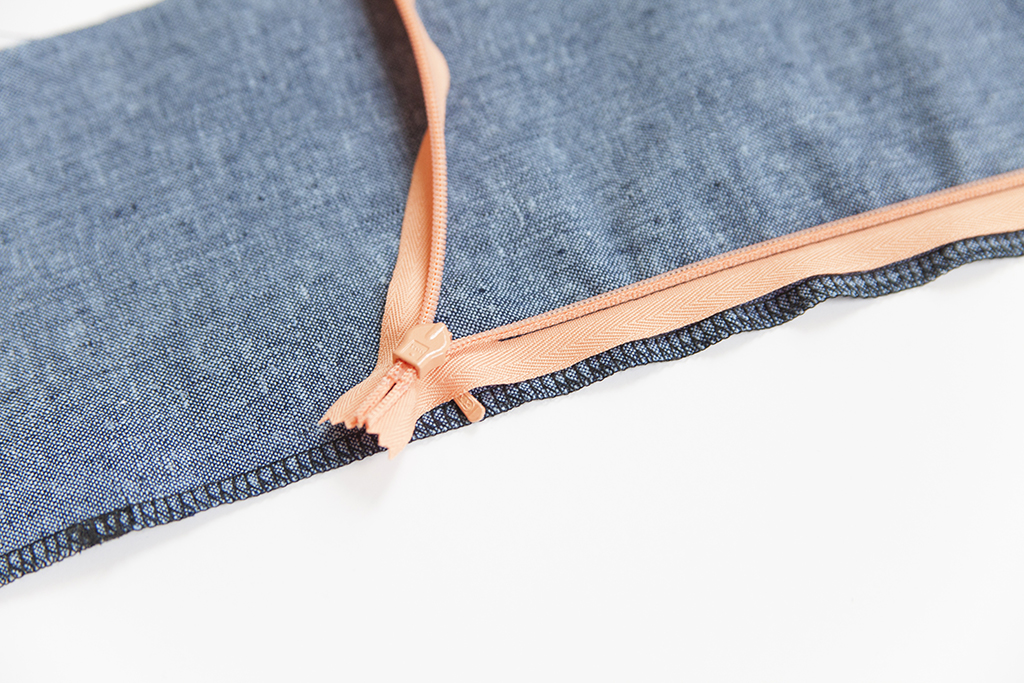
Pull the zipper closed and lightly press.
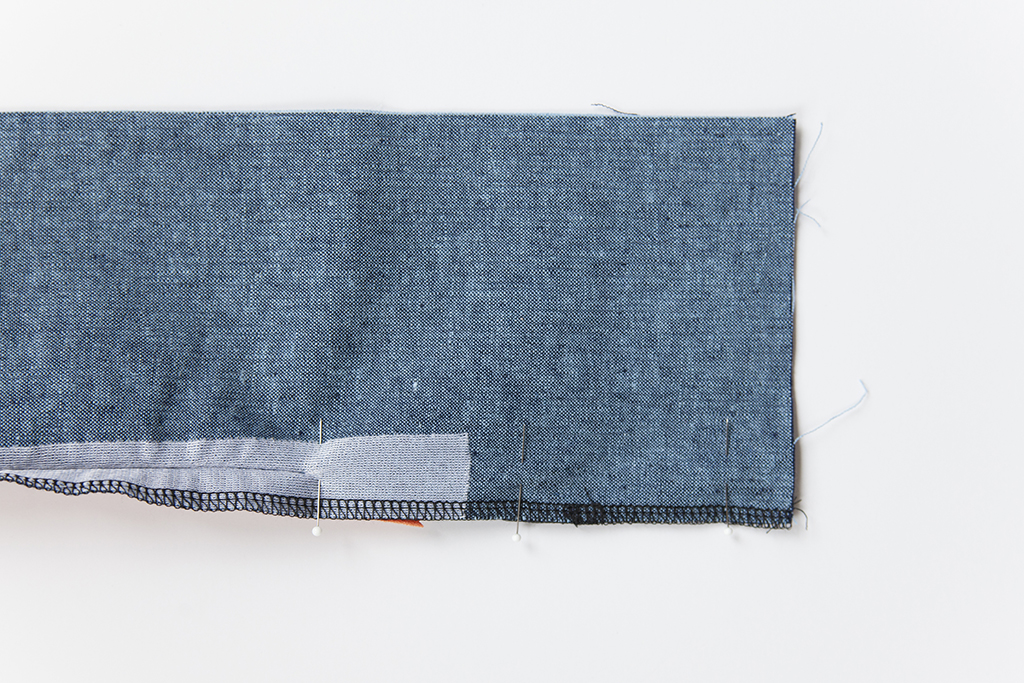
Sandwich the zipper in the seam allowance and pin carefully down the rest of the seam. The zipper tail should be out of the way; otherwise, it will get caught in the stitches you’re about to make.
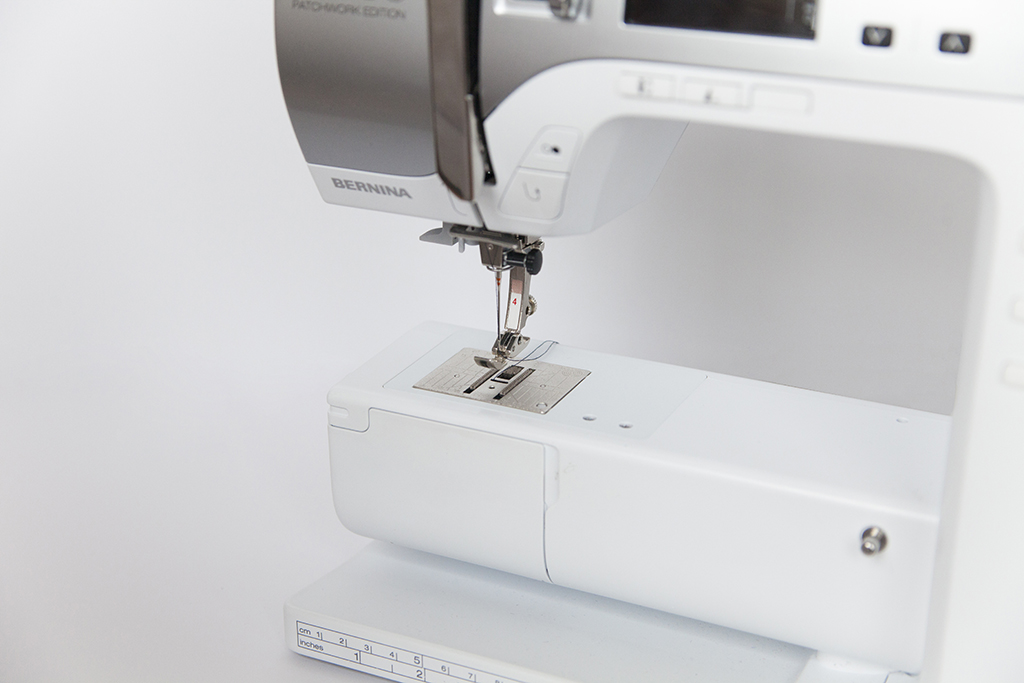
Remove the invisible zipper foot and replace it with a standard zipper foot.
Put the foot to the left of the zipper. Starting about 1/4″ or so above the end of the zipper, slowly stitch forward then do a small backstitch. The zipper adds bulk right here and will try to pull away from the needle. Instead of forcing the needle to be right next to the zipper, stitch slowly, as close to the zipper as you can. Then, sew down the remainder of your garment.

Press to finish!