Sign In
Different garments call for different hems, and choosing and executing the right hem is a bit of an art. It's also one of the many true design decisions you get to make when sewing your own clothes.
This tutorial will cover two basic hem techniques: a double-fold hem and single-fold hem. These are two quick options that you can practice before moving onto the nearly endless possibilities for hems!
How to Sew a Double-fold Hem
There's no doubt that the easiest way to sew a hem is to do a simple turned hem on your sewing machine. With no hand stitching required, this hem is fast, easy, and efficient.
There are several ways you can create a turned hem, and this is the simplest turned hem. It involves turning your hem a small amount, then turning again and edgestitching in place.
Most sewing instructions will include a hem allowance, so check to see the hem allowance used for your pattern. Then adjust your pattern as needed for this tutorial.
Determine your hem allowance. If your hem is very flared, a more narrow hem allowance works better. If it's straight, you may use a hem allowance of 1” or more. Add 1/4" to this amount for the total hem allowance and adjust your pattern if needed. For example, if you want a finished 1" hem, you should cut a hem allowance that is 1 1/4".
Turn the raw edge of the hem under 1/4" and press. Use a seam gauge to ensure that your hem is straight.
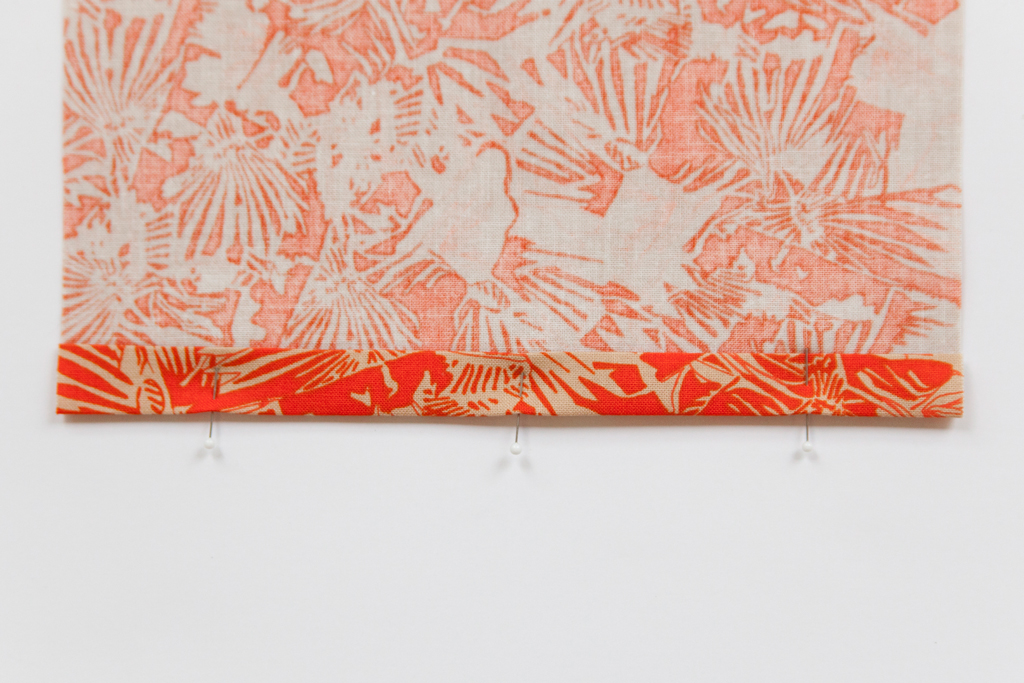
Turn the rest of the hem allowance again, pressing and pinning the hem in place all the way around. Use a tape measure or seam gauge to make sure the hem is even.
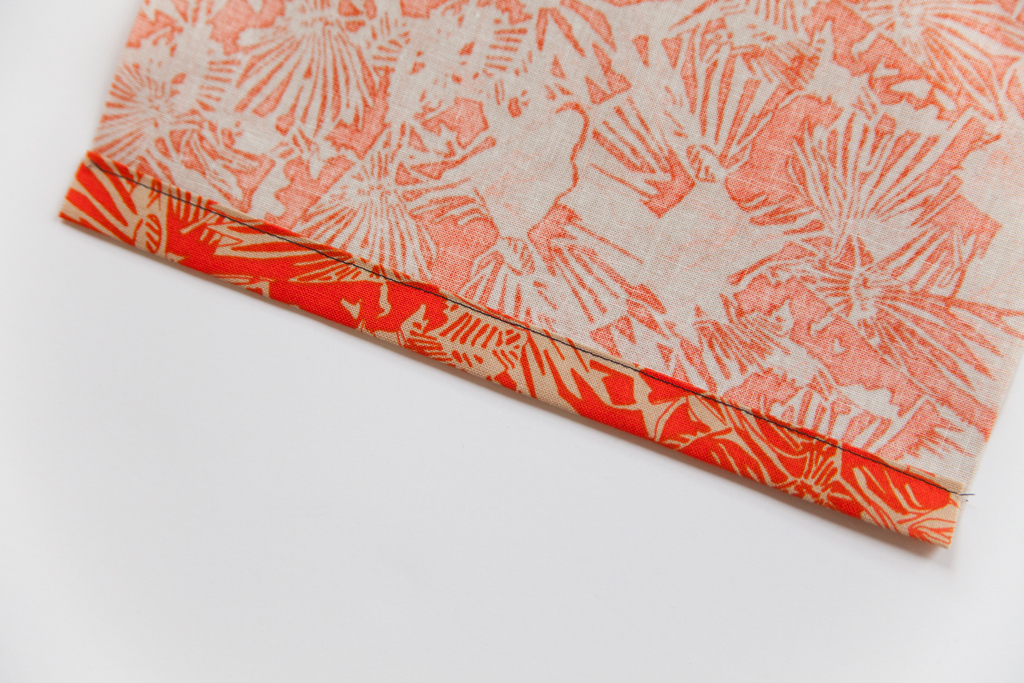
Stitch the folded edge in place. To make sure your stitches are even, sew from the right side of the garment. An edgestitch foot will really help with this. Start and end the stitching at a side seam, backstitching to secure.
Give the hem a final press.
How to Sew a Single-fold Hem
This technique results in a quick hem, without having to fold the hem twice, and it's a great choice for knits. The finished edge of the hem will be visible from the inside of the garment, which is why serging is recommended, for a neat finish.
Most sewing instructions will include a hem allowance, so check to see the hem allowance used for your pattern. Then adjust your pattern as needed for this tutorial.
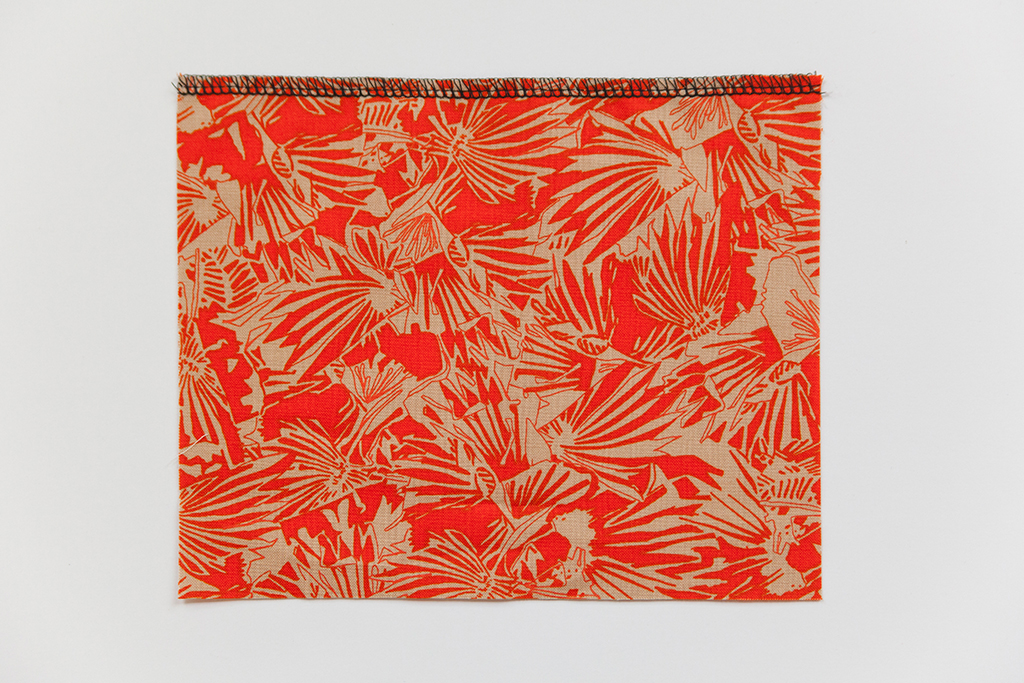
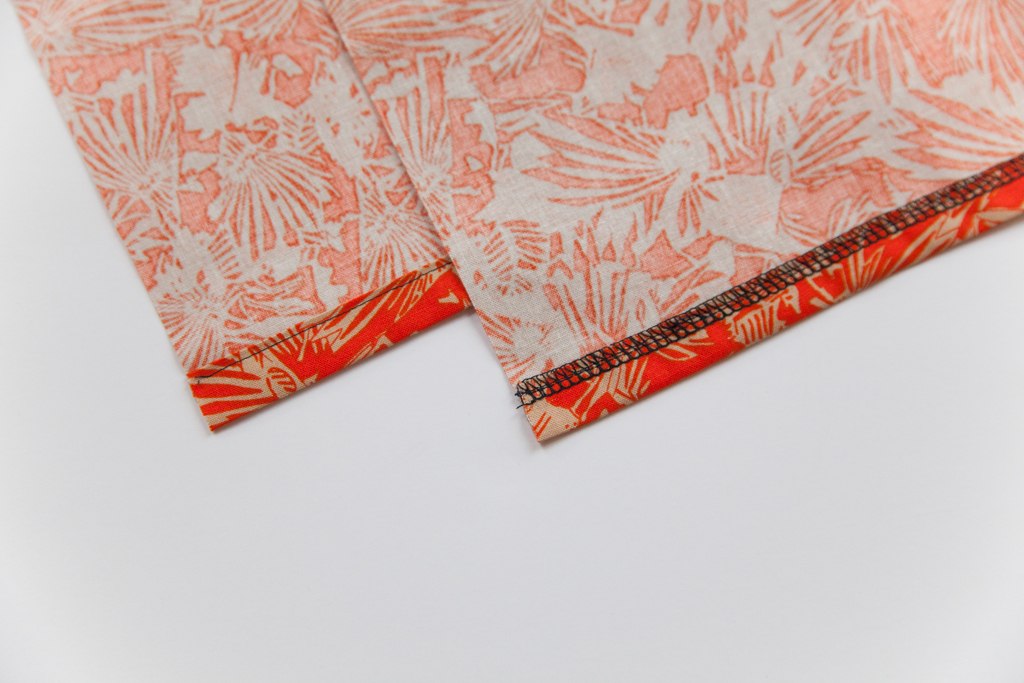
Finish the raw edge of the hem with a serger. If you don't have a serger, you can also use the mock overlock stitch or a zigzag stitch on your sewing machine.
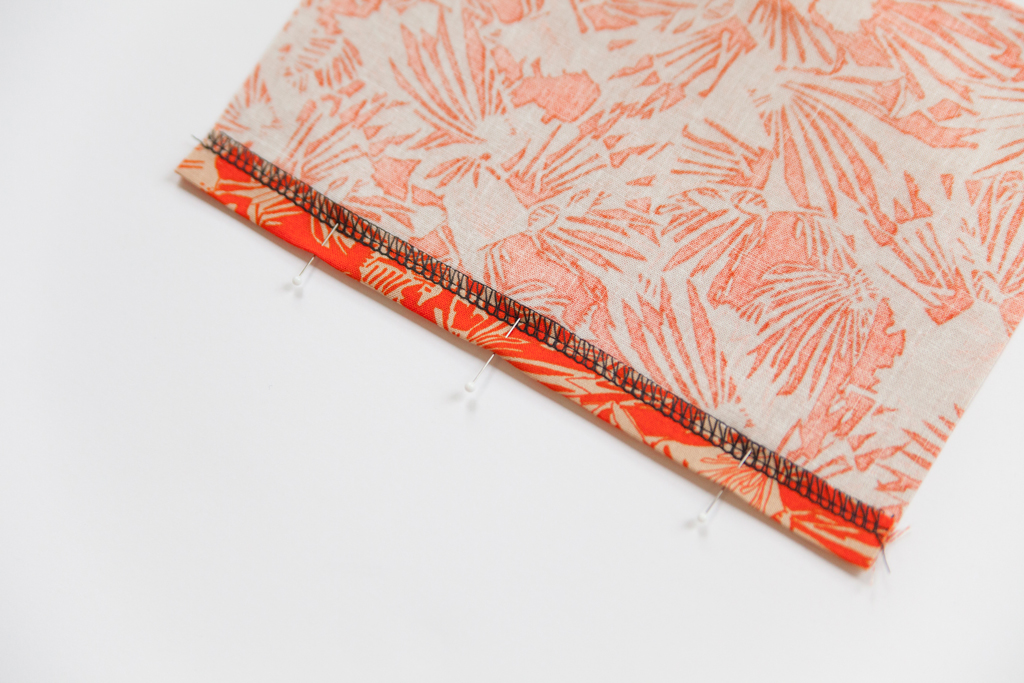
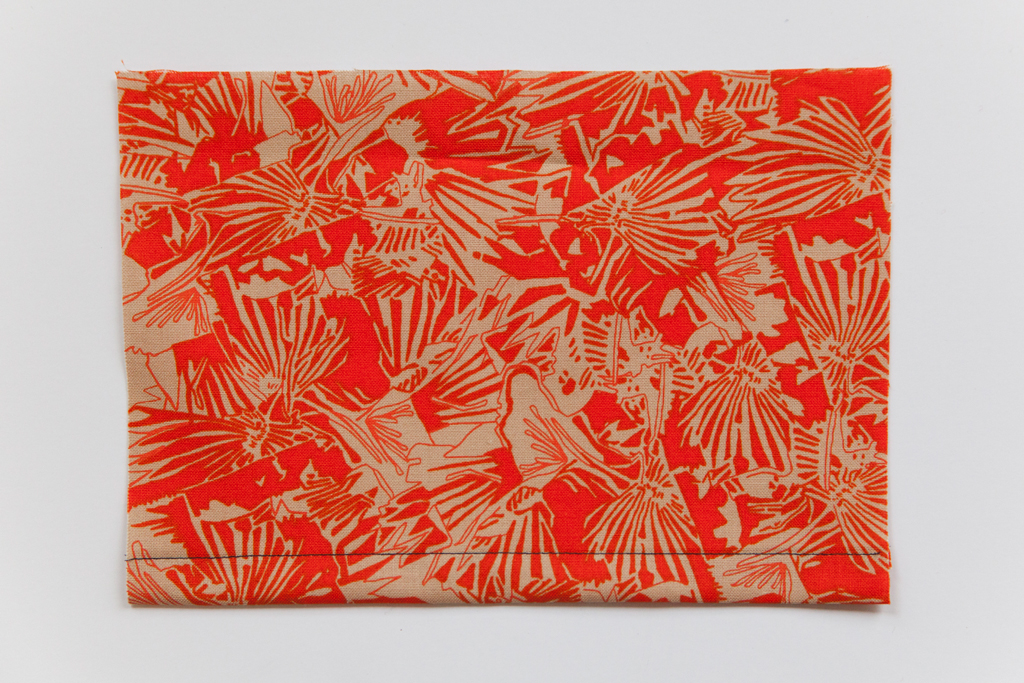
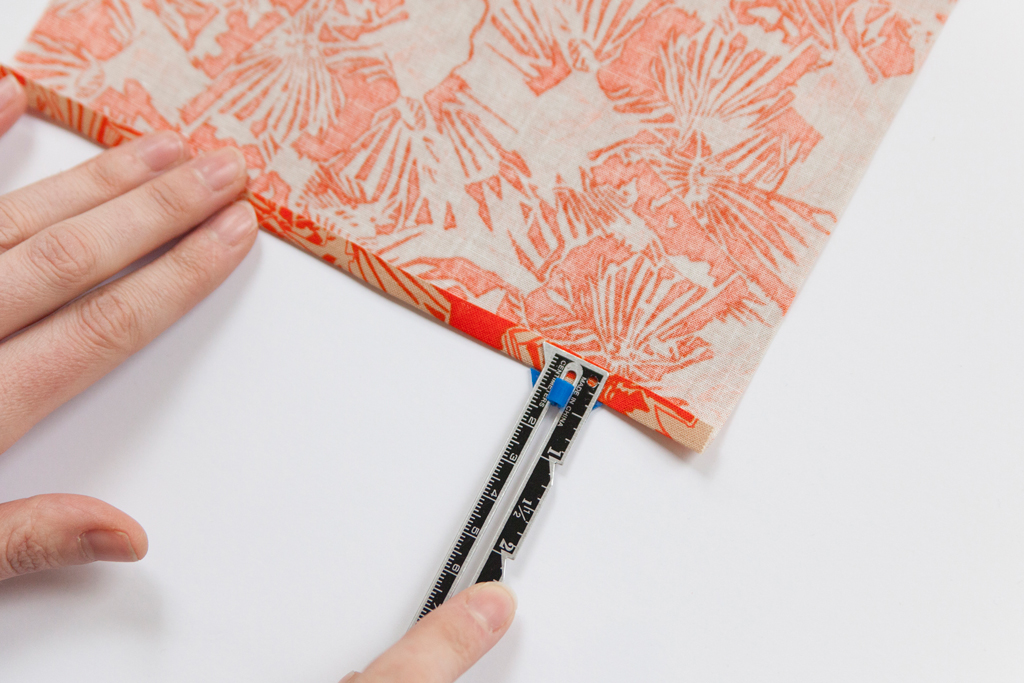
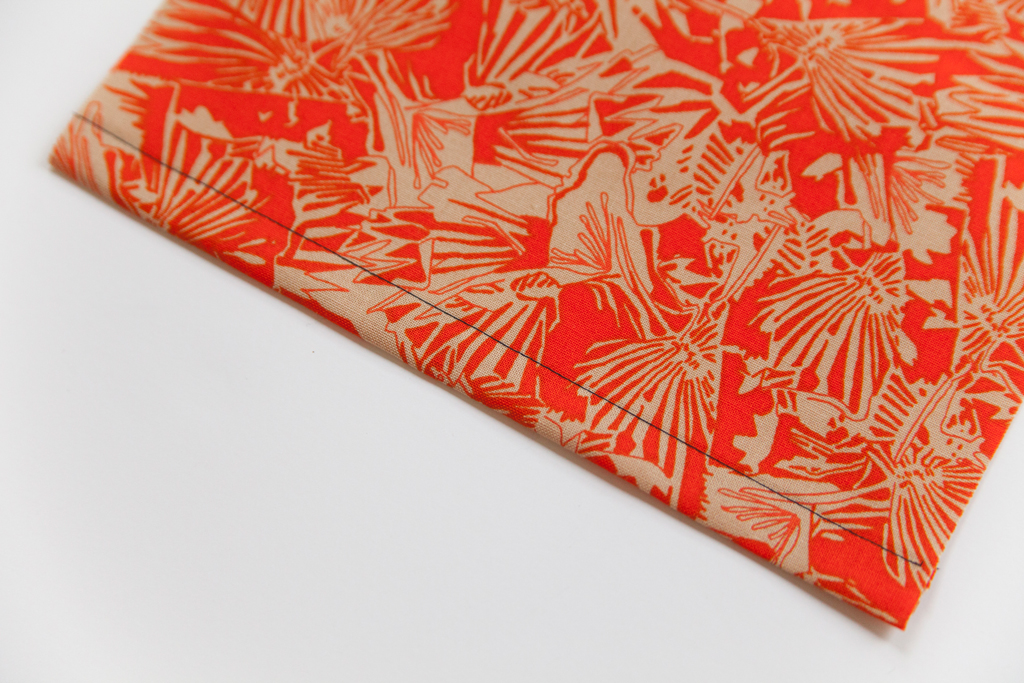
Use a seam gauge to fold your hem allowance up once. Press and pin in place.

Stitch the folded edge in place. To make sure your stitches are even, sew from the right side of the garment. An edgestitch foot will really help with this. Start and end the stitching at a side seam, backstitching to secure.