Sign In
A seam joins two pieces of fabric together with stitches. Seams constitute the foundation of clothing construction. Understanding construction and finishing stitches are essential to learning to sew.
How to Create a Basic Seam
Two essential stitches create a seam: a construction stitch and a finishing stitch. A construction stitch joins the two pieces of fabric together, while the finishing stitch prevents the raw edge of the fabric from fraying during normal wash and wear. Both are essential for creating durable, long-lasting garments.
A Construction Stitch

A construction stitch joins the two pieces of fabric together. The most common construction stitch is a straight stitch. This stitch is ideal for sewing woven fabrics.
There are three important concepts to understand in regards to a construction stitch:
Stitch line: This refers to the location of your construction stitch.
Raw edge: This is the cut edge of your fabric.
Seam allowance: This is the distance between the stitchline and the raw edge. All patterns are drafted with a particular seam allowance in mind. It is important to refer to the pattern instructions to determine the recommended seam allowance.
To sew a seam using a straight stitch:
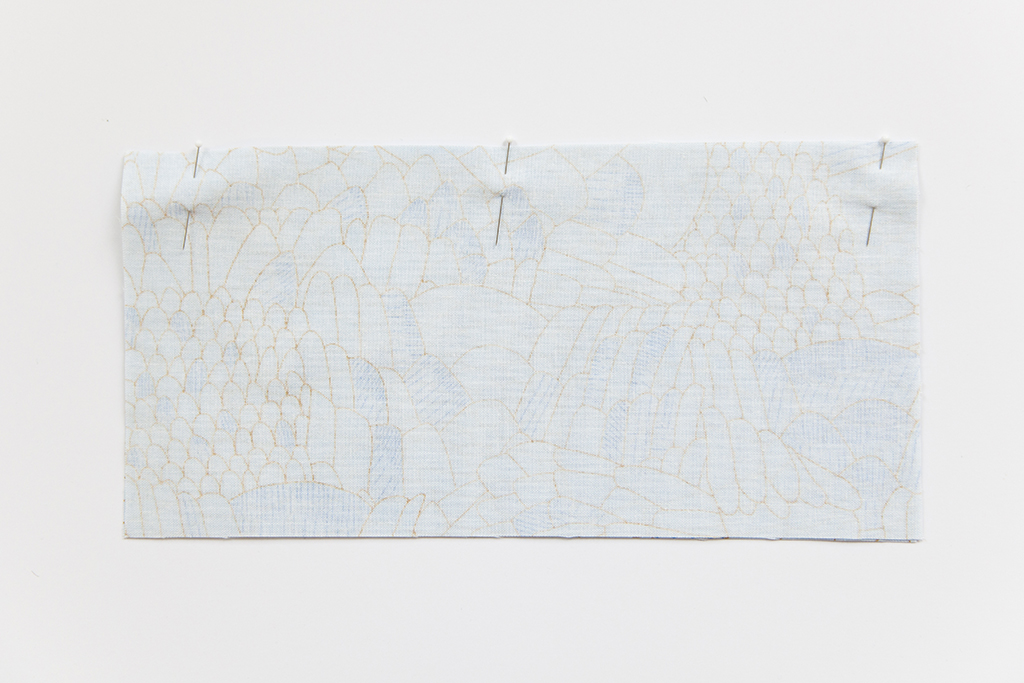
Pin fabric with right sides together, aligning the raw edges and all notches.
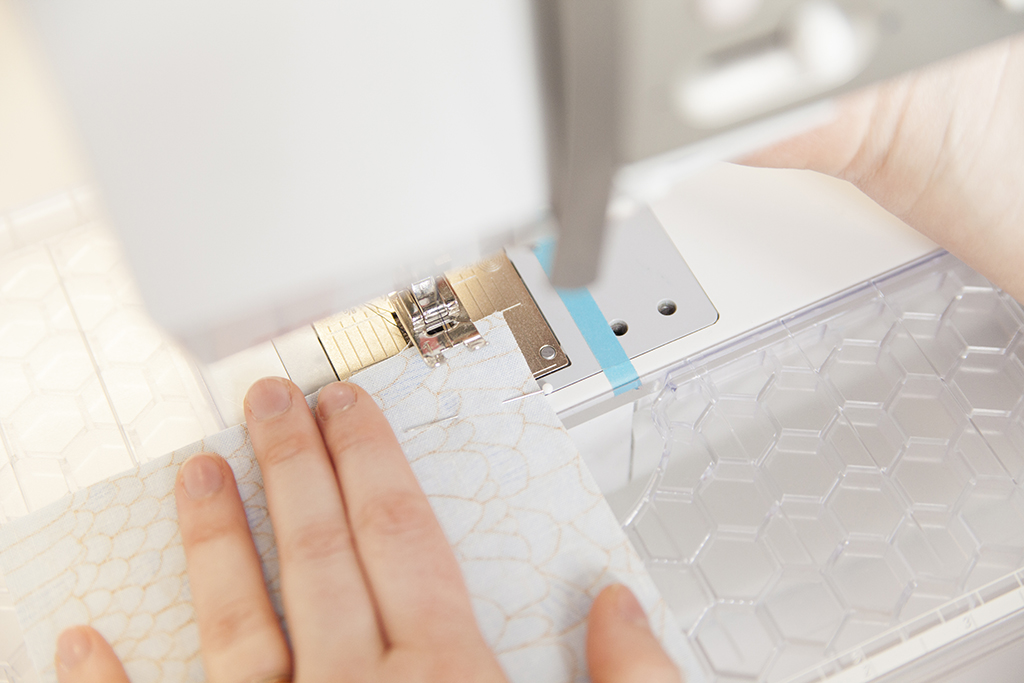
Lift the presser foot, placing your fabric under the needle, and aligning the raw edge of the fabric with the guideline that corresponds to your seam allowance. This guideline will help you to sew straight and even.
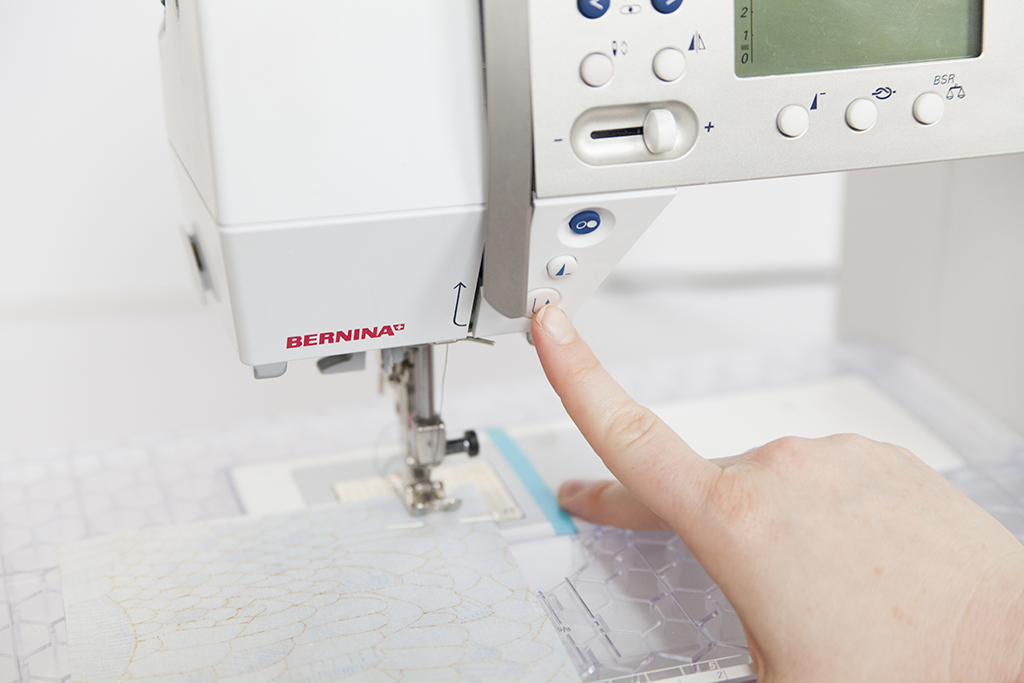
Stitch 3-4 stitches forward, then backstitch 3-4 stitches to secure the beginning of the seam.
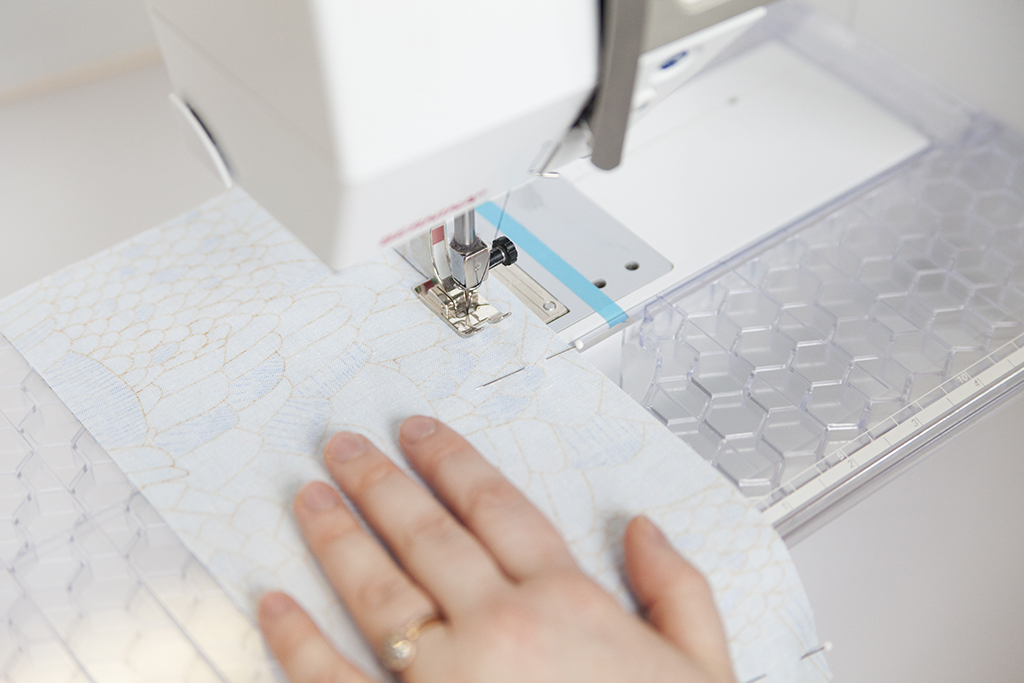
Continue sewing until you reach the end of the seam, then backstitch 3-4 stitches, and stitch forward again until you have reached the end of the seam.
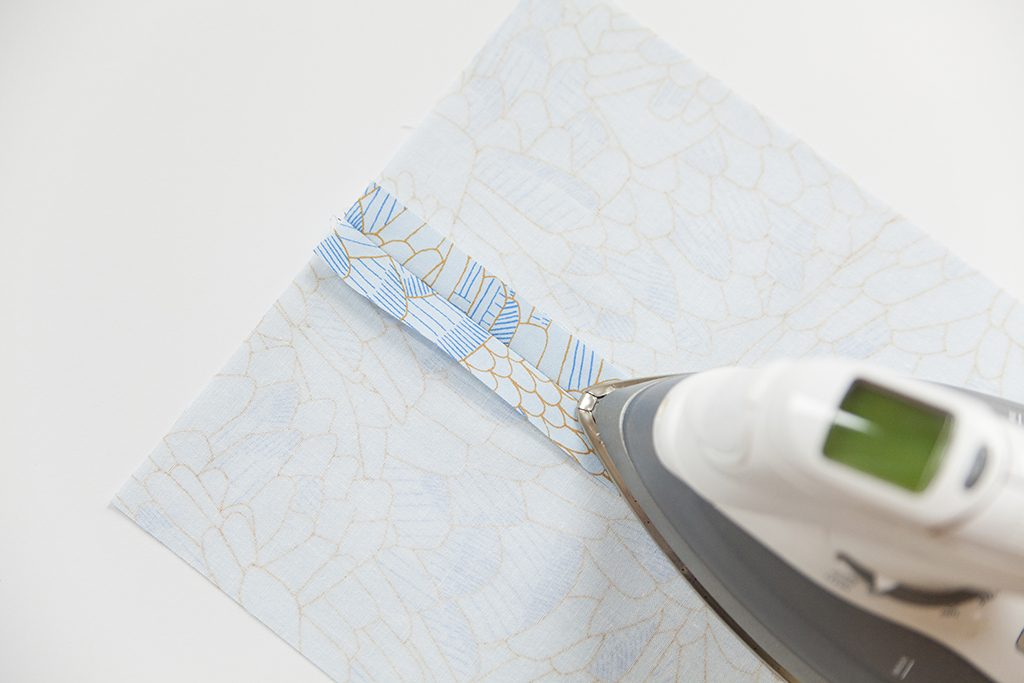
Press the seam open.
Finishing Stitches
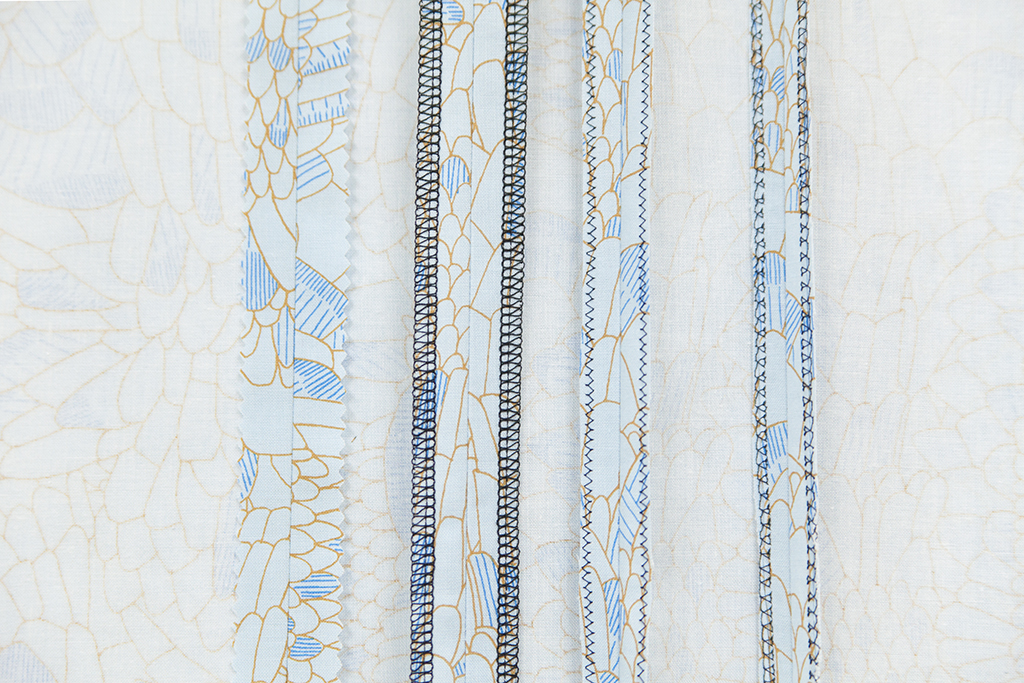
Now that you have mastered the simple straight stitch it is time to finish the raw edge of the fabric. The following finishing methods can be applied to the cut edge of a seam to prevent fraying.
Serged Seam
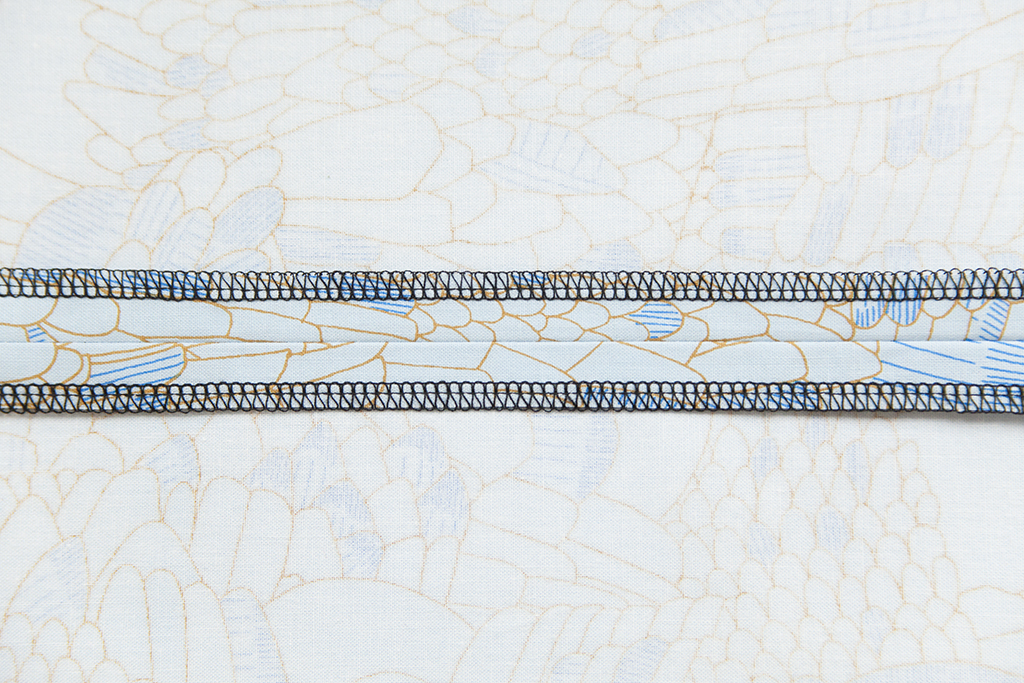
This method is often used in ready-to-wear clothing. Raw edges are stitched with a special machine called a serger, which holds multiple spools of thread and trims the raw edge as it sews.
Zigzag or Faux-overlocked
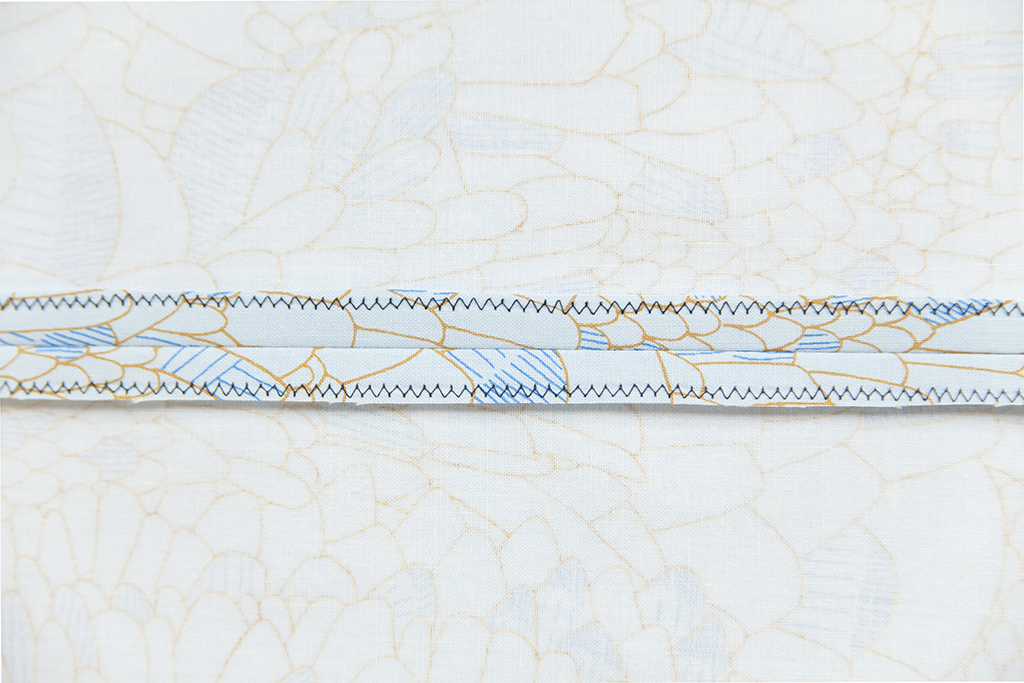
If you don’t have a serger, you can try zigzag stitching over the raw edges of your seam allowance, or use your sewing machine’s overlock stitch if it has one.
Pinked Seam
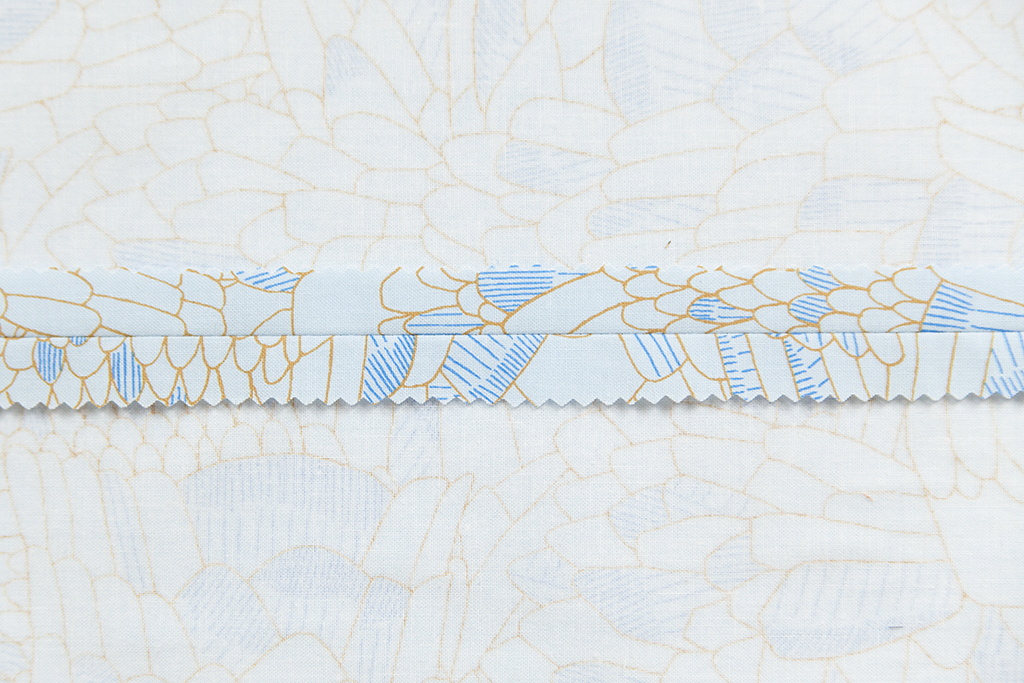
Pinked seams are simple to create, requiring just a pair of pinking shears. The zigzag pattern of the cut edge keeps the fabric from unraveling. Pinked seams are commonly found within vintage garments, which goes to show that they can last. Use pinked seams on cotton and other somewhat sturdy fabrics that are not very prone to fraying.