Sign In

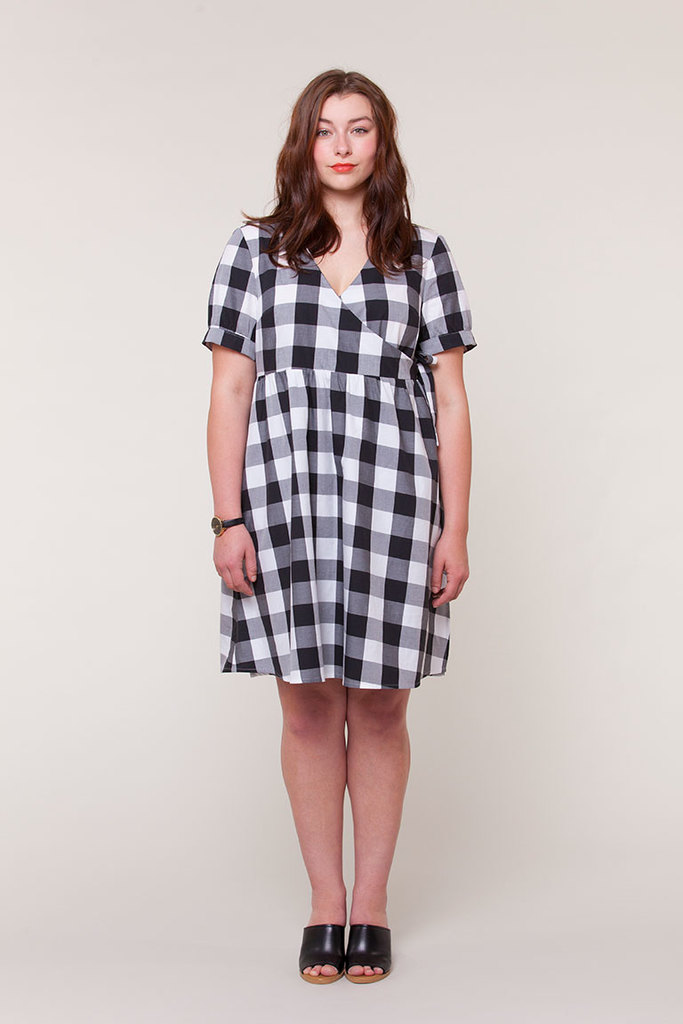
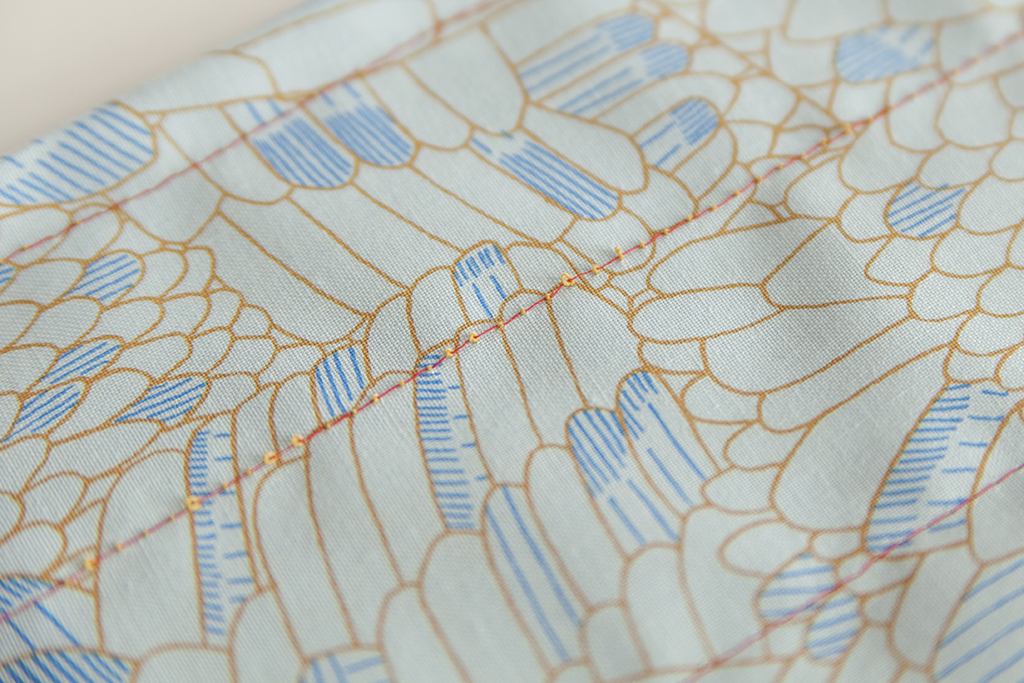
Topstitching is stitching—most often using a straight stitch—applied to the right side of a garment. Topstitching can be used decoratively, but it is often used to strengthen and reinforce seams. You will see it often on items like jeans, which withstand a lot of wear and tear. In this tutorial, you will learn how to create professional-quality topstitching.
Preparing to Topstitch
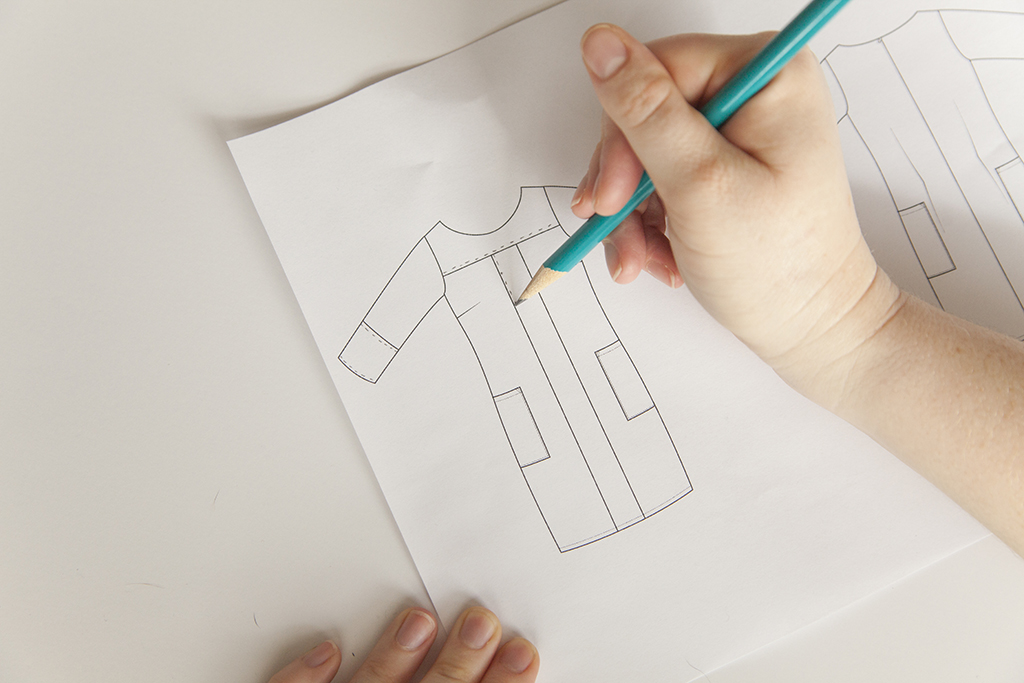
It is important to start with a clear plan. Draw or print a technical illustration of the garment you are sewing. Take note of where you would like to topstitch and at what width. Topstitching is typically 1/4” away from the seam, but you can play with different proportions. Cross-reference this sketch to your pattern instructions, taking note of the ideal time to topstitch each portion.
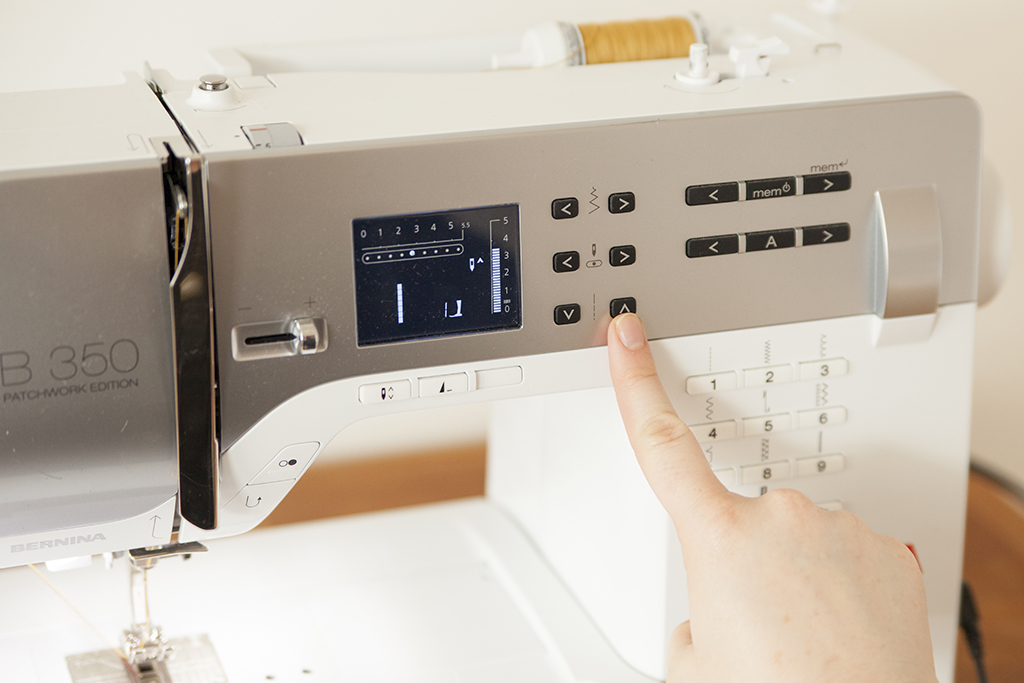
Prepare your sewing machine to sew a straight stitch. Match the weight of your thread to the weight of your fabric. If you are sewing with a medium-weight fabric, chances are an all-purpose thread will do the trick. Denim, canvas, and other more substantial materials may require more substantial topstitching thread. Always use all-purpose thread in your bobbin when working with topstitching thread.
When using an all-purpose thread on medium-weight fabrics, try a Microtex needle. Microtex needles have an extra-sharp tip that creates perfectly precise stitches. When sewing topstitching on heavyweight fabrics, choose a topstitching needle. This specialty needle has a longer eye to accommodate thicker topstitching thread.
Use a slightly longer stitch length while topstitching. On medium-weight fabrics, use a stitch length of 3, but on heavier fabrics, 3.5-4 is more ideal. Using a longer stitch will help your project look neat and uncluttered.
Testing
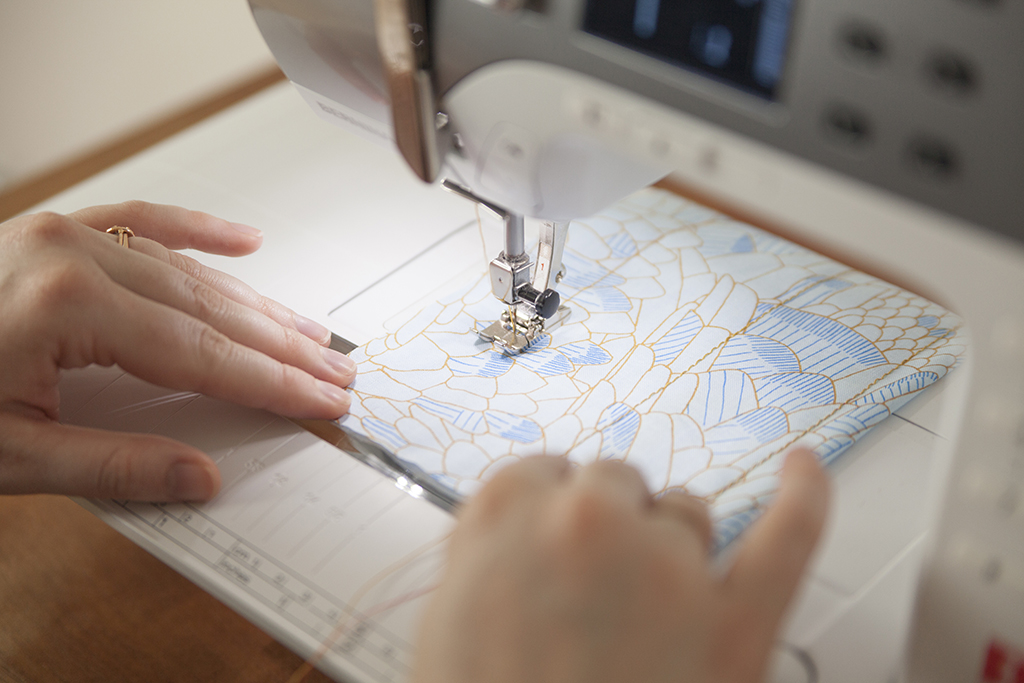
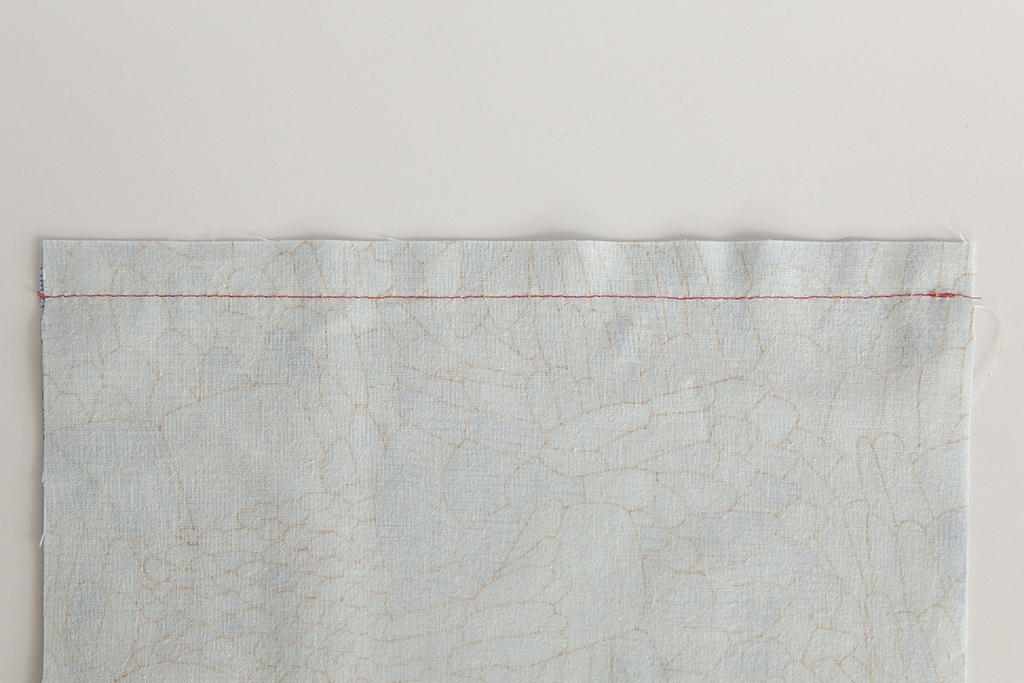
Using some scrap fabric folded in half, practice your stitching—not only to test your stitch setting but also to improve your skill. Sewing is 25% muscle memory; it is hard to be good unless you train those muscles. So even if you are a topstitching pro, make sure to practice on a scrap of fabric to warm up before diving into the real deal.
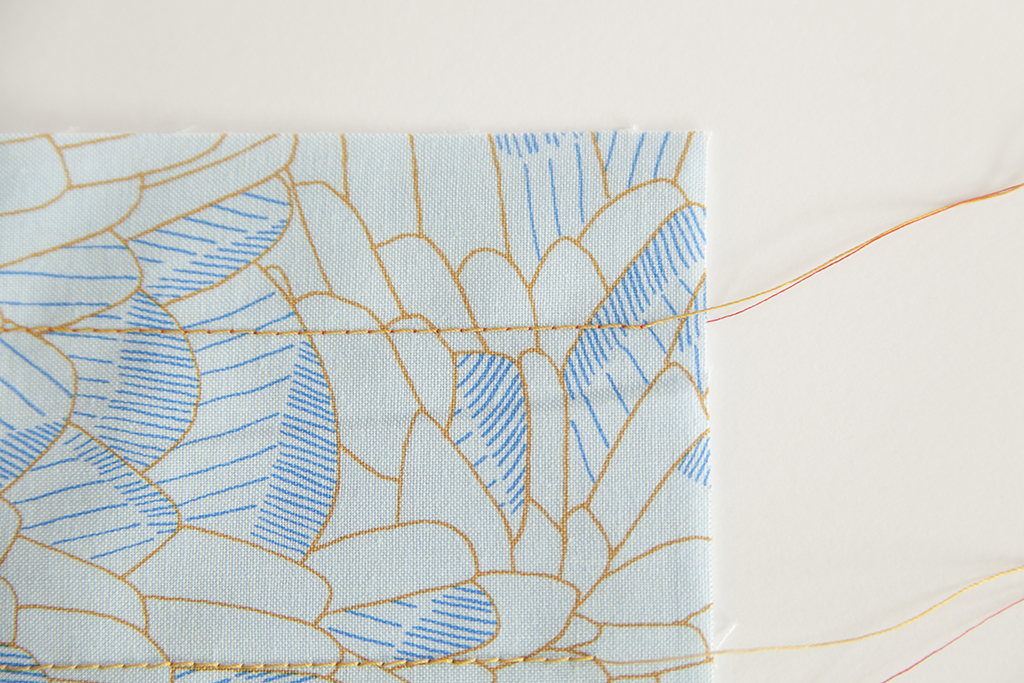
Reference your test scrap to see if you need to make any adjustments to your tension settings. Working with topstitching thread may require you to change the tension setting on your machine. Low tension settings will result in loose stitching on the wrong side of your fabric. High tension will cause the bobbin thread to be visible from the right side of your fabric. Correct tension will create a well-balanced stitch that is attractive from both the right and wrong side.
How to Topstitch
Sew your garment with right sides together.
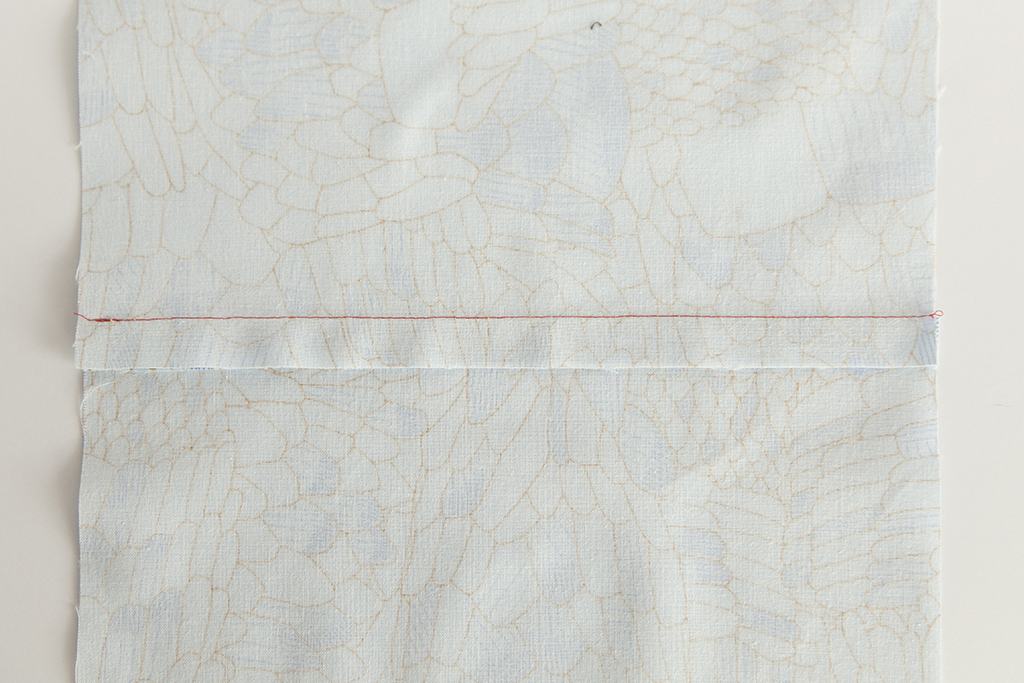
Press the seam according to the pattern instructions (this will either be open or to one side).
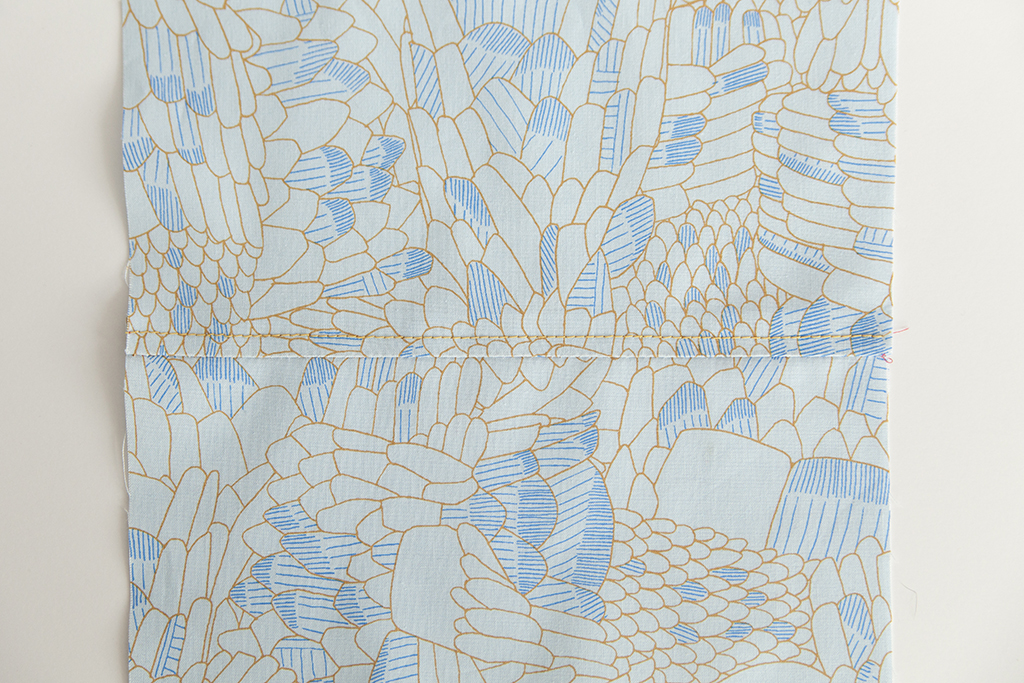
With the right side facing up, place the garment under your presser foot, aligning the edge of the foot with the seam. You can move your needle left or right to get the desired width. Begin stitching, being careful to catch the seam allowance as you sew.
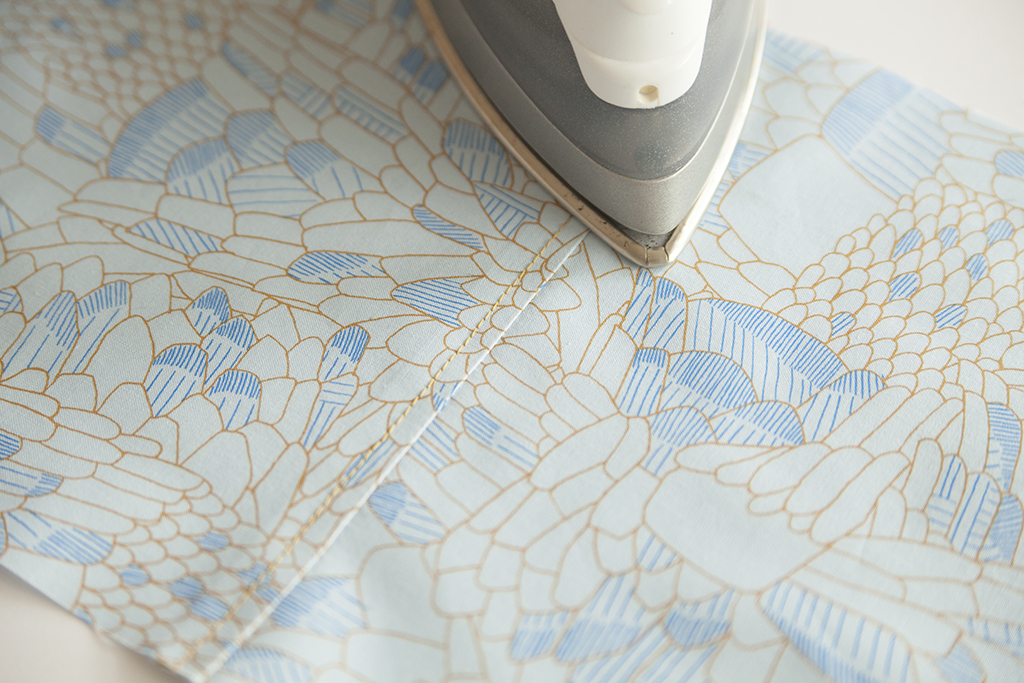
Give the seam a final press.