
 Sign In
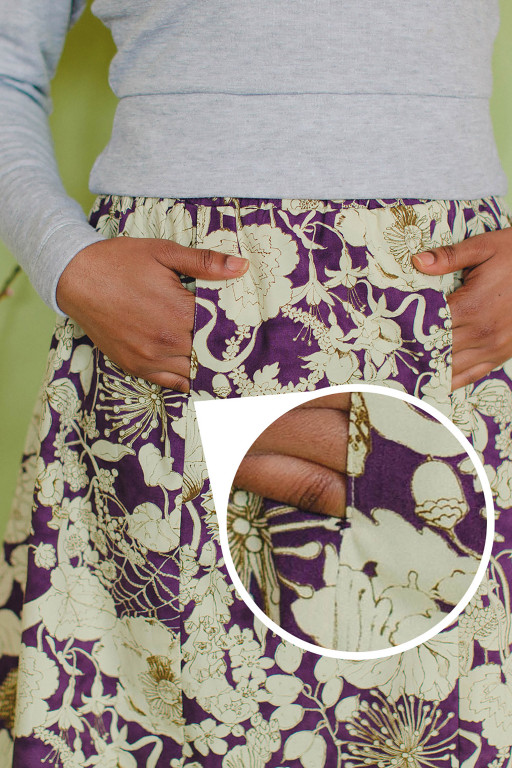
It seems everyone loves a couple pockets in their clothing, whether it’s deep patch pockets on a coat capable of holding your keys and wallet or small in-seam pockets on a skirt that give you a place to put your hands.
But the edges of pockets are stress points. The joining of seams coupled with all that movement of your hands moving in and out can lead to excessive tugging, fraying, and stitch breakage. Without reinforcement, you may find that the edges of pockets are the first part of a piece of clothing to look worn out.
To see how this issue is prevented in manufactured clothing, look at your favorite pair of jeans. In addition to rivets that help hold things together, you'll notice pocket edges are reinforced with a row of strong stitches known as a bar tack. This small area of stitching keeps pockets from separating or tearing as they're used over time. Though this is usually accomplished in factories with a specialized attachment or machine, it can also be achieved at home with a zigzag stitch (see below).
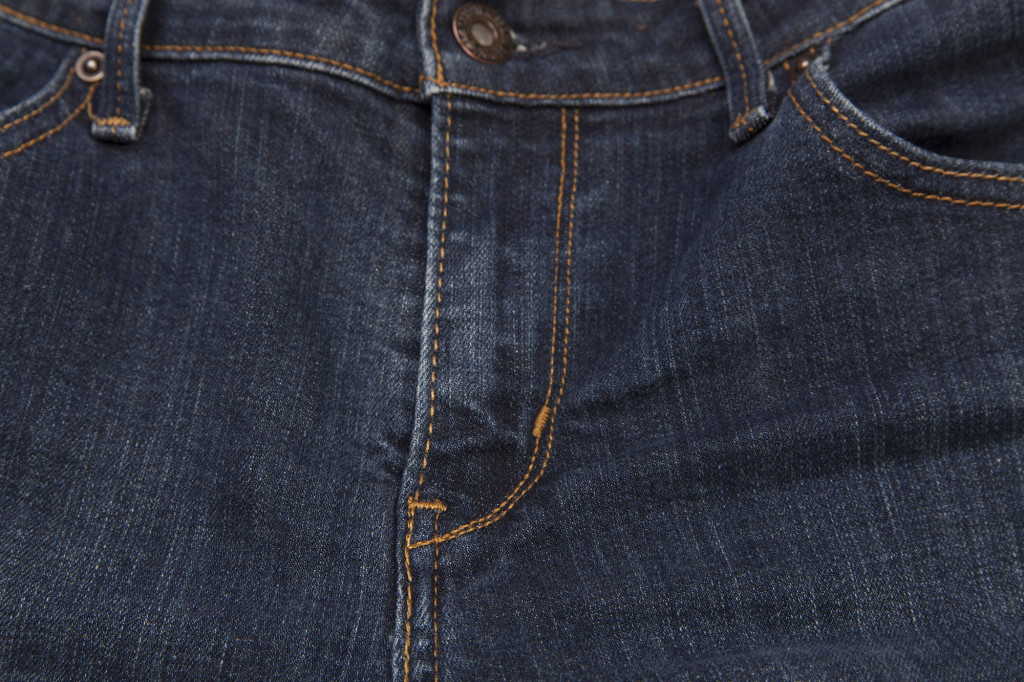
Jeans and other workwear are generously reinforced with bar tacks.
But the traditional bar tack is only one method of holding your pocket in place. Though it works extremely well and certainly suits hardwearing workwear like jeans, there are also fun, decorative alternatives. Some of these can be created quickly and easily on a sewing machine, while others are embroidered by hand. Choose the method that works with the style of garment you're making.
These reinforcing stitches can also be used in other high-stress areas that are prone to coming apart over time. They are particularly suitable for areas that you either tie off or backstitch to secure, such as the ends of darts, tucks, or pleats. Adding a reinforcing stitch gives these areas even more security and increases your stitching’s longevity.
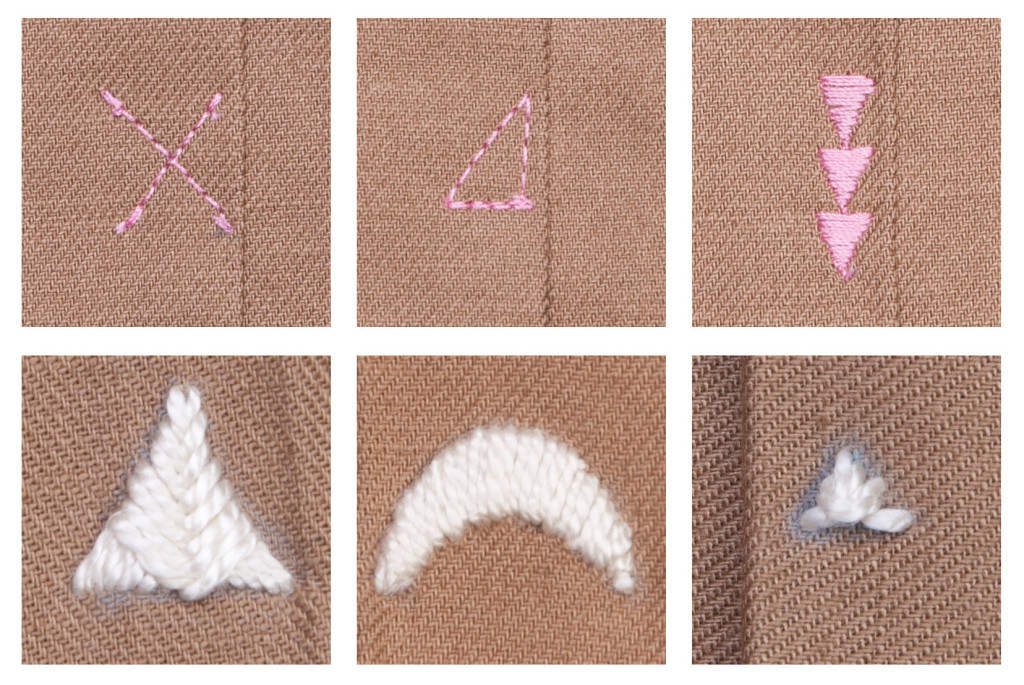
Keep your garments intact longer with decorative reinforcement at stress points.
Machine reinforcement
Use your sewing machine to quickly and easily add extra security to your pockets, whether with a traditional bar tack or a more decorative option.

The traditional pocket reinforcement is a bar tack.
Bar tack
The bar tack is the most common method of reinforcing a pocket edge. To sew a bar tack, set your machine to a zigzag stitch with a length of 0.2mm and a width of 3-3.5mm. Stitch a short row to secure, then backstitch one to two times over the entire row to secure. The bar tack can also be sewn diagonally at any corner.
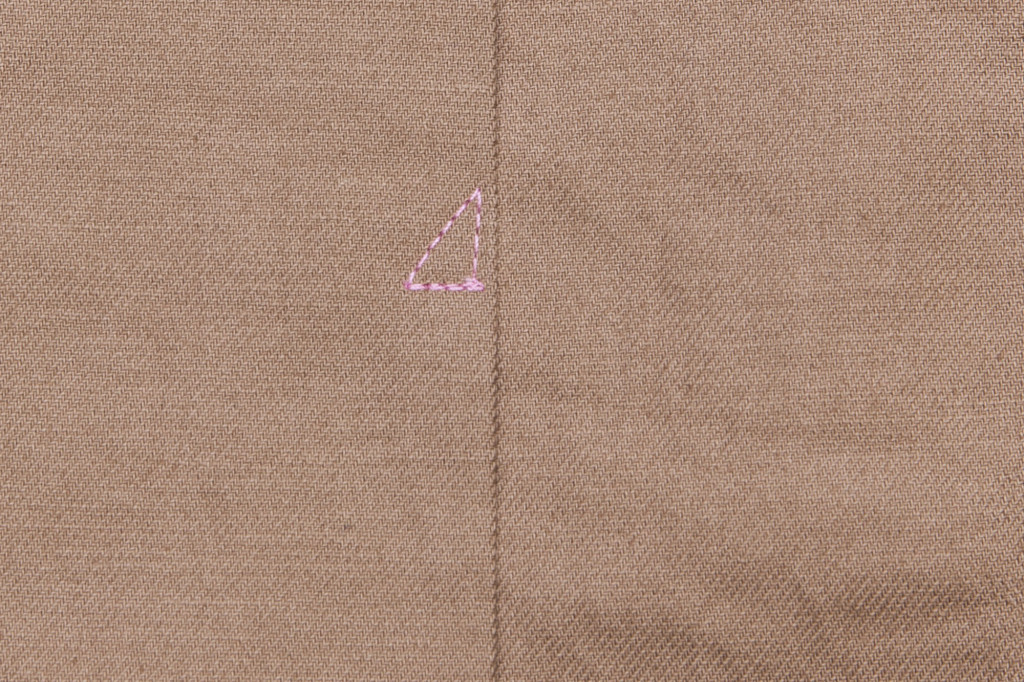
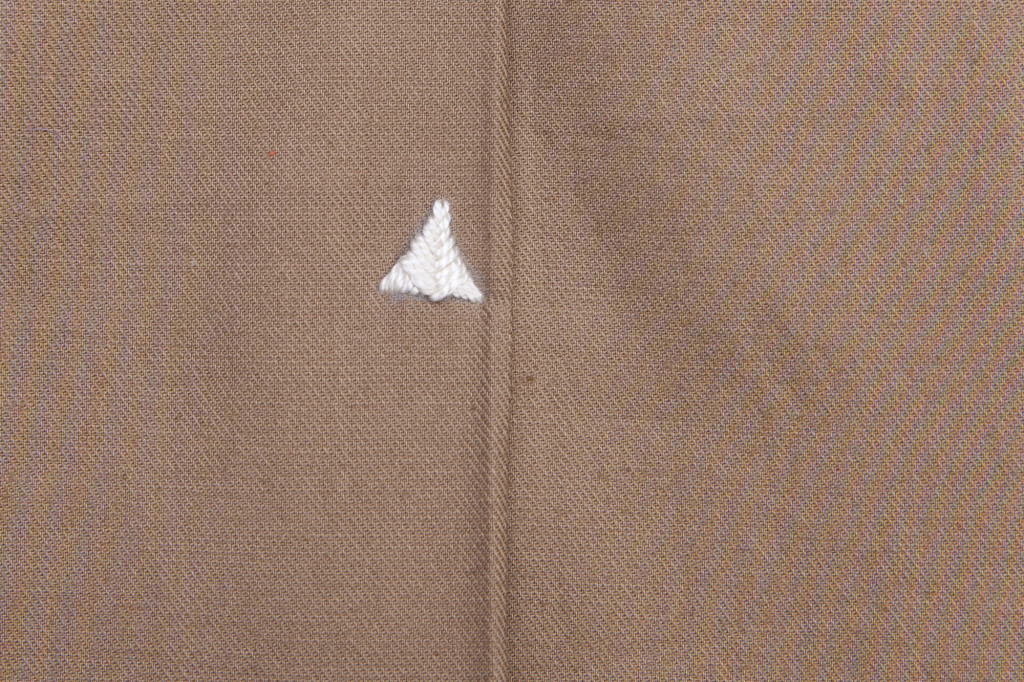
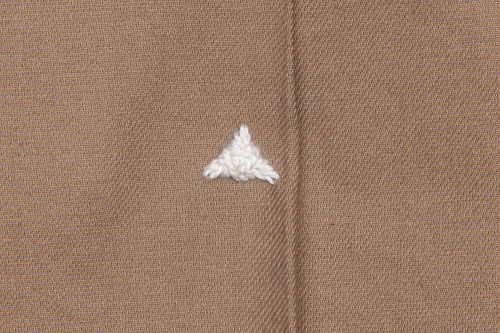
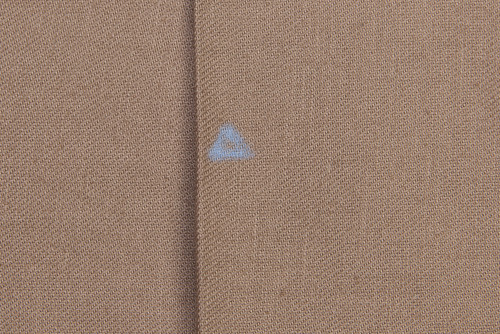
Pivot three times to stitch a triangular reinforcement.
Triangle stitching
Small triangles are easy and quick to sew. They're often found at the top of patch pockets or flaps, but they can also be used anywhere reinforcement is needed.
Sew a few stitches, sink your needle into the fabric, and pivot. Sew a few more stitches, pivot again, and sew the remaining side of the triangle. Pivot once more, sewing over the first set of stitches to fully secure the triangle in place.
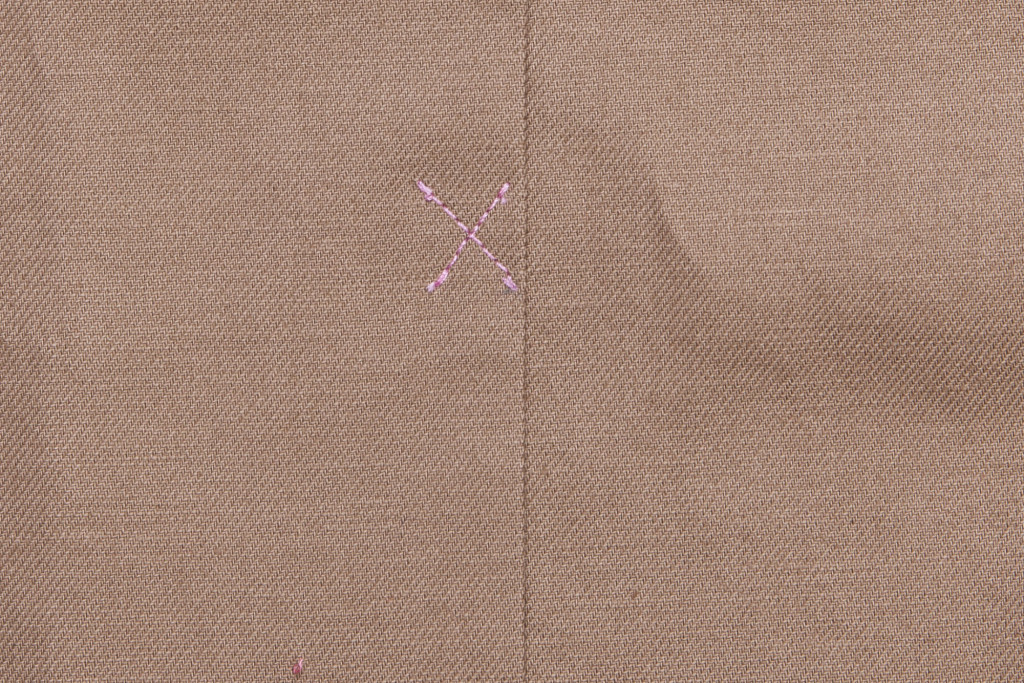
Form an X with two rows of stitching for an unusual look.
X stitch
A slightly more interesting and unusual way to reinforce a pocket edge is with an X stitch. Sew one 45-degree row of stitches, backstitching at each end to secure. Lift and sew the second row in the same way, at 90 degrees to the first.
Tiny X stitches can reinforce seams at the top and bottom of in-seam pockets. Larger X stitches are well-suited to stitching down and reinforcing large pleats, such as a kick pleat in a skirt.
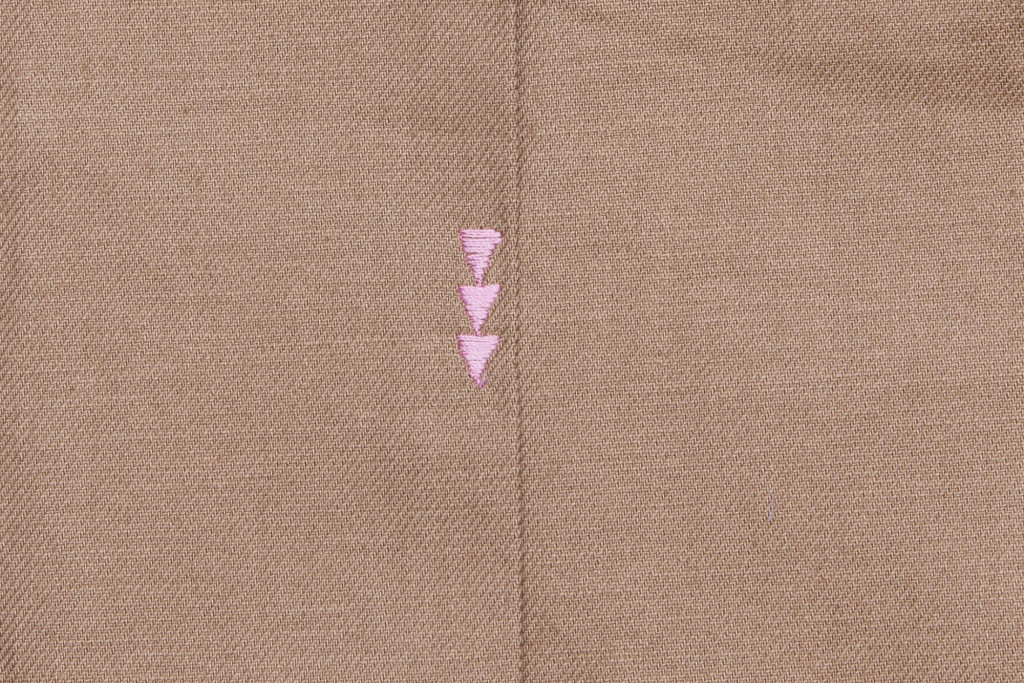
Use decorative stitch options on your sewing machine to create fun little details.
Decorative stitches
In addition to the simple shapes commonly seen in tailored or workwear garments, your sewing machine may also be capable of producing decorative stitches that work well for reinforcement. This short row of triangles was created with the built-in stitch settings on a Bernina sewing machine. Some sewing machines have numerous machine embroidery stitches, and even many basic models often have a few options you can try.
Hand Reinforcement
Take a cue from garments from the 1940s and 1950s with their beautiful hand-embroidered tacks.
The arrowhead tack is a traditional detail found on vintage clothing, particularly western wear.
Arrowhead tack
The arrowhead tack can often be found on western wear from the 1950s, but it's also been used in women's suits, skirts, and jackets.
Step | 01
Begin by drawing a small triangle on your fabric with chalk where reinforcement is needed. The arrow typically points away from the pocket.

Step | 02
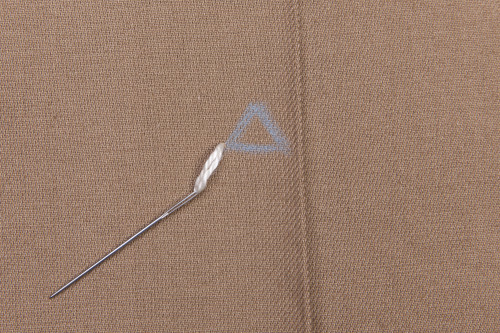
Thread your needle with embroidery floss and insert from back to front at the lower left corner of the triangle.
Step | 03
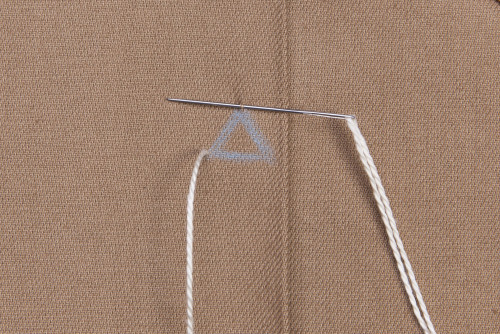
At the top of the triangle, make a small stitch from right to left.
Step | 04
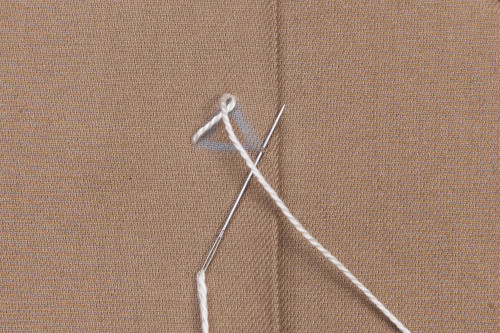
Insert the needle at the lower right and out again along the bottom of the triangle, next to the first place you inserted the needle.
Step | 05
Continue filling in the triangle in this manner until the shape is filled.
The crow's foot tack offers another variation on the arrowhead.
Crow's foot tack
This variation on the arrowhead tack produces a similar shape with a slightly different look to the stitching.
Step | 01
Again, begin by drawing a small triangle on your fabric with chalk where reinforcement is needed. The arrow typically points away from the pocket.
Step | 02
Thread your needle with embroidery floss and insert from back to front at the lower left corner of the triangle.
Step | 03
At the top of the triangle, take a small stitch from right to left.
Step | 04
At the lower right corner of the triangle, take a small stitch from left to right.
Step | 05
At the lower left corner of the triangle, take a small stitch from left to right.

Step | 06
Move back up to the top and take a small stitch from right to left along the triangle edges, this time just below the previous stitch.
Step | 07
Continue in this manner, moving around the edge of the triangle and filling in the shape toward the center.
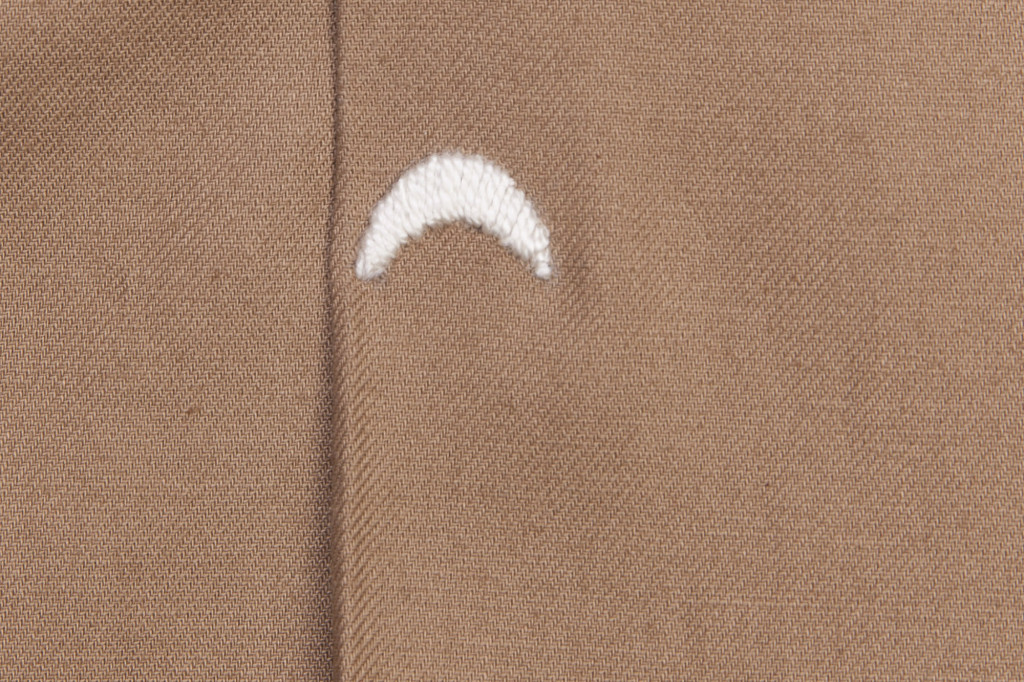
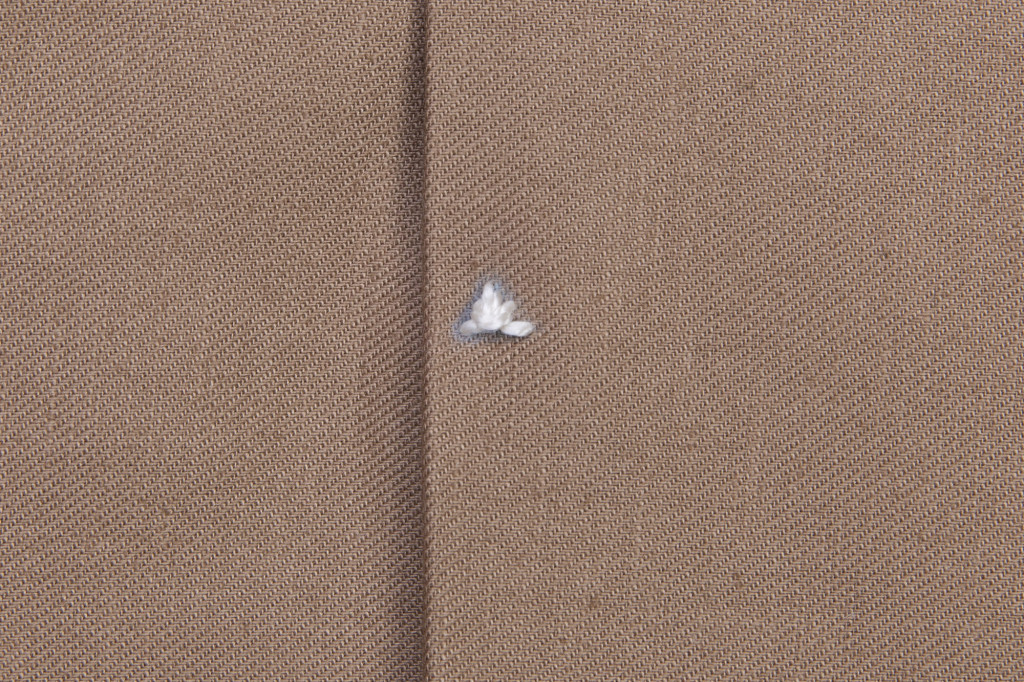
A satin stitch can be used to create nearly any shape you wish.
Satin stitch
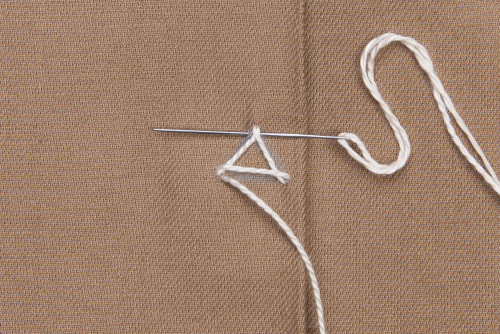
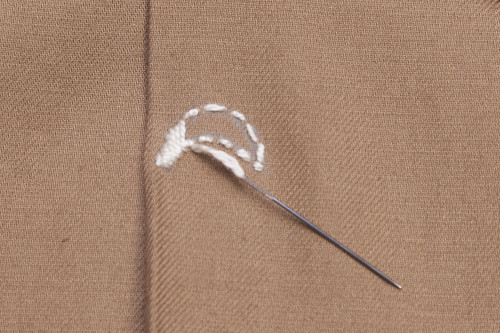
In addition to these traditional methods of tacking, many types of embroidery stitches can be used to create tacked details. Use a satin stitch to create nearly any shape you desire, such as these crescent moon shapes. You could also make circles, triangles, or stars.
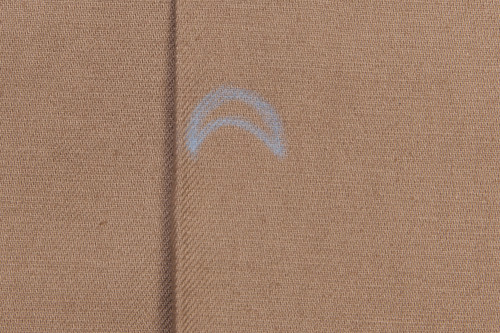
Step | 01
Begin by drawing a simple shape on your fabric with chalk where reinforcement is needed.
Step | 02
Thread your needle with embroidery floss and outline the shape with basting.
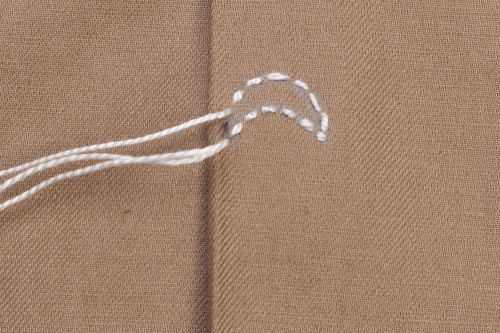
Step | 03
Insert the needle from back to front at the lower left of the shape. Insert the needle at the top and back down next to the first spot to create a stitch. Continue moving across to fill the shape in.
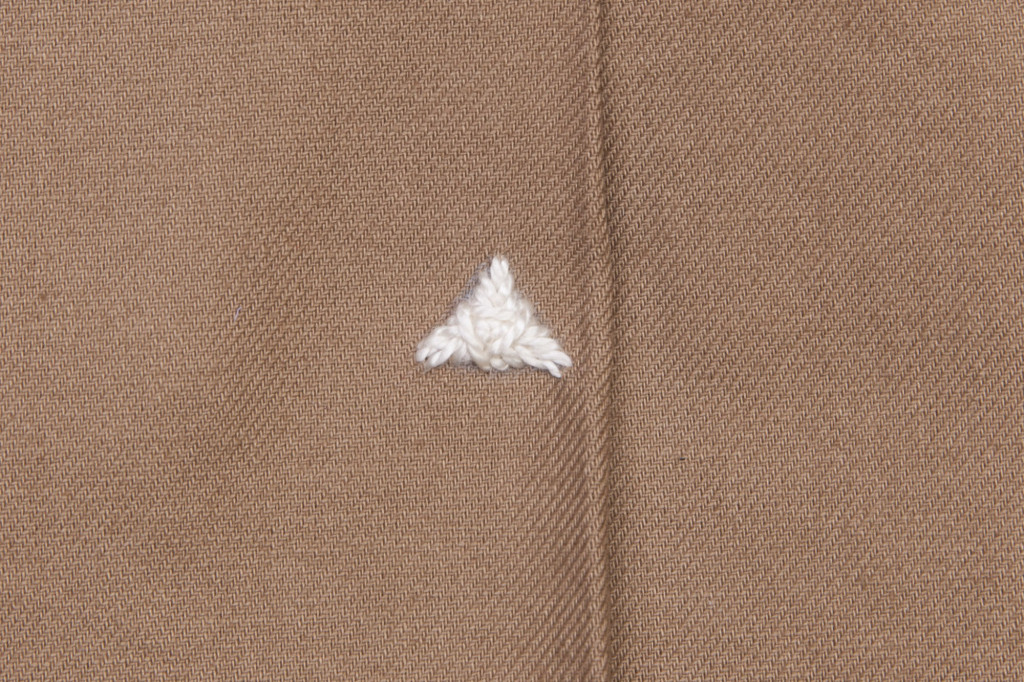
The Danish knot.
Other stitches to try
Danish knot
Knot stitches are used in hand embroidery, either on their own or to create patterns or fills. They also offer a wonderful way to create a quick and easy reinforcement. The Danish knot is one example, but also look in embroidery books for other knot stitches you can use.
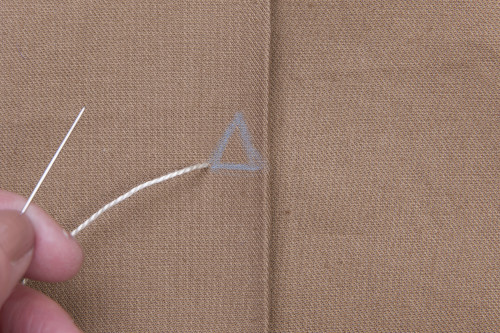
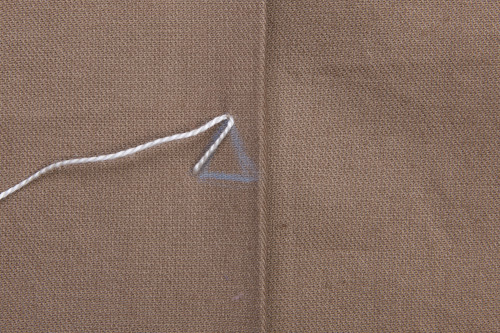
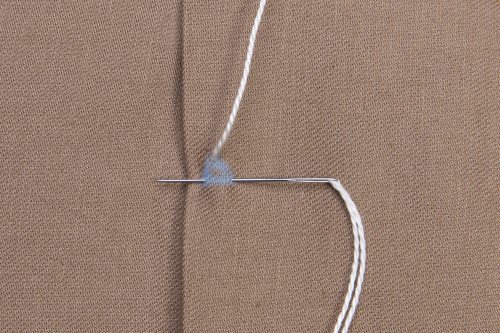
Step | 01
Draw a small triangle on your fabric with chalk.
Step | 02
Thread your needle with embroidery floss and insert from back to front at the top of the triangle. Insert the needle at the lower right of the triangle and out again through the lower left.
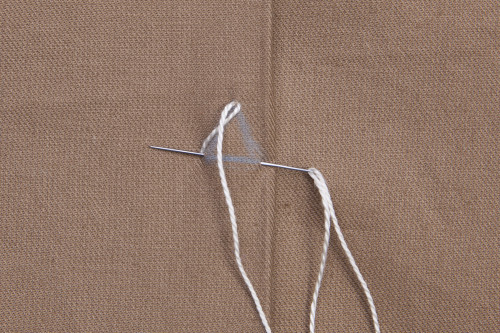
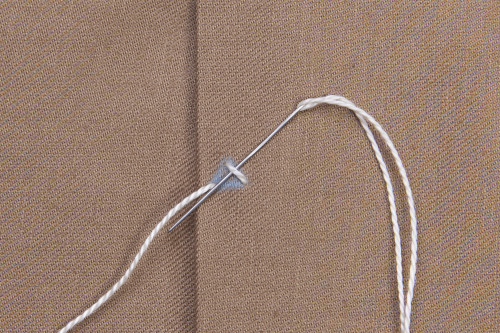
Step | 03
Slip the needle beneath the first stitch you created from right to left.
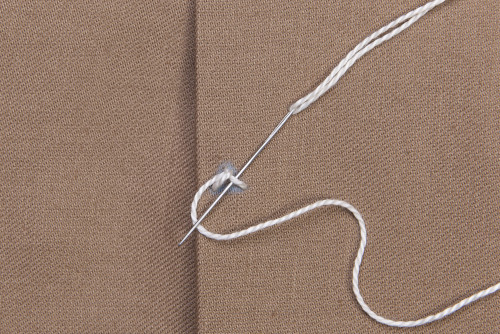
Step | 04
Slip the needle again under this stitch from right to left, with the thread positioned beneath the needle as shown.
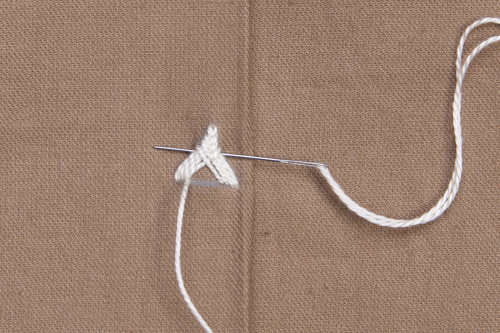
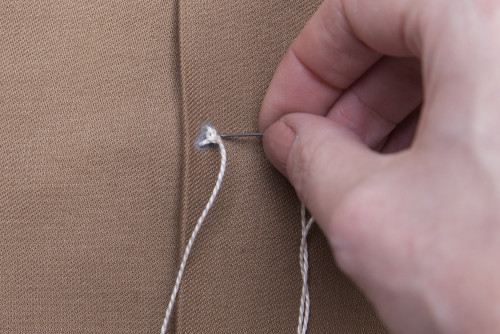
Step | 05
Pull the needle out to form the knot and insert it near the middle of the first stitch to secure in place.
Resources
Sarah's Hand Embroidery Tutorials: Visit this blog to learn numerous stitches, many of which can be used to create beautiful reinforcement.
The Stitches of Creative Embroidery: This book, first published in 1960, contains instructions and photos for many unusual stitches.
Embroidery.about.com: About.com offers clear diagrams to make learning new stitches easy.

