Sign In
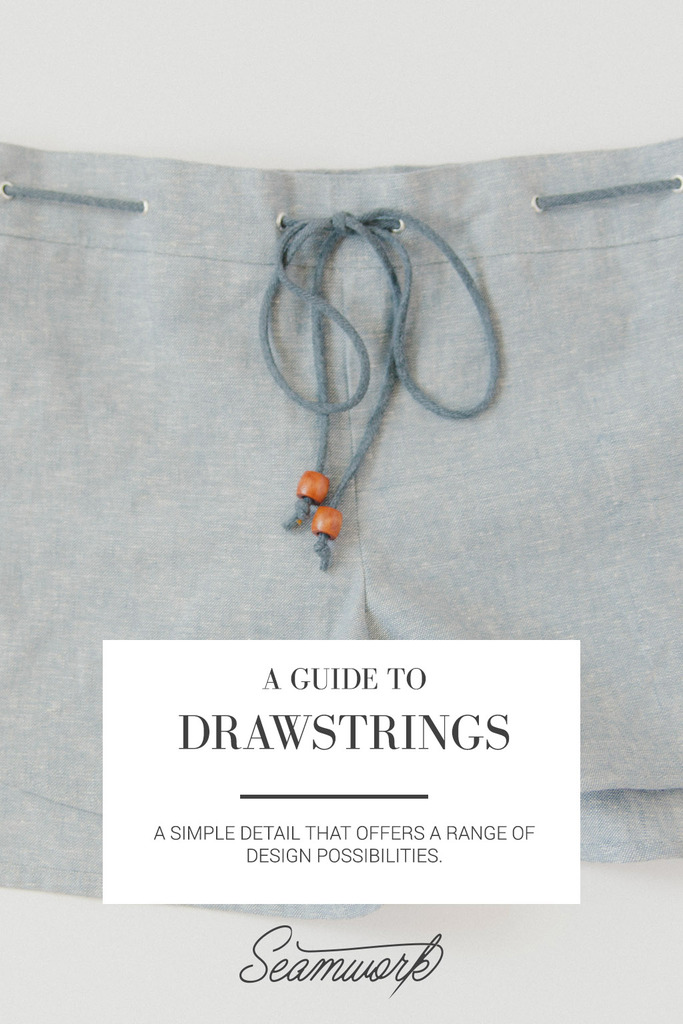
Drawstrings get a bad rap. They bring to mind sweat pants, hoodies, and pajamas. Don't get me wrong – these are some of the best clothing items, but they don't necessarily offer style and sophistication. This does not have to be the case; like most things it all boils down to the application and the context. A well executed drawstring can look effortless, cool, and casual. Garments like the Nantucket shorts give you the opportunity to create stylish drawstring garments that are anything but sloppy.
The Basics
Let's first take a look at the anatomy of a basic drawstring closure.
- The casing: this is the channel through which the drawstring (and sometimes elastic too!) passes. This can either be constructed similarly to a hem, or it can be a separate piece that is sewn onto the garment.
- The eyelet: This is the outlet through which the drawstring enters and exits the casing. This opening can be created by buttonholes, eyelets, or grommets.
- The drawstring: This is the cord ribbon or fabric strung through the casing and the opening that cinches the garment securely into place.
Eyelets
Buttonhole

Because it is so easy, this is the most common technique used by home sewist when creating drawstrings. After setting your sewing machine up with thread that matches your project, all you need to do is attach your buttonhole foot and go. This finish can look professional and neat if you keep a few things in mind.
- Test your buttonhole on a scrap of fabric before you stitch the real deal. Check for size, along with appropriate width and length of your buttonhole stitch. Stitches should be dense but not rigid or bulky.
- Match the size of the buttonhole to the drawstring being used. The buttonhole should be no more than 1/8" larger than the drawstring passing through it.
- Use a tear away stabilizer under your self fabric as you sew. This will ensure consistent stitching when using the buttonhole stitch.
- Using matching thread! This seems obvious but with the dense nature of a buttonhole stitch, if you are even a couple shades off, the results can be less than ideal.
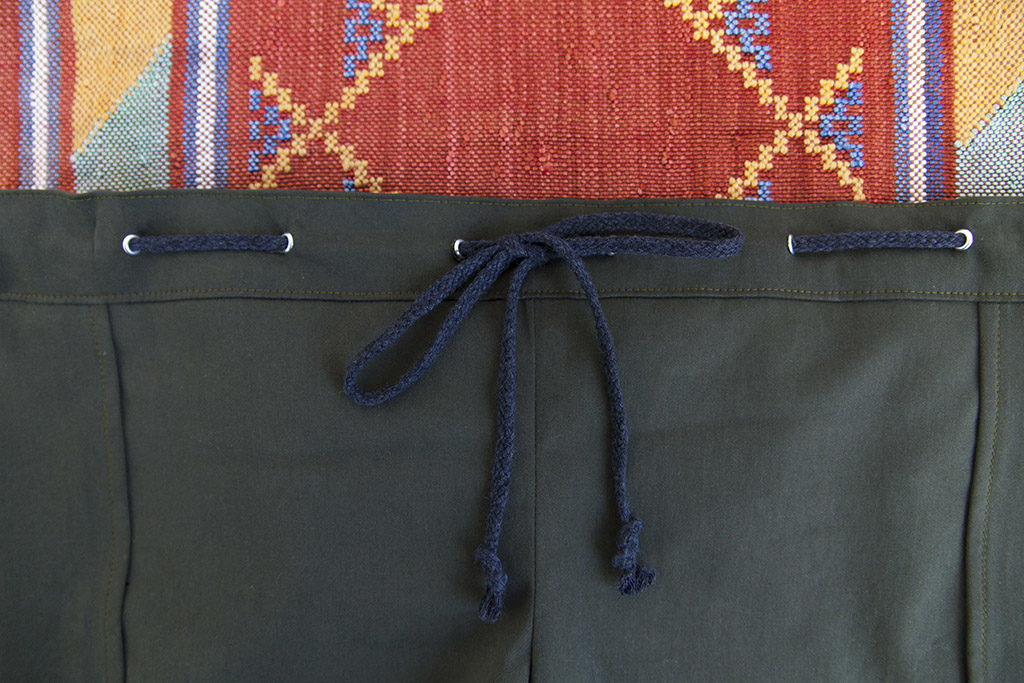
Grommet and Metal Eyelets
Grommets and eyelets are an excellent option for professional looking drawstrings. Hardware is often an under used detail in the home sewing world. There is no need to shy away from grommets and eyelets! They are easy to install and are an added element of interest to otherwise simple projects like the Nantucket shorts or the Seabrook bag.
You'll Need:
- Grommets or eyelets
- The setting anvil and stud setter in corresponding size
- Hard surface
- Mallet
I have seen many variations that make eyelets and grommets different from one another. Some would say that an eyelet is only composed of one piece, while a grommet has two pieces a flange (or washer) and a barrel (the right side of the grommet). This is not exclusively true. Some brands of eyelets, especially ones readily available for home sewers are comprised of two pieces and are installed just like grommets. Typically eyelets are smaller and therefore less strong.
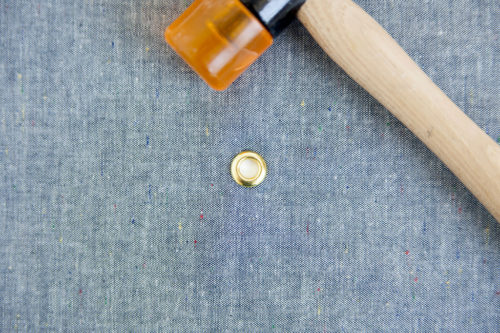
Grommets and eyelets are typically made up of two pieces of hardware that are interlocked when pressure is applied by way of anvil. The piece that lays on the right side of the fabric is the barrel. The smooth beveled side sits on the right side of the project, while the post is the metal tube that connects to the back side of the grommet. The wrong side of the grommet is called the flange, and looks like a washer. Eyelets and grommets available for home sewers are set with an anvil and stud setter.
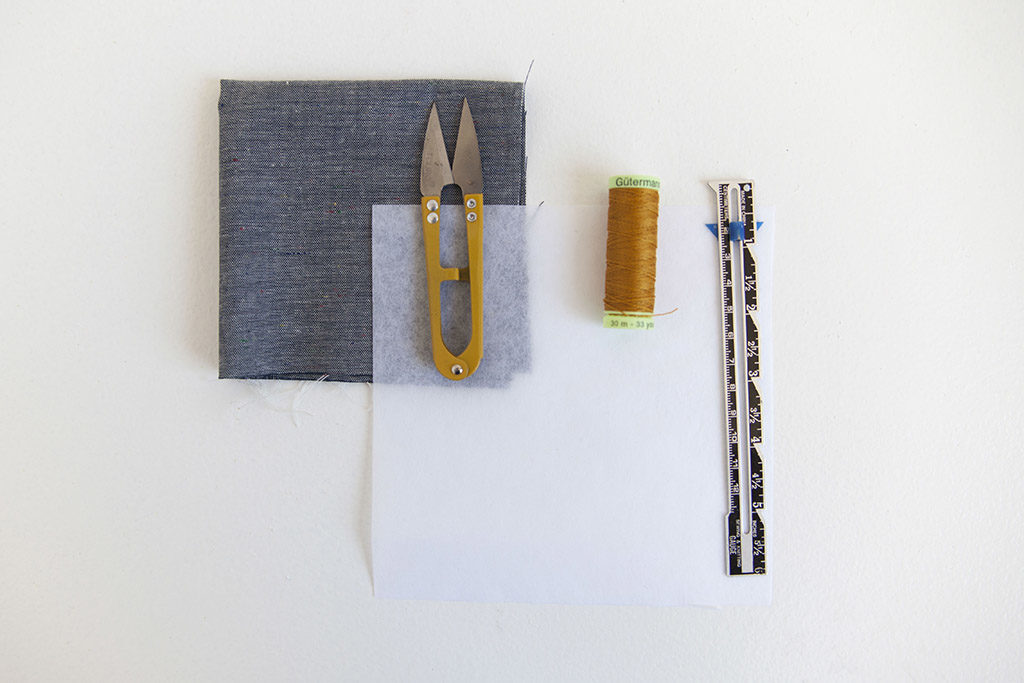
6 Step Easy Installation
Step | 01
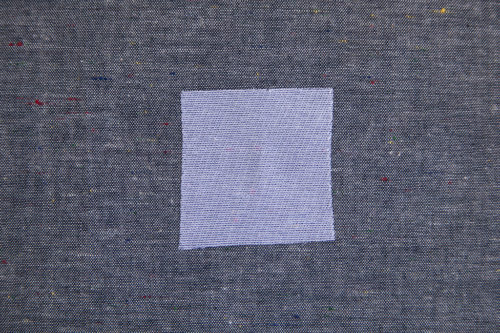
Reinforce the area where the grommet is being installed with a small piece of fusible interfacing.
Step | 02
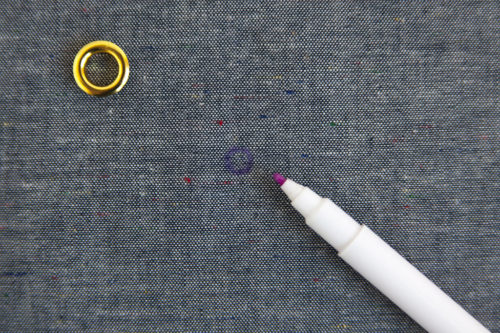
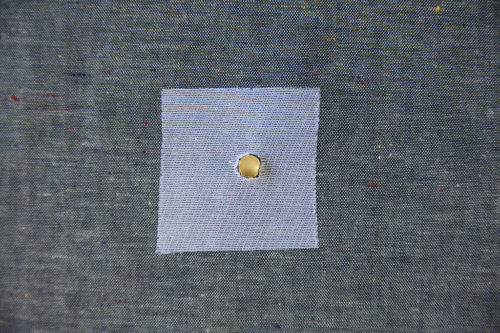
To install mark the placement of the grommet by tracing the inside of the post onto the fabric.
Step | 03
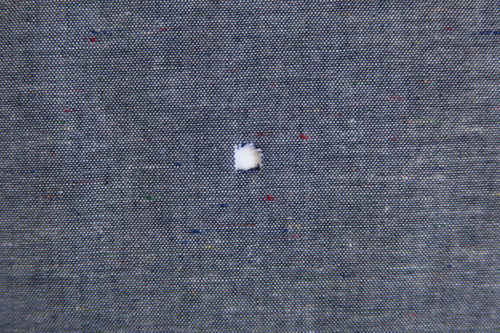
Use a small pair of scissors to cut away this circle.
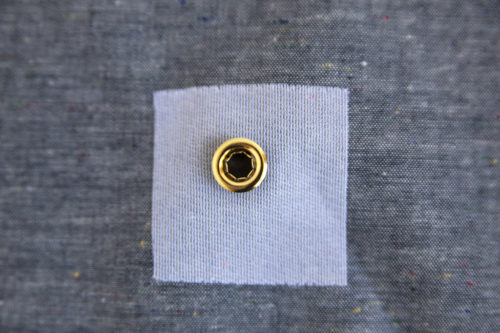
Step | 04
Insert the barrel into the hole. The flat side of the barrel should be on the right side of the fabric.
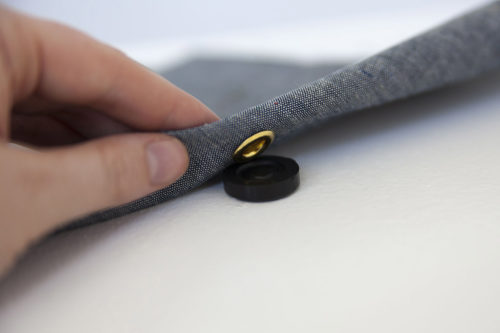
Step | 05
Place the flange convex side up over the barrel on the wrong side of the fabric.
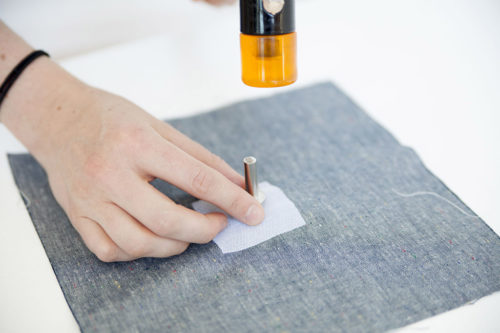
Step | 06
Place barrel side down onto the anvil. The anvil should be resting on a very hard surface.
Step | 07
Place barrel side down onto the anvil. The anvil should be resting on a very hard surface.
Tips
- Alway buy extra grommets. I generally find that if I purchase extra I will not need them, but if I don't there will be tears and frantic trips to the fabric store.
- Set aside a large swatch of your fashion fabric when cutting to test your grommets or eyelet.
- If your fabric is light weight and interfacing is not enough reinforcement, try using a small piece of wool felt to add body.
- To protect the finish on novelty grommets and eyelets, place a piece of fabric between the anvil and barrel.
The Drawstring
A few years back I was teaching a pajama pants class. In this class students made a pair of drawstring pajamas with a self made drawstring. As the end of the class approached I realized that I would have time to demonstrate making the matching drawstring, but not enough time to execute them. I suggested that everyone picked out a cute ribbon or twill tape to use instead.
I was afraid everyone would be disappointed. On the contrary, people were so excited with their cool contrasting drawstrings. Every time I taught the class from then on I gave people the option of either method, and 9 times out of 10 people opted for the fancy contrast option.
Elastic
Adding elastic to your casing can be a practical choice even when applying a drawstring. The elastic will lend stability, while also allowing you to tie your drawstring more loosely, without the fear of a wardrobe malfunction.
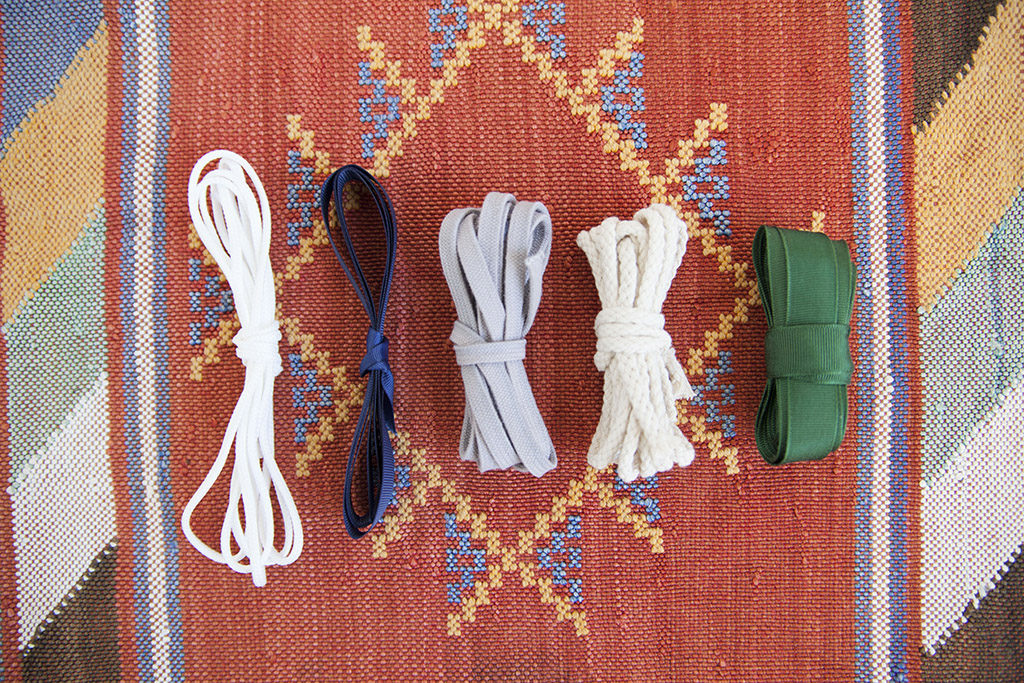
I have fairly simple taste, I like a lot of chambray, denim, and black, so I always like to infuse small details into my projects so I don't end up making very similar looking garments. Check the notions section at your local fabric store for trims that can be used as drawstrings, you may be surprised what you turn up.
Cording
Try using cording, most fabric stores carry this basic notion in a natural color. Left as is this can be a casual element that lends a nautical vibe. Cording can also be dyed to create a custom touch to your project. I love that this particular material is so sturdy, making it the perfect option for projects like the Seabrook bag.
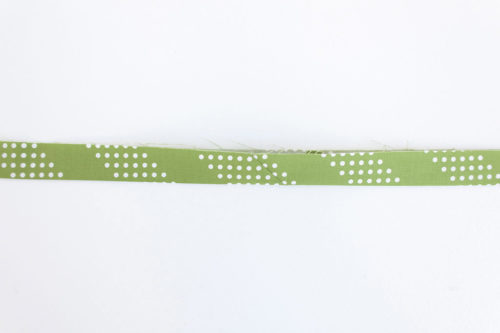
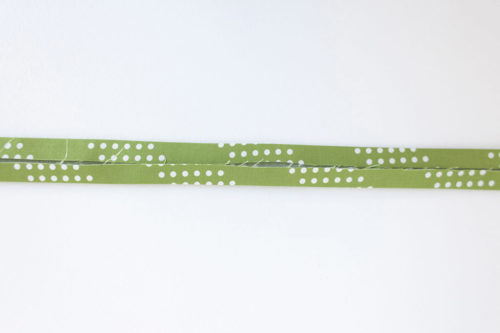
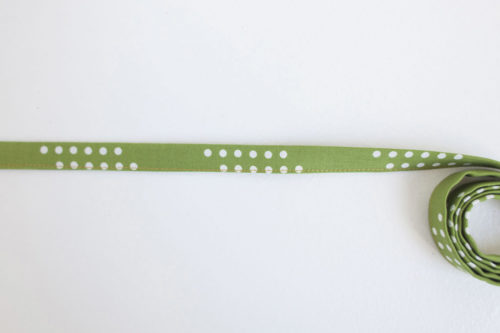
Twill Tape or Ribbon
More and more shops are carrying a rainbow of twill tape. I have been stocking up my stash with pretty colors that would be stunning used as a drawstring. Grosgrain or other ribbons can also add a more feminine touch to a garment.
To ensure that your project maintains a professional and clean quality, finish the ends of the twill tape or ribbon with a small hem. This will prevent fraying and and ensure that your project will hold up well to wash and wear.
Self Made
I love this method because all you need are some sizable scraps. I like to use this when my fabric is a louder color or print and I don't want to add design details that will make the over-all look too busy.
Easy 4 Step Self Made Drawstring
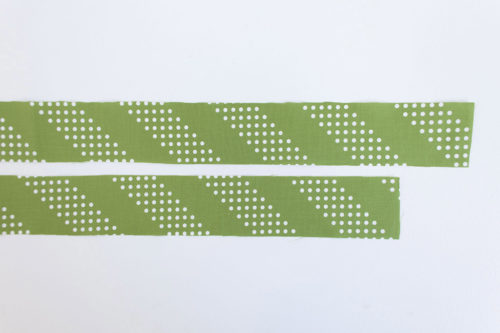
Step | 01
Cut 2 strips of fabric that are 2" wide and 30" in length. These pieces should run parallel to the length of grain, this will prevent them from stretching with wear.
Step | 02
Join short ends together to create one length.
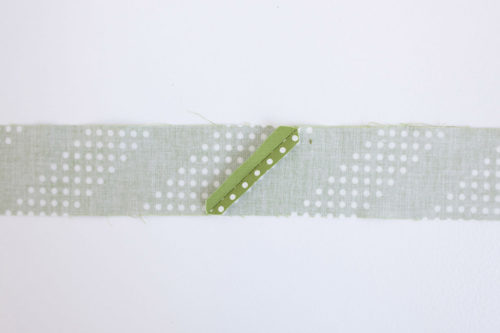
Step | 03
Fold in half length-wise.
Step | 04
Fold raw edges in towards center fold. Press.
Step | 05
Edgestitch along open edge to finish.
The Devil is in the Details
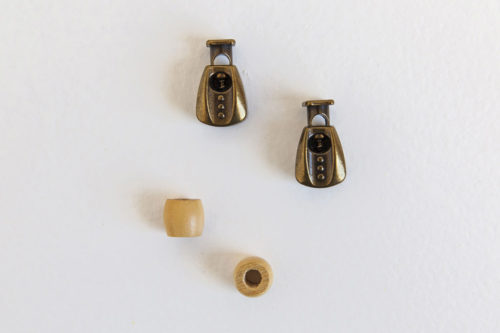
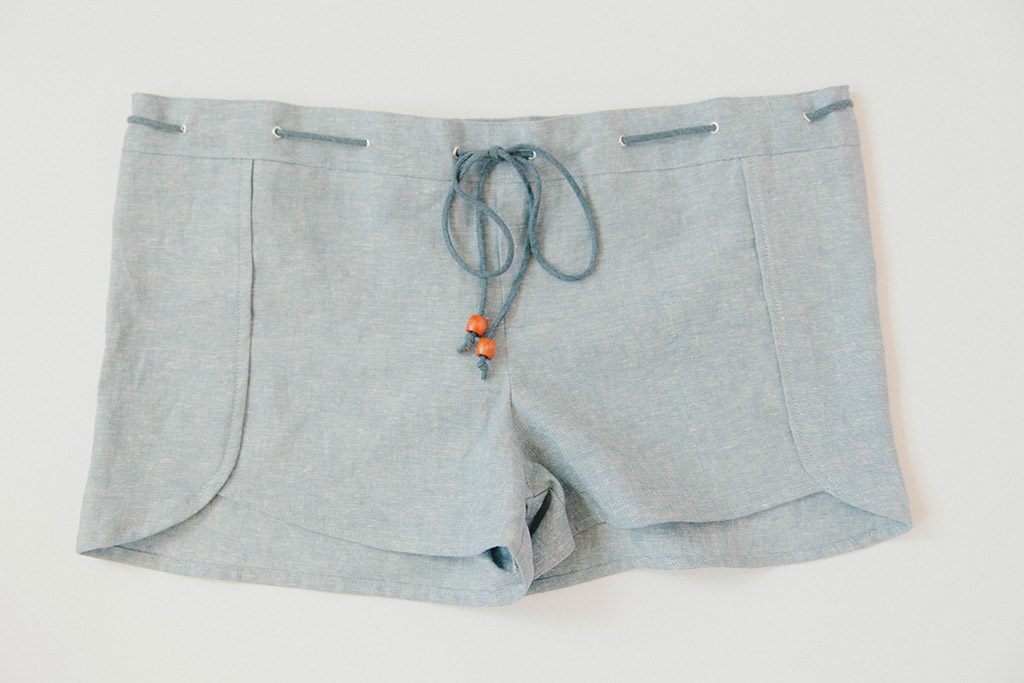
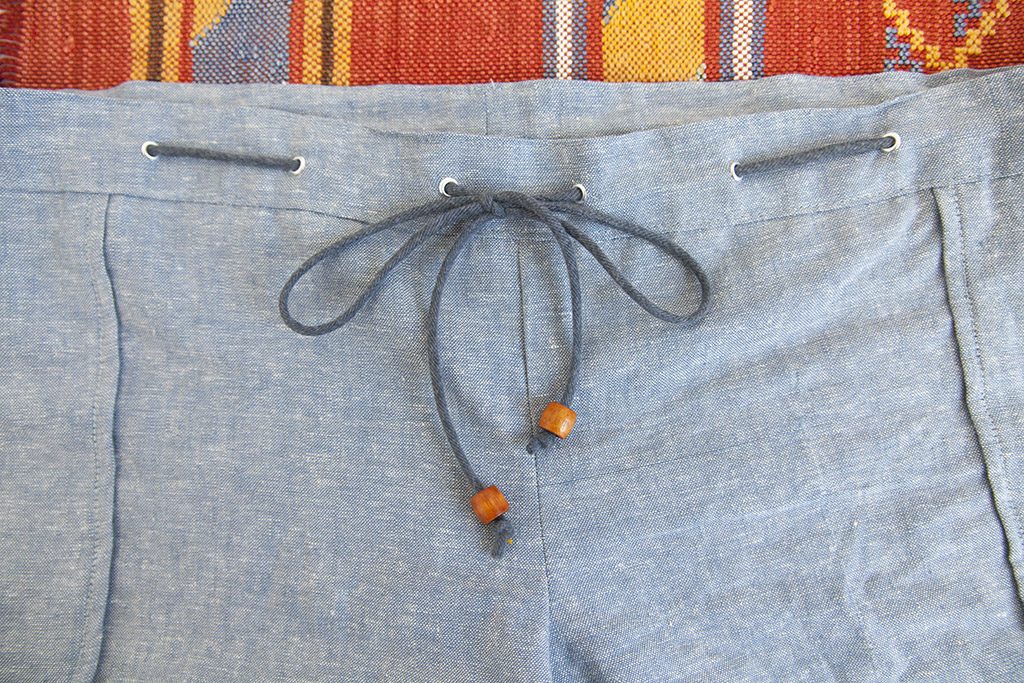
Keep cord ends from slipping back into casings by adding hardware or other details like beads or knots to make your project really stand out.
- Cordstops: this piece of hardware features a small spring mechanism to secure cording and drawstrings to prevent them from slipping into the casing. They come in a variety of color and finishes.
- Beads: Use a wood or metal bead at the end of your drawstring. This is a great design detail but also prevents slipping during the wash cycle.
- Knots: Get out your boy scout handbook and get creative with knots. A simple overhand knot can be appropriate for a more minimal look and will keep your drawstrings in place, but it isn't your only option. Try a figure 8 knot or a more elaborate decorative knot.
Reconsider drawstrings. When a little special attention is applied, they can be a lovely detail that looks as thoughtful as it does pulled together. Try sewing up the Nantucket shorts or the Seabrook bag, mix things up by using eyelets or using an unexpected trim as the drawstring. Remember the best thing about sewing is that you can bend the rules and make something that is unique to you.

About the Author
Haley Glenn is a staff writer for Seamwork. She is a professional sewing writer and teacher based in Portland, Oregon.