Sign In

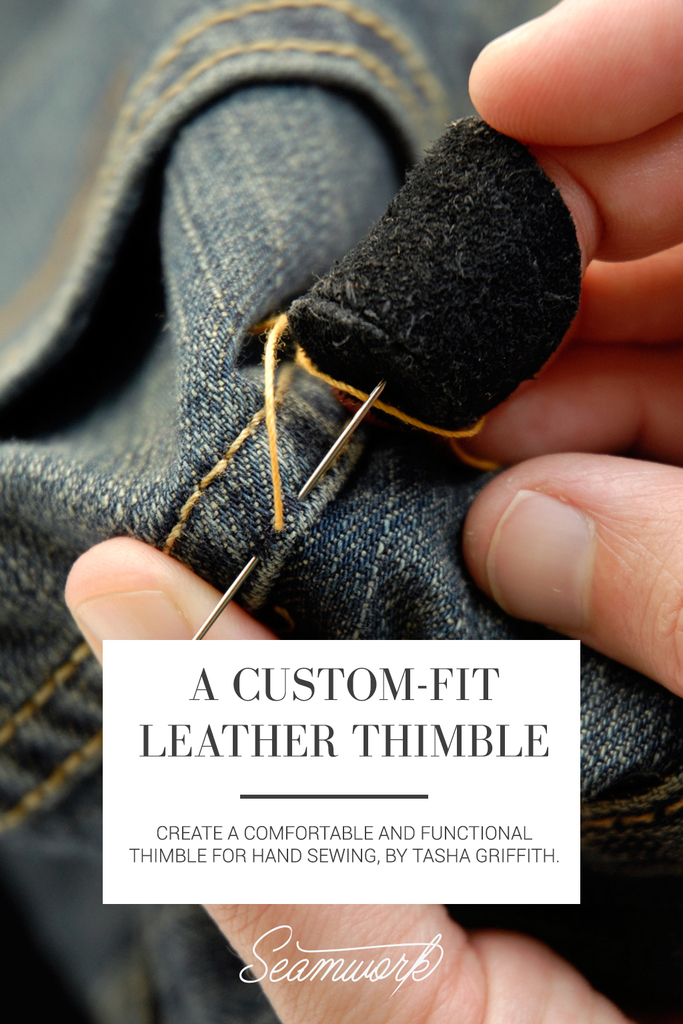
Once upon a time, I was sewing something tough by hand. I needed a thimble, but I was fed up with the ones I had. I really needed one that would stay on my finger without cutting off the circulation or getting hot and sweaty, one that was easier to feel the needle though, closer to the shape of my actual finger. Fed up, I grabbed some leather scraps I had on hand, and improvised one of my favorite-ever sewing tools. At this point, I don’t even remember the project I needed it for, but the thimble itself quickly became an indispensable part of my sewing life. It was everything I wanted: sturdy enough to protect me from needle jabs, thin and flexible enough to feel the working needle through, and comfortable enough to wear for hours at a time. I’ve worn it for practically every stitch of hand sewing since, and my fingers are better off for it.
I spent some time figuring out how to replicate the features of that first thimble that worked out so perfectly, and a method to make one to fit any finger. With this tutorial, I hope you can have a thimble you love as much as I love mine, and even better, customize it yourself!
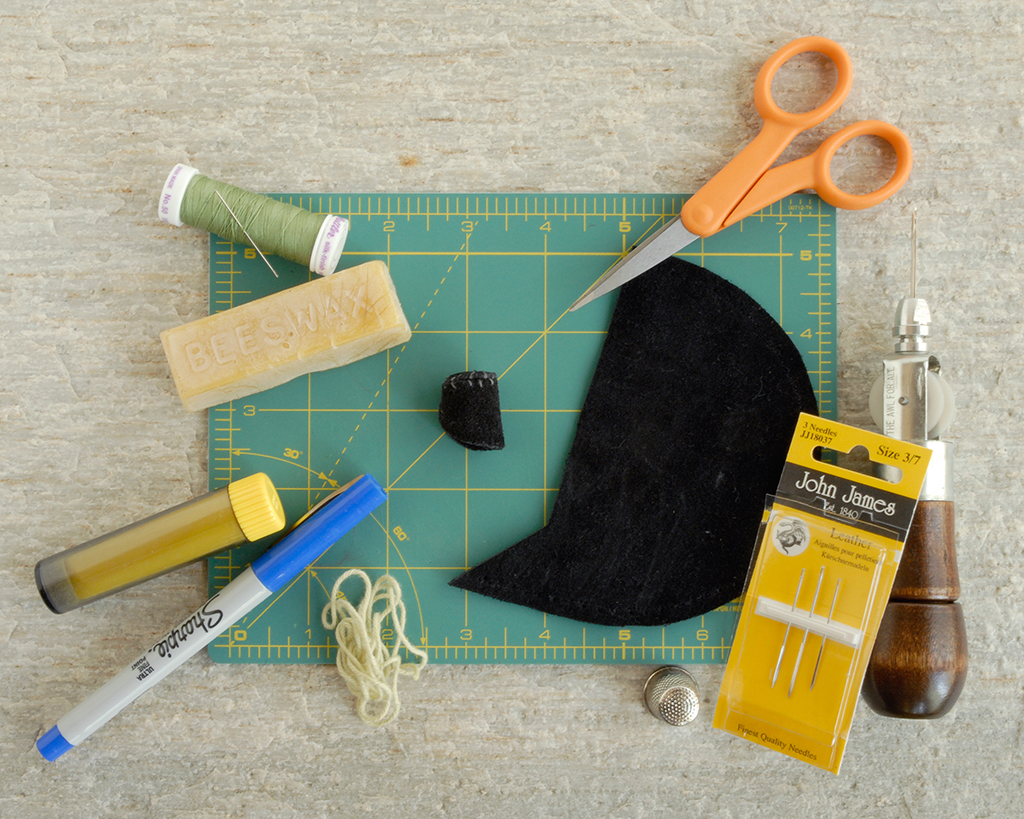
Supplies
Draft Your Thimble
Step 1
Draw around the tip of the finger you want the thimble to fit (usually the middle finger of your dominant hand). Leave a little ease—you want the cap of the thimble to be about 2 mm (or the thickness of the leather) bigger than your finger, so that there will be room for the sides of the thimble to tuck under the cap. Don’t worry too much about making a perfect circle. Cut out the cap, smoothing the shape as you go, then check it against the tip of your finger again to make sure the size seems right.
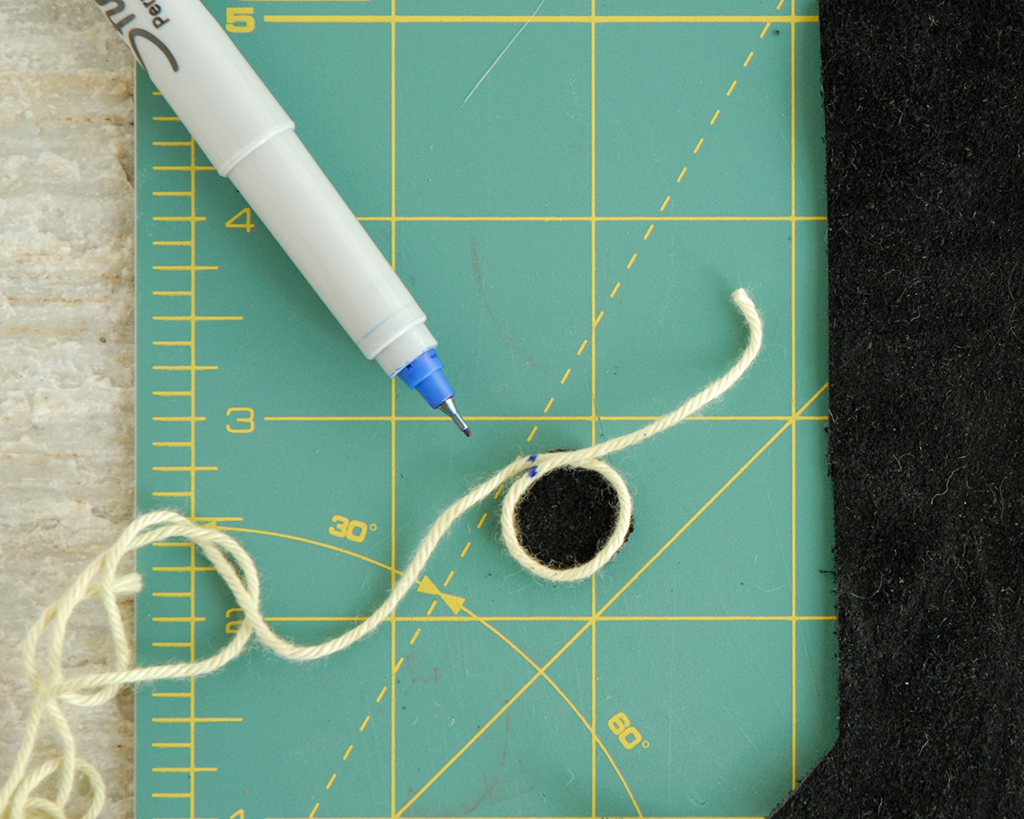
Step 2
To draft the thimble side piece, you need to know the circumference of the cap you just cut out. It can be tricky to measure such a small, round shape, so use a piece of string curled right along the edge, and mark the length around with a marking tool.
Step 3
Draw a straight line several inches long across the leather. Use the string to mark the circumference of the cap along the line. Also mark the center between the two string marks. Draw another line ¼” outside of the string mark on each end for the overlap.

Step 4
Draw the shape of the side piece: mark it 7/8” wide (or the length from the tip of your finger to the first knuckle) at the center. Gently taper this line toward the straight line from the center out on each side, and then dramatically taper in the overlap, leaving a short straight end on each side. (The smaller, overlapping part of the thimble will go on the bottom of your finger.)
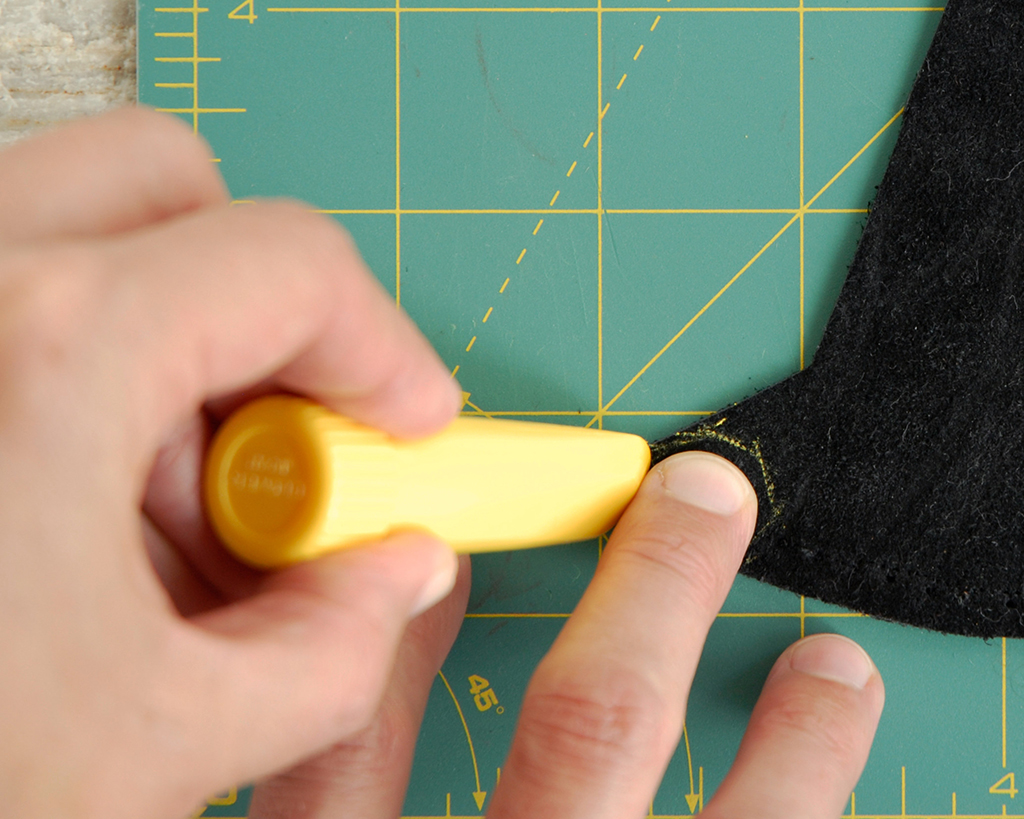
Prepare for Sewing
It is much easier to make holes in the leather first, and then do the actual sewing with a regular needle.
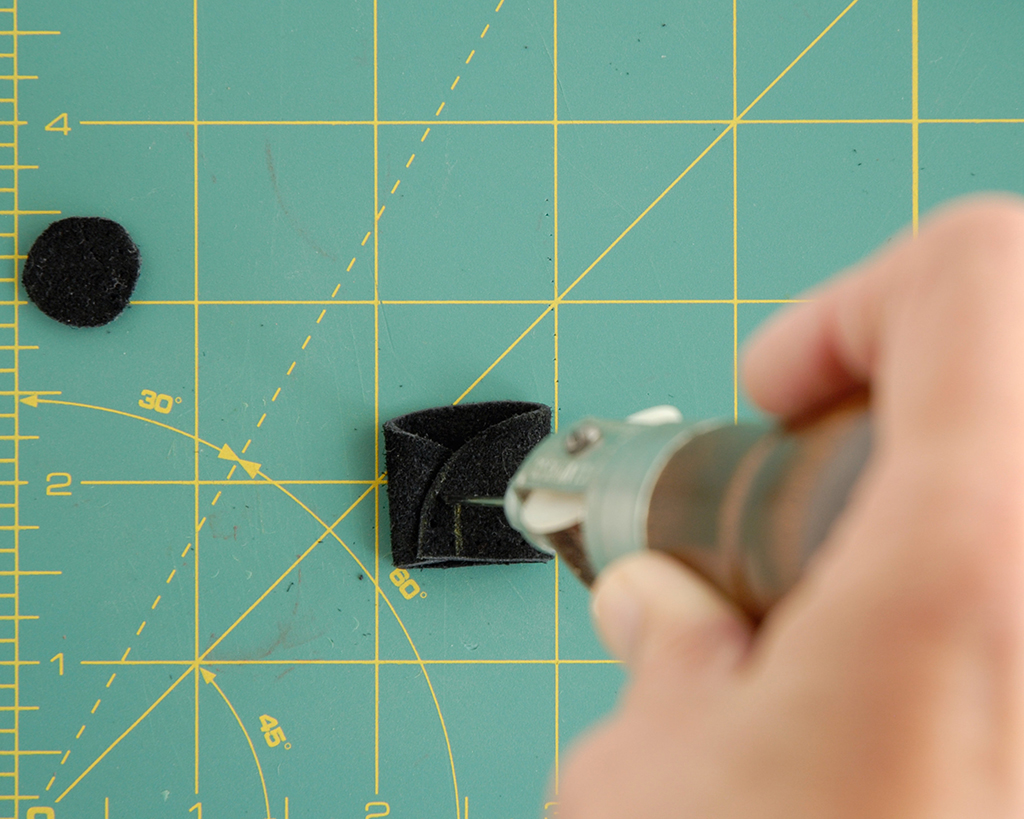
Tools designed for sewing leather have a sharp diamond-shaped tip that cuts the material to make a hole. My favorite tool for this is an awl, either one that holds a needle (you won’t use the thread) or one with a fixed blade and a fine point. If you don’t have an awl, you can use a leather needle to make the holes, with a thimble to help push it through.
In either case, work over a cutting mat. Try punching the holes on a scrap of your leather, and use different size leather needles if you have them. Ideally your hand-sewing needle should fit easily through the holes, but without too much extra space around it. Unless you actually remove part of the leather, the holes will start to close after they are made, so it’s best to make them right before you’re going to sew.
Step 1
Punch the holes about 1/8” apart, and 1/16” from the straight edge of the side piece, and the same distance around the outside of the round cap piece. Either measure and mark the holes, or eyeball it—whichever suits you better. Make one hole close to each end of the side piece.
Step 1
Overlap the side piece, so that the two marks which correspond to the circumference of the cap are aligned. In this position, punch three more holes near the edge of the overlapped leather. You want the holes to go through two layers of leather. Any marks made by the tip of the leather needle into the third layer won’t make much difference, but if you’d rather avoid them, place a small scrap or two of leather in the center of your side piece before you fold it up.
Prepare Thread
Use a natural fiber thread, like 100% cotton, which will absorb the wax (polyester doesn’t). Waxing the thread makes it stronger and easier to work with, easier to pull tight against the leather (especially important for this project), and more likely to stay that way.

Step 1
Cut a piece of thread about the length of your outstretched arm, and pull it gently across the wax, so that it bites into the surface just a little bit.
Step 2
Coil the thread up around two or three fingers, and sandwich it inside a press cloth or a scrap of muslin (to prevent wax from building up on your iron).
Press the sandwich on a medium setting, without steam. It only takes about ten seconds for the thread to heat up and absorb the wax. You’ll see that the texture and hand of the thread have changed, and it’s ready to use.
Sew the Thimble
Step 1
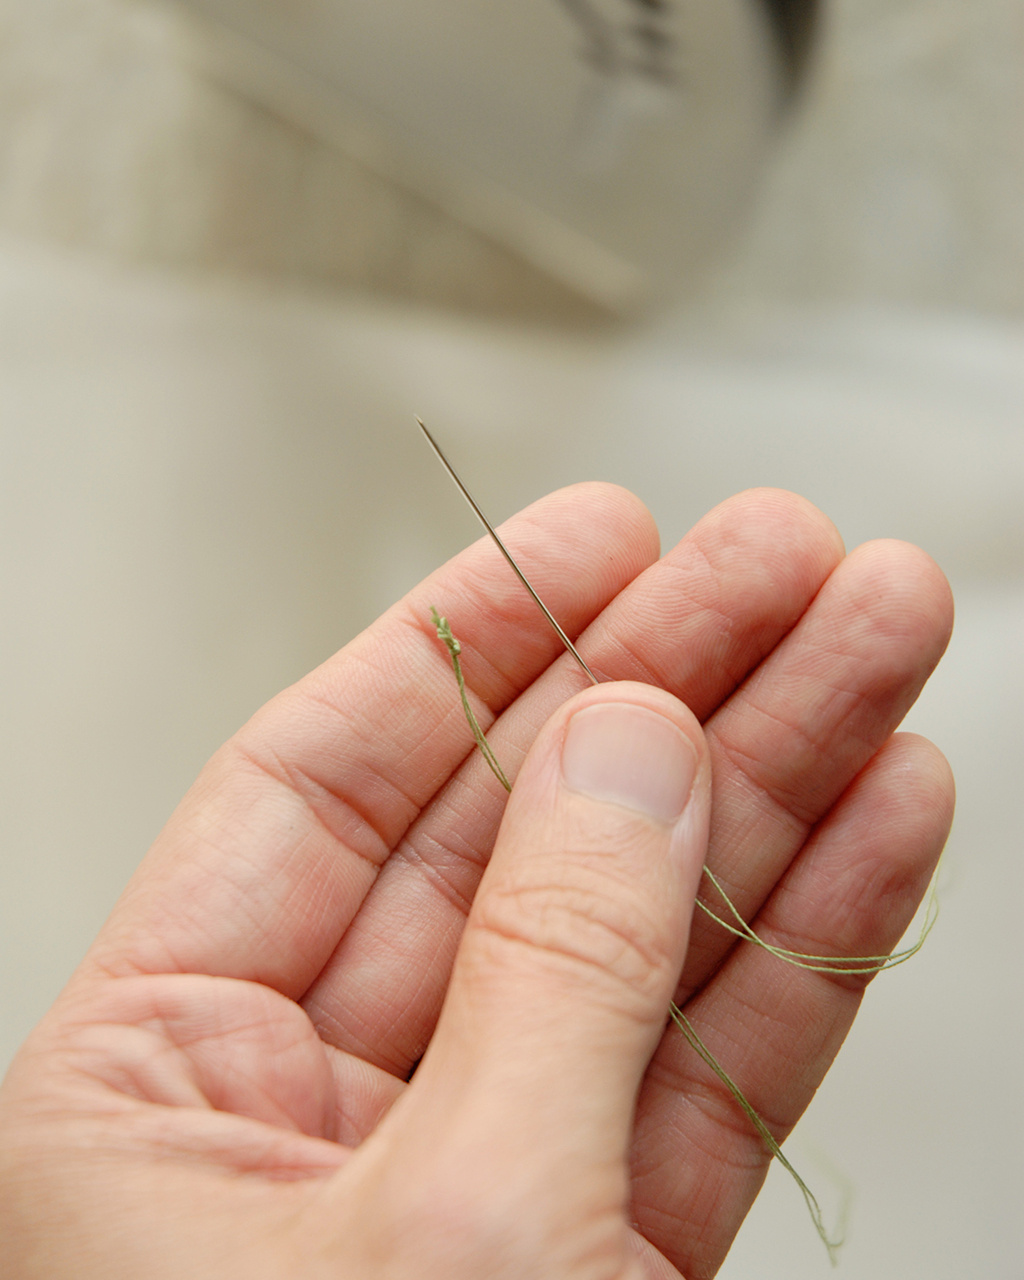
Double the waxed thread through a hand-sewing needle, and tie a knot in the ends.
Tip
If the holes you made aren’t obvious, look on both sides, use good light, and gently probe with the tip of the needle until you find them.
Step 2
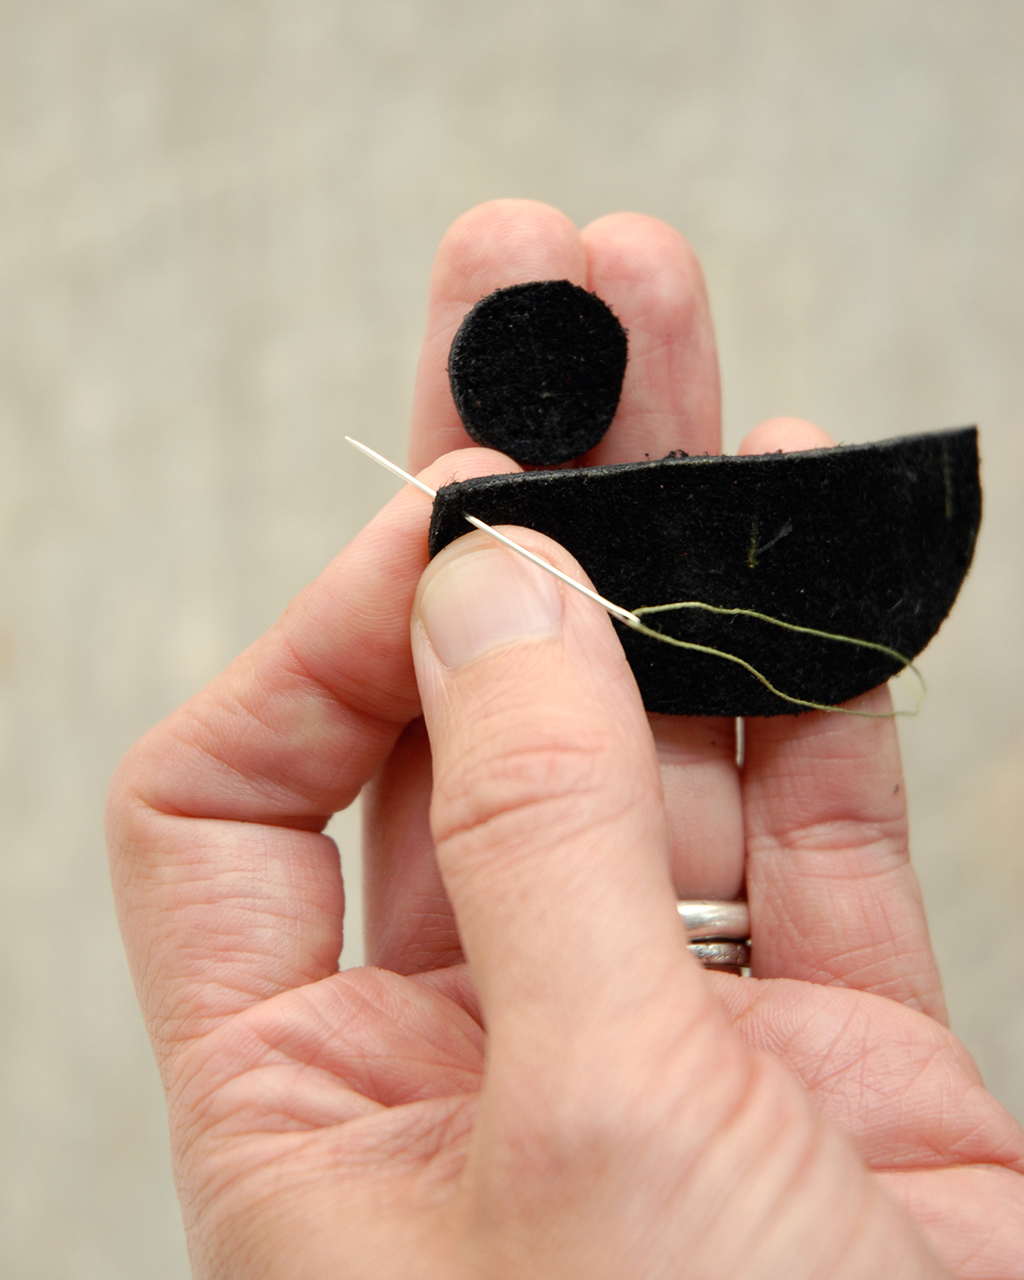
Check to see which end of the side piece has the holes right along the curved edge—this is the top of the overlap. Take the needle through the first hole on the other end, from the right side. (The knot will be hidden by the overlap later.)
Step 3
Using a baseball stitch, sew the cap piece to the side piece. This stitch will cinch the two pieces of leather together. Take the needle to the wrong side of the cap piece, and bring it up through one of the holes (it doesn’t matter which one). Then take the needle to the wrong side of the side piece, through the next hole and out to the right side. Pull the thread tight.
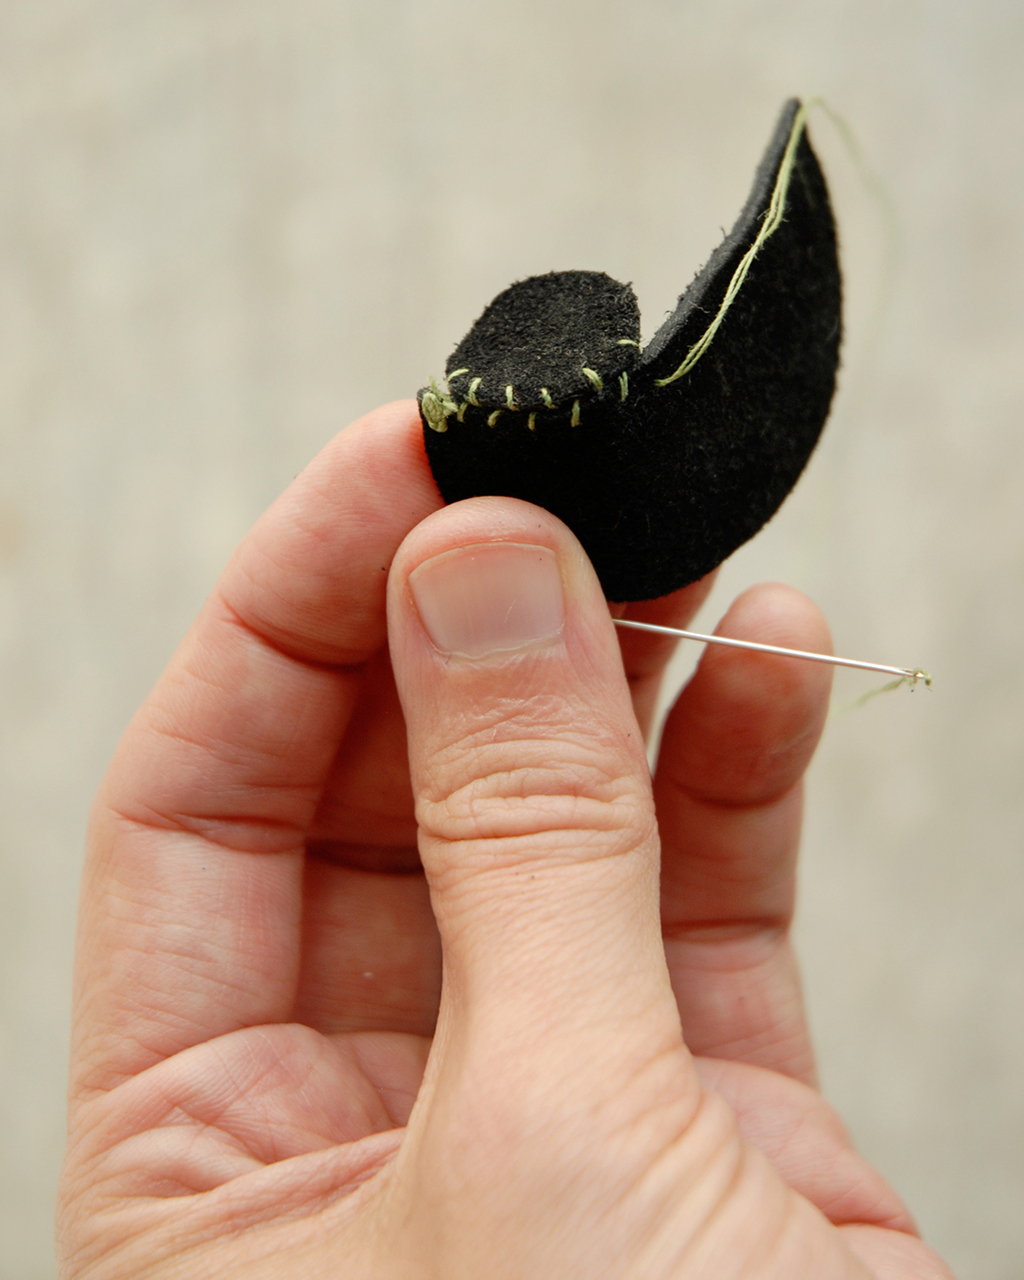
Step 4
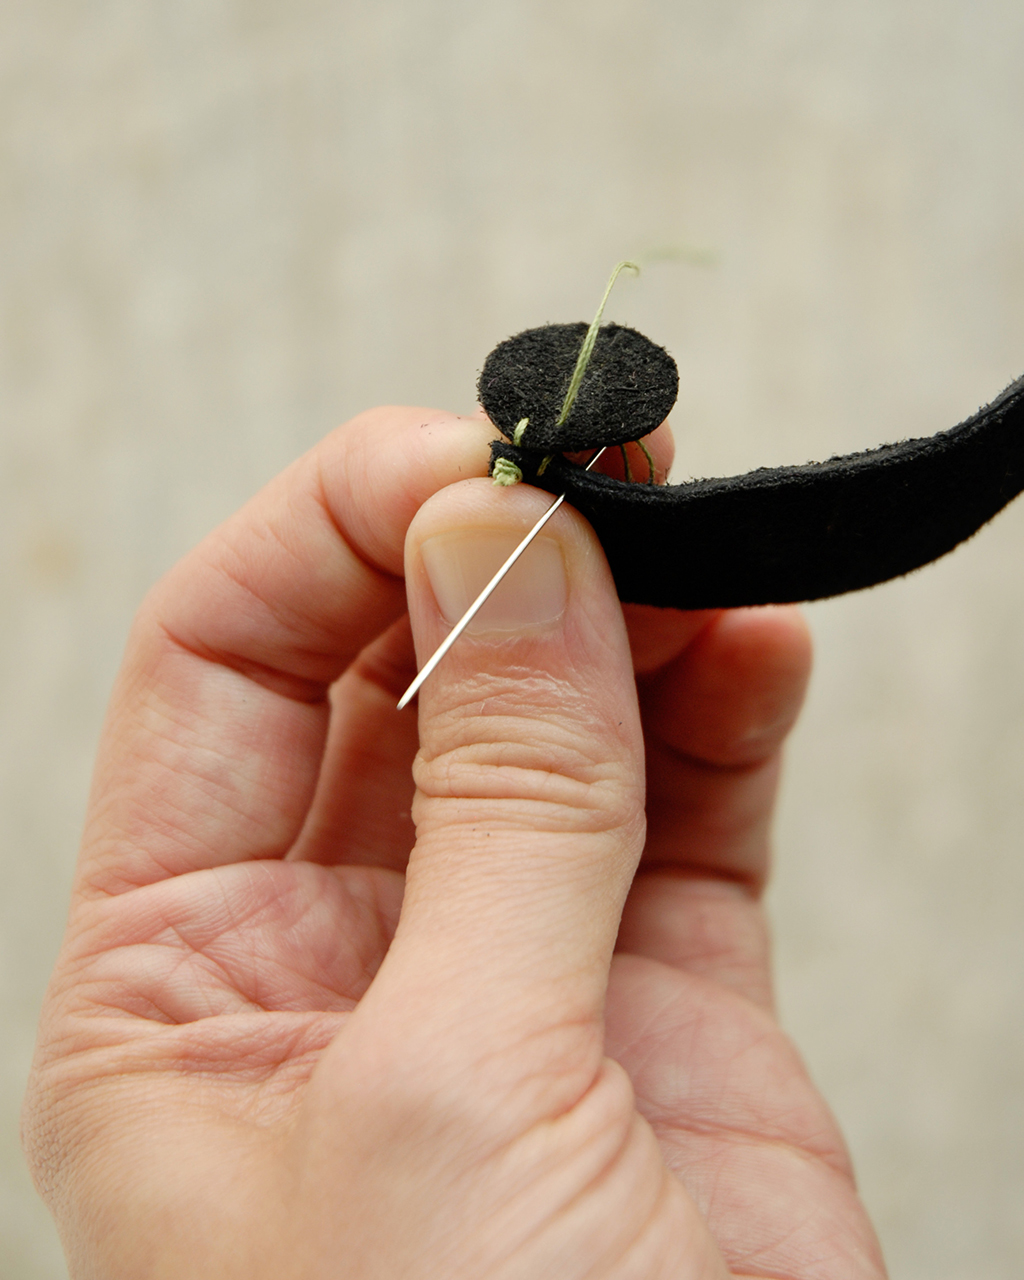
Continue this pattern, bringing the thread around the right side of one piece to the wrong side of the other piece and through the next hole. Try to keep the two pieces close together as you sew, and keep pulling the thread tight after each stitch. Also, keep tucking the side under the cap piece, so that the edge of the side butts up against the wrong side of the cap.
You can go back and cinch up any places where the sewing seems too loose. By pulling the loose thread through the stitches in turn, it’s possible to compress the leather pieces completely against each other, but this also cuts off the airflow. I prefer a balance: tight enough so that a needle is unlikely to slip though, but loose enough that some air can still circulate.
Step 5
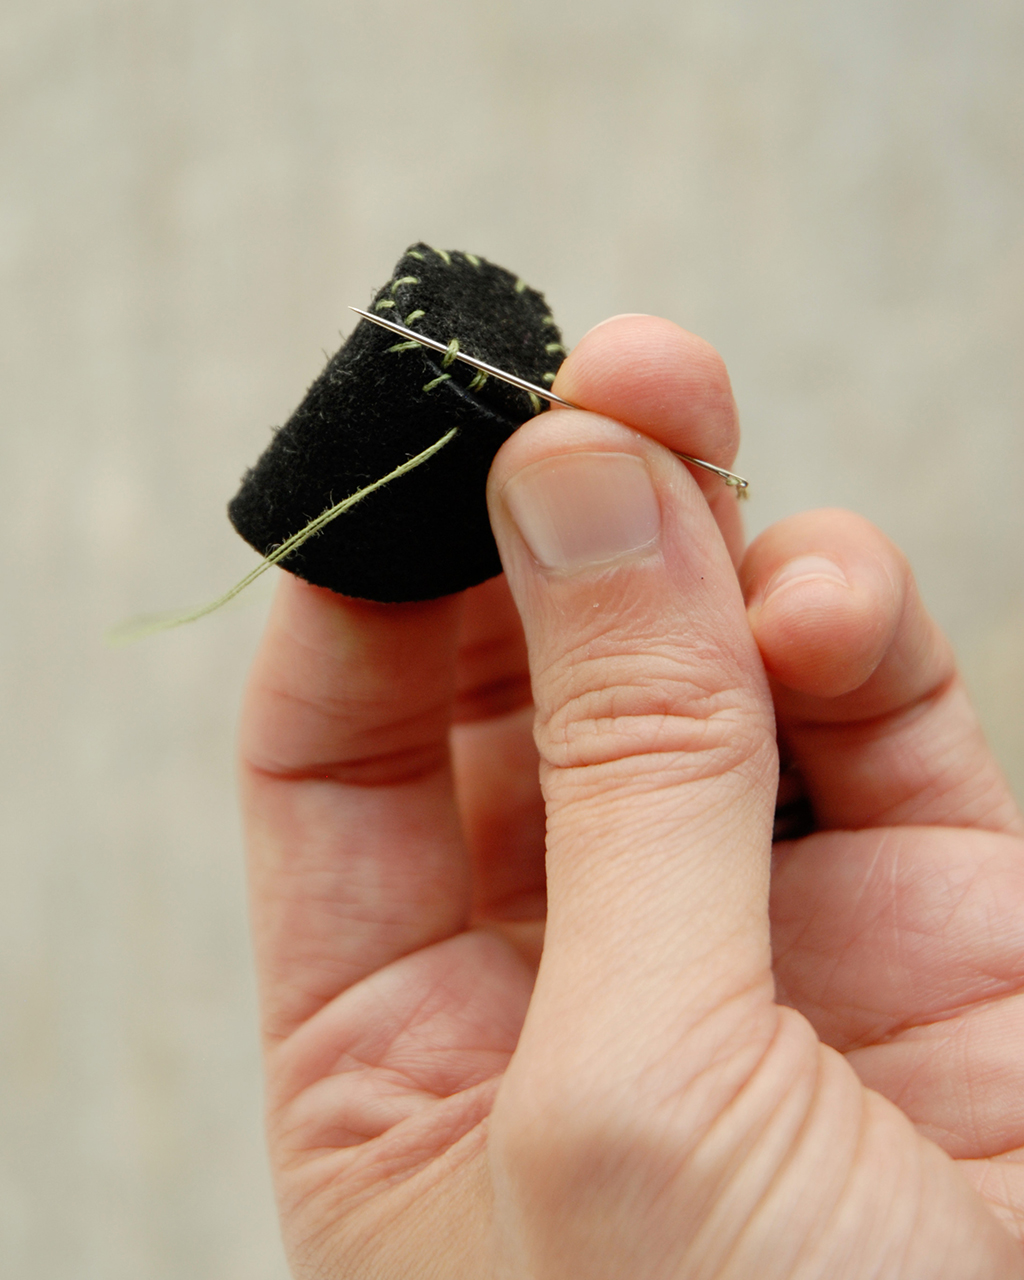
When you come to the overlap, keep the same stitch pattern going, using only the holes in the overlapping layer of the side piece and going through the ones in the cap again.
Step 6
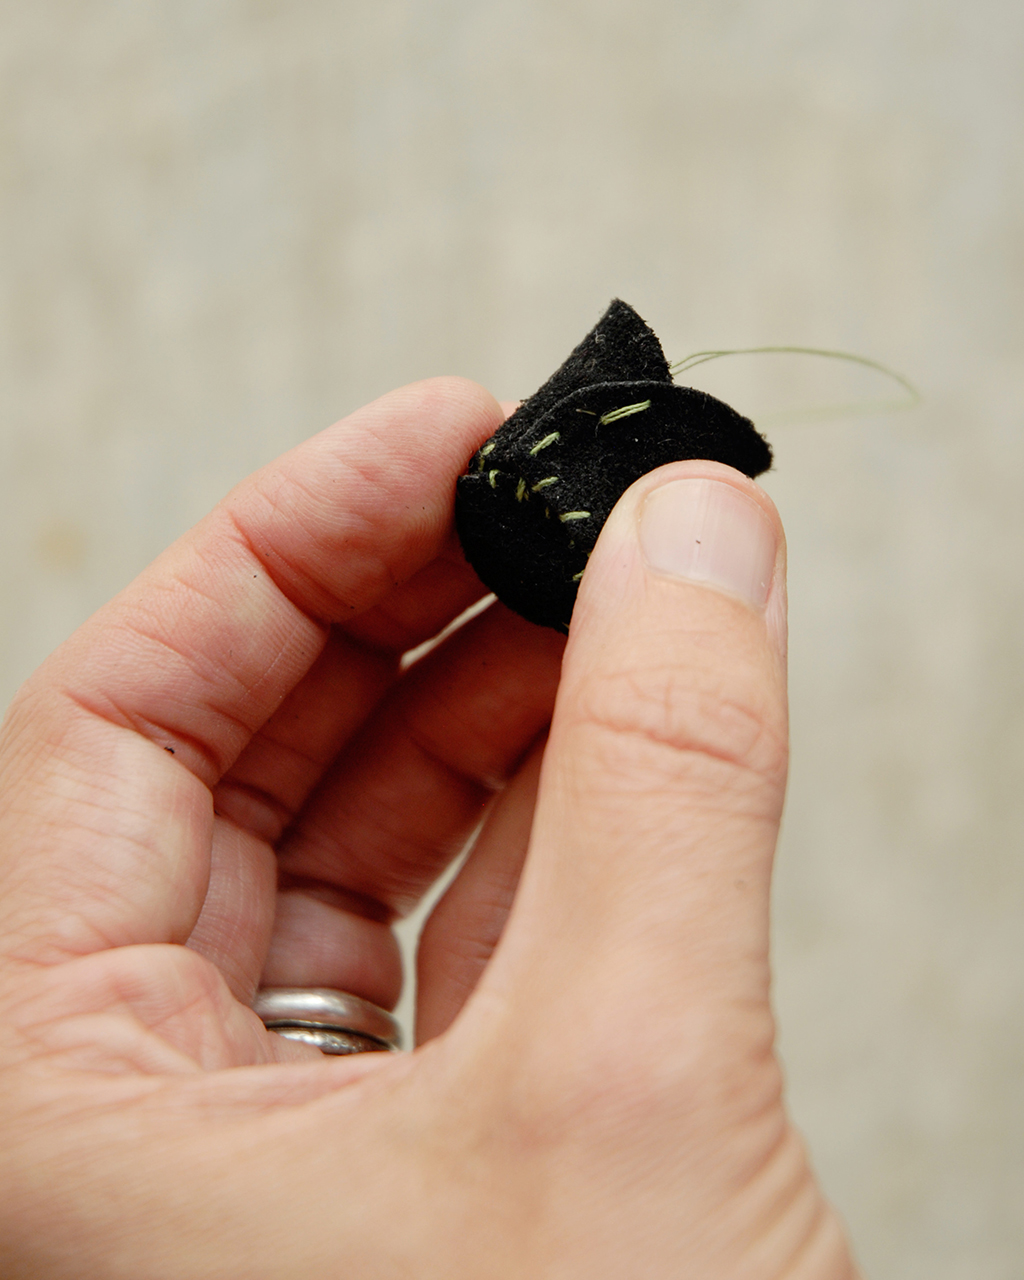
After the needle emerges from the last hole in the overlapping side piece, find the top hole you punched in the overlap, from the right side, and take the needle straight though both layers to the wrong side. It can be a little tricky to get the layers to line up again, so just keep slightly wiggling the layers around until it works.
Step 7
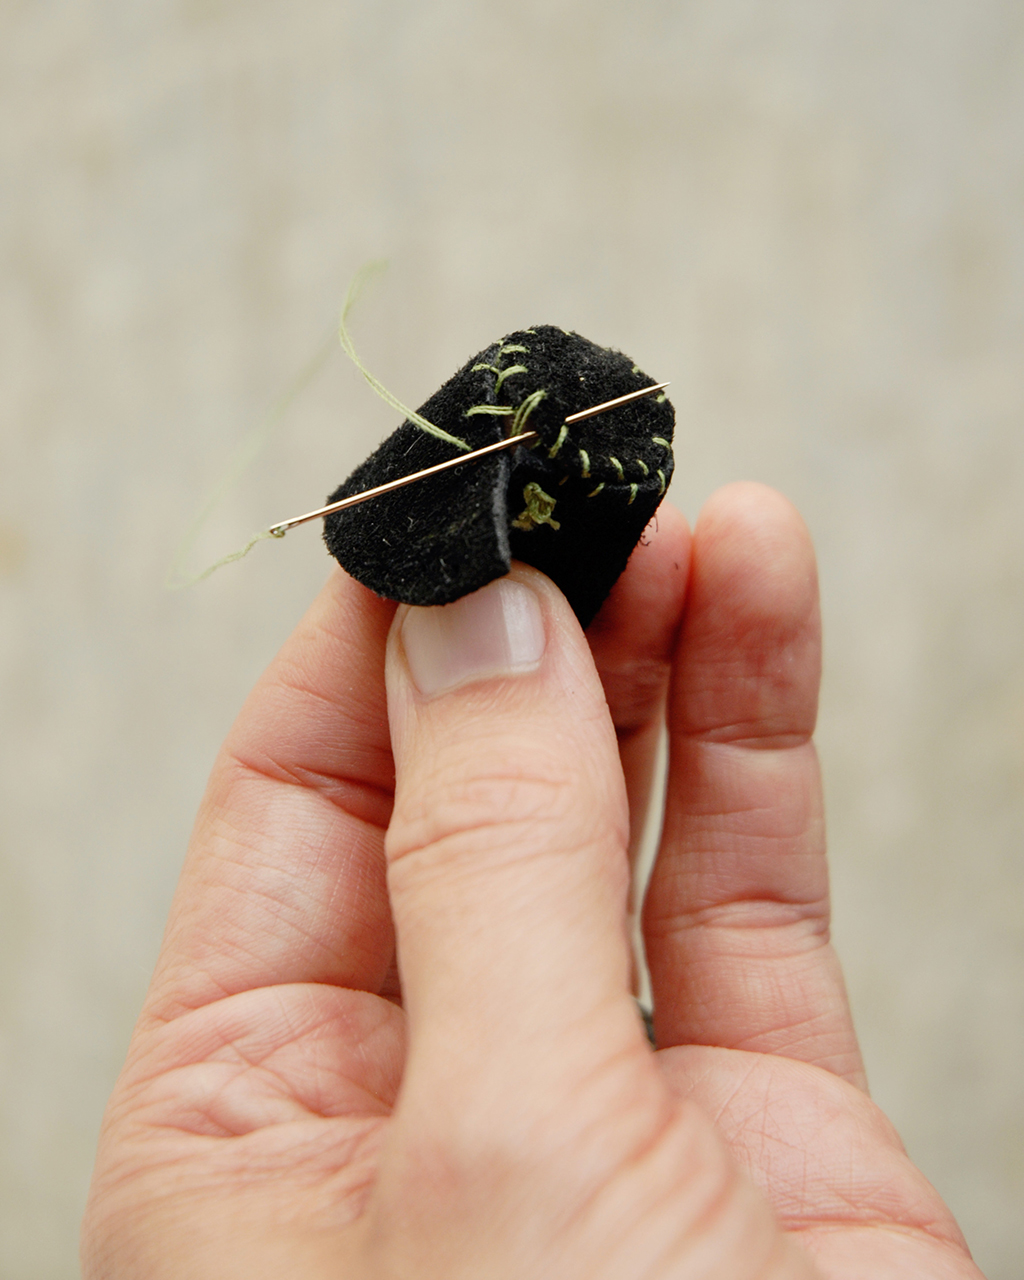
Bring the needle up through both layers in the next hole down, and then back to the inside though the hole at the bottom.
Step 8
For extra security and more neat looks, retrace the path of the thread from the opposite side: bringing the needle back up in the second to last hole, and back down through the next one toward the top.
Step 9
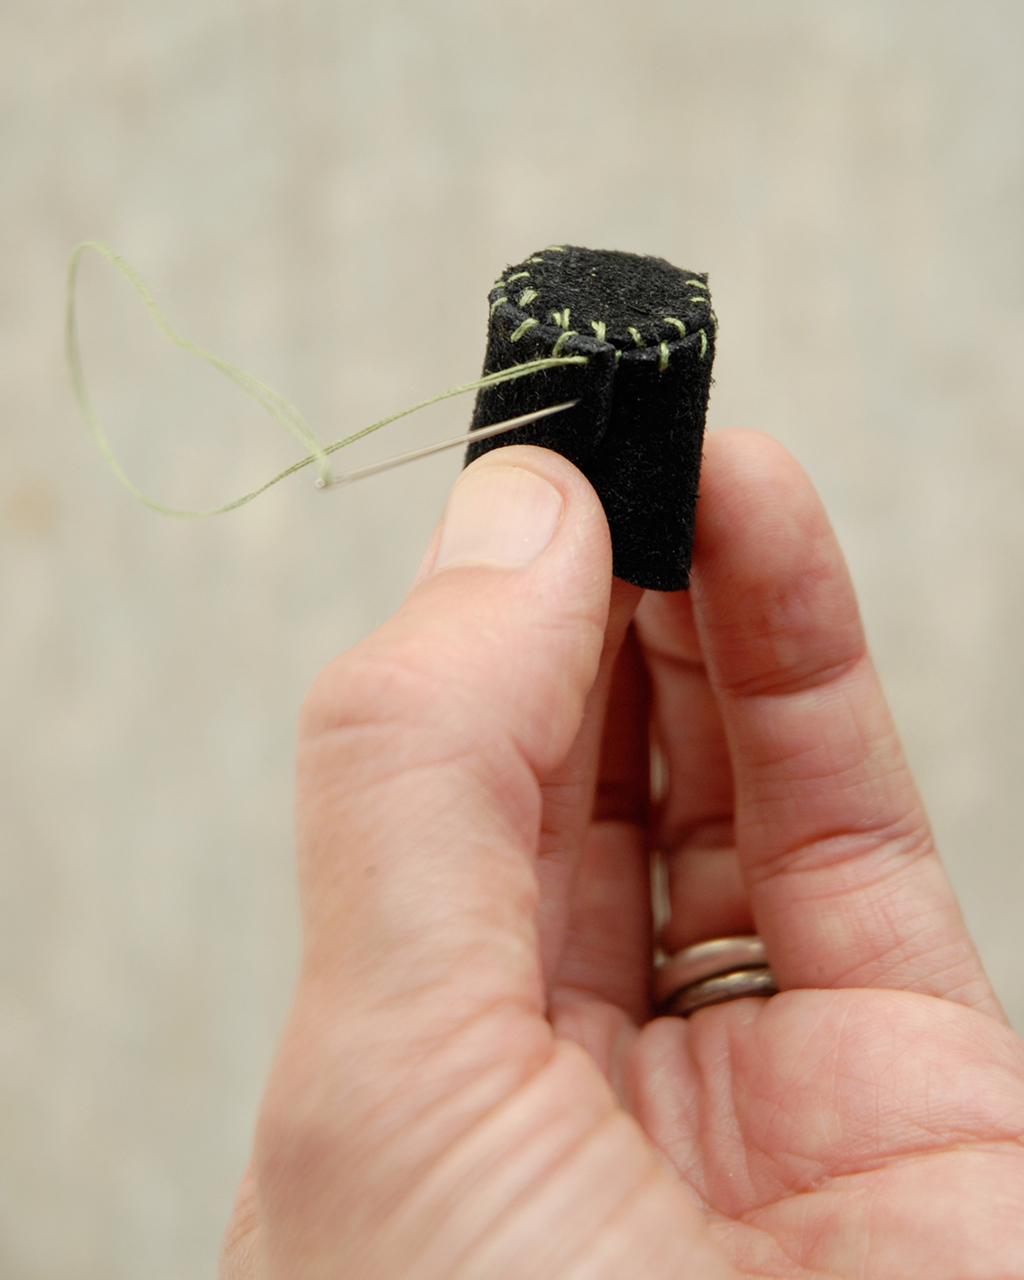
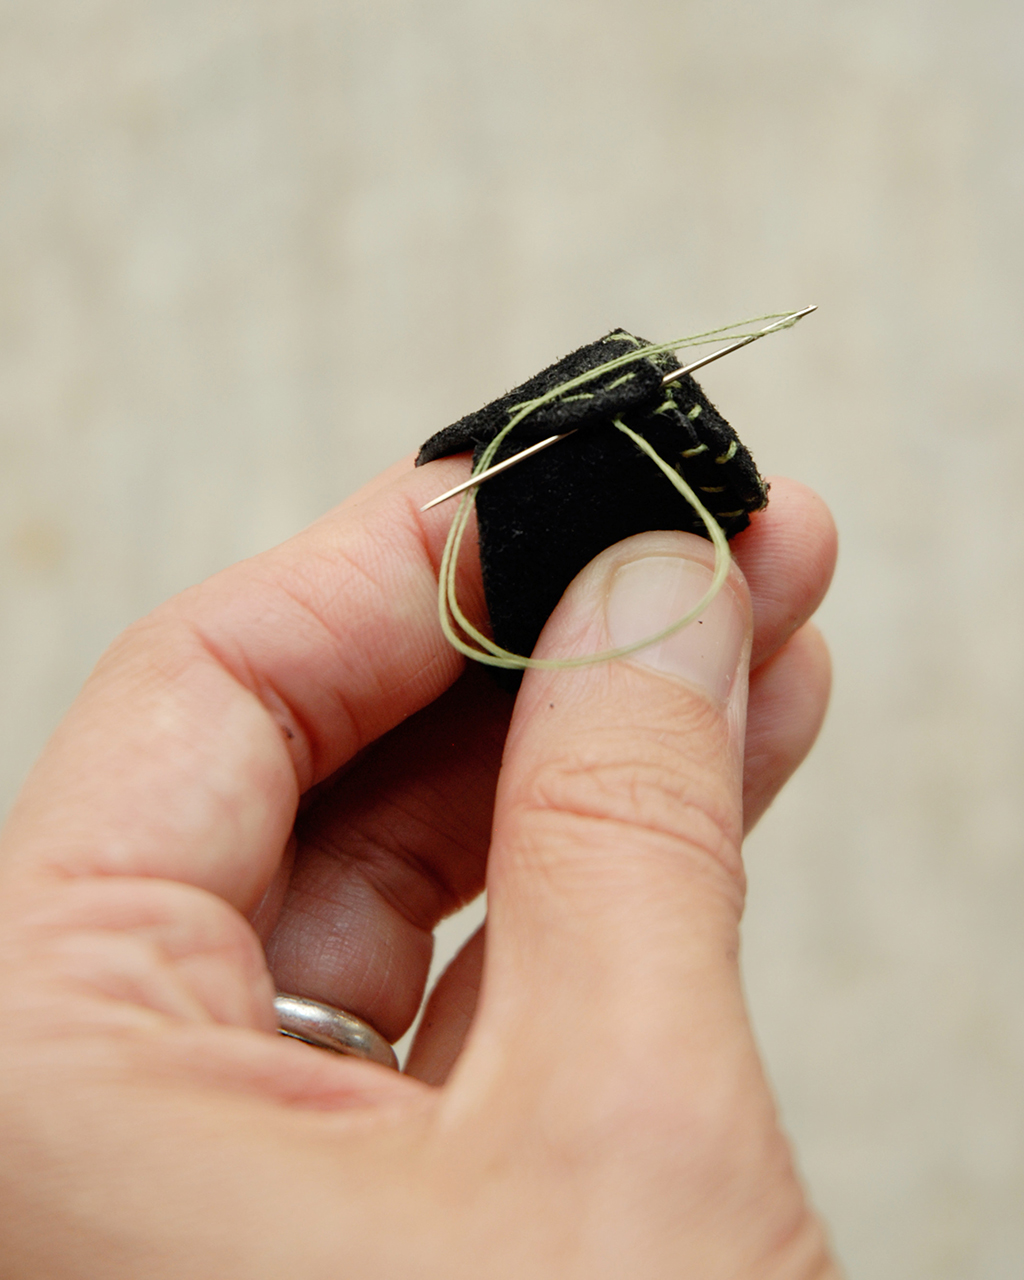
To finish, bring the needle out between the overlapping leather layers and secure it. Take a small stitch through the threads between the layers, loop the working thread around the needle to form a little knot, pull through, and repeat once.
Step 10
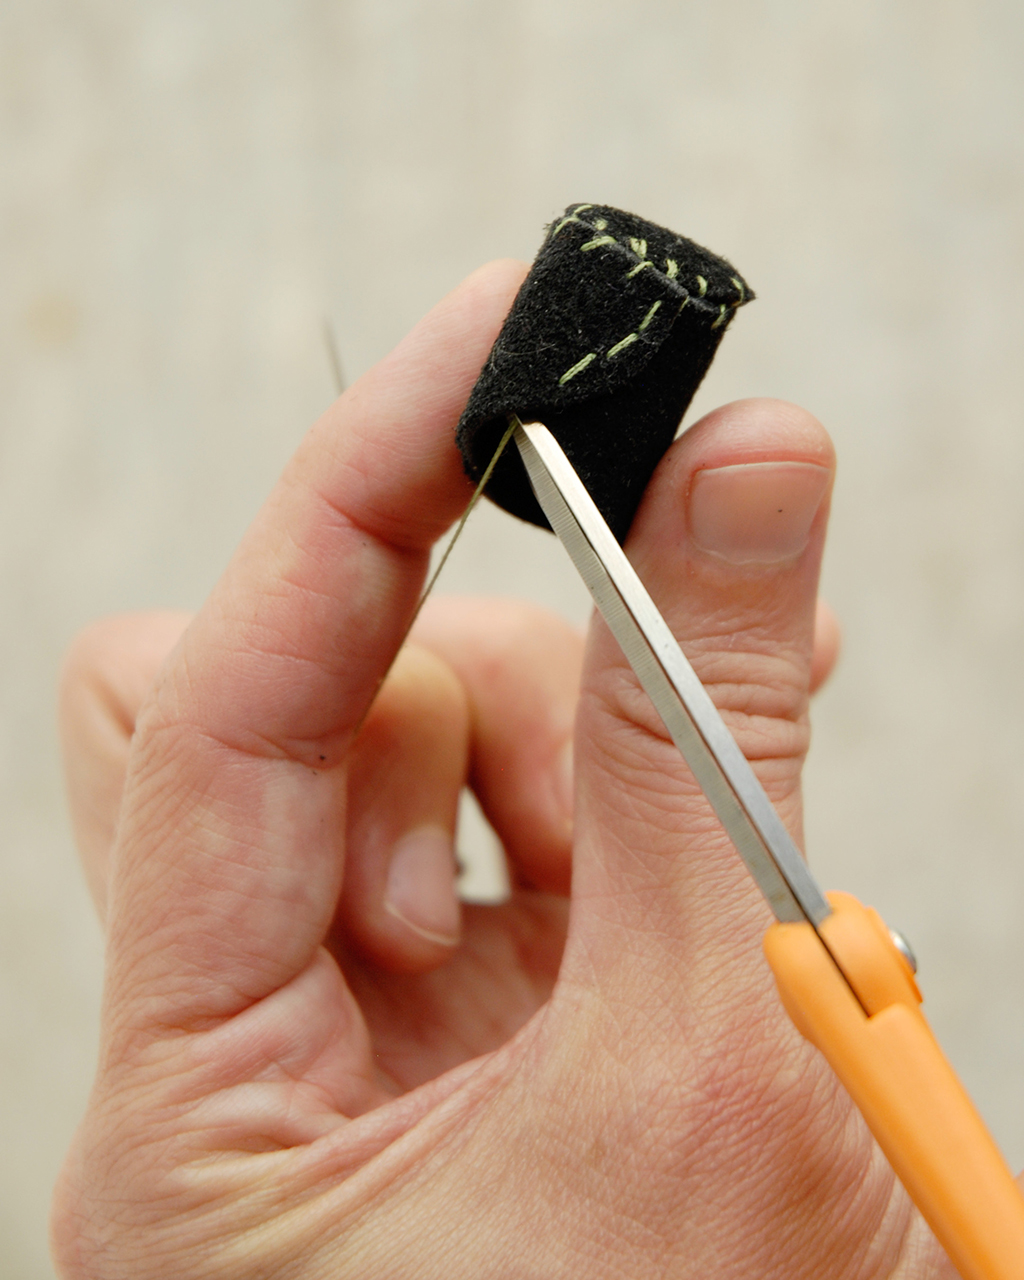
Then bring the needle out between the layers at the bottom of the thimble, and trim the thread.
Wear It, Use It, and Adjust the Fit
The more you wear your new thimble, the more it will take on the exact shape of your finger. I like it to fit just snug enough to keep it from falling off. If you find that it’s too tight or too loose, it’s easy to snip out the thread and try sewing it again, or to cut out a slightly different shape. Since the time and materials required are so little, you can tweak the design to find a thimble that will work just right for you. This custom-fit thimble just might put some more joy in your next hand-stitching project!