Sign In
Like many of you probably did, I learned to sew by hand as a kid before I ever touched a sewing machine. I’ve always been fascinated by historical and couture clothing, and one thing I love about sewing my own clothes is that I can take the time to do steps by hand when it really makes a difference. Hand stitching shares some of my favorite aspects of knitting: it’s a quiet, meditative act of creativity that can travel wherever I do. Lately I’ve also been thinking about hand sewing as it relates to visible mending, slow making, and slow fashion, and incorporating more hand stitches onto the outside of my clothing, not just the inside.
I’m going to show you my five all-time most useful stitches here, along with some applications and tips that I hope will be interesting even to those who already do a lot of hand sewing. I think of hand stitches as concepts that you can vary to suit your needs and the look you want, rather than giving them different names when they are a little bit shorter or longer, and that’s how I’ve grouped them here. Whether you’re looking for a couture touch for a special project, or sewing you can take on your next road trip, I hope you’ll find these stitches handy and enjoyable to make.
General Hand Sewing Tips
Use lengths of thread no longer than your outstretched arm. Longer ones are more likely to tangle, and wear out the thread before you finish with it.
Use a sharp needle, with the smallest eye practical for you to thread. The smaller the eye and finer and sharper the needle, the easier it will be to push it through your fabric, especially if it’s tightly woven.
To thread a needle: pinch the thread between your thumb and forefinger so that you can barely see the end. (In fact, this works even if you can’t see it!) Holding your fingers together, press the needle down on top of the thread. If you’re using a needle with a bigger eye, you can fold the thread over to make a more compact nub, which is easier to get the needle over. If only one end of your thread will fit through the eye, trim it and/or wet it to make it more compact. If none of these methods work for you, use a needle threader.
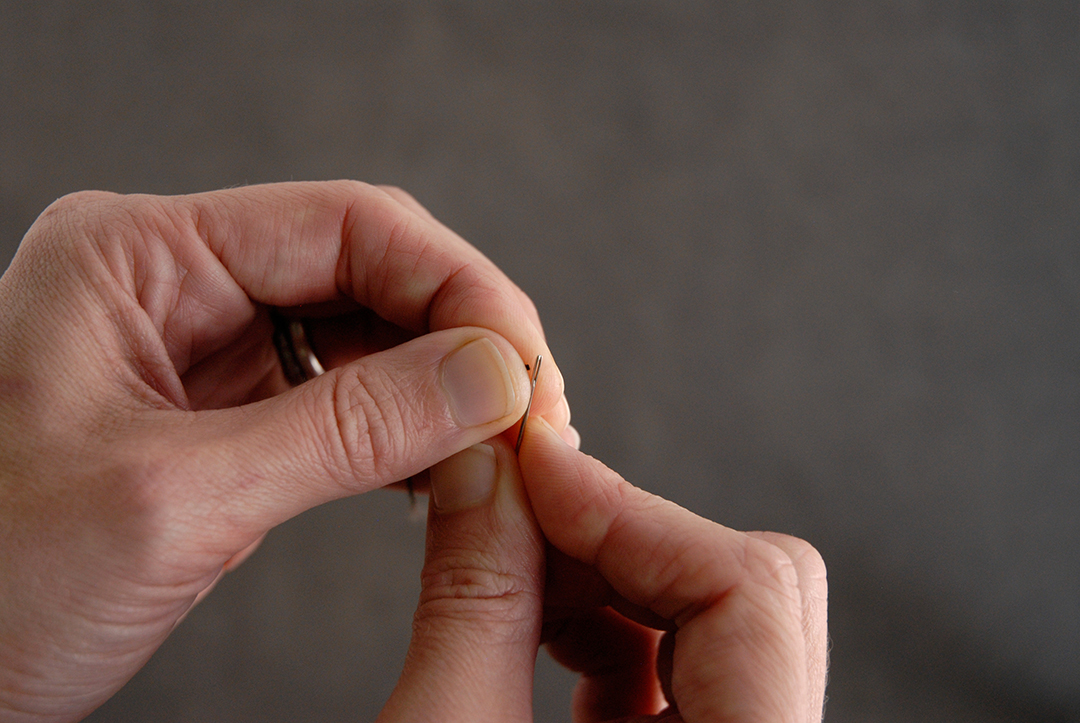
It’s easier to push the needle over just a tiny bit of thread, rather than trying
to poke through a long thread end that bends and moves.
- To begin, anchor your thread in a place that won’t show on your project. You can knot the thread, and bring the needle up to hide the knot between fabric layers or on the wrong side. Or take a long stitch between layers to act as a thread tail, and then use a couple of very small backstitches (see below) to hold the thread in place.
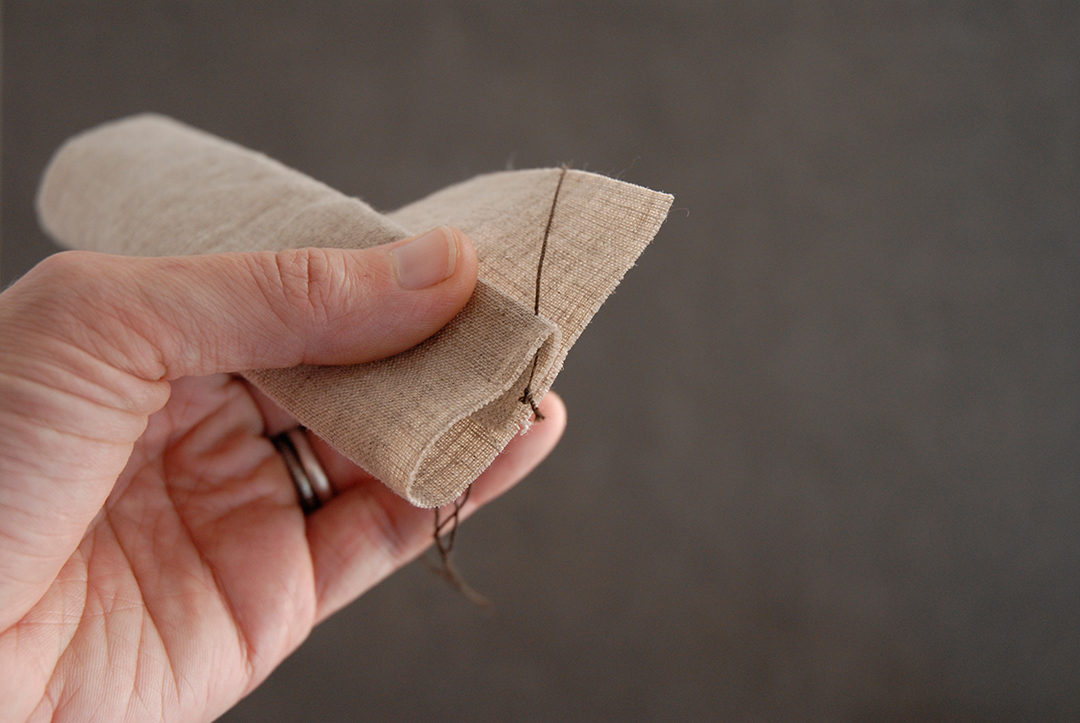
Under the fold of a hem is a good place to hide knots and thread ends.
If the thread tangles while you’re working, keep in mind that any knots that form must be some version of a slip knot (since neither end is free to become involved). Many times you can pull out a spontaneous knot by pulling on both the thread ends, and/or using your needle to pull out from within any small loops that form.
When you’re finished stitching, my favorite way to keep the thread in place is to take two or three small backstitches anywhere they won’t show. Just under the edge of your seam is often a good place. Then take a long stitch between the layers, bring the thread up, and snip the end close to the surface. This way a hidden tail of thread remains to keep the stitches from pulling out.
Running Stitch
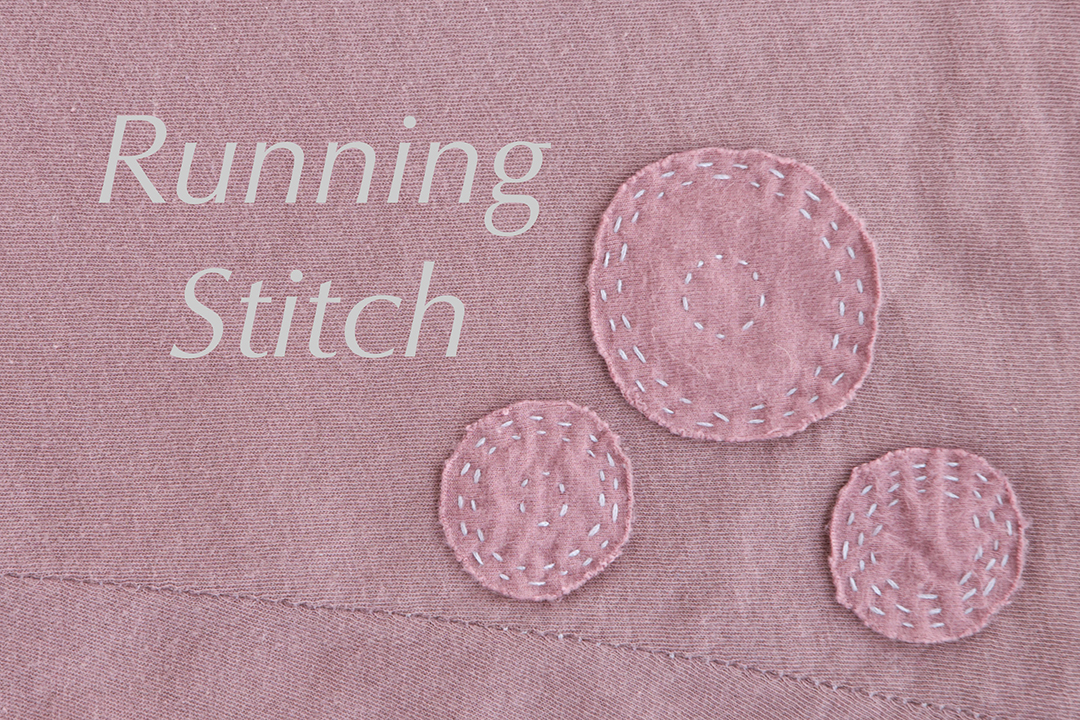
This simplest of hand stitches is also one of the most versatile. Before the invention of the sewing machine, most of the clothes and household textiles in the world were sewn with running stitches! Long running stitches are perfect for basting. This stitch is also used in embroidery and decorative mending techniques like boro and sashiko. For some inspiring hand sewing and visible mending using a lot of running stitches, check out the work of Alabama Chanin, gridjunky, and Katrina Rodabaugh.
The ability to take multiple stitches at a time makes the running stitch
faster to work than most hand stitches.
Stitch It
Make running stitches like they sound: by running your needle and thread in and out of the fabric layers over and over.
Tips
With thin fabrics, you can make this stitch more efficient by scrunching up the fabric in front of the needle and picking up little “bites” of fabric until you have as many stitches as will comfortably fit on the needle, and then pulling it through. Experiment with rocking the needle and the fabric until you find a motion that works well for you. If your fabric is thick and you want small stitches, you may need to stab the needle straight through the layers instead, taking one stitch at a time.
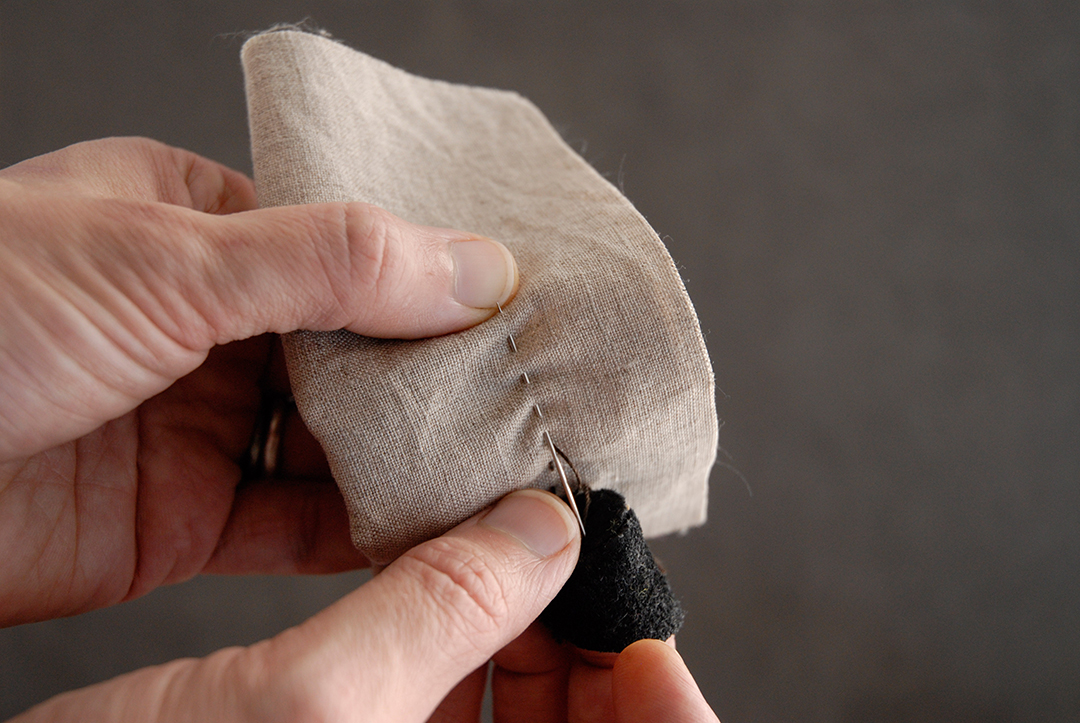
Backstitch
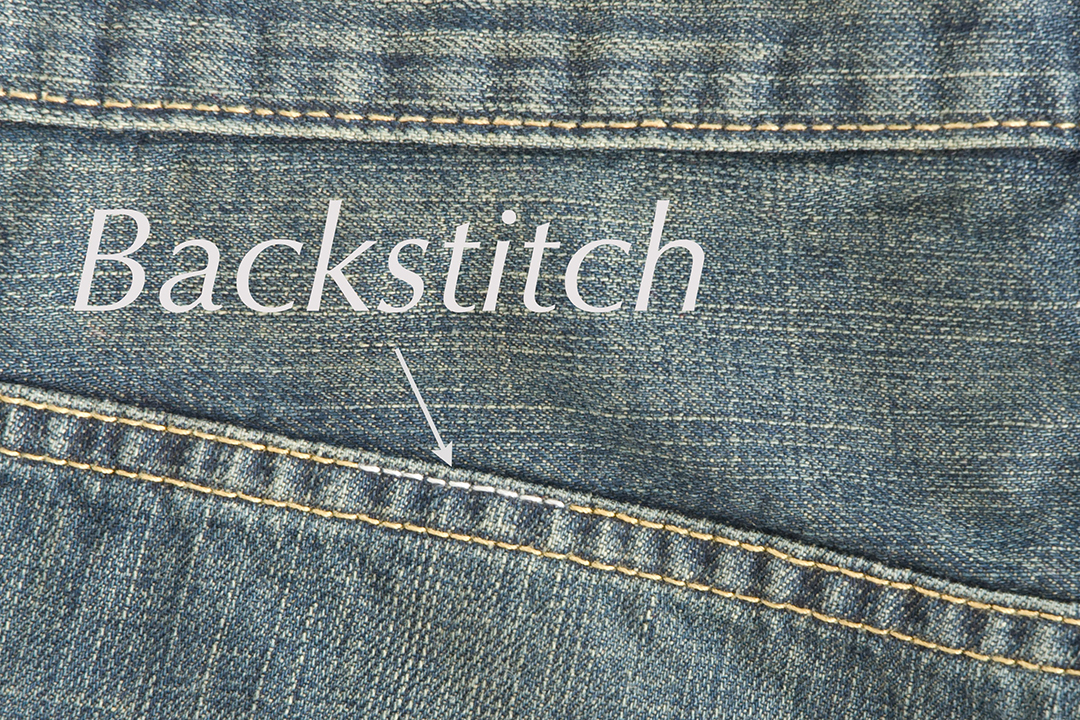
If I had to pick just one stitch to show everyone, it would be backstitch. This is probably the most useful and strongest hand stitch I know. It’s perfect for repairs, since it’s easy to match the look of machine stitching. If you’re sewing a whole seam by hand, adding a backstitch after every group of running stitches will add strength and keep the whole seam from popping at once. Ever since I read an article about it by Susan Khaje in Threads *1, I’ve put all my zippers in by hand using a backstitch. I find it easier than trying to baste the zipper perfectly and then hoping it won’t shift under the machine, and the stitches hold up really well.
Insert the needle behind the thread to complete the current stitch,
and bring it out at the far end of the next stitch.
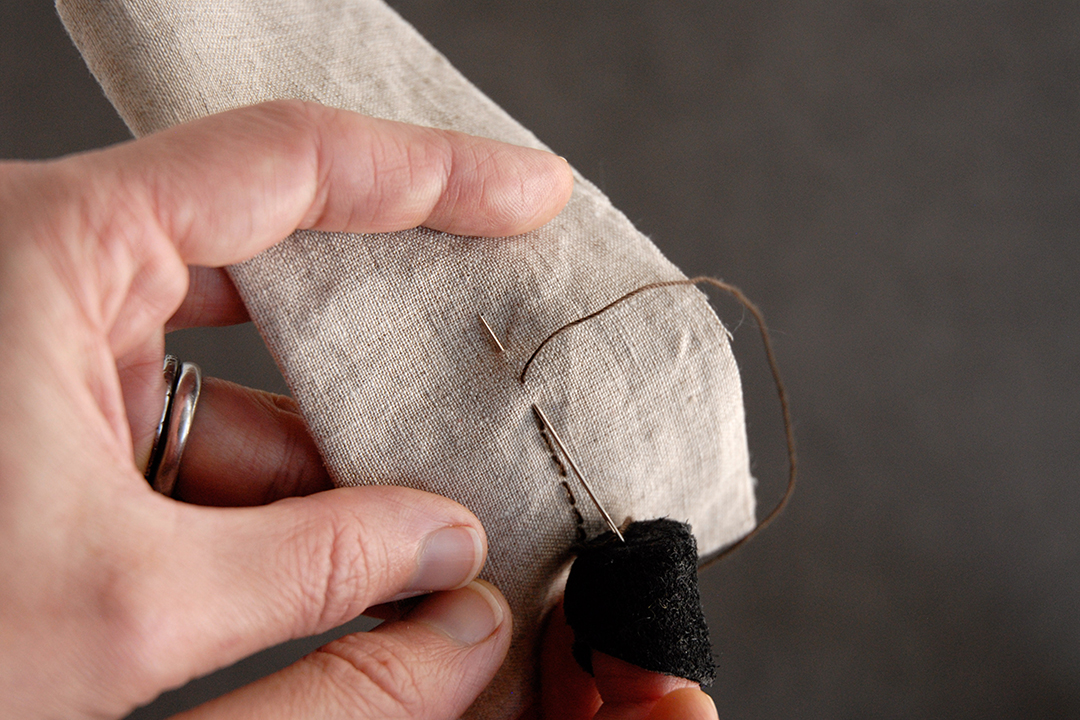
Stitch It
Backstitch is also like its name: instead of always moving the needle forward like you do when making a running stitch, you push the needle into the fabric behind where the thread is coming out. Each time you do this the thread loops around on itself, making a twist almost like a knot, which is flexible but quite hard to pull out.
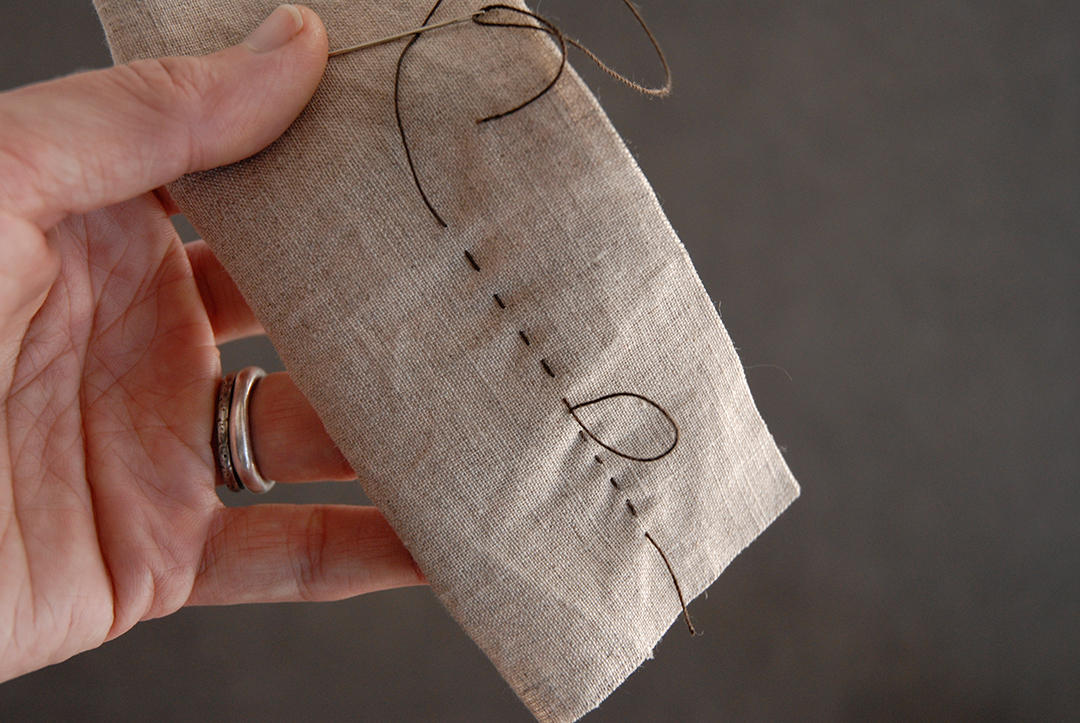
Varying the size of the stitch and the distance between them makes a big difference in
how your backstitches look from the right side.
The wrong side shows the thread looping over itself.
Tips
Backstitches made very close together so that they touch, look almost exactly like machine stitching. While spacing them farther apart looks more like a running stitch from the right side. In either case, the loops of thread are visible on the wrong side.
I use a couple of backstitches all the time instead of knotting my thread, especially when beginning or ending a hand-sewn seam. It holds just as well and is less conspicuous than tying a knot.
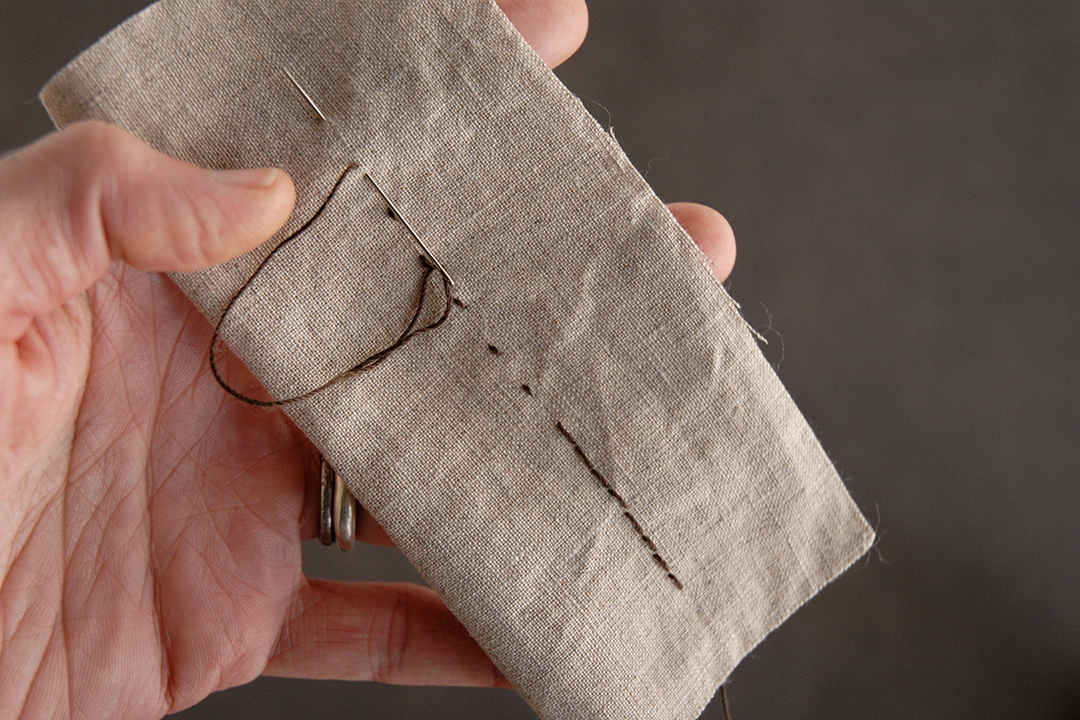
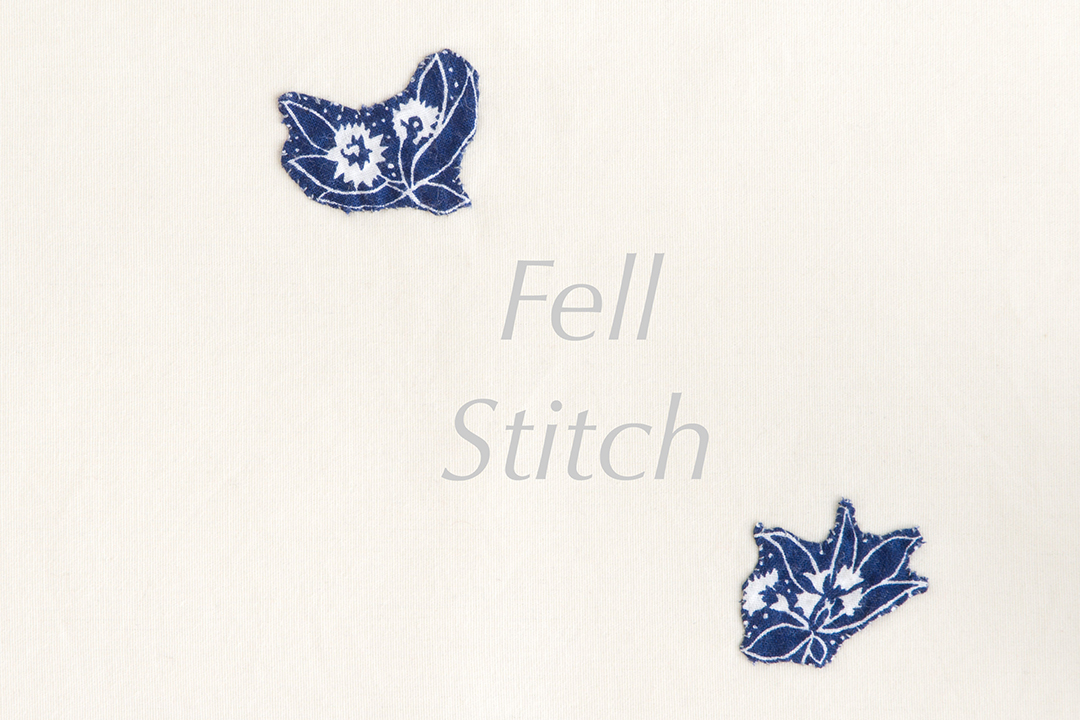
Fell Stitch
Use this stitch any time you want to attach something to the surface of your fabric. Hand appliqué is a classic example. It’s also good for any application where you want to tack down an edge securely. Fell stitches usually refer to small, straight stitches. Angled versions go by names like “hemming stitch,” but the idea is the same. You can change the look by varying the depth and angle of the stitches you take.
Note the angle of the needle to produce a straight stitch, and the small
backstitches that anchor the seam at the beginning.
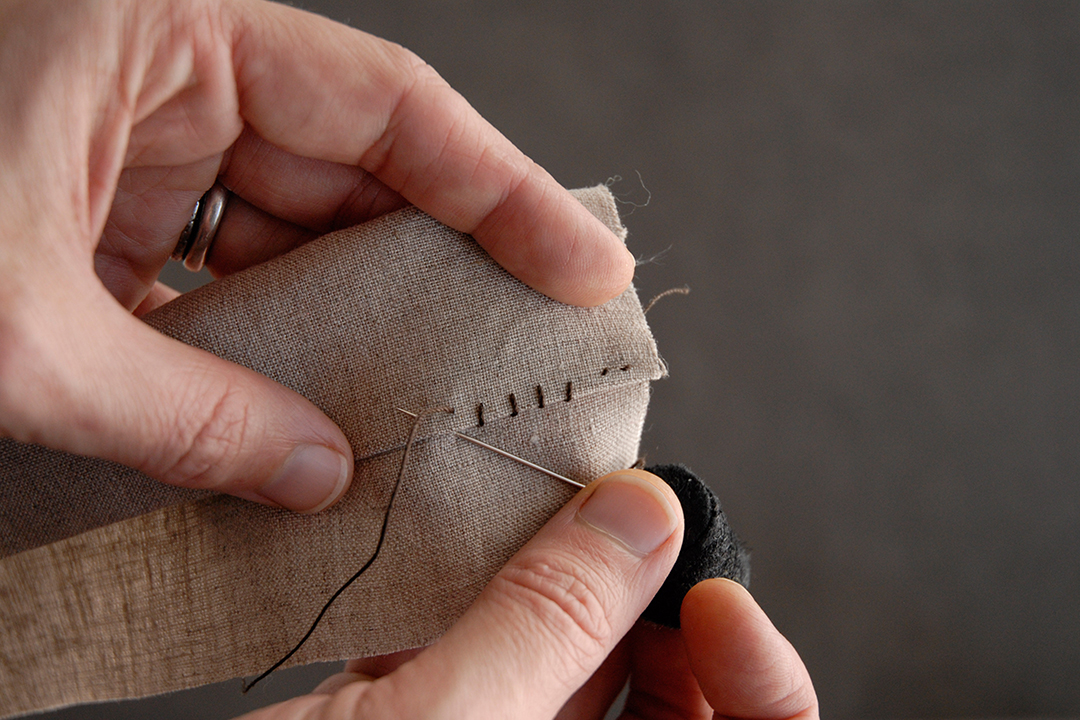
Stitch It
For each stitch, take the needle into the background fabric just at the edge of the piece you’re sewing down. Bring it up through both layers a little way inside the top piece.
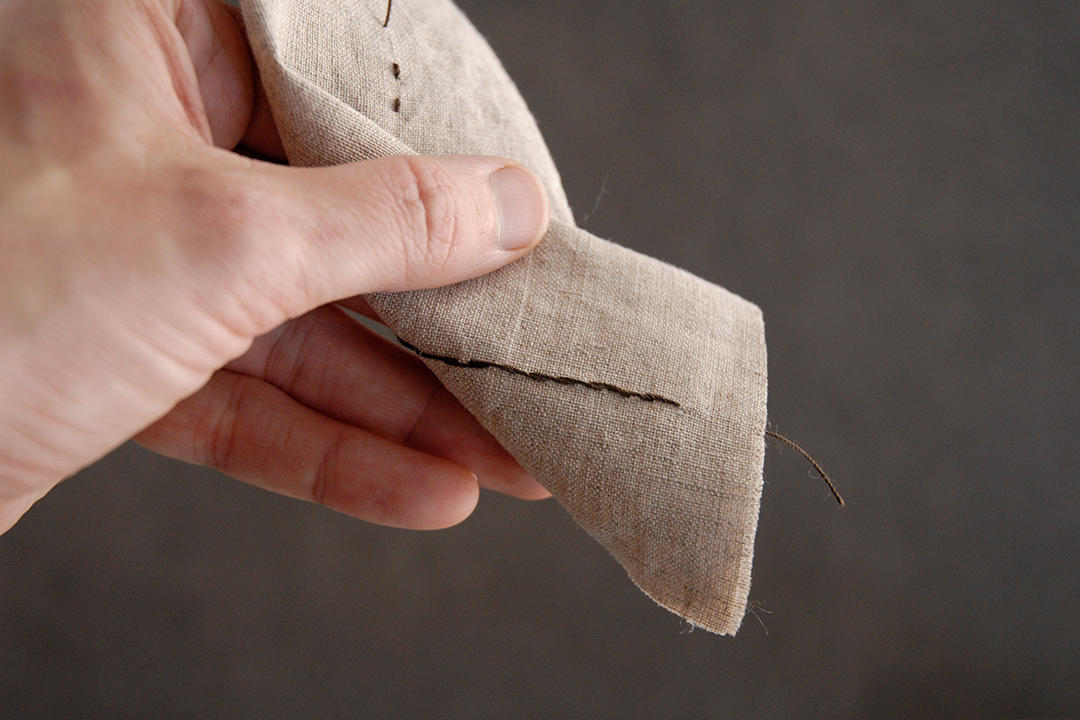
Insert the needle closer to perpendicular with the seam to make the stitches slant more.
Tips
To make a row of straight little stitches, push the needle in parallel with where the thread last came out, and angle it under the fabric so that the next stitch will come out a little way down. For angled stitches, insert the needle a little further along than where the thread comes out. Change the look from nearly invisible to decorative by taking bigger or smaller, more or less angled stitches.
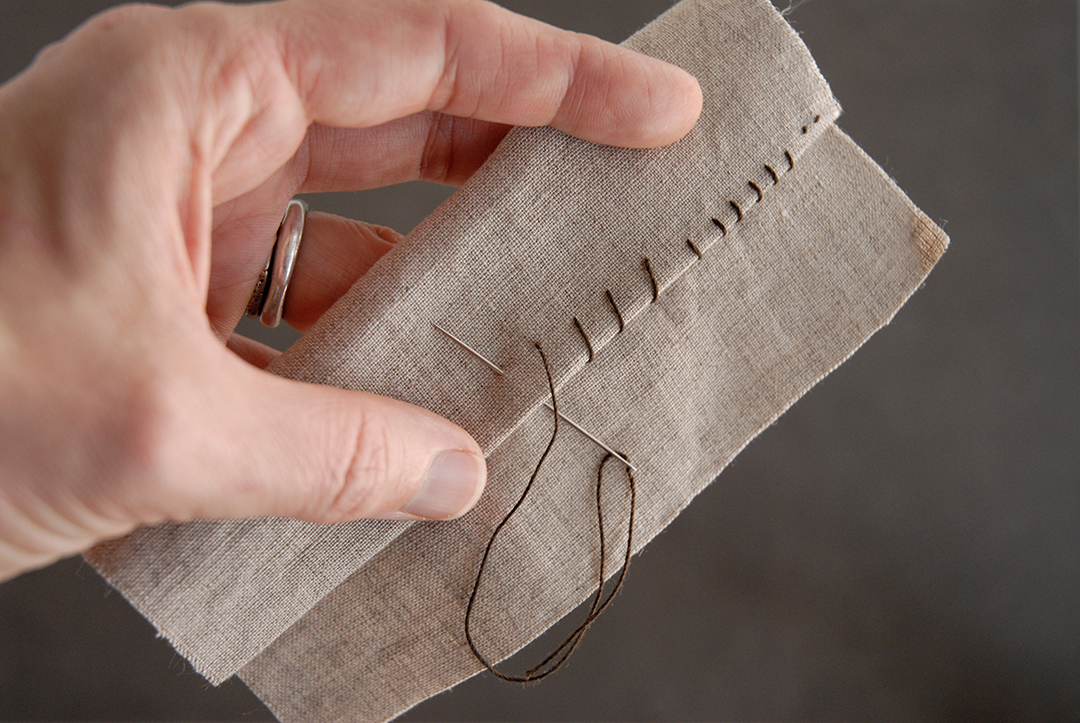
Catch Stitch
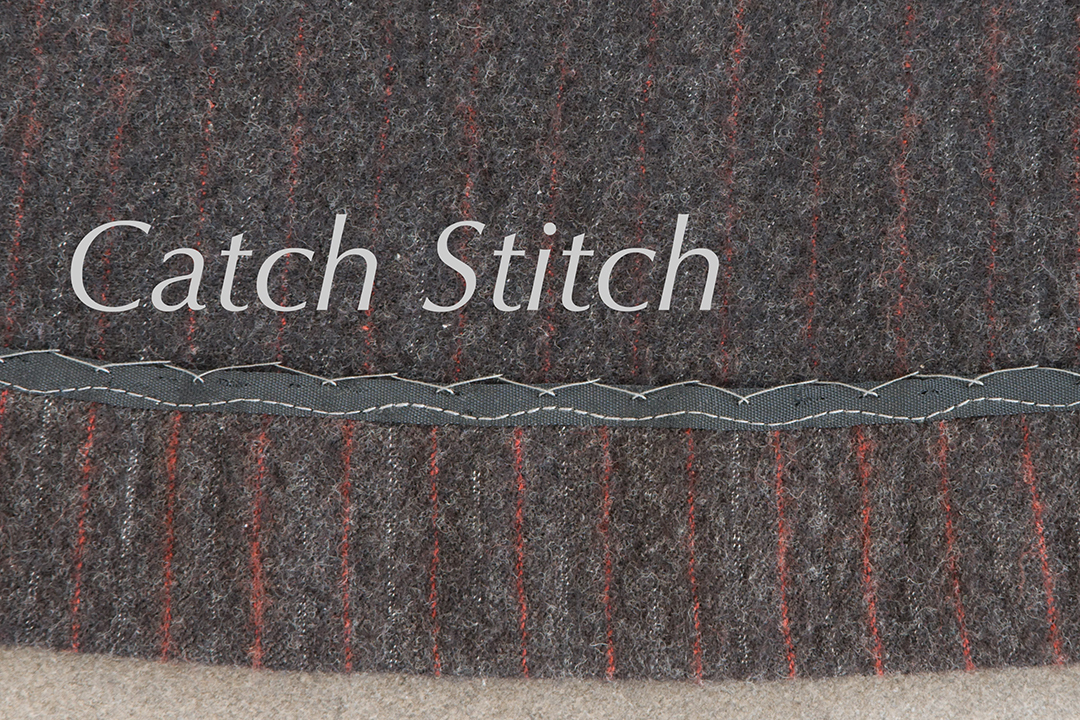
I use this stitch often for hemming and for tacking down edges inside a garment. It’s especially good for situations where the layers need to be able to shift a little when the garment is worn, like when hemming knits, full skirts, or flowing fabrics. The crossed threads make it flexible and strong.
It’s fine to take a bigger stitch in the part of the seam that won’t show on
the right side. Take each stitch toward the beginning of the seam.
Alternate catching a little bit from the hem (or facing, or whatever you’re tacking down) and then from the main fabric. Take each stitch in the opposite direction from the way your stitching is traveling.

Use tiny stitches where they’ll show on the right side.
Tips
If one side of the stitches will show on the right side, keep those small, picking up just a few threads from the fabric. Resist the temptation to pull the stitches tight, which will cause the fabric to pucker. Keep in mind that these stitches don’t need to support the weight of the garment, just the little bit of fabric they’re holding in place. Keeping the stitches fairly close together, so that the bars of thread are not too long, will help avoid snagging and pulling stitches when you wear the garment.
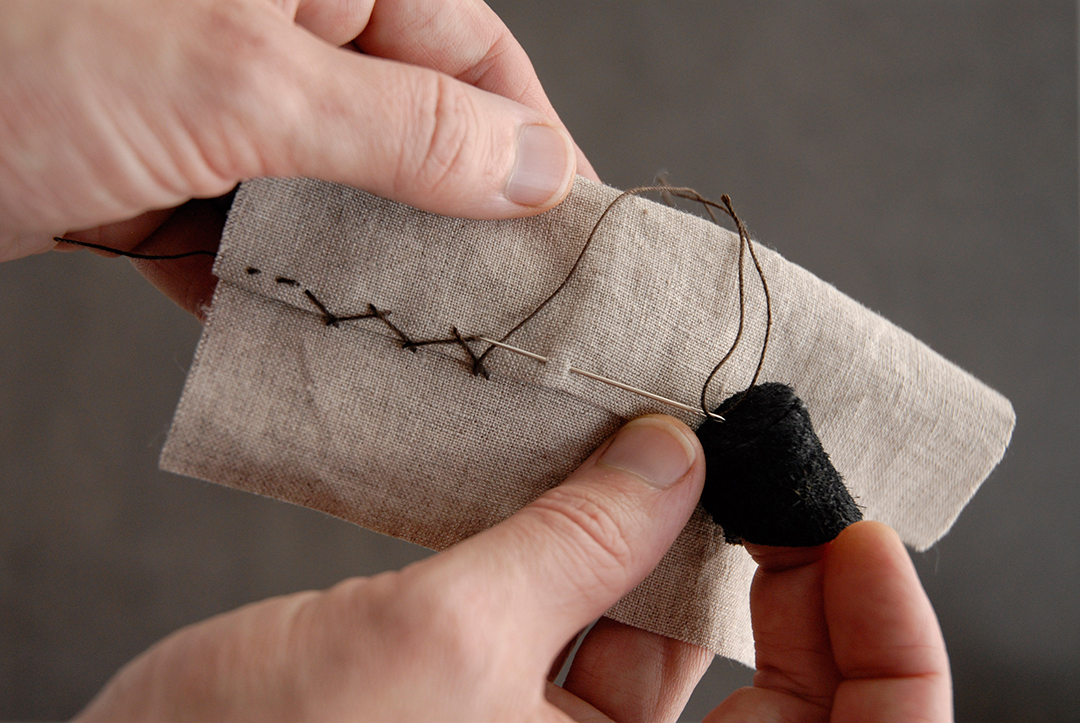
Buttonhole Stitch
Learning how to make buttonholes by hand was a game-changer for me. I find it simpler than messing with the buttonhole settings on my machine, plus I like the way they look so much better. You can use this stitch any time you need to enclose a raw edge or protect edges from wear. The buttonhole stitch also gives a lovely couture touch if you use it to sew on hooks and eyes or snaps.
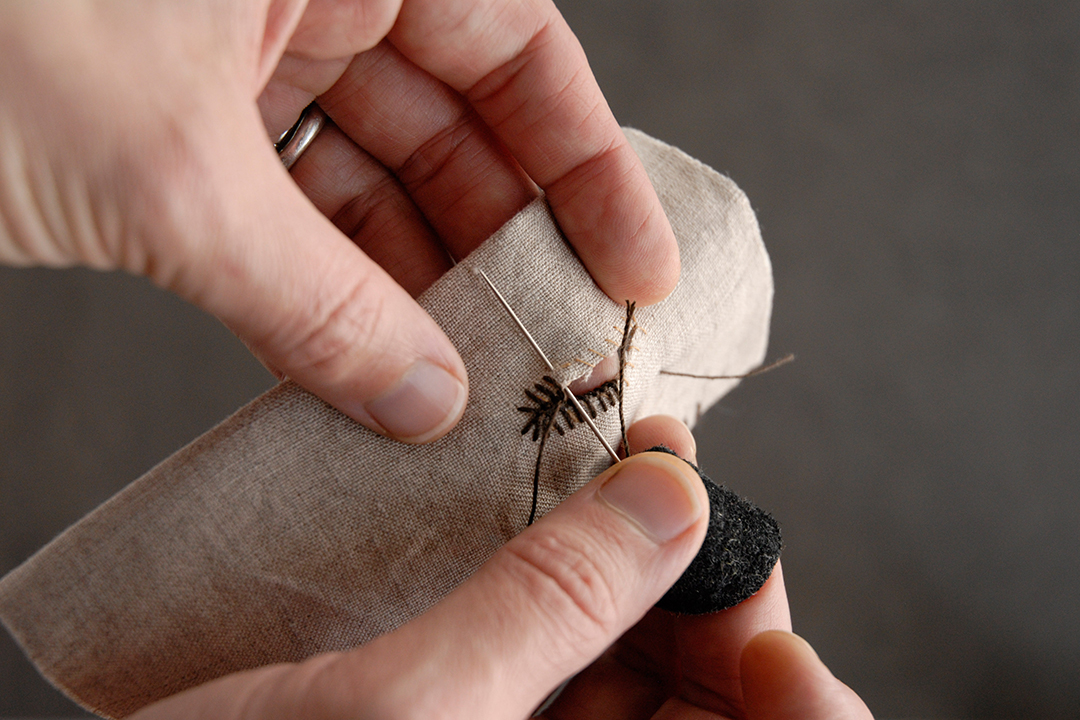
First insert the needle from below. If you can see the thread structure of
your fabric, use it to help keep each stitch in line with the ones before.
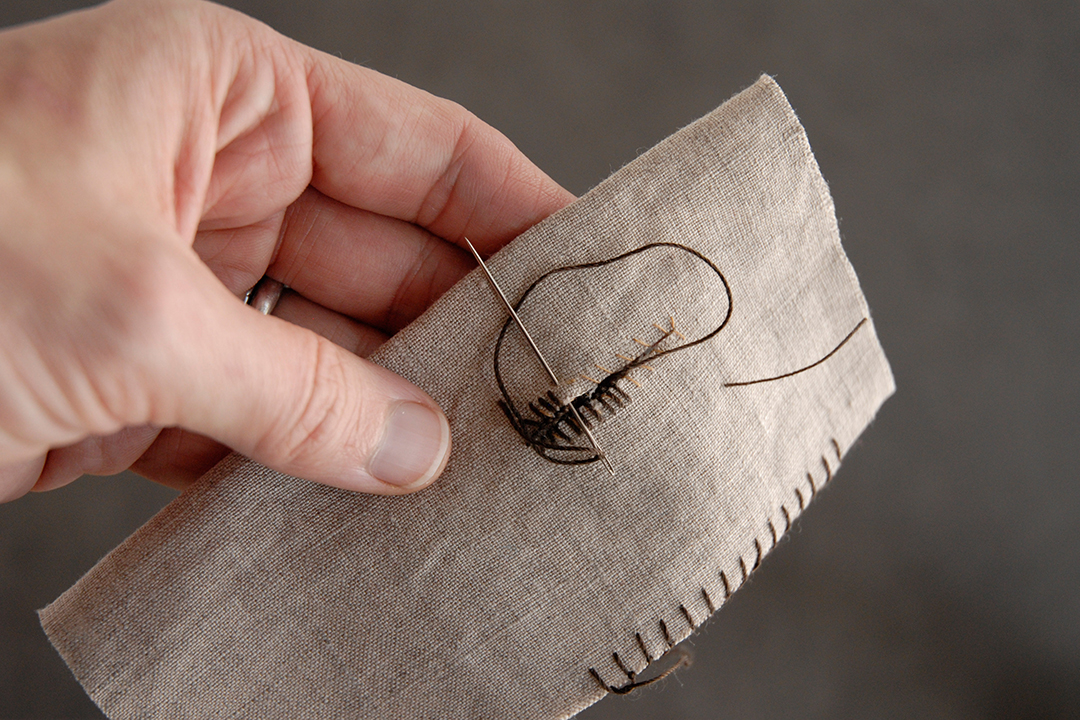
Wrap the thread under the needle, from the direction of the old stitches toward the new ones.
Wrapping the thread around the needle makes a little knot, which helps protect the fabric edge.
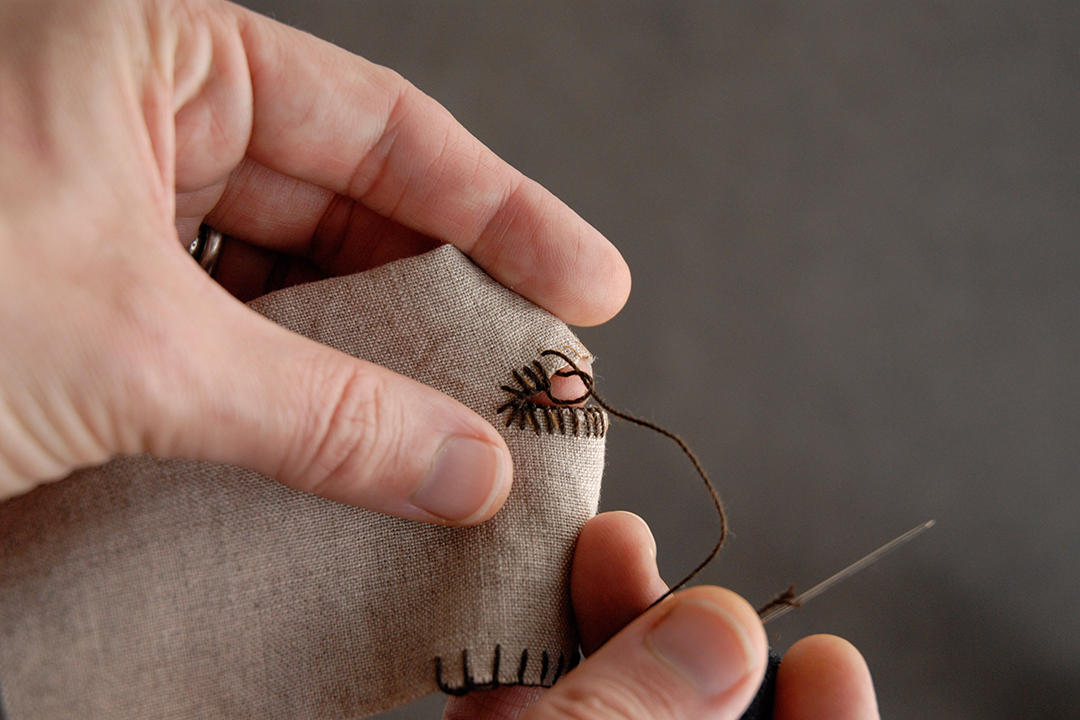
Stitch It
To make a buttonhole stitch, hold the fabric over your finger and insert the needle from the bottom, bringing it up a short distance from the edge. Before you pull it through, grab the threads behind the eye of the needle and wrap them around the needle tip, in the direction your stitches are traveling. Pull the stitch through, pulling the little knot of thread that forms snug but not too tight against the edge of the fabric. It’s the little knots that make a wear-resistant edge. Space the stitches as close together as the knots will allow for a buttonhole, or a little further apart if your edge won’t be used as roughly.
Tips
You can use a single or double strand of thread for a slightly different look. Waxing your thread before you use it for this stitch will keep it from tangling and help the little knots on the edge snug up (see this article (link to: https://www.seamwork.com/issues/2015/10/a-custom-fit-leather-thimble) for directions on waxing thread). If you’re lucky enough to pick up some silk buttonhole twist, this is what it’s meant for!
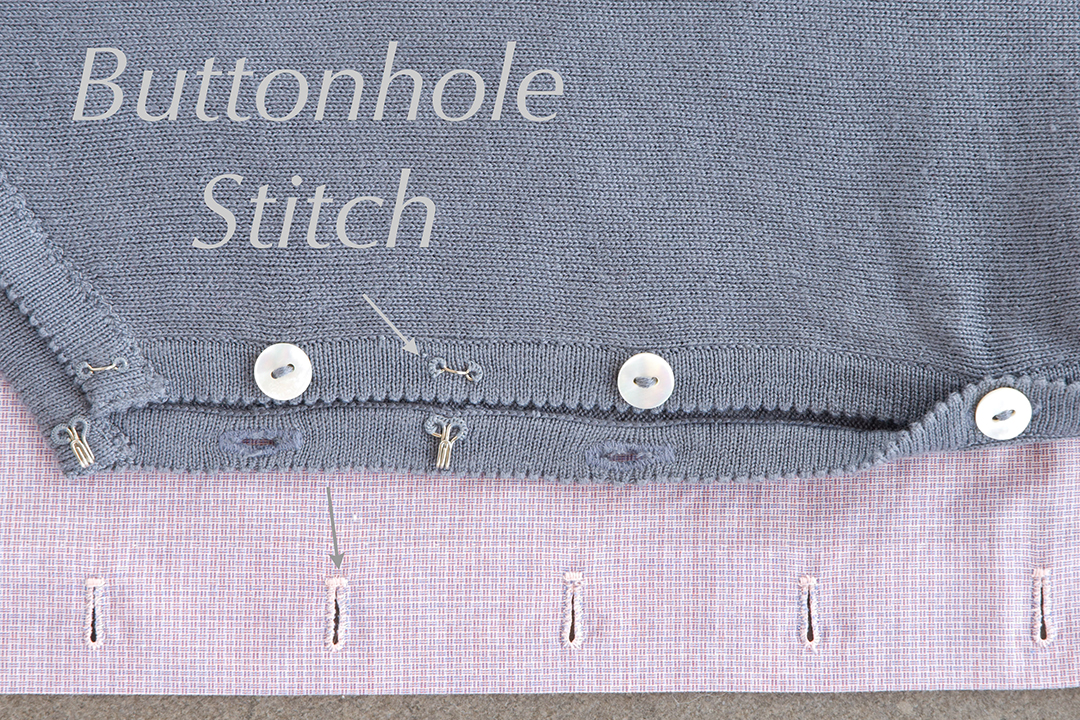
Hand-sewn Buttonholes
I still make buttonholes very close to the way I learned from reading The Mary Frances Sewing Book*2. Here’s the short version: cut a slit that your button will just fit through snugly. Bonus stitch: use a simple whipstitch to tack the edges together (shown in light brown thread). Just take small stitches through the fabric layers in the same direction, and let the thread wrap over the cut edge. Make sure that these stitches fit inside the area you intend the buttonhole stitches to cover, and the edges of all the fabric layers are lined up. Then cover the edges with a buttonhole stitch, pivoting around the ends. That’s it!
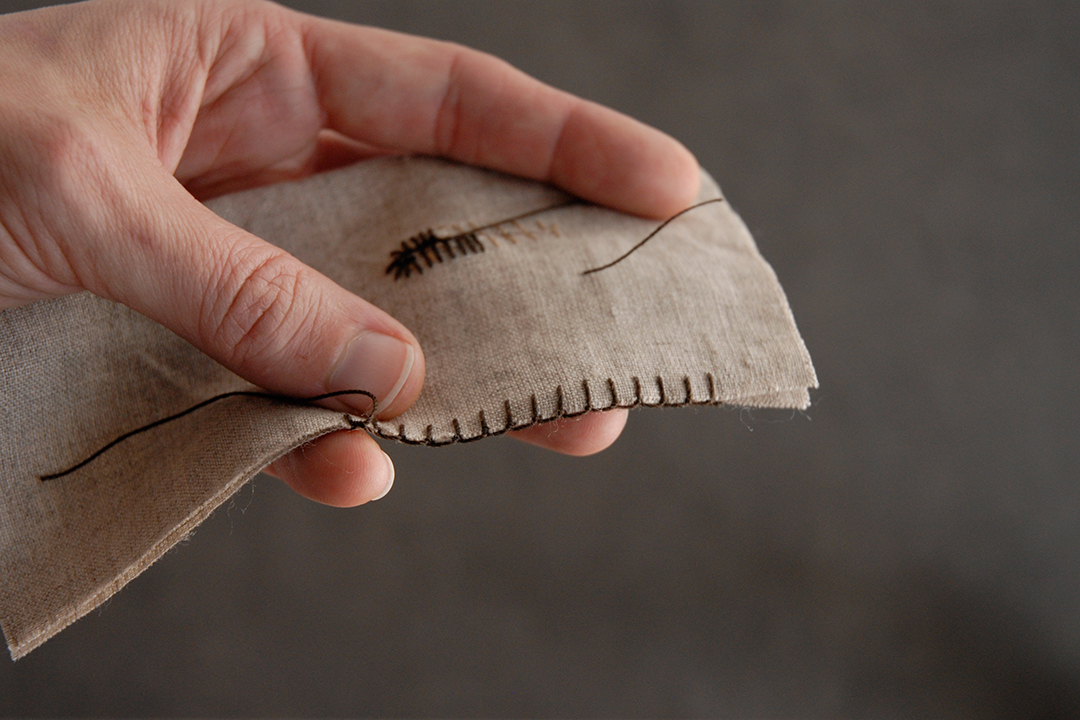
Buttonhole stitches spaced further apart make a strong and decorative edge. This stitch also works well for sewing down appliqués.
I hope you’ve found some useful ideas and tips here, and that you’ll be inspired to add a few of these hand stitches to your sewing repertoire. It takes some attention and practice to make neat, even stitches. Every row of hand stitching has slight variations that are part of its charm. At least for me, a line of well-made hand stitches is one of the most satisfying things in sewing!

About the Author
Tasha Miller Griffith blogs about intentional making in the modern world at Stale Bread into French Toast
CITATIONS AND FURTHER READING
*1 Susan Khalje ,“The Embellished Zipper” (Threads Magazine 89, June/July 2000)
*2 Jane Eayre Fryer, The Mary Frances Sewing Book