Sign In
Very early in my sewing life I was thrust into “couture.” I had extremely little sewing experience when I started working in a major professional theatrical costume shop. This is where I first learned to sew as an adult beginner.
Starting the learning process by creating high-end, custom-fit garments, many designed by Tony Award winners, quickly taught me the value in “advanced” techniques. But it also taught me not to be scared that they are “too advanced” for a beginner to try. Often the hard way isn’t actually all that hard.
My favorite couture sewing technique is underlining, and there is no reason why a beginner can’t master this skill. In fact, I think underlining makes everything about the rest of the sewing process easier, while creating longer lasting and more professional looking results. Win-win!
I hope to solve some of the mysteries of this fantastic technique’s process and its benefits, as I share what I’ve learned in my professional experience about the whys and hows of underlining.
What is underlining? Is it the same as lining?
As you may know, adding a lining to a garment is basically creating another version of the garment that is sewn together separately, turned inside-out, and then attached to the inside of the garment. Much of a lining hangs freely and it encases the inner construction for a clean finish inside.
Underlining is different. While underlining is a layer of fabric that is added to the inside of the garment, it is not made separately, does not hang freely, and does not encase any inner construction.
Underlining is simply joining each piece of your fashion fabric with a “backing” fabric while it is still flat, so that the two fabrics act as one throughout the construction process and throughout the life of the garment.
Underlining does not encase or hide the construction details, since the two fabrics end up working together as if they were one. If you would like a clean enclosed finish inside of something that has been underlined, you would still need to add a lining, just like you would to any other garment.
Why underline?
To me, there are so many reasons to underline a garment, it’s hard to think of reasons to skip this step! It can turn almost any fabric from fair to fab.
Have you ever found a fabric that you loved, but it was too flimsy/ lightweight/ unstable/ sheer/ delicate/ thin for the garment you wanted to make? For me, the answer is yes, almost 100% of the time. I almost always want to give my fabrics a little more oomph, strength, and structure. Underlining is a great way to achieve this.
Have you ever wanted to hide markings/ bone casings/ facings/ interfacings/ stitches/ hems/ pockets/ seam shadows from being seen from the outside of the garment? Underlining is also a great way to achieve this!
Have you ever wanted to change the character or hand of a fabric? Or even its color tint?
An underlining can add body to a garment making the fabric behave differently.Or improve the quality or prolong the life of a garment? Underlining add strength and increase the durability of garments.
Honestly I could go on and on...
Underlining helps absorb perspiration, reduces wrinkling, and strengthens. It can add warmth, can prevent fabrics from being over-handled during construction, and can make a so-so fabric look and sew like an expensive fabric!
Underlining allows you to give your fabric more of the characteristics of fabrics you love, while making your garment more comfortable, more professional-looking, and longer lasting.
Fabric selection
While you think of lining fabrics as thin and slippery, underlining fabrics can really be anything. You get to choose!
Pair other fabrics with a sample of your fashion fabric and drape them over your hand or body. Notice how the two work together, use some critical thinking, and experiment to choose what works best for your particular project.
Want your fabric to be stiffer and have a lot of body? Try a layer of organza.
Want to add a little strength while keeping softness? Try flannel or batiste.
Want to beef up a flowing fabric? Try crepe de chine.
Do you love everything about a fabric, but wish it were thicker? Underline it with a layer of itself! My favorite underlining fabric? Plain ol’ muslin.
TIP:
Natural fiber fabrics work best as underlining. Try something made of cotton or silk.
Muslin as underlining
Use inexpensive muslin to elevate the finish of your next project.
There are many reasons why I like to use muslin as underlining. As a couture wedding dress designer, I’m often making dresses that are fitted and need added structure. Muslin is an inexpensive workhorse. I can choose from a variety of different weights, it is stable, strong, opaque, easy to come by, easy to mark on, easy to wash, dry, and press.
If the garment’s fashion fabric pairs well with muslin, I love to make my mockups in muslin for my first fittings, and then use the corrected mockup as my underlining. Having this layer of fabric inside my garment makes sure that it fits and feels like it did in my fitting, because it is what was tested in my fitting. It also means that I’ve already done a lot of the work of marking and cutting, and can move quickly to the underling process.
The Process
This underlining process is the same no matter what fabric you choose, or whether you are creating a fancy gown or a simple skirt. And I think it’s really fun!
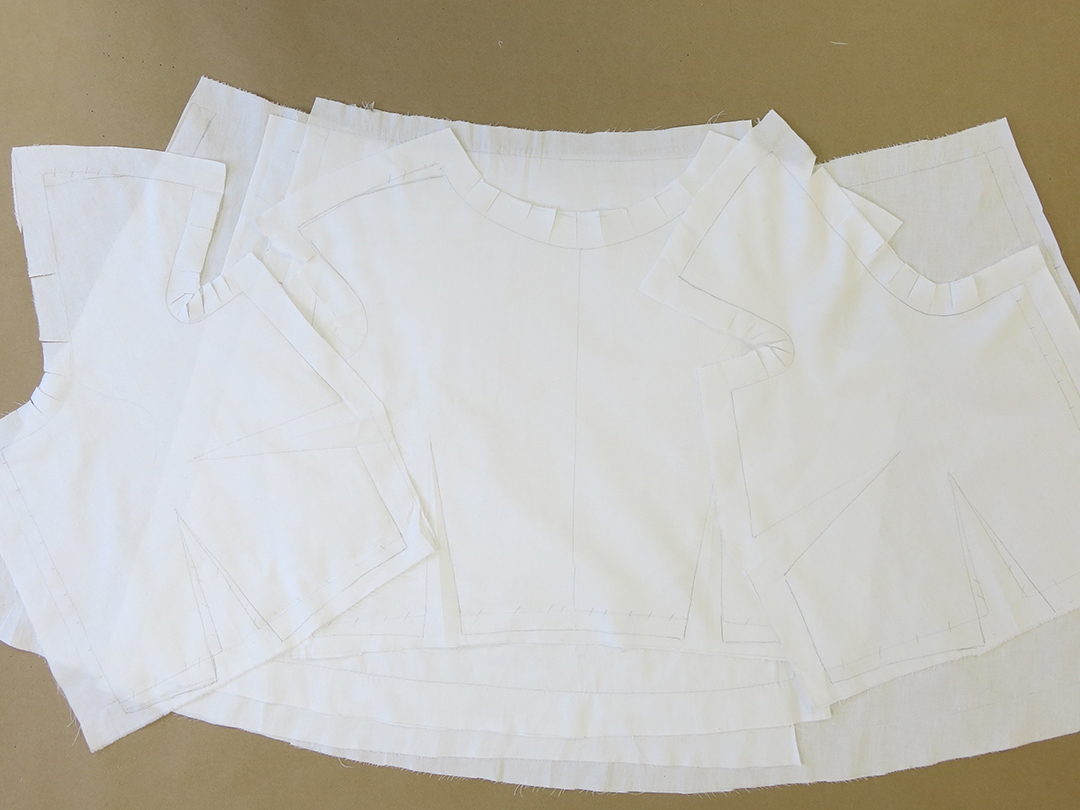
First, get your pattern pieces marked and cut out of your chosen underlining fabric. Give them all a nice press. I chose to use my deconstructed corrected muslin mockup as my underlining.
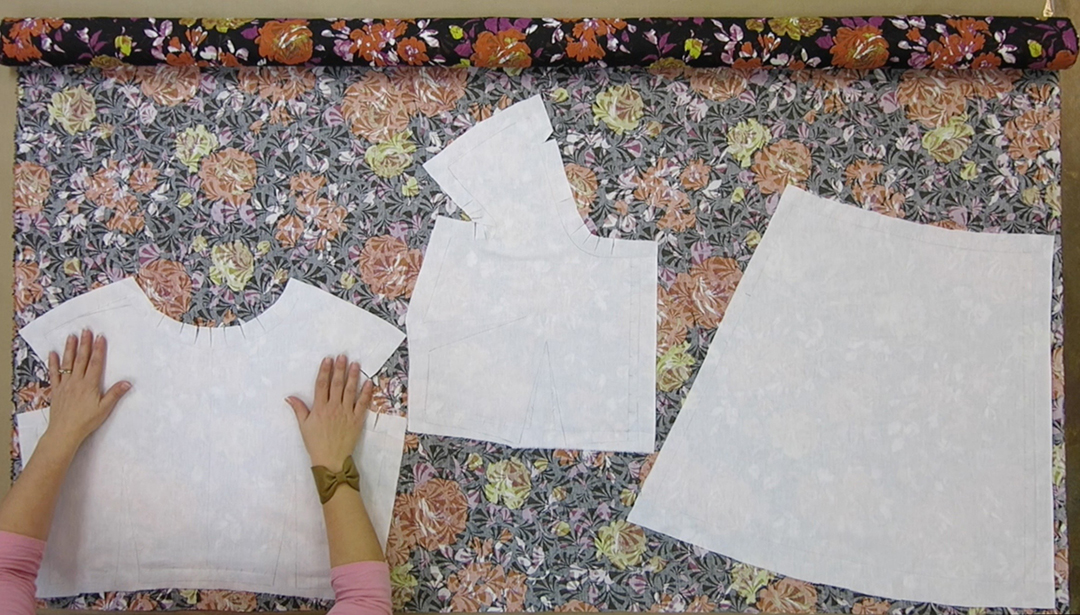
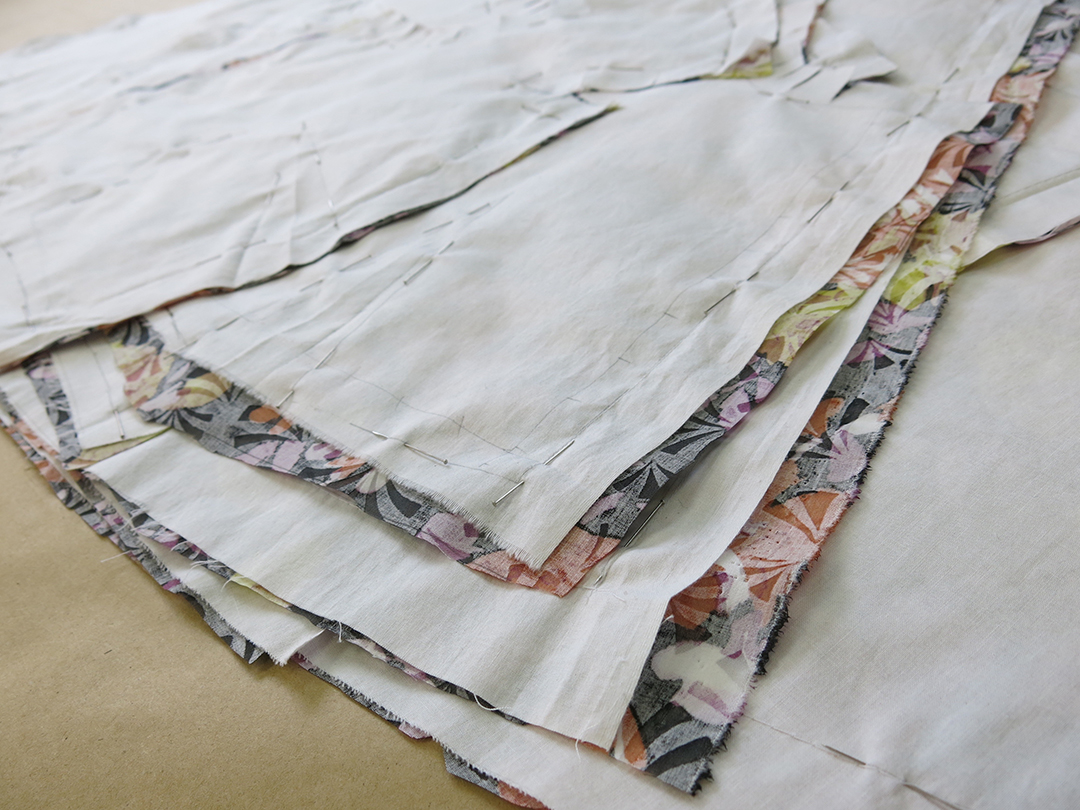
Next, take your fashion fabric and lay it out in a single layer with the wrong side up. Make sure it is square on your table with your selvedge straight along one edge and your cross-grain squared along the perpendicular edge.
Lay out your underlining fabric pieces wrong side up onto the wrong side of your fashion fabric.
The goal is to get the two fabrics to act as one, so be careful to follow the same grainlines and smooth out any wrinkles or bubbles as you lay out your pieces.
Next, pin the two layers together. Don’t be shy with your pins! I like to pin right on my corrected stitch lines.
In custom sewing, patterns are self-drafted. You leave generous seam allowances for making changes in fittings, and you sew precisely on your marked stitch lines (the lines that represent the fit of the garment.)
If you enjoy using your cut edge as your stitching guide, modify what I am showing you to fit your sewing style. To me, sewing is not about simply following someone else’s directions, it is about experimenting and problem-solving to discover a sewing style that works for you.
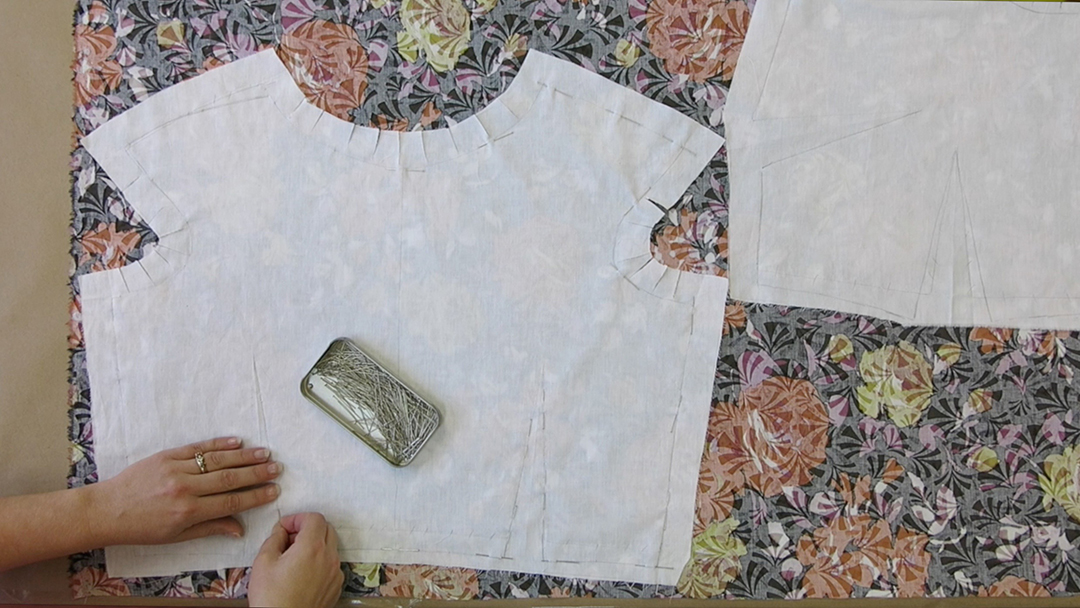
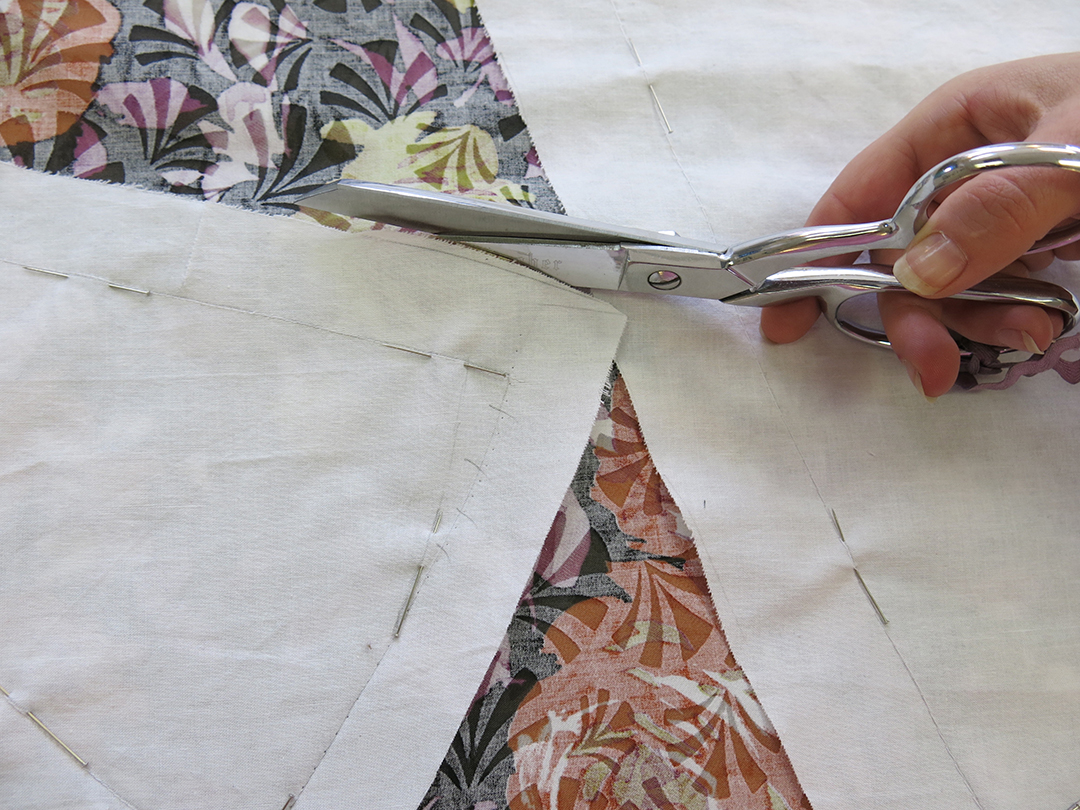
Once you’ve got everything laid out and pinned together, cut your fashion fabric using your underlining fabric as a guide.
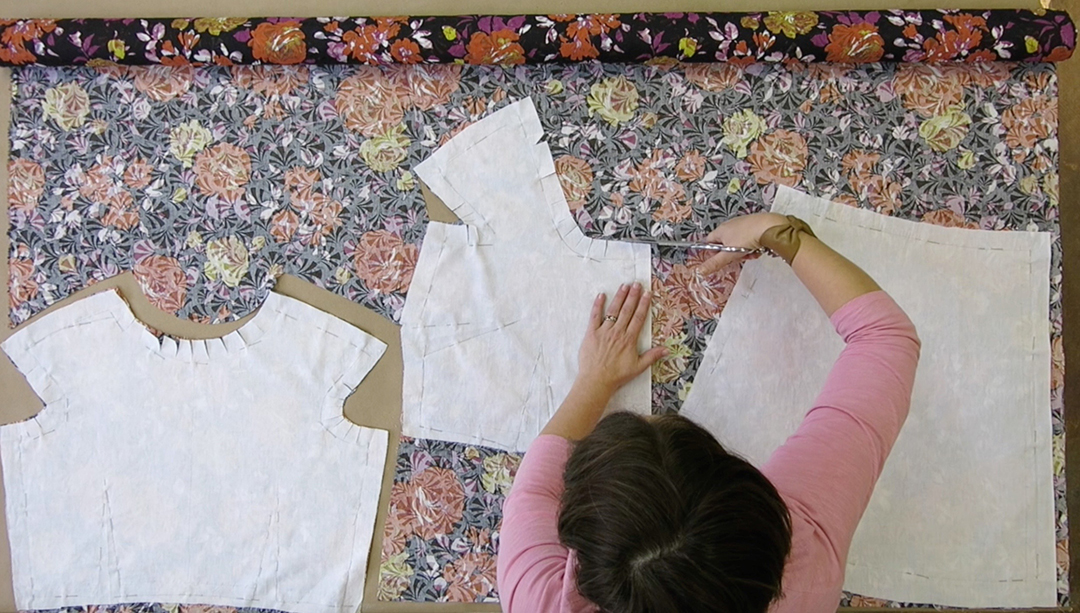
It’s now time to start joining the two together!
Underlining Stitches
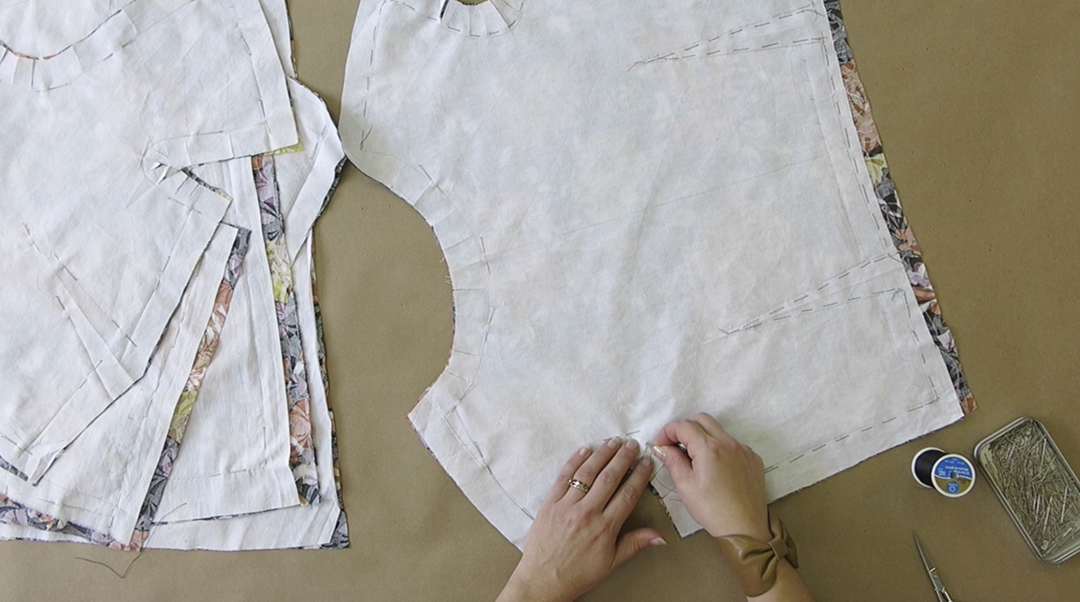
Stitch while the pieces are flat on the table. Underlining is not something that can be done over your knee while sitting on the couch. Your goal is for your fabrics to be joined perfectly flat together, which is one of the reasons that this technique is often called flat lining.
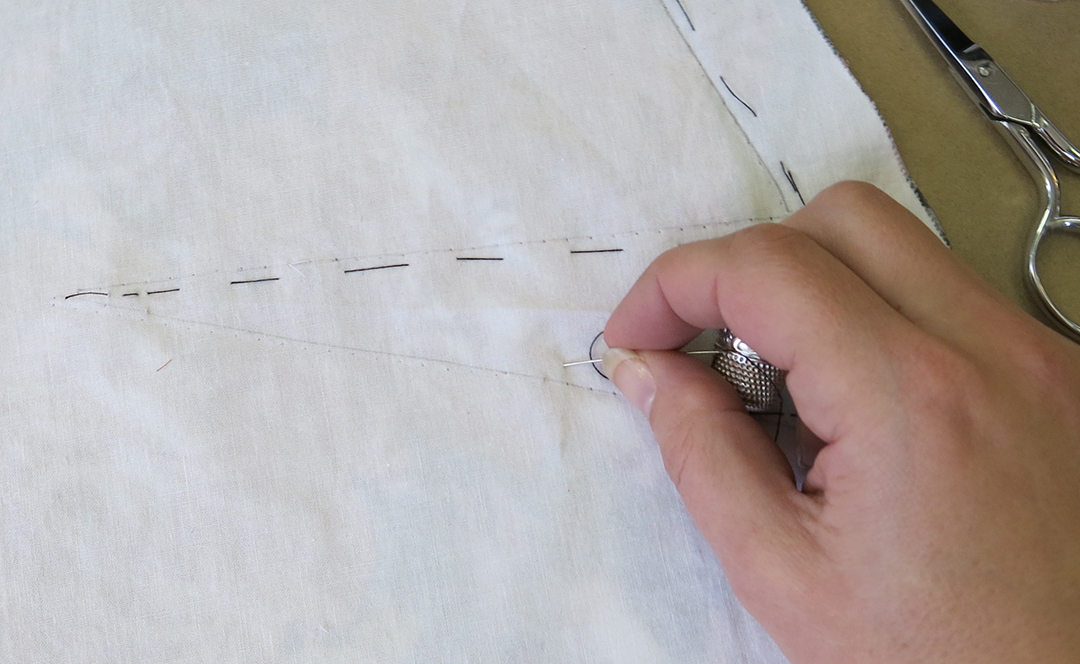
Simply baste a running stitch by hand just to the outside of every stitch line into the seam allowance. No knots, no special stitch, just secure your threads with a little back stitch and then take your needle in and out to secure both fabrics together while keeping it as flat as possible. You can take out your pins as you go.
When you come to a corner, back stitch, clip your thread, and start sewing in the new direction with a new piece of thread. Turning corners using a single piece of thread can cause distortion and will make your stitching much harder to remove, if you realize you need to.
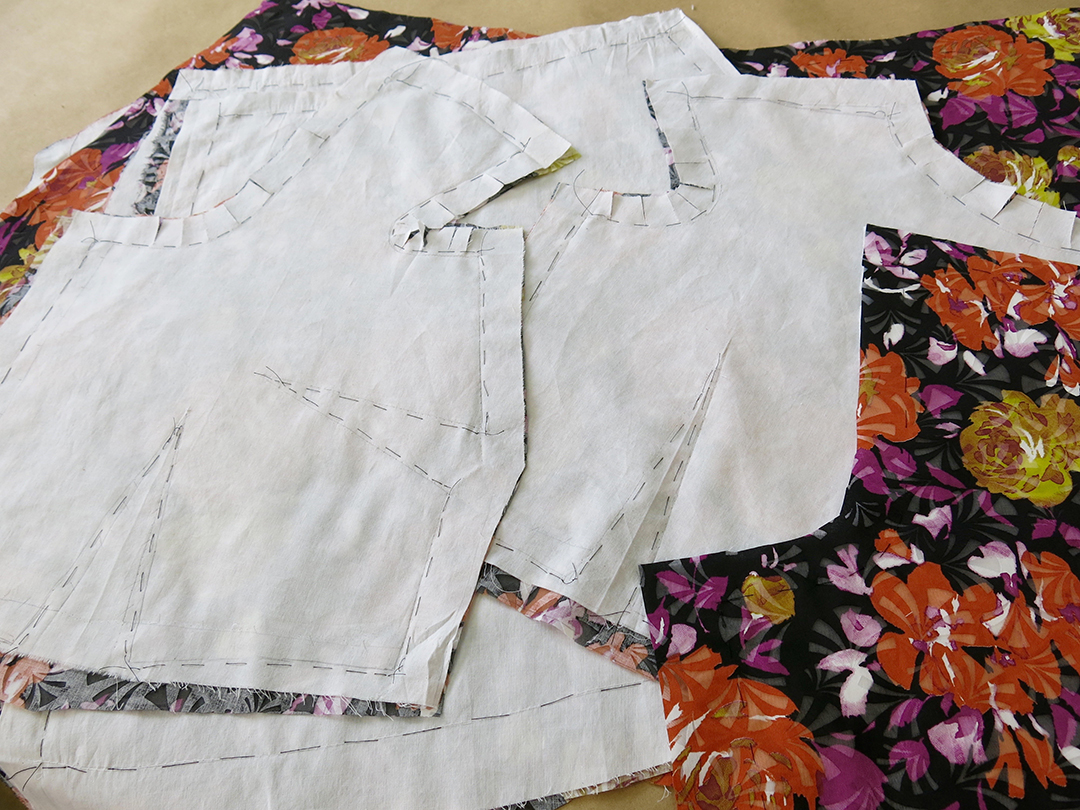
Stitch along until you’ve outlined all your pieces using thread that matches your fashion fabric.
Don’t forget to add your underlining stitches to the inside of your dart lines. Anywhere you will be machine stitching, do a simple line of hand stitching next to it.
This process can take some time, so be sure to enjoy yourself! Listen to music, chat with friends and family, or catch up on your favorite podcast. Take this time to get into the Zen of hand sewing.
I find the act of underlining as a great opportunity to practice hand sewing. These stitches are hidden in the seam allowances, so it really doesn’t matter what it looks like! This can be a time where you can experiment with hand positions, try using a thimble if that’s something you don’t already do, and take the time to gain some useful hand stitching muscle memory. The more you practice the faster and easier hand sewing will be.
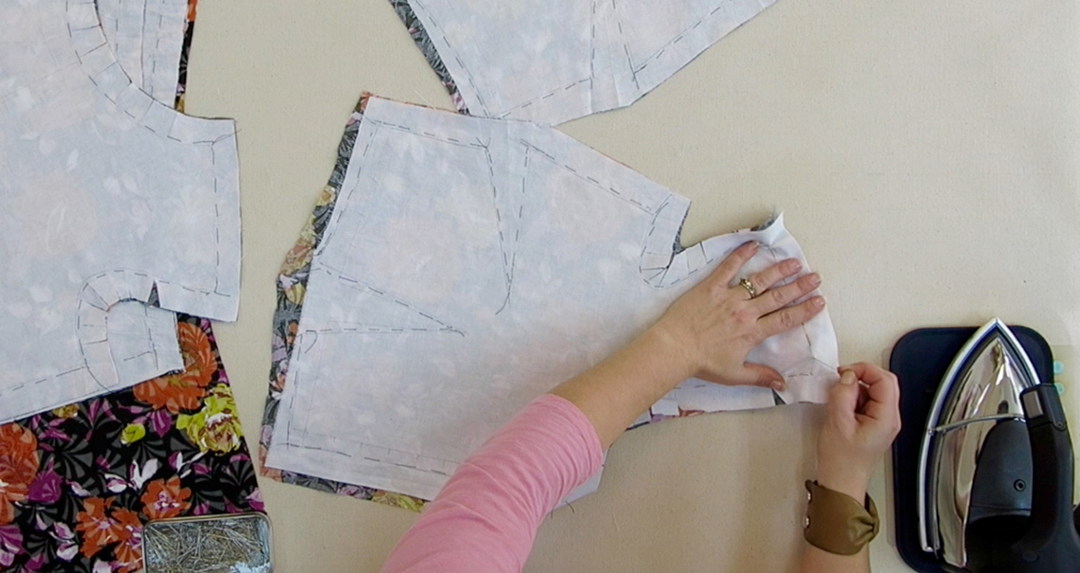
Pressing
Once you’ve got all your pieces joined together, press them all flat. You can do this with the underlining side up as a built-in press cloth, protecting your fashion fabric.
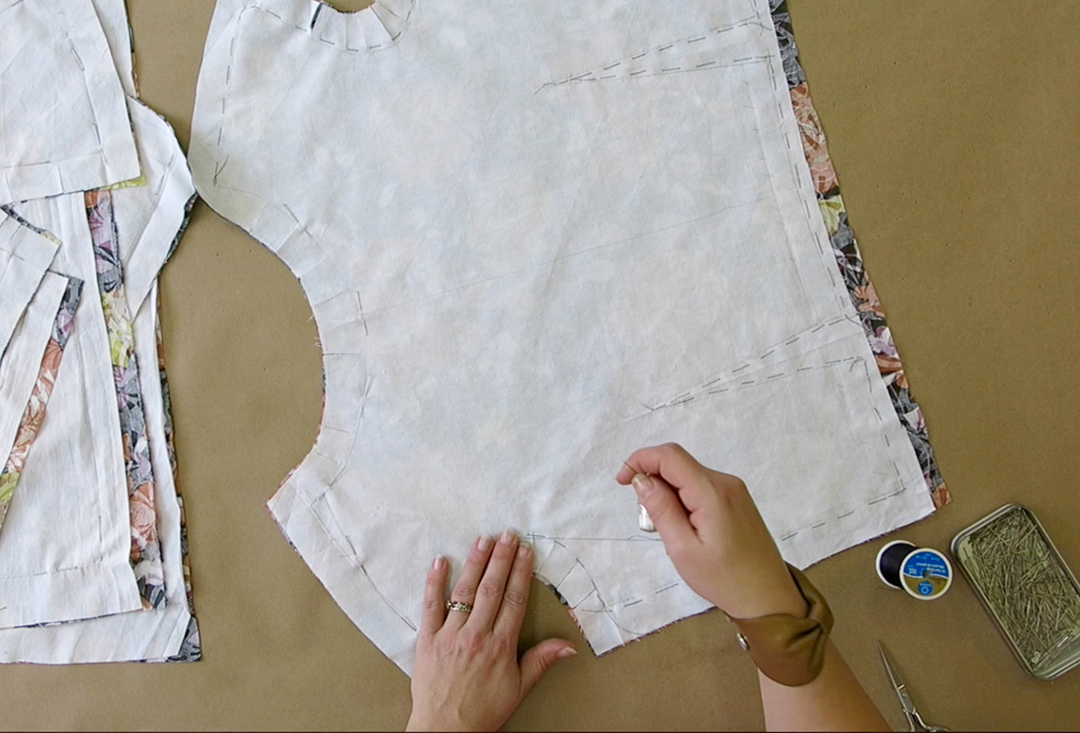
Give your pieces a bunch of steam and take a little time to examine each one to make sure that the two joined layers are behaving together as one.

If you find a bubble or sag, you can easily pull out the hand stitches in the bubbling area, re-pin, re-baste, and repress those sections. This happens more with some fabric pairings than others. Sometimes this step takes quite a while, and sometimes it doesn’t.
Once all of your pieces are stitched, pressed, and acting as one, you are finished underlining!
You can now proceed to finish your garment just as you normally would. Sew your seams together with your newly enhanced fabric!
Why do this by hand?
So, I can already hear some of you asking: isn’t there a quicker way. Must we do it by hand? Can’t we save a lot of time by using our machines?
In my experience, I have found underlining by hand to be imperative to the enjoyment of the experience and the quality of the garment. Hand basting stitches are fairly soft and forgiving. When you baste by hand, you can feel the fabrics and make adjustments to get the two working exactly together. When underlining, little adjustments often need to be made, sometimes causing you to pull out your stitches, which is super quick and easy if you’ve basted by hand.
Machine stitches are fairly tight and can leave a ridge in some fabrics. When you baste using your sewing machine, it often feeds the two layers though the machine slightly unevenly, causing baggy bits or ugly corners. To fix this, you end up having to pick out your machine stitches and go back to your machine a lot. This can be time consuming, leave scarring, and lead to the fabric looking overworked, and it really isn’t much fun.
When you stitch by hand, you are in control. When you stitch by machine, you give a bit of that control away.
My Underlined Day Dress
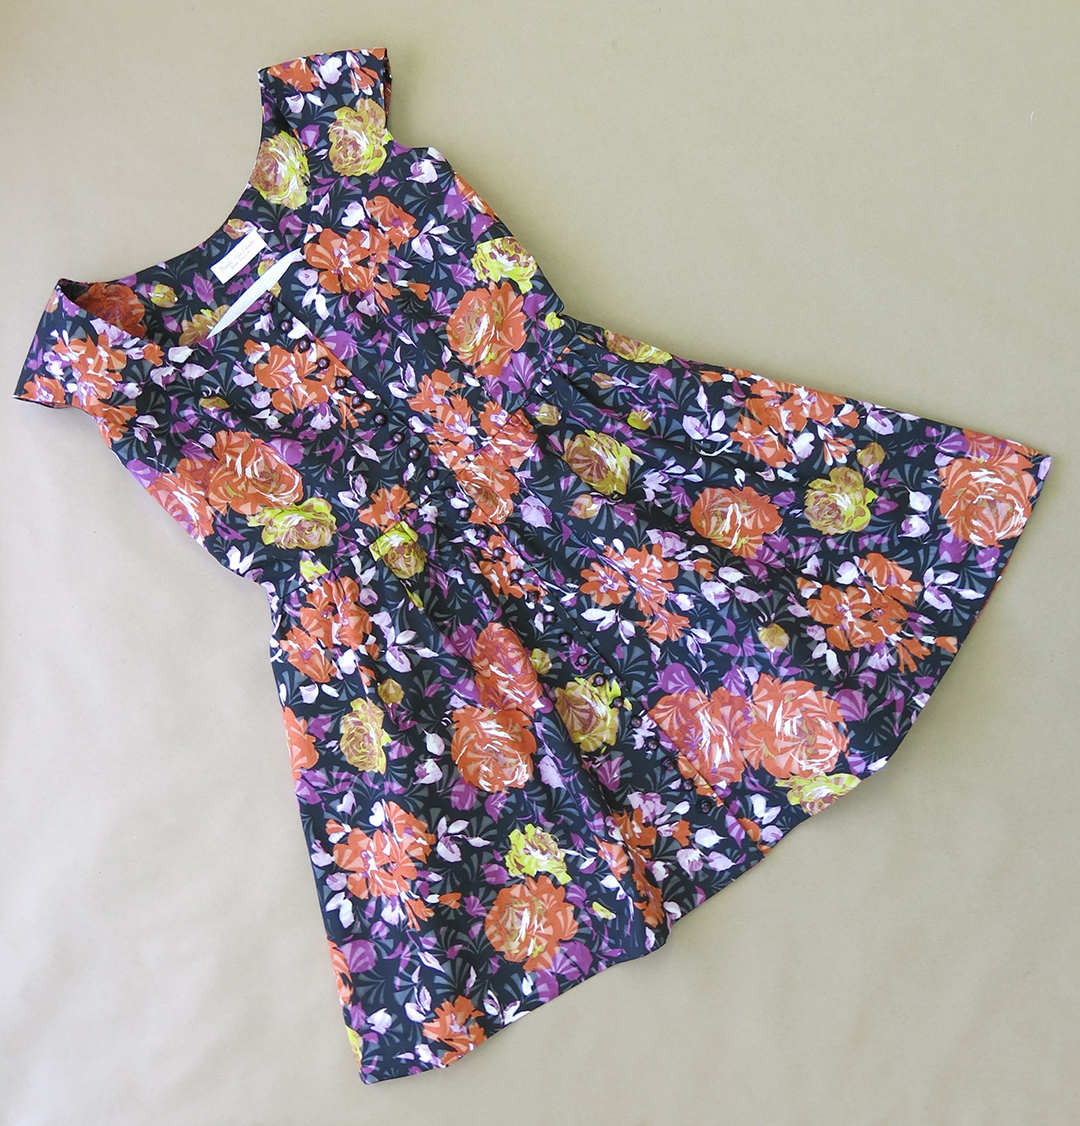
Here’s my dress all done! I used my corrected muslin mockup as my underlining to create a knock-out button-down day dress:
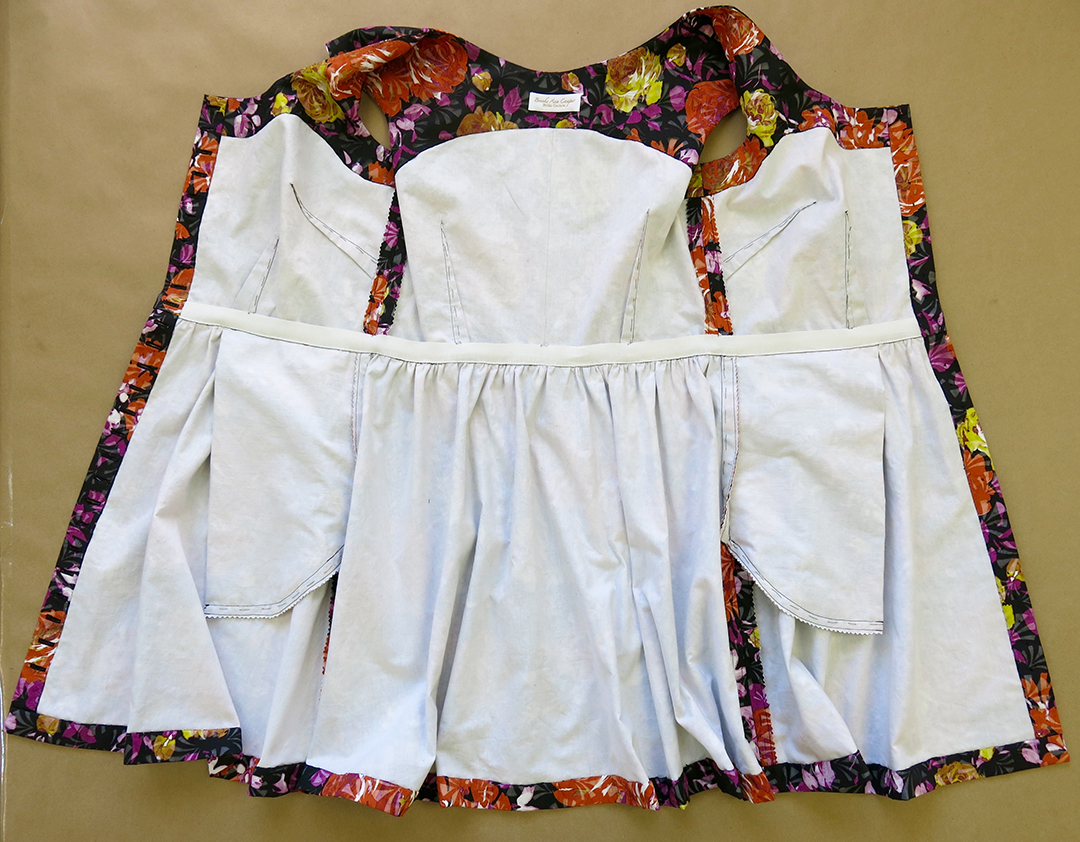
And here’s a peek at what it looks like on the inside:
To beautifully finish my hems, button plackets, and facings, I was able to do a slip stitch by hand, while hiding all my stitches in the underlining fabric. As I stitched, I picked my needle through the muslin layer only, leaving the fashion fabric free of any stitch lines or prick marks.
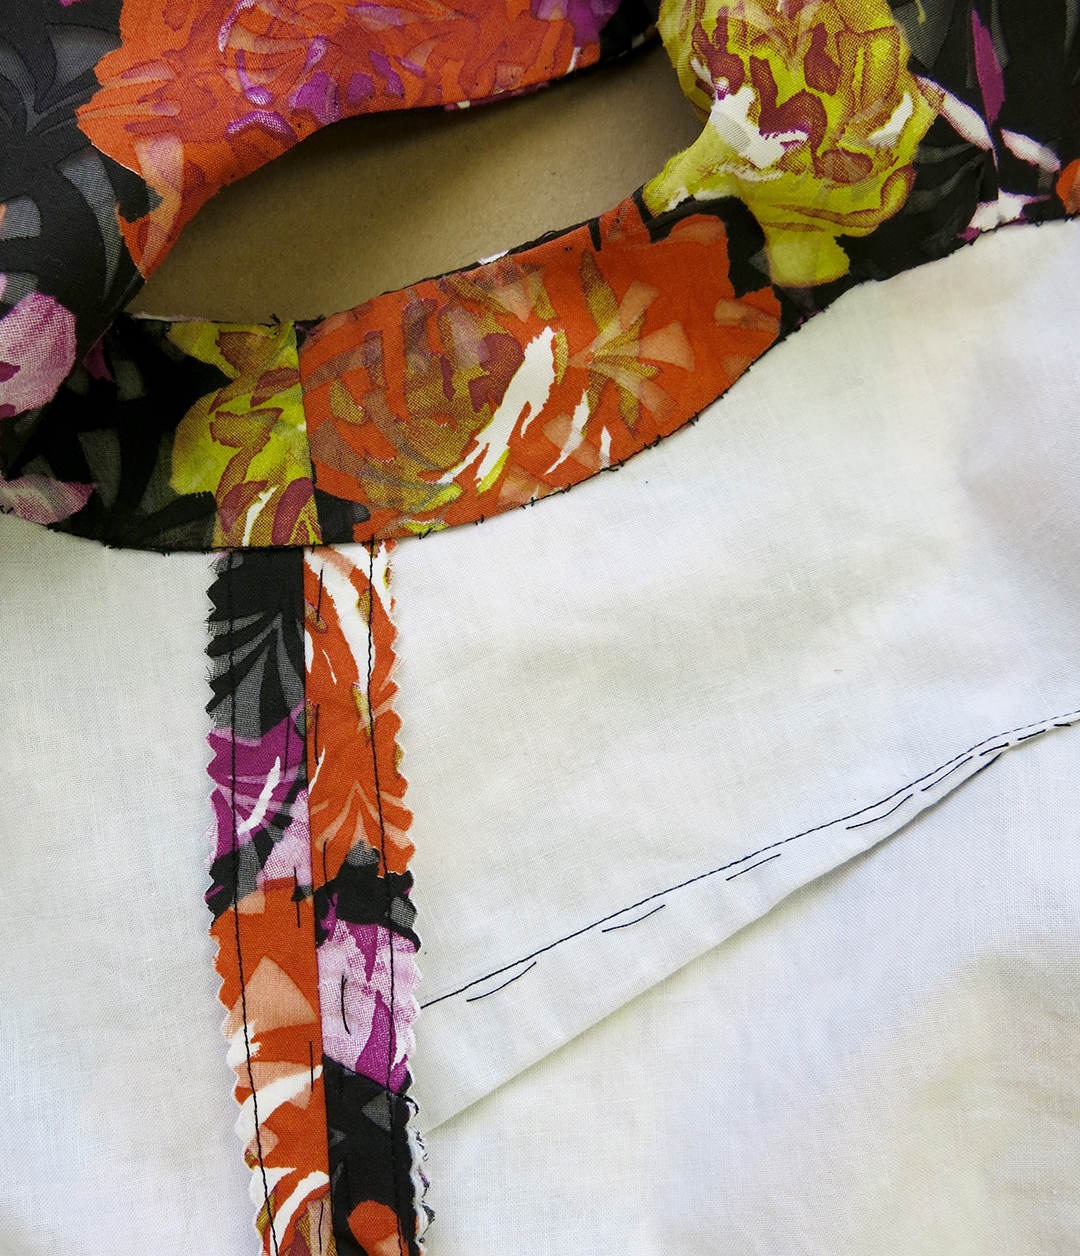
Yes, you can still see my underlining stitches!
Some people like to pull them out, but I leave them in. They don’t affect the dress, and I actually love having the history of how the dress was made stay visible inside.
I think the tell-tale signs of hand-crafted work gives a look that is superior to factory- manufactured clothes. I want my clothes to tell a story to someone who sees it, inside and out.
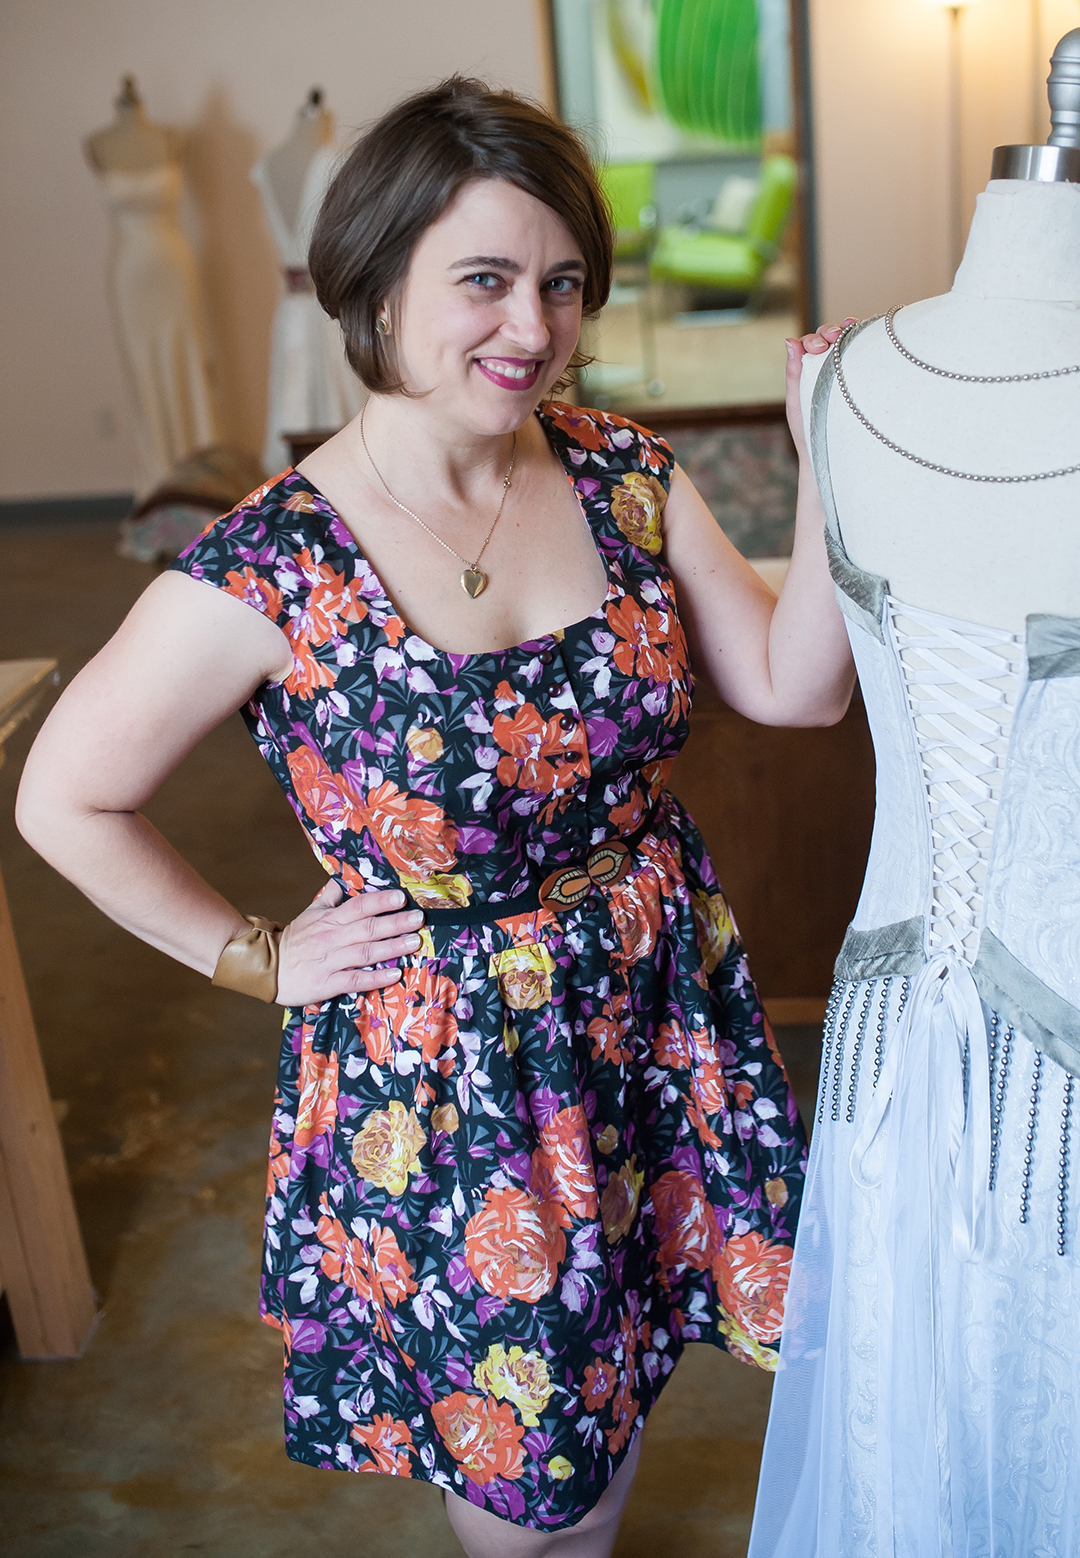
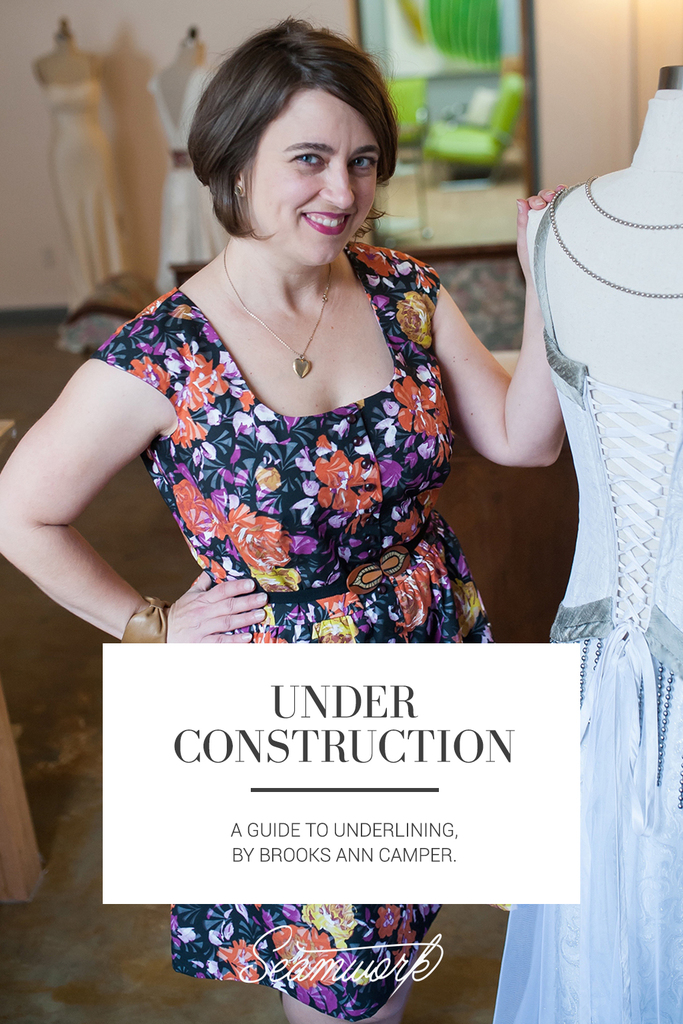
Brooks Ann in her day dress underlined with her muslin mockup next to one of her custom wedding dresses underlined with the bride’s muslin mockup. Photo by Shane Snider.
With this simple technique, I was able to turn a less-than-perfect fabric into a fabulous, comfortable, professional-quality garment that I love to wear. I also had a lot of fun in the process! I hope learning about this technique has inspired you to give underlining a try. It is not only for advanced sewists. It is not only for fancy garments. It may be the ah-ha technique you’ve been looking for.

About the Author
Brooks Ann Camper is a custom wedding dressmaker based in Hillsborough, NC who teaches her methods for custom sewing and patternmaking both in-person and online. Find her bridal site and blog and learn about her intro eCourse.