Sign In
Each month, Seamwork Magazine brings you two new wardrobe-building patterns, along with inspirational articles and informative tutorials. Sewists tend to be detail-oriented by nature. We thrive when fussing over the perfect welt pocket or finding the perfect shade of thread to match.
Those times when we really slow down and cherish the details are when we shine the brightest. This series is dedicated to the small details that take your project to the next level. Whether it is a new seam finish or a fun embellishment, take the time to make your next me-made item one-of-a-kind.
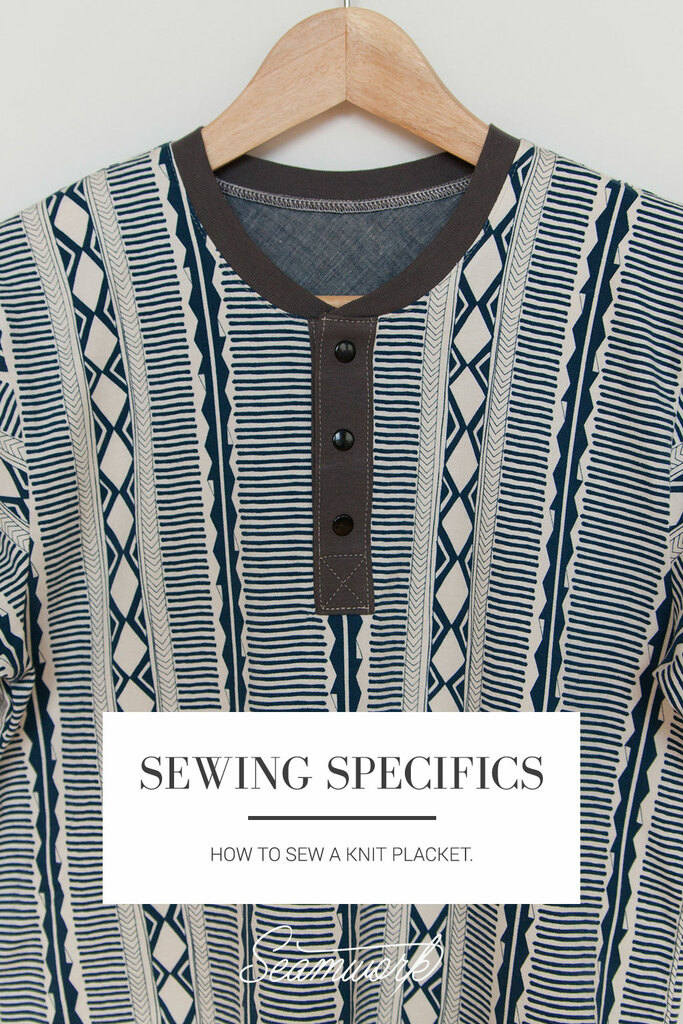
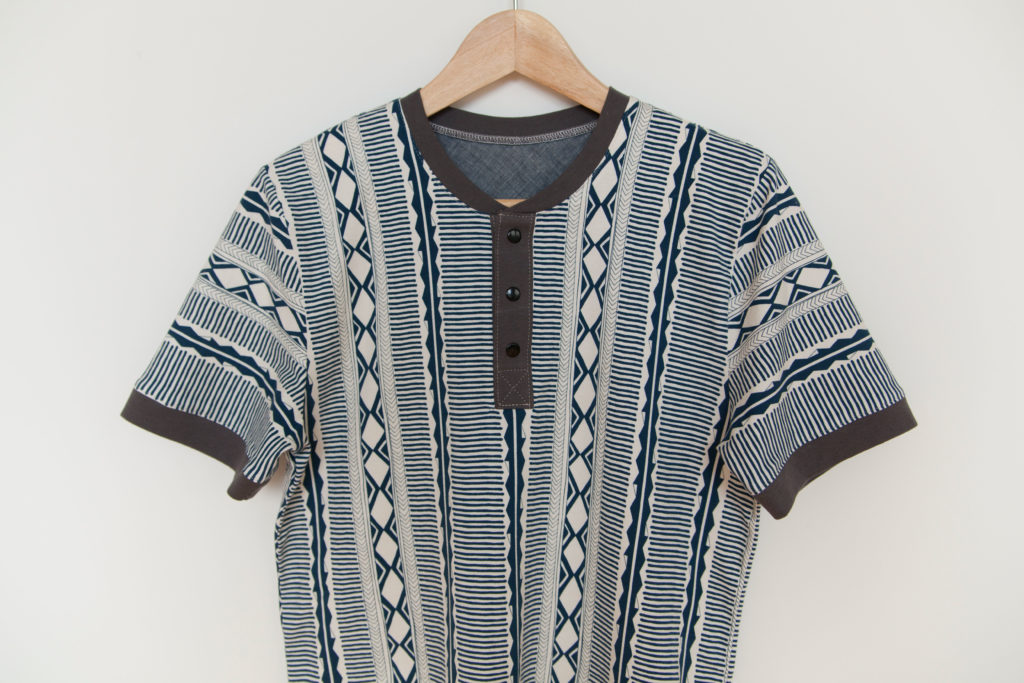
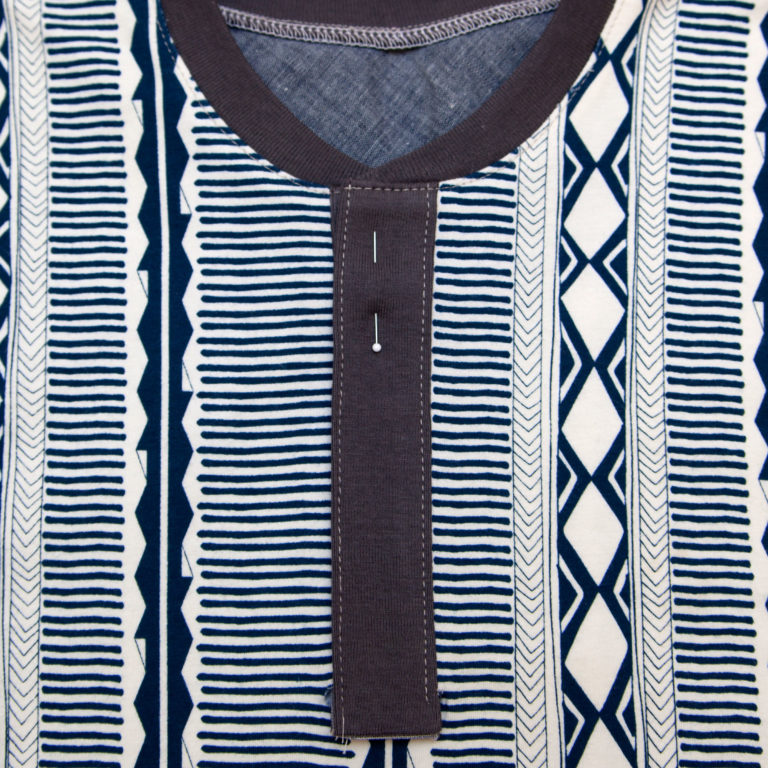
This month we are sharing a technique for attaching a knit placket. It’s perfect for garments like Eugene yet can be added to any knit shirt or dress with a ribbed collar.
How to
Step | 01
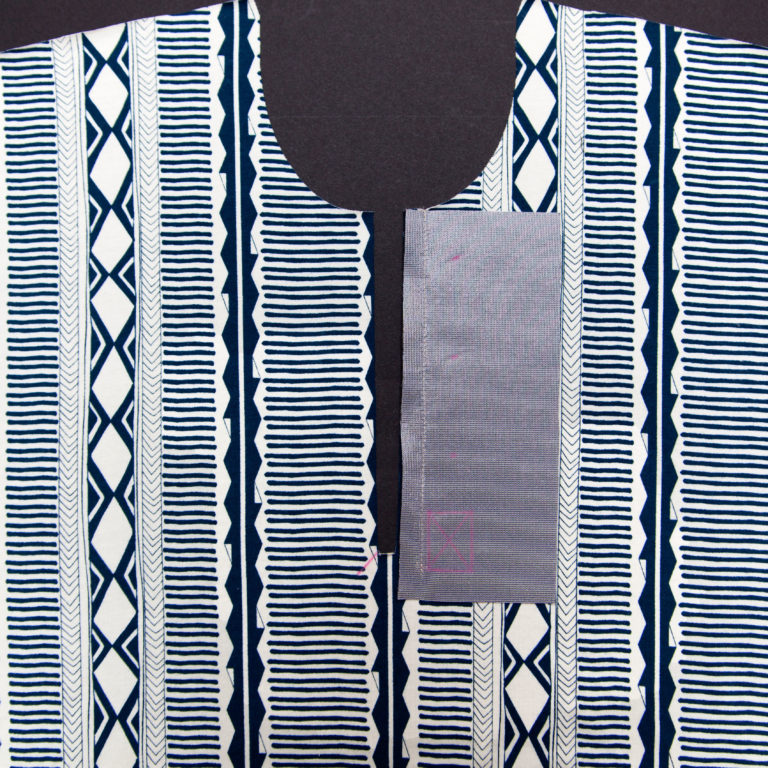
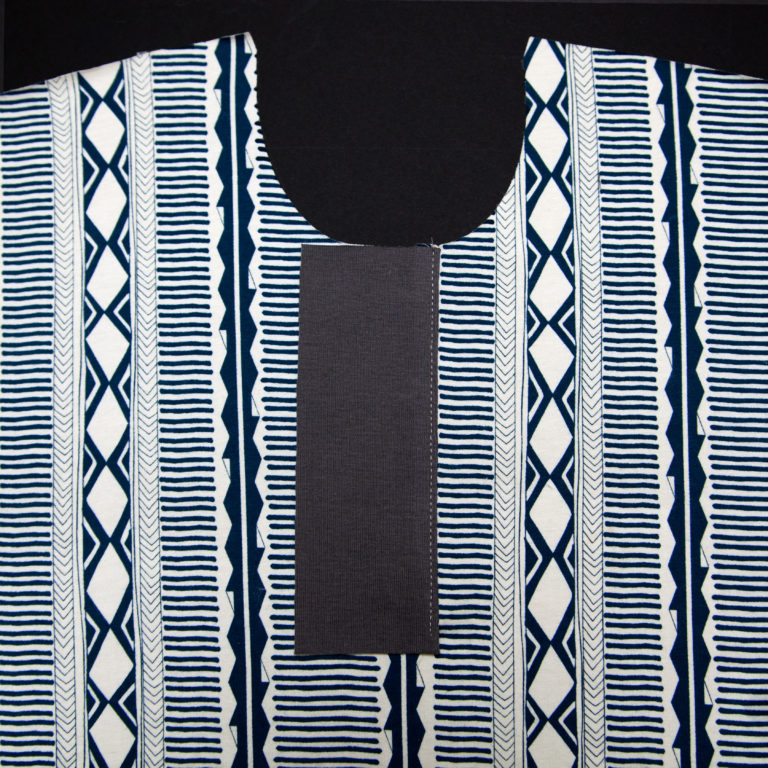
With right sides together, match the left placket to the left edge of the cut rectangle at center front. Align the top edge with the neckline and allow the bottom edge to extend beyond the cut rectangle. Stitch the placket to the front at a 3/8" seam allowance, ending at the small circle.
Take note: The markings for buttons and the stitching box are closest to the cut rectangle. If you have a hard time ending your stitching at the small circle, transfer the marking to your placket after pinning.
Step | 02
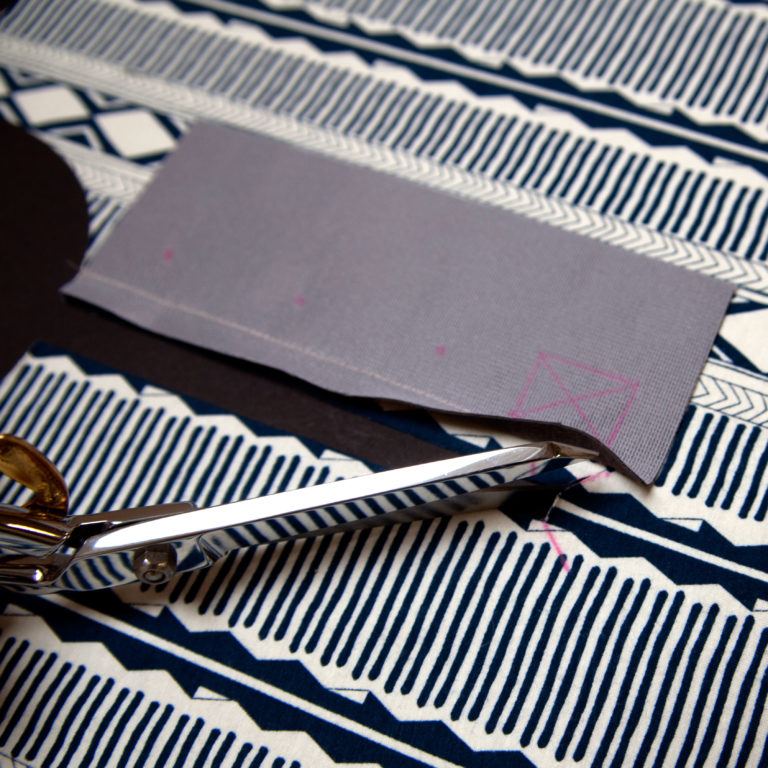
Carefully clip the seam allowance of the shirt front only, along the diagonal marked line, to but not through the stitching line.
Step | 03
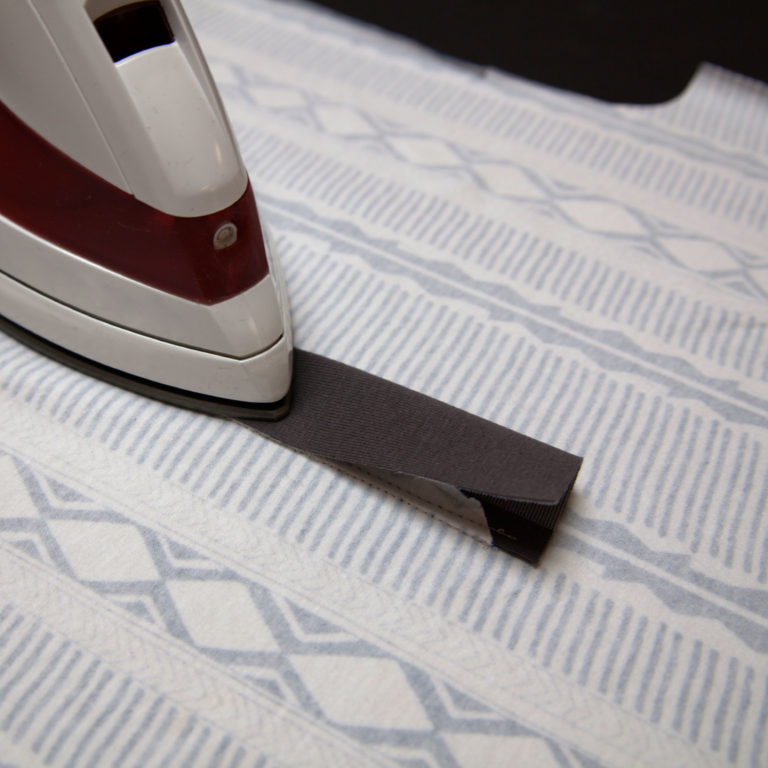
Press the placket and seam allowances towards center front. Along the folded edge, edgestitch at 1/8", catching the seam allowance.
Step | 04
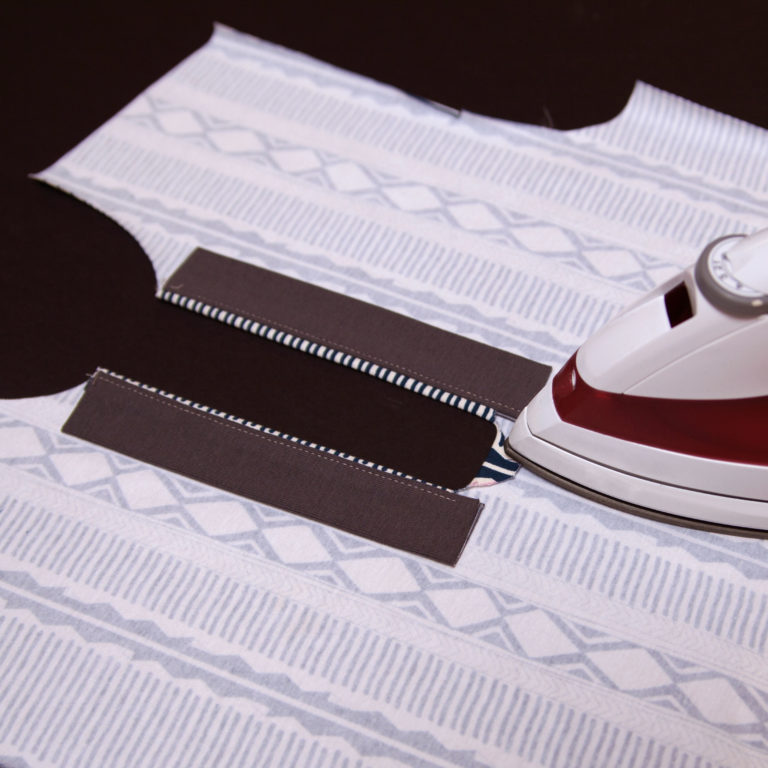
With wrong sides together, fold the long edge of the placket, bringing the raw edge of the placket to the previously made seam line.
Repeat Steps 1-4 for the second placket.
Step | 05
Press the lower portion of the cut rectangle's seam allowance to the wrong side of the front.
Step | 06
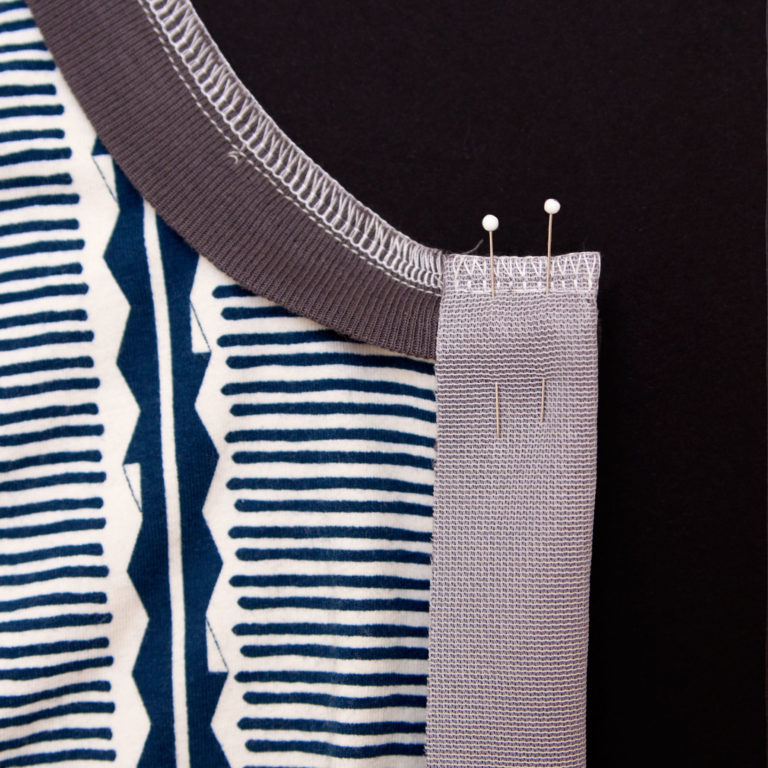
After attaching the collar to the neckline, per the instructions, fold the placket right sides together along the fold line, sandwiching the collar. Pin in place and stitch along the top edge of the placket at 3/8" seam allowance.

Step | 07
Turn the placket right side out.
Press the collar up and away from the body of the shirt and press the collar's seam allowance down.
Edgestitch at 1/8" along the neckline, catching the collar's seam allowance, from the inside edge of the placket to the opposite placket's inside edge.
Edgestitch at 1/8" along the center edge of the placket.
Step | 08
From the right side, layer the left placket over the right placket. Position both placket pieces so that the bottom short edges are inside of the front.
From the inside of the garment, both of the bottom edges of the placket and the bottom of the cut rectangle's seam allowance should align.

Step | 09
Pin the bottom short edges of the placket and the rectangle seam allowance together, and stitch at 3/8" seam allowance.
Note: Your stitching should start and begin at the placket and rectangle's seam allowance. Do not sew on the shirt front, as this will result in all sorts of puckering.

Step | 10
Turn the shirt right side out and press the bottom of the placket and seam allowance toward the hem. Sew along the guidelines for the stitching box. This will reinforce the placket and keep the pieces in place.
At the markings, sew buttonholes and buttons or attach snaps.