Each month, Seamwork Magazine brings you two new wardrobe-building patterns along with inspirational articles and informative tutorials. Sewists tend to be detail-oriented by nature. We thrive when fussing over the perfect welt pocket or finding the perfect shade of thread to match.
Those times when we really slow down and cherish the details are when we shine the brightest. This series is dedicated to the small details that take your project to the next level. Whether it is a new seam finish or a fun embellishment, take the time to make your next me-made item one of a kind.

This month we will take an in-depth look at how to apply lace edging to a hem. This technique is perfect for lounge pants, like Monroe, or any garment that could use even more elegance.
You'll Need:
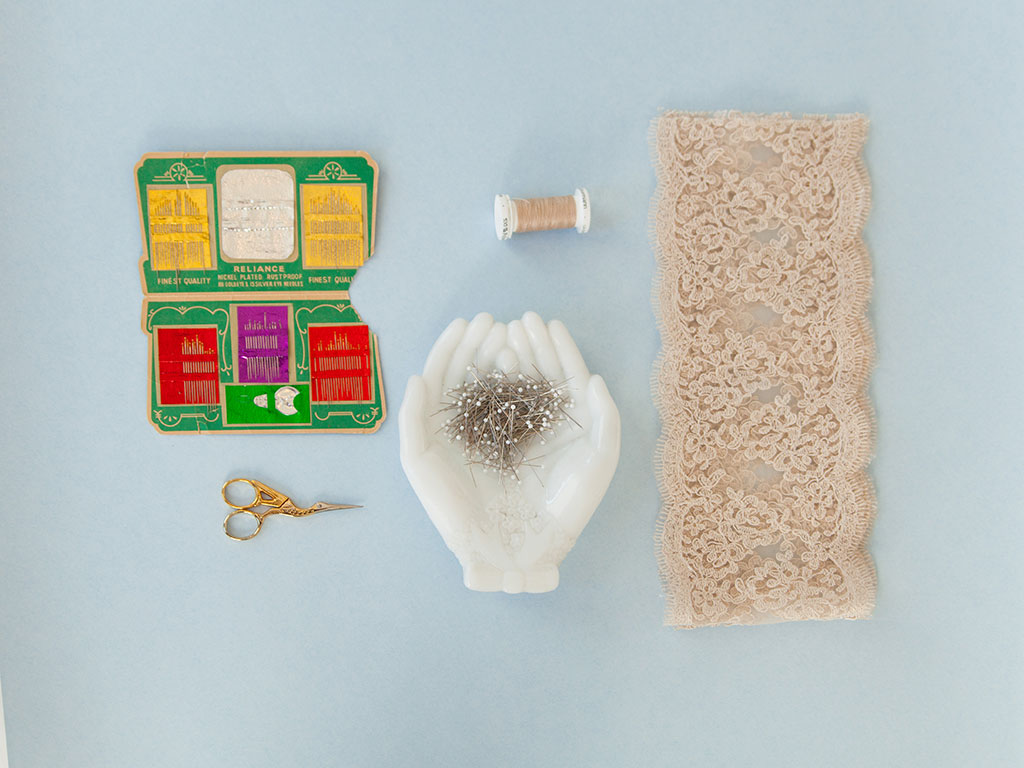
- Lace trim, match the lace stretch to the garment
- Thread, in matching color
- Standard sewing needle
- Fine glass head pins
- Embroidery scissors
Applying Lace Trim to Hems
Lace trims come in all shapes and sizes. When choosing a trim, it's a good idea to keep the lace size proportionate to the garment. For instance, a 4" lace hem would look quite silly on a tiny pair of knickers but would look fantastic on a full-length pair of pants.
Before you begin cutting your garment, decide how wide your trim will be and subtract that amount from your garment's length. For example, if your trim is 4" wide and you plan on overlapping the hem and lace by 1", you'll need to subtract 3" from the pant length to avoid your hem being too long.
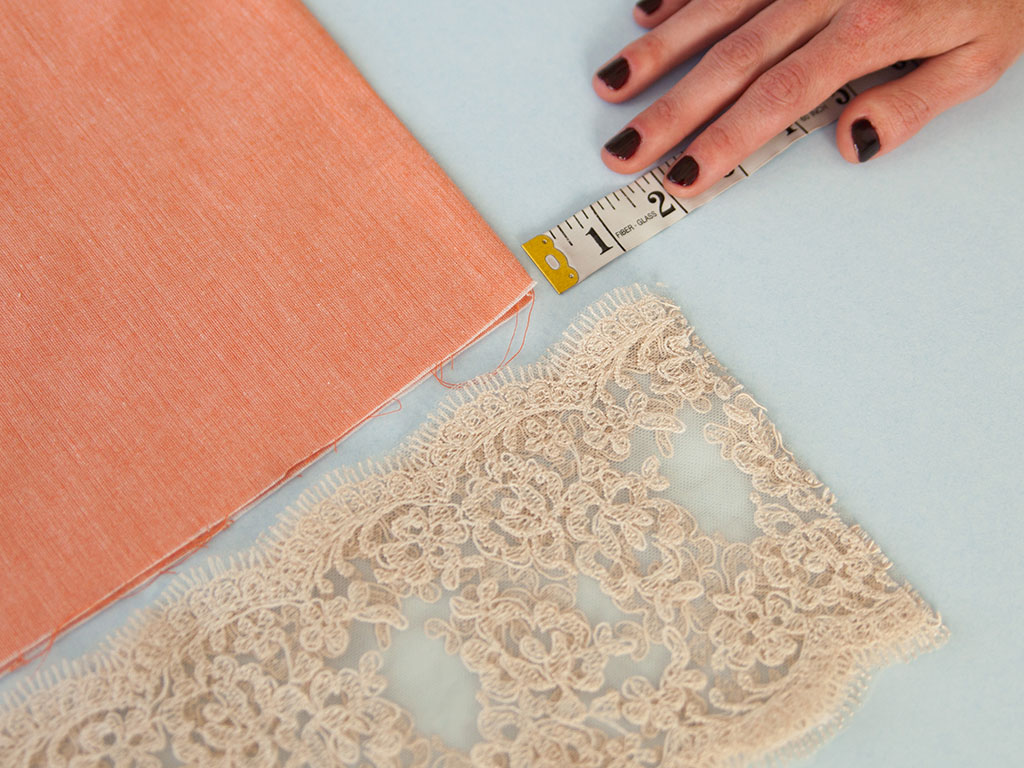
01: Measure the hem of your garment and add 2". Cut your lace trim at this measurement.
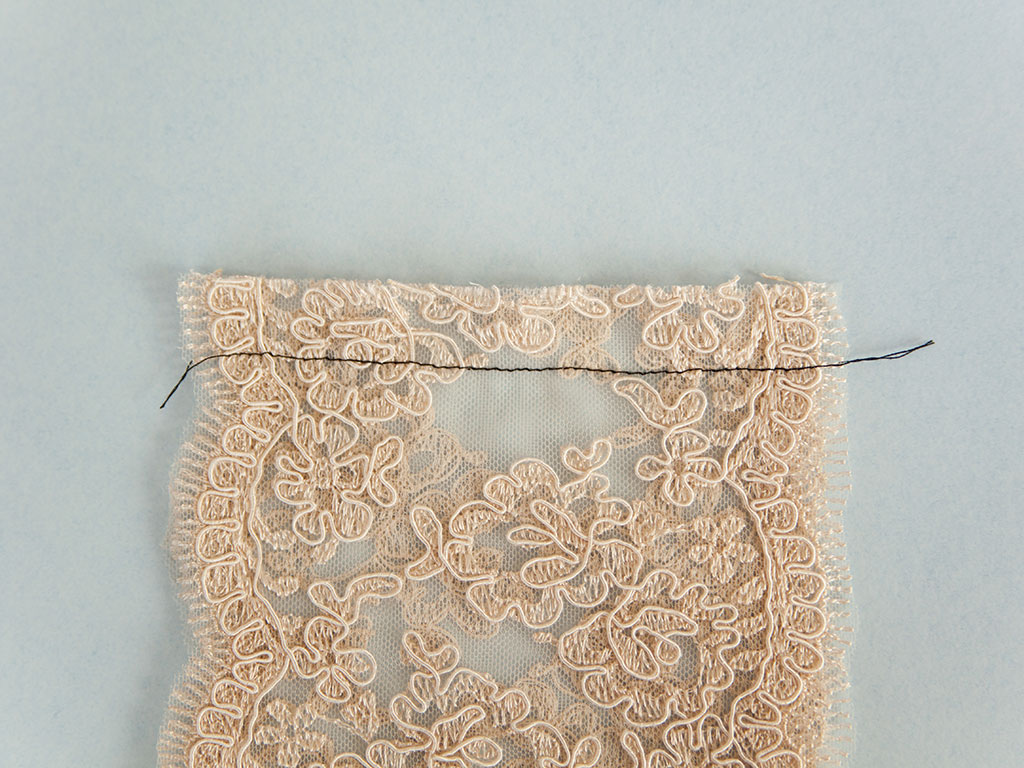
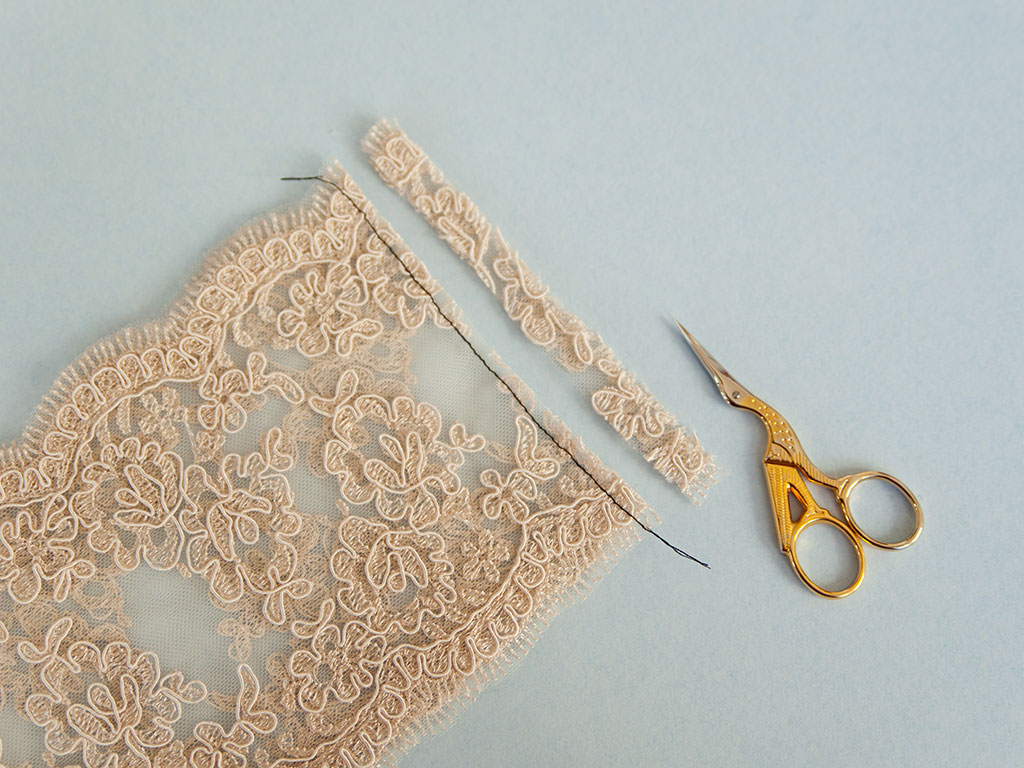
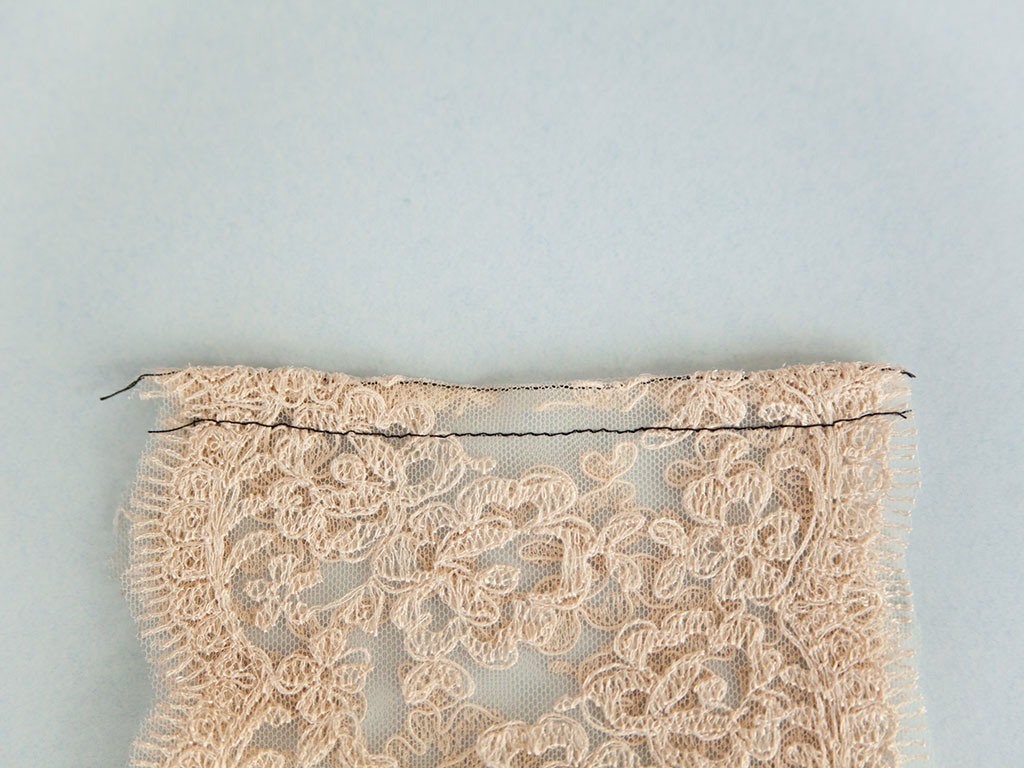
02: To finish the raw edges of the lace, match the raw edges wrong sides together and sew them at a 5/8" seam allowance. Trim the seam allowance to 1/4". Then bring the lace right sides together and stitch the seam at 3/8". This will hide the raw edges of the lace.
To take things one step further, press this seam to one side and topstitch 1/4" away from the seam. This will create a faux flat-felled seam.
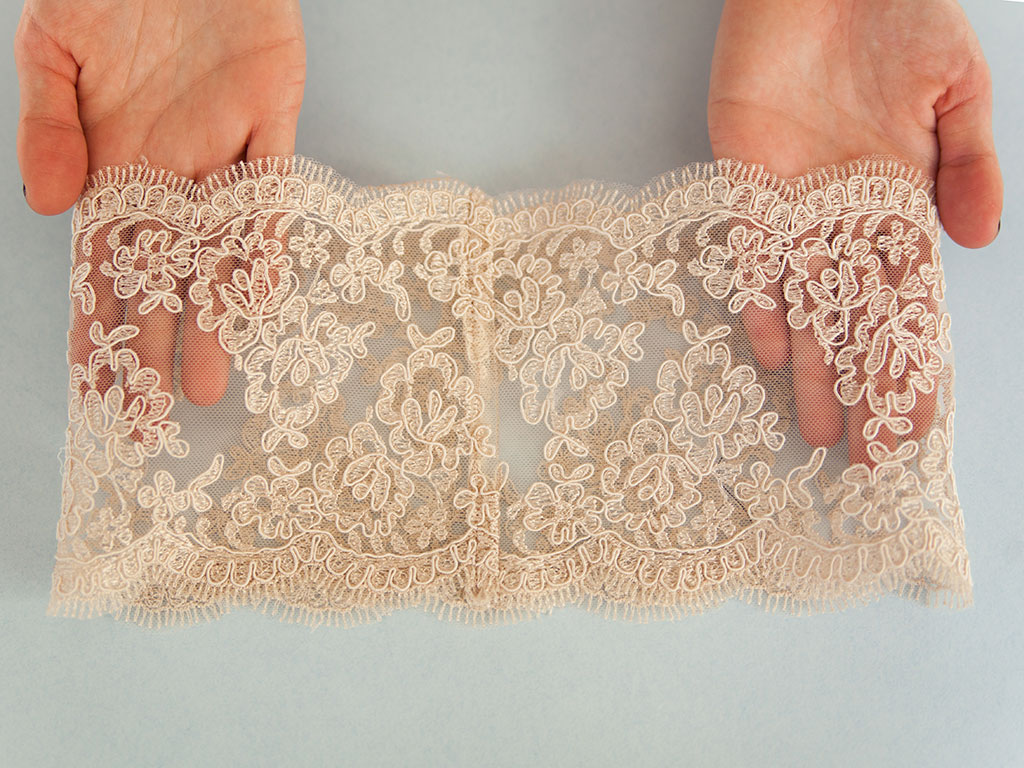
You now have a finished "lace loop" that will match perfectly around your hem.
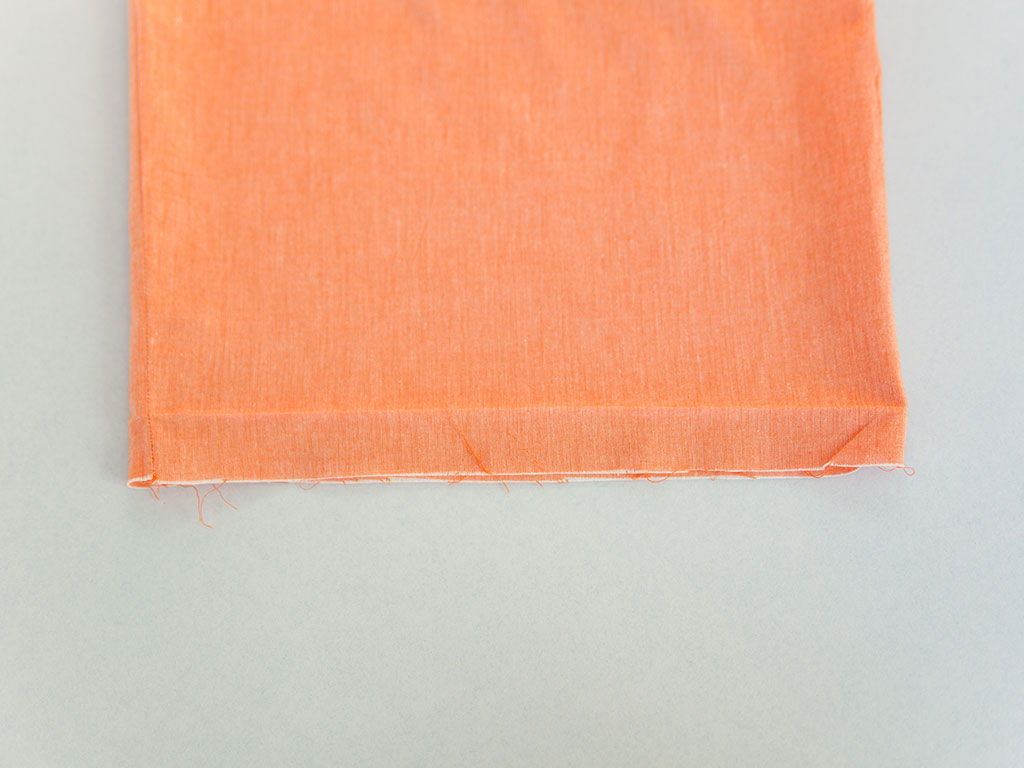
03: Press up the total hem allowance of your garment. Unfold the hem, this fold line will now be used as the hem reference point while pinning.

04: Pick a point near the edge of the lace as a guide to make sure your lace width is even. I chose to use the inside point of the scallop.
Pin the lace trim to the garment's hem, matching the lace point to the hem reference line.

Start by aligning the lace seam with the side seam.
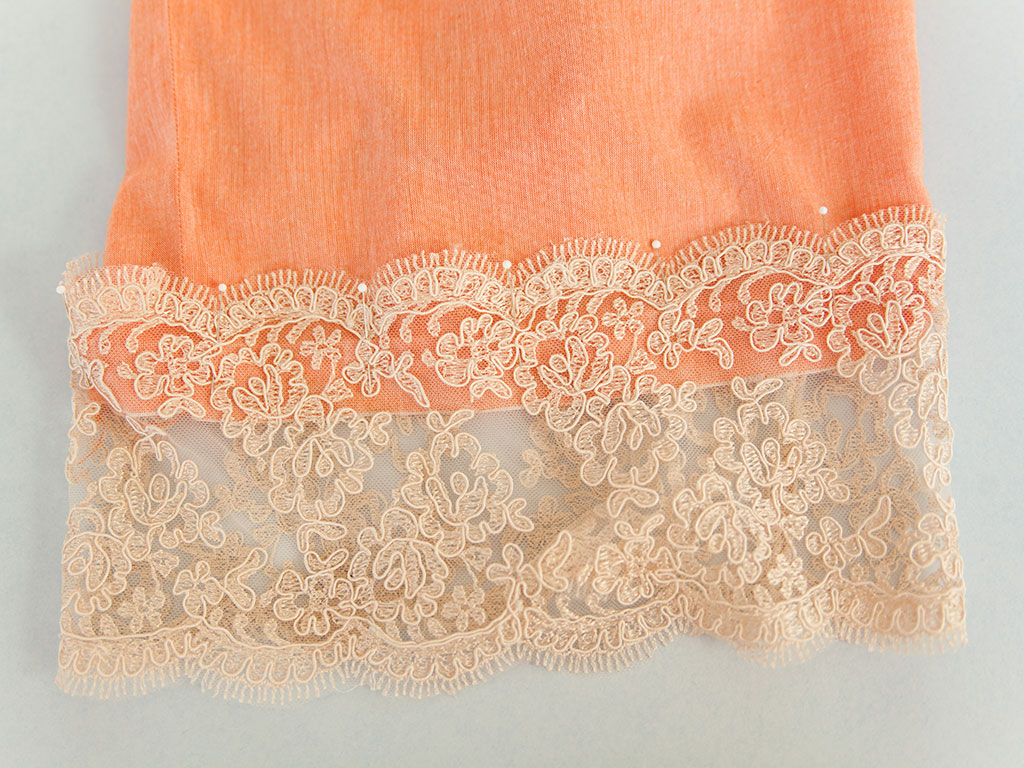
Continue around the entire circumference of your garment.
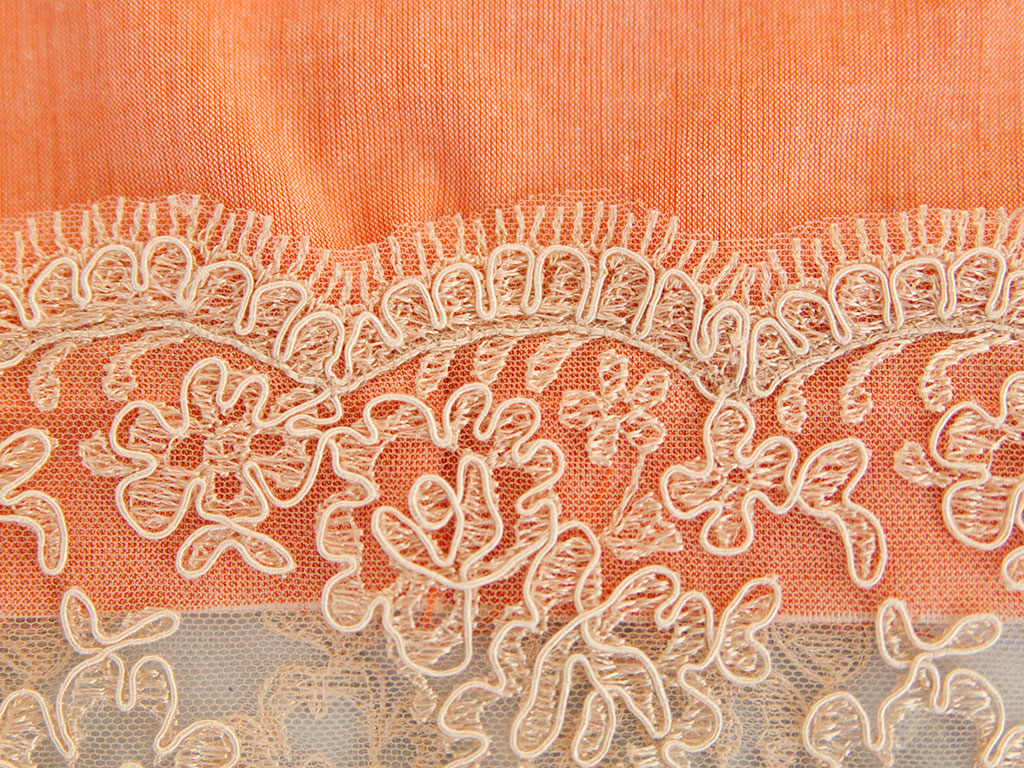
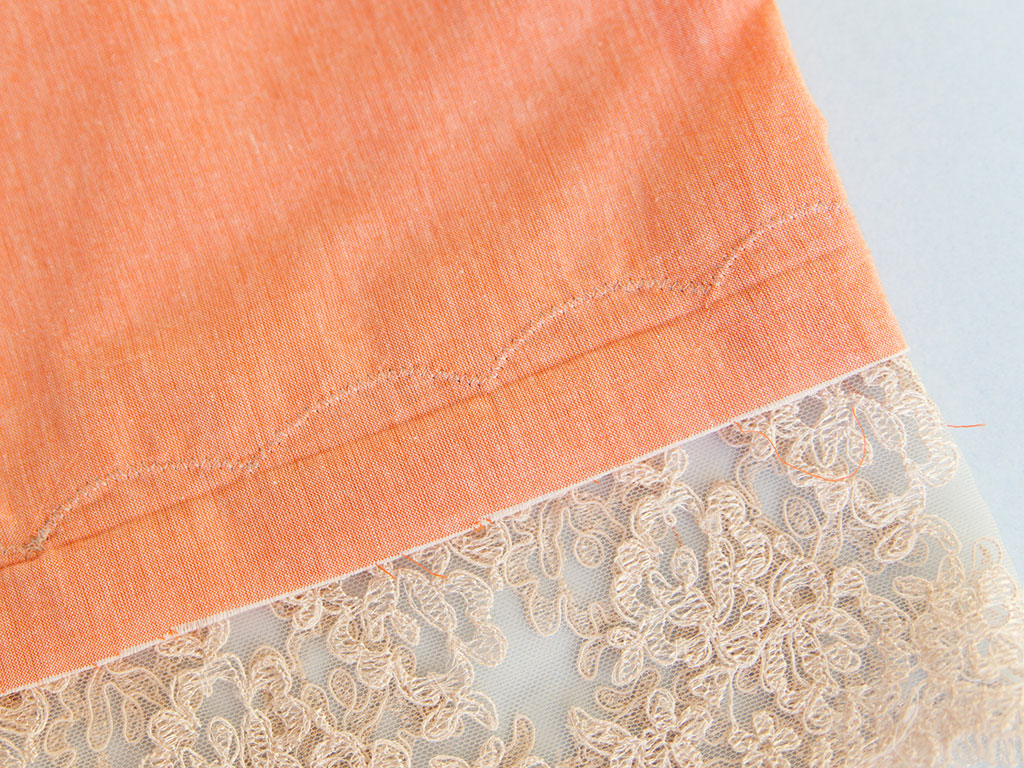
05: Following the curved top edge of the lace, just below the lashes, stitch the lace trim in place with a narrow zig-zag stitch (1mm) along the curve of the lace.
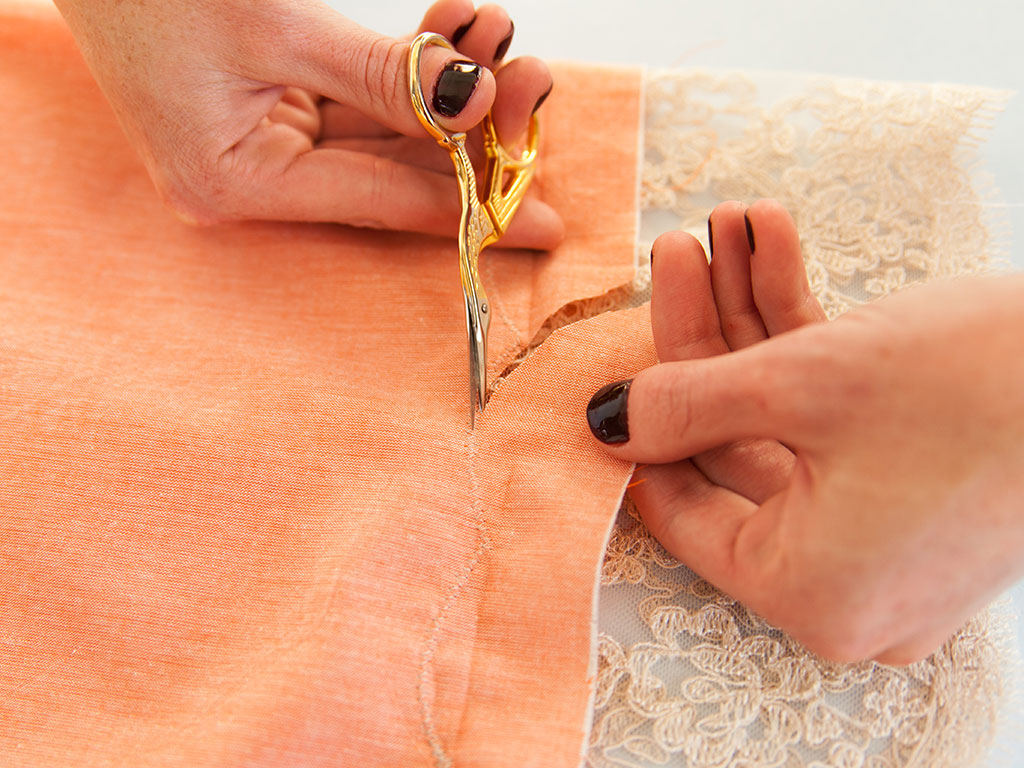
06: With fine scissors, trim away any excess fabric below the stitching line. Don't worry, because you have used a zig-zag stitch, you have "finished" the raw edges.
Lastly, like any good sewist, press.

About the Author
Katie teaches new skills through in-depth tutorials, sewalongs, and articles for Seamwork Magazine and The Colette Blog. She’s all about encouraging sewers to try new techniques and create a personalized wardrobe that makes them feel great!
 Related Articles
 Best Articles