Sign In

I am not ashamed to admit, my first experience sewing velvet was a disaster. This was before a time when there was ample sewing information on the Internet to support new and growing sewers. So instead of going to the library and checking out a book, or browsing old issues of Threads, I just jumped right in. Such a rookie mistake. You know how this story ends, because you probably have a similar tale of your own.
Years later, when the siren call of velvet beckoned me once more, I attacked the project armed with knowledge and a plan. I want to share all the tricks and tips I have learned from my own research and firsthand experience so you can have a tear-free velvet experience.
The Basics
Getting to know a fabric is essential to understanding its individual quirks and special requirements. A successful sewing project starts with selecting the correct fabric for a pattern.
Get to know velvet
Velvet is a type of pile fabric. Pile fabrics have a fuzzy, hair-like surface; they include velvet, velveteen, corduroy, and terry cloth, just to name a few. There are two categories of pile fabrics that are manufactured in two different ways.
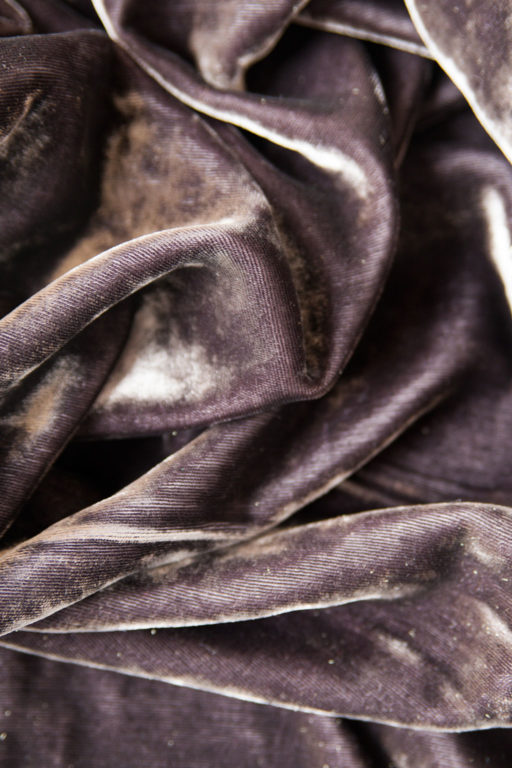
An up-close look at a rayon synthetic blend velvet.
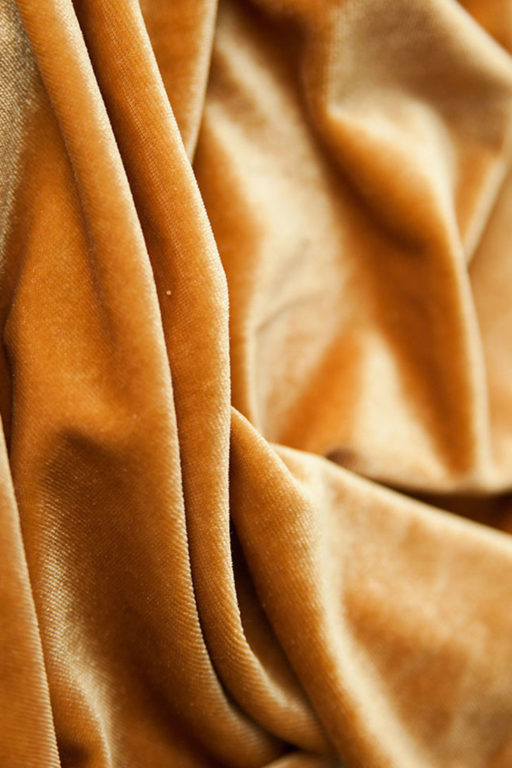
An up-close look at a stretch velvet.
Warp refers to the threads that run along the length of a fabric, while the filling (also know as weft) are the horizontal threads that are woven through the warp. Warp-pile fabrics have an additional set of warp yarns, while filling-pile fabrics have an additional set of filling yarns. Both types of pile fabric have the same woven base, but the additional warp and filling pile yarns are what produces the fuzzy texture associated with velvet or corduroy. These pile yarns can either be left as they are (uncut-pile weave), like terry cloth, or the pile yarns can be cut (cut-pile weave), like velvet.
In modern manufacturing, velvet is usually woven as a double cloth. The warp threads interlace between the two pieces of cloth. Once the fabric is finished, a blade is used to cut the two pieces of fabric apart along the warp. This results in a soft, cut-pile fabric. Stretch velvet uses this same double cloth manufacturing process.
Pile fabrics come in a variety of fiber contents. Originally velvet was made of silk, but rayon and synthetic options are most common at the average fabric store. Even velvets labeled as silk velvet are often silk pile yarns on a woven rayon base. Try checking the bolt label for fiber content percentages or do a burn test to get a better idea of the fiber content.
Choosing a Pattern
Velvet is a sumptuous fabric that adds luxury to any project, but like any fabric, it is of the utmost importance to choose your project wisely in order to get the best results. Here are some things to look for when pattern shopping.

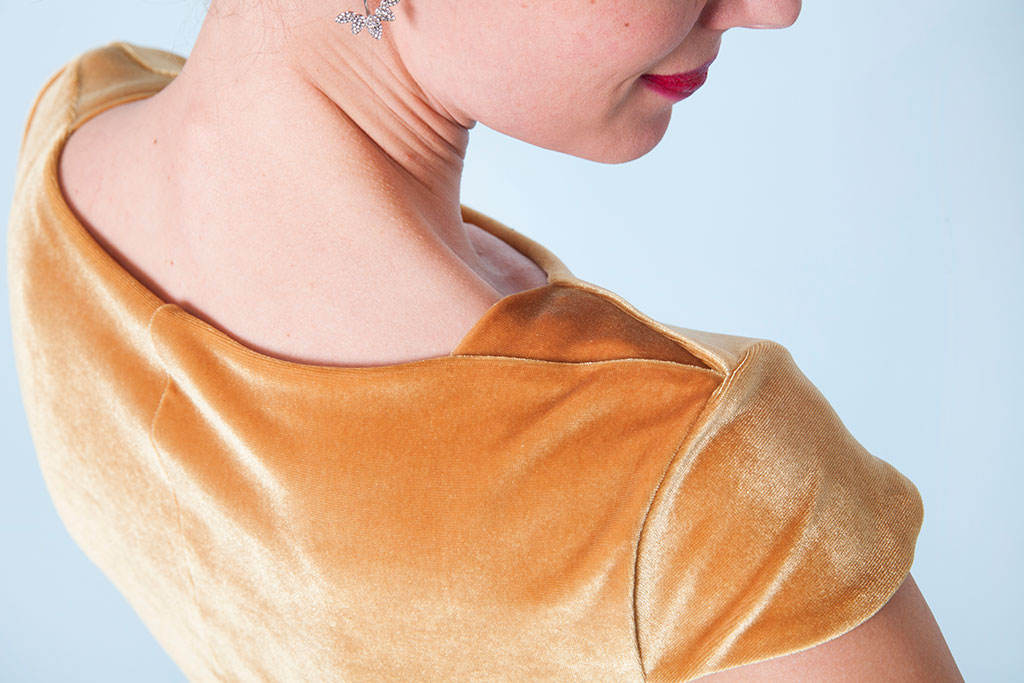
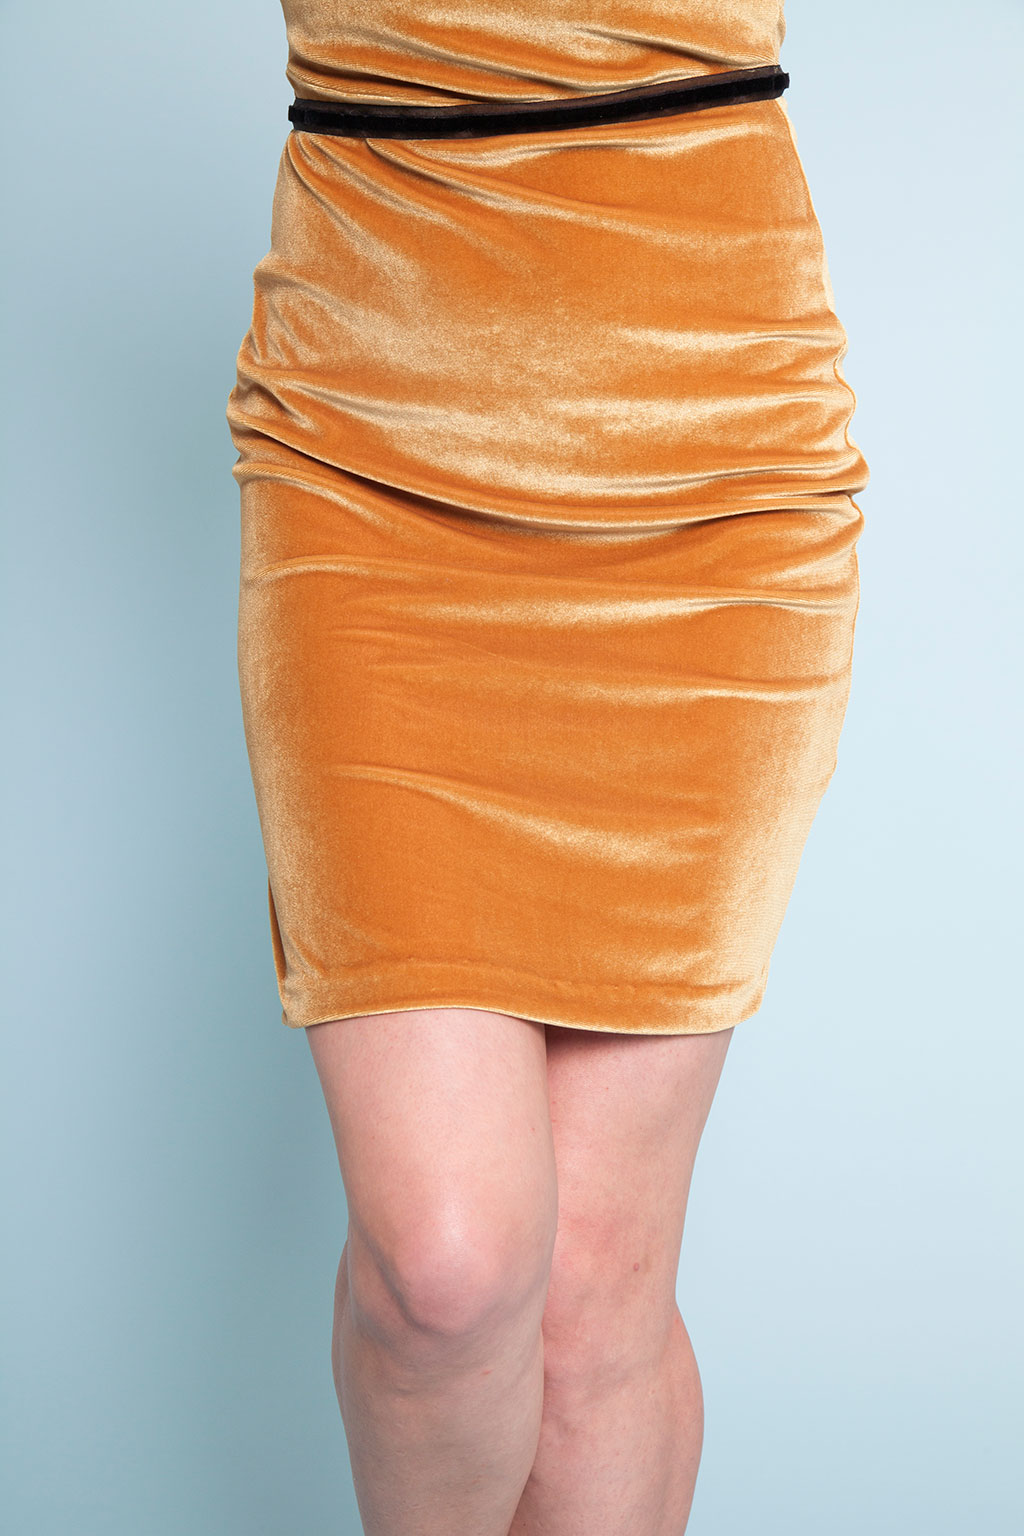
Ida's simple silhouette and pullover design make it an ideal choice for stretch velvet.
Fit and Silhouette: Velvet comes in a variety of weights depending on the fiber content and weight of the backing fabric. Consider this when choosing your pattern. Silk or rayon velvets tend to to be lighter weight with more drape, perfect for semi-fitted or loosely-fitted garments like Kenedy or Catarina. If you are working with a heavier velvet and are up for a challenge, tailored jackets and dresses are timeless classics that you will wear season after season. To add strength and durability to tailored velvet garments, consider adding an underlining to create additional structure.
Shaping: Generally, when working with velvet, less is more. Darts and contoured seams require lots of pressing, and velvet’s worst enemy is a heavy-handed iron. Look for patterns with gathers, pleats, or tucks instead.
Closures: Take the time to add couture-quality closures to velvet garments. If the pattern features buttons, consider bound buttonholes. For garments that require zippers, avoid invisible zippers; often the pile can get caught in the teeth and cause a lot of grief. Instead opt for hand-picked zippers for a high-end finish you won’t regret investing your time in.
Stretch velvet offers an excellent opportunity to give pile fabrics a try with less hassle. Since stretch fabrics require less in the way of closures and shaping, you can try the cutting and sewing techniques outlined below without fussing over finer details. This is perfect for first-time velvet sewers!
Prep
Every expert seamstress will tell you that if you want high-quality results it is essential to put in the necessary preparation. Taking the time to cut and mark accurately will help ensure precise sewing.
Cutting
The process for cutting velvet is very similar to that of cutting silk or other fine fabrics. The first and most important thing to know is you must cut velvet single layer. This will require you to make a few accommodations. For one, any pattern pieces that would have been cut on the fold should be traced so that the pattern is “open."
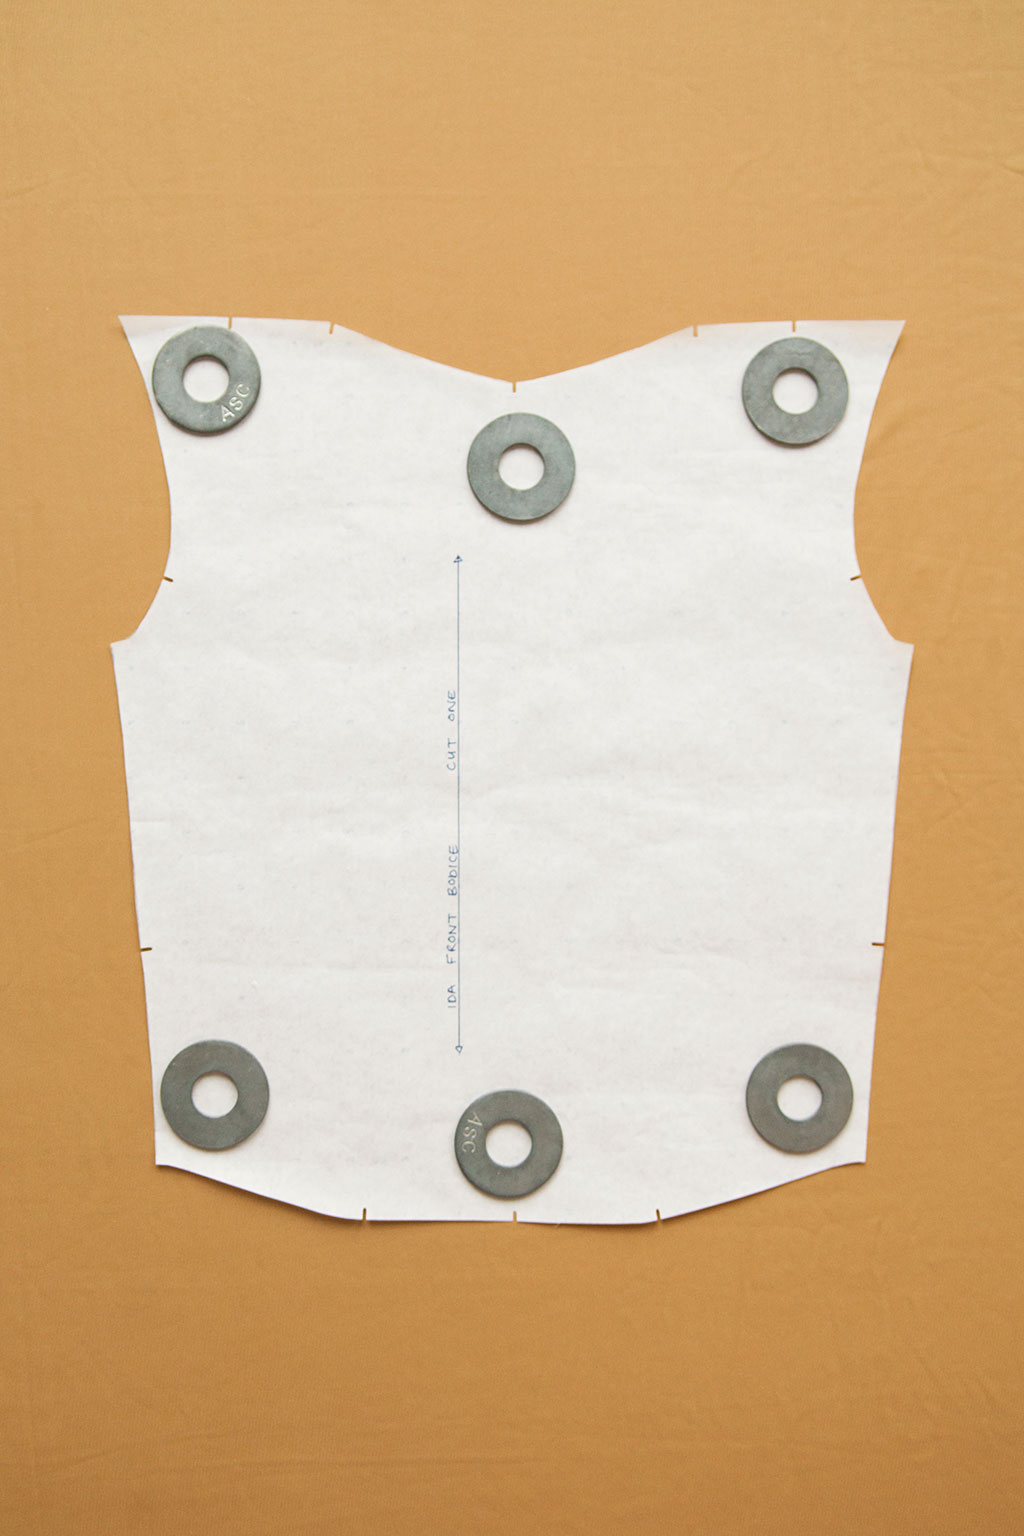
Though cutting fabric on the fold is normally a huge timesaver, avoid this technique when sewing velvet.
Instead, cut velvet single layer.
Secondly, it is important to keep in mind that you will most likely not be able to cut your fabric according to the pattern layout. This is due to the fact that you are cutting single layer, but also because velvet has a directional nap. The best way to acquaint yourself with nap is to get your hands on some velvet. When you run your hand along the right side of the fabric, the pile will feel smooth when you move in the direction of the nap, and rough when you move against the nap.
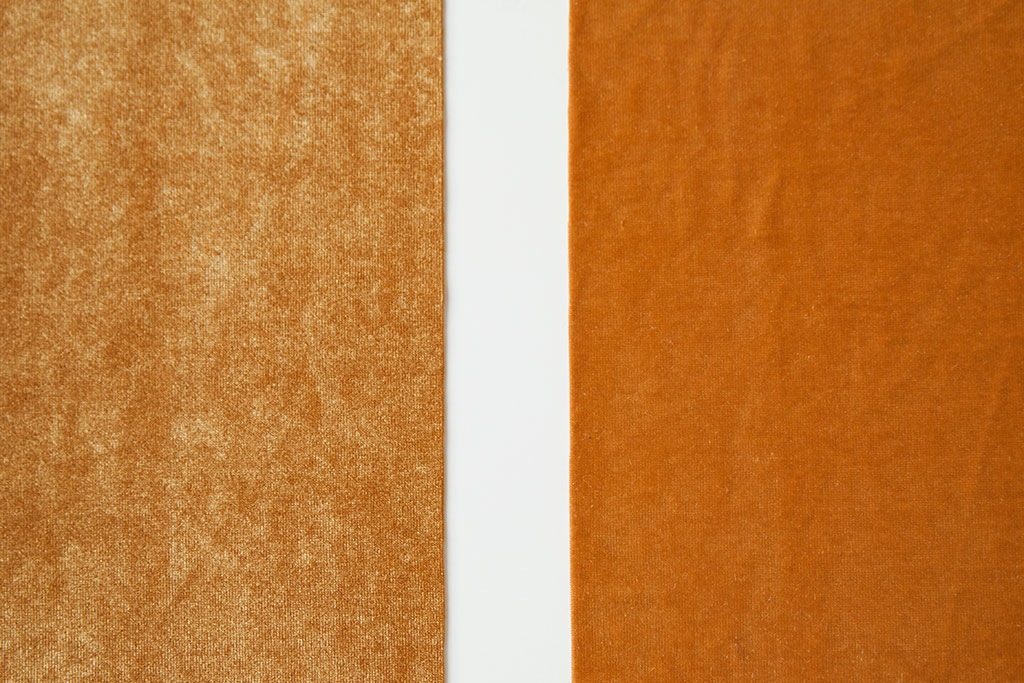
On the left swatch the pile is facing down resulting in a duller color. On the right swatch the pile is facing up creating a more vibrant color.
It is key to cut all pattern pieces in the same direction. Traditionally, The pile runs down the garment, meaning that when you run your hand from the top of the garment to the bottom, the velvet will feel smooth. However; if you are working with a velvet in a rich color, your fabric will appear more saturated if you choose to cut the garment with the nap running up the length of the garment. Regardless of which option you choose, just be consistent.
Carefully lay out all of your pattern pieces, making sure you have enough room. I like to use my phone to take a picture once I have tetris-ed everything together.
Now that you have prepped your pattern pieces and planned the cutting layout, you can finally cut into your fabric. Cover your cutting surface with tissue paper; this is going to help you shift your fabric without compromising the grainline. If you are using a rotary cutter—which I highly recommend—place the cutting mat beneath the tissue.
Lay your velvet on top of your tissue and arrange your pattern pieces. Lightweight pattern weights are helpful for keeping your pattern in place. Use a rotary cutter or scissors to carefully cut out your velvet.
Marking and Stabilizing
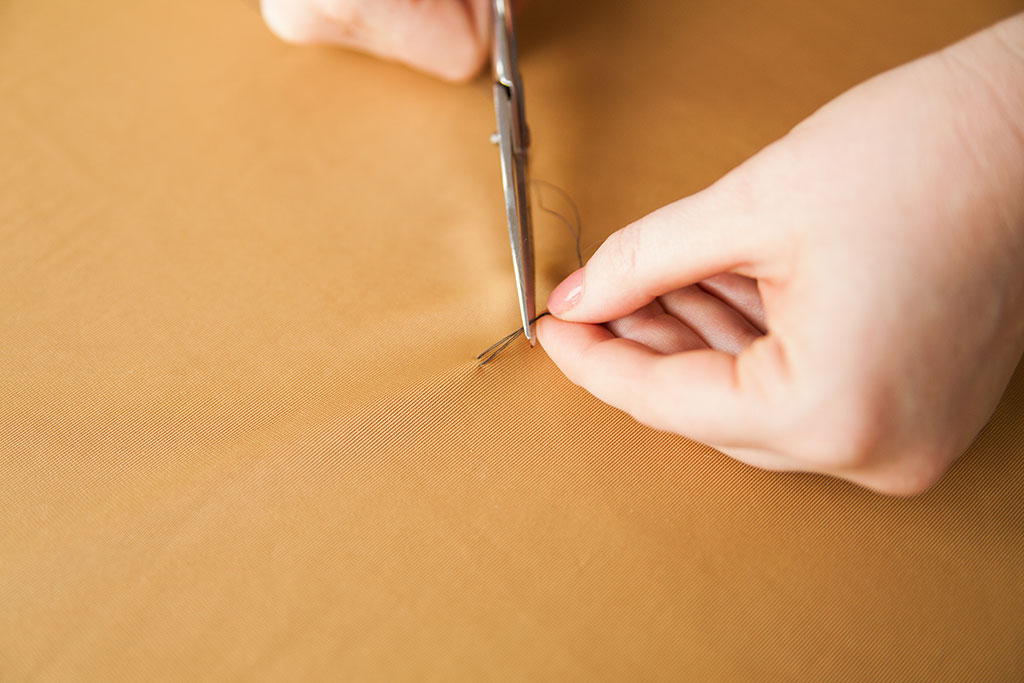
Tailor's tacks are easy to create and remove.
Marking is another place where you will want to take your time. Tailor's tacks are the way to go when marking velvet. I like to use tailor's tacks to mark everything from darts to notches. Alternately, use a disappearing ink marker on the wrong side of your fabric.
Don't use iron-on interfacing when working with velvet. Instead, opt for sew-in interfacing. Silk organza is ideal for backing waistbands and collars.
Sewing
You have done it! You have successfully planned, cut, and prepped your velvet garment. Now the fun part—at least in my opinion—begins, and you can finally see your garment taking shape.
Always Test
For a professional finish, always test your stitches to ensure a smooth and consistent look.
You know those teeny tiny scraps that you either a) hoard for no reason or b) toss into the waste bin? Those scraps are your most valuable tool for a smooth sewing experience. Before I even touch my cut fabric I always test sew some swatches.
If you are using traditional velvet, I recommend starting with a size 70/11 microtex needle. If you are using heavier velvet, a larger needle may be required. For stretch velvet, try a 75/11 stretch needle.
Loosen your tension a notch. Because of velvet’s pile, your average tension setting might be a bit too tight to accommodate the extra bulk. You may also want to also use a longer stitch length to help reduce tension issues.
Lastly, lower your presser foot pressure. This will ensure that your feed dogs don’t scar your fabric.
If you are sewing stretch velvet using your serger, adjust your differential feed to ensure your stitch stretches adequately. Your stitching should allow for the same amount of stretch as the fabric itself.
Once you have made these adjustments, test on a swatch of fabric and make additional adjustments as necessary. Every sewing machine and fabric is different, so don’t skimp on testing.
Avoid Creeping

When hand basting a seam, try using a diagonal stitch pattern. This will help ensure that your fabric stays secure as you sew.
Anyone who has ever attempted to sew velvet before knows that what makes it tricky to work with is its tendency to creep. Creeping is the term used to describe two layers of fabric that shift independently as they are being stitched. The reason velvet creeps so horribly is because when you place it right sides together, the pile of the fabric slips against itself. This becomes especially apparent once your fabric is under your presser foot and you start stitching.
The most effective way to avoid creeping is to hand baste your seams prior to machine sewing. I promise you that hand basting is more time efficient than seam ripping inaccurate seams!
Seam finishes and hemming
Pressing Velvet
With most sewing projects, your iron is your best friend, but that is not true for velvet. Irons can crush the pile of velvet, resulting in an uneven fabric surface. But don't worry! Here are some ironing solutions.
- Steam is your best friend! Gently finger press seams, then apply lots and lots of steam on the wrong side of the fabric.
- To protect the right side of your fabric while you steam the wrong side, try placing a scrap of your velvet with the pile facing up to help prevent your fabric from getting crushed.
- Alternately, try using a towel or piece of terry cloth to press.
Generally speaking, when it comes to finishing velvet there are three things you will want to avoid: topstitching, bulk, and—as mentioned before—intense pressing. Keep this in mind as you finish your velvet projects and you will be one step closer to having the gorgeous velvet dress of your dreams.
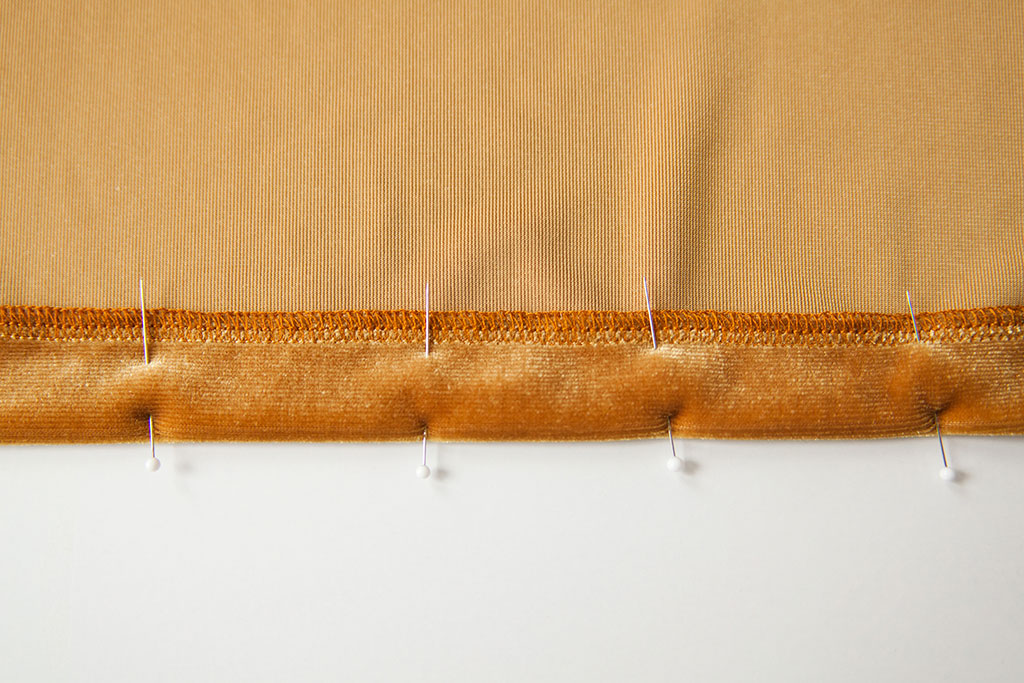
Velvet is a special fabric that deserves a special finish. For that reason, I like to line velvet garments whenever possible. In cases where a lining is not possible, keep seam finishes lightweight and simple, avoiding bound seams and French seams. Instead, opt for a serged edge or use an open zigzag stitch for a finish that won't add bulk to your seams.
Hems should take the same rules into consideration. Avoid bulk and topstitching by creating a single-fold, blind-stitched hem. Once your hem is securely stitched use ample steam to smooth your hemline.
Working with velvet and other luxury fabrics has taught me to slow down and enjoy the process. Rushing toward the finish line will inevitably end in shredded fabric and tears. If you want a gorgeous garment that will hang in your closet for years to come, take the time to cut with care, test your stitches, and hand baste your seams. I have had many sewing regrets, but I have never regretted taking the time to do something the right way.

About the Author
Five years ago, Haley left the apparel industry to join the world of home sewing. She has been empowering women to sew ever since —first through years of in-person teaching at Sew LA, and now through her writing at Colette. Haley writes tutorials and articles on our blog, and writes and edits for our magazine, Seamwork.