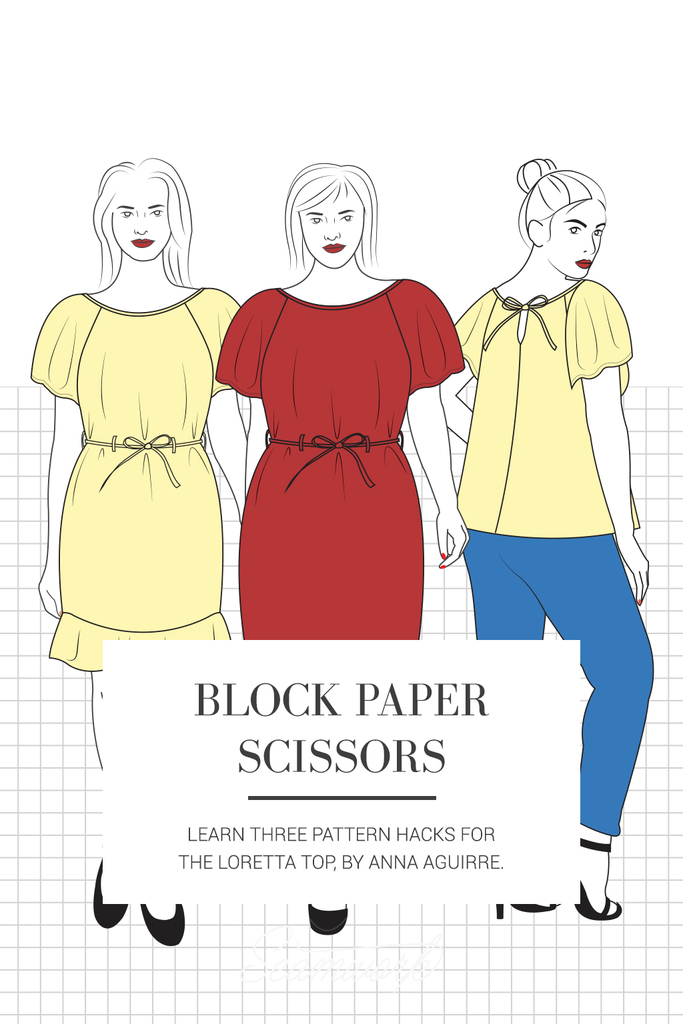
Block Paper Scissors is a monthly column that teaches three pattern hacks. These hacks help you give your Seamwork patterns a custom spin—all you need is paper, a ruler, and a pencil!
This month we walk you through three different pattern hacks for the Loretta top. For version 1 of the Loretta top, learn how to create a hem flounce or turn the top into a dress. And for version 2 of the Loretta top, learn how to create a center back keyhole with a drawstring closure.
Note: For best results, be sure to make any necessary fit adjustments before hacking your pattern.
You'll Need:
- Loretta
- Paper
- Pencil
- Scissors
- Clear ruler
- French curve
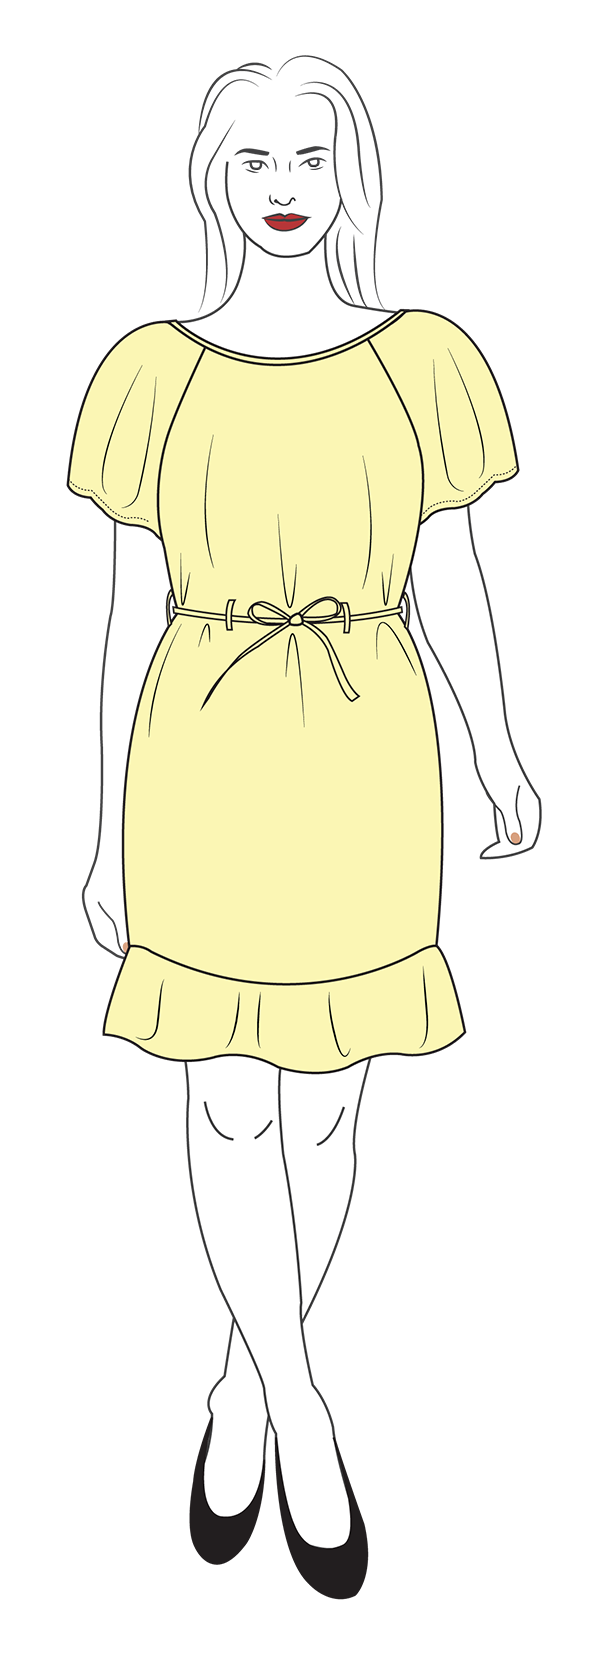
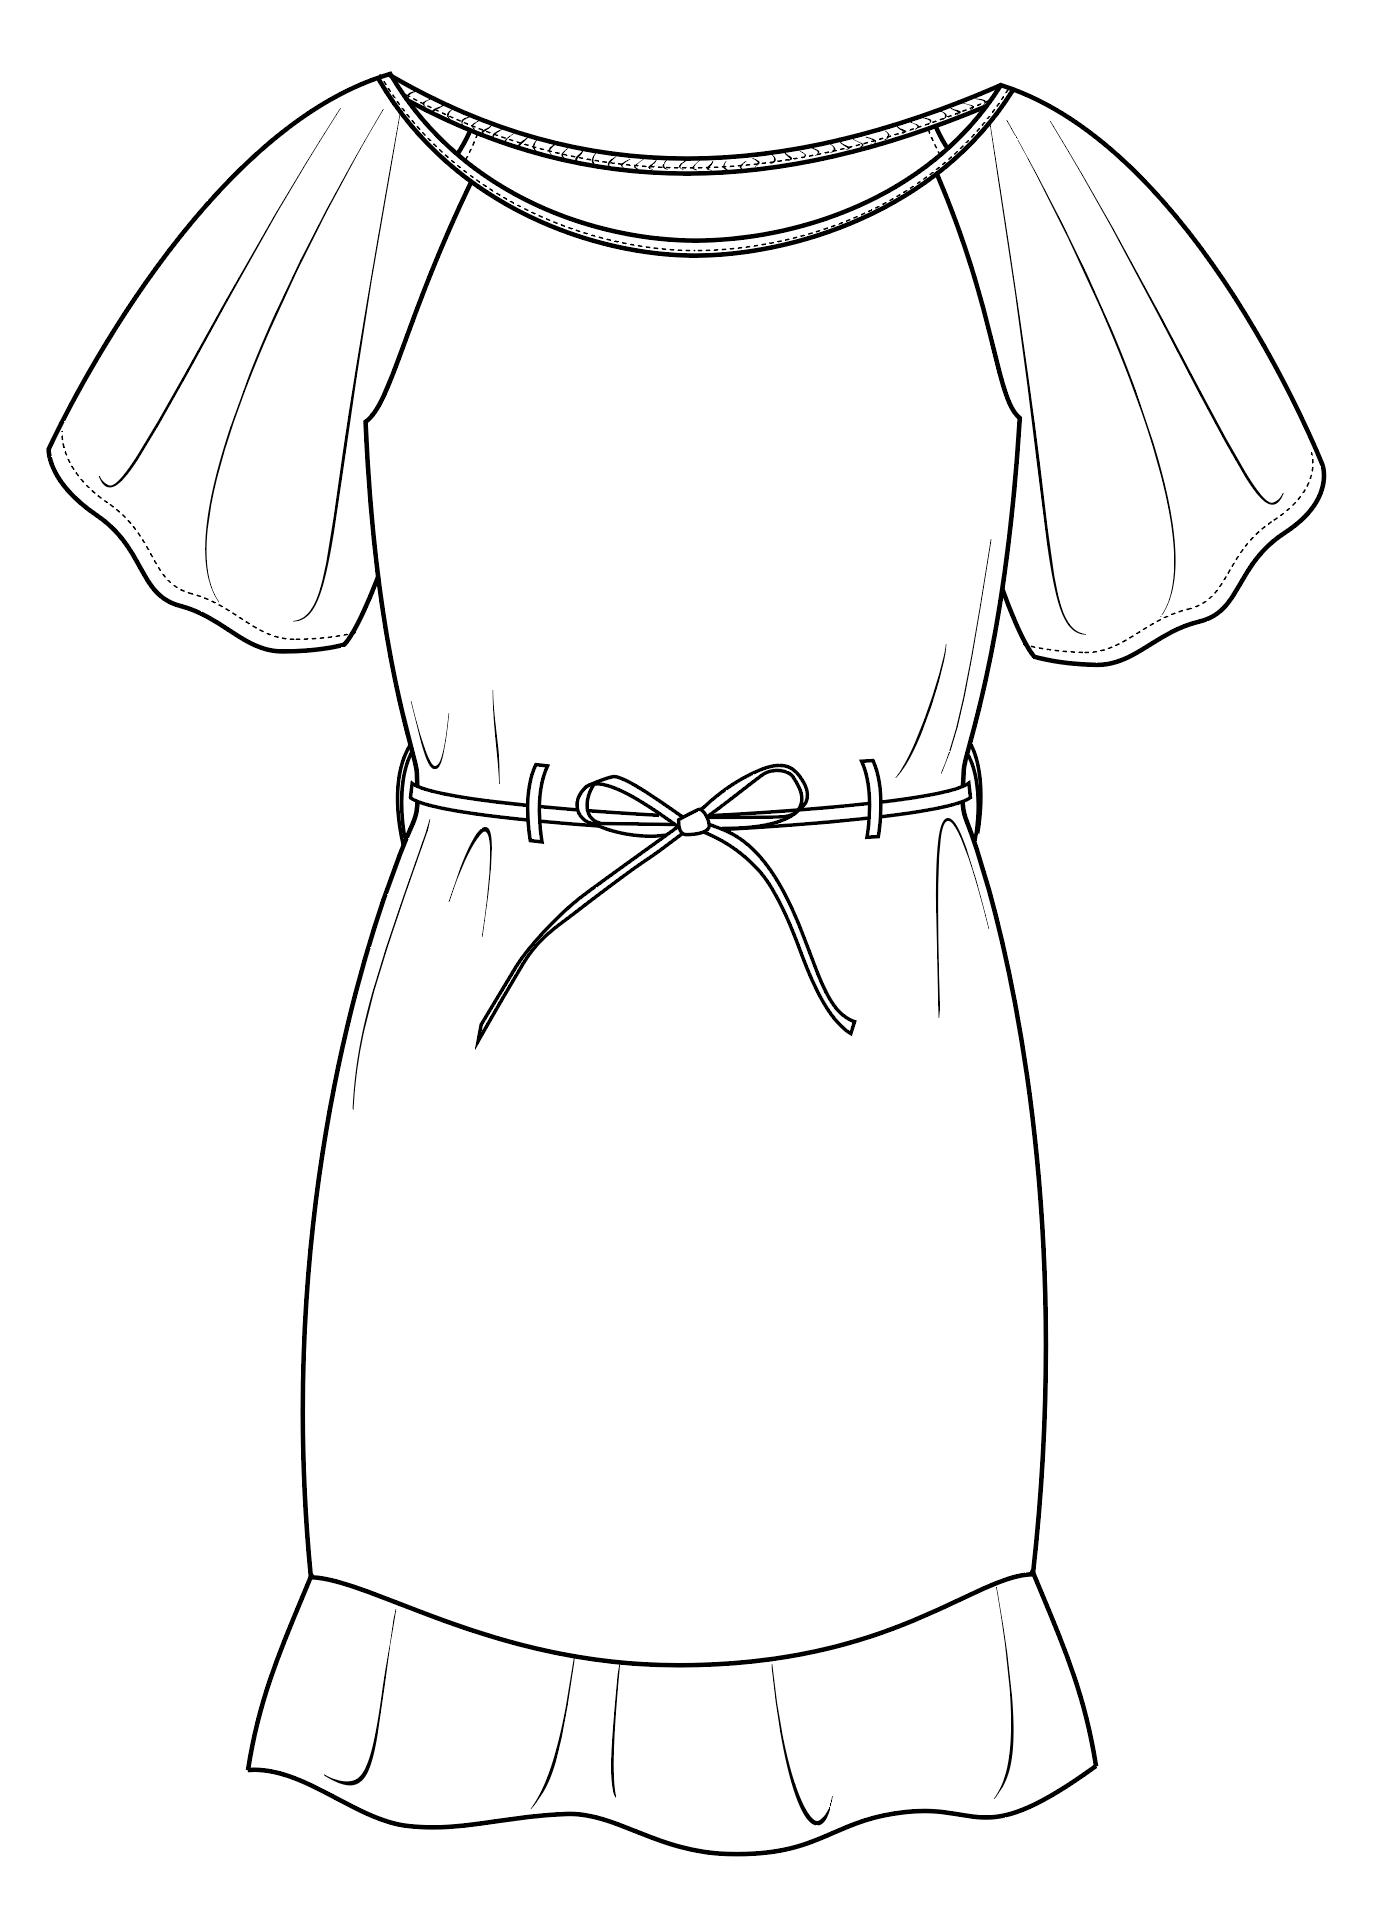
Create a Hem Flounce

Step | 01
Measure the width of the front (A) and back (B) hem.

Step | 02
Draw a curved line that is equal to the width of the front (A) and back (B) hem. Keep in mind that with flounces, the more drastic the curve, the more dramatic the flounce.
Step | 03
For a subtle flounce, make your flounce approximately 5-6” wide. For a more dramatic flounce, make it wider.
Step | 04
Label the center front “cut on fold.” The center back will have a 5/8” seam allowance for construction. You can also add a notch at the side seam for easy construction.
Step | 05
Cut and assemble the Loretta top according to the pattern instructions, up to the step for finishing the hem.
Step | 06
With right sides together, sew the center back hem flounce. Finish the seam and press.
Step | 07
With right sides together, sew the upper edge of the hem flounce to the hem of the Loretta top. Finish the seam.
Step | 08
Hem the flounce using a 1/4” double fold hem.
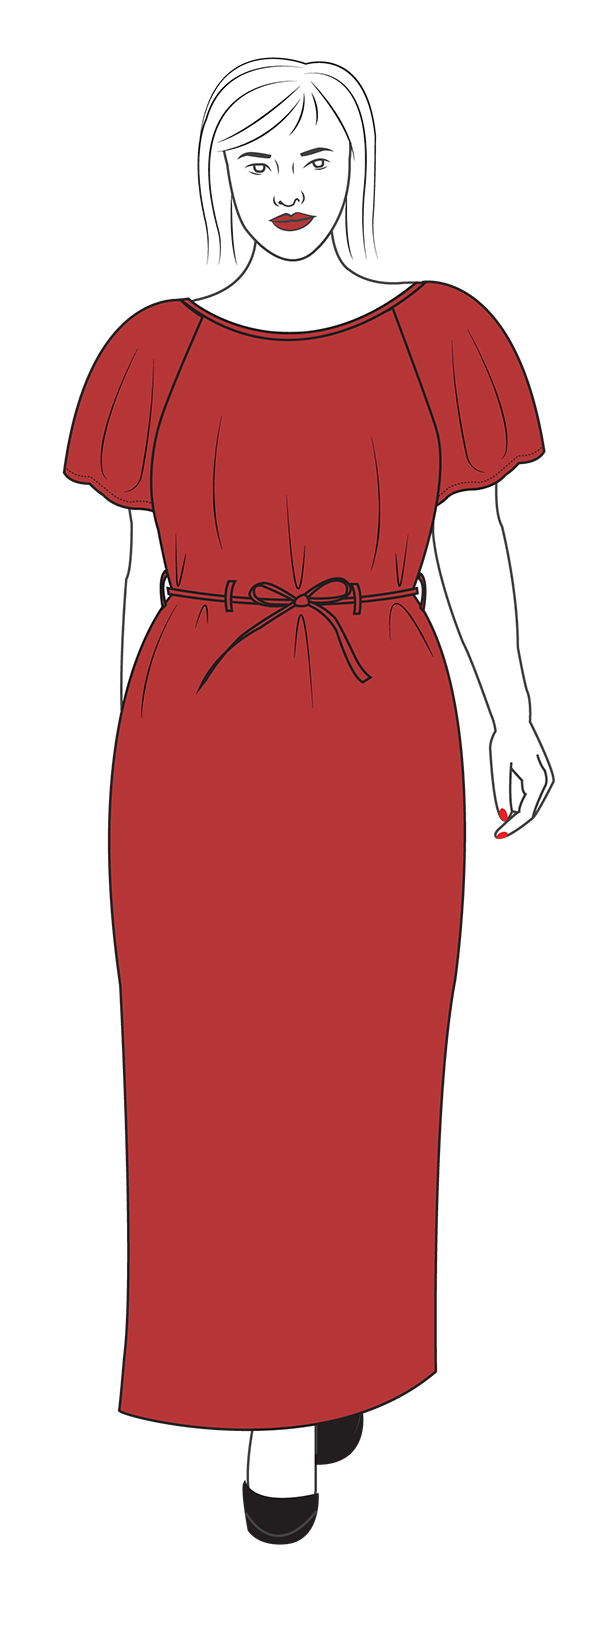
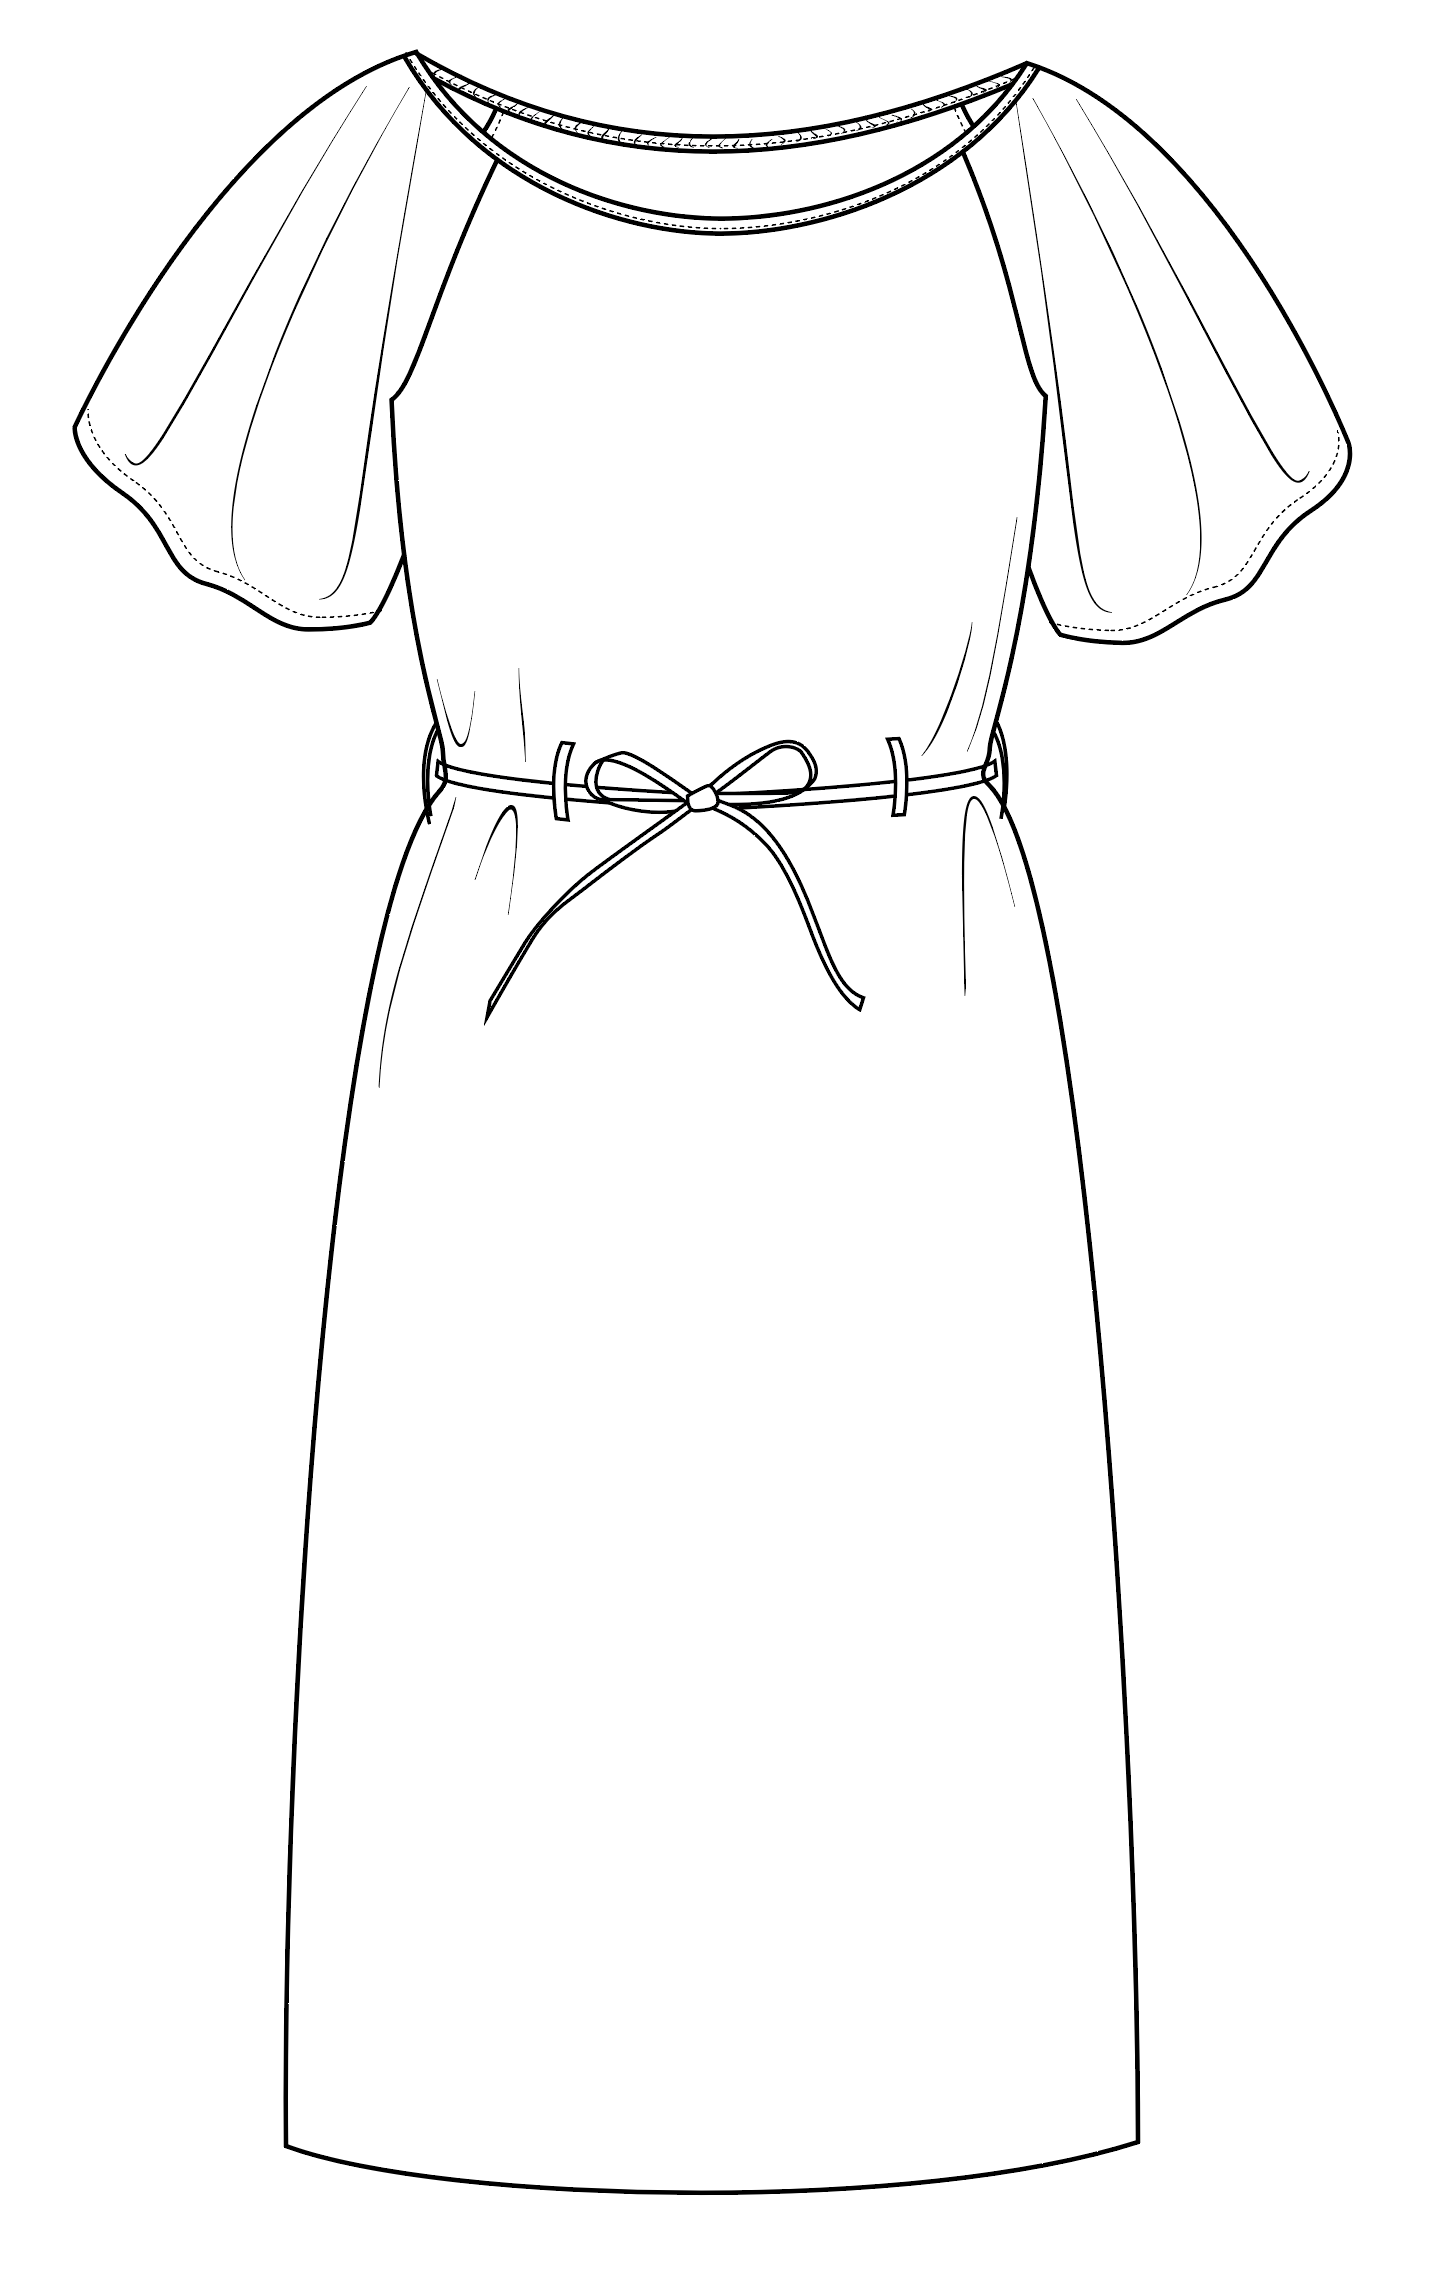
Create a Loretta Dress
Step | 01
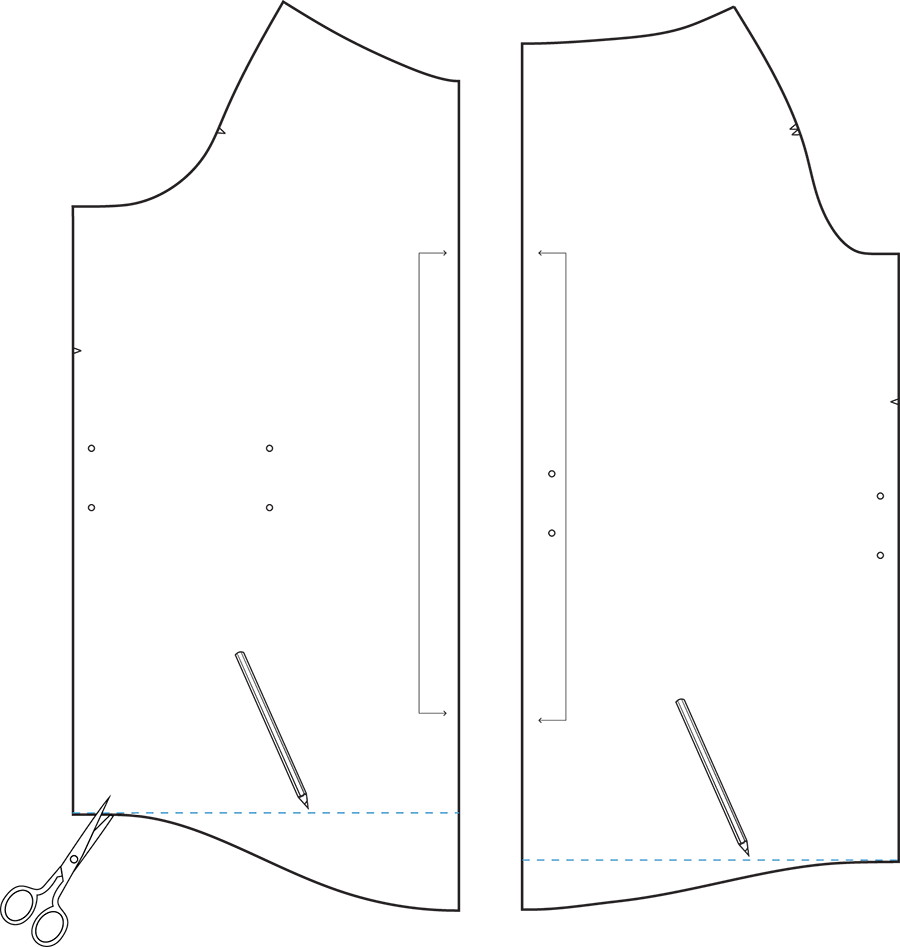
Square a line from the side seam to the center front and center back of the Loretta top. Cut along the drawn line on the front (A) and back (B) pattern pieces.
Step | 02
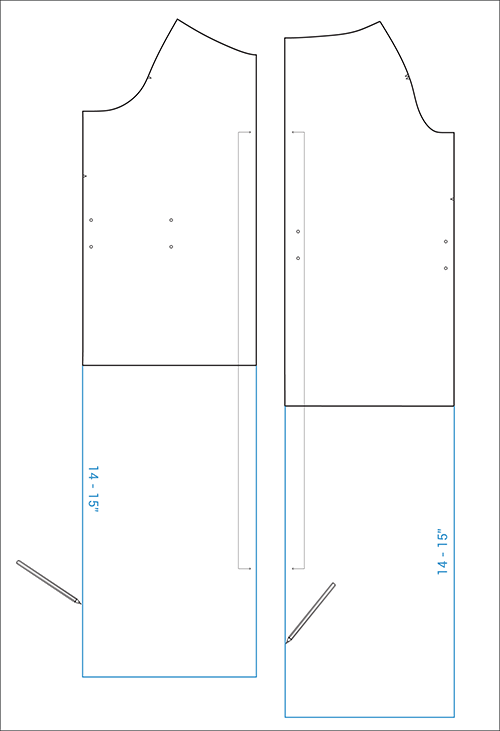
Determine how long you would like your dress to be, and add that total length to the front (A) and back (B) pieces. For size 8, add approximately 14-15” for a tea-length dress. Add more or less length according to your garment size and personal preference.
Step | 03
Finish the dress according to the pattern instructions.
Create a Center Back Keyhole
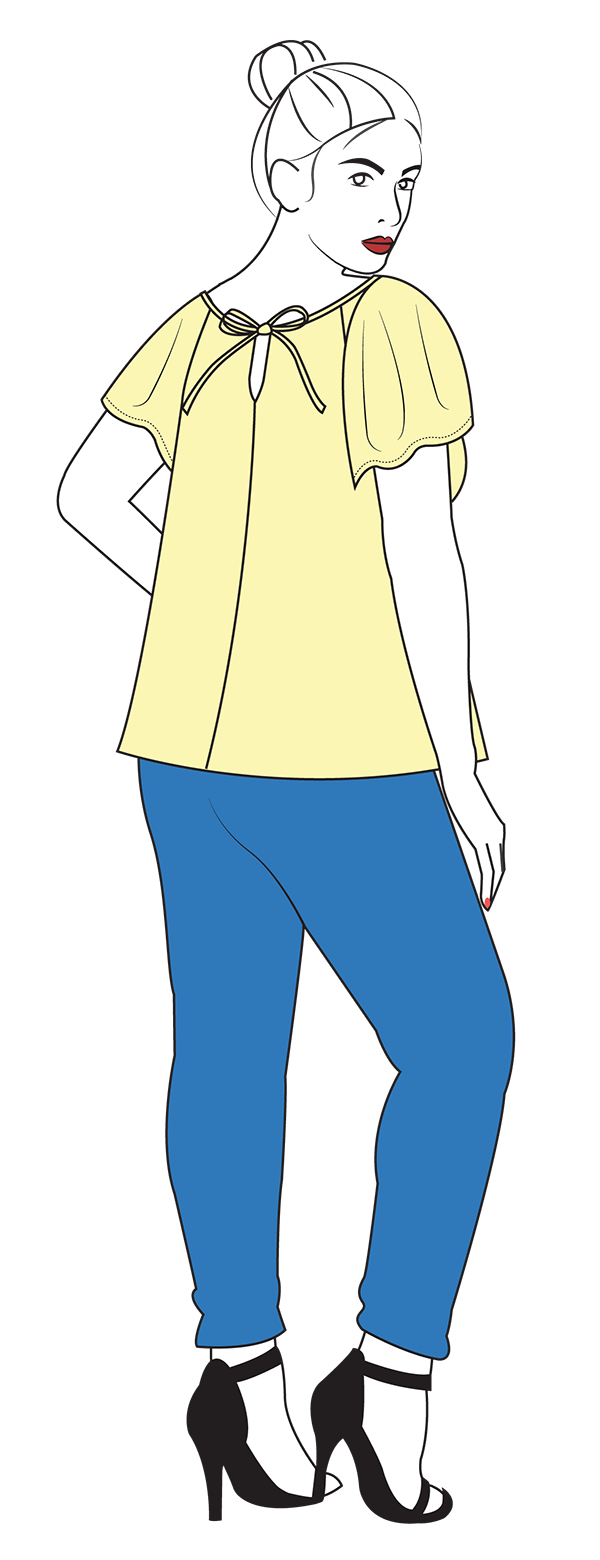
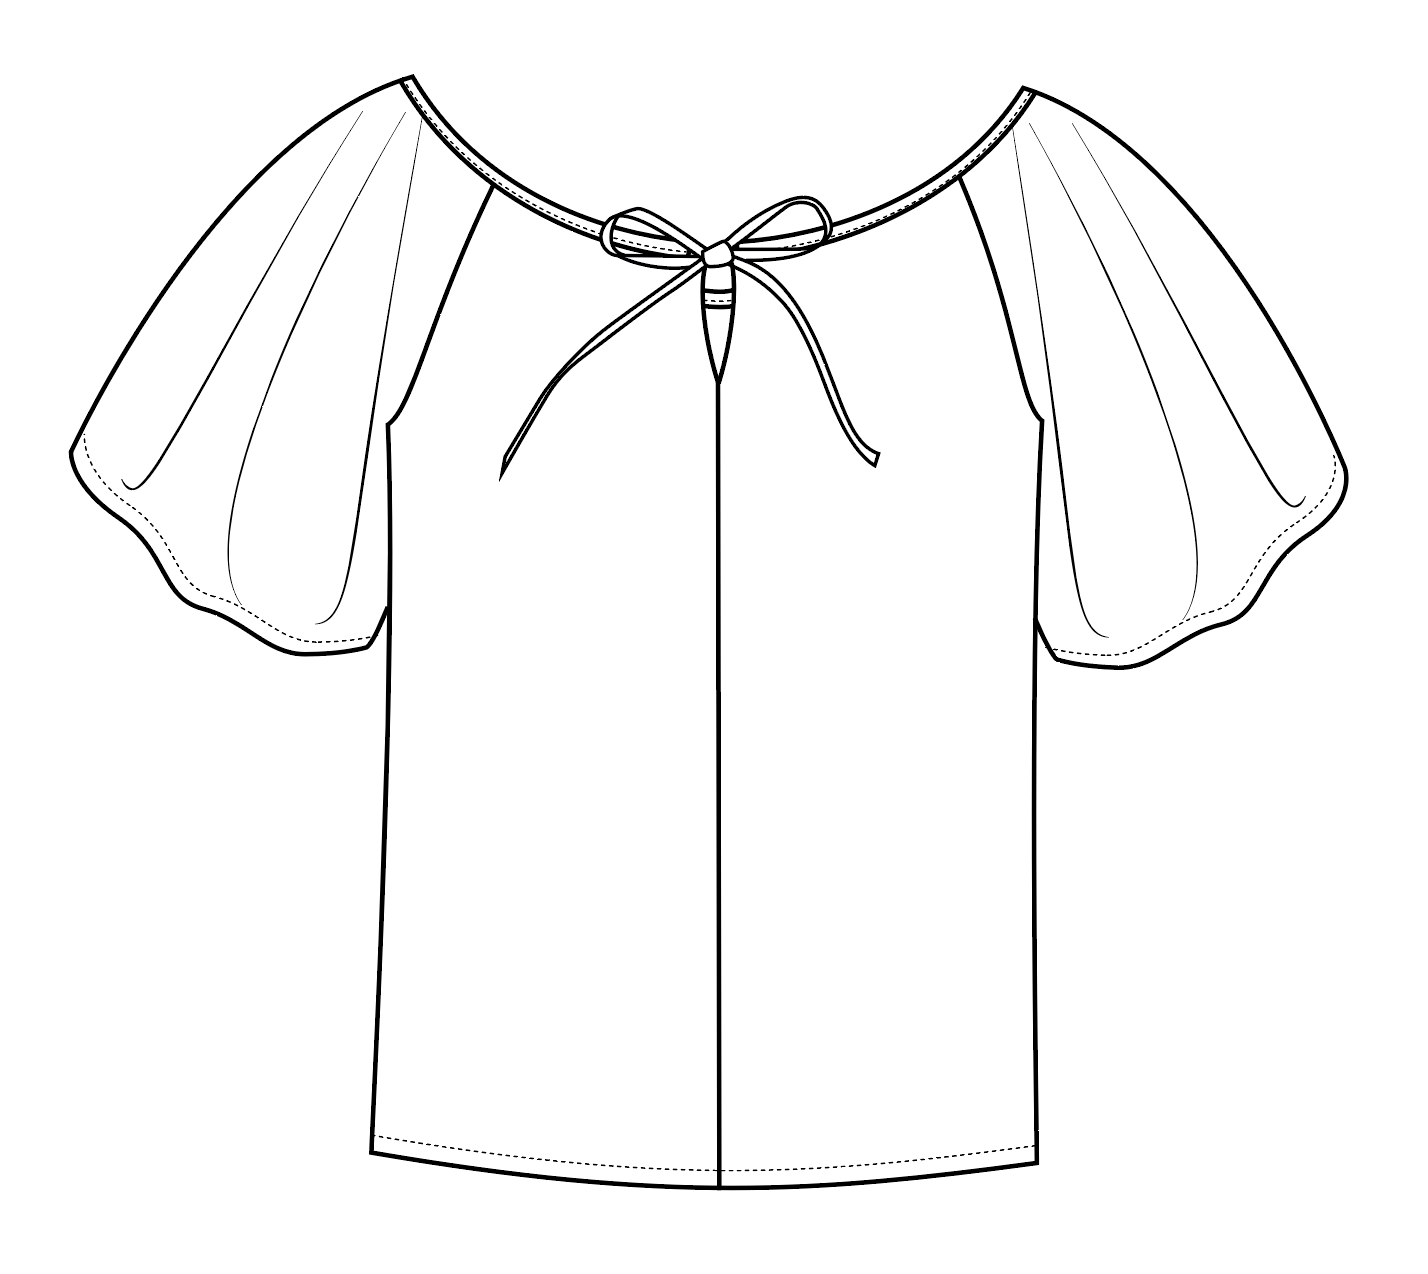

Step | 01
Add 5/8” seam allowance to the center back. Mark a circle approximately 3-4” down from the center back neckline. Label the back (B) cut 2.
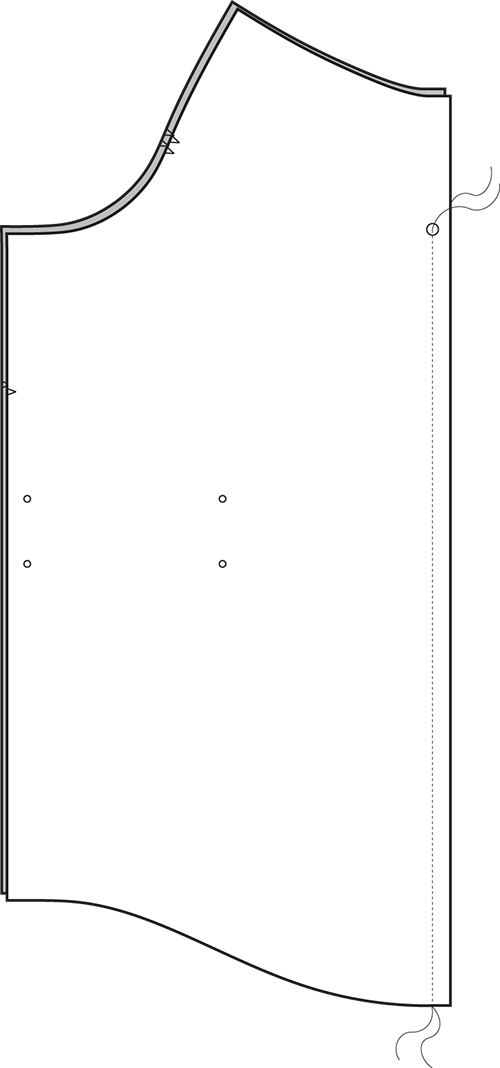
Step | 02
To construct the keyhole, with right sides together, sew the back (B) pieces together along the center back from the hem to the circle.
Step | 03
Finish the seam allowances separately. Press open.

Step | 04
Topstitch around the keyhole opening to keep the seam allowances in place.

Step | 05
With right sides together and notches aligned, attach the sleeves to the front (A) and back (B) bodice.
Step | 06
Fold the short edges of the neckband to the wrong side at 1/4”. Press. Edgestitch the seam allowances in place.
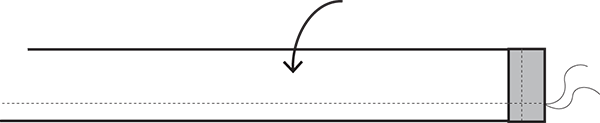
Step | 07
With right sides together, fold the neckband in half, matching the long edges. Stitch.
Step | 08
Turn the neckband right side out using a loop turner or bodkin.
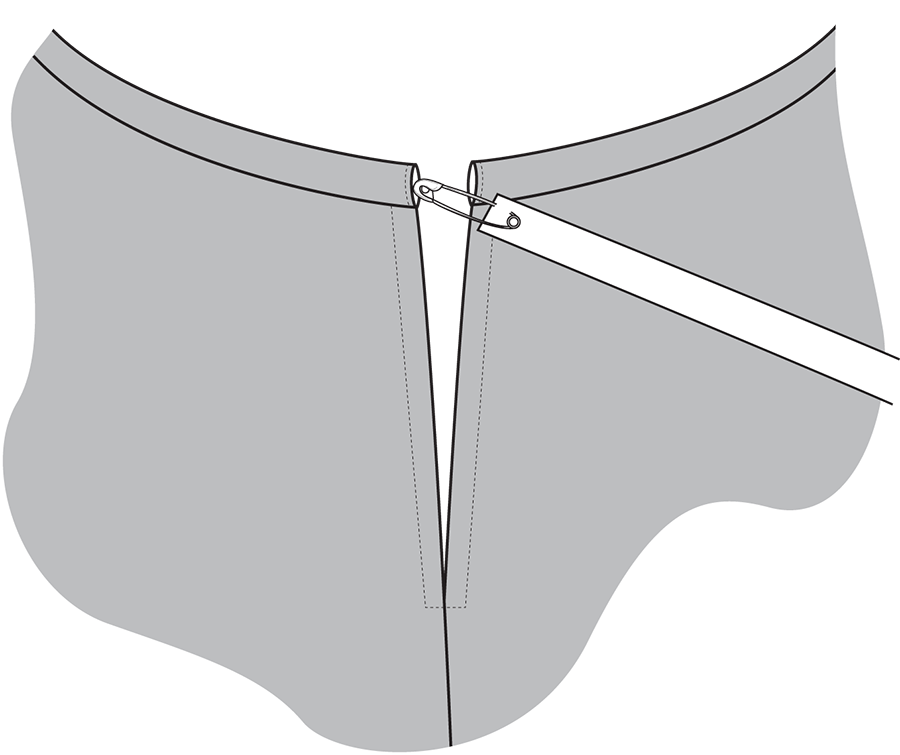
Step | 09
With right sides together, sew the neckband to the neckline of the shirt. The open short edges of the neckband will be at the center back.
Step | 10
Using a safety pin or bodkin, thread a drawstring or tie through the neckband.
Step | 11
Finish the top according to the pattern instructions.

About the Author
As pattern designer, Anna works hard to make sure our sewing patterns boast both great style and instructions. She believes in the power of chocolate and coffee to cure just about anything.
 Related Articles
 Best Articles