Sign In
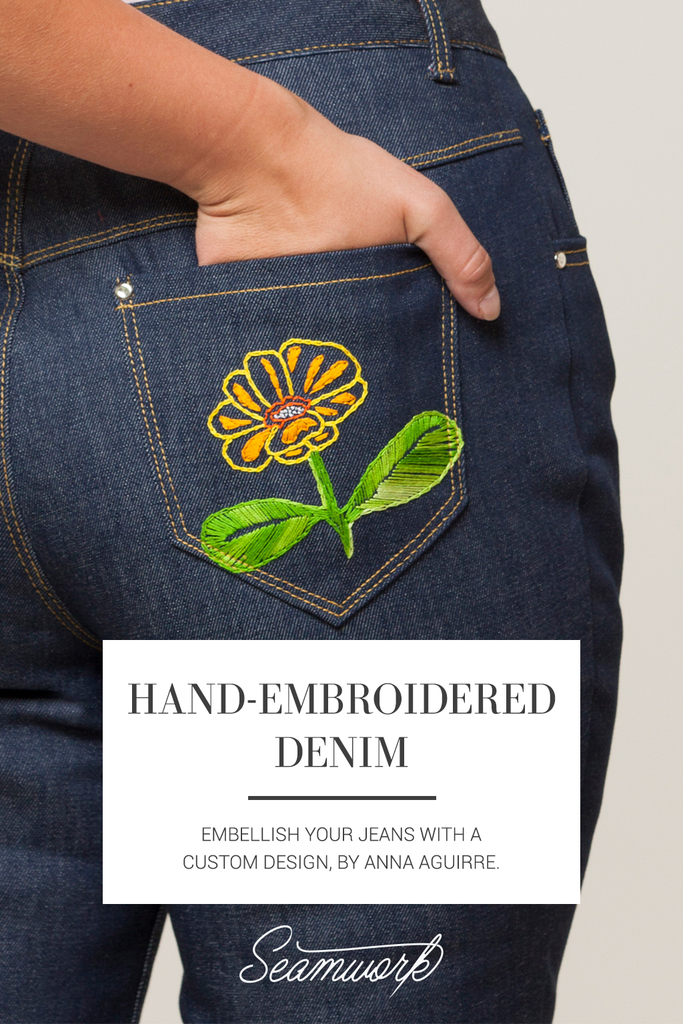
Hand-stitching on jeans originated as a form of repairing and has evolved into a way to display a personal style. Jeans are an ideal blank canvas for embellishing with embroidery floss; from sashiko stitching, geometric patterns, words, and phrases, to flowers or foliage.
Embroidering denim is a great way to repurpose and modernize old or vintage jeans. The history of embroidering denim goes way back and is having a resurgence with makers today.
So grab some tools and floss, sew up a pair of Tessa denim jeans (or pick out an old pair to repurpose) and let your creative juices flow! If you are new to embroidering or new to embroidering on denim, test the waters with the September member exclusive embroidery pattern.
You’ll need:
Some basic embroidery tools to get you started.
- Transfer paper: This will help you transfer your design from template or sketch to fabric. If you are using a light denim, choose a dark transfer paper. If using a dark denim, use a light transfer paper. Check out my instructions below for using this handy material!
- Tracing paper or tear-away paper: This is great for when you don’t have transfer paper or can’t find the right transfer paper for your design. Just trace the design on to the paper and pin to the area of your jeans you would like to embroider. Stitch over the paper. Once the design is complete, tear the paper away, being careful not to pull too hard on the stitches.
- Thimble: This simple tool will save your fingertips if your denim is medium or heavyweight.
- Embroidery needle: Look for a heavyweight needle that is strong enough for the denim you are using.
- Embroidery floss: This is the fun part! There is a huge variety of flosses out there, from variegated to metallic. Check out your local fabric or craft store.
Transferring your Design
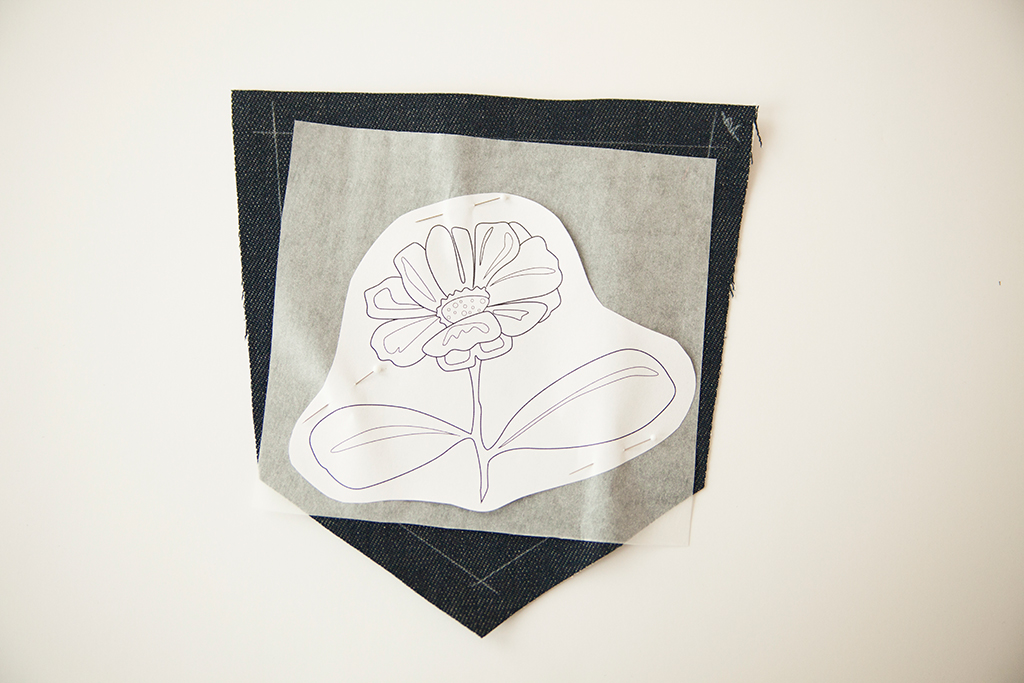
01 | Place the transfer paper face down on the right side of your denim. Pin in place. Place your embroidery template or sketch over the transfer paper. Pin in place.
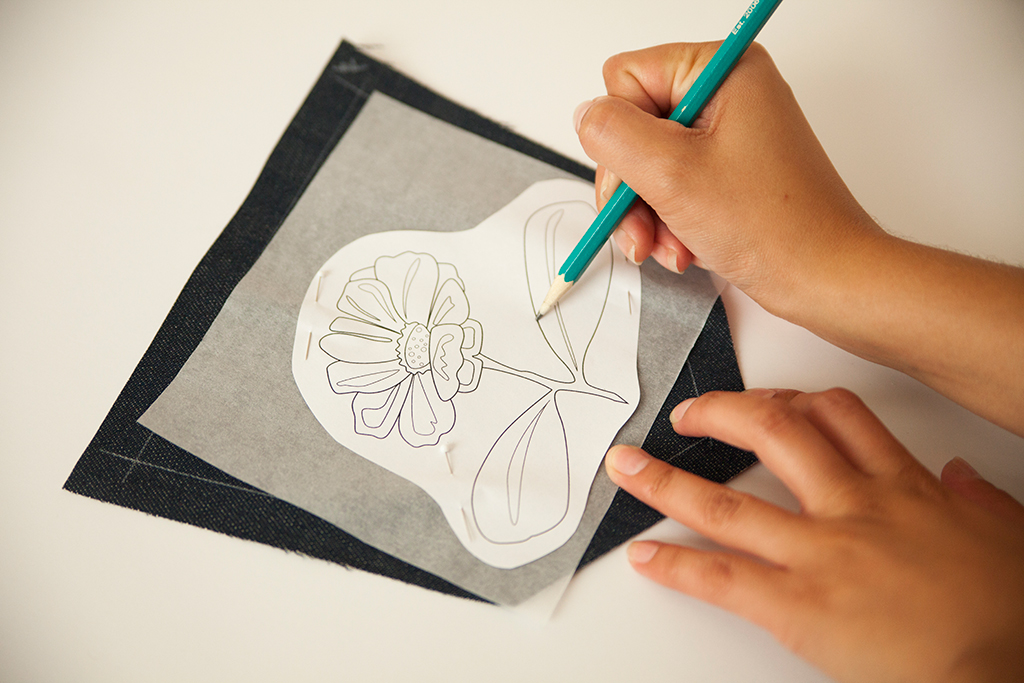
02 | Using a pencil, trace over the lines of your embroidery design.
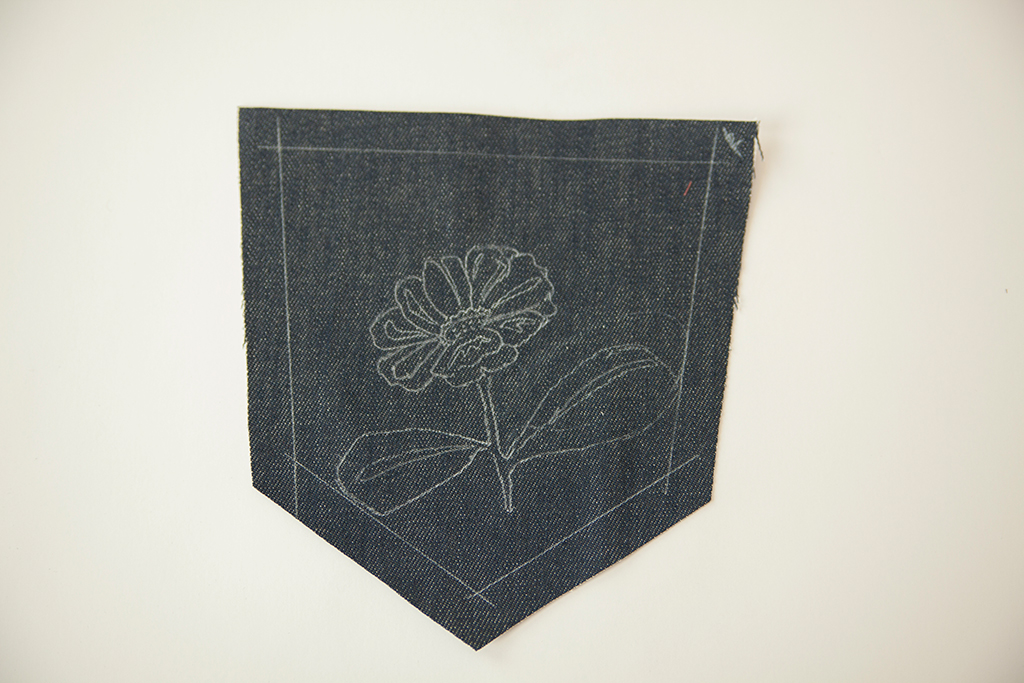
03 | Remove the embroidery template and transfer paper to reveal your design.
You can use each transfer sheet multiple times, so hold on to those handy scraps!
Start Stitching!
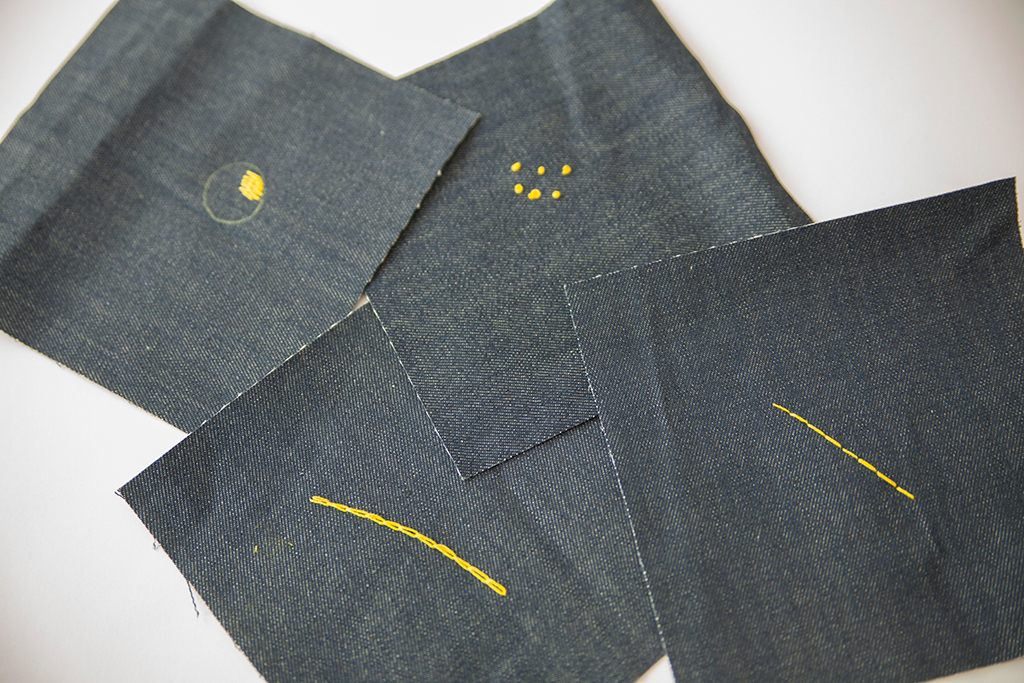
There is a wide range of stitches you can use for embroidery. Since denim can be very rigid, it is easy to handle, but that same rigidity can make delicate and tiny stitches difficult. I recommend sticking to the basics on your first project.
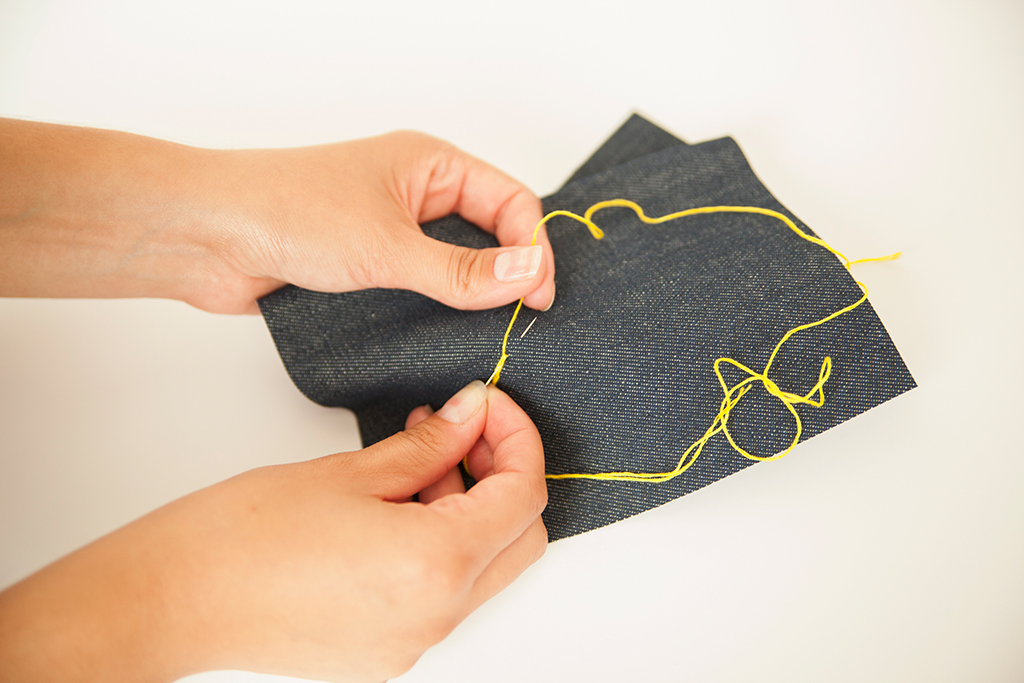
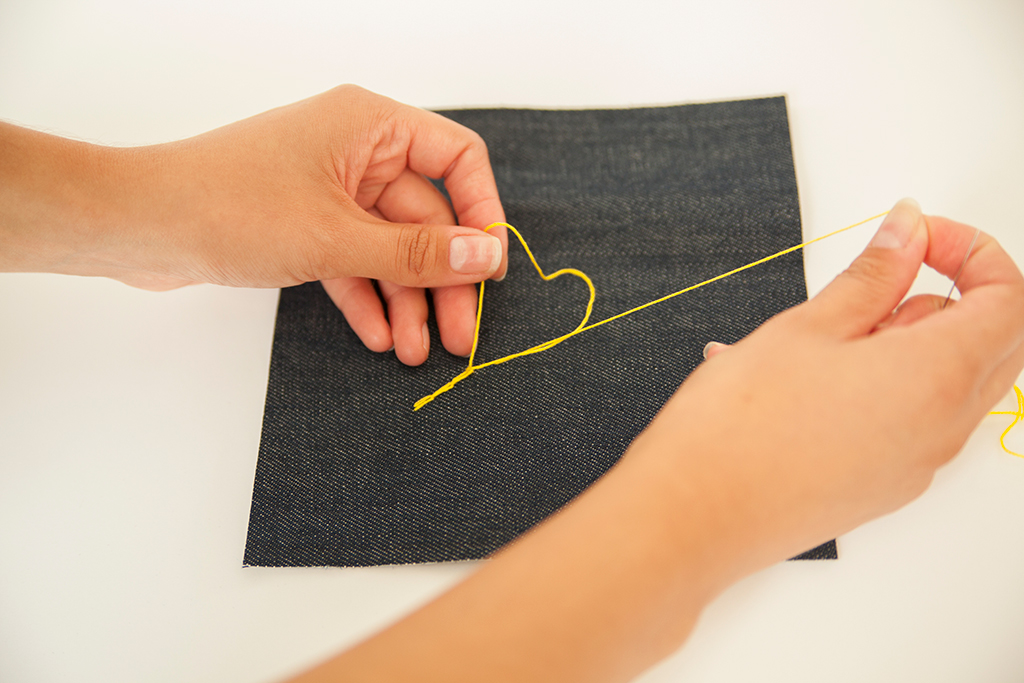
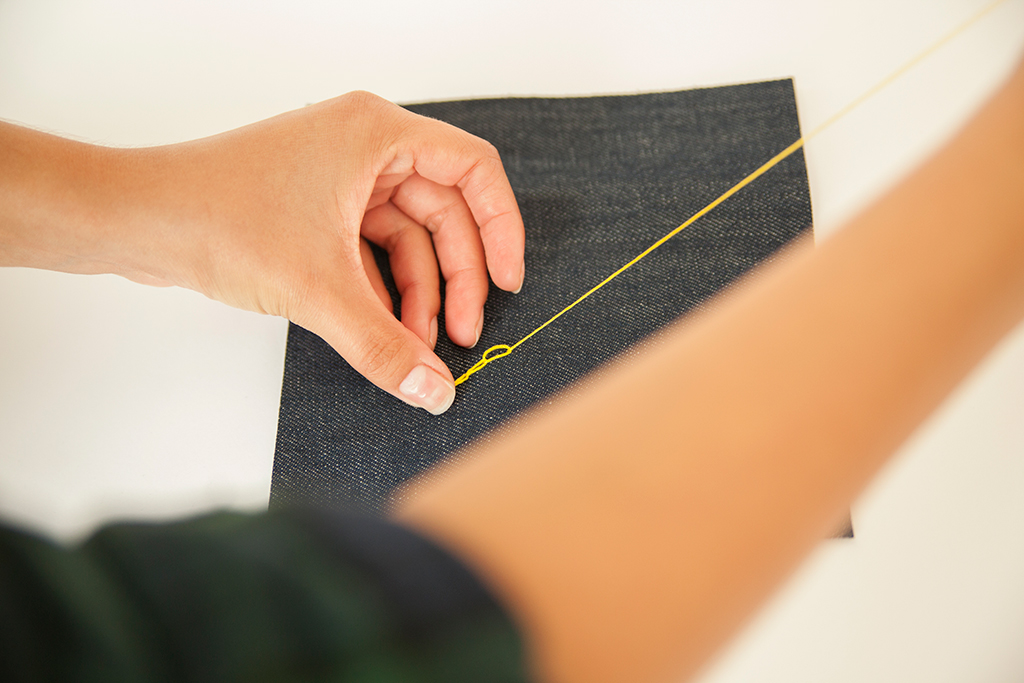
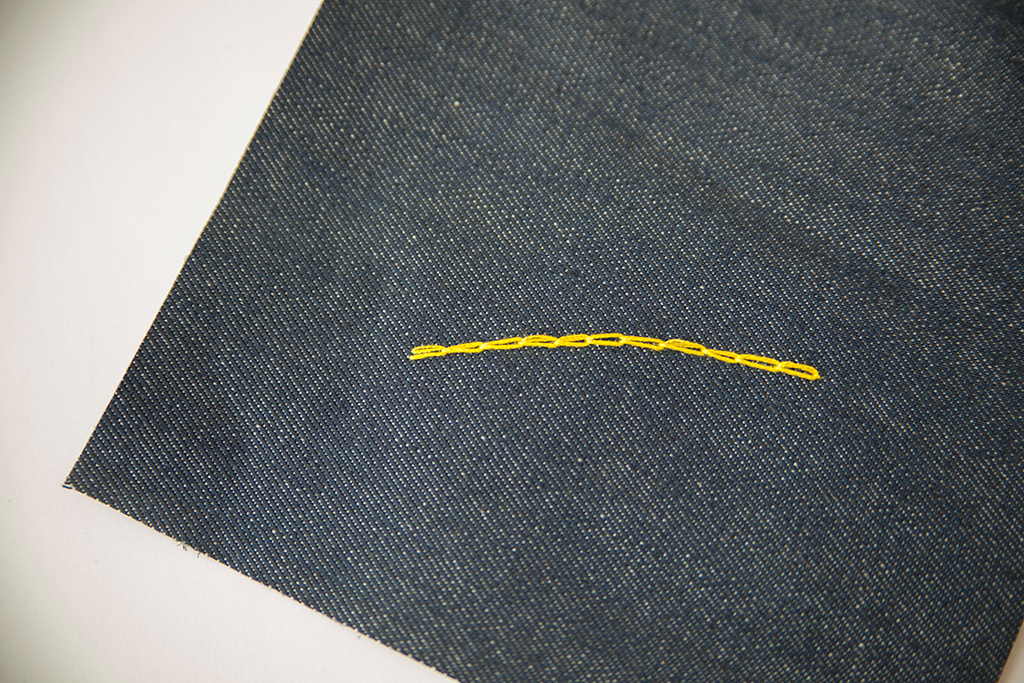
Chain Stitch
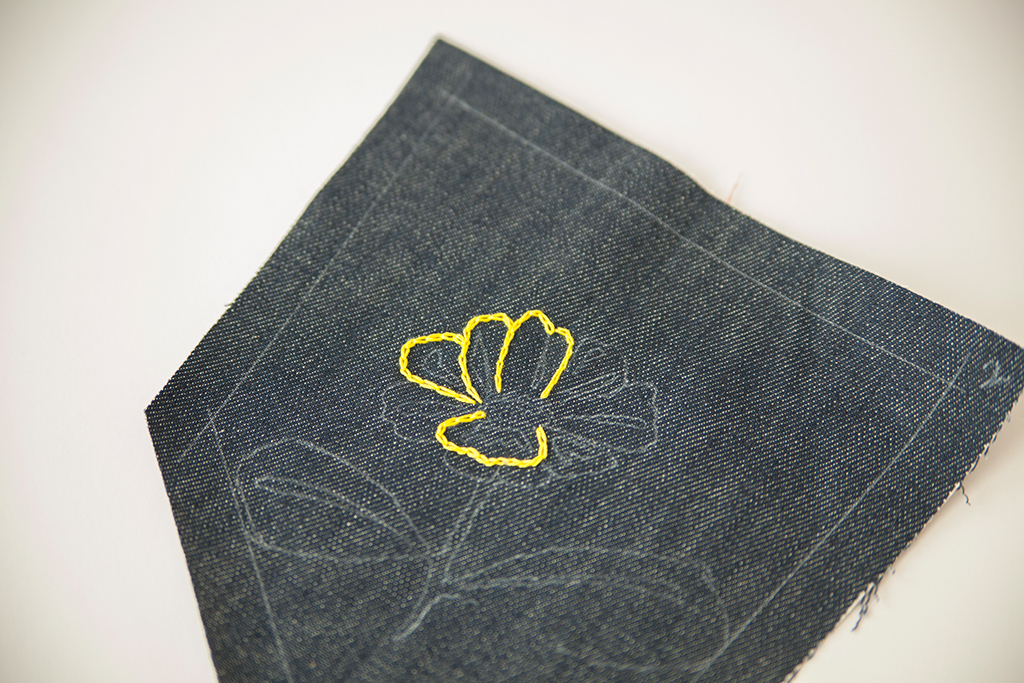
A popular embroidery stitch for denim is the chain-stitch. This stitch is great for outlining a design or for writing words or phrases.
Start by bringing the needle up through the fabric. Once again, insert the needle next to the starting position, bringing the tip through the fabric a short distance away. Place the thread behind the needle, then pull the needle through the loop. Repeat.
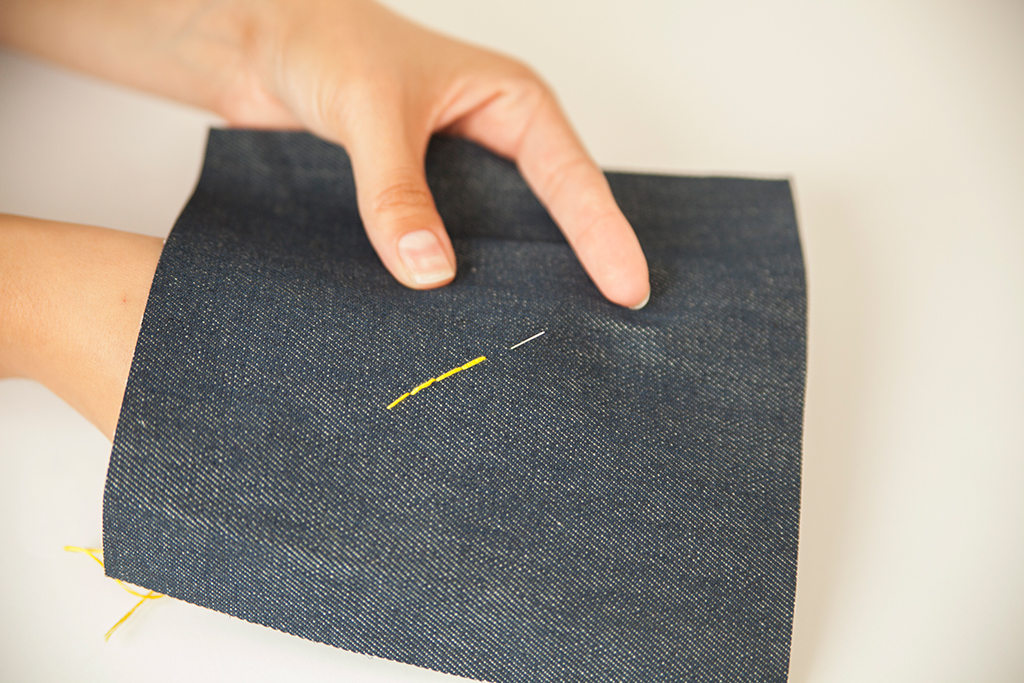
Backstitch
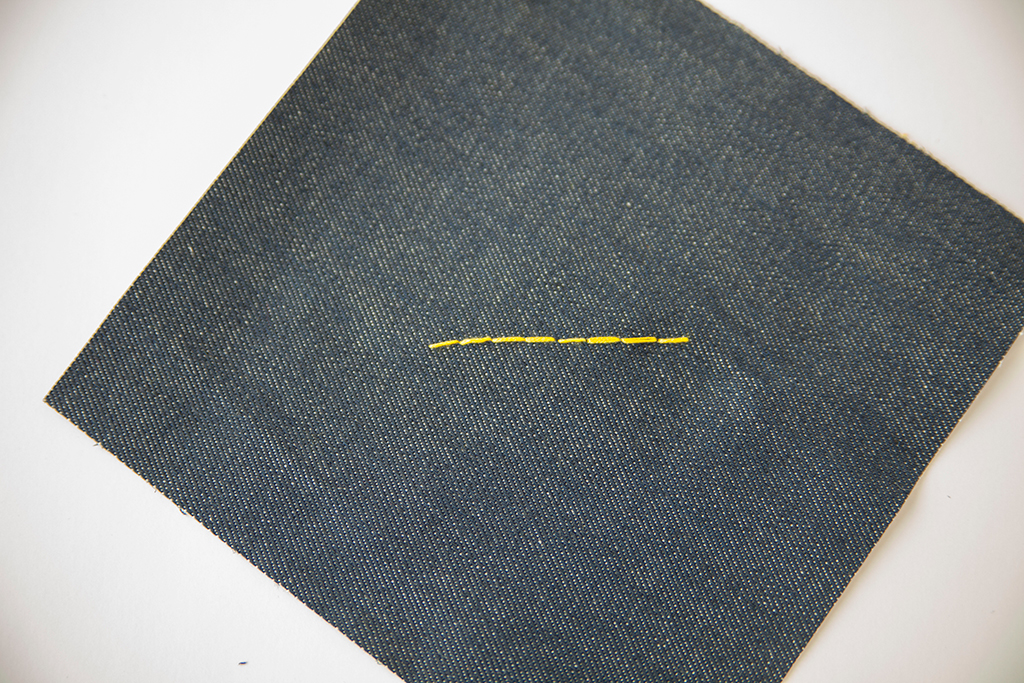
Backstitch is another popular stitch for denim and simple designs. Backstitch is great for outlining fine lines or adding subtle details.
Start by bringing the needle up through the back of the fabric just in front of where you would like your stitching to begin. Create a single backwards stitch, then bring the needle up again a short distance from your starting point and create a stitch that fills the gap.
Satin Stitch
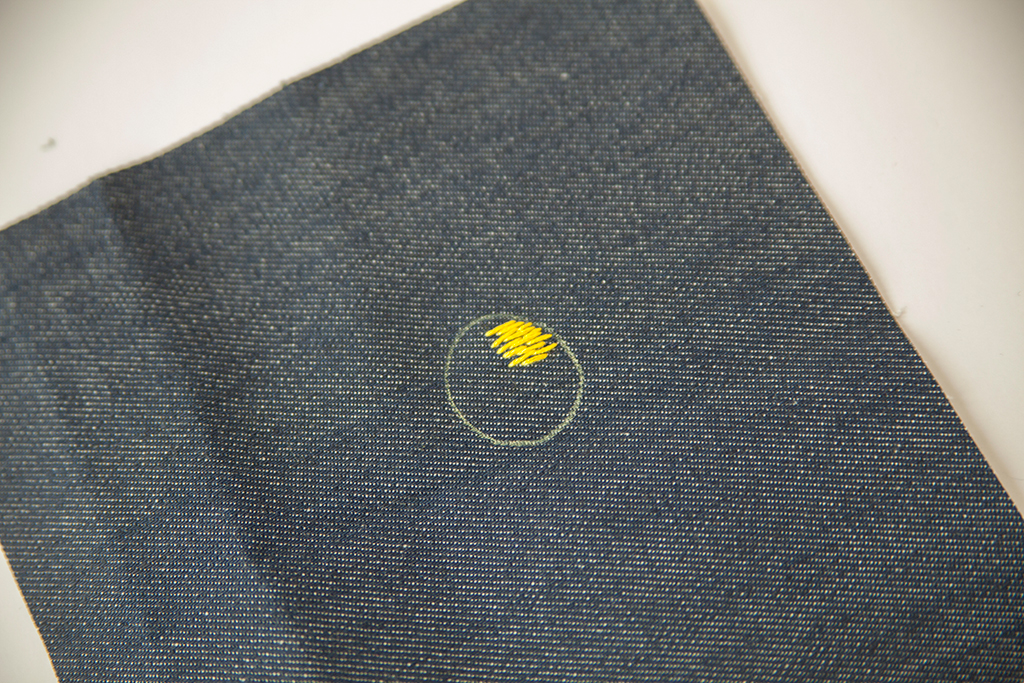
Satin stitch is perfect for filling in color. The alternative step stitching blends the lines of stitches to create a smooth fill of color and is great for creating color gradients and shading.
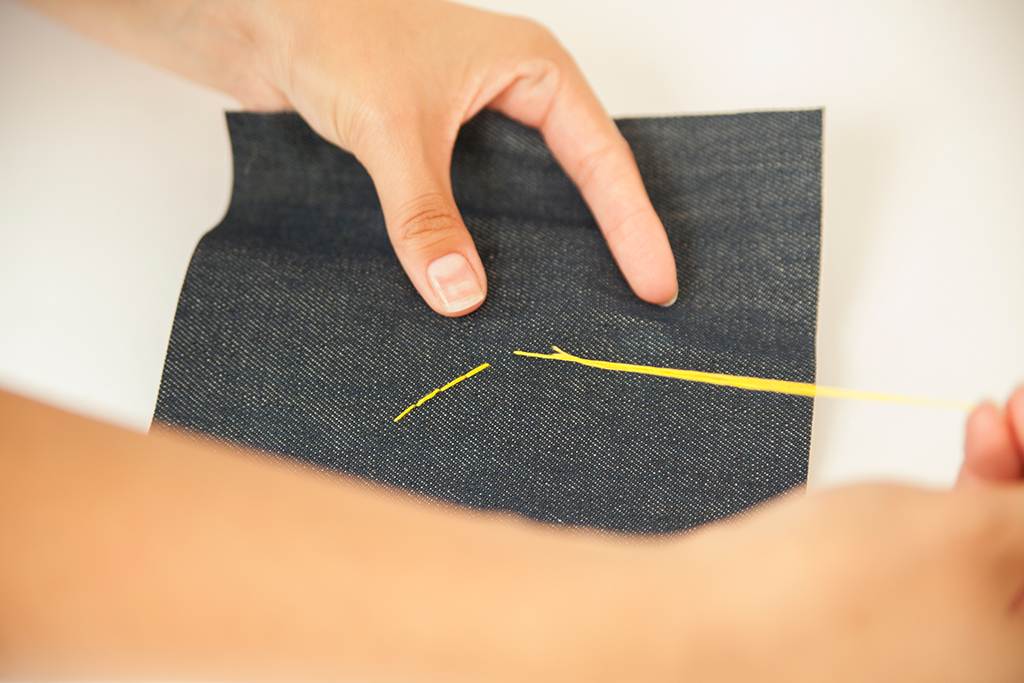
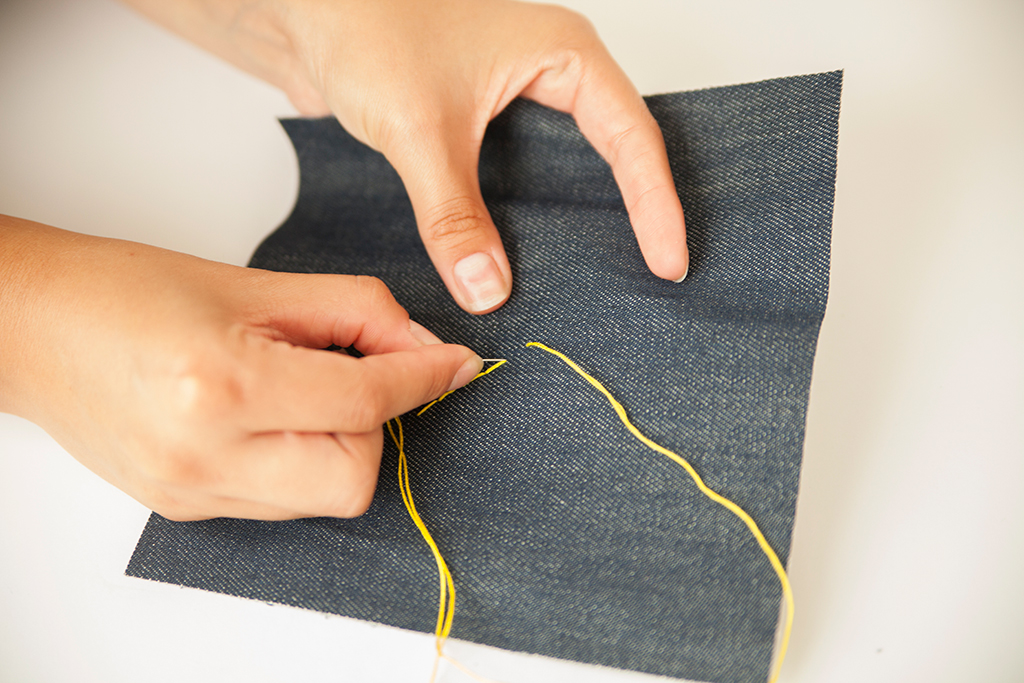
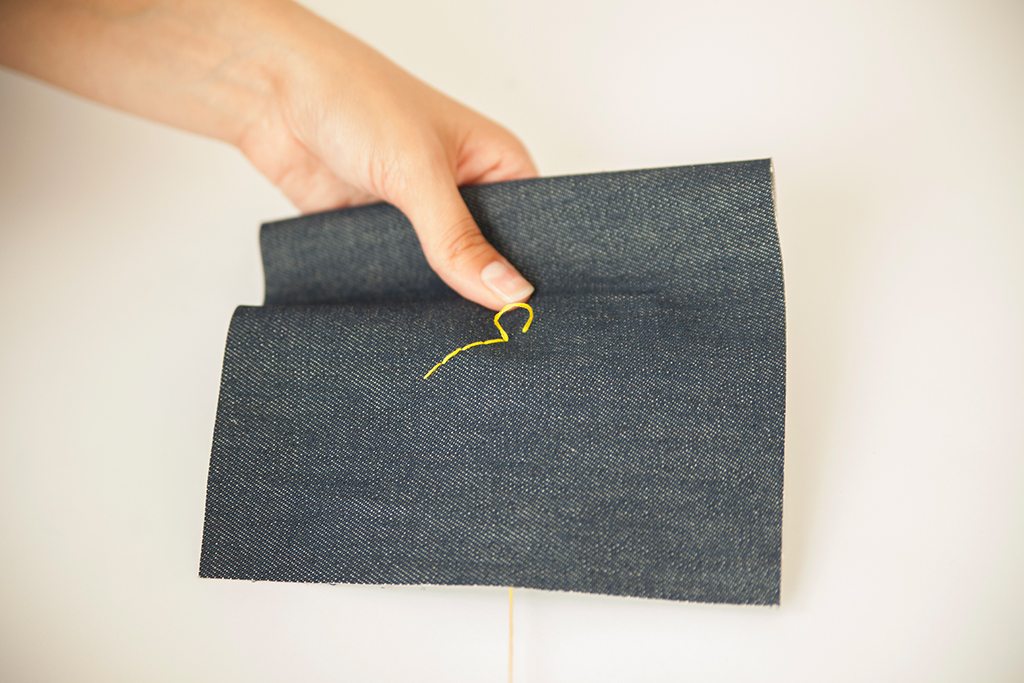
Start by bringing the needle up through the fabric. Then, insert the needle across from your original entry point, opposite of your starting point. Bring the needle up below the mid-way point of your first stitch then create a stitch of equal length to your first. Continue this pattern of staggered stitches, filling the desired area.
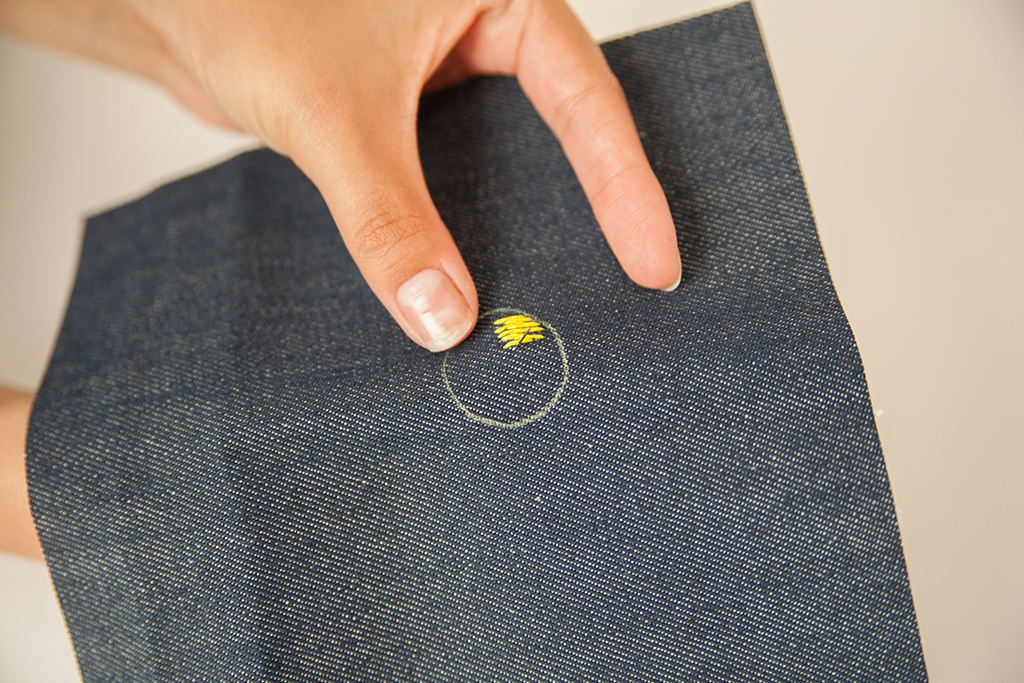
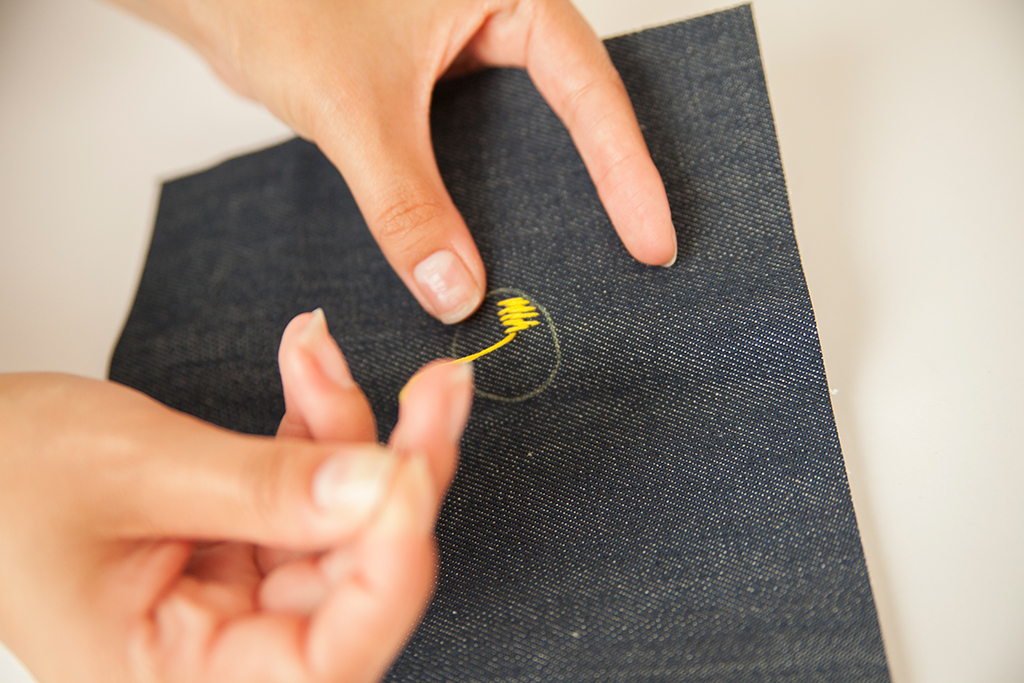
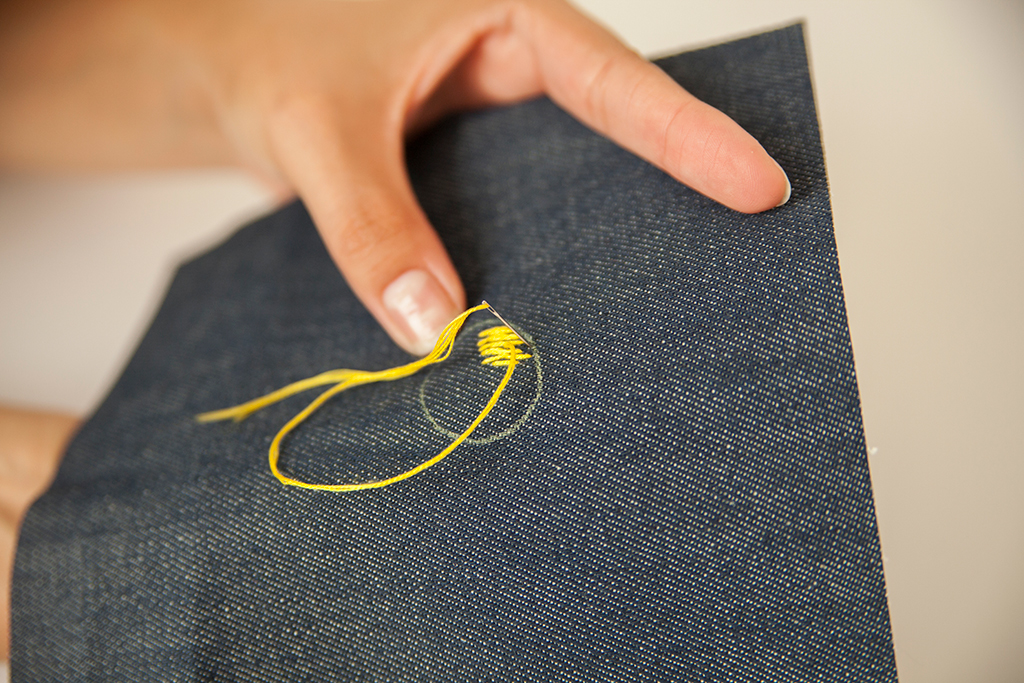

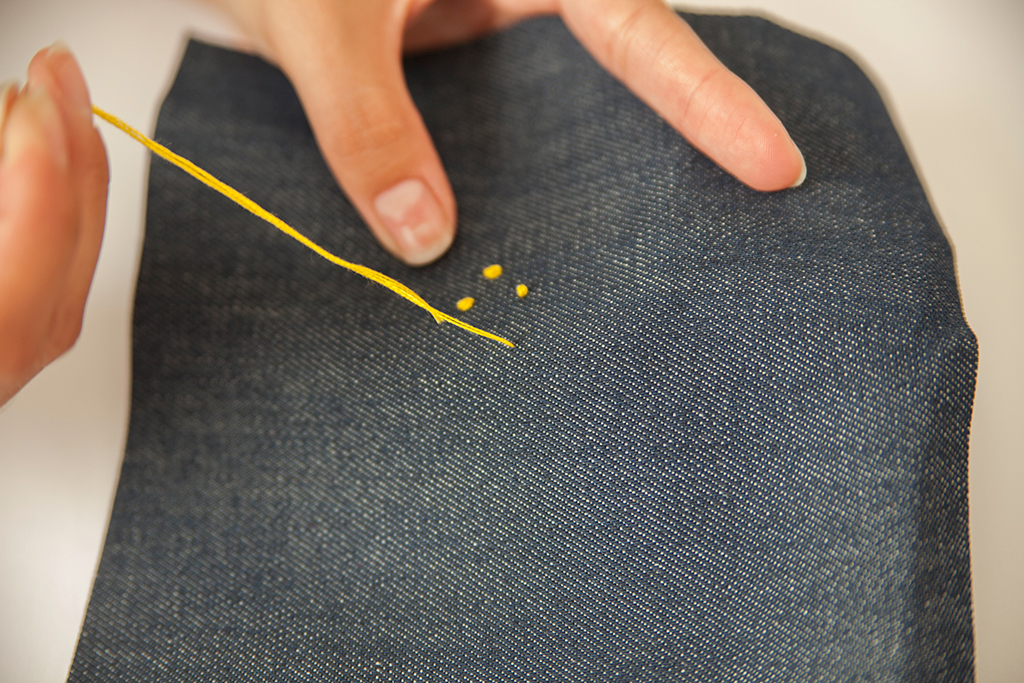
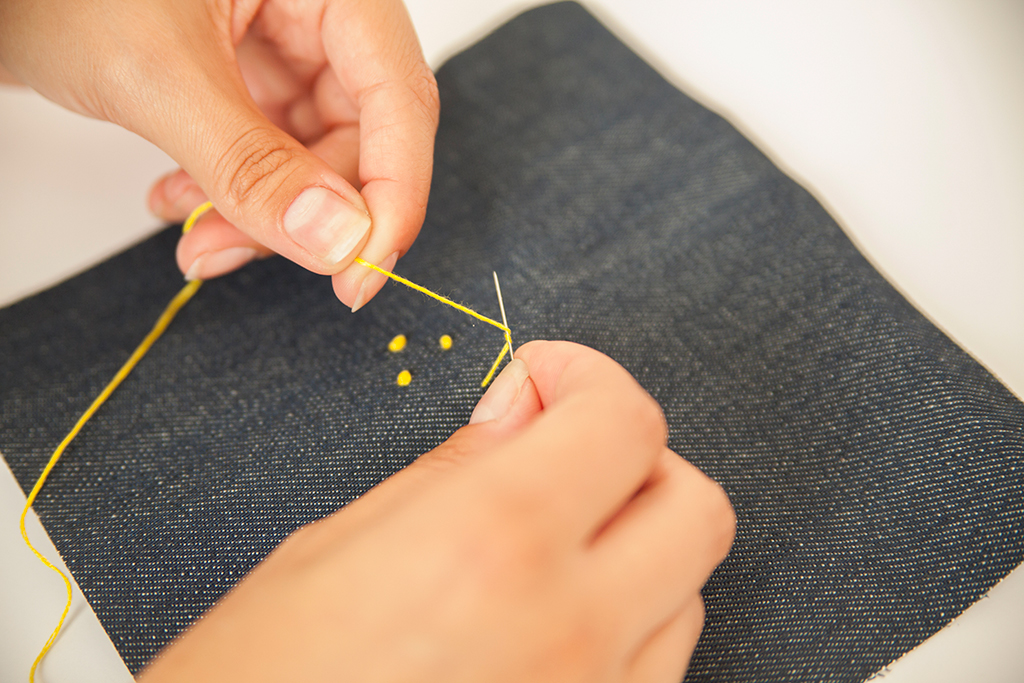
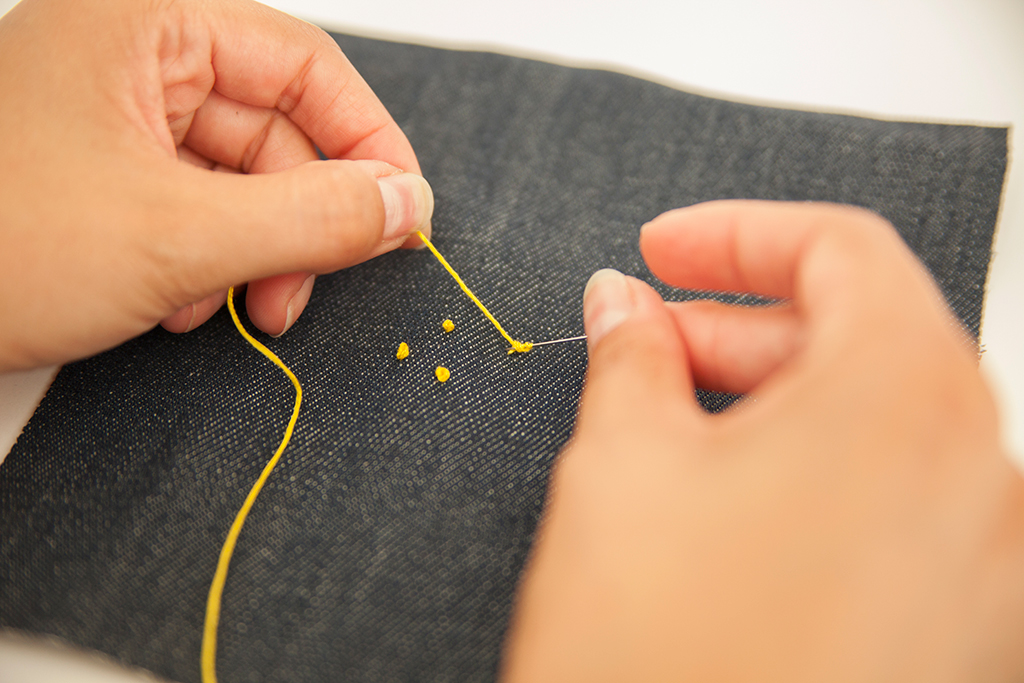
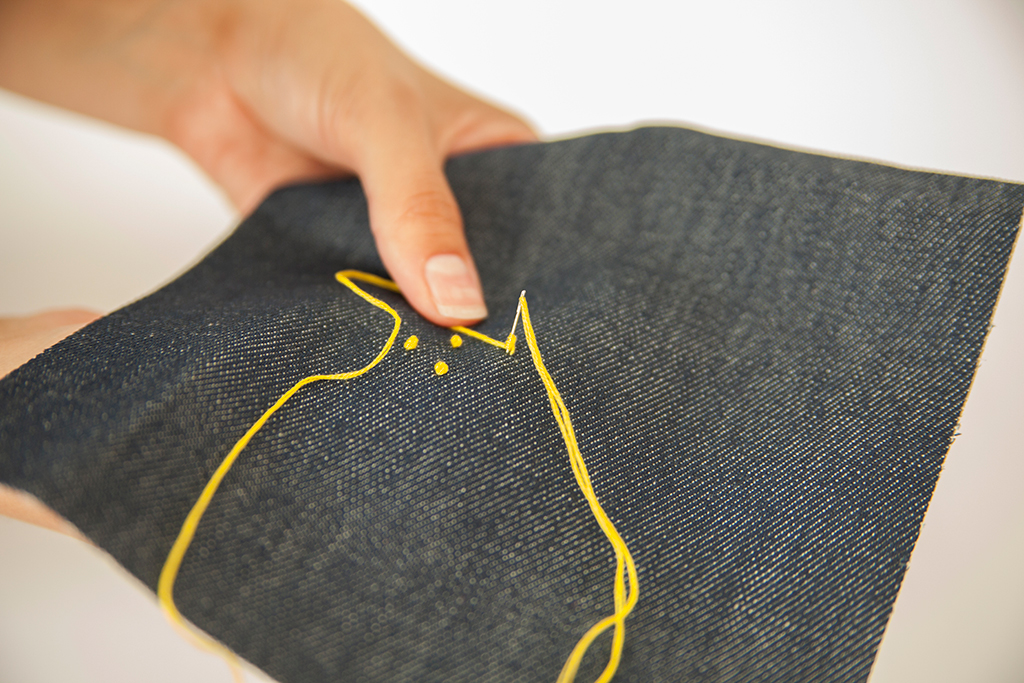
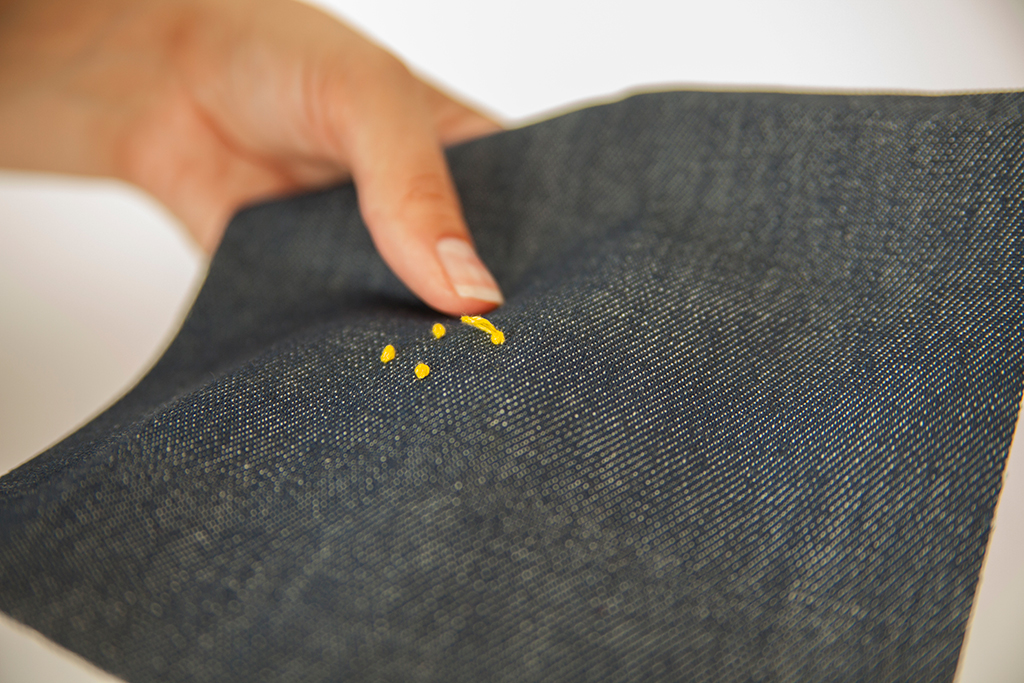
French Knots
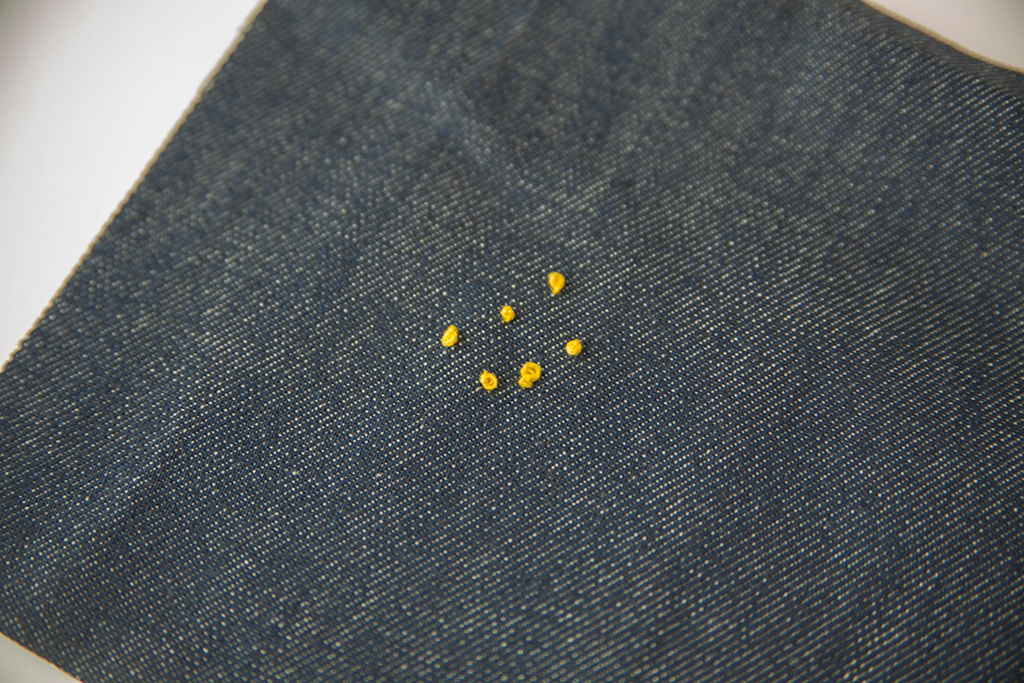
French knots are another fun and easy stitch for embellishing a design. You can also use French knots for filling in color if you do not wish to use a satin stitch.
Start by bringing the needle up through the fabric. Hold the needle parallel to your fabric and wrap the thread over the needle and around it two or three times. Pull the needle through the doubled wrap and the fabric, next to your original stitch.
GET THE LOOK
We have included a downloadable embroidery template in this article so you can easily create your own floral embroidery. This template is free to you if you are a Basic or Premium member.
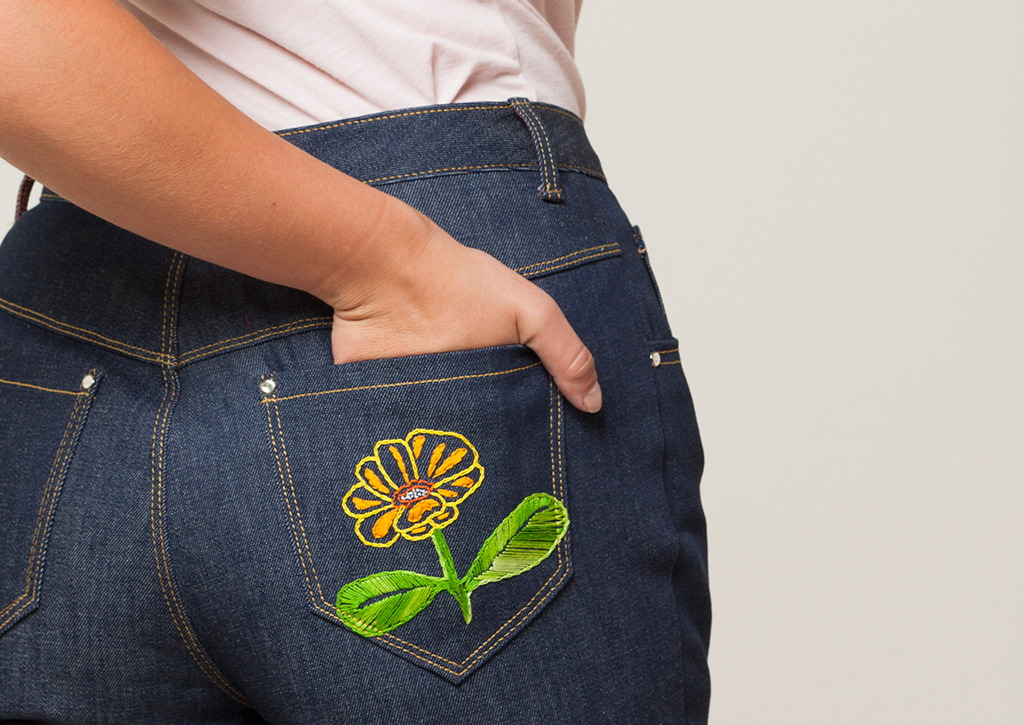
Here is how you can recreate the look!
Download the embroidery template below and print out the flower design. Transfer the design to one back pocket piece using one of the transfer methods mentioned above.
TIP: It’s easiest to do this before assembling and attaching the back pocket.
Use a chain stitch to outline the design and a backstitch for the fine line details on the flower petals and leaves. A satin stitch is ideal for filling the leaves and petals. Use French knots to create the flower stamens. You can also use French knots to create designs on the flower petals.
Embroidery is a great way to elevate the design of any garment. Once you start embroidering, I guarantee it will be hard to stop! So grab some tools, your favorite denim pieces or a new project, and let your creative energy flow.

About the Author
As pattern designer, Anna works hard to make sure our sewing patterns boast both great style and instructions. She believes in the power of chocolate and coffee to cure just about anything.