Sign In
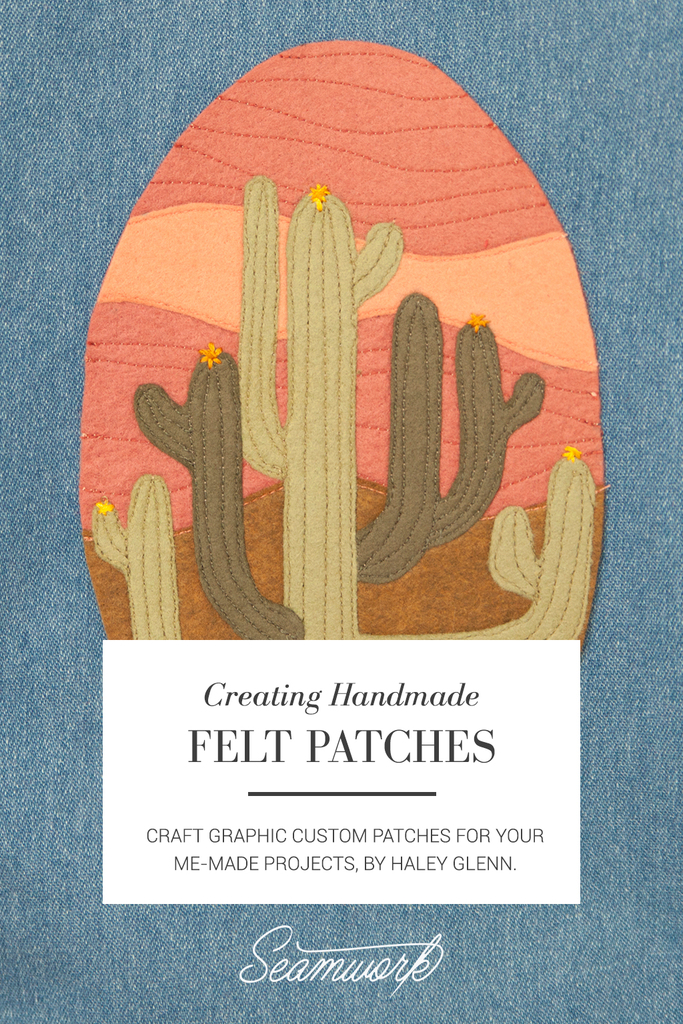
It is hard to imagine denim jackets without thinking about the various ways to customize this iconic item of clothing. Some of the very first sewing I ever did was to meticulously hand sew patches onto a denim jacket—patches that told any passerby what was likely playing through my headphones.
This drive to personalize what I wear is part of what drew me to sewing. This spirit still lives on through my day-to-day garment sewing, and I wanted to revisit the idea of embellishment in the form of patches, combining nostalgia with something I would wear now.
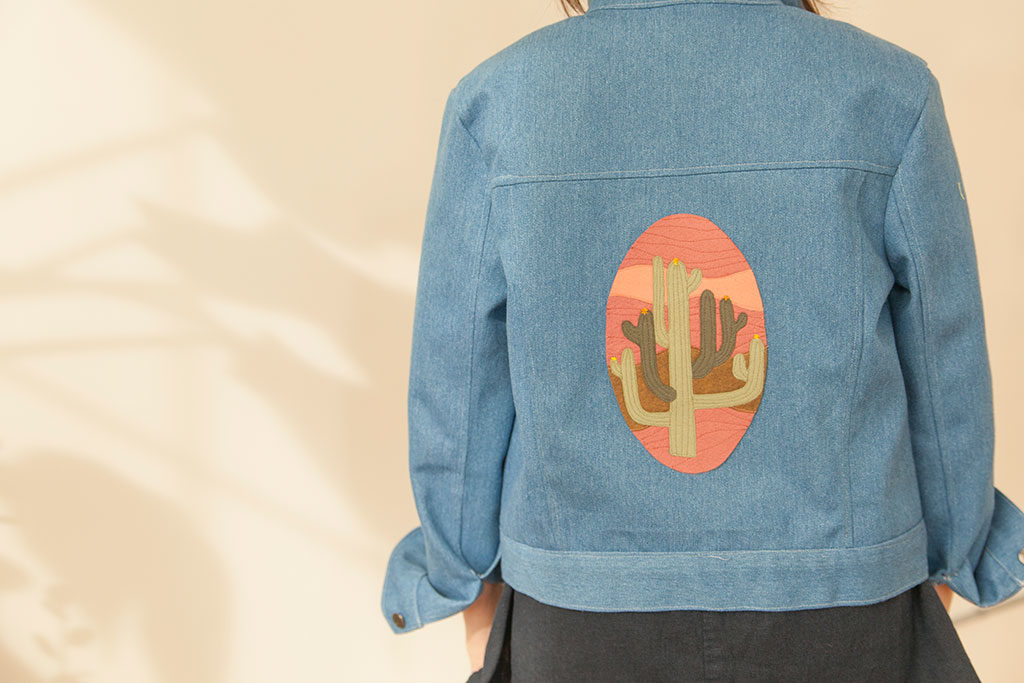
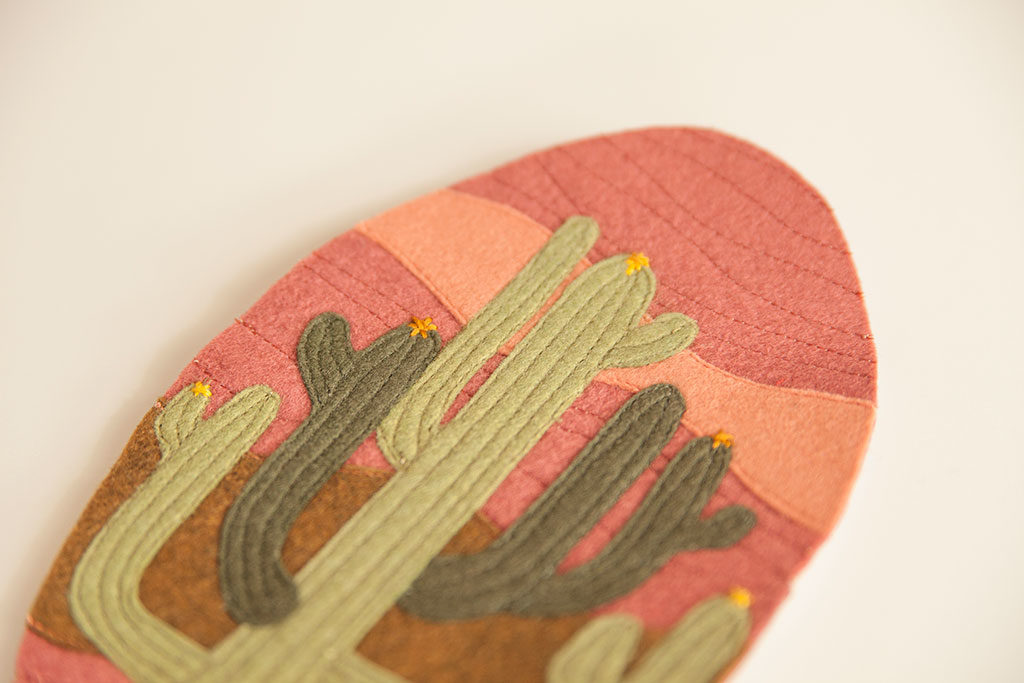
In this tutorial, I will show you how to create graphic custom felt patches that can be applied to your me-made projects or used to upcycle a well-loved piece. The technique is simple, but the results are bold, colorful, and fun!
You’ll need:
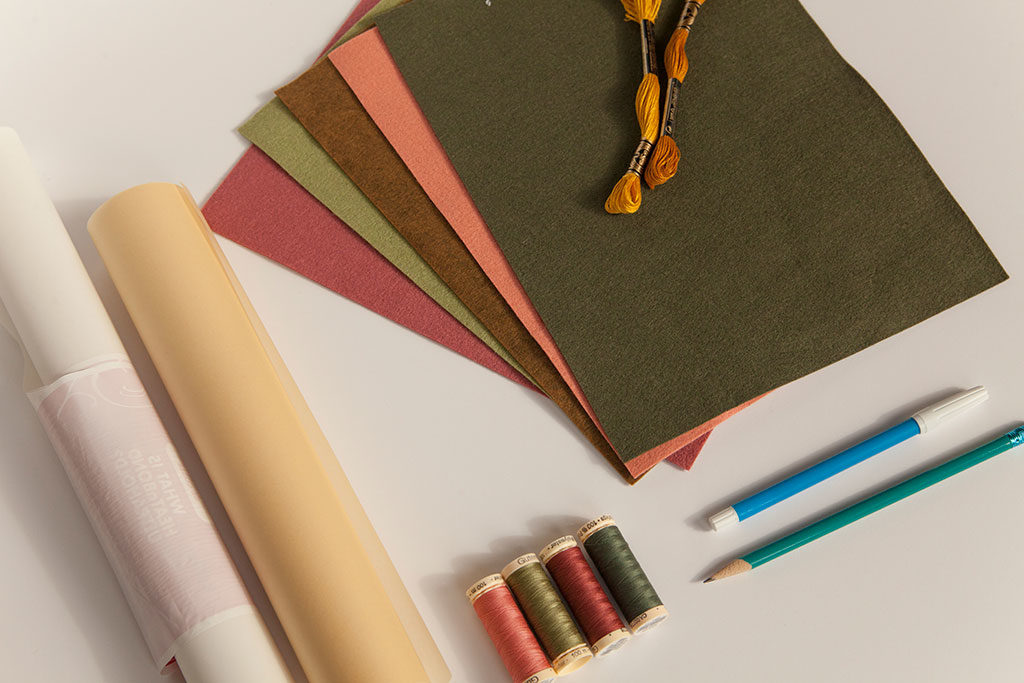
- Trace paper
- Pencil
- Water-soluble marking tool
- Felt in various colors
- Sewing thread in matching colors
- Paper-back fusible web
- Embroidery floss (optional)
Designing and Prepping
Before you begin your patch, it is essential to create a design and plan.
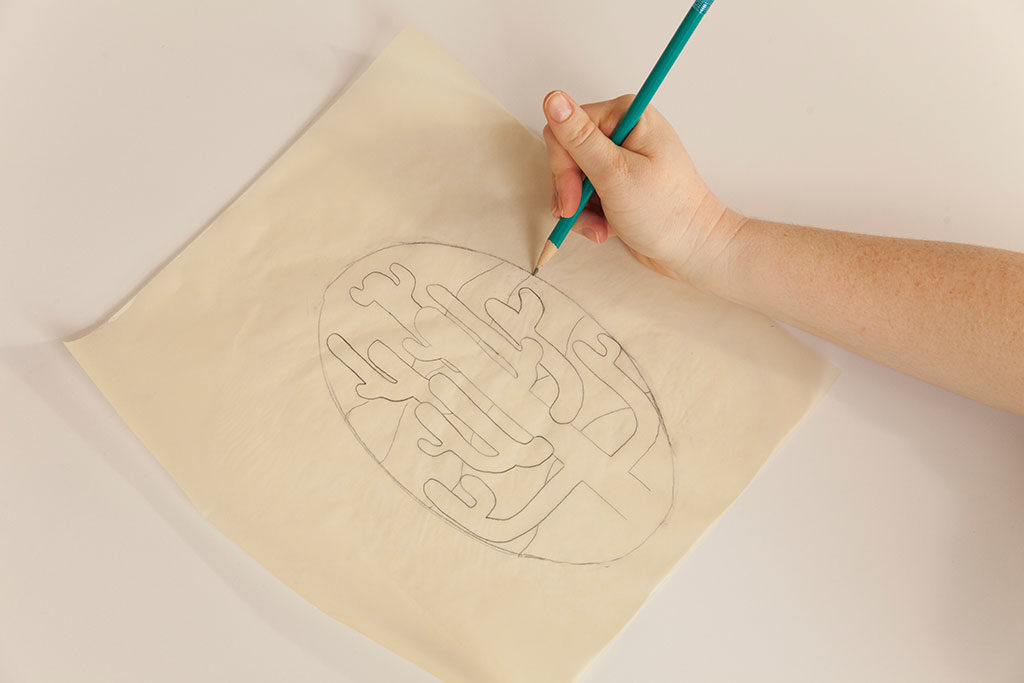
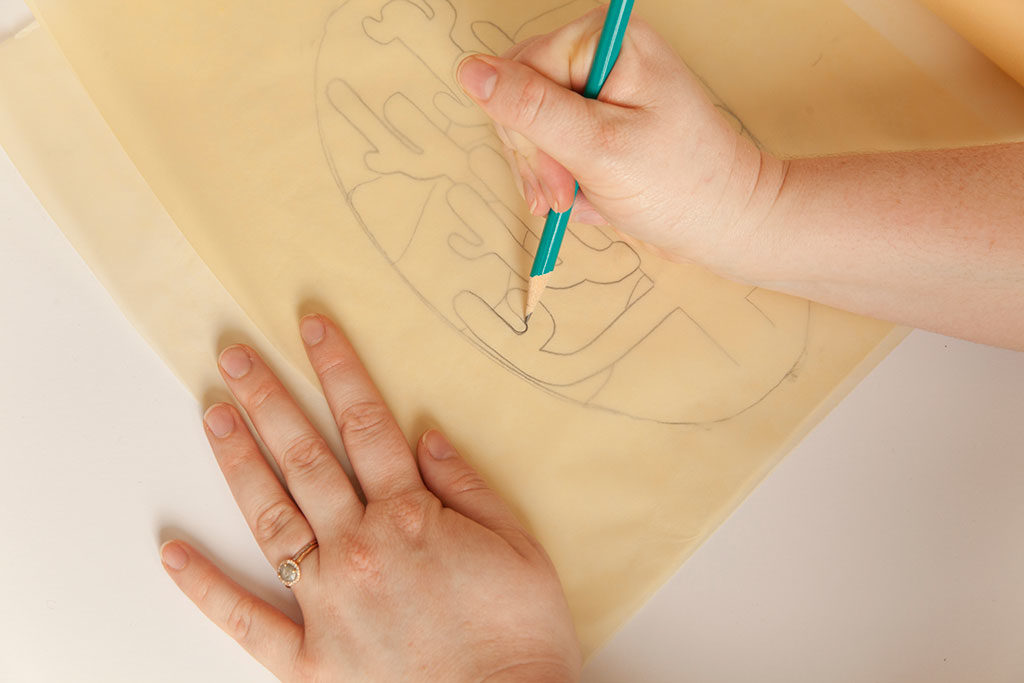
01 | To do this, start by sketching the design you would like to create on a piece of paper. Think more in terms of shapes rather than lines. You can easily add linework using embroidery floss or topstitching as a finishing touch.
NOTE: This technique works best when you incorporate a frame or backdrop into your design. A backdrop will make your patch easier to assemble and attach to a finished garment or project.

02 | Once you are satisfied with your design, determine the colors you will use for each different area. Colored pencils can help you visualize this.
03 | Use trace paper to isolate each layer of the image. Keep in mind that, depending on the thickness of your felt, you may not want to layer more than 3-4 pieces of felt.
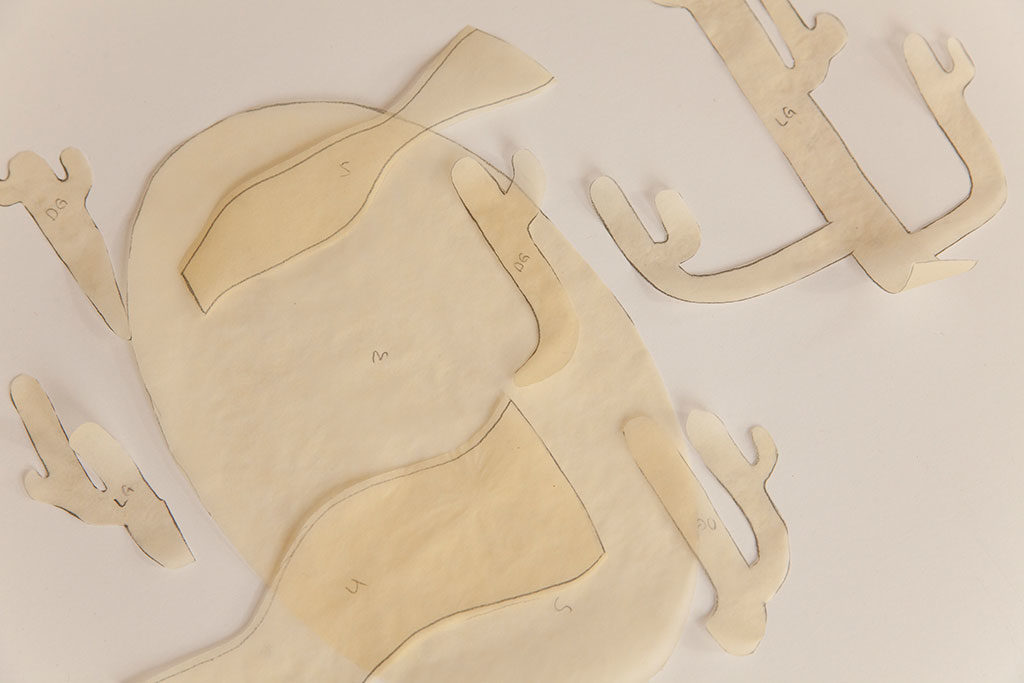
04 | Cut each layer of your image from trace paper and note which color felt it should be cut from. You will use these as your pattern pieces as you begin to cut and assemble your patch.
Cut and Assemble

01 | Using your pattern pieces drafted in the previous step, transfer your design to the fusible web using a pencil. Cut around each piece.
NOTE: Be mindful that unless you transfer your template to the fusible web with the wrong side facing up, you will end up with a mirrored image of your original design. For some designs this won’t be a big deal, but if you are including type in your patch, be extra cautious.
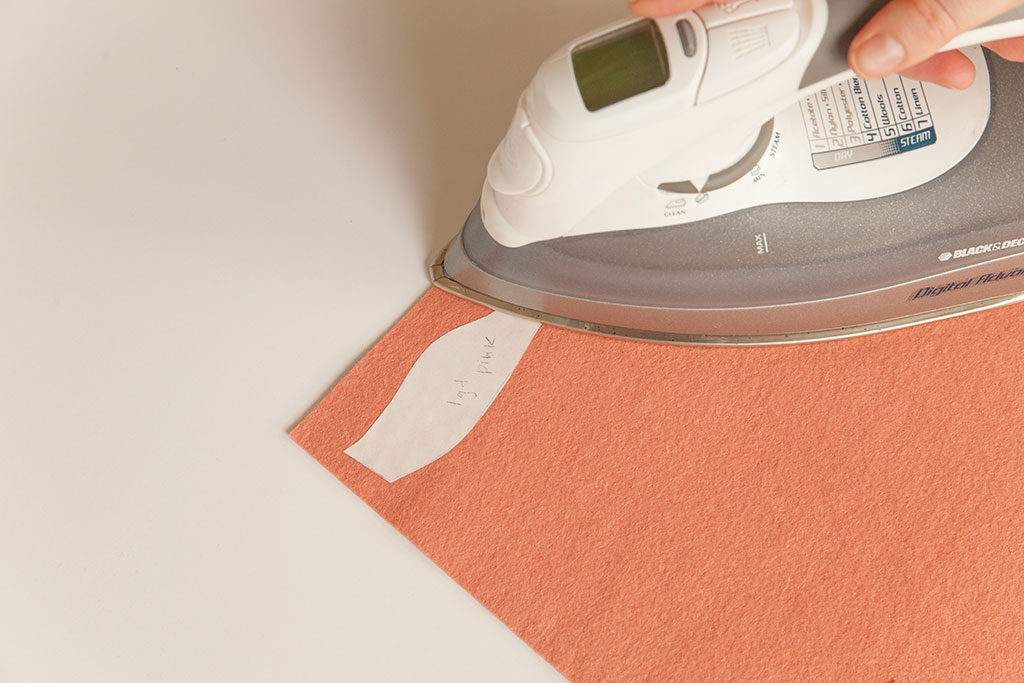
02 | Place the fusible web wrong side down on the felt. Fuse the layers together, following the manufacturer's instructions for the fusible webbing. Fuse all pieces of felt except for the patch background. This piece can be cut directly from felt.
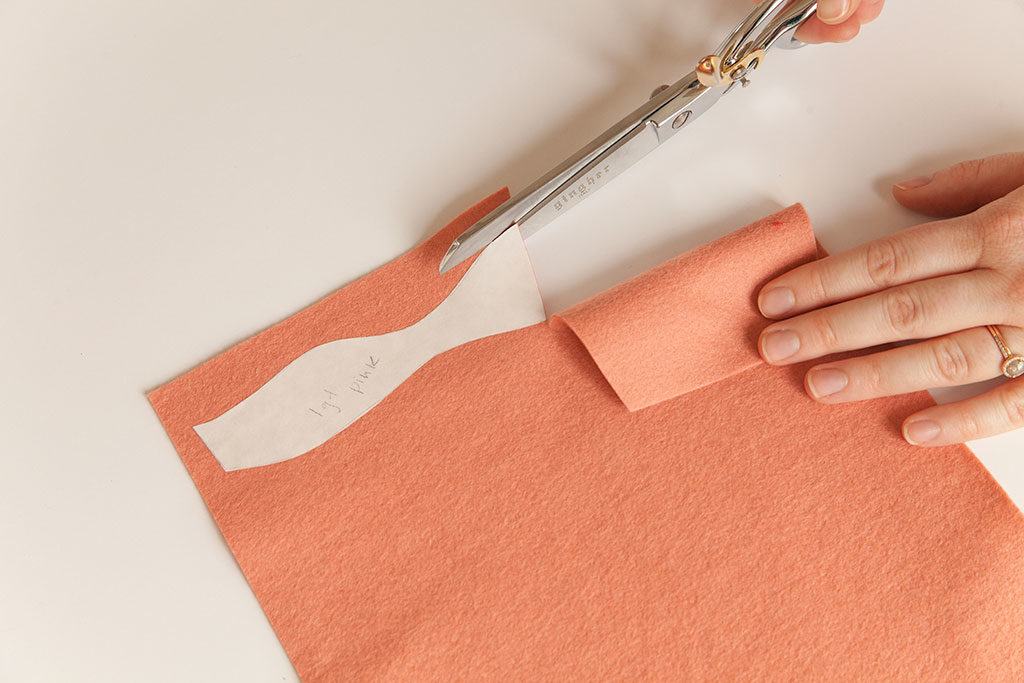
03 | Carefully use a pair of fabric sheers to cut out the individual shapes.
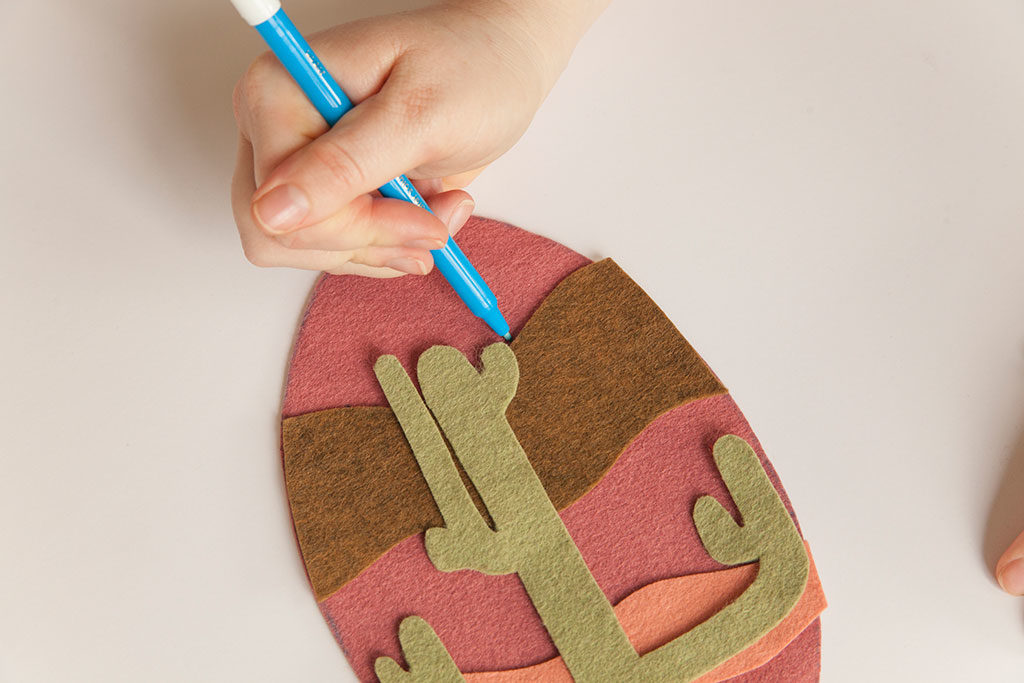
04 | Layer each piece of fused felt, recreating the image you designed. Use a water-soluble marking tool to mark the placement on the background.
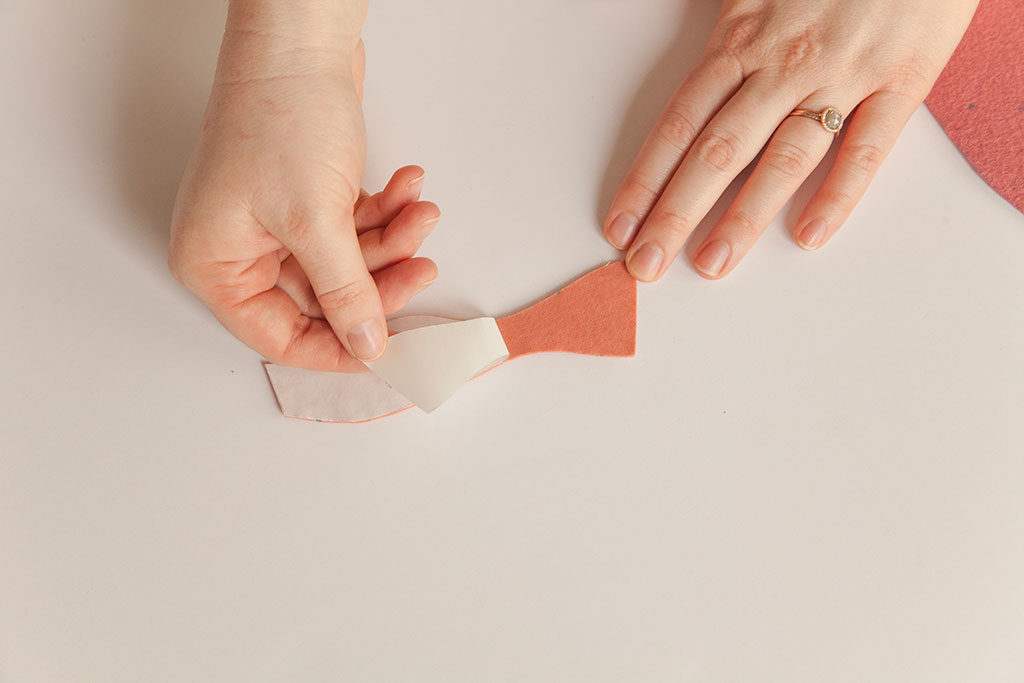
05 | Starting with the bottommost layer, begin peeling away the paper on the back of the felt and adhering them to the background.
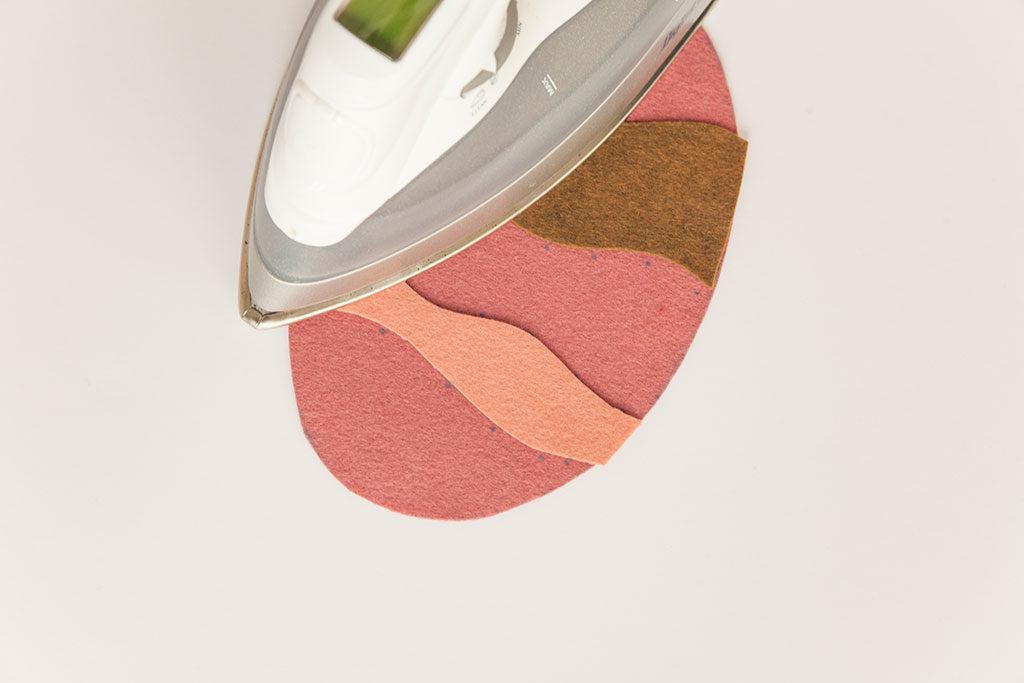
06 | Carefully press, being sure to follow the manufacturer’s instructions.

07 | Once the first layer adheres to the background, use a sewing machine to edgestitch around the felt. You can use a straight stitch for a clean and simple look, or something more decorative.
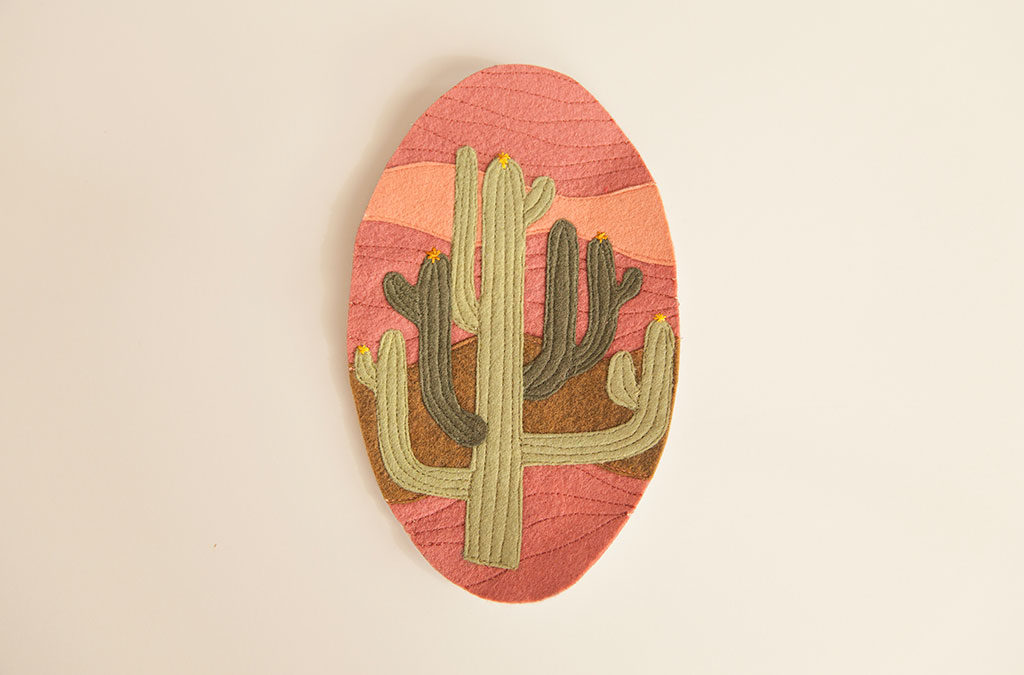
08 | Repeat steps 5-7 gradually working your way up to the topmost layer.
09 | Once your patch is assembled, you can add topstitching or embroidery to your design. This step is entirely optional, but it adds some texture and dimension to the finished product.

10 | To attach your custom patch to a garment or project of your choice, simply use a sewing machine to edgestitch the patch, using a straight or decorative stitch. For added stability, the fusible web can be adhered to the wrong side of the patch before attaching.

About the Author
Five years ago, Haley left the apparel industry to join the world of home sewing. She has been empowering women to sew ever since—first through years of in-person teaching at Sew LA, and now through her writing at Colette. Haley writes tutorials and articles on our blog, and writes and edits for our magazine, Seamwork.