Sign In
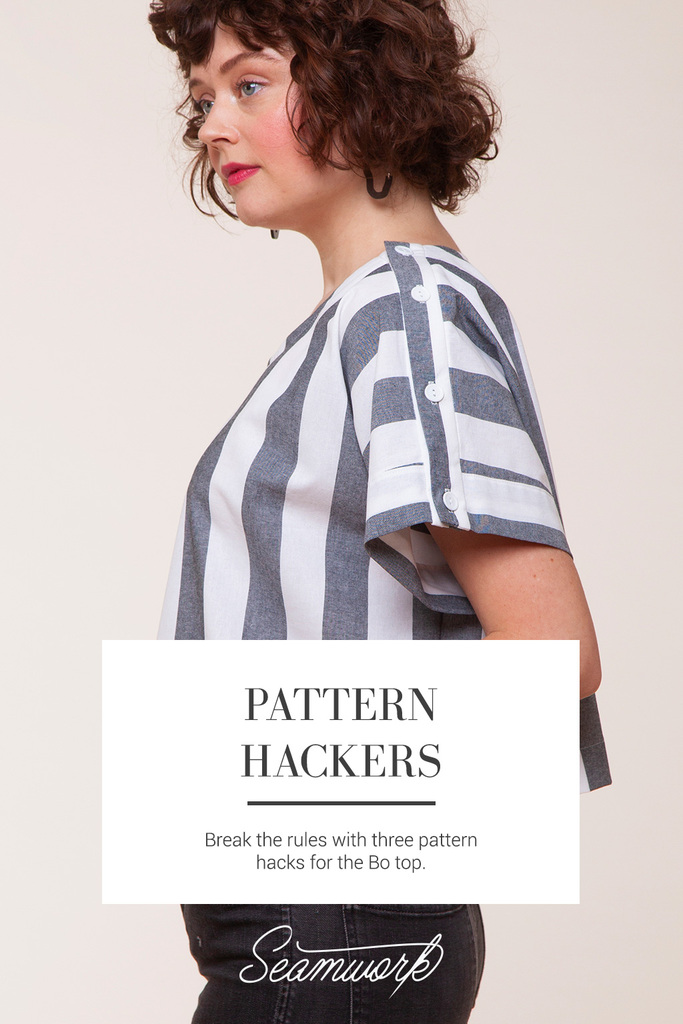
Everyone knows that sewing gives you superpowers. First on that long list is the ability to break the rules and make garments that represent you and your taste. We want to encourage you to think of our patterns as a blank canvas that you can customize to truly suit your style.
Our pattern hacks are designed to teach you hacking basics that can help you customize patterns so that you can become a confident pattern hacker. Each month, we will show you how to draft and sew one new pattern hack, and we’ll share links to two additional pattern hacks from our pattern hacks library.
These hacks help you give your Seamwork patterns a custom spin—all you need is paper, a ruler, and a pencil!
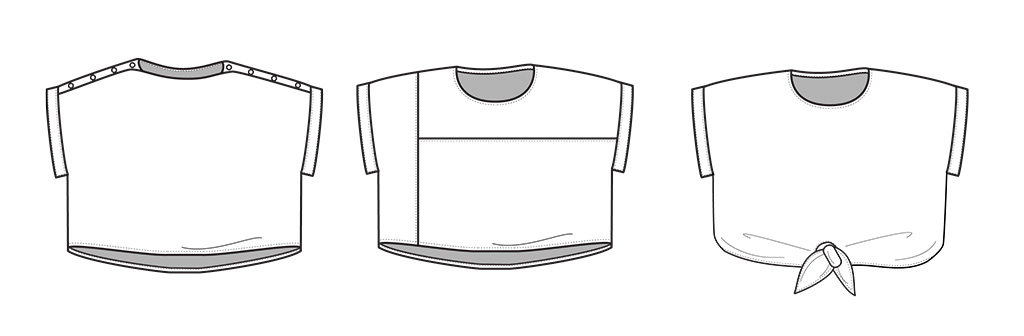
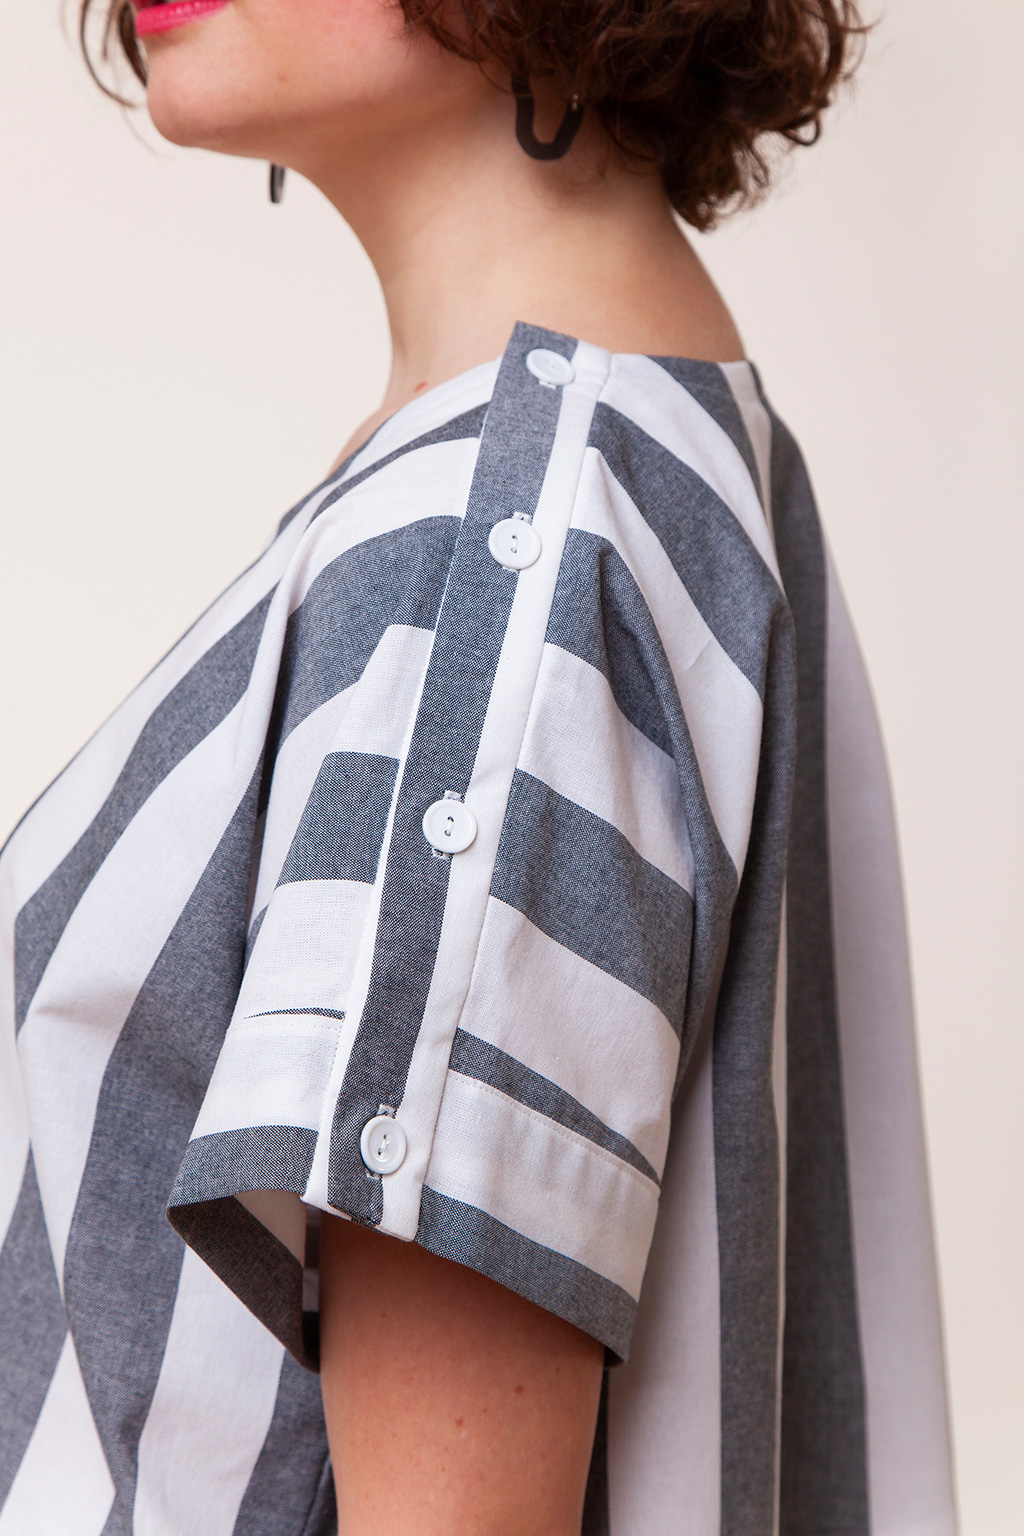
This month, we teach you how to create a shoulder button placket for the Bo top so you can show off those cute buttons in your stash you have been dying to use. You can also check out two additional hacks. One will help you create style lines, and the other adds a hem tie extension.
Note: For best results, be sure to make any necessary fit adjustments before hacking your pattern.
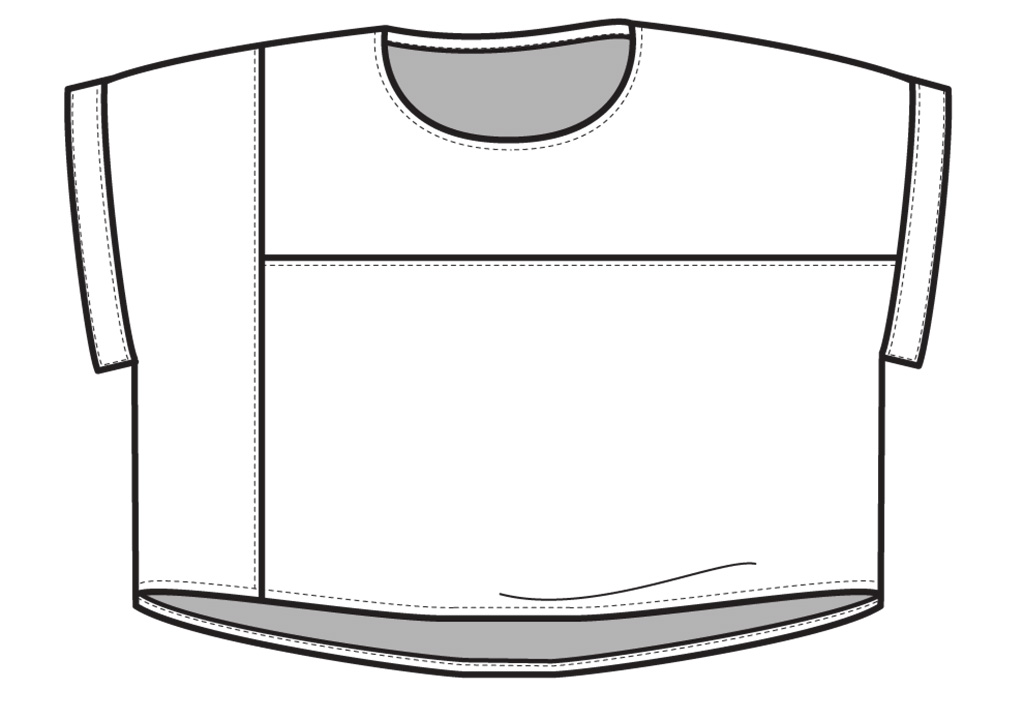
HACK ONE: Add a Shoulder Button Placket
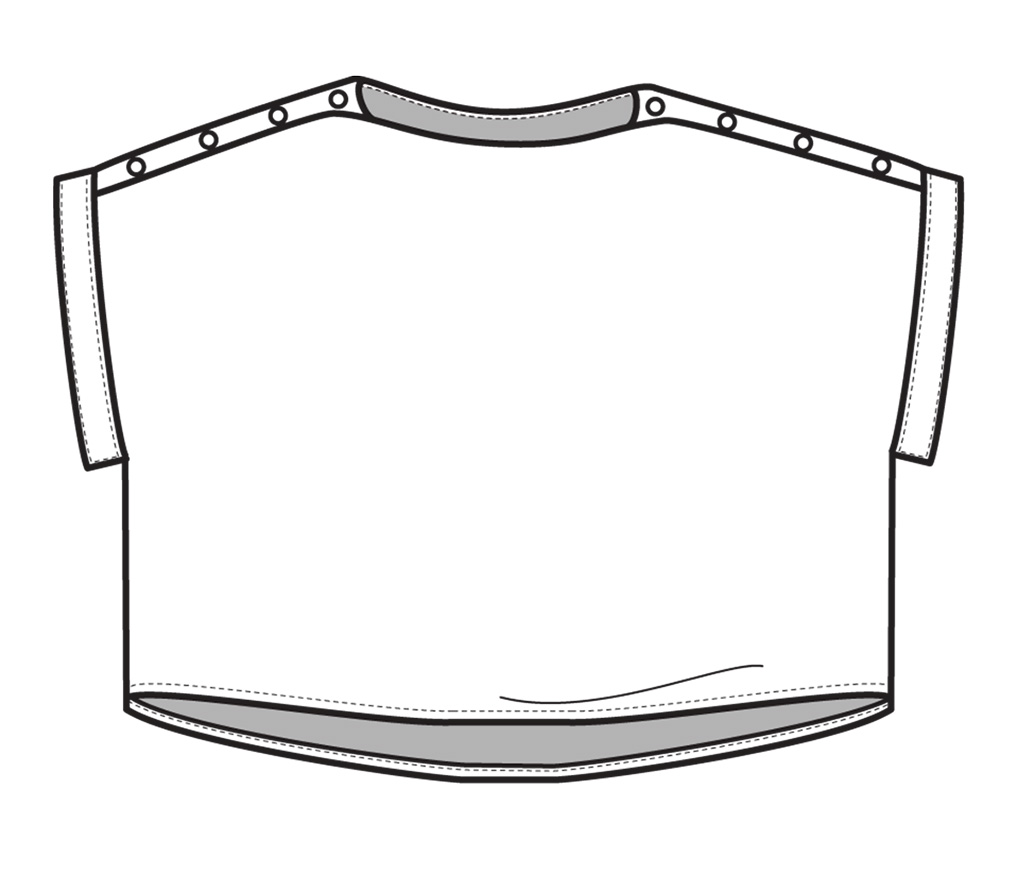
Show off your favorite buttons while learning a simple pattern hack. In this pattern hack, we'll show you how to create a simple shoulder button placket. Try experimenting with different sized buttons or using a contrast fabric to make your placket pop.

DRAFTING INSTRUCTIONS
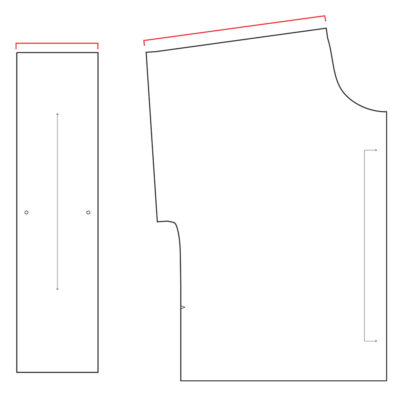
01 | Measure the front shoulder width and the cuff width. Add these numbers together and subtract 2 1/8". This number is your placket length.
02 | Measure the width of the button you would like to use. Multiply this number by 4. This is your placket width.
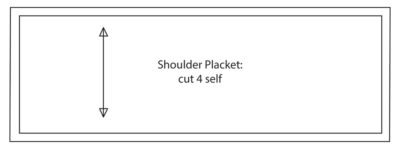
03 | Using a ruler, draw a rectangle according to your placket calculations. Add 3/8" seam allowance around the placket. Label the piece "shoulder placket: cut 4 self."
04 | To prepare the front and back pieces, subtract the button width from both the front and back shoulder seam.

05 | To prepare the cuff, subtract 1/4" from both of the short ends of the sleeve cuff.
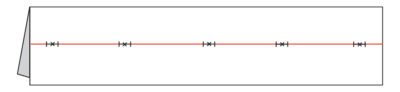
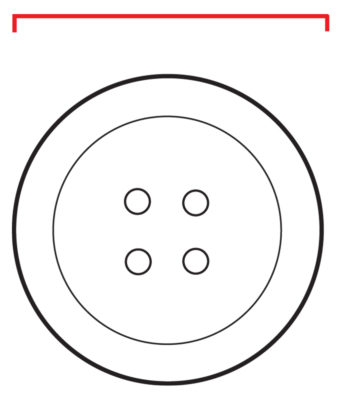
06 | To mark the button placement, fold the placket in half lengthwise, then place buttons as desired along the center of the placket. Be sure to place a button 1" from each short edge of the placket.

SEWING INSTRUCTIONS
Step | 01
Cut the front, back, and cuffs according to the pattern instructions. Cut 4 plackets. If you are using lightweight fabric, use the placket pattern piece to cut 4 from interfacing as well.
Step | 02
Use single fold bias tape to finish the front and back necklines separately.
Step | 03
With right sides together, sew the front to the back at both underarms. Press open and finish separately.
Step | 04
Hem according to the pattern instructions.
Step | 05
Press 1 long edge of the cuff to the wrong side at 5/8”. Follow the pattern instructions on page 14 and 15 for attaching the sleeve cuff, aligning the circle marking with the underarm, rather than the shoulder seam.
Step | 06
Press a crease lengthwise down the center of the placket, then press one long edge of the cuff to the wrong side at 1/4”.
Step | 07
With right sides together, fold the placket down the center crease. Stitch both short ends at 3/8”. Clip corners and turn right side out. Press.
Step | 08
With right sides together, match one unpressed edge of the placket to one front shoulder. Stitch at 3/8”. Press the seam allowance towards the cuff.
Step | 09
Stitch in the ditch to secure the placket.
Step | 10
Repeat steps 5-9 on the other front placket and both back plackets.
Step | 11
Sew buttons to the front plackets at markings and buttonholes to back plackets at markings.
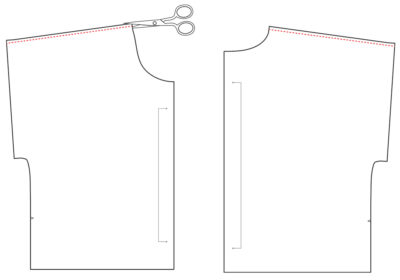
HACK TWO: Create Style Lines
Want to experiment with some color blocking? Try adding style lines to the Bo top using this hack.
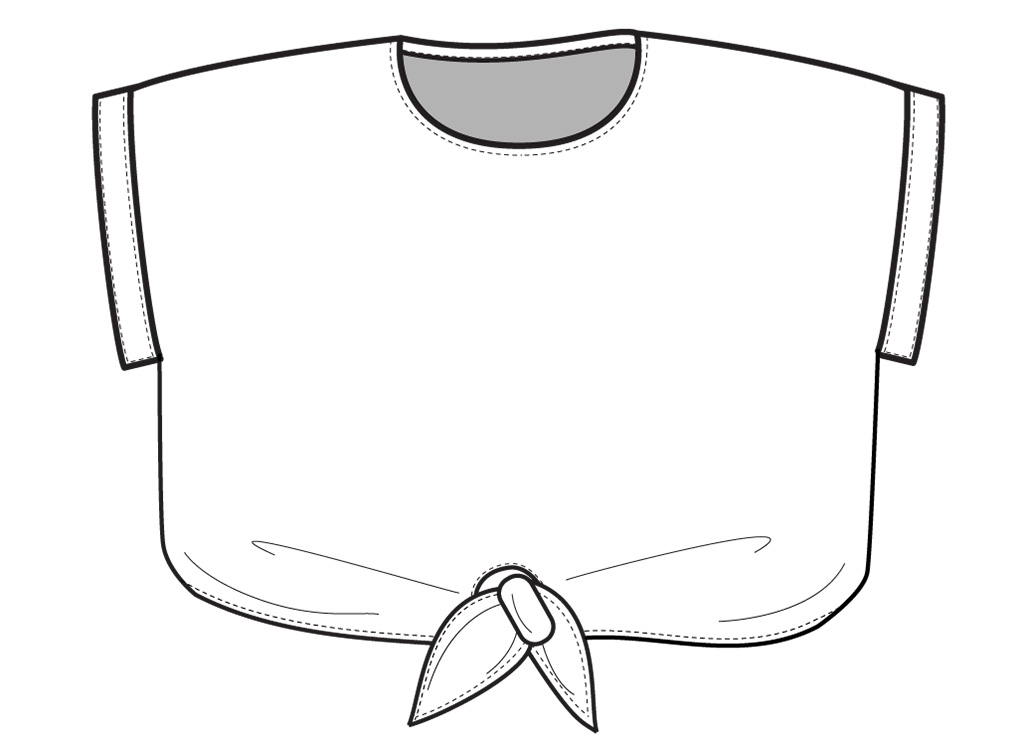
HACK THREE: Add a Hem Tie
Change up the silhouette of the Bo top by adding a hem-tie extension. Use this hack.