Sign In
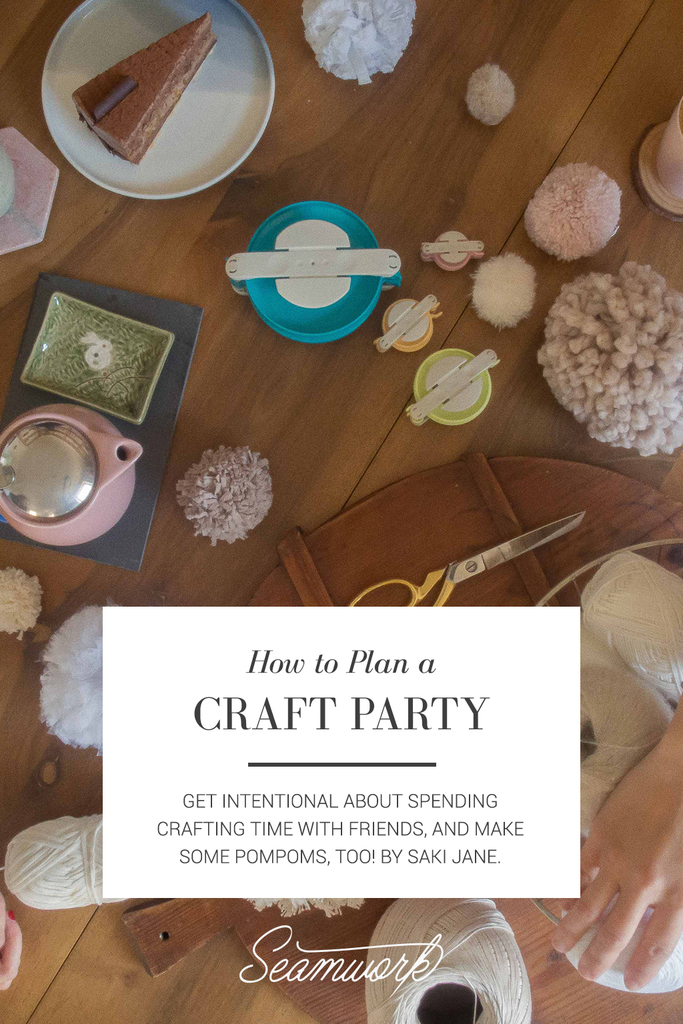
I’ve always loved getting together with girlfriends, popping on some reality TV or a classic movie, and getting our craft on. It’s a low-stress way to get together with your fellow maker friends on a Tuesday night with mindless entertainment in the background. But with the hectic holiday season upon us, what better reason is there to get intentional about how we spend our time together?
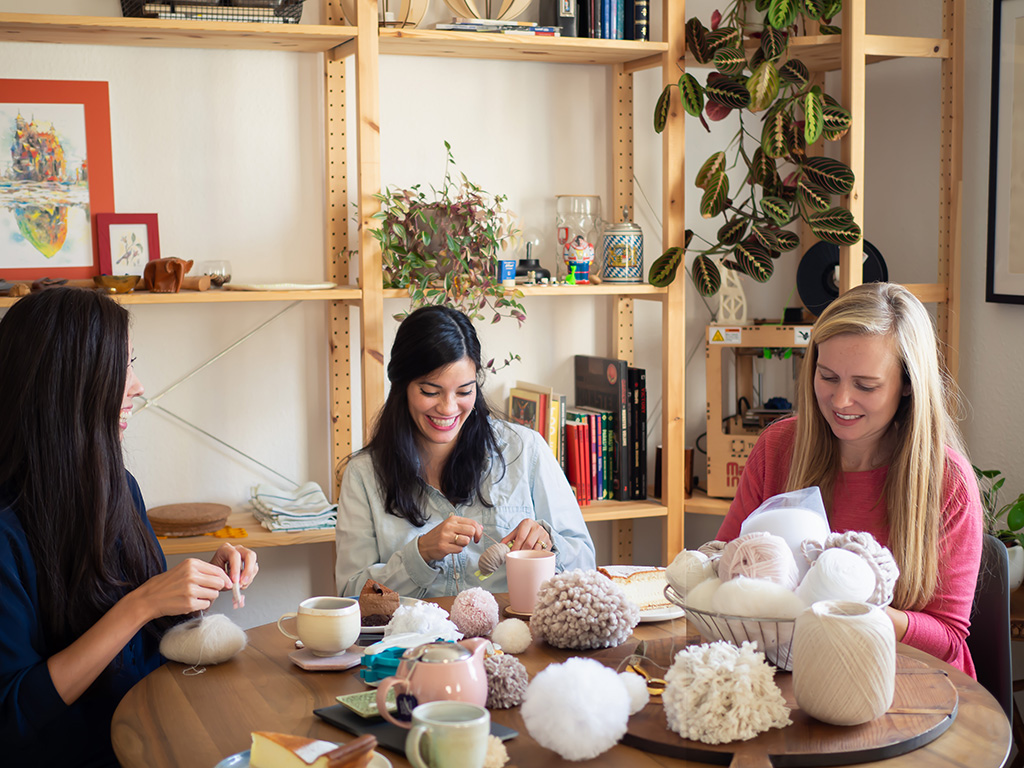
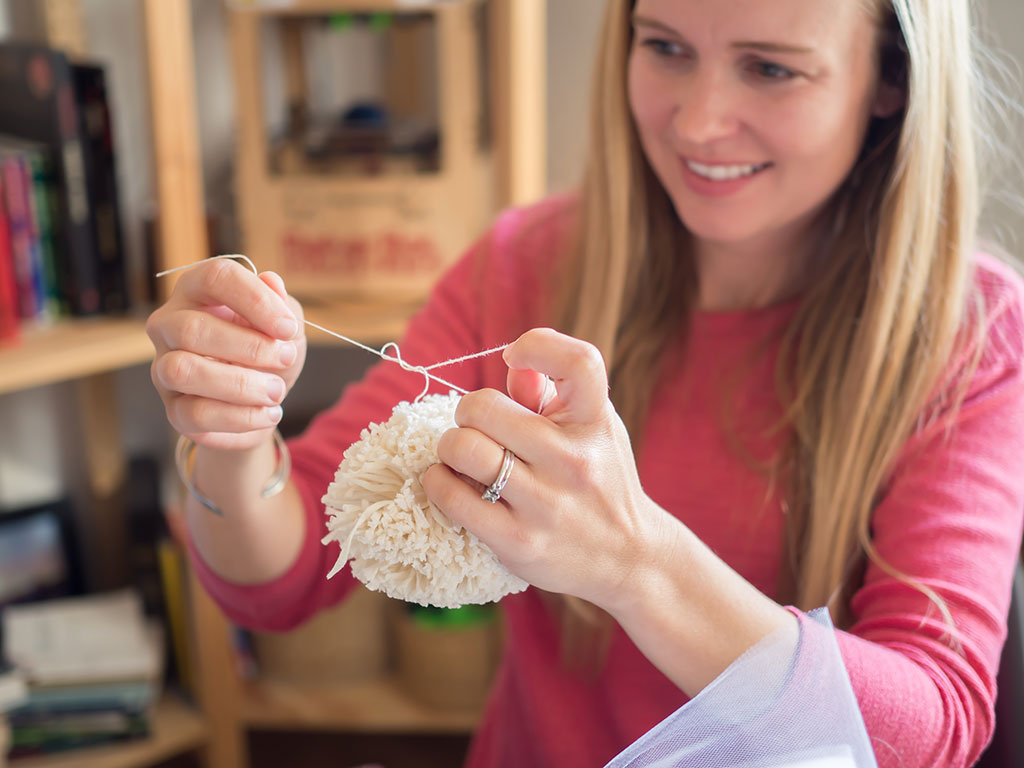
Now’s the time to turn off that TV and get cozy with your favorite crafting friends. I threw a pompom-making party to show you some of my favorite tips and tricks for throwing your own. Let’s get our pompom on!
Tips for Throwing a Crafting Party
Keep the craft simple. The benefits are multi-fold; it requires less prep, and it allows your friends to take breaks to spend time chatting with each other or having snacks.
Choose an inclusive craft. By choosing a craft that someone from every skill level can enjoy, you’re creating an inviting and participatory space. Remember, you’re not setting up a competition on who can create the best work of art—you’re creating a community-oriented and rewarding space for your friends. Keep things positive!
Offer a craft that lets the maker choose how creative to be. By leaving the finished object open-ended, you’re encouraging cross-crafting and even more creativity. For example, one of my guests decided to personalize a RTW knit hat with their handmade pompoms. Another wanted to tie several to a metal hoop to make a wreath. But by choosing an open-ended craft, even if your guests walk away with a handful of pompoms and nothing else, they’ve still accomplished what they set out to do.
Or don’t pick out a craft at all! You can always host open-craft nights, encouraging your crafty friends to BYOC (Bring Your Own Craft).

Decorate with your craft supplies. Don’t spend a lot of time or money on decorations you’ll only use once; instead, scatter the table with samples of the crafts you’ll be working on, or display the supplies you’ll be using in cute containers or jars.
Get a teaching helper. If you’re planning a larger party, consider teaching a friend or two about your craft in advance. It can get stressful to be the only person in a room full of new learners who knows how to do your craft, so teaching a friend can take the edge off. Consider them like cohosts or assistant teachers—they can help answer questions or teach the next step while you’re busy with someone else.
Offer refreshments. Whether it’s hors-d'oeuvres or a full meal, wine or tea, refreshments will keep you energized for longer stretches of crafting. You can even make it a potluck to keep the hosting pressure off!
Make a few samples. It might sound tedious, but a little bit of homework goes a long way. By making a few practice runs, you’re giving yourself a realistic idea of how many supplies you’ll need per person, as well as how much time you’ll need per craft. Measure the length of time it takes you to finish your craft, then double that to account for chatting and snacking. You’ll also be able to use these samples in the aforementioned decorations!
Ask guests to RSVP. This might seem like a no-brainer, but RSVPs are becoming less and less common. Having a ballpark number of guests to expect will give you a good estimate on how much materials, table space, and refreshments you’ll need.
More Ways to Get Your Craft On
And if you’re not into pompoms, here’s a short list of other crafting party ideas: origami, embroidery, painting plant pots, shrinky-dinks, fabric dyeing or block printing, skillshares, basket weaving, decorating cupcakes, adult coloring books, and DIY terrariums.
The possibilities are endless, and the cost can range from high with terrariums to almost free with shrinky-dinks. The point of a crafting party is not to spend too much time or money on preparations, but to get your friends together for a good time.
Want to Host a Pompom Party?
You’ll need:
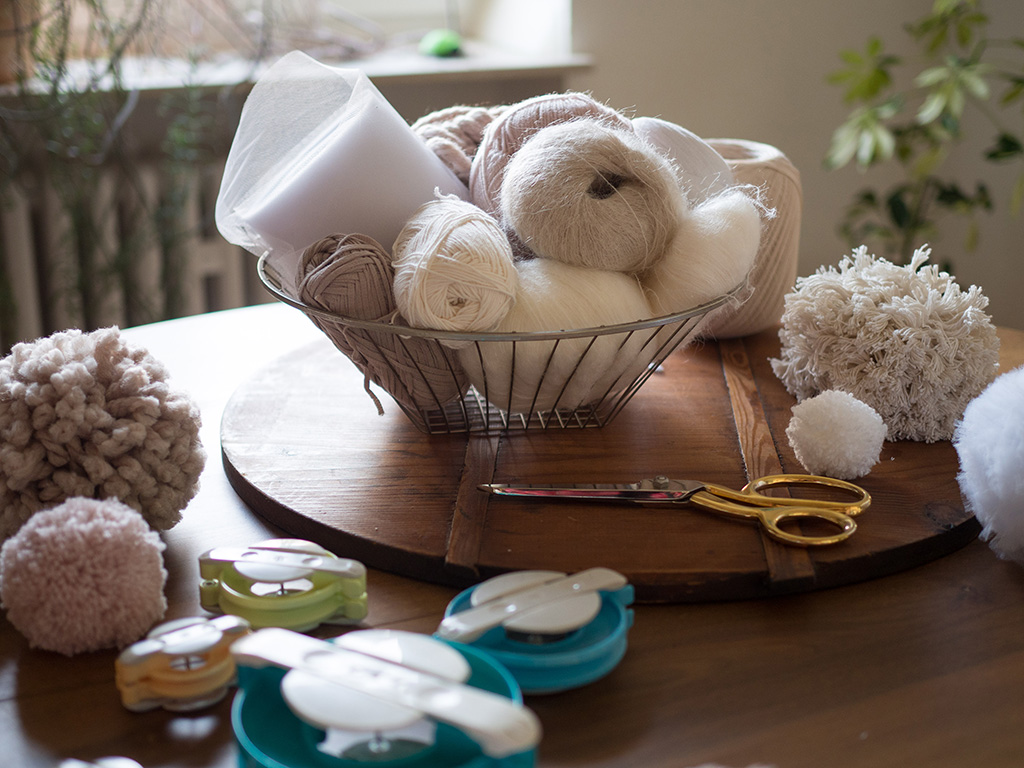
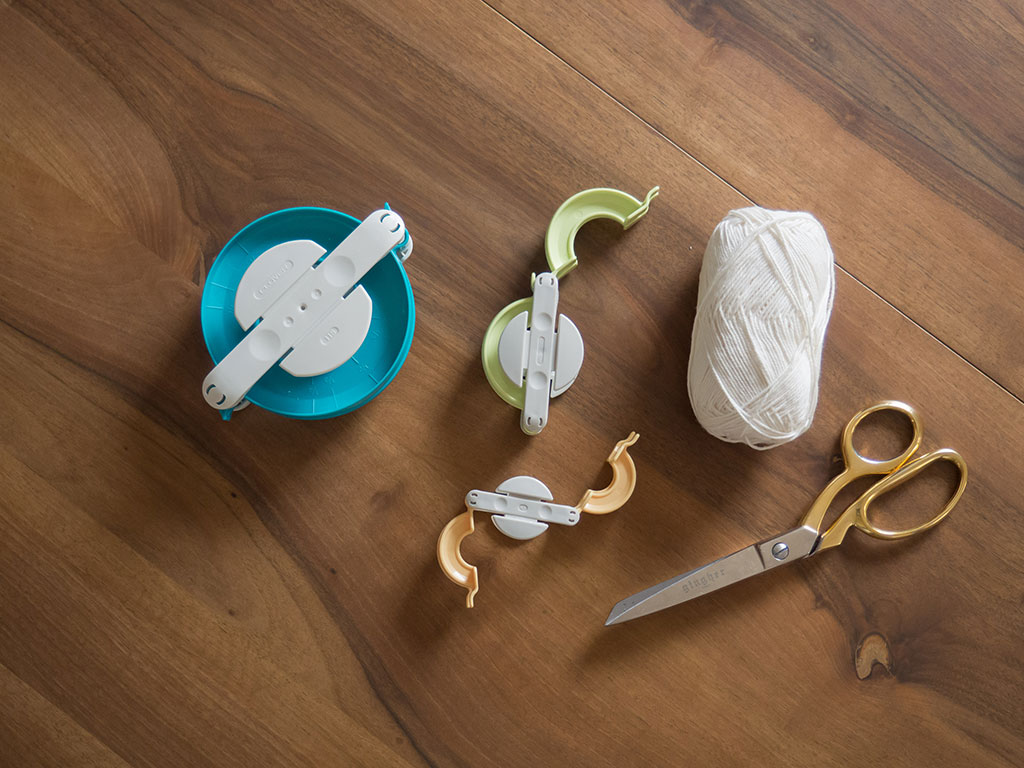
- Yarns of various colors, weights, and textures
- Scissors
- Pompom makers
- Extra string for tying off (optional)
Tips Before You Start
Invest in a pompom maker. I used store-bought pompom makers from Amazon, but you can easily make your own by cutting two equally sized “donut” shapes out of cardboard. The wider the donut, the larger the pompom.
Use a thin, sturdy string to tie off the pompoms. A thinner string helps if you’re planning on using your poms for alternative crafts later. I like using lace-crochet string because it’s strong while still being thin enough to fit through the eye of a needle if I decided to sew the pompoms onto a sweater.
Have a few pairs of scissors ready. While you only need one pair of scissors to make a pompom, when you get a group of crafting friends together, I learned the hard way that one pair is not enough!
How to Make a Pompom
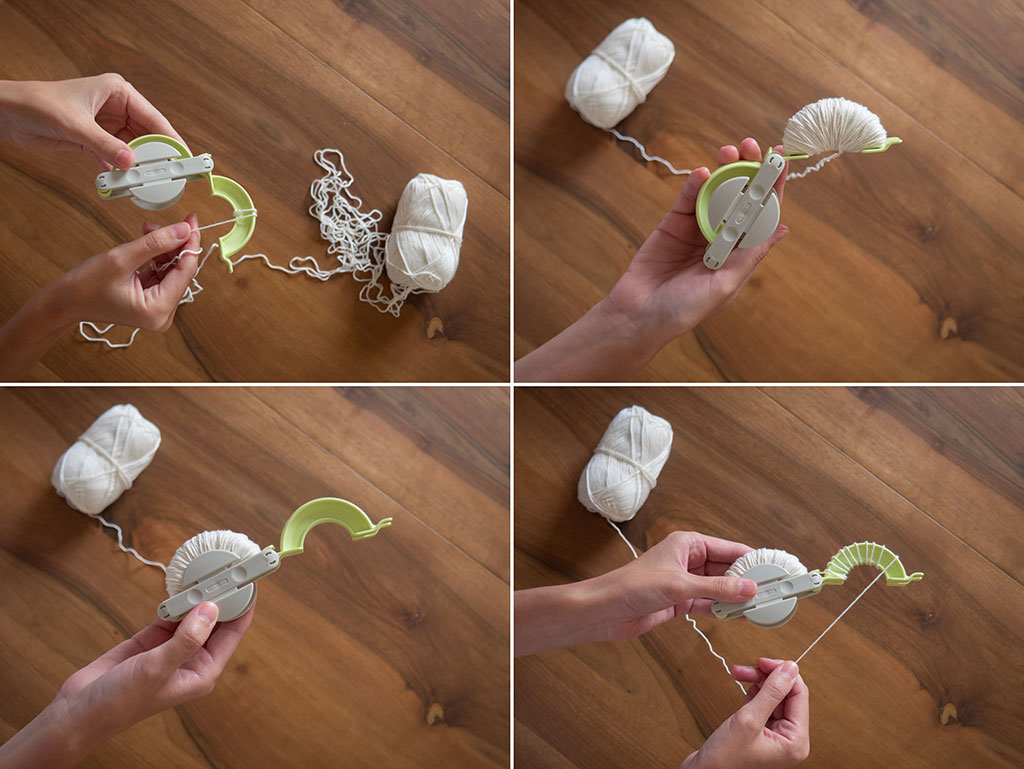
The pompom makers I purchased have two sets of arms that rotate out from the center, and it comes apart into two pieces as though it were a sliced bagel. Start by rotating out one set of arms, and wrapping both arms with the yarn of your choice.
Keep wrapping the yarn until the yarn makes a semi-circle, then cut your yarn and rotate the arms back in. Be careful not to over- or under-wrap; if you wrap too much, the arms will want to pop back out from the center, and if you wrap too little, you won’t have much density in your pompom.
Rotate the second set of arms out, and continue to wrap the yarn around the arms until they match the first half in density. Then rotate those arms back in.
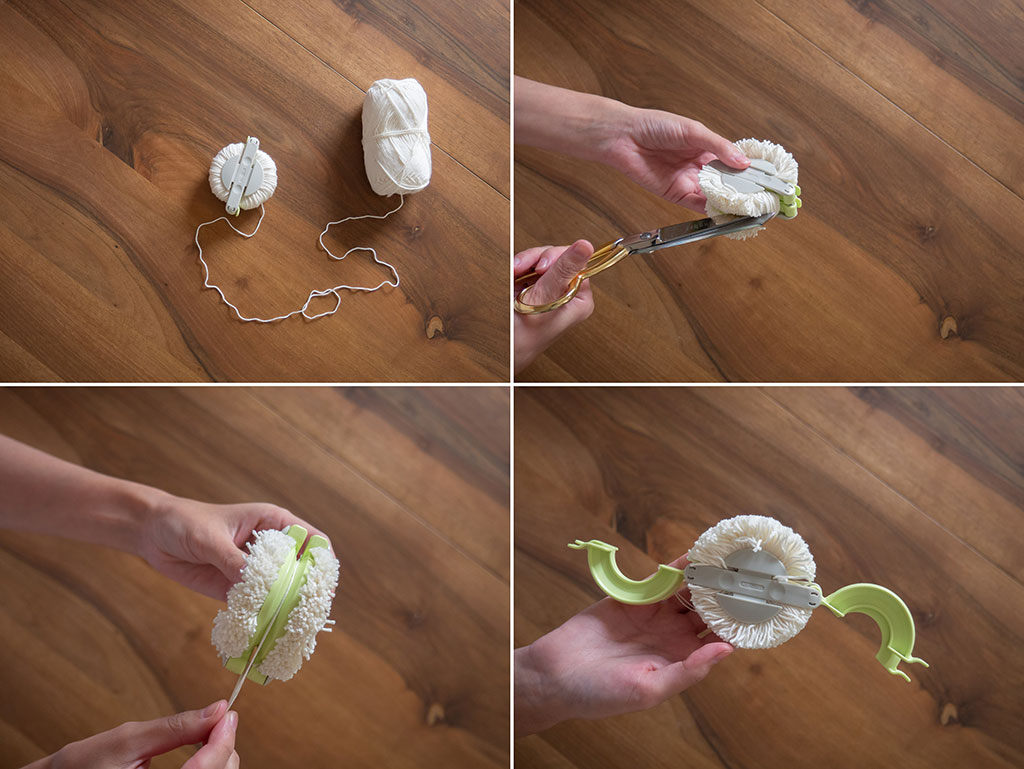
Cut the wrapped yarn around the outer edge of the circle. Make sure every yarn is cut, and you don’t have any stragglers; otherwise the next step will not be possible.
Take an extra long piece of crochet string and wrap it around the circle, slipping it in between the two “bagel slices.” I’ve found that the clove hitch is the most efficient here because regular knots tend to loosen when you let go of the tension, but this one stays secure. If you’d like a simpler knot, try wrapping the string around two times before tying a regular knot.
Rotate out each set of arms, one at a time, taking care to keep the crochet string knot taught.
Carefully separate the two “bagel slices,” freeing the pompom from the pompom maker. Tighten the crochet string and secure it with a double knot.
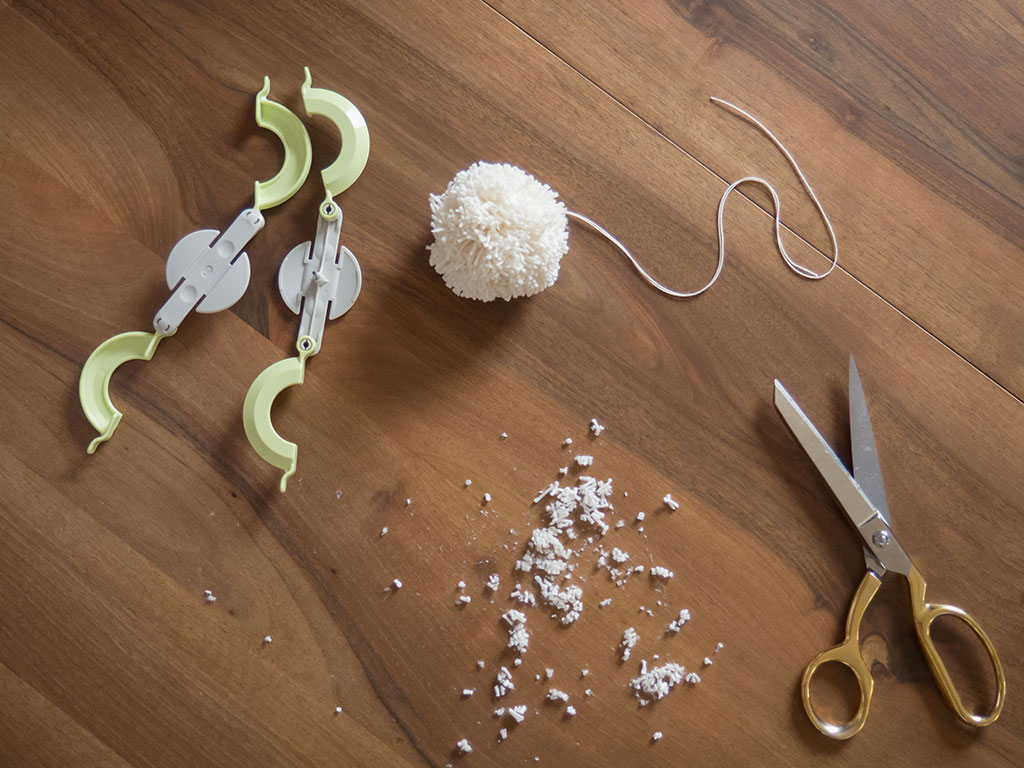
You can now shape your pompom into a cleaner sphere with scissors, being careful not to cut the crochet string. I like to leave the crochet string long until I decide what I’m doing with my pompoms; it’s so much easier to attach it to other things when there’s a built-in string.
And after just a bit of fluffing, you’ve got yourself a pompom!
Pro-tips for Pompoms
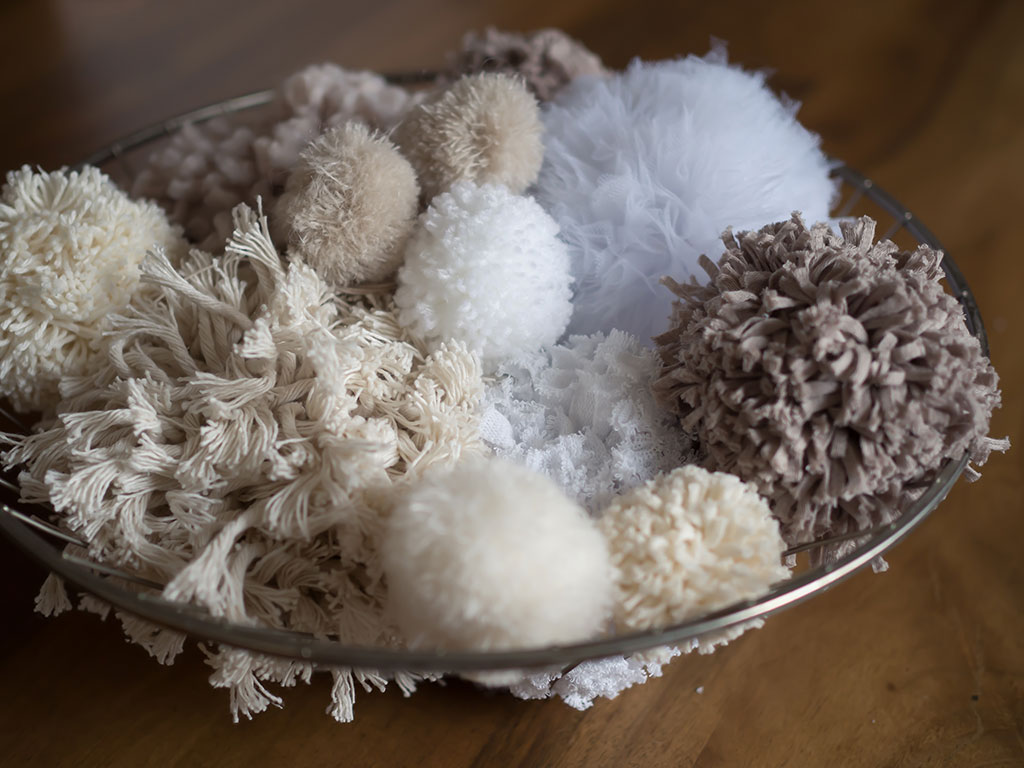
Be creative with the materials you use. Almost anything that’s string-like and at least several meters long will work! I used tulle, raffia, yarn of various thicknesses, and even leftover macrame rope from my rope bowl tutorial!
Look for supplies in unconventional places. I often find grab bags of unused yarn and ribbon at secondhand stores. By checking thrift stores before buying new yarn off the rack, you can save loads of money.
Play with different yarn. Use thicker yarn for larger poms and thinner yarn for smaller poms. It’ll save you both time and resources!
Try mixing yarns on a single pompom. You can achieve a totally mixed look by pulling yarn from two different balls at once, or alternatively, you can color-block your pompom by wrapping half in one color and the other half in another.
Here’s a tip for non-knitters: if you’re using a fresh ball of knitting yarn, search in the center of the ball for the other end of the yarn. Pull it out and use it to feed your pompom to avoid tangles.
Use a clove hitch knot for tying the pompom off. The clove hitch makes tying a tight knot much easier because the tension keeps the knot secure after you free the pompom and before you double knot it.
What a cozy way to spend a winter night with your friends, nibbling on treats and comfort food while chatting and crafting the night away. Or perhaps if you’re in the southern hemisphere, you can set up a table outside, sip some rosé, and craft into the sunset. Regardless of where you are or what season you’re in, I hope you can use this as your own personal invitation to slow down and get your craft on! Happy holidays!

About the Author
Saki Jane has been sewing for over two decades, with a background in fashion and bridal design. Now, she finds pleasure in crafting her own wardrobe and sharing the joy of sewing with others through workshops and tutorials. You can find her work on Instagram (@sakijane) and at her blog at www.sakijane.com.