Sign In
Patternmaking can seem like this really intimidating skillset. But you don’t have to draft an entire pattern from scratch to explore these techniques. Simple tweaks and adjustments can completely change the look of a pattern. You also don’t need to be a patternmaker to hack a pattern—they are supposed to be fun experiments that will help you create something unique to you!
Pattern hacking helps you get more out of a single sewing pattern. Think of the pattern as a roadmap—you can take more than one route to get to the destination, and the pattern is there to give you the lay of the land.
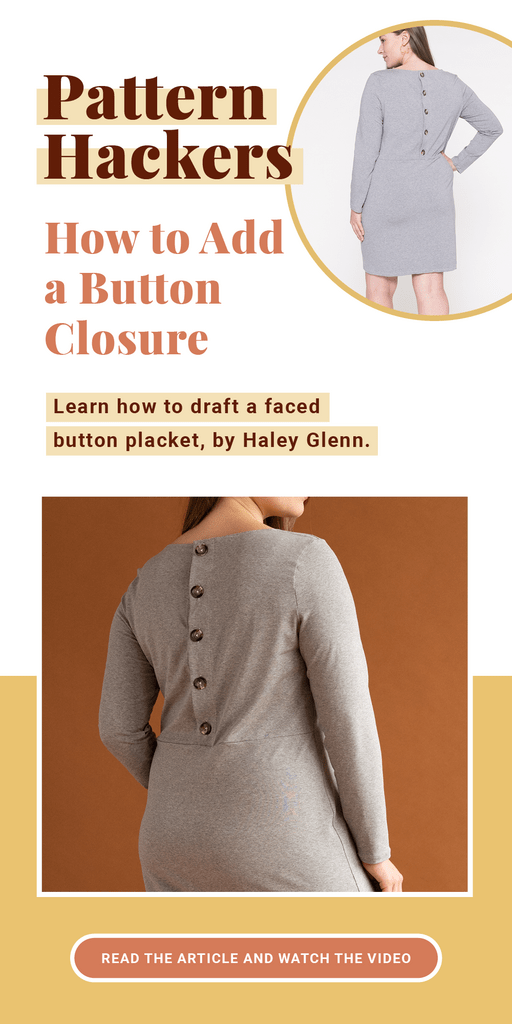
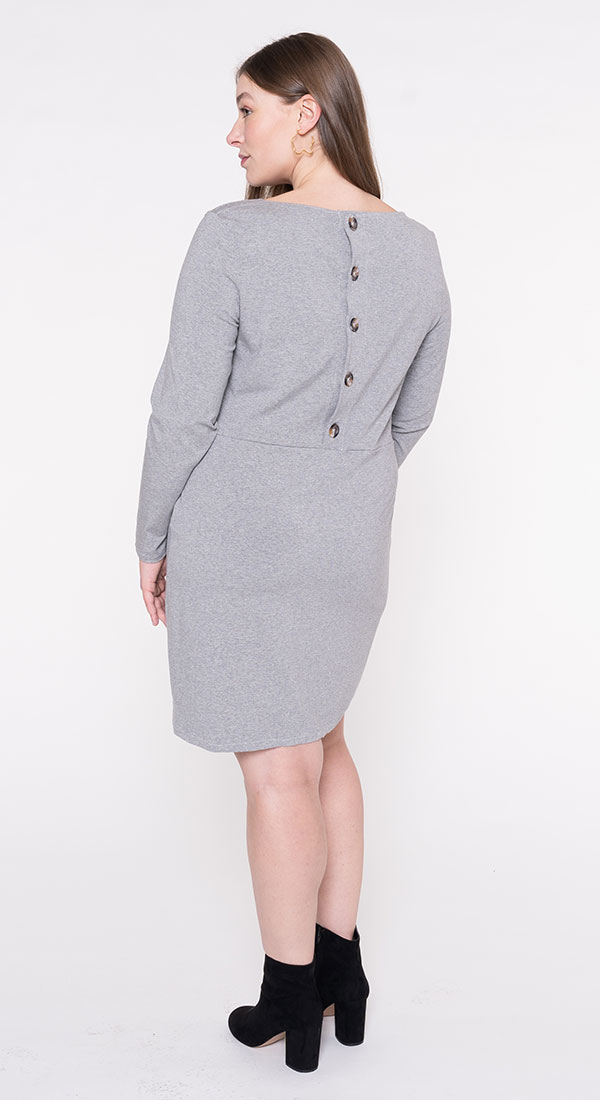
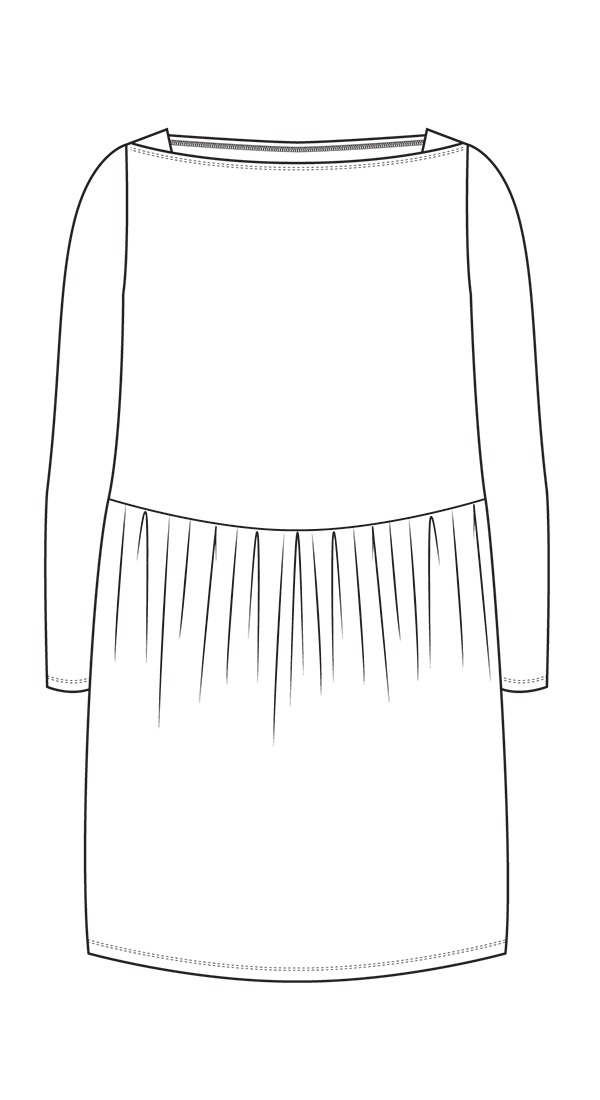
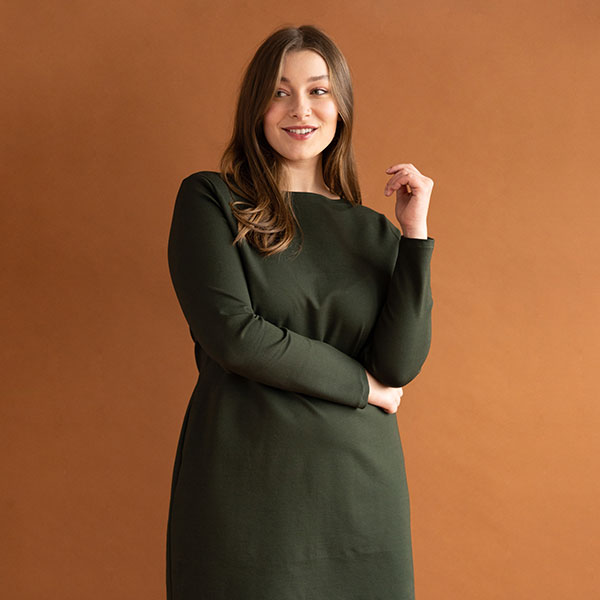
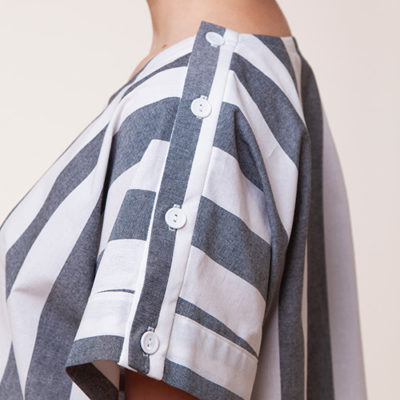
This month's pattern hack will show you how to draft a simple faced button placket. You can use this hack to add a little interest to an otherwise plain garment—you know you want an excuse to break out all the cool buttons in your stash! This technique is also really handy if you are body feeding and looking for easy chest access on your me-made garments.
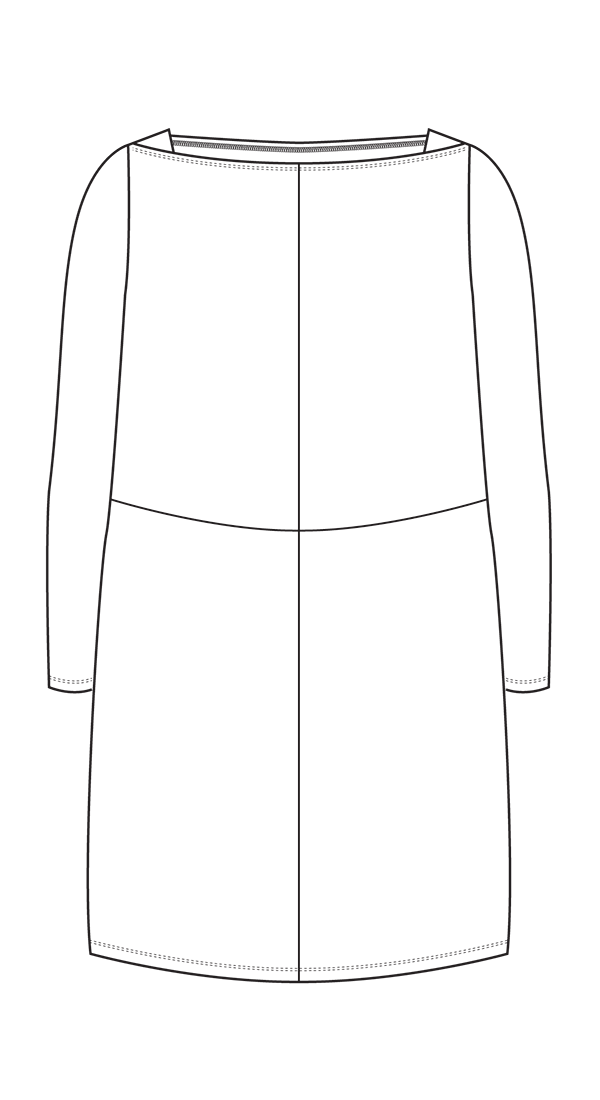
In this example, I will be showing you how to add buttons to the center back of the Tai tunic and dress. You can add a button closure to many woven or knit garments. Just be sure to look for garments with simple lines and avoid garments with lots of negative ease.
Add a Button Placket
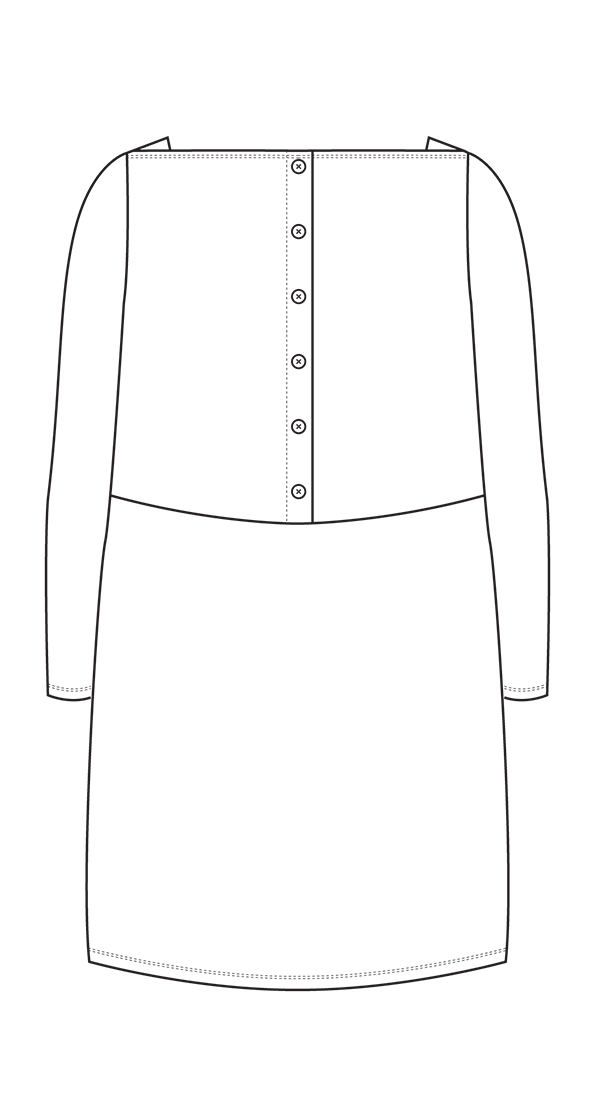
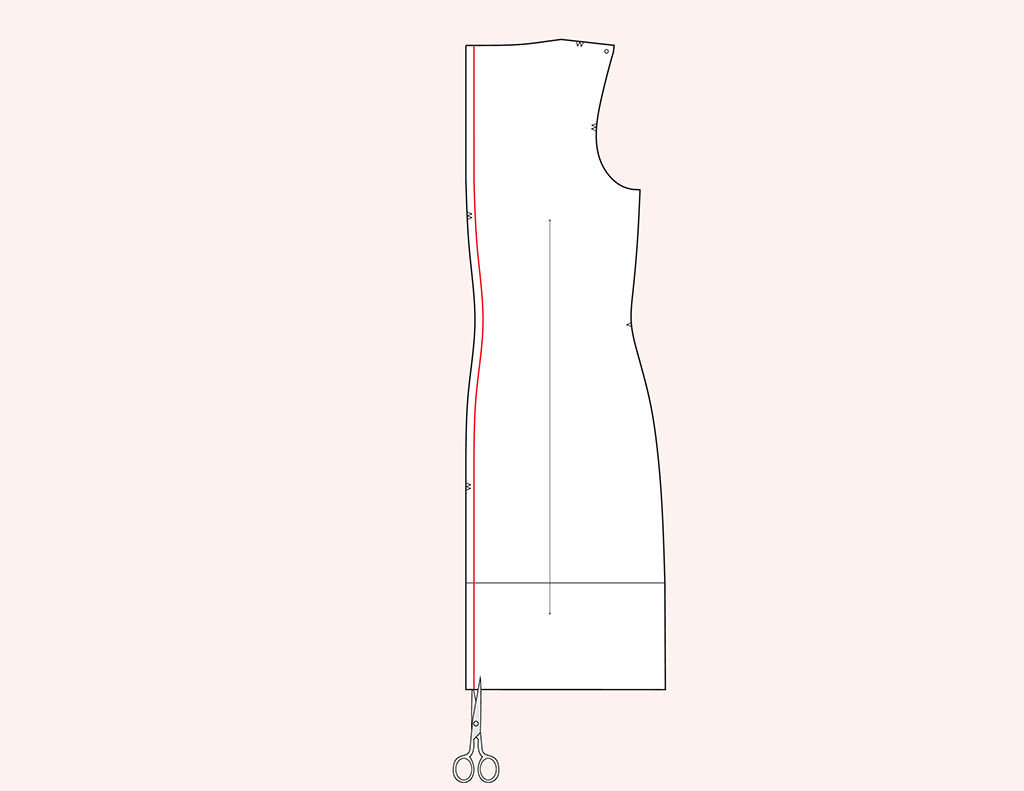
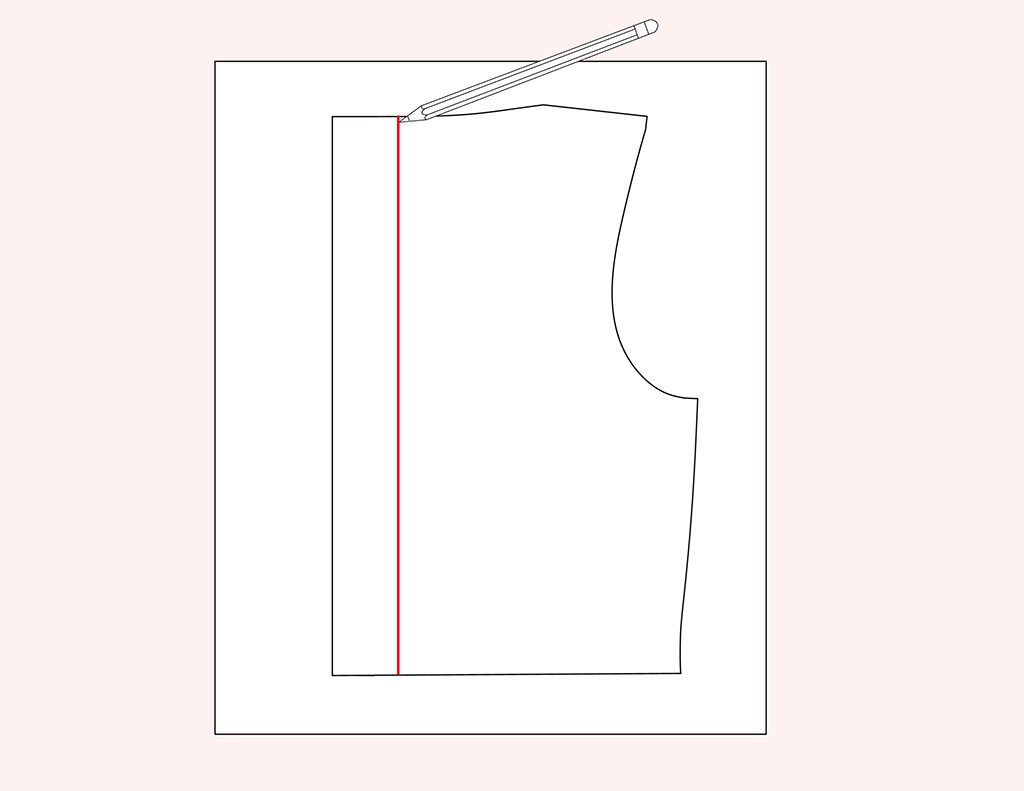
Remove the seam allowance from the center back seam.
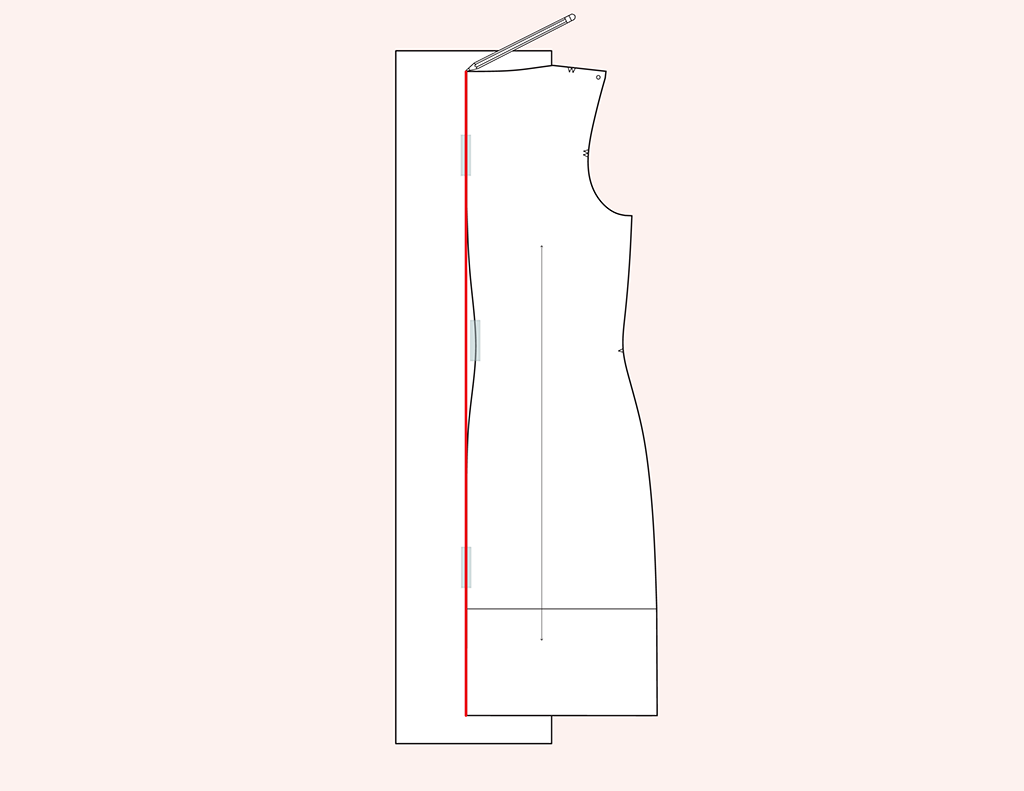
Straighten the center back seam so that it is parallel to the grainline.
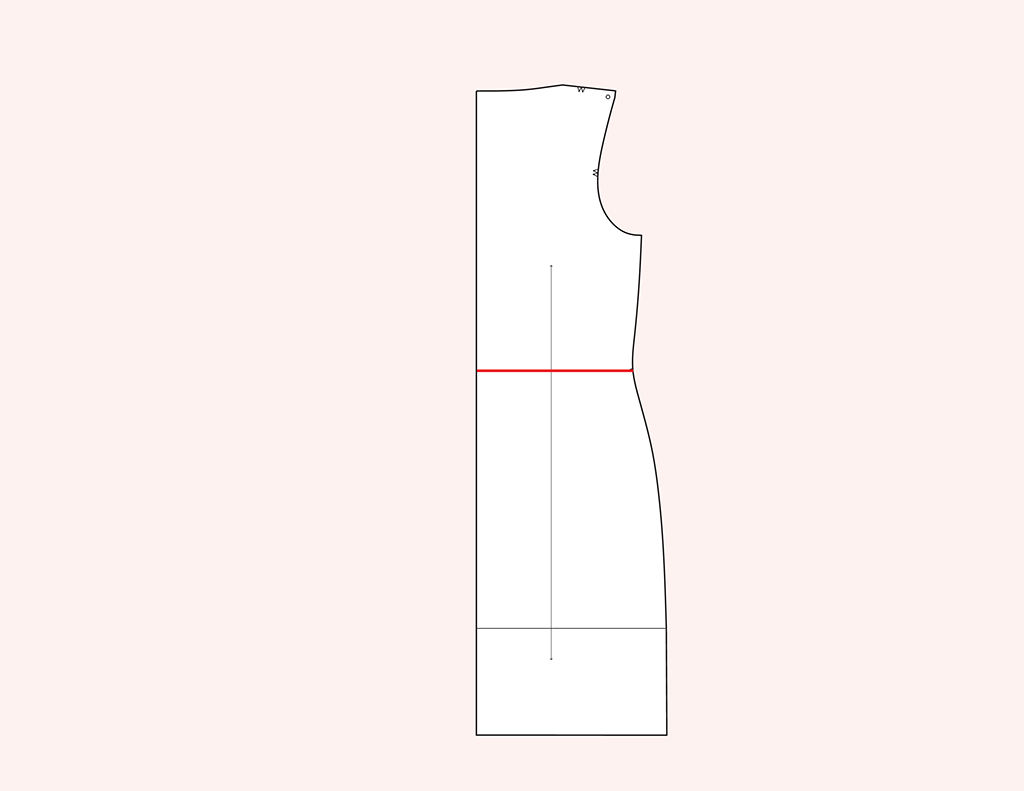
Draw a waist seam perpendicular to the center back seam.
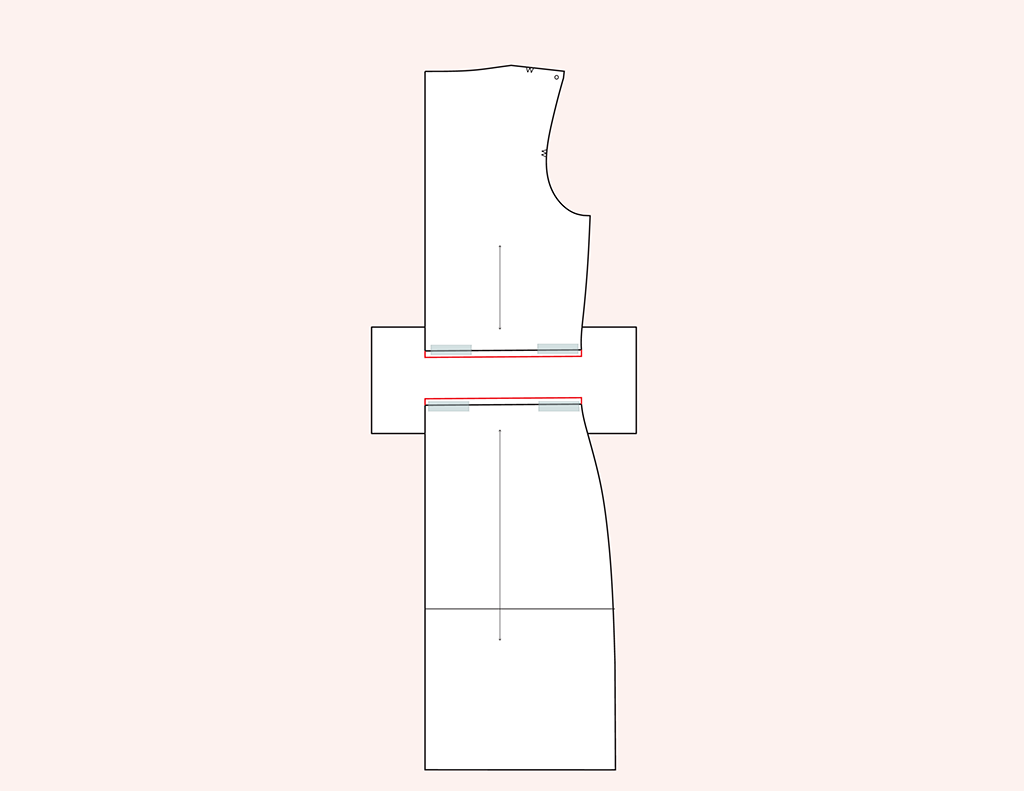
Cut along the drawn line and add a 3/8 inch seam allowance to both waistlines.
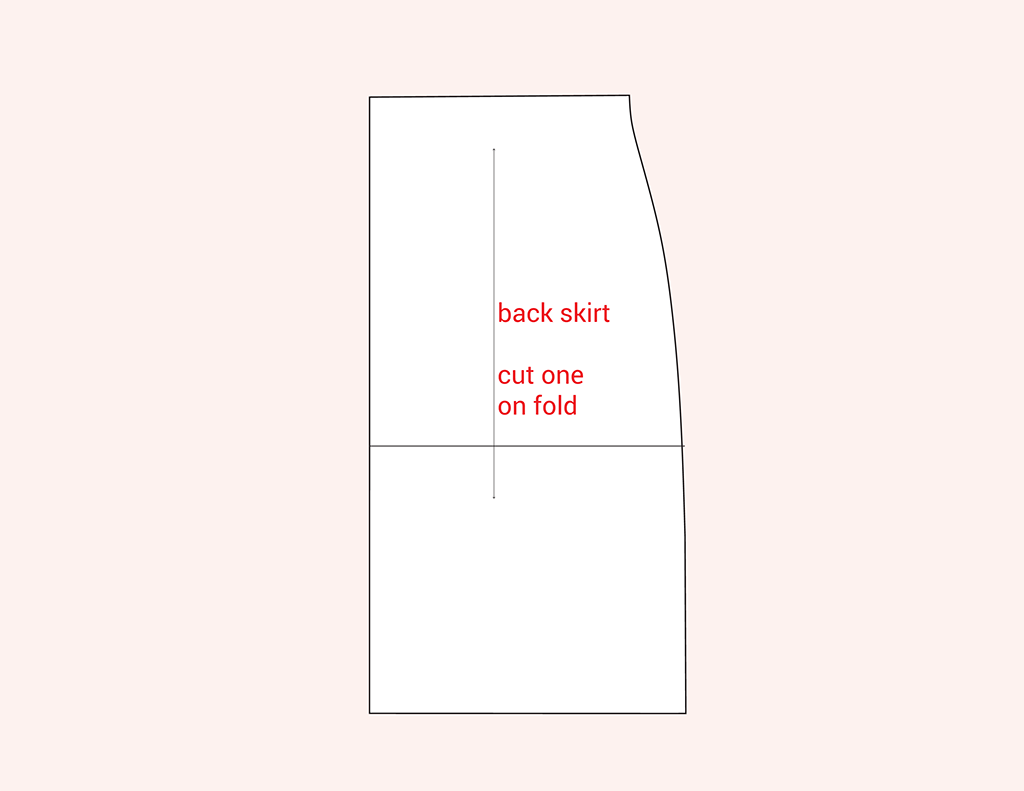
Label the lower back piece "back skirt, cut one on fold."
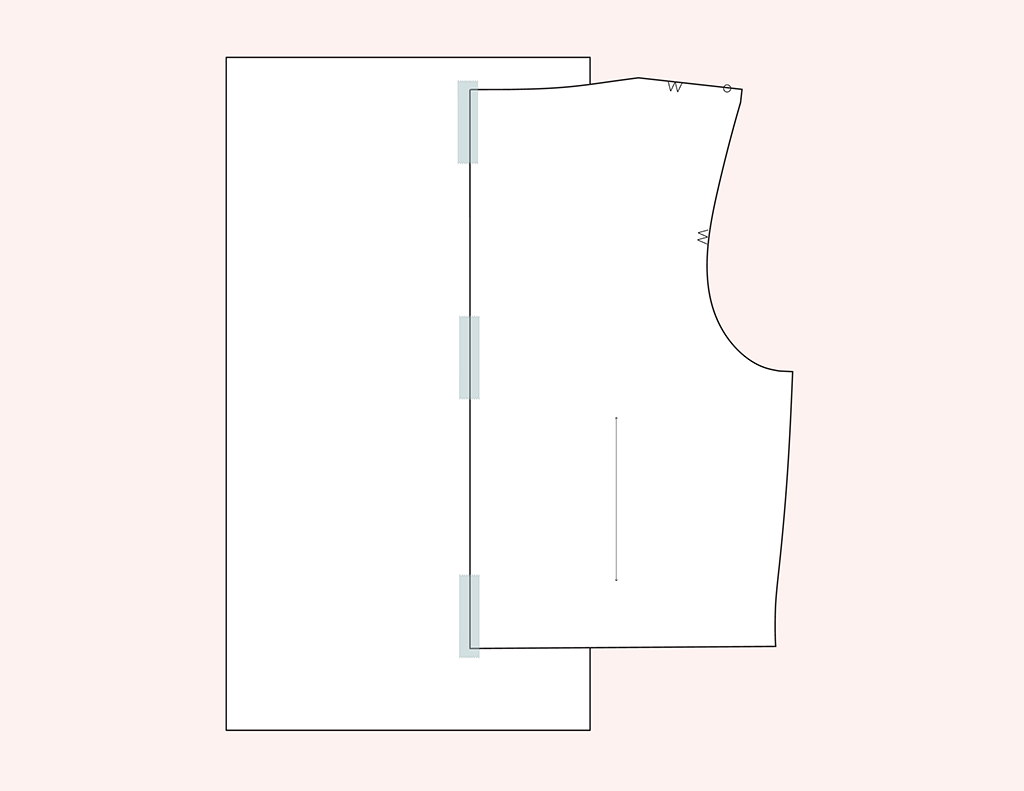
Tape pattern paper to the center back of the top back piece.
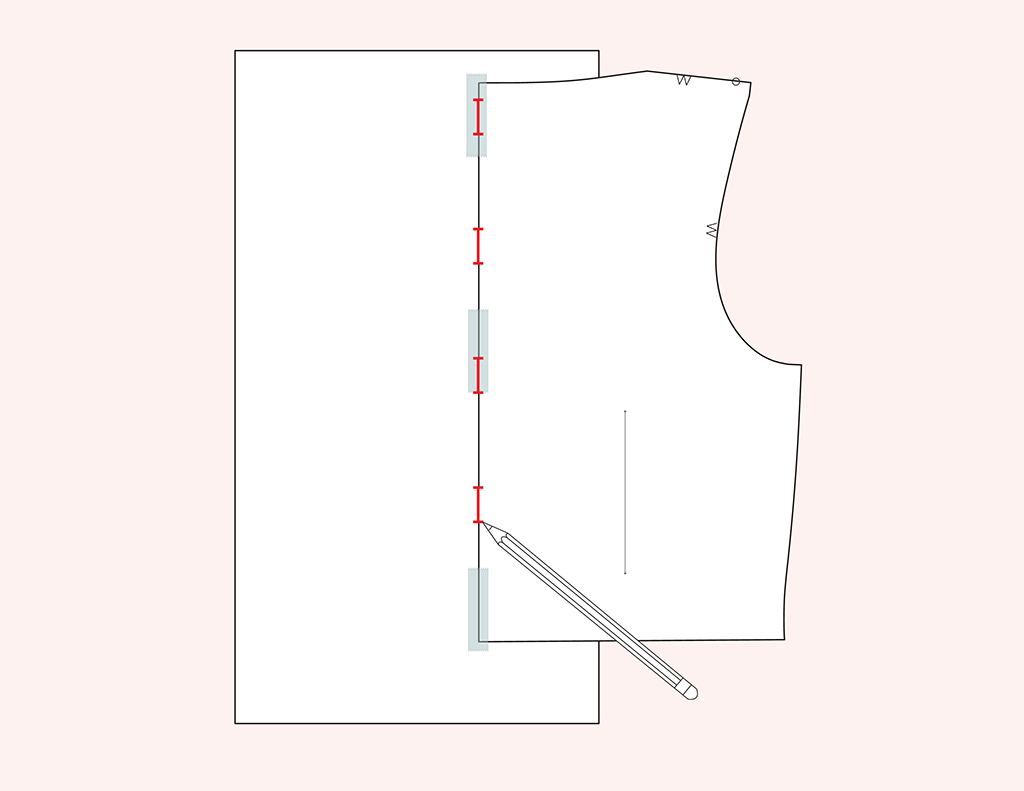
Draw evenly spaced buttonholes centered along the center back line starting 1/4 inch down from the neckline.
Draw a line parallel to the center back and 3/4 inch away from the buttonhole markings.
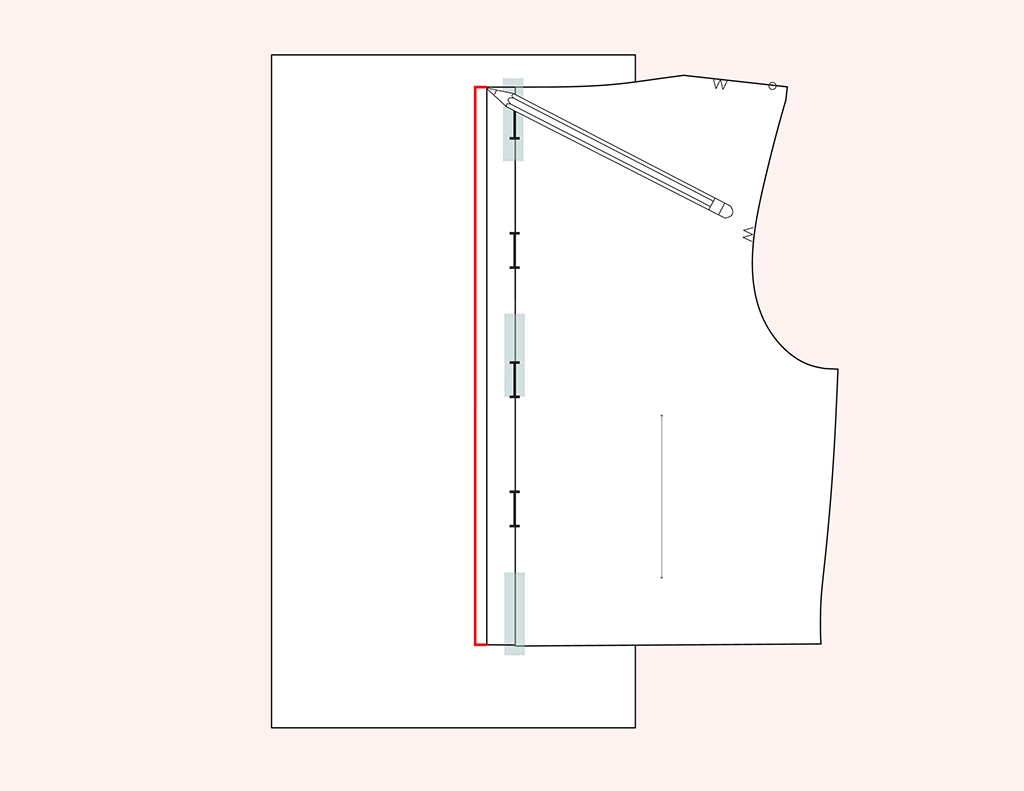
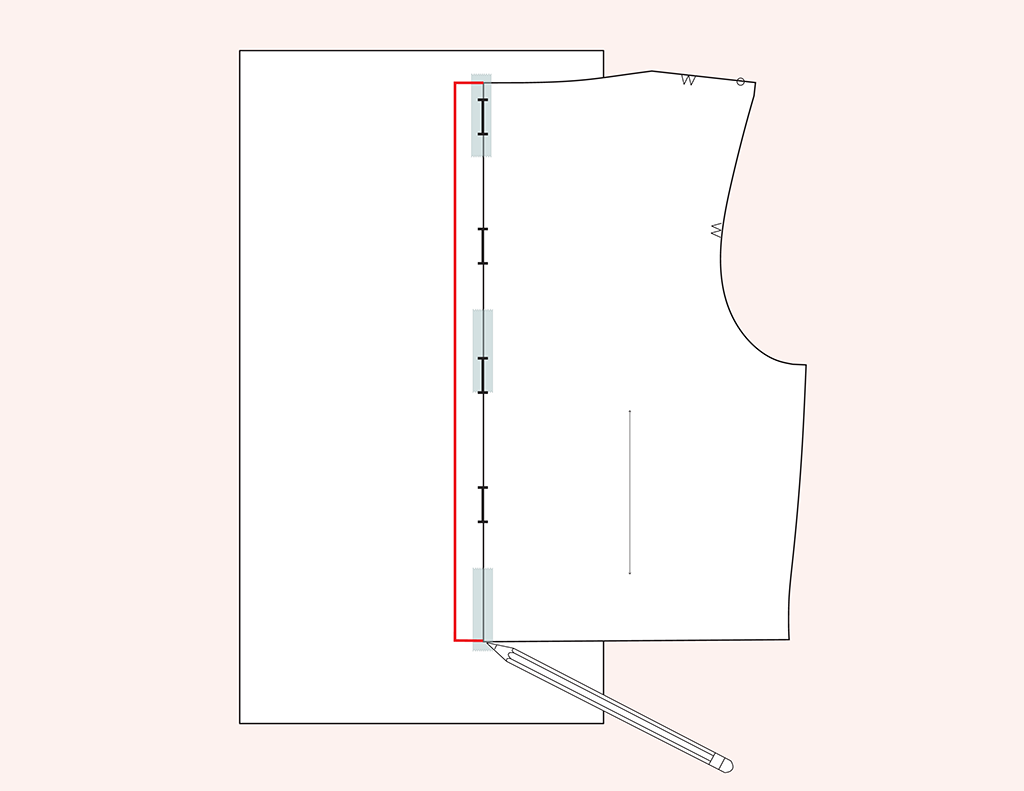
Add 3/8 inch seam allowance.
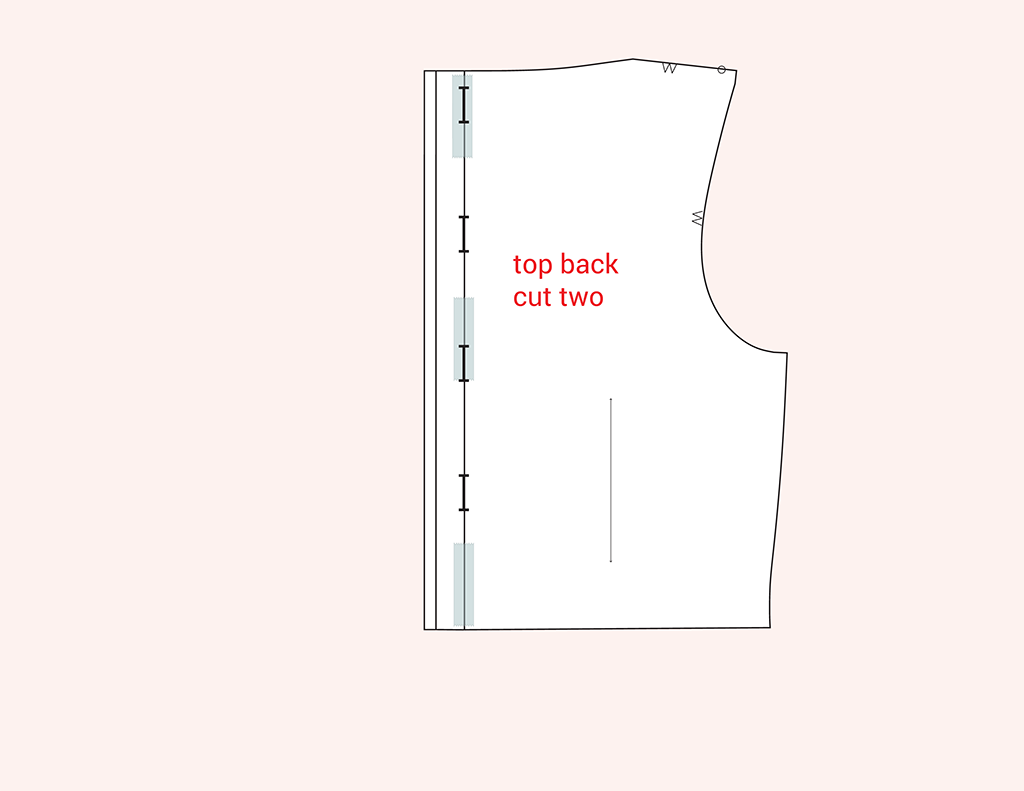
Label this piece "top back, cut two” and trim away excess paper.
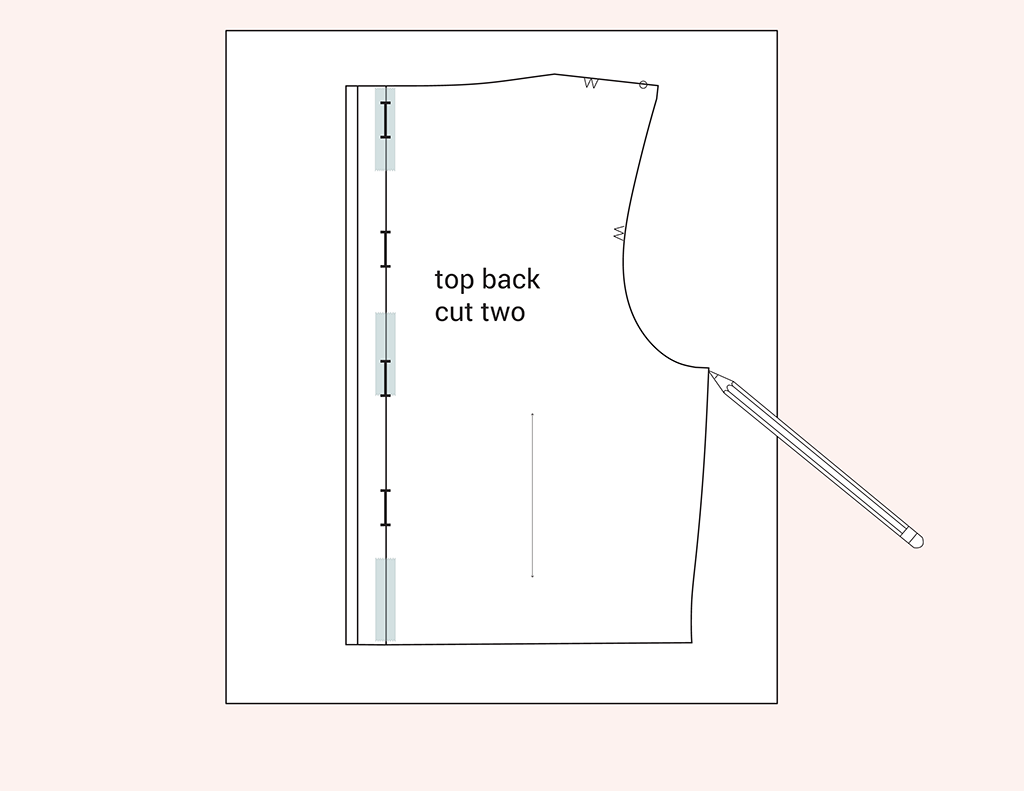
Trace the top back pattern piece.
Draw a line 5/8 inch outside of the button placement.
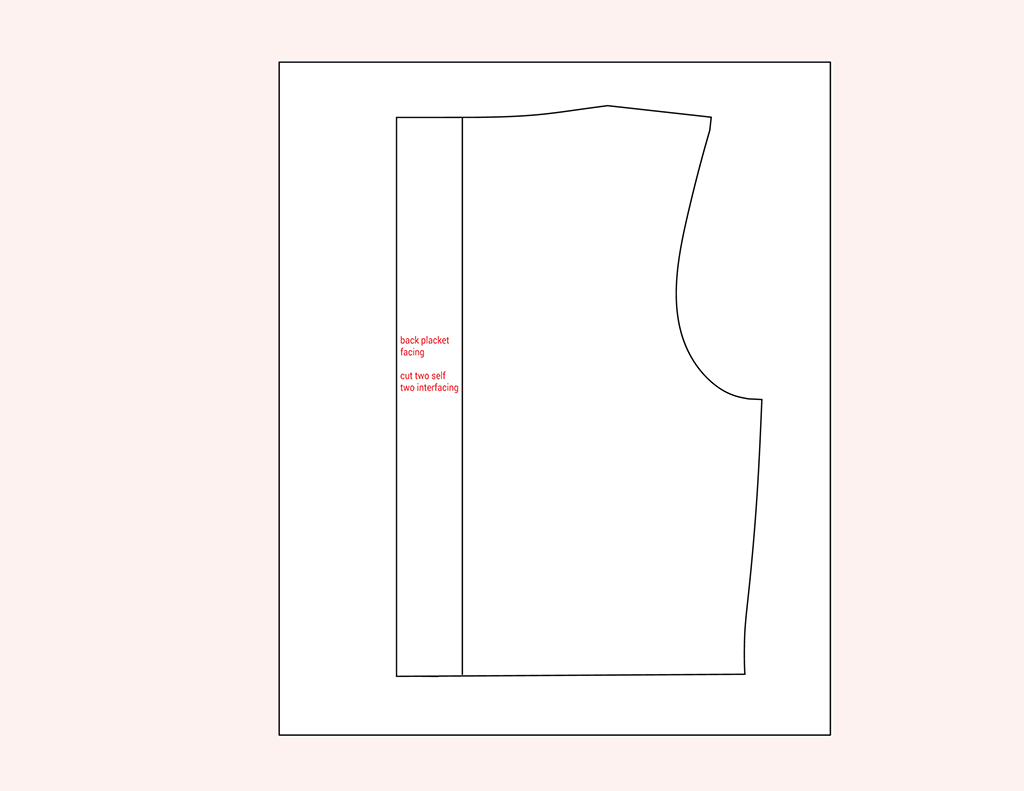
Label the piece "back placket facing, cut two self, two interfacing."

Cut out the pattern piece.
Want more inspiration?

Haley Glenn
Designer
Haley doesn’t just want to design clothing you’ll love to wear, but clothing you’ll love to sew. With a background in both design and teaching, she combines her talents to imagine patterns with thoughtful details that build your skills as you sew.
Related Articles
Sew the Tai Tunic and Dress
Fabric ideas and fitting details for this knit tunic (or dress).
Pattern Hackers: Draft a Shoulder Button Placket
Break the rules with three pattern hacks for the Bo top.