Sign In
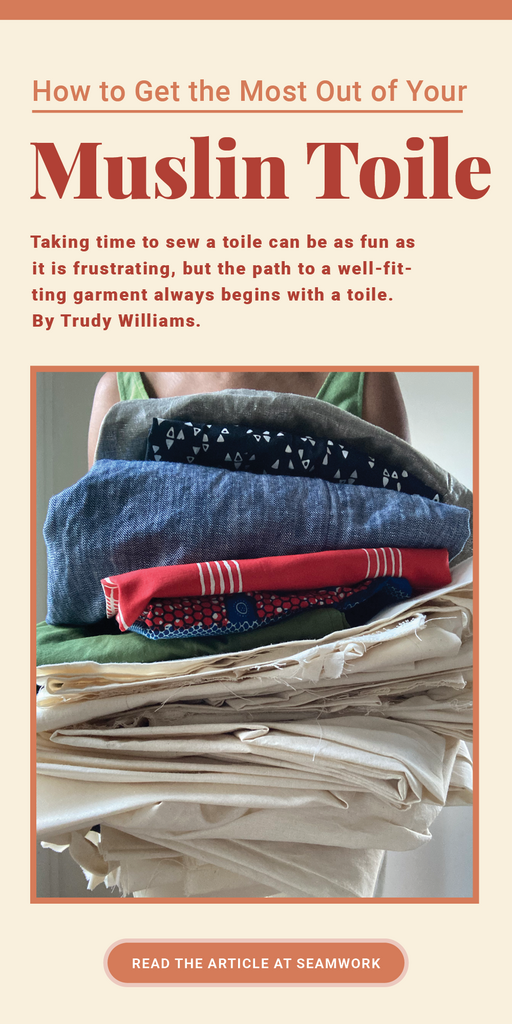
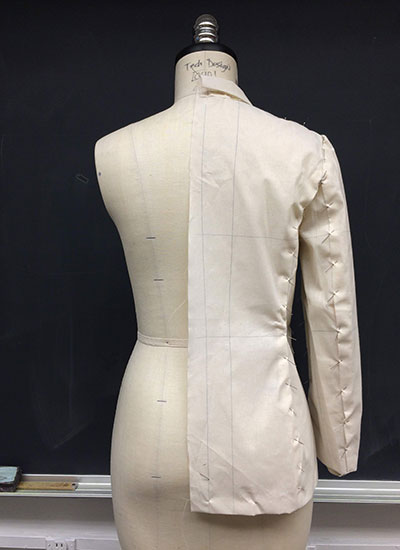
Whenever I sew, I always cut a muslin toile first. I love sewing toiles—no zippers, no fusible, no waistbands, no buttons! I can sew a style quickly, slip it on, and decide if I like it or not with very little commitment. Within the sewing community, sewing a toile is apt to conjure up fear or dread or both. Taking time to sew a toile can be as fun as it is frustrating; either way, the path to a well-fitting garment always begins with a toile.
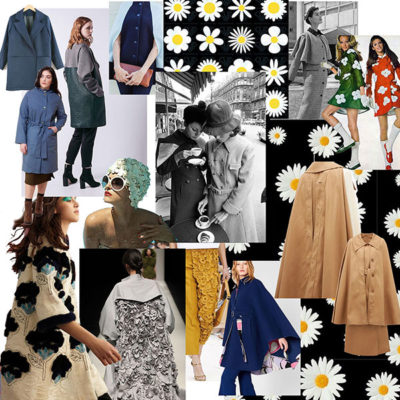
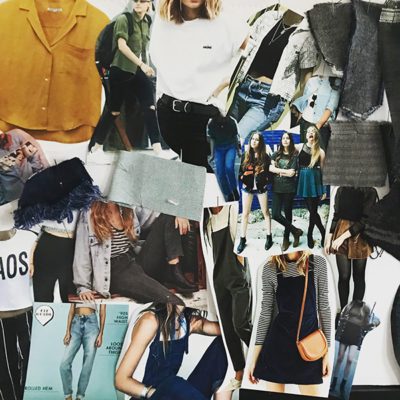
Here are some of my tips for getting the most of your toile. I’ll also share a peek at a mini-collection of toiles that I made when planning a spring-summer wardrobe collection.
First, what is a toile?
A toile—or muslin—is a test garment based on a design idea, sketch, or pattern, and it’s one of the first steps in the creative process of making clothing. It’s essentially a prototype. Toile [said twall] is a French word that means “linen” and “cloth,” but it’s also commonly called a “muslin,” referring to the muslin fabric.


At all levels, from haute couture to fast fashion brands to custom dressmakers, the design is first made as a prototype. Even spacesuits for NASA are made as prototypes to test their design.
What is a Toile Made Of?
Because the toile is a test garment, the fabrics and materials are substitutes. The toile is cut in an inexpensive fabric that closely resembles the hand and drape of the final fashion fabric. Cotton muslin is the standard for the fashion industry because it’s lightweight and easy to sew but is stiff and unforgiving.
Use other fabrics when cotton muslin is unsuitable—cut toiles for knit garments in an inexpensive knit fabric. Garments with a lot of drape, for example, need a toile made with a drapey fabric.
Why Make a Toile?
When you try on a toile, it’s the first time that you get to see the concept and design. This is an exciting moment! The toile answers the question, “Is this style working?” and you can make important decisions about the fabrics, trims, and fit.
I always cut a toile to test the fit. On any given size chart, my size spans a range of at least six sizes. While I would love to jump right into cutting my fabric, I cannot. Testing a pattern for fit is an absolute must so that I do not waste my fashion fabric or my time!
Making a toile is also great for trying patterns from a new pattern brand or practicing tricky construction.
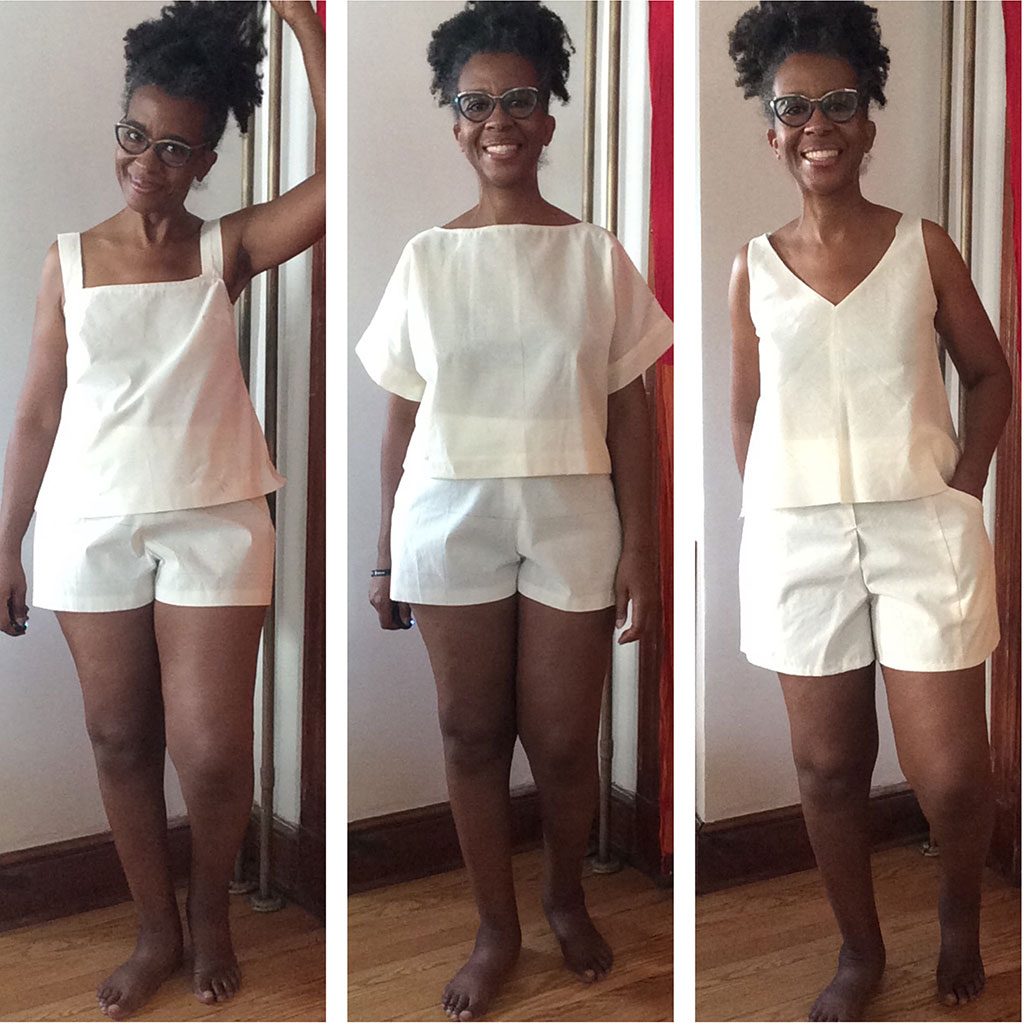
A Mini-Toile Collection
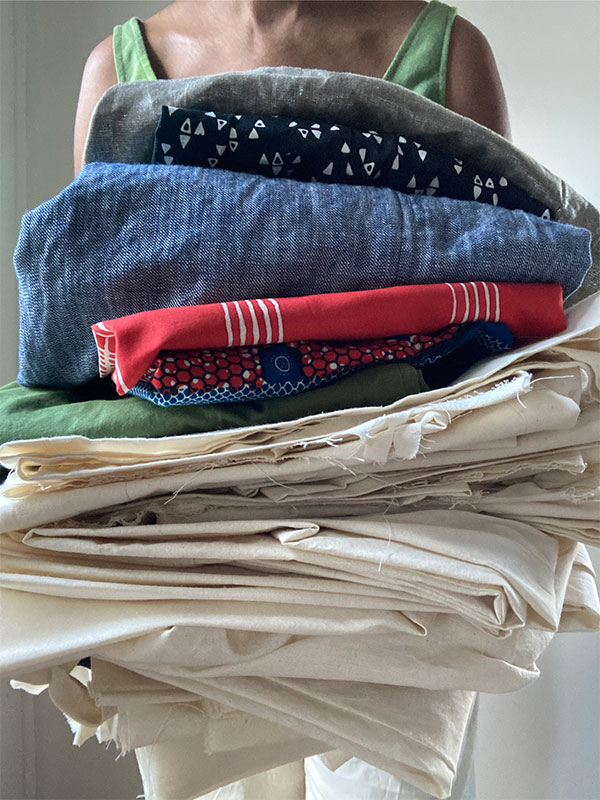
Recently, I sewed a mini-collection of toiles for planning my spring-summer wardrobe. Each toile needed anything from a minor tweak to a major overhaul. On the upside, I could look at my entire collection at once—to see how the pieces worked together.
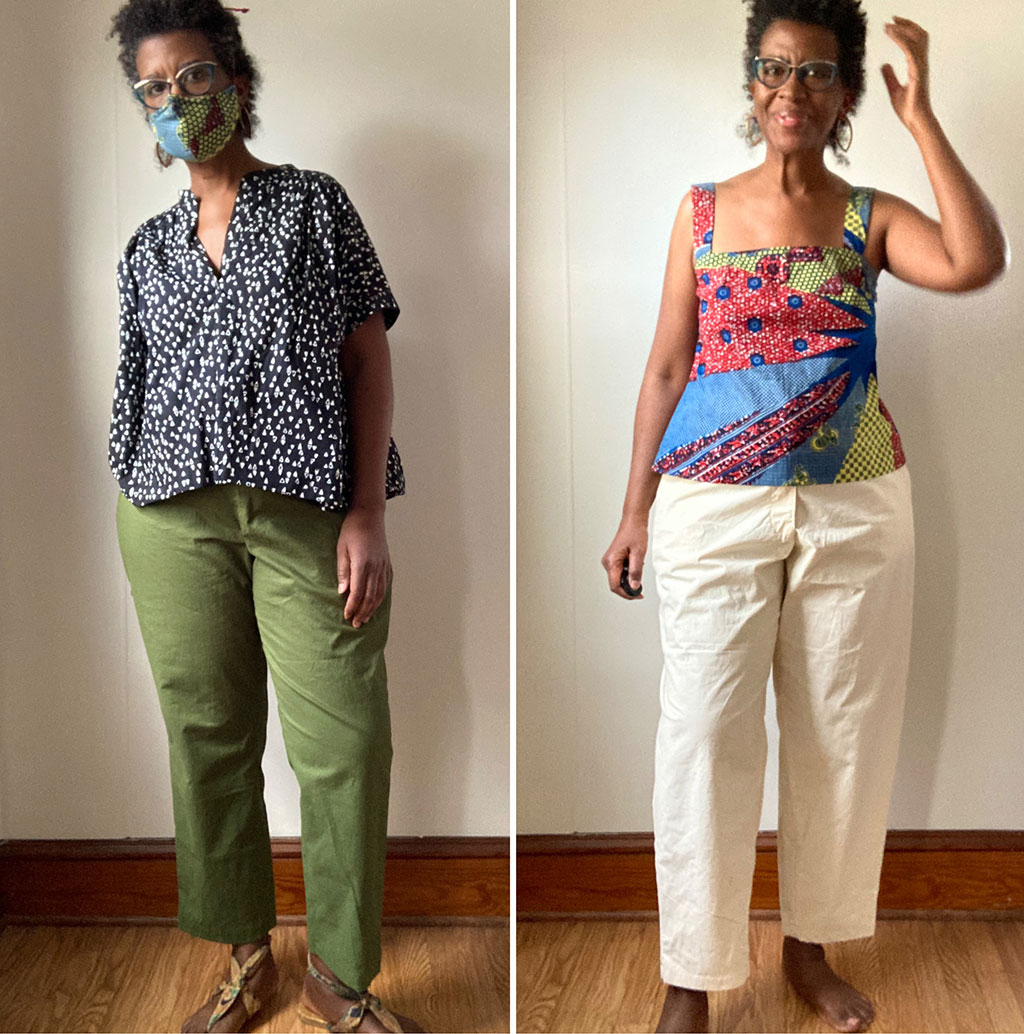
Sewing this collection of toiles was tedious and time-consuming, but I produced some of the best-fitting pieces I have ever worn. Each piece feels very special to me, and my sewing skills got stronger as I sewed one garment to the next. I don’t know if the opportunity will come again for me to have such focused attention on sewing my wardrobe, but I plan to keep up the momentum.

Sewing this collection of toiles was tedious and time-consuming, but I produced some of the best-fitting pieces I have ever worn. Each piece feels very special to me, and my sewing skills got stronger as I sewed one garment to the next.
Here is some advice I can share for getting the most out of sewing a toile.
Tips for Cutting a Toile
Start simply. Newcomers to toile-making can start with one or two pieces, say, a top and a bottom. If wardrobe planning, pick one of your looks. Doing an entire toile collection as I did can be easily overwhelming—give yourself time and ease into the process.
Set yourself up for success in advance. Assemble useful sewing books, tutorials, and blog posts to help when you get stuck during sewing and fitting. Have someone you can call—a friend or family member who sews or a fellow Seamworker on the Community.
Measure twice, cut once. Know what the pattern measures compared to your body measurements. When a toile is too big or is too tight, this step is often overlooked. Check the measurements that come with your pattern or measure the pattern yourself. I keep these general guidelines in mind: for a non-stretch woven garment, the hip needs a minimum of 2 inches of ease (Watch this video to learn all about ease). So, the pattern hip should measure at least 2 inches more than my body’s hip measurement. Bust needs 2 to 3 inches, and waist needs 1/2–3/4 inches of ease.
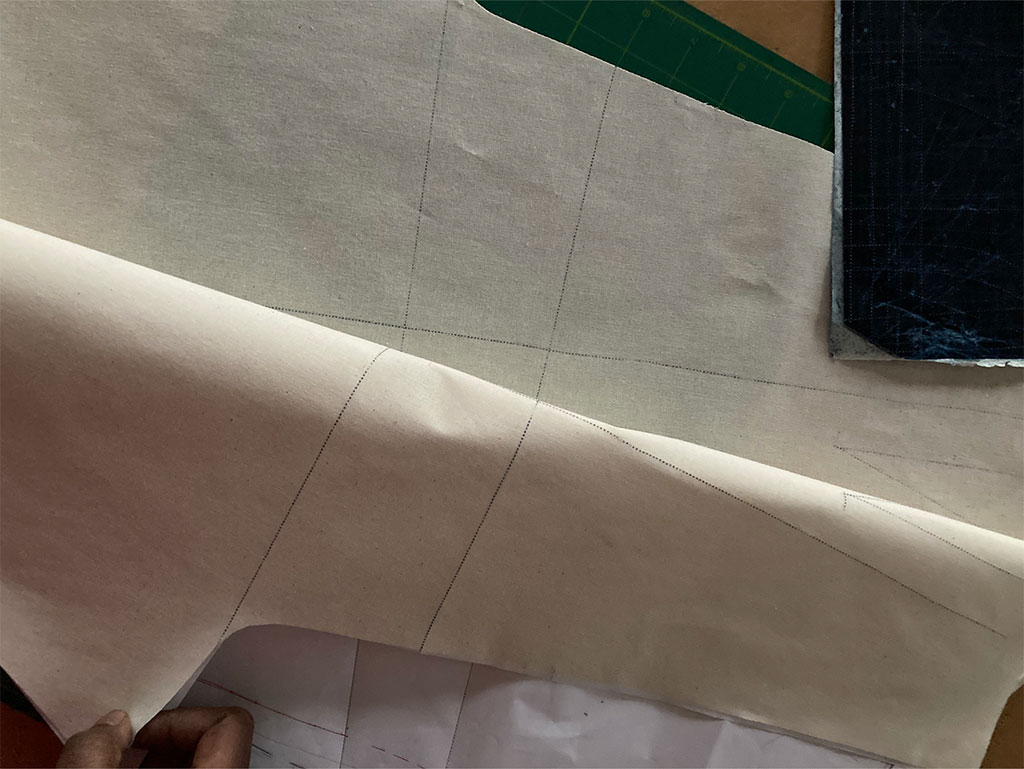
Skip the Details. The toile can be as simple or as detailed as need be. I cut only the front and back pieces for my pants, leaving out the pockets and pocket bags. At this stage, you may also eliminate zippers, buttons, and facings. Pin pockets in place for easy adjustment during fitting.
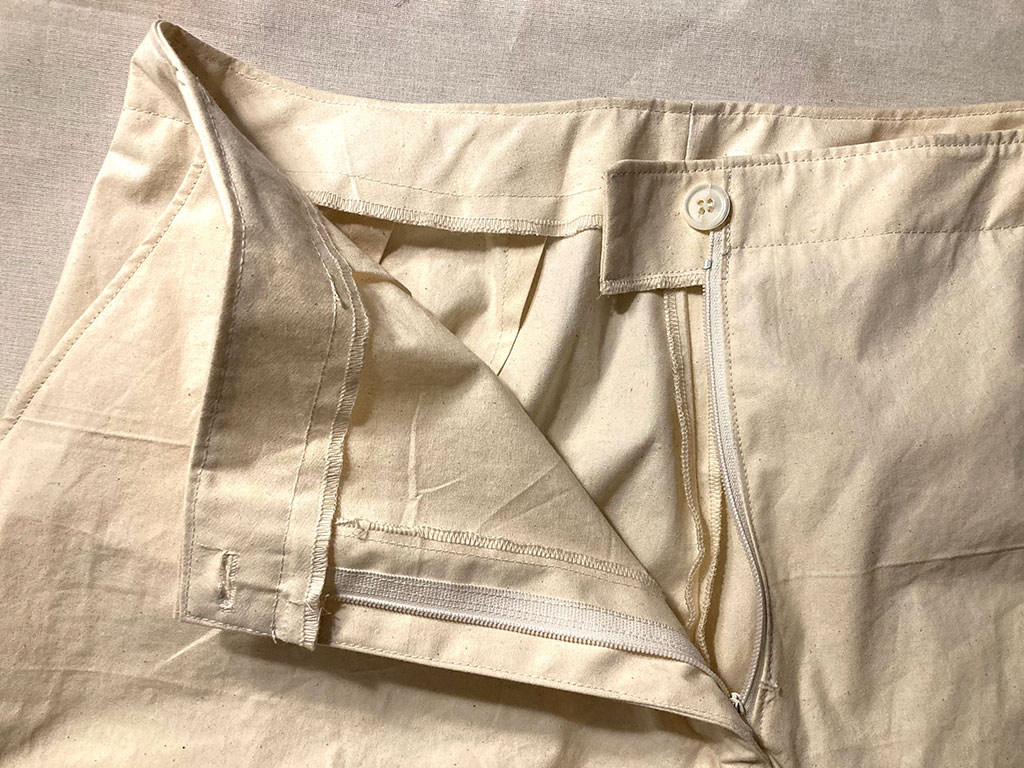
Include the Details. If you don’t skip the details, toiles are ideal for practicing skill-building construction details—the front zipper fly, the single welt pocket, or setting a sleeve. Use the toile to decide if the dimensions of these details and their placement are right for you.
How to Fit a Toile
Sew the toile. Mark darts, pleats, and other details for sewing as usual, but leave seam edges unfinished. You can use basting stitches for quick stitch removal.
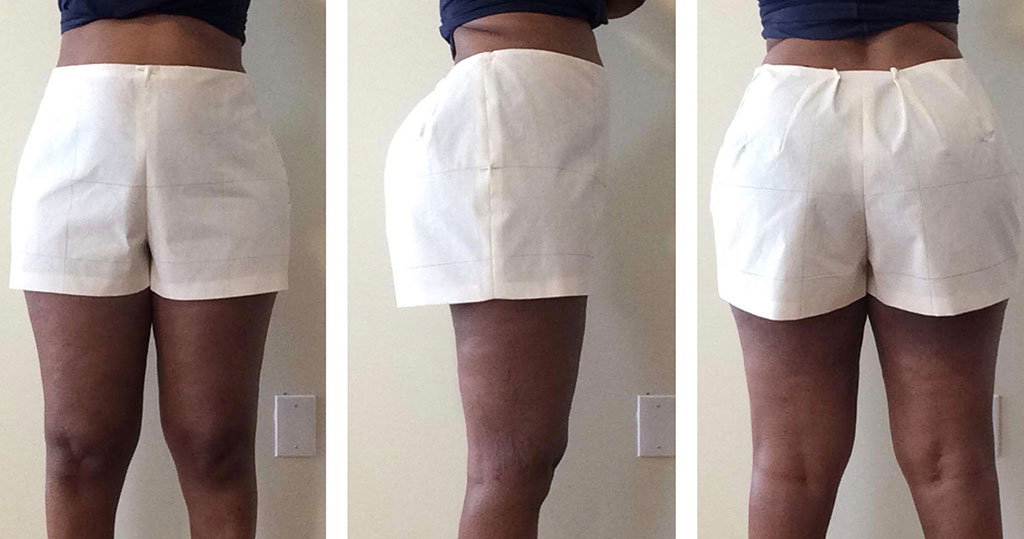
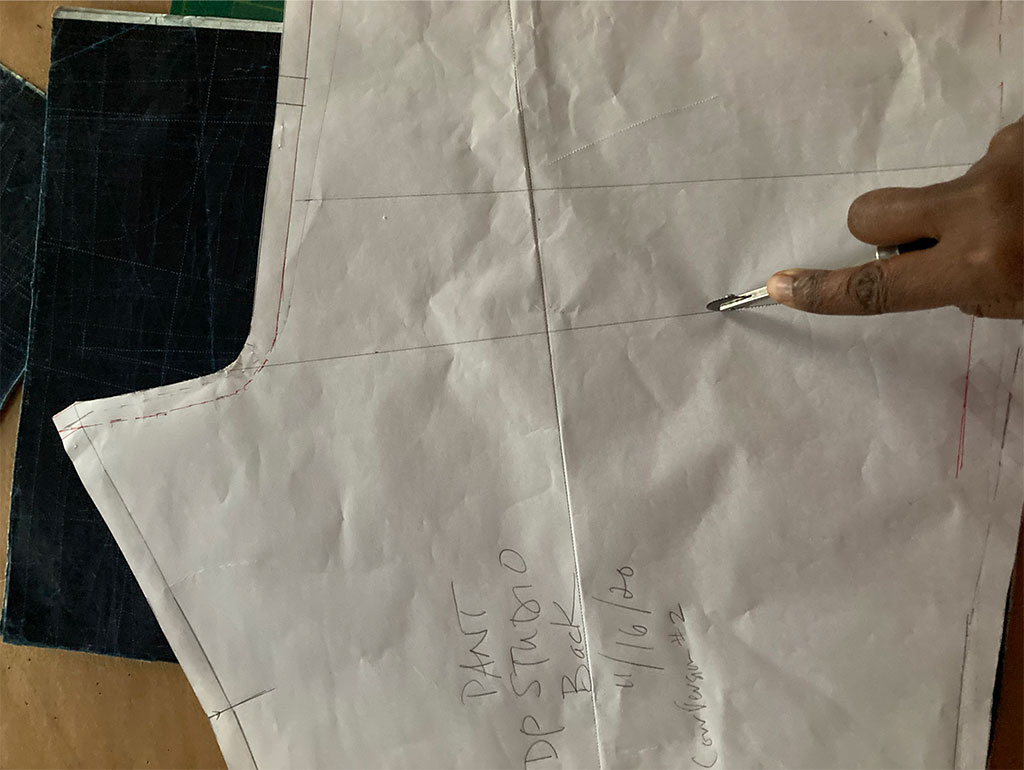
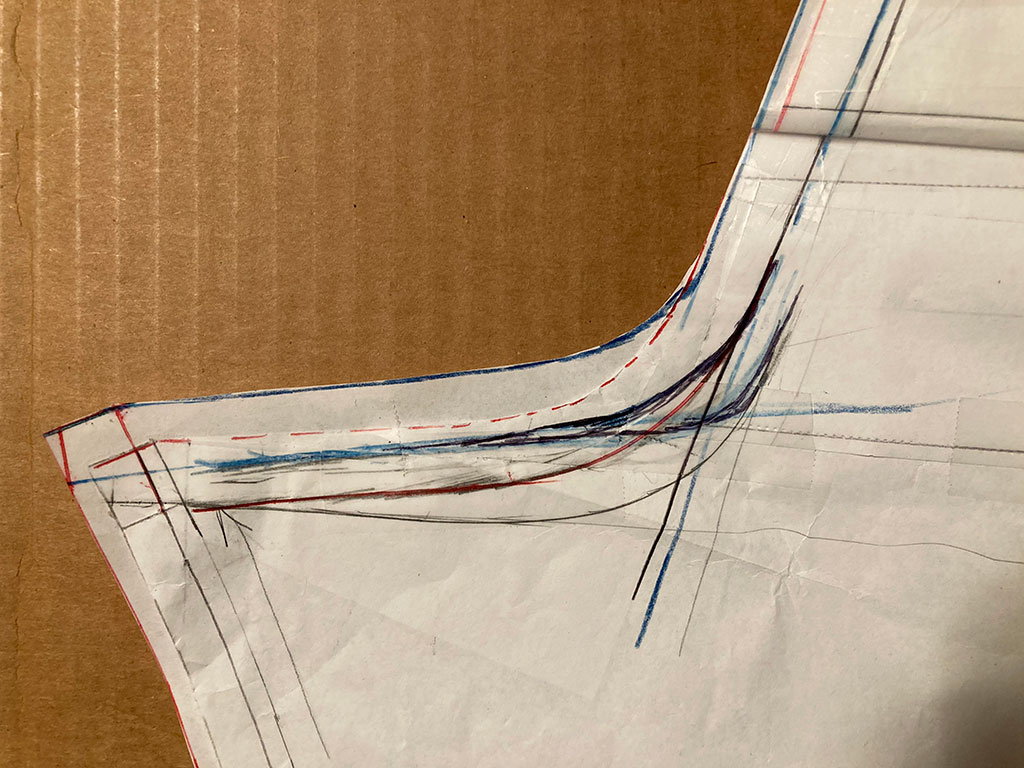
Add helpful markings. On my pants, I mark the lengthwise grain (the crease line) and the hip, thigh, and knee placements. I find these very helpful reference points when I’m fitting. Bust and waist placements are other useful points.
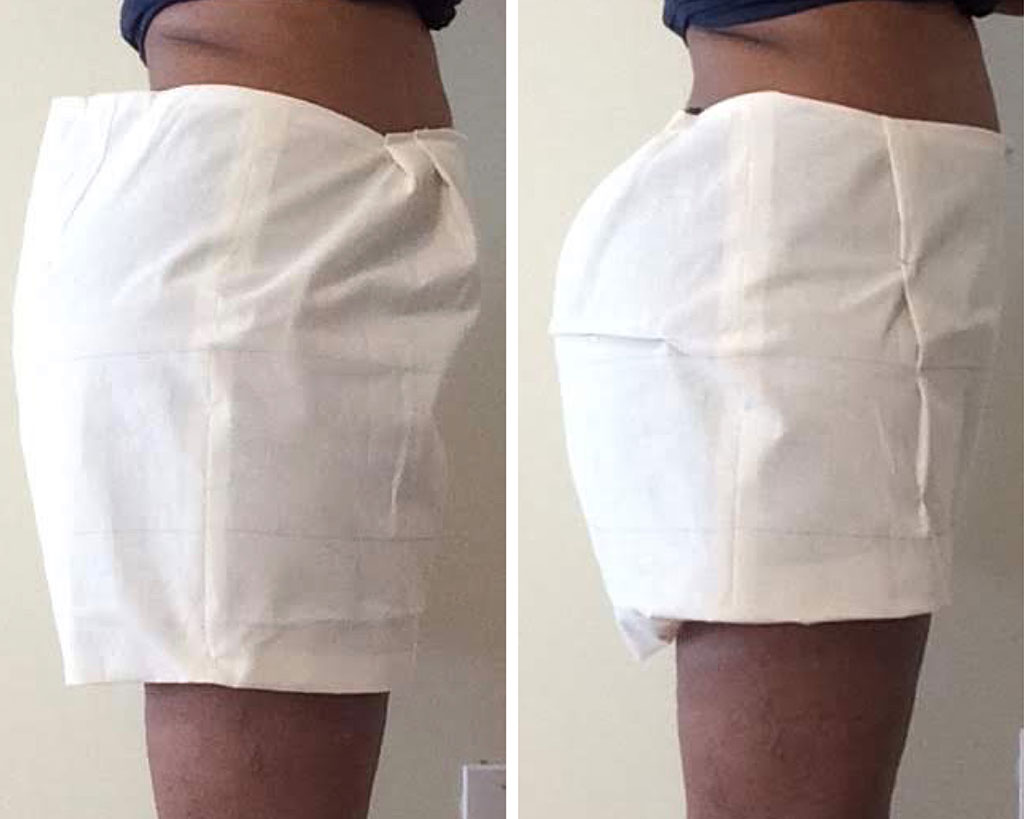
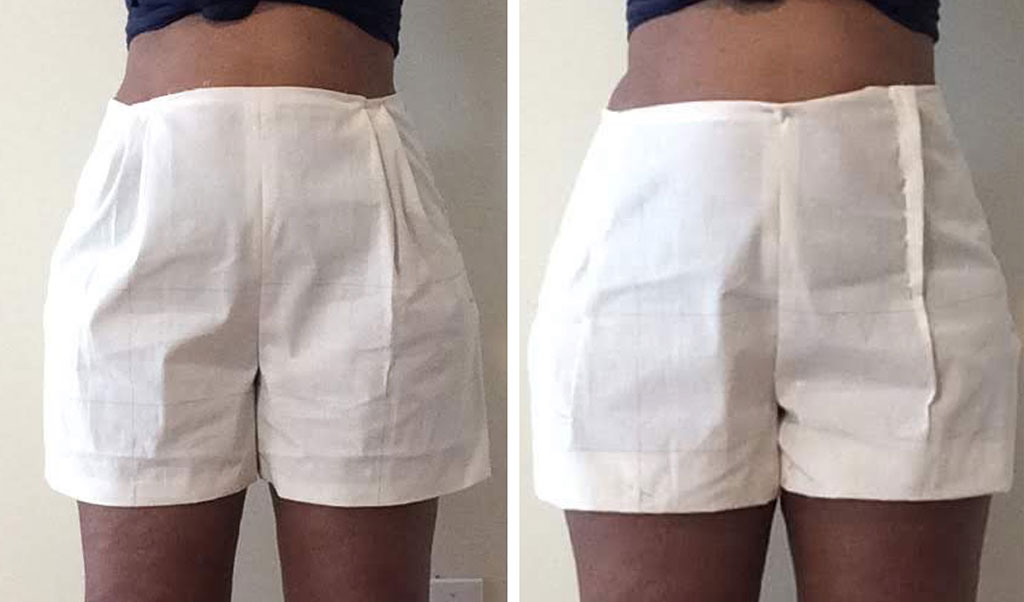
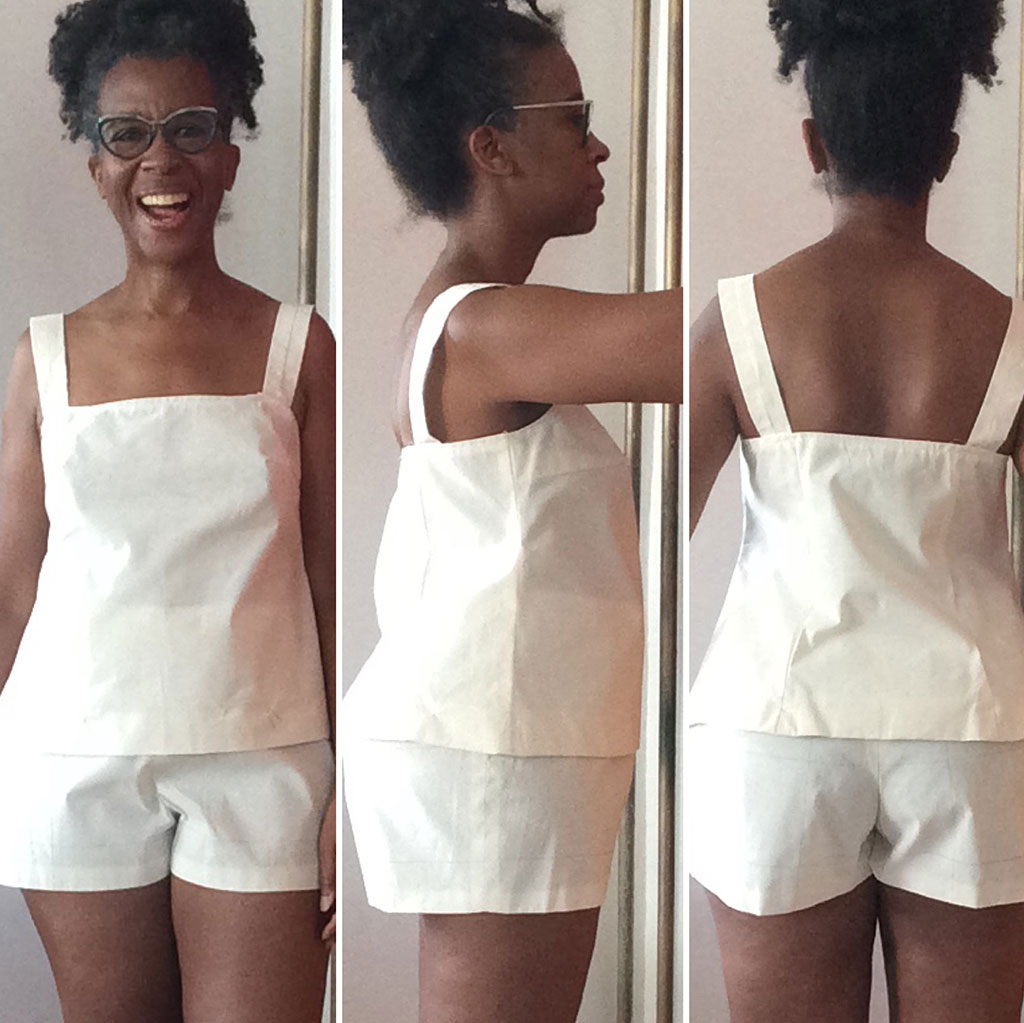
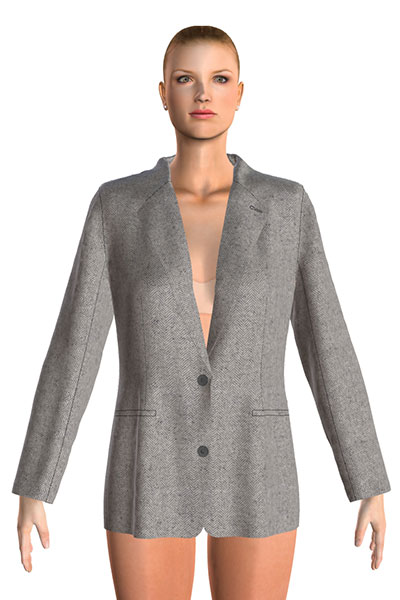
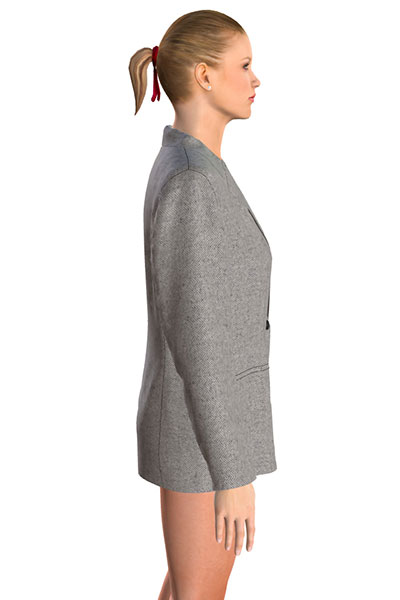
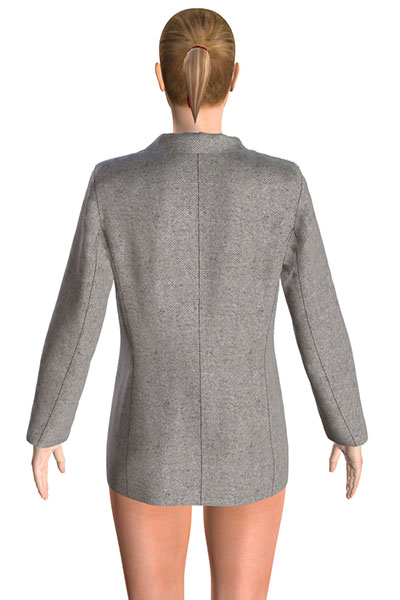
Take fitting selfies. I don’t have a three-way mirror, so I set up my tripod and take photos at different angles. I take a full-length front, side, and back view, then line up the photos side by side. I have an app on my phone—PicFrame—that allows me to do this quickly.
Use your fitting resources. Fitting can be very frustrating when you don’t know how to correct a toile that does not fit. Gather the resources you’ve assembled to help with fitting. Use the fit photos to help analyze the toile. Create a routine each time you fit, because it’s easy to get distracted, noticing every detail at once.
First, pin the toile closed and arrange it where you want it to sit on your body. Safety pins, unlike straight pins, won’t fall out and will not prick your skin. Open up the seams if the toile is too tight. Pin the seams where too loose. Use a scrap piece of muslin to fill in openings. Sit, bend, and wave to test the toile for movement. Side seams and pant length grain markings (crease line) should be perpendicular to the floor. Check that shoulder and waistlines are in the right place. The armhole should be comfortable and positioned correctly. Now look closely at the garment from top to bottom in the front and then in the back. Adjust pocket placement if necessary, and lengthen or shorten the sleeves and side seams. Mark the toile clearly with a dark pencil, pen, or marker.
Correct and Cut. Refer to the fitted toile to correct the pattern. Recut another muslin if the corrections are major and fit again. If the corrections are minor, then cut into the fashion fabric! Remember that cotton muslin by nature is stiff and shows every imperfection. If the corrections are fairly minor, they may not be as noticeable in the actual fabric.
Tips for Making the Most out of Your Toile
Create sustainable toiles. I keep all of my muslin toiles and use them for reference, but I completely understand the concern when this is not possible nor desirable. Committing to sewing only wearable muslins that are acceptable despite their imperfections is one way. Custom-tailored clothing often has extra-wide—one inch, for example—side seams and shoulder seams. That way, you can let out the garment after fitting without cutting a new garment. Look for an industry-standard dress form that has measurements close to your own. Then sew only half the muslin to test the pattern. Also worth mentioning is that technology is rapidly changing how garments are developed. Patternmaking software exists to create 2D patterns as well as a 3D avatar to test the fit. Using technology to work through all the iterations greatly reduces the use of fabric and physical materials.
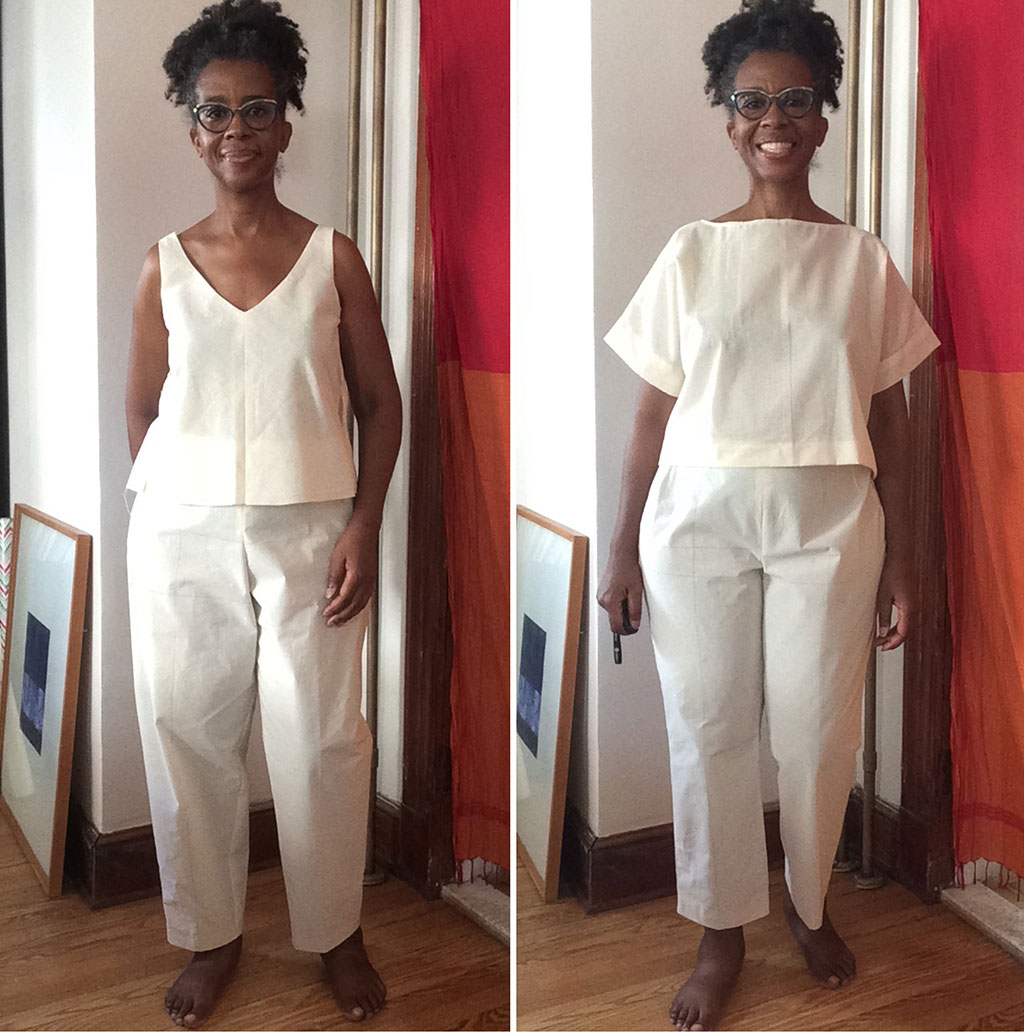
Choose 2-For-1 patterns. When planning my summer wardrobe looks, I chose what I call “2-for-1” patterns, a top that can become a dress or shorts that can become pants. When I nail the fit of one version, cutting and sewing the other version is super easy. I can also save fabric by cutting and fitting the shorter version—the top or shorts—first.
Work in Batches. When sewing my toile collection, I worked in batches of three. I prepped three styles—tracing the sizes I needed, making design changes or initial corrections to the patterns—then cut out three styles at the same time, then sat to sew three muslin toiles at the same time. The process felt so slow in the beginning—I just wanted to get to the sewing! But having three pieces finished felt so satisfying.
Take Notes. I keep a notebook, nothing fancy, where I jot fitting notes, the size I cut, and my first impressions. I also note what I would change the next time. The notebook has been helpful when I had to be away from my sewing—having the notes helped me to pick up right where I had stopped.
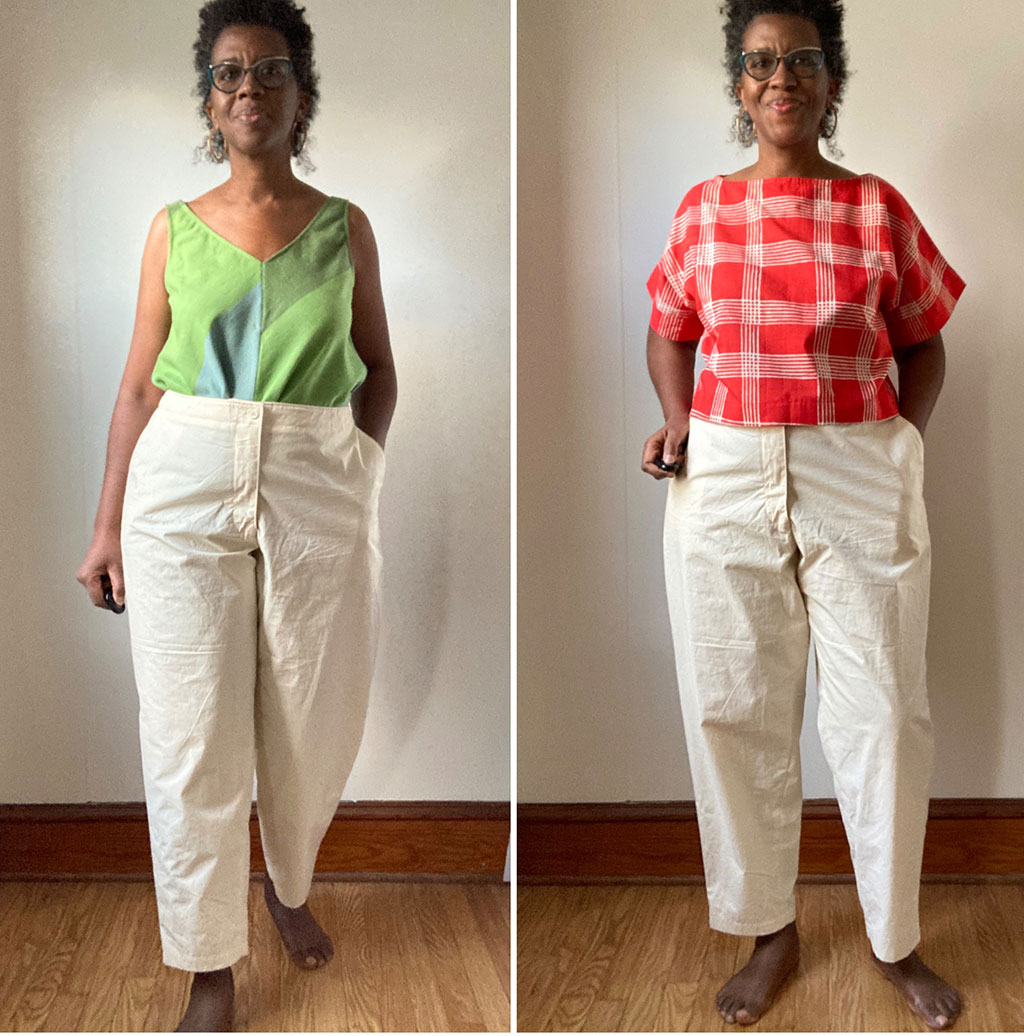
Have a photoshoot. Yes! Do this! If you’ve sewn multiple toiles, you may feel you’ve been in the trenches. I know I did. Seeing all the toiles as a cohesive collection renewed my energy and gave me a visual of how wonderful the final garments would be!

Trudy Williams
Contributing Writer
Trudy Williams has been sewing since age twelve and still uses the Sears Kenmore sewing machine given to her for her sixteenth birthday. She has worked as a technical designer for a number of storied brands on Seventh Avenue in New York City. She studied Fashion Design, Patternmaking, and Technical Design at the Fashion Institute of Technology in New York City. Follow Trudy on Instagram @always_car_sounds.
Related Articles
Planning a Wardrobe During Lockdown
How I found inspiration from New York City when the city was closed. By Robin Liu.

A Love Letter to Design Your Wardrobe
Creating a wardrobe as a form of self-care, by Maggie Crisler.
Dr. Sewlove. Or: How I Learned to Stop Worrying and Make the Plan
My experience designing a wardrobe collection, by Dani Dartnell.