
 Sign In
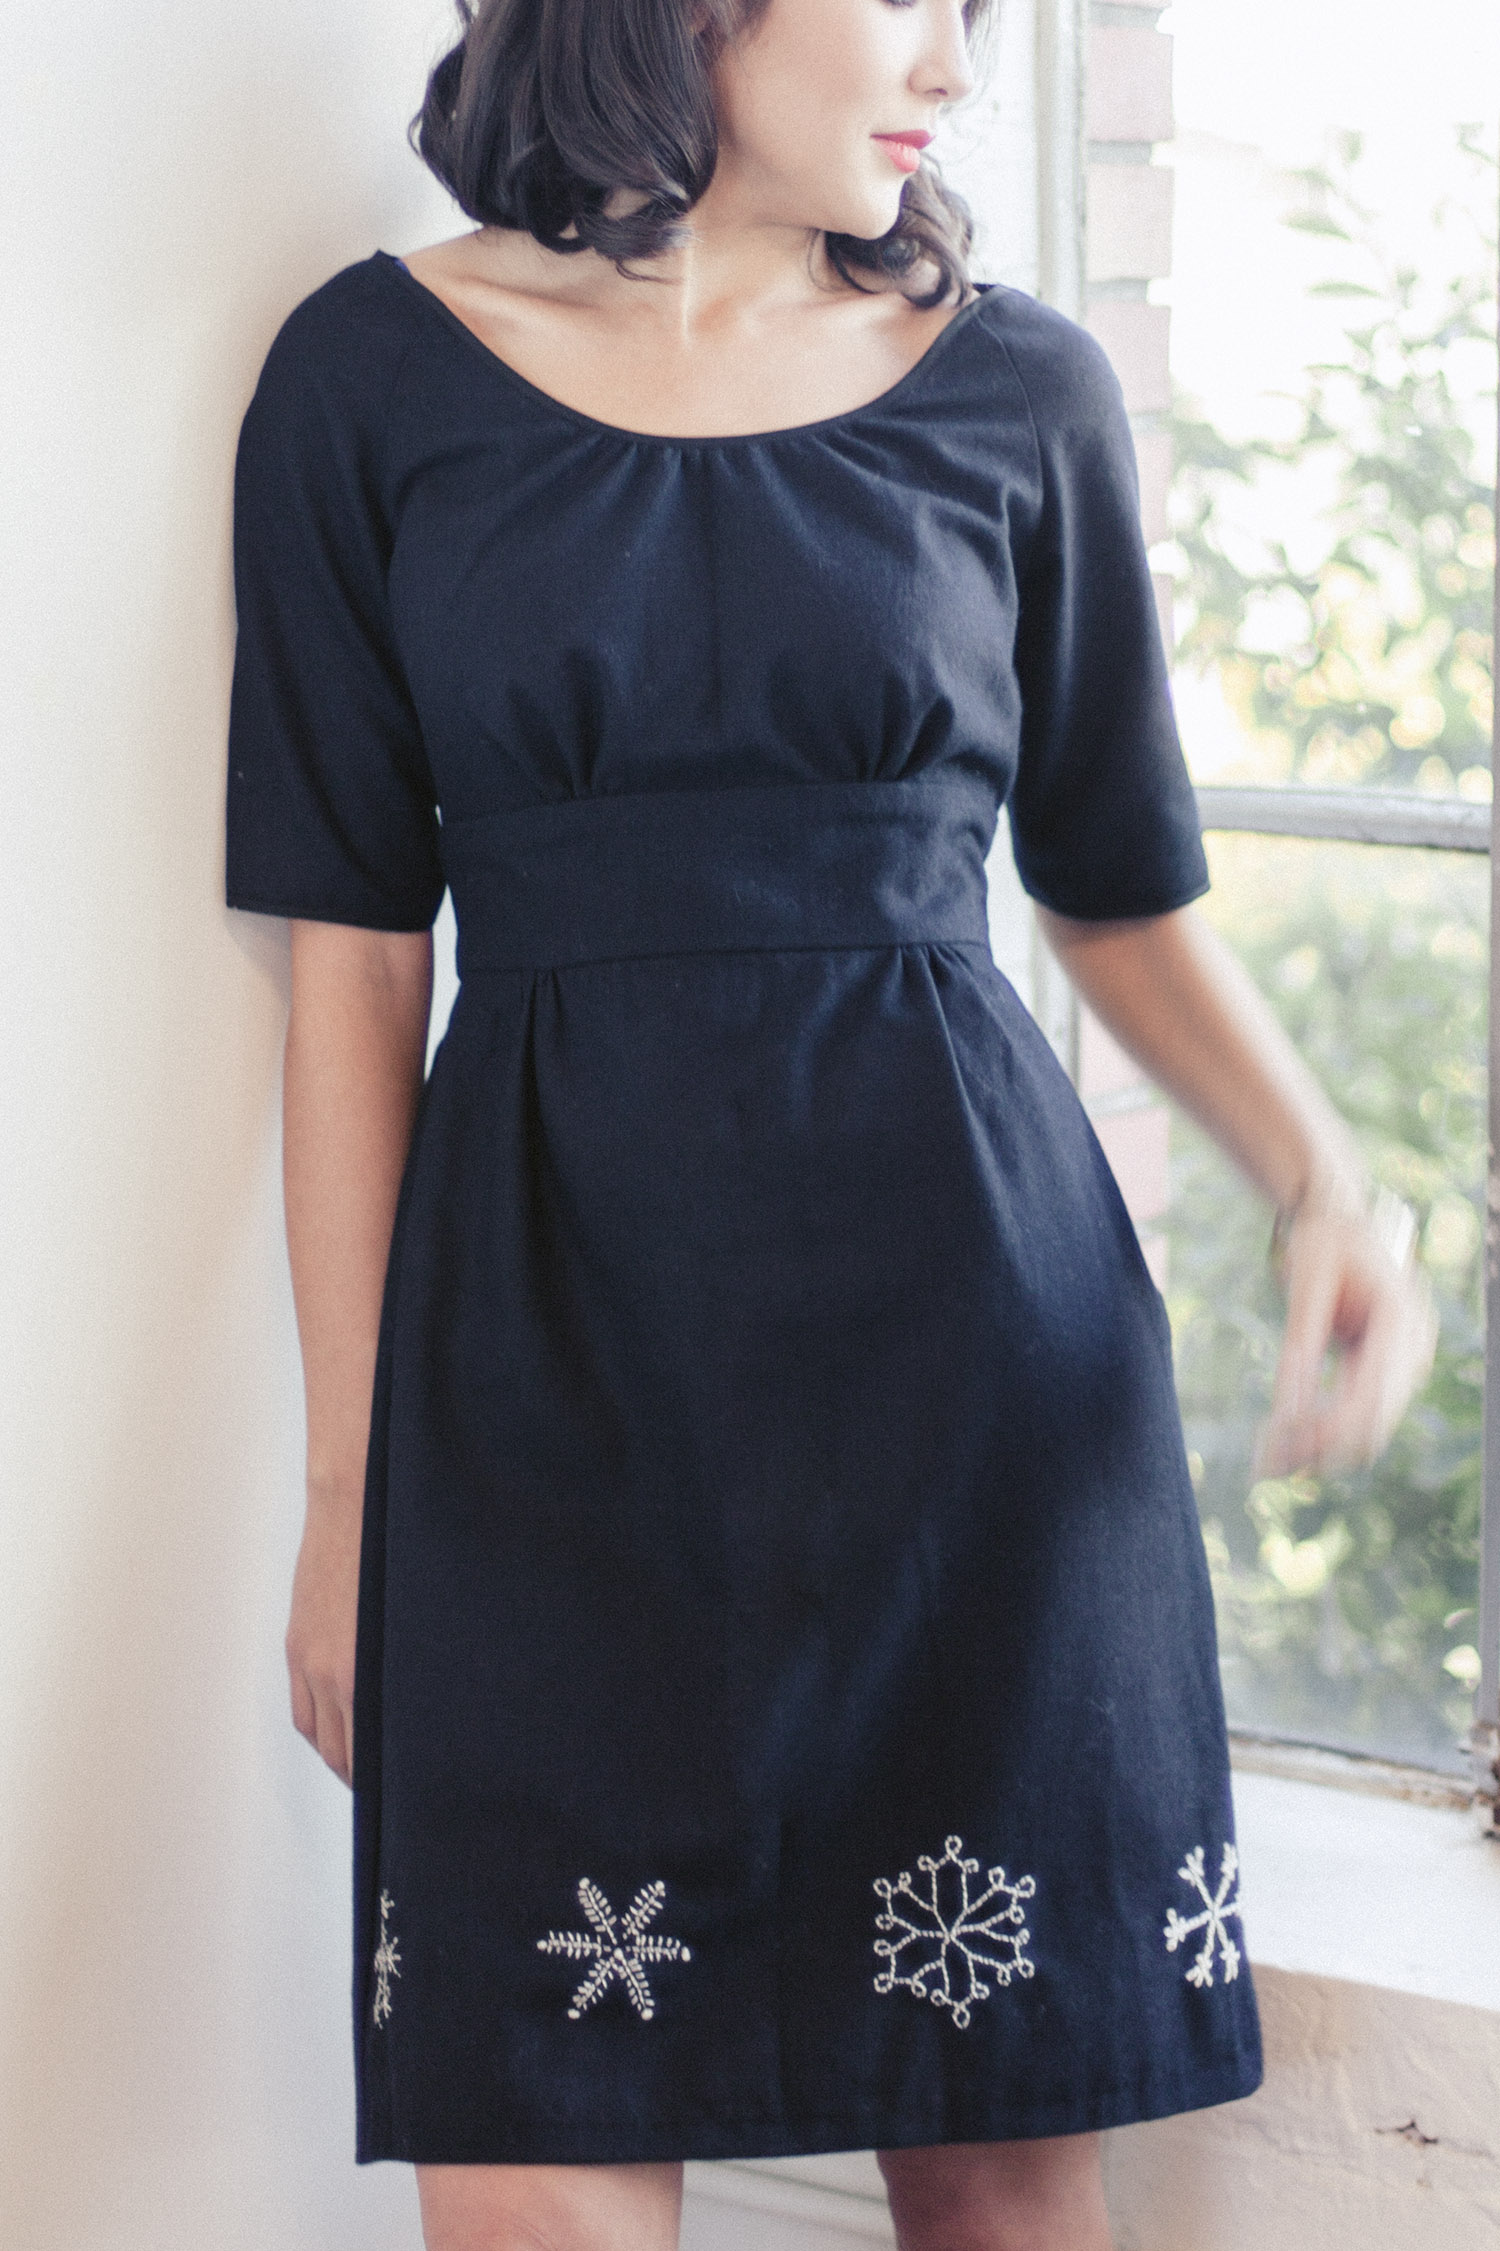
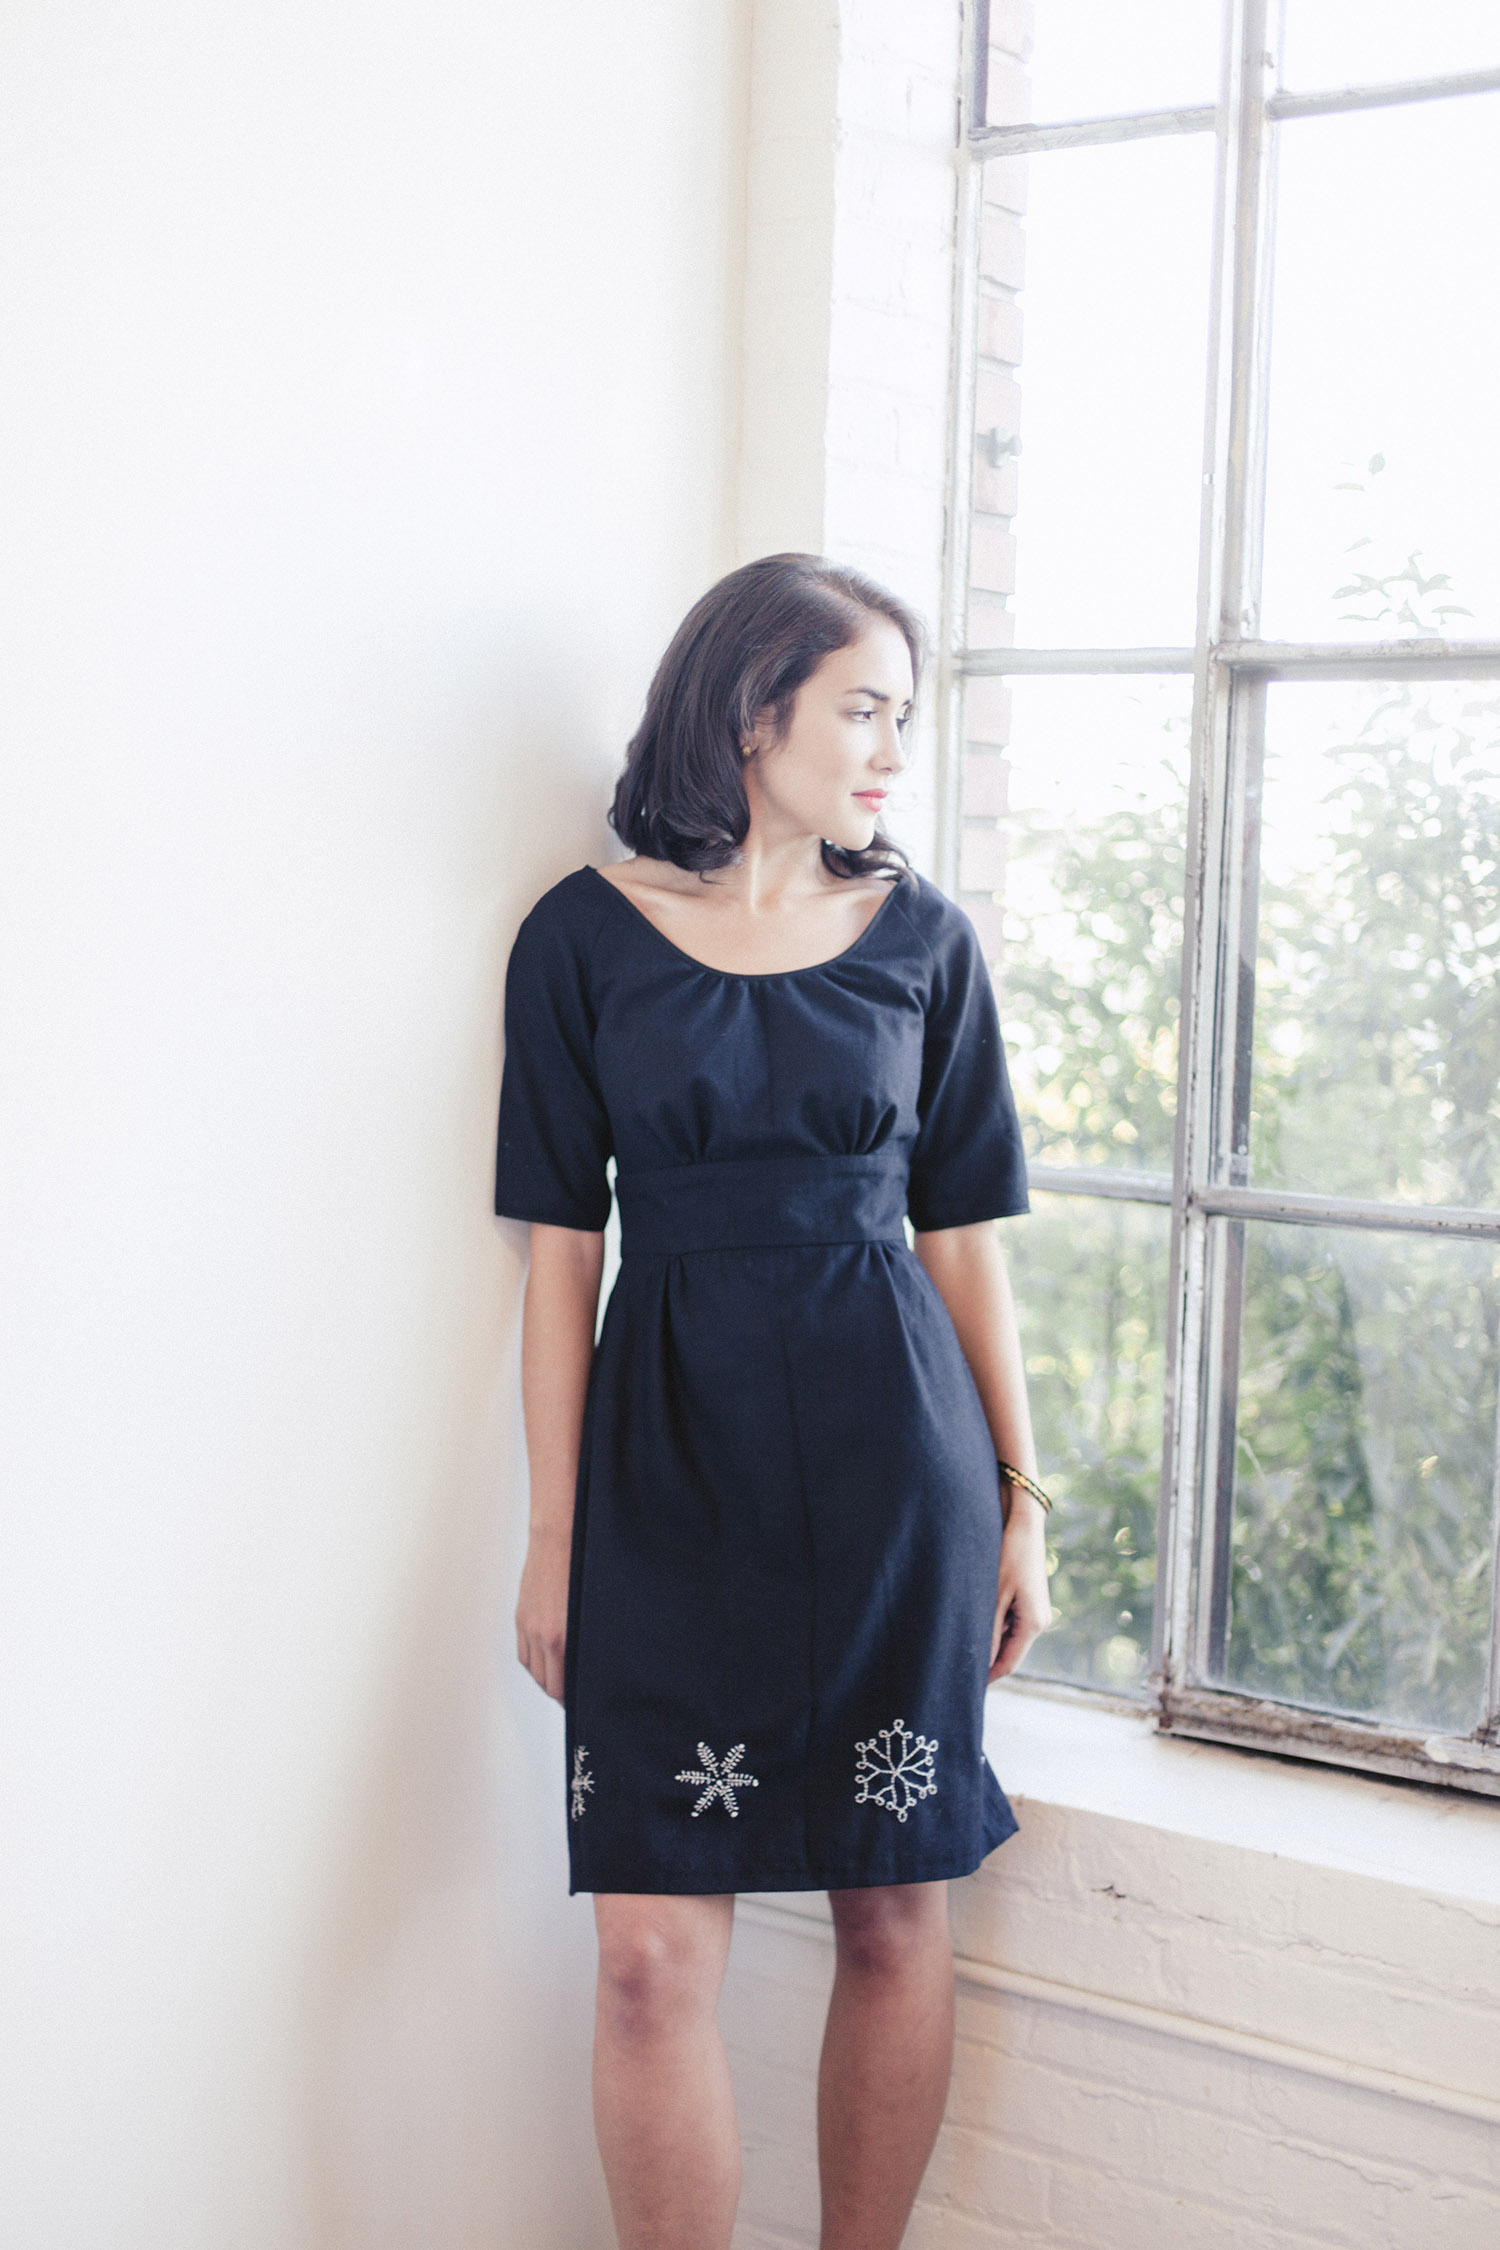
These sweet star-like snowflakes were inspired by scientific illustrations found in an antique book. Rendered simply in white embroidery floss on a deep black or ink blue fabric, they're lovely wrapping around the hem of a skirt or dress. You could also sprinkle them over the entire garment, like a gentle snowfall.
Even if you've never embroidered a thing in your life, you'll find these snowflakes simple to complete. All you need are four basic stitches - a running stitch, back stitch, chain stitch, and French knot. These designs are so simple, you can use any of these stitches with our free embroidery pattern to create a wide variety of snowflakes.
01 Section
The basics of embroidery
To add these snowflakes to any garment, you only need to know a few simple stitches. Mix and match any stitch with any design to get different looks.
You'll need:
- Free snowflake embroidery pattern
- Dressmaker's tracing paper
- Water soluble marking pencil
- Embroidery hoop
- Embroidery needle
- Embroidery floss, such as size 5 perle cotton
Download the free pattern with issue 01 and use dressmaker's tracing paper to transfer the designs to your fabric. Once the design is transferred, use a water-soluble pencil to go over any portions of the design that are difficult to see. You can also draw additional design elements freehand at this point.
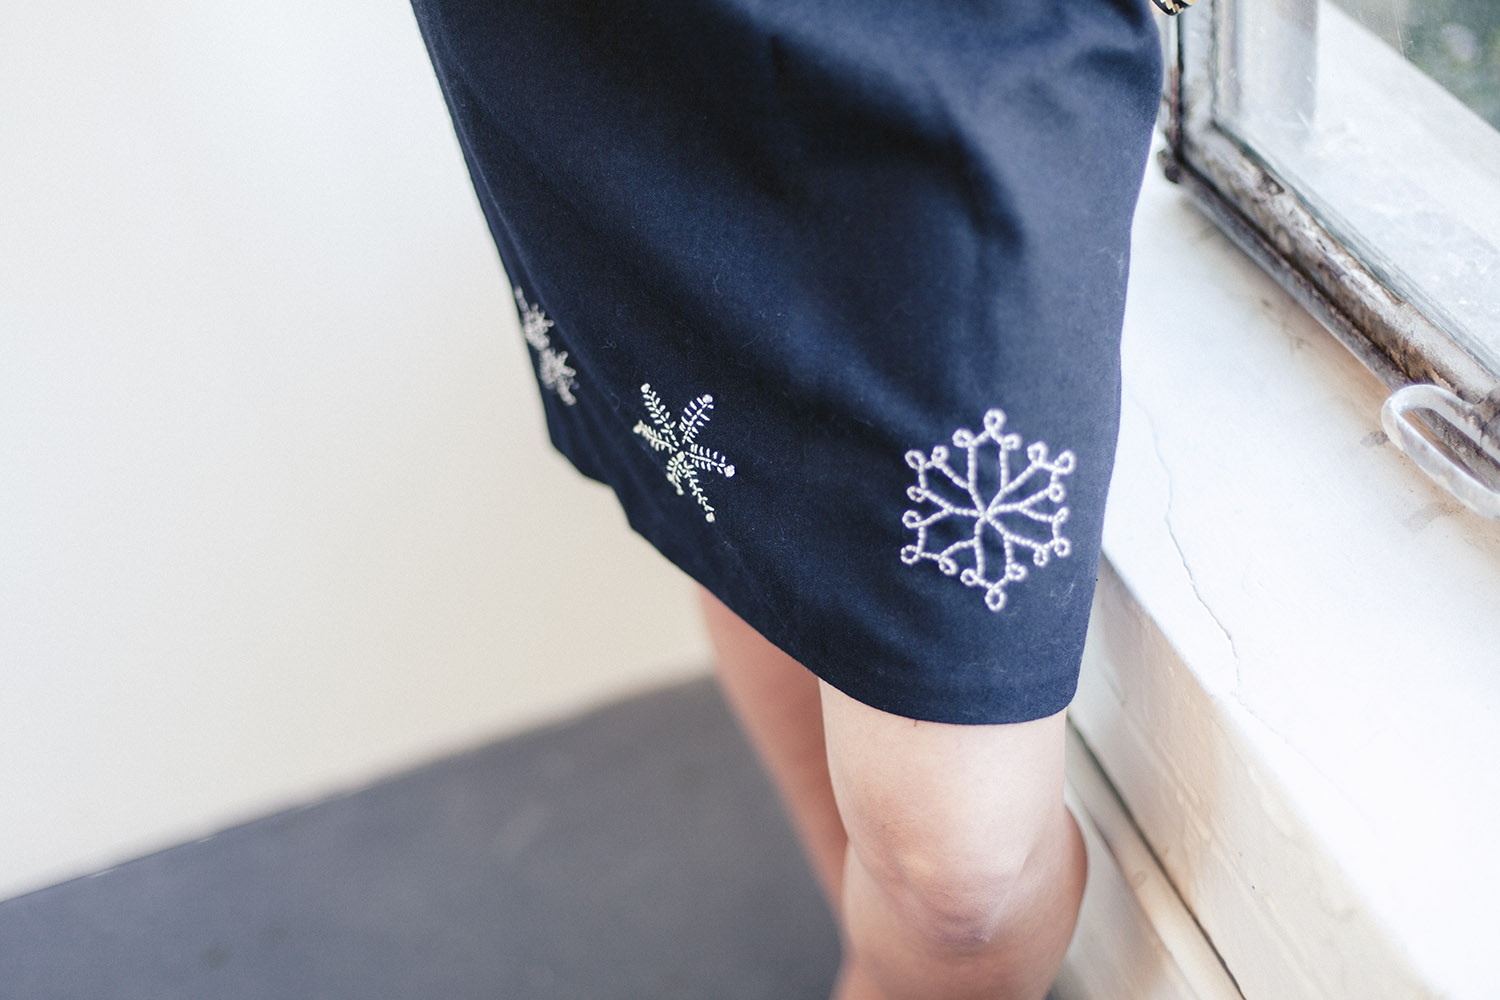
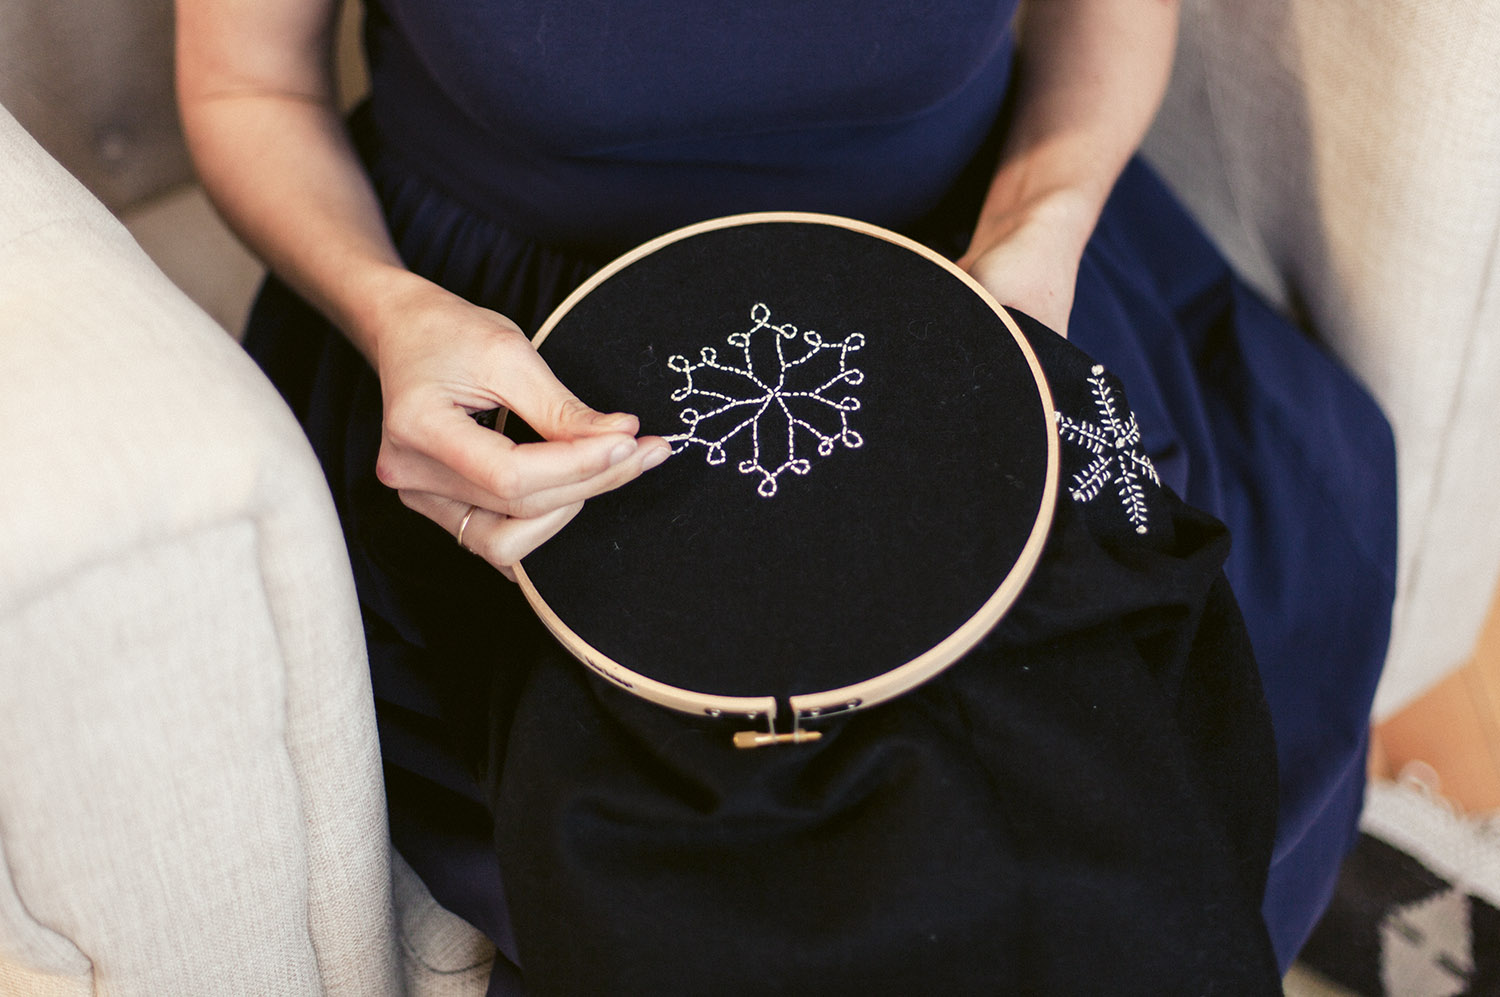
Position the snowflakes wherever you'd like on your garment. Place the embroidery hoop around each design and embroider one at a time, using a variety of stitches to vary the look of each motif. See the section below to learn each stitch.
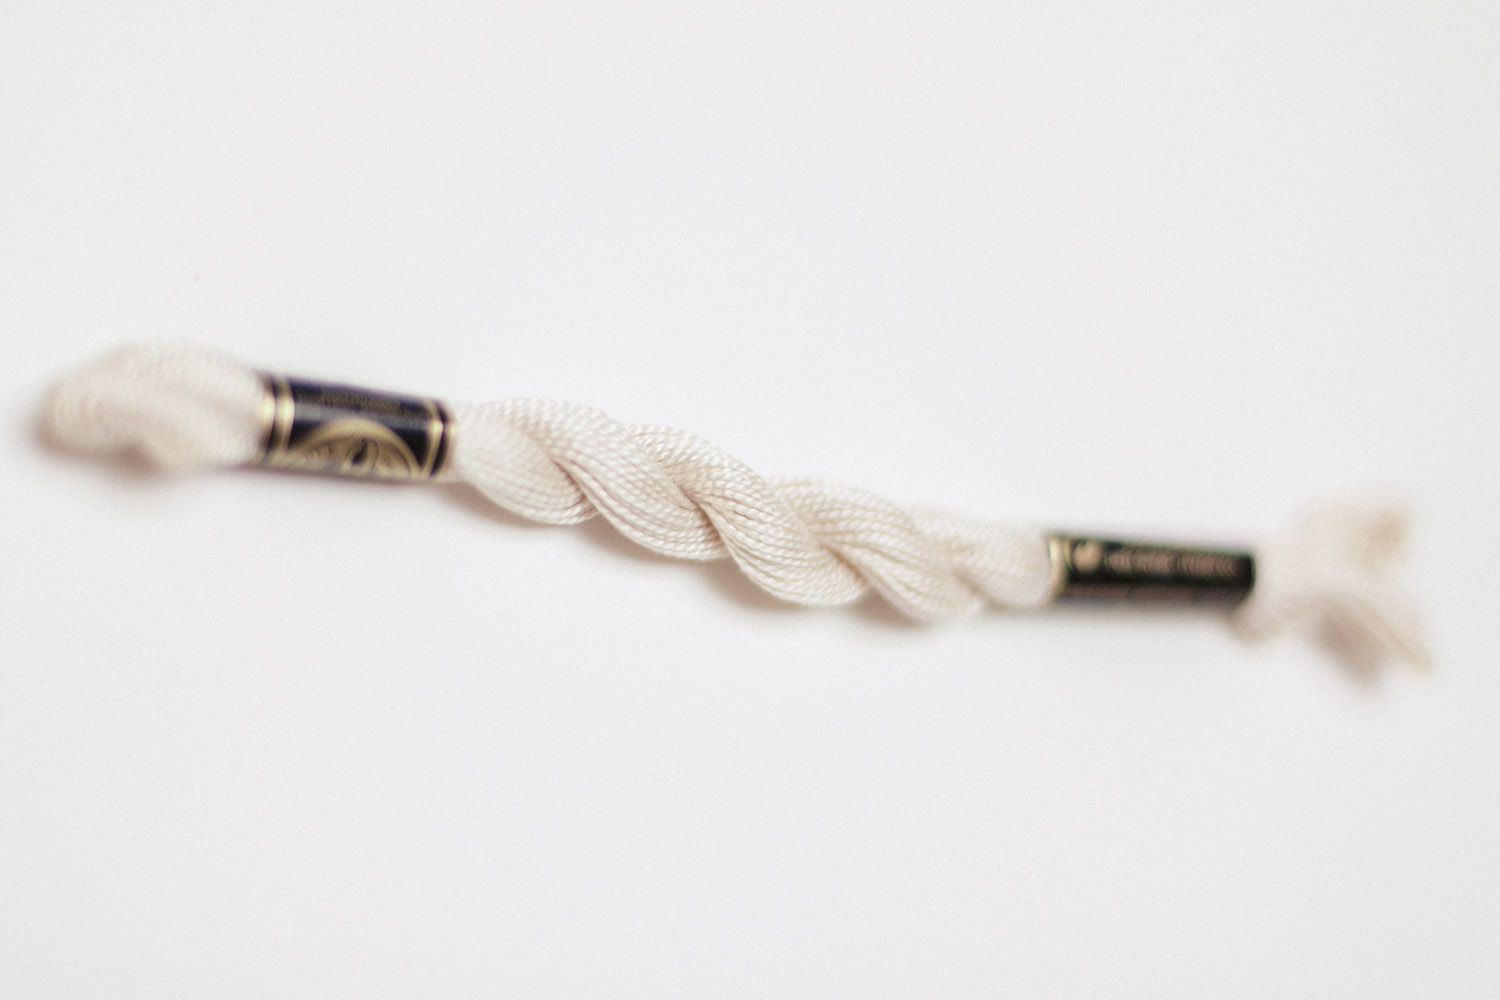
DMC perle cotton in size 5
For these designs, we used DMC perle cotton is size 5. This mercerized twisted cotton thread has a beautiful sheen and soft hand. It gives a beautiful dimension to these snowflakes.
For a similar but finer look, use perle cotton in size 8 or 12. These sizes are smaller, so the results won't be quite as bold.
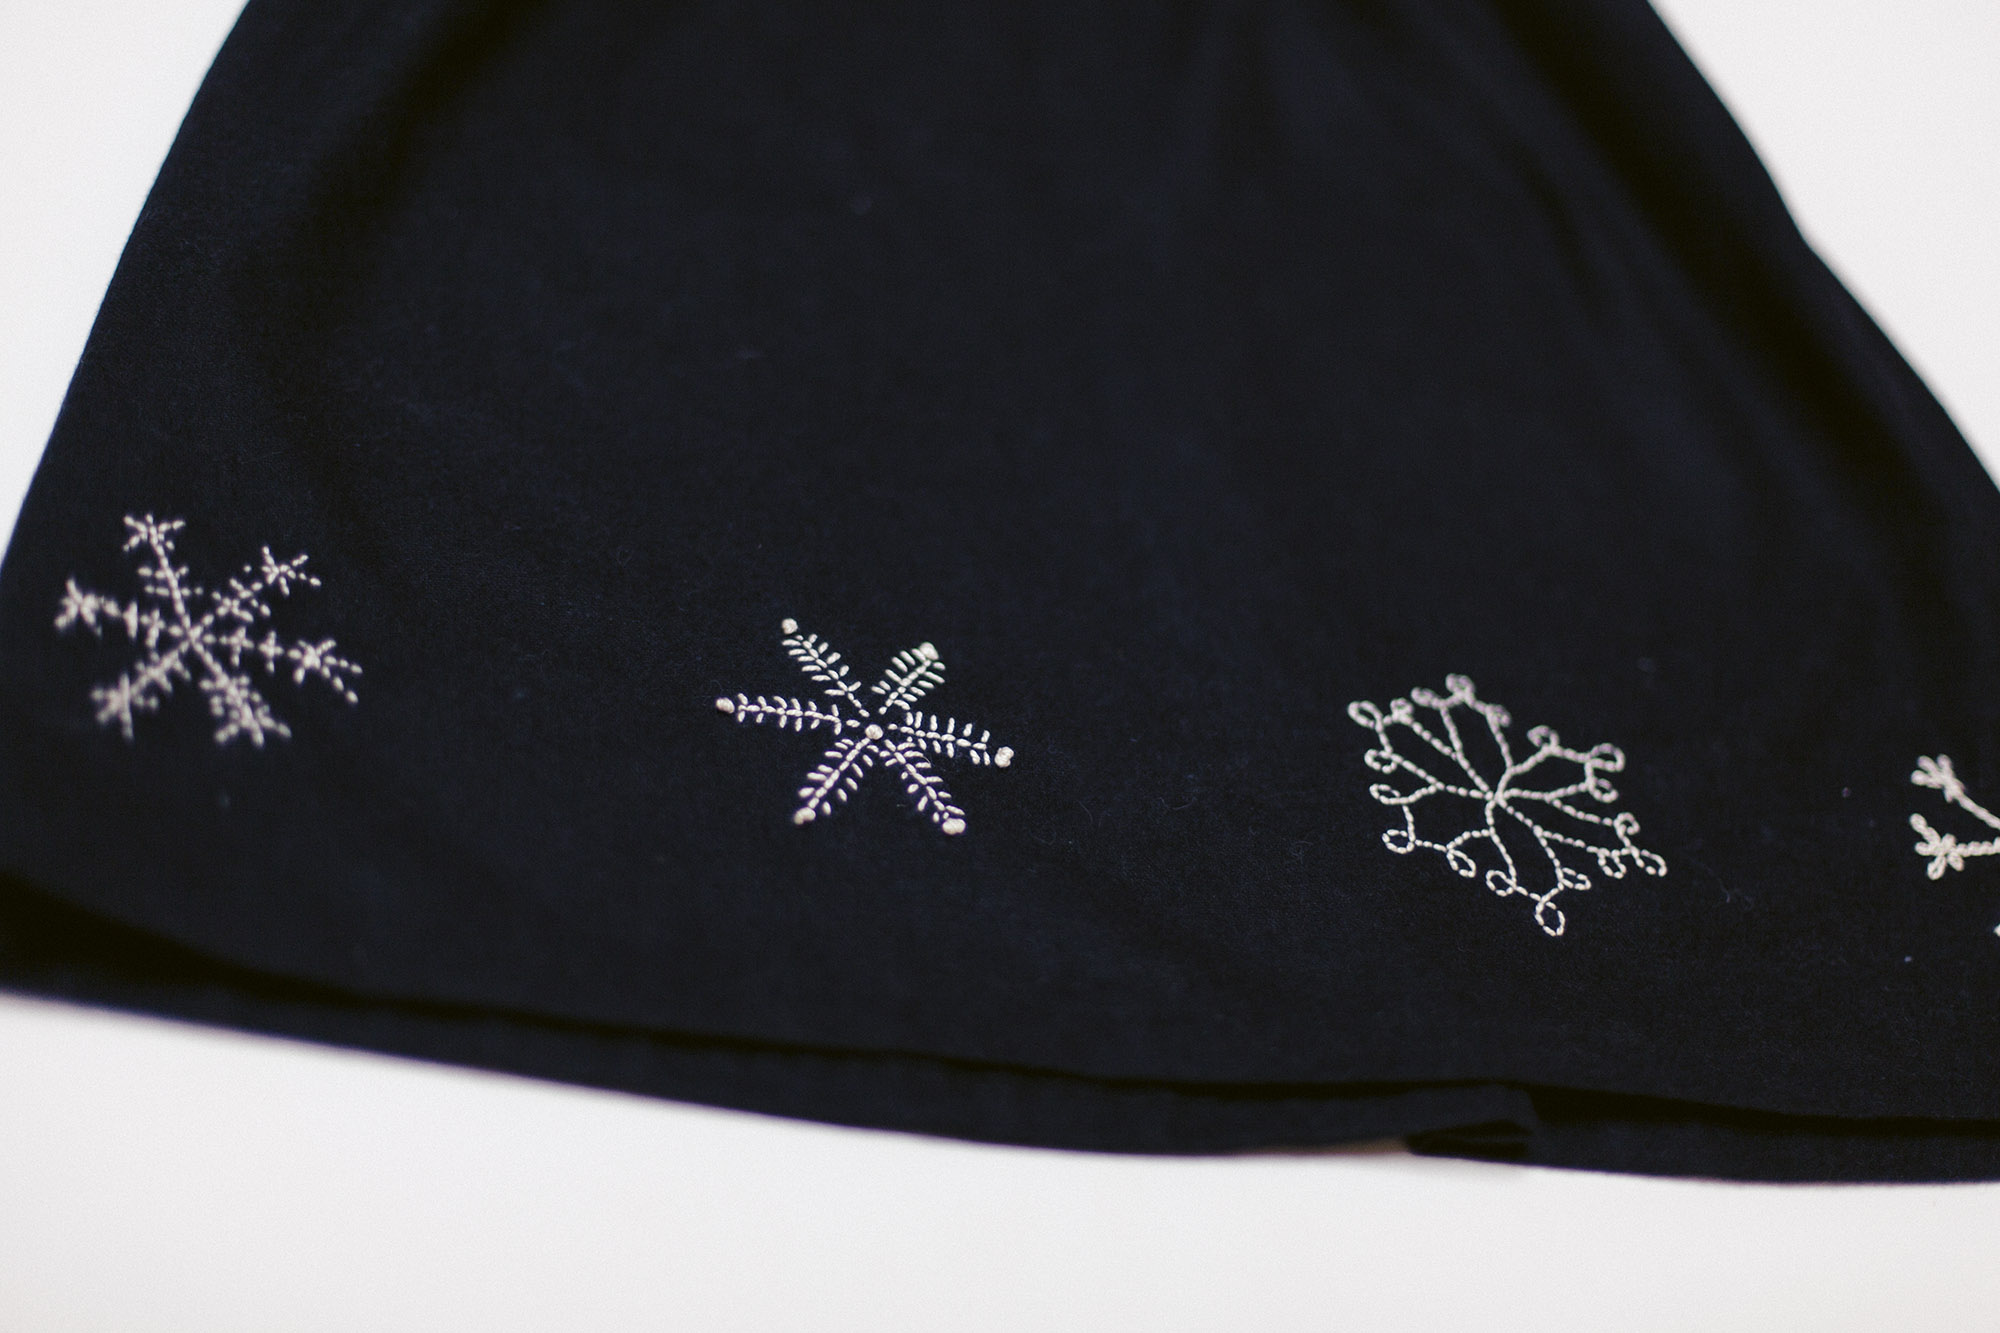
Learn the stitches below, then experiment with each of the snowflakes to create a series of different designs.
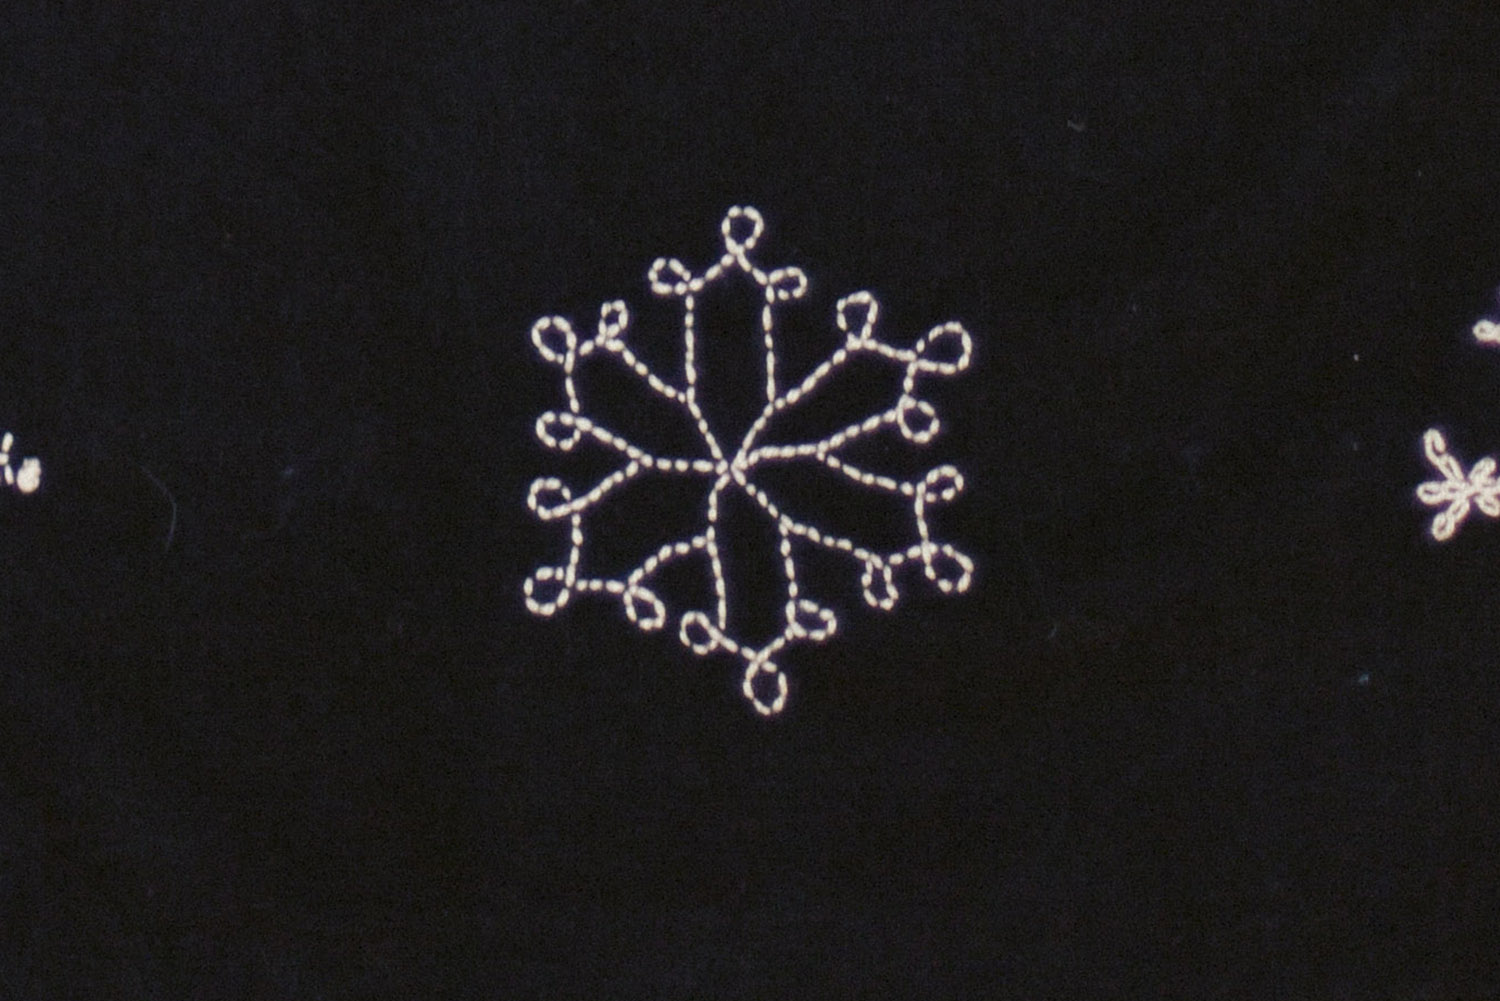
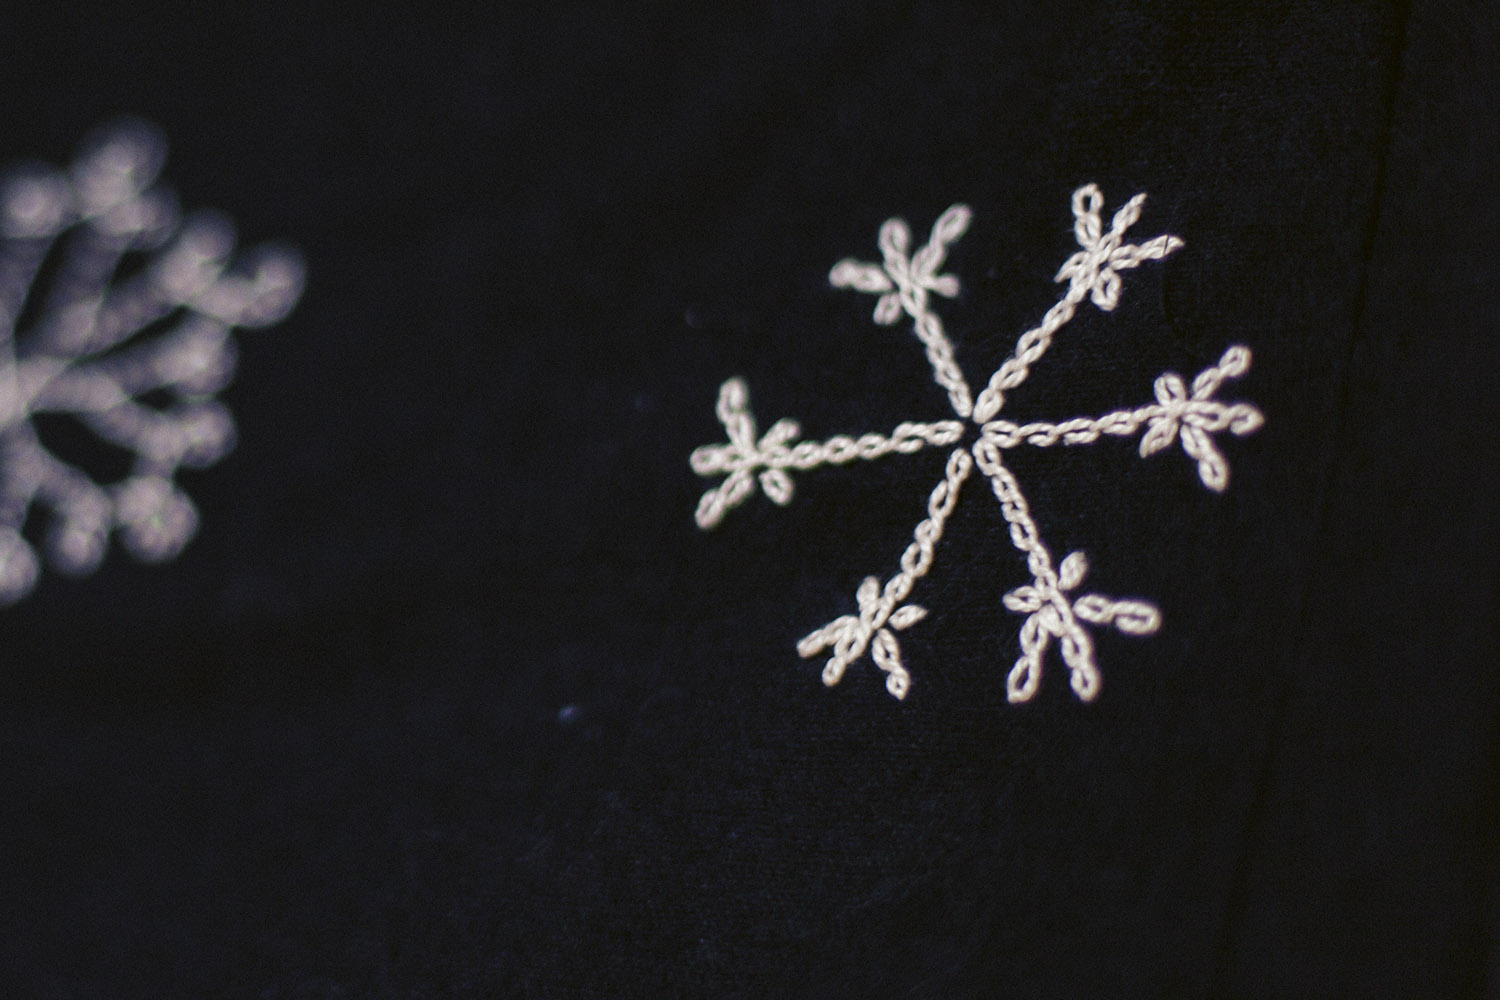
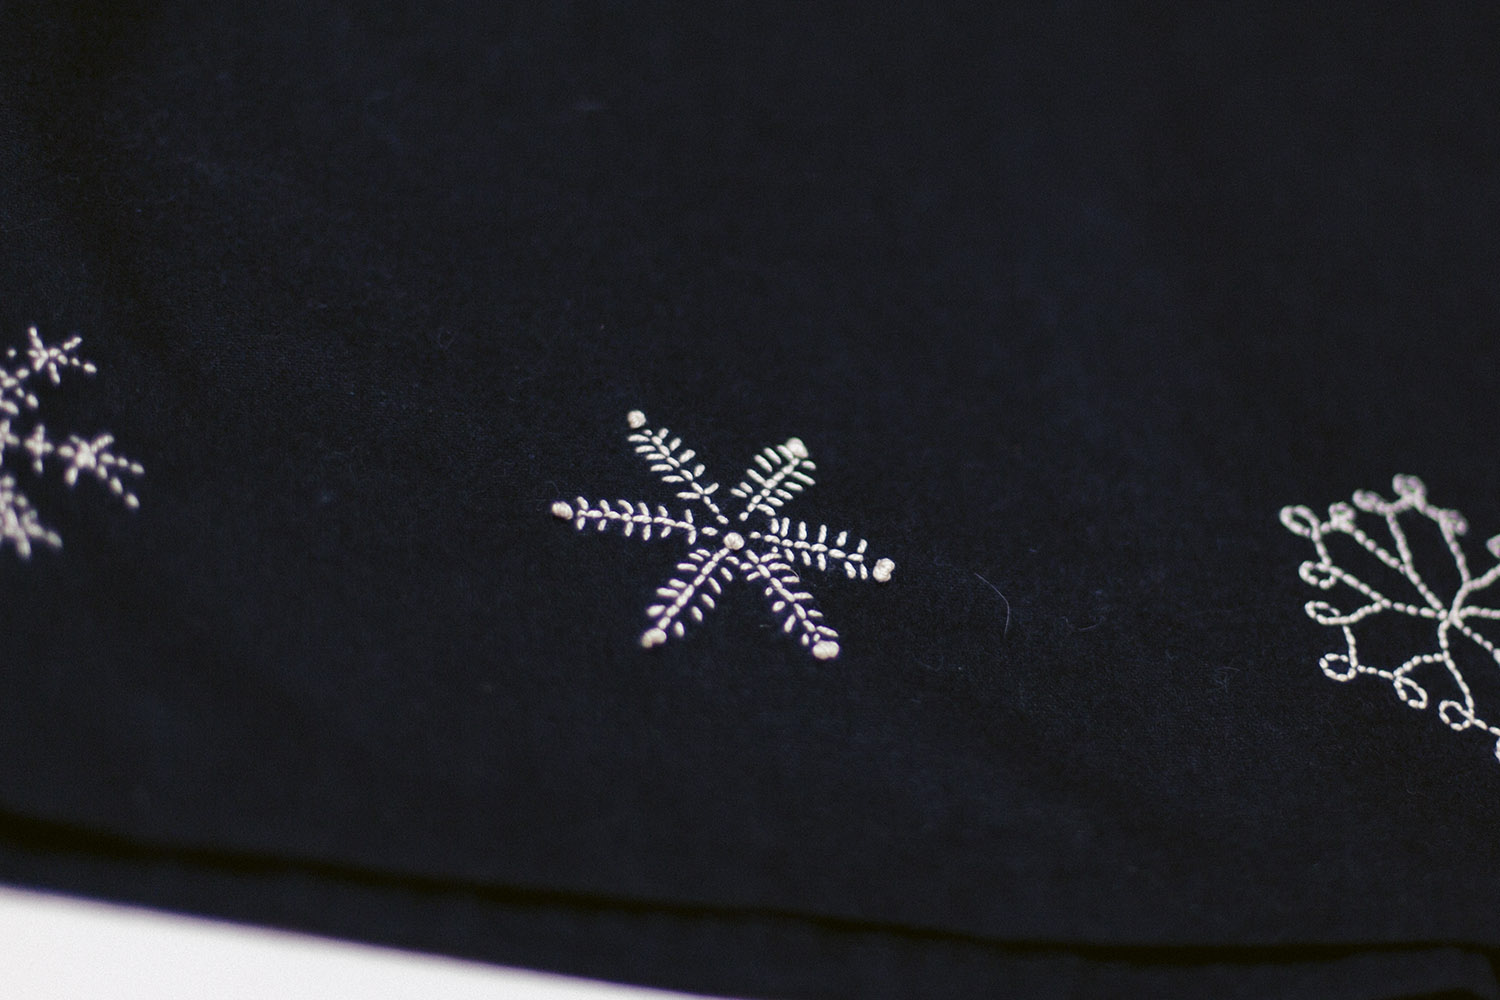
clockwise from top left: back stitch, chain stitch, and a
combination of back stitch and French knots
02 Section
The running stitch
The running stitch is incredibly simple and easy to do. While it's shown here with large stitches, it can also be created with small stitches or fine thread. Parallel rows of running stitch can also be used to create thick lines and borders.
Step | 01
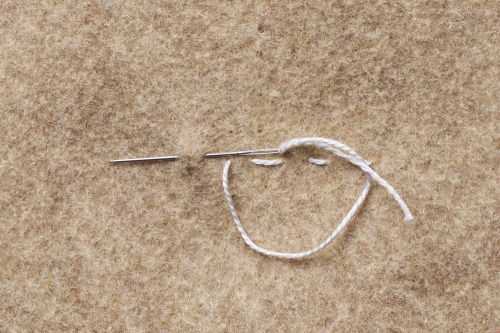
Run the needle in and out of the fabric to create a stitch.
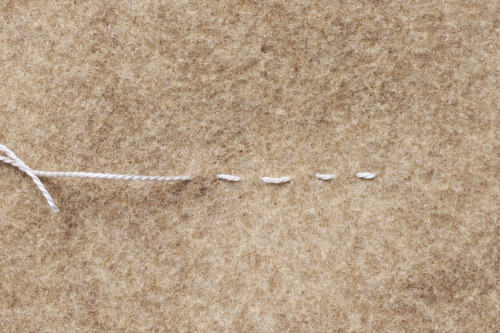
Step | 02
Create even spaces between stitches as you continue. The running stitch can be varied in many ways, by changing the length of the stitch and the spacing between the stitches.
03 Section
The back stitch
The back stitch is a common stitch, used to create lines or outline blocks of color. The back stitch is worked from right to left.
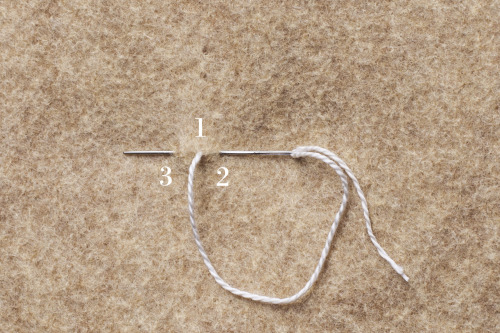
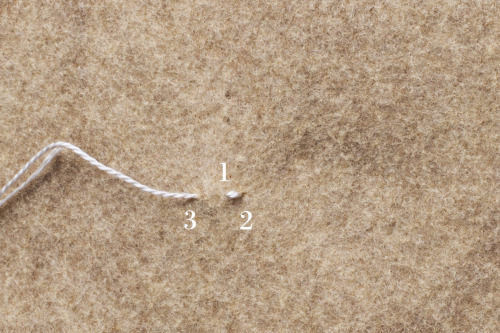
Step | 01
Bring the needle up through the fabric (1). Move the needle to the right, taking a small back stitch and insert into the fabric at (2), bring the point up in front of (1) at point (3). Point (1) should be halfway between points (2) and (3).
Step | 02
Pull the needle through.
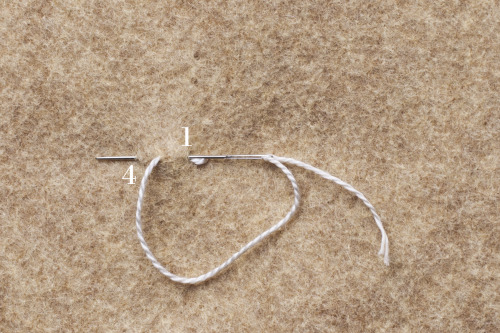
Step | 03
Insert again at (1) and out again at point (4).
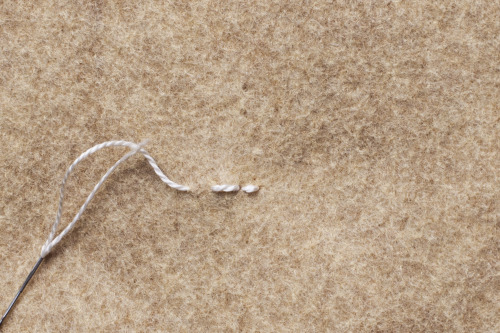
Step | 04
Pull the needle through. Repeat this process to continue.
04 Section
The chain stitch
The chain stitch is a beautiful and simple way to create lines with texture and thickness. The stitch forms a series of interconnected loops that work well in both heavy thread with large stitches, and fine thread with small stitches.
Step | 01
Insert the needle at point (1) and back up at point (2). Loop the thread down to the left and under the tip of the needle. Pull the needle through, gently tugging the thread to form a loop.
Step | 02
Insert the needle back in point (2) and repeat to form the next stitch in the chain.

05 Section
The French knot
The french knot can be used as an accent in a design, or it can be stitched in rows to form outlines. These knotted stitches may be placed around the edges of the snowflakes, in the center, or they may form an entire design.
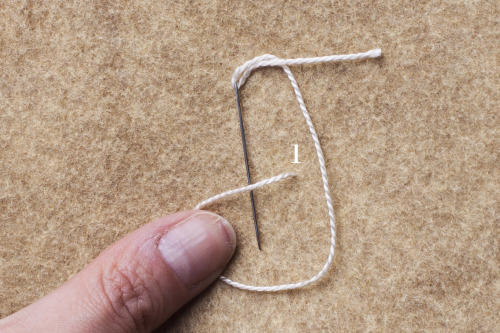
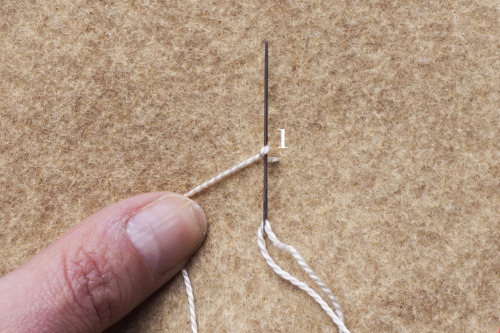
Step | 01
Bring the needle through the fabric at point (1). Holding the thread down with your thumb to the left of point (1), slide the tip of the needle under the taut thread.

Step | 02
Rotate the needle in a clockwise motion, with the point of the needle on top of the thread.
Step | 03
Rotate until the needle is pointing directly upward. There should be a single loop of thread around the needle.

Step | 04
Insert the tip of the needle right next to point (1), keeping the loop on the needle. Pull the needle and thread all the way to the back, creating a knot.
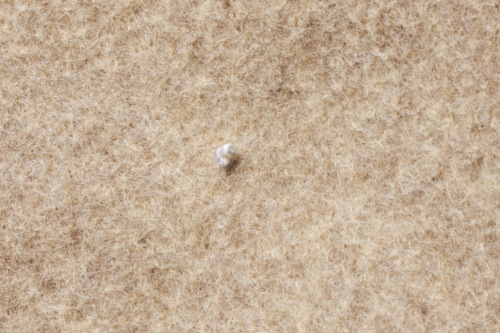
Step | 05
A finished french knot is small and subtle. To create larger, heavier knots, you may wrap the thread around the needle several times before pulling the needle all the way through.
That's all you need to complete these snowflakes! Download the free designs at the end of issue 01 or create your own!

