
 Sign In
It is impossible to contemplate the bias cut garment without imagining flowing gowns and delicate intimates, but this technique does not need to be reserved for only the most sumptuous of projects. You can bring a bit of everyday luxury to the simplest garment just by cutting it on the bias. Bias cut garments hang delicately on your body.
The first time I attempted to work on the bias many years ago, I was trying to make a tie. I chose a sumptuous, striped silk remnant, went to the thrift store and bought a tie to rip apart and blindly jumped in. Out of pure frustration, I gave up on the project. Fast-forward a year, and I decided that it was time for me to give bias a second shot. I made a simple woven t-shirt out of a solid linen, and I was in love.
This experience taught me a few things about the process of learning new techniques, as well as working on the bias specifically. I learned that balancing familiar skills with new techniques is the best way to master new skills. This method has helped me tackle techniques that challenge me.
Since then I have made many garments using the bias grain of fabric, and have found the key techniques that give professional results. Working on the bias doesn’t have to be intimidating. By simply making a few mindful choices and practicing some additional care, you can be on your way to becoming the next Madeleine Vionnet (or at least her fabulous modern protégé).

Vintage lingerie often employs a bias cut to create a clinging silhouette.
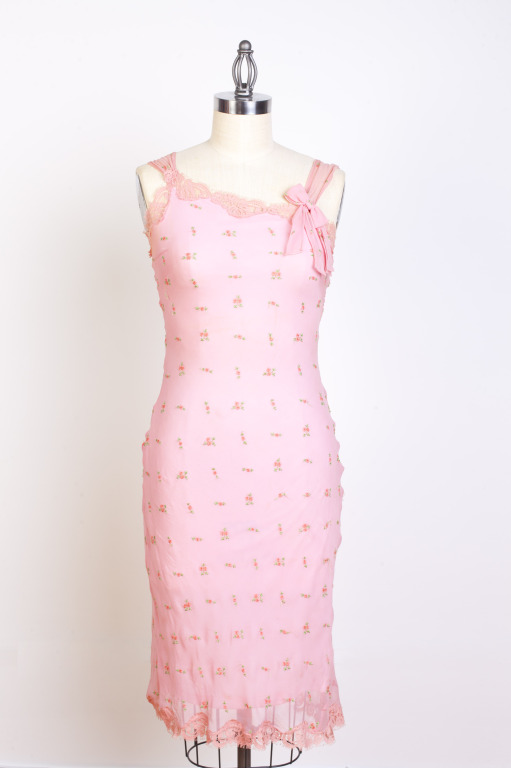
This dress by designer Betsey Johnson uses sheer bias cut silk over a stretch lining to create a feminine, comfortable party dress.
What is the bias?
If you're not familiar with the bias grainline, we'll first cover exactly what it is and what it offers.
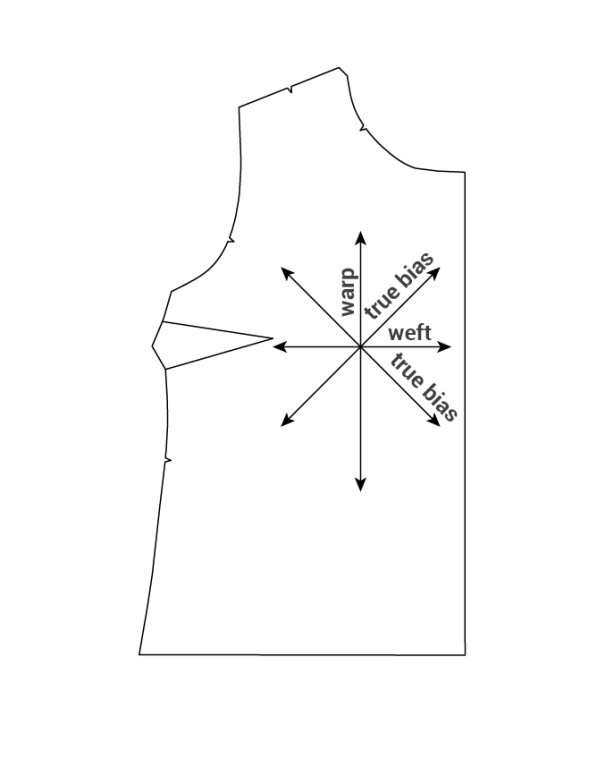
The bias can refer to any diagonal grainline, but it typically refers to the true bias, which runs 45 degrees from the warp or weft.
The true bias refers to the 45 degree angle that intersects the warp (length of grain) and the weft (cross grain) of a woven fabric. Every piece of woven fabric has two true biases perpendicular to each other. Though technically any diagonal cut that is not on the lengthwise or crosswise grain is a bias cut, in conventional usage when people refer to a bias cut they are usually talking about the true bias.
The bias of woven fabric offers both stretch and malleability, and can easily be molded to take shape. These properties are both the advantage and disadvantage that most experience when working on the bias. Though it offers a forgiving fit, the instability of the fabric can be difficult to work with.
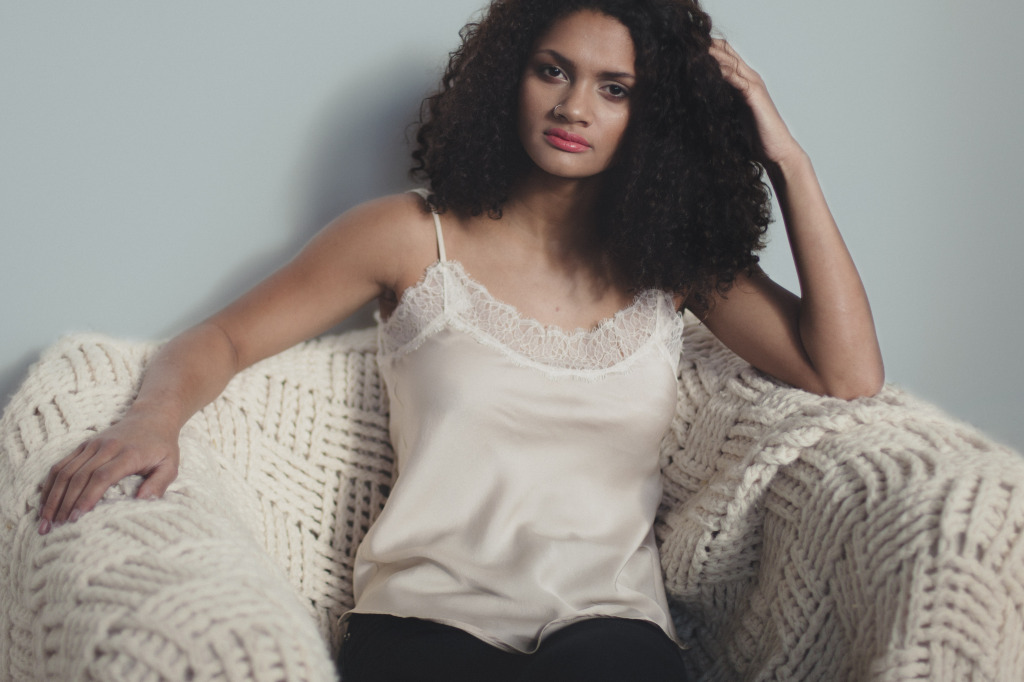
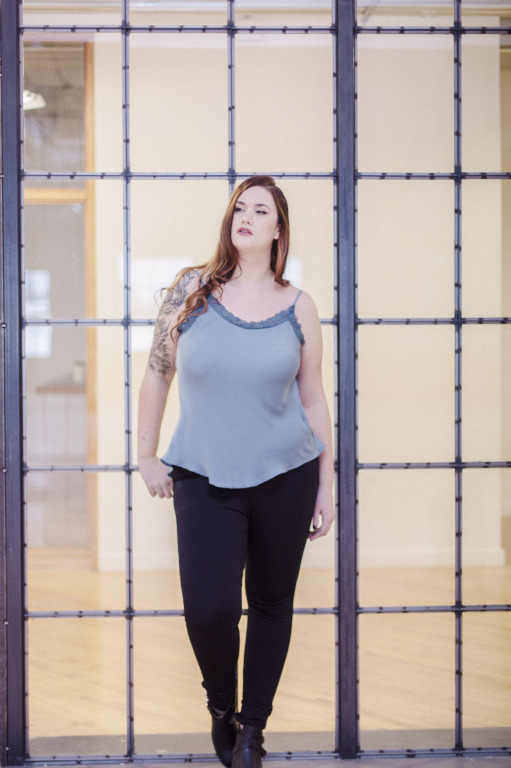
The Savannah camisole is cut on the bias for an easy flow and comfortable stretch that skims the body.
02 Section
Before you sew
Start off on the right foot by choosing an easy fabric and cutting accurately.
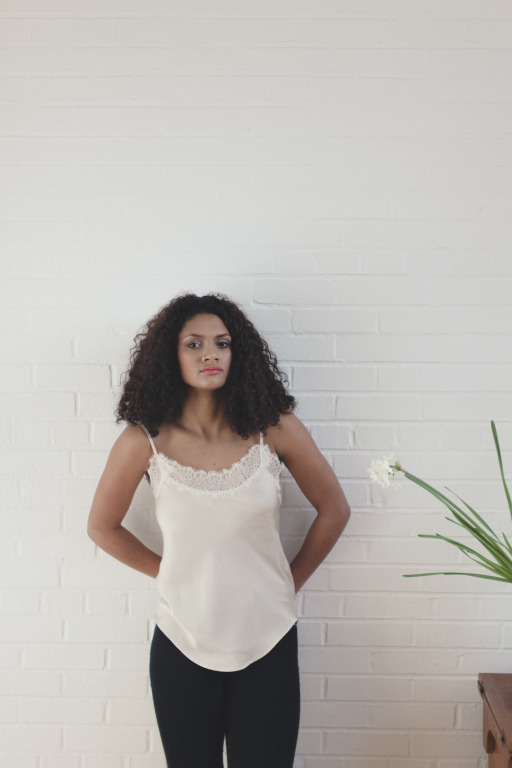
A simple garment like the Savannah camisole is easy to sew on the bias due to the minimal seams and lack of darts.
Start simple
When braving your first attempt at sewing a garment cut on the bias, keep it simple. Choose a pattern that has details that you are comfortable sewing. Keep in mind that the inherent stretchy nature of bias means that it is best not to choose a fussy garment with eight darts. The malleable nature of the fabric itself will provide shaping and ease.
Choosing fabric
Choose a fabric in a solid or all over print to start. When working on the bias for the first time, you should avoid stripes and plaids that need to be matched and super slinky fabrics, like silk charmeuse or chiffon. Start out with uncomplicated styles and easy fabrics and build on your existing skills. Try beginning with a cotton lawn, plain weave linen, or a wool challis. These are excellent options for your first time sewing a bias garment.
Fabrics to always avoid are heavy weight canvases, twills, and stretch fabric. Fluid and slippery fabrics, such as rayon, slinky silks, and synthetics should be avoided for your first few bias projects, but can serve as good goals to work towards. These simple choices will allow you to focus on the new techniques you are learning while working on the bias.
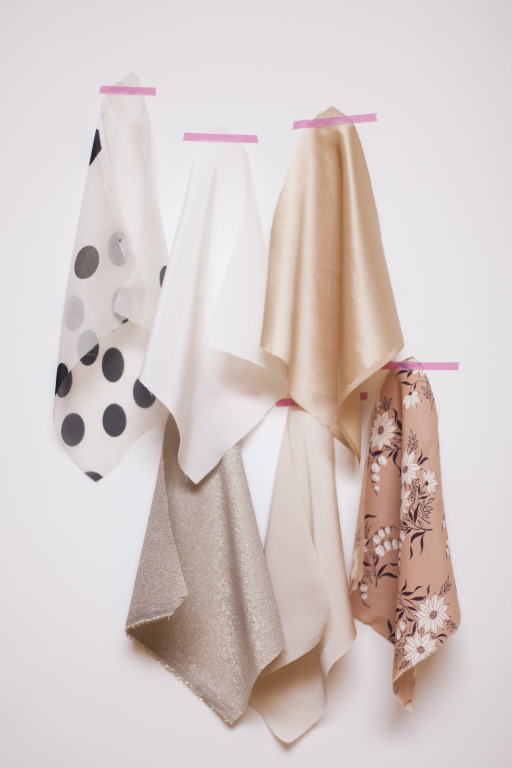
Choose a fabric that hangs well, but will be easy to work with. Avoid prints that are difficult to match until you gain experience.
Cutting and Layout
Cut all pattern pieces on a single layer of fabric rather than a fold.
Take your time when cutting a bias cut garment. If even slightly off the true bias, your garment can pull unattractively on the body. Cutting your fabric single layer is an absolute must. Prepare your pattern accordingly by making sure all pattern pieces are full, and not cut to be placed on the fold. If the pattern piece is intended to be cut on the fold, cut one half and flip over the center line to cut the other side.
Use a rotary cutter if this is a skill you are confident in. Normally when using a rotary cutter, I favor pattern weights, but pins can offer more control. Using a combination of both can be very helpful. If you choose to use fabric shears and you find the fabric to be unwieldy, place a layer of tissue beneath your fabric to assist you in cutting; this lends added stability through both the pinning and cutting process. When pinning, be sure to pin through all layers (tissue, fabric and pattern), as this will yield the most stable results.
When considering the layout of your garment it is important to remember that every fabric has two true biases, each perpendicular to the other. When the front and back of a dress are cut on parallel biases, the dress has a tendency to twist around the body. Instead, cut the front and back biases perpendicular to each other. This results in a balanced garment. If the garment has center front and back seams, the direction of the bias should alternate around the body.
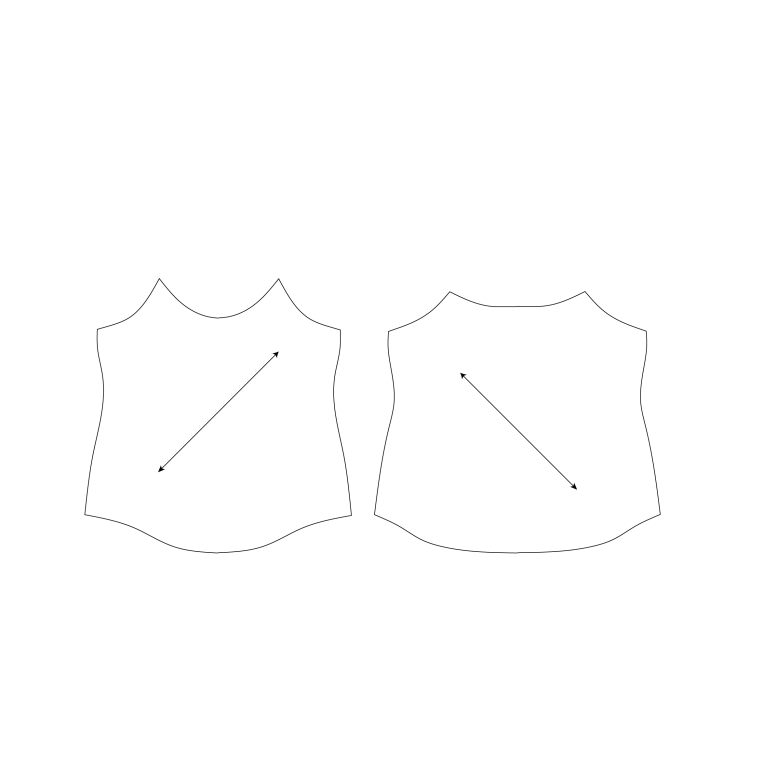
Cut pieces so that the bias grainlines meet in opposite directions. This will help avoid twisting on the body as the garment is pulled in a circle.
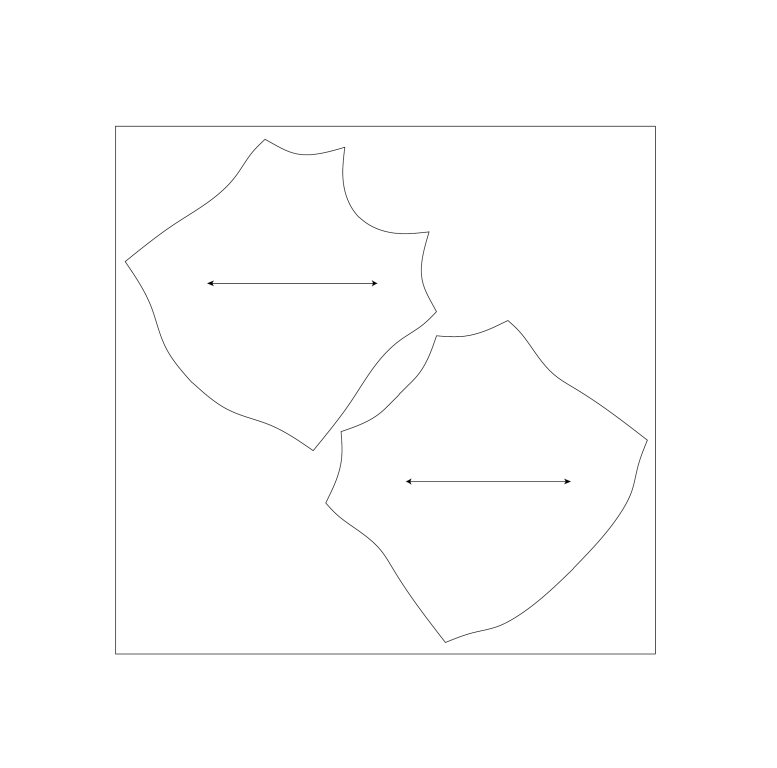
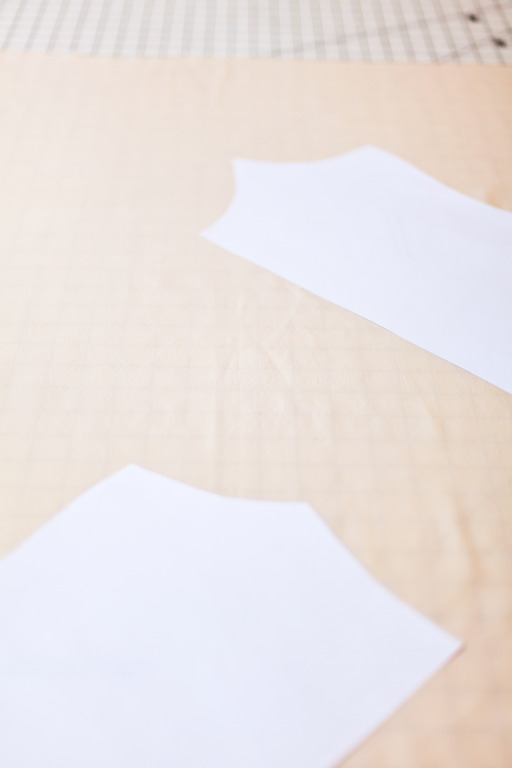
When laid on fabric, the pattern pieces will face different directions.
Stabilize
When working on the bias, many (if not all) of your cut edges should be stay stitched. For best results, make sure to sew 1/8” in from your seam allowance. Use fusible knit interfacing to stabilize areas where closures are to be added. Knit fusible has a small amount of give that accommodates the stretch of the bias. You can also cut woven fusible interfacing on the bias. Another area that can benefit from interfacing is the neckline.
03 Section
Stitching a bias garment
Once you have cut and prepared your fabric, it's time to stitch your garment together. Use these tips to keep your seams neat and prevent your garment from becoming stretched out.
Seam Construction
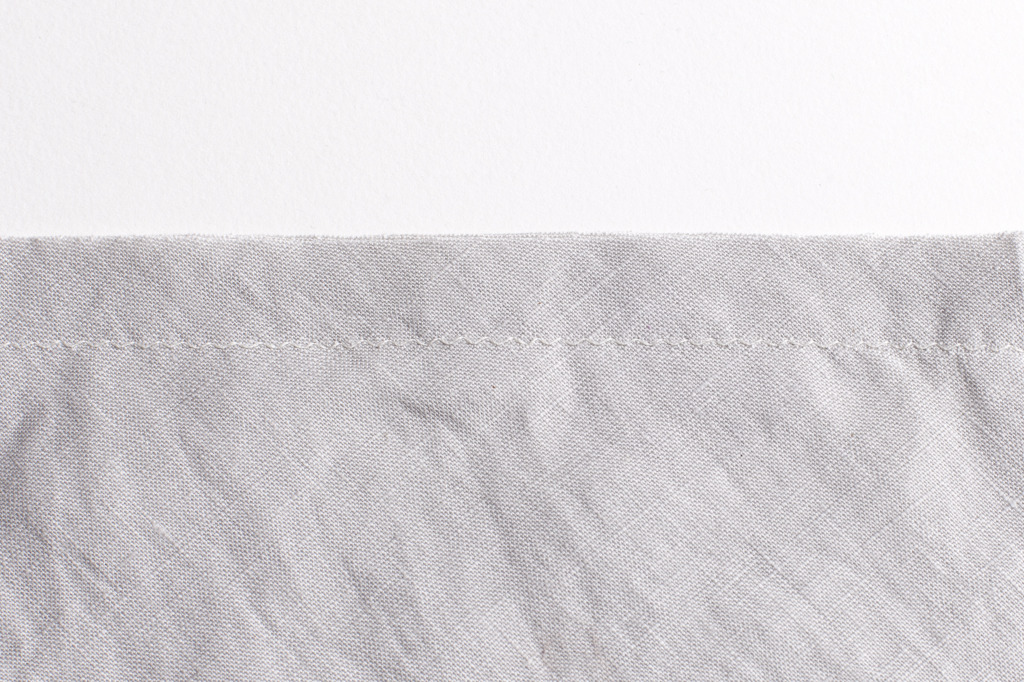
Use a very narrow zigzag seam to allow the stitching to stretch along the body.
Bias cut garments have the tendency to stretch over time and during wear. If the seams do not stretch with the fabric, this can cause the seams to bust. The trick is to create a seam that will stretch along with your garment. This is where a very narrow zigzag stitch can be superior to a standard straight stitch. Set your machine for zigzag stitch, with a length of 2.5mm (or 2mm for finer fabric) and a width of 0.5mm. This will allow the stitching to move and stretch in the same way that a bias cut garment would.
Use a light hand
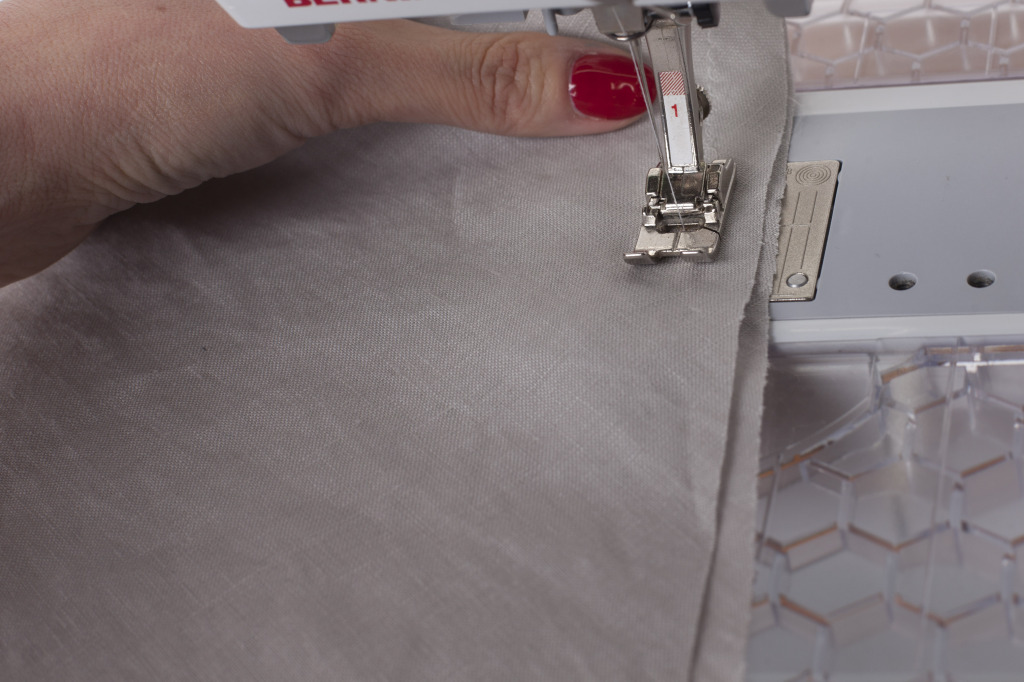
Use a gentle touch when handling your fabric. Avoid pulling or allowing the fabric to stretch out of shape, and support fabric rather than letting it hang.
Many sewists, especially beginners, tend to pull the fabric as they sew. Whether this is pulling towards you and against the feed of the sewing machine or pulling the fabric from behind the machine and away, this will stretch out your seams. The result will be rippled seams and a stretched out garment.
Instead, use a light hand and support the weight of your fabric. I had a tailoring teacher once tell me "in sewing, you have to know when to use your baby hands and when to use your trucker hands". This, my friends, is definitely an occasion to use the former. A light touch will take you far!
Press, don’t iron
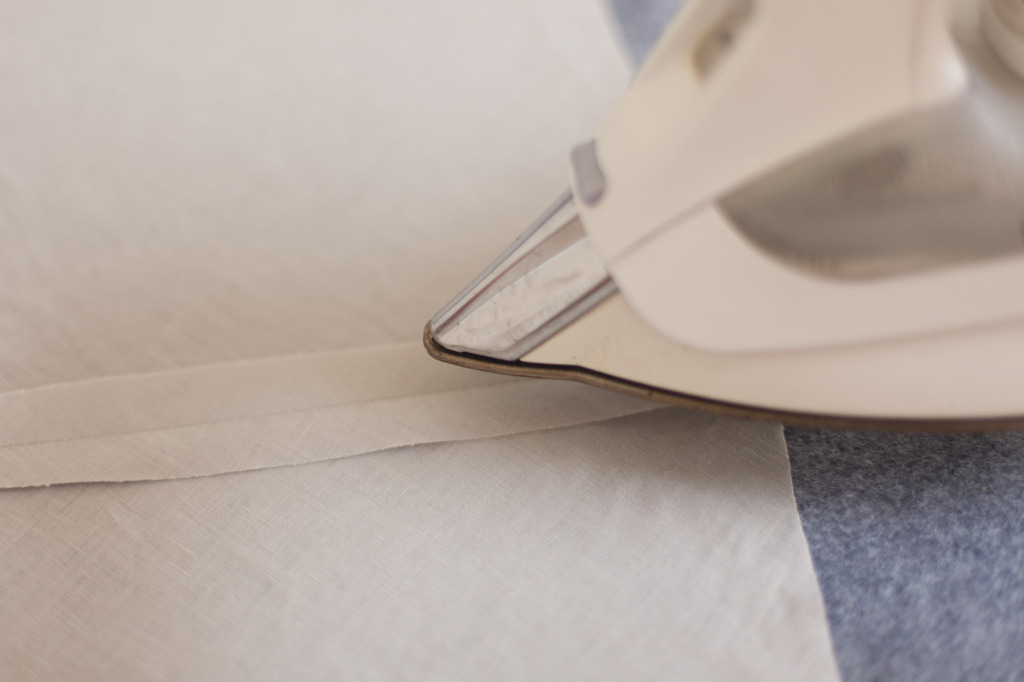
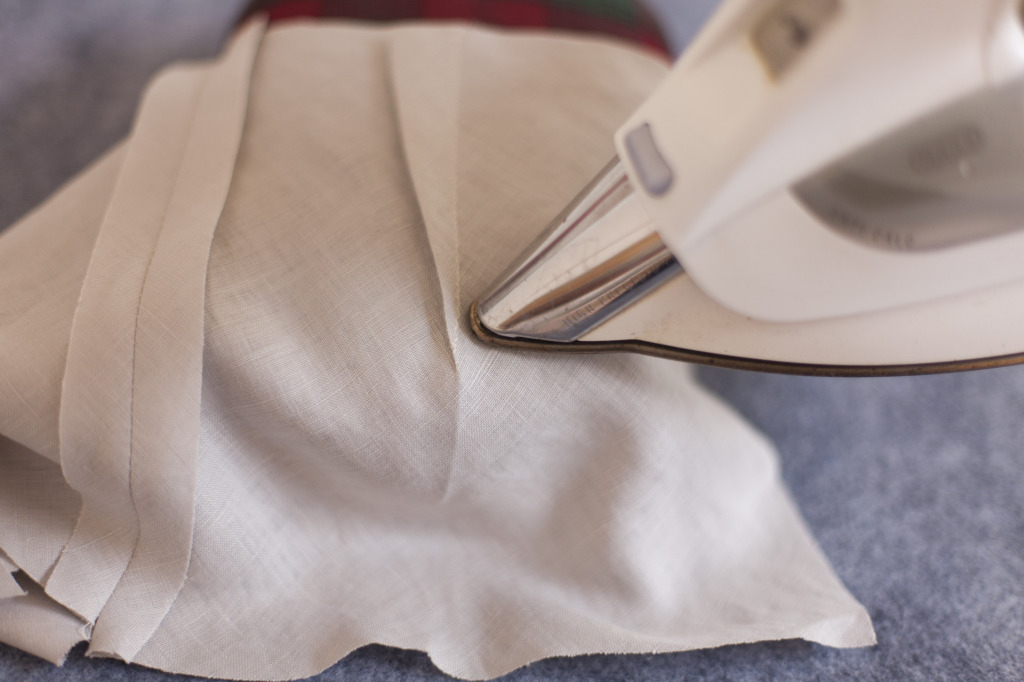
Don't let your iron pull the fabric out of shape. Use an up and down pressing motion.
When pressing seams, it is always best to press using an up and down motion with the iron rather than ironing in a back and forth movement. Ironing can stretch and distort the grain of the fabric. This becomes particularly problematic when working on the bias.
Shape seams by pressing them over hams and seam rolls.
Using the correct pressing tools is also vital. On shaped seams, use your pressing ham and a seam roll or sleeve board when pressing in tight places. These tools will help you to maintain the shape of your garment as you sew.
Store flat
While your project is in the process of becoming a garment, store the pieces flat. This is handy for two reasons. First, you will reduce the need to iron stubborn wrinkles out, avoiding any unnecessary stretching. Second, storing your project flat instead of hanging also helps reduce stretching.
Hang before hemming
Nothing can ruin the elegance of a garment quite like an uneven hem. Avoid this by hanging your garment overnight before hemming. This will allow the fabric to naturally settle. Afterward you can trim any drooping areas and hem according to pattern specifications. Hanging your garment from a dress form is another option when allowing the fabric to settle. This can be especially useful with a garment with a lot of seaming and shaping. The dress form can help to mold the dress, as well as allowing the hem to settle.
One of the key things I preach to all of my sewing students is a steady progression of skills. Remember that sewing should be fun! Choose projects that allow you to focus on a few new skills at a time. You will absorb more knowledge this way and enjoy yourself much more. Sewing on the bias for the first time can be tricky. Remember that challenging yourself is a terrific way to learn, but like anything moderation is key.

Before hemming, allow the garment to hang and stretch.

About the Author
Haley Glenn is a Palm Springs native with a BFA in Fashion Design. She perfected her sewing technique by exploring all aspects of fashion, from leather working to millinery to tailored goods. Following her graduation, she worked making custom wedding dresses and in women’s ready to wear. She now teaches sewing at Sew L.A. in Los Angeles California.

