Sign In
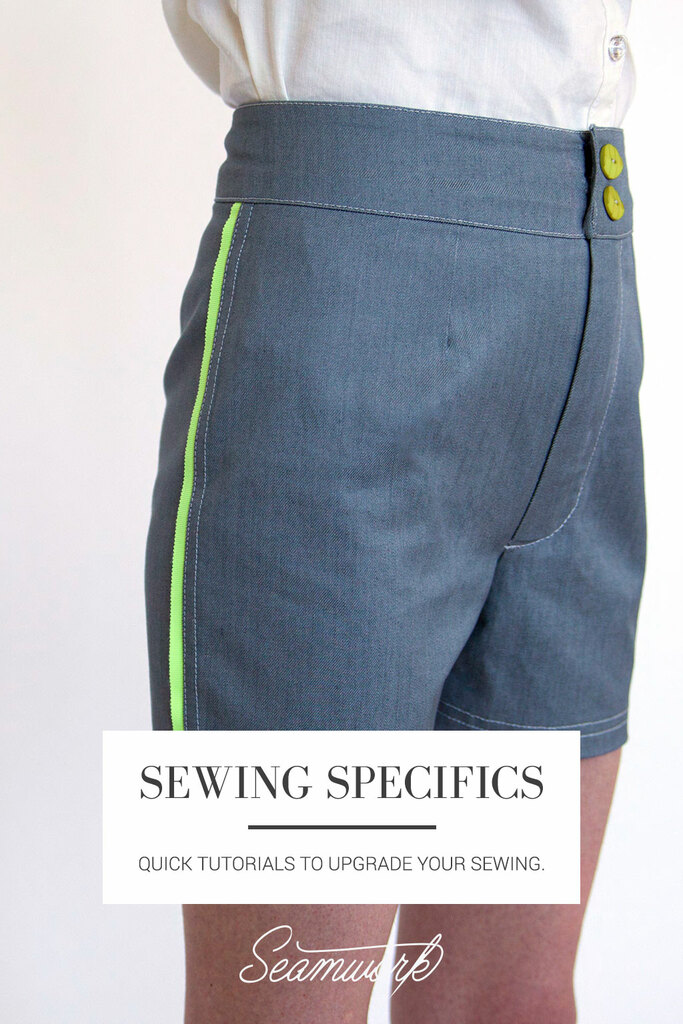
Each month, Seamwork Magazine brings you two new wardrobe building patterns along with inspirational articles and informative tutorials. Sewists tend to be detail-oriented by nature. We thrive when fussing over the perfect welt pocket or finding the perfect shade of thread to match.
Those times when we really slow down and cherish the details are when we shine the brightest. This series is dedicated to the small details that take your project to the next level. Whether it is a new seam finish or a fun embellishment, take the time to make your next me-made item one-of-a-kind.
I’ve always been a sucker for notions. I feel a moral obligation to give these little guys a good home when I find them while thrifting. Yet they usually get filed away with all of their other friends, and I have a hard time finding a way to use them in my sewing.
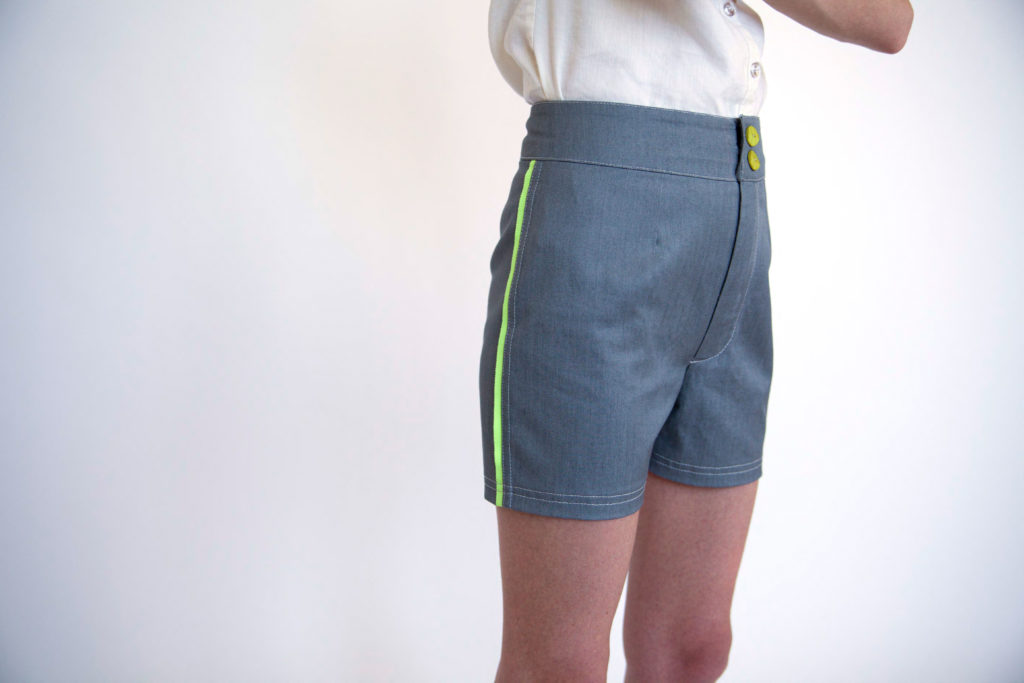
Peek seams are a perfect way to use those extra trims and ribbons you’ve been saving for years. The technique is essentially a flat felled seam with a surprise! Right before edgestitching the seam down, a trim is placed between the seam and body of the garment, creating a great accent and finishing the seam at the same time!
How To:
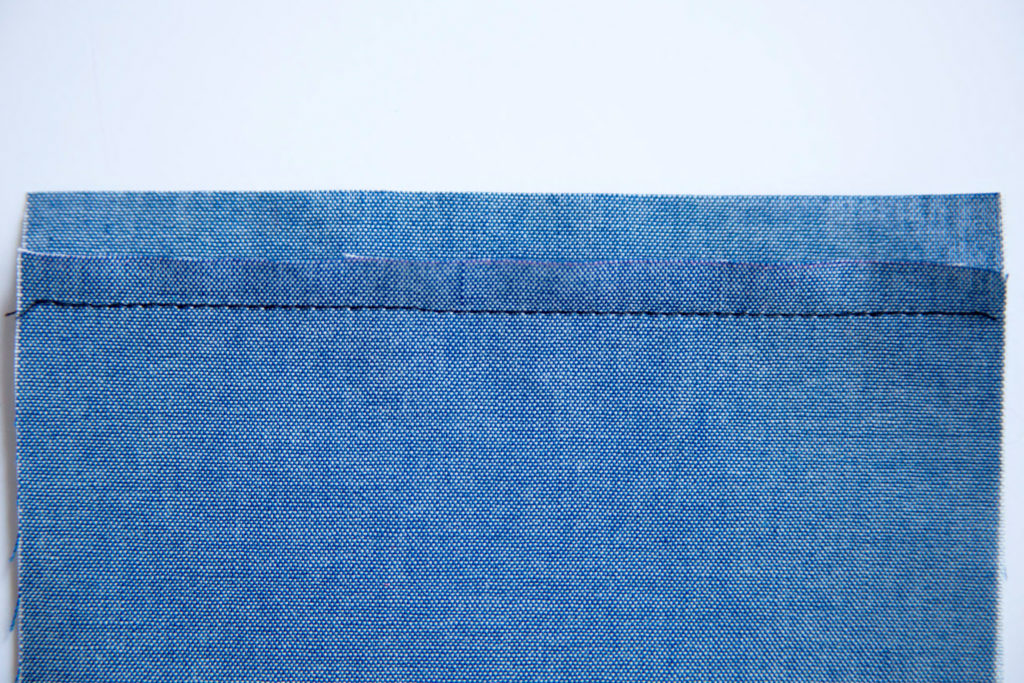
Step | 01
Sew ⅝” seam, wrong sides together. After sewing, trim one side of the seam allowance down to ¼”.
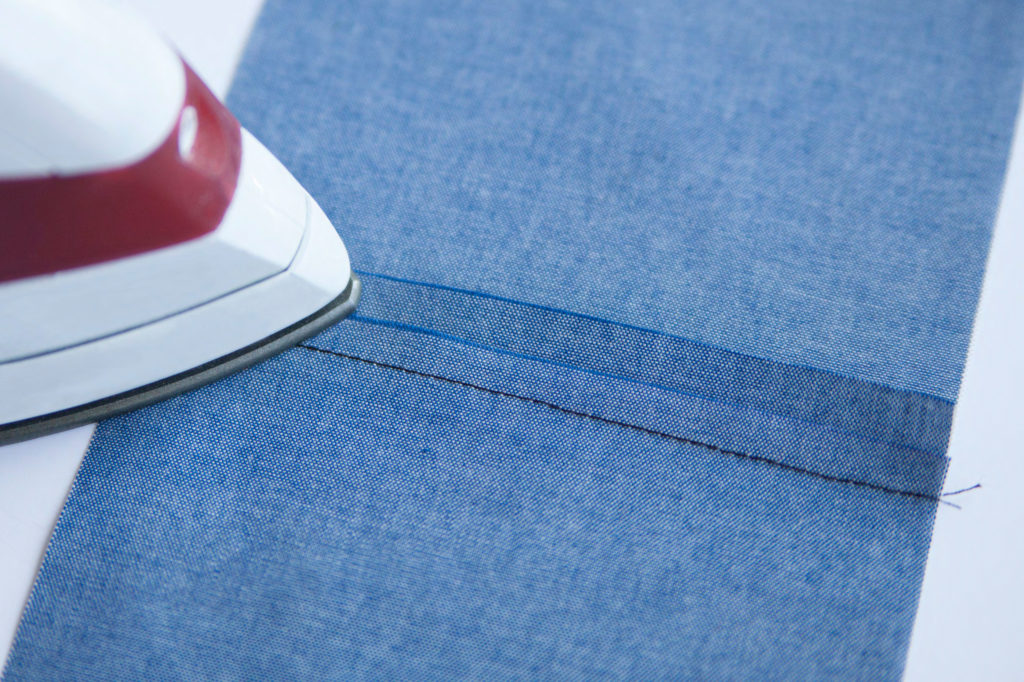
Step | 02
Press the seam allowance away from the side you would like your trim to be on.
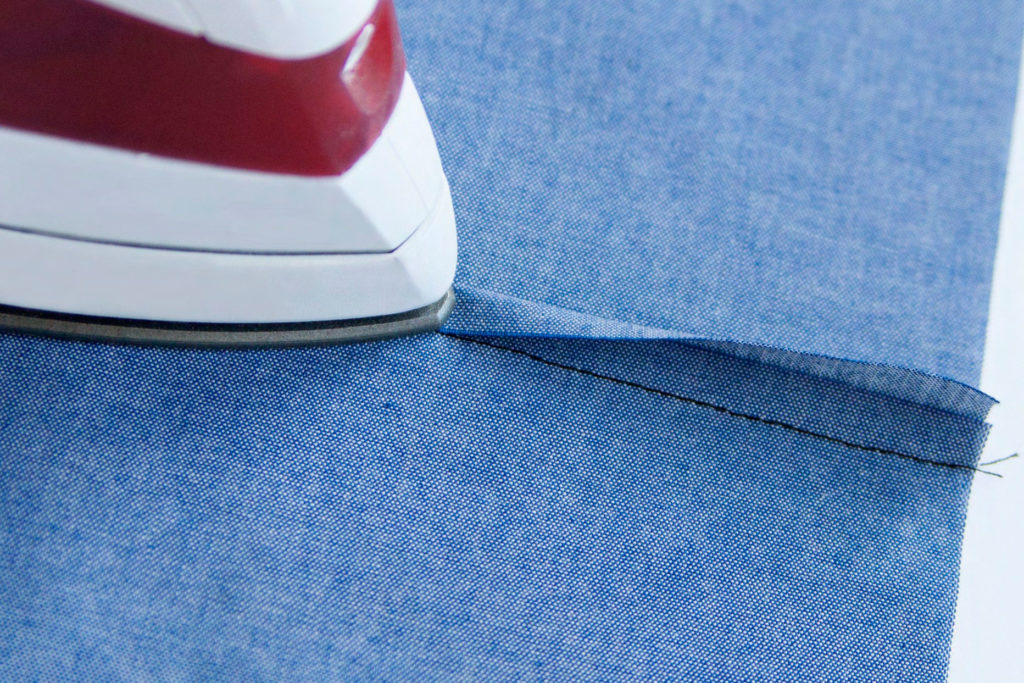
Step | 03
Fold the wider seam allowance over the trimmed side, aligning the raw edge with the stitching line.

Step | 04
Fold the whole seam allowance over and press it flat. As you can see, all the raw edges are neatly tucked within.
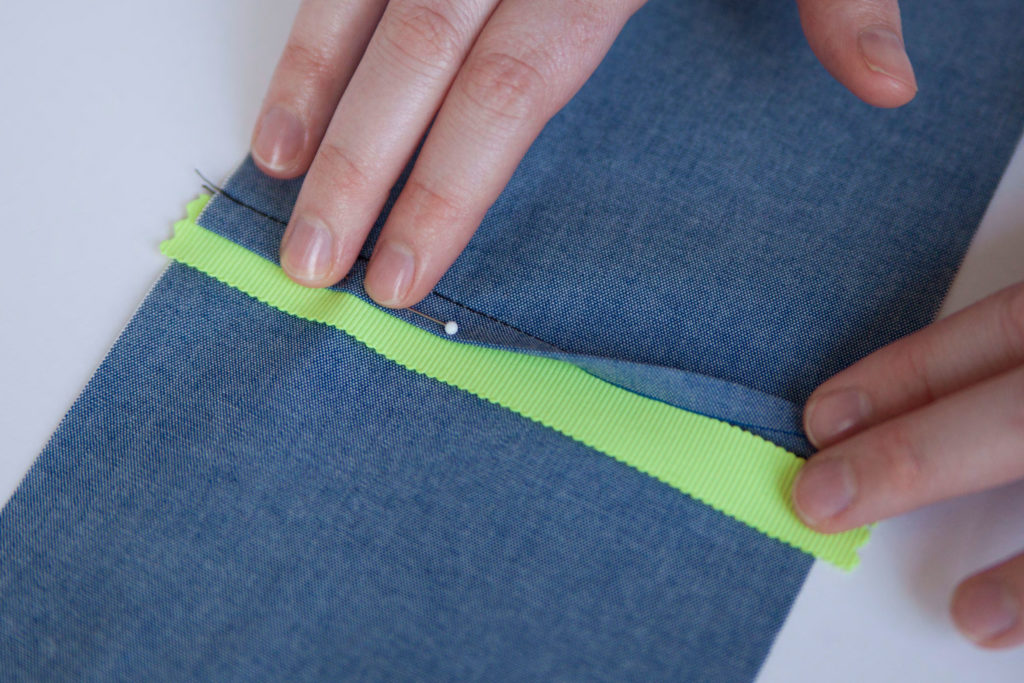
Step | 05
Slide your preferred trim between the flat felled seam and your garment and pin in place. To help keep your trim in place, try using a wash-away stabilizing tape, such as Wonder Tape. Wonder Tape has adhesive on both sides and will hold your trim in place while you sew!
Petersham Ribbon vs. Grosgrain Ribbon
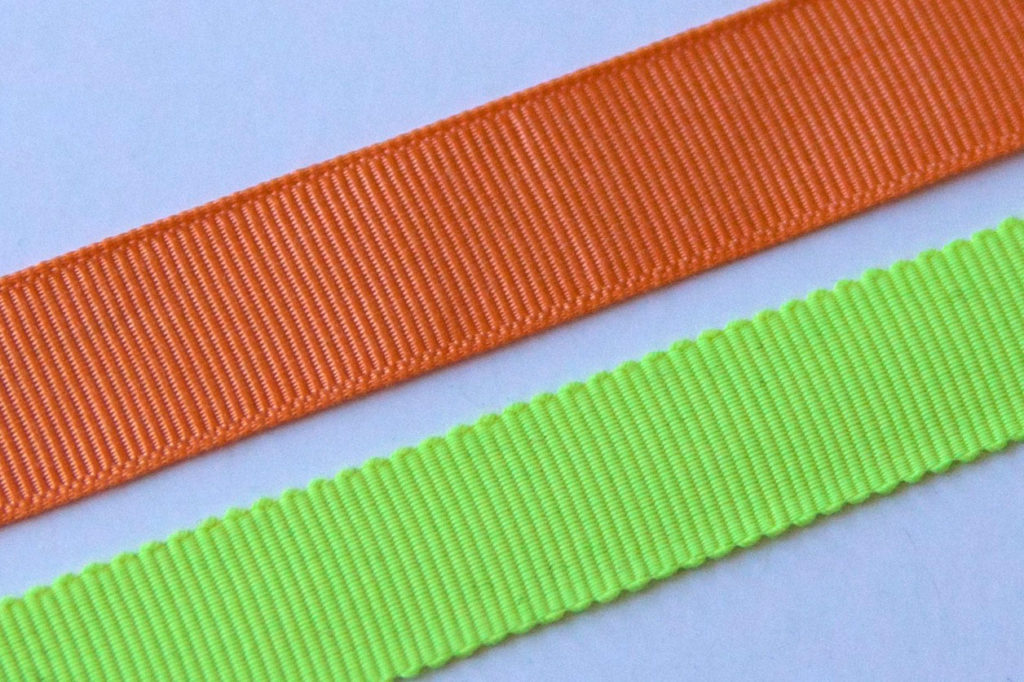
At first glance, Petersham and Grosgrain ribbon look almost identical. Grosgrain ribbon has a bound edge that provides stability and will not stretch. Petersham ribbon has a scalloped edge that allows the ribbon to be sewn on curved edges and steamed flat. When using ribbon in a peek seam, I suggest using Petersham ribbon over Grosgrain.
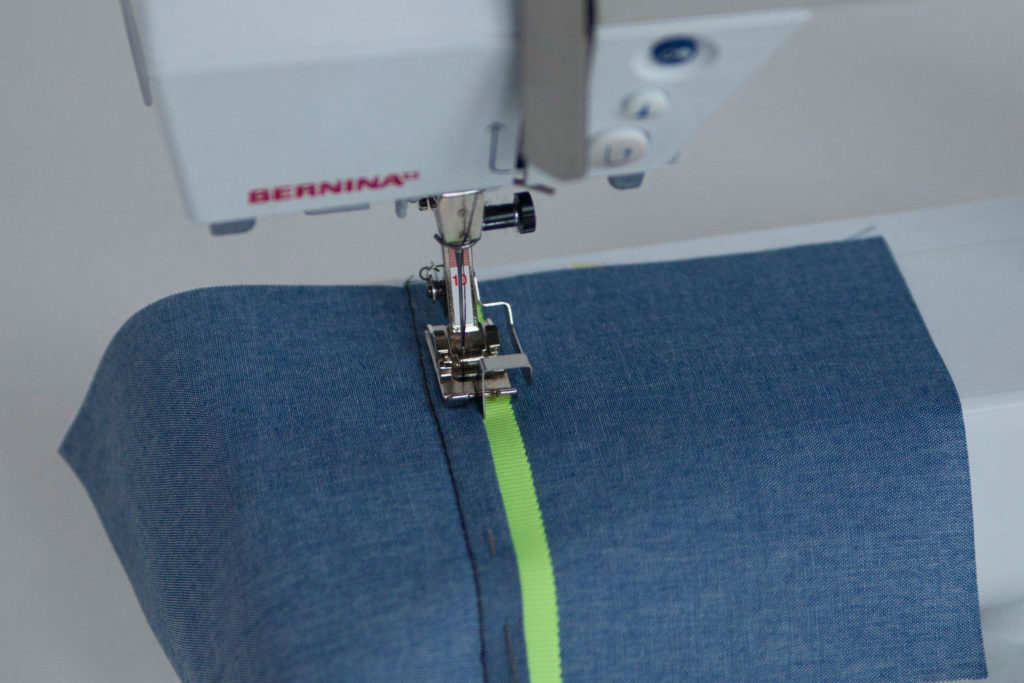
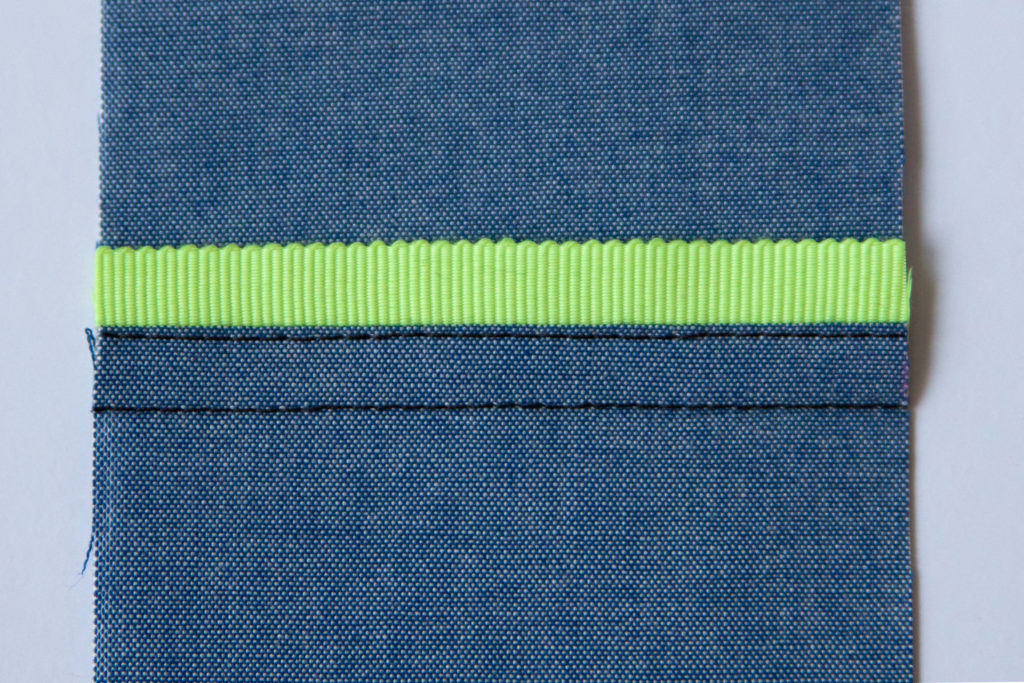
Step | 05
Edgestitch the seam allowance in place, approximately ⅛” away from the folded edge.
Peek Seam Variations
- Play with color! Use a contrasting color for a pop, or a similar color for a more subtle look.
- Get creative with trims: try rickrack, some scalloped ribbon, or even lace!
- Alter your pattern and create additional non-functional seams to add trim to. For instance, on the Weston shorts, create a new seam radiating from the front waist dart.