Sign In
Block Paper Scissors is a monthly column featuring patternmaking hacks that will help you give your Seamwork patterns a custom spin—all you need is paper, a ruler, and a pencil!
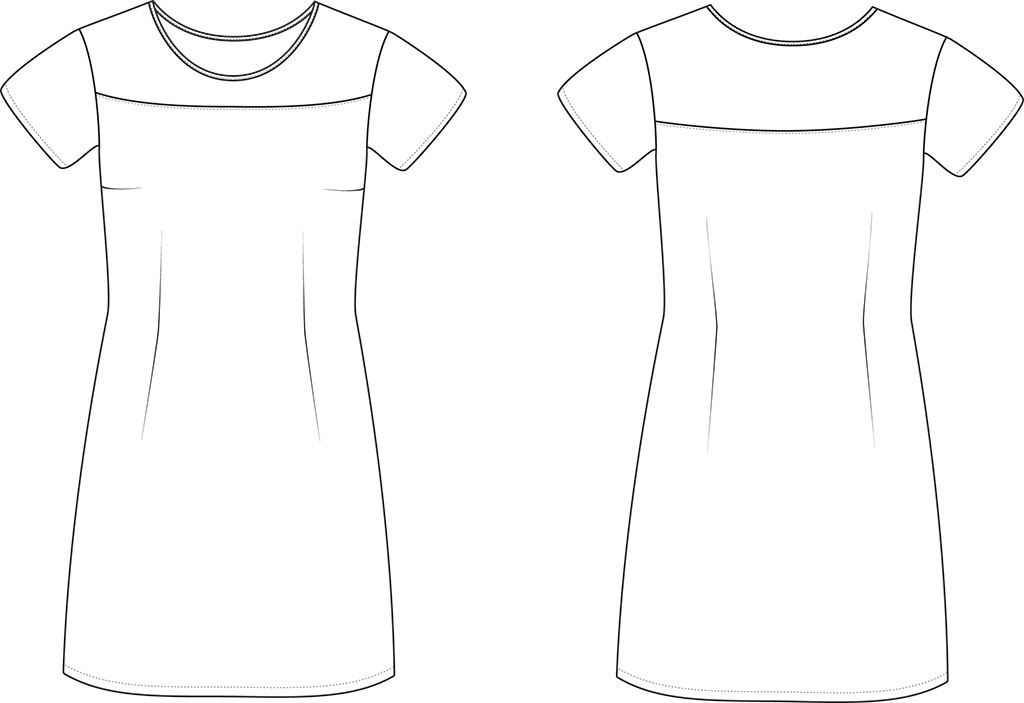
Lynn is an easy-to-wear shift dress that boasts both style and comfort. The back buttons offer a cute detail, but for those with longer hair, center back buttons can cause painful tangles. Or maybe you just prefer the streamlined look of a blank canvas. Either way, this hack will help you eliminate the back button placket along with the back waist seam to create a simplified version of this modern shift dress.
Note: Be sure to make any fit adjustments before doing the pattern hack.
You'll Need:
- Lynn
- Paper
- Pencil
- Ruler
- Tape
How to:
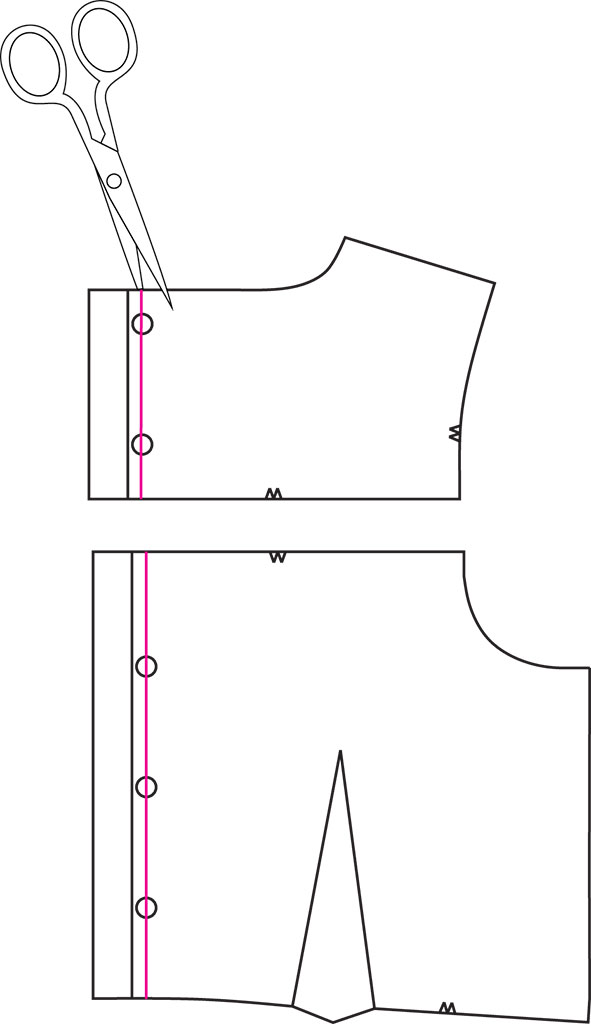
Step | 01
Draw a straight, vertical line on the back yoke and back bodice pieces through the center of the button placement markings. This is the center back line of the pattern pieces. Cut along this line.
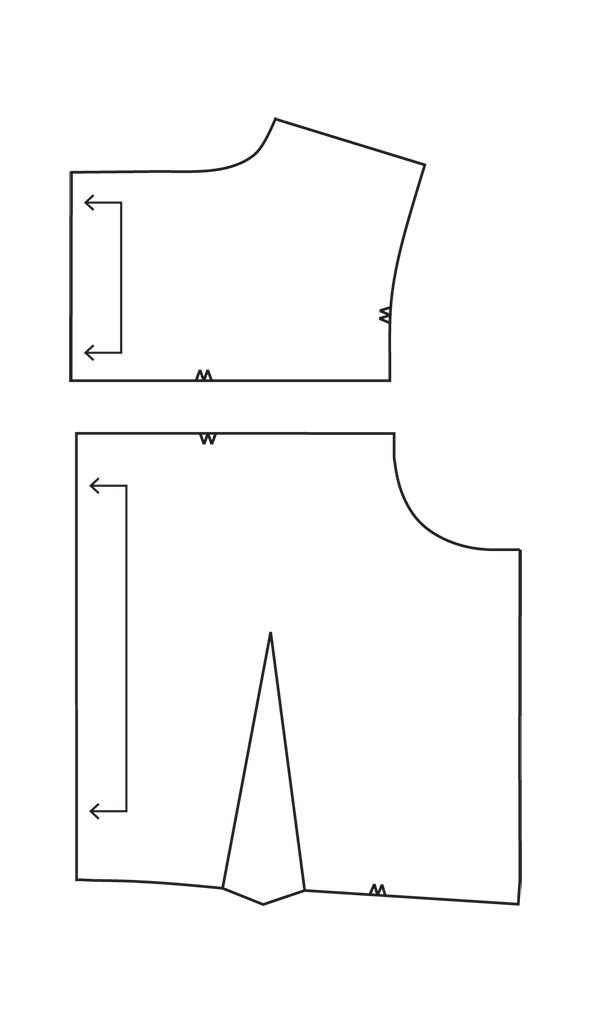
Step | 02
Redraw the grainline so that the pieces are cut 1 on fold. Remove the button placement markings. This is the final step in removing the back button placket.
Step | 03
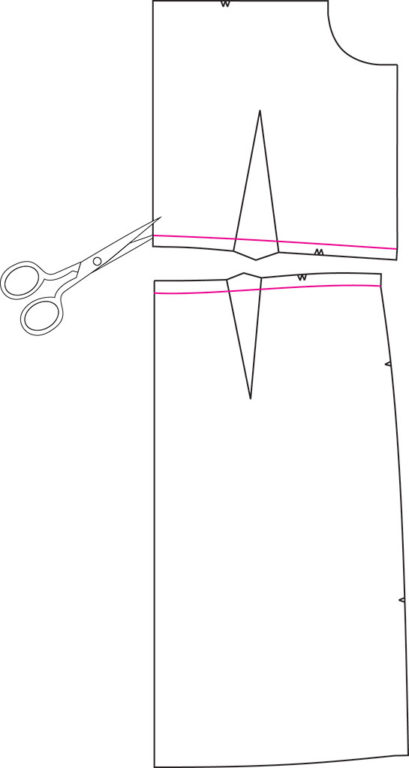
Remove the 5/8” seam allowance on the waistline of the back bodice and back skirt pieces.
Step | 04
Tape the back bodice and back skirt pieces together at the center back waistline. Doing this will cause the back skirt to overlap with the back bodice.
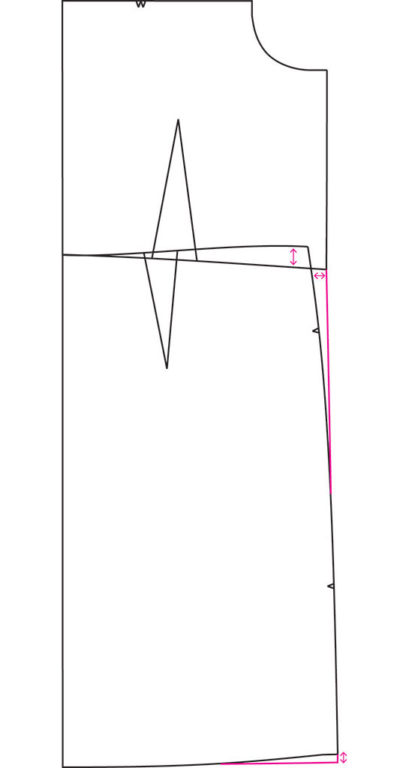
Step | 05
Measure the amount that the back skirt overlaps with the back bodice waistline.
Step | 06
Evenly redistribute this amount to the side seam and hem of the back skirt so that the back skirt will match the back bodice.
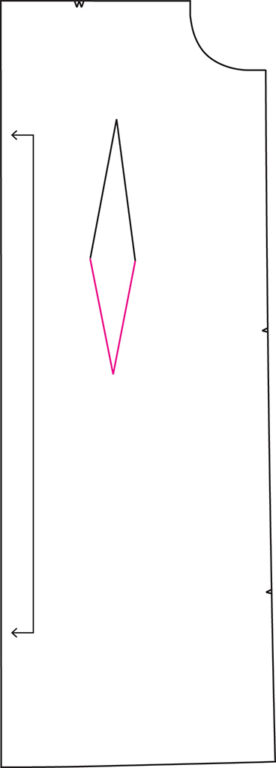
Step | 07
Shift the back skirt dart to match up with the back bodice dart. Redraw the dart legs to create a fish eye dart. You will now have one back pattern piece, similar to the front pattern piece. Draw a new grainline so that the pattern piece is cut 1 on fold.
Sewing Notes
When constructing the garment, assemble the back in the same manner you would assemble the front, and continue following the instructions for installing sleeves and finishing the garment.

About the Author
As pattern designer, Anna works hard to make sure our sewing patterns boast both great style and instructions. She believes in the power of chocolate and coffee to cure just about anything.