Sign In
Each month, Seamwork Magazine brings you two new wardrobe-building patterns along with inspirational articles and informative tutorials. Sewists tend to be detail-oriented by nature. We thrive when fussing over the perfect welt pocket or finding the perfect shade of thread to match.
Those times when we really slow down and cherish the details are when we shine the brightest. This series is dedicated to the small details that take your project to the next level. Whether it is a new seam finish or a fun embellishment, take the time to make your next me-made item one-of-a-kind.
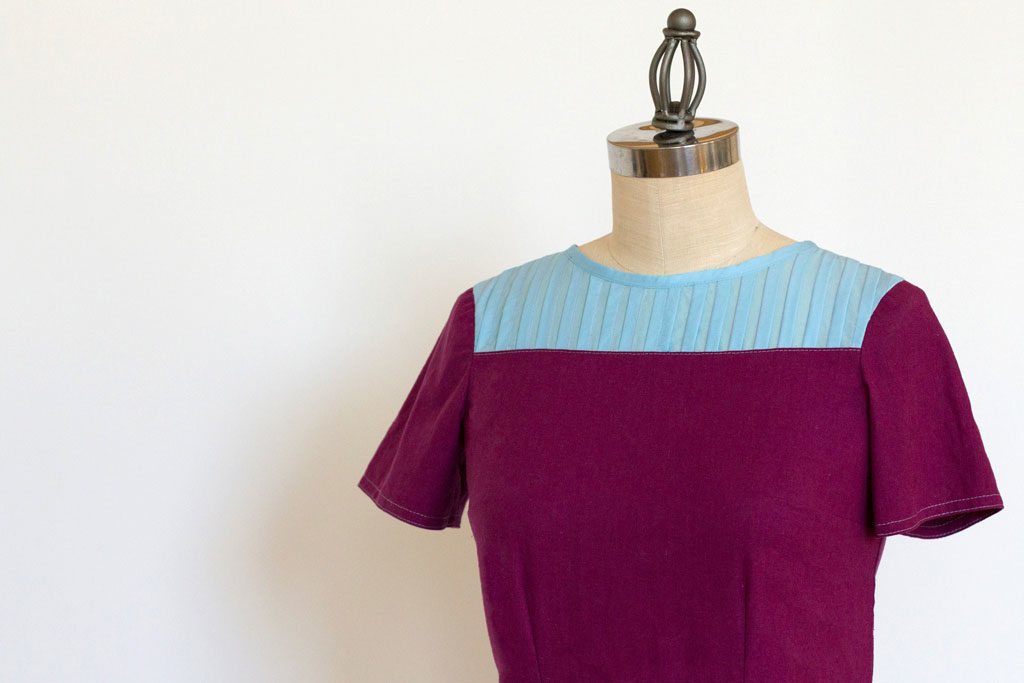
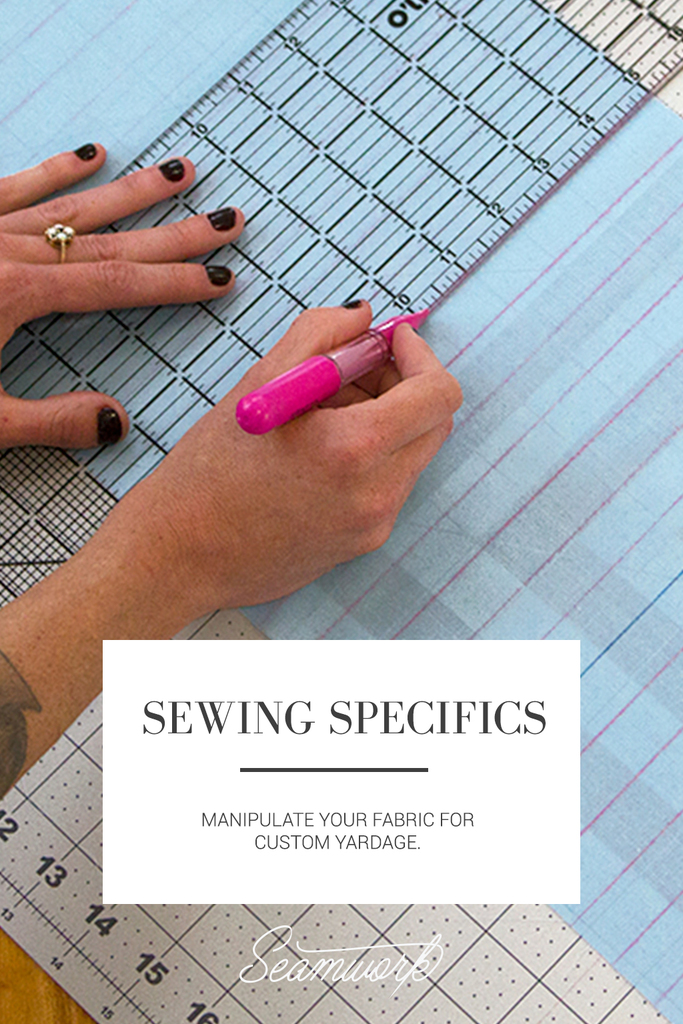
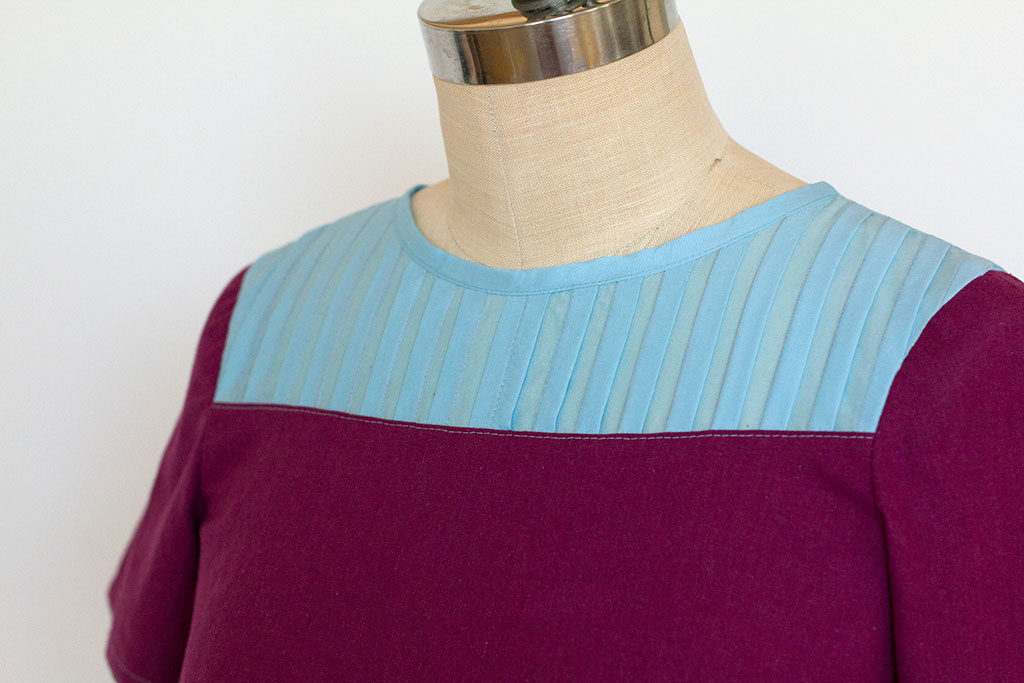
Manipulating fabrics before the cutting process gives sewists the ability to experiment with texture and transparency without altering patterns. There are countless ways of altering surface textures and this month we will take an in-depth look at how to pre-pintuck fabrics for a fully pintucked yoke.
How to:
Pintucking Fabric for a Yoke Front:
Measure the height and width of your yoke front piece. Multiply your width measurement by 2; this will be your width measurement for your fabric piece. Add 3" to the height measurement of the yoke to determine fabric height.
Cut 1 rectangle of fabric at your new width and height measurement. For example, my yoke front piece measured 15" wide by 7" tall. I cut a rectangle of fabric that was 30" wide by 10" tall.
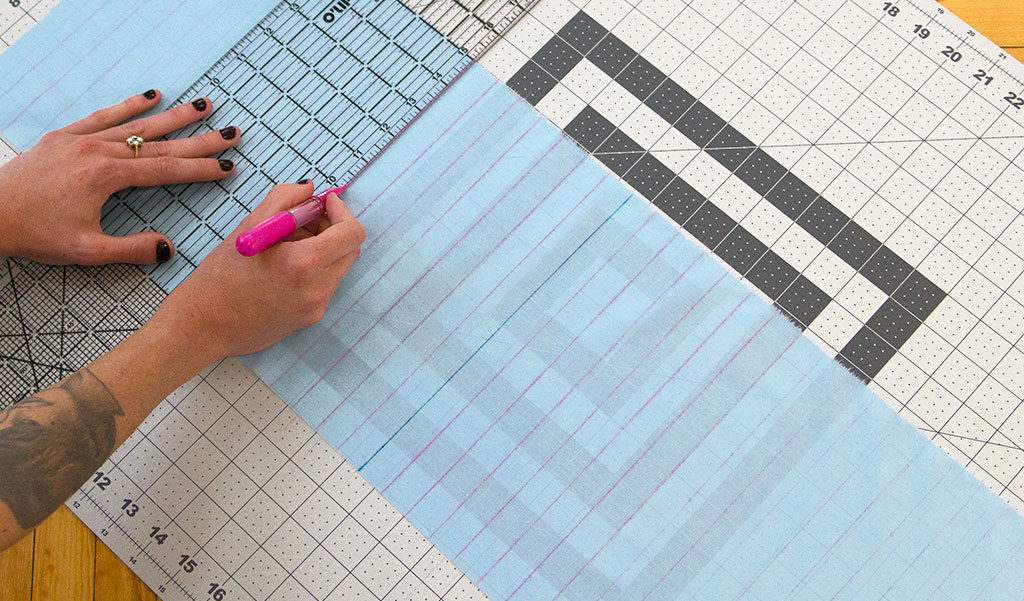
To start pintucking, you'll need to draw a series of lines that will be used to create the tucks. At the center of your rectangle, draw a line perpendicular to the selvage. This is will be your center front.
Draw a parallel line 3/4" away from the center front. Continue to draw parallel lines that are 3/4" away from each other along the remaining length of both sides of the center front.
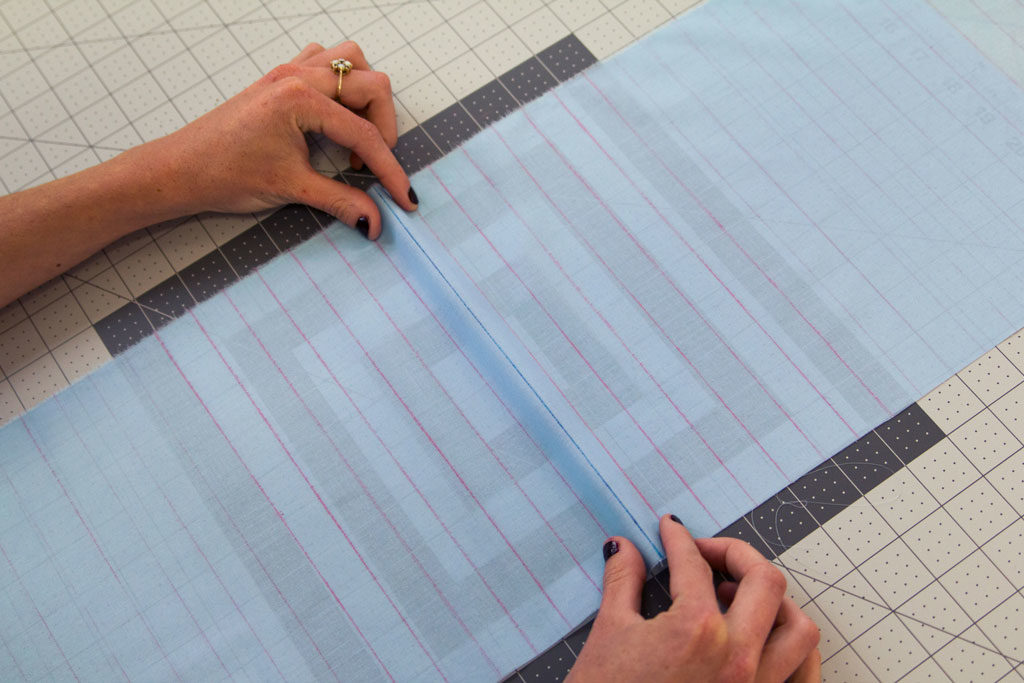
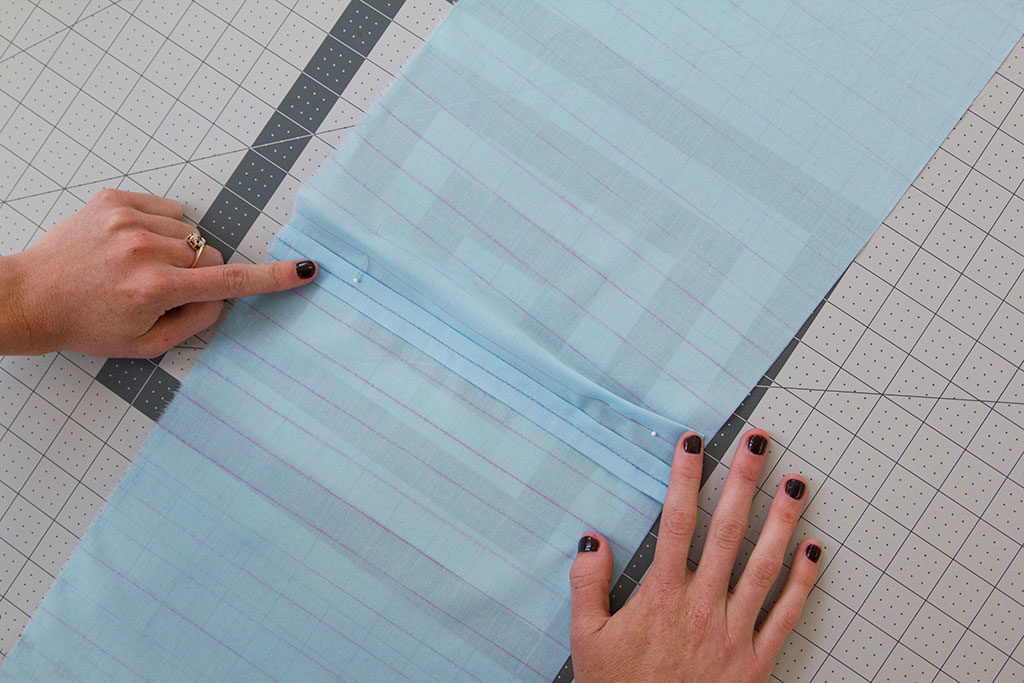
At the center front, pinch the fabric so that the lines immediately to either side of the center front are now together. Finger press the fold in place.
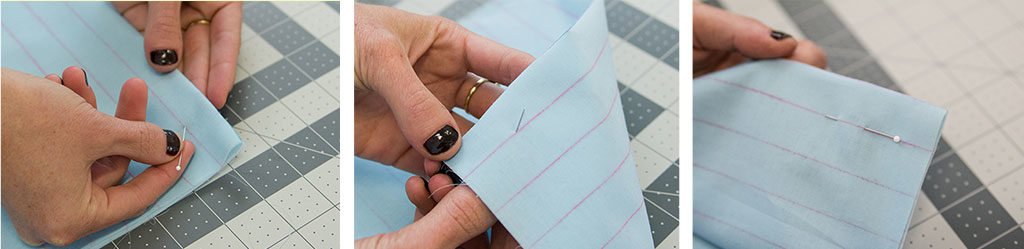
Pin the tuck in place by bringing the pin straight through the first line directly to the line on the opposite side. Sew along the marked line at a regular stitch length.
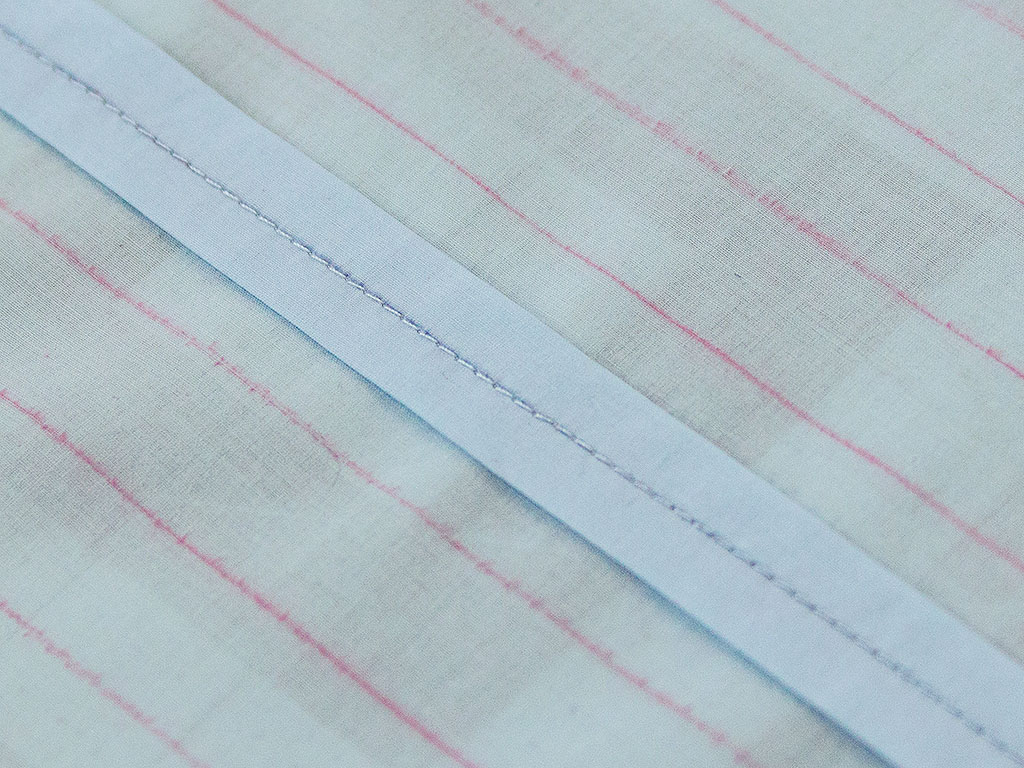
Press this tuck open. It will look similar to a box pleat. Using the same pinning technique as before, pin the center front line to the stitching line. Sew along the center front line.
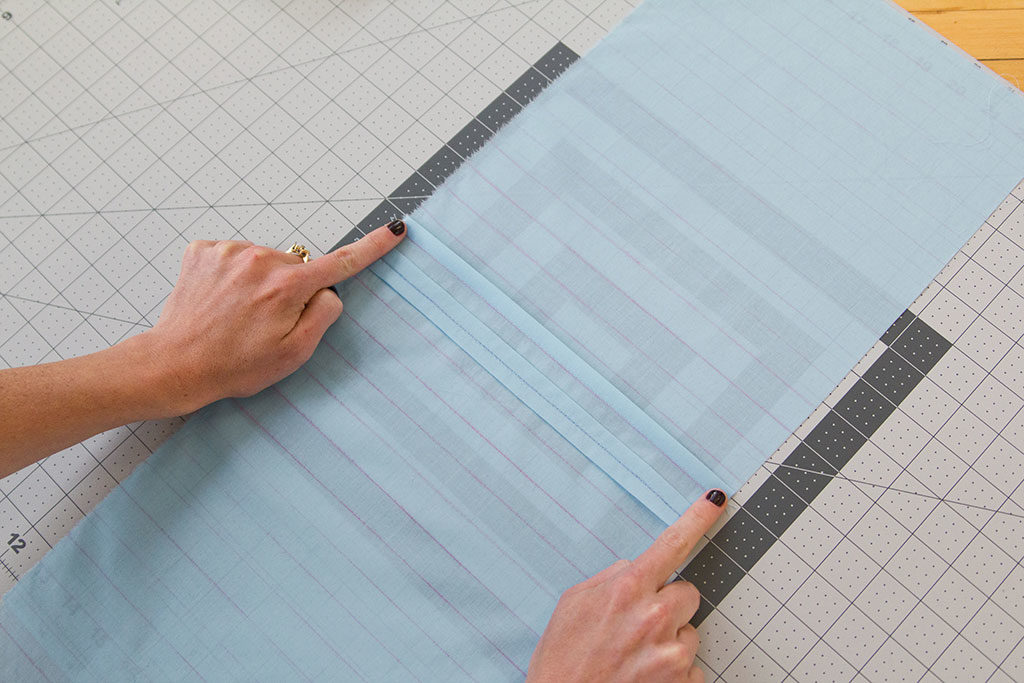
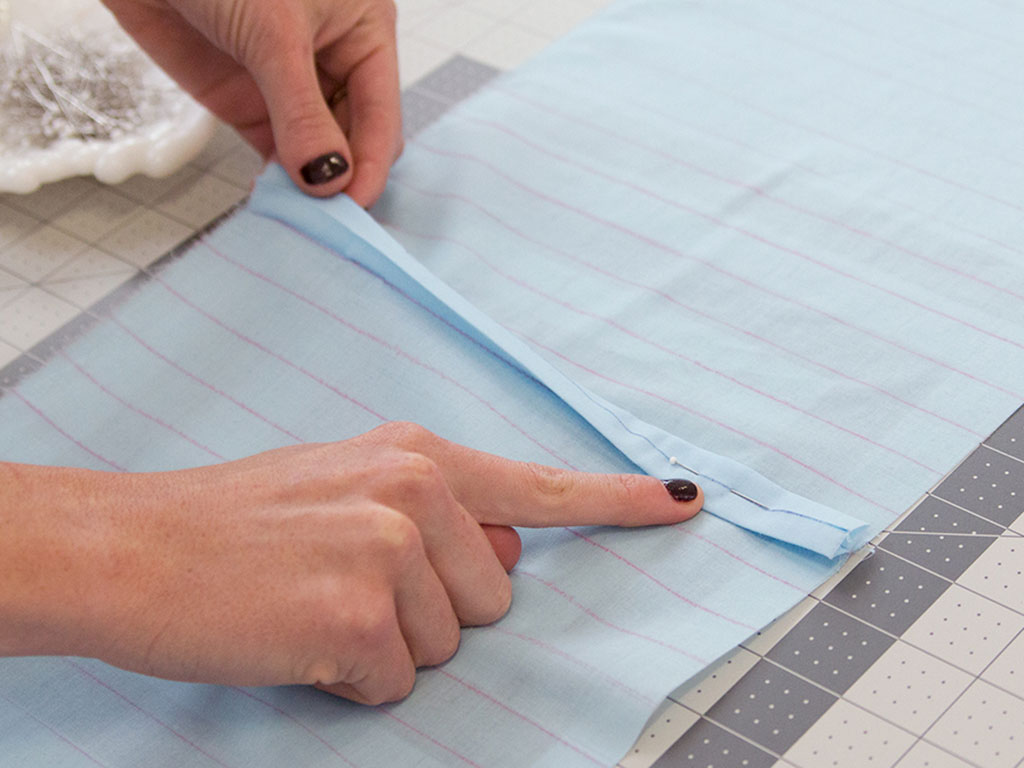
Now it's time to create pintucks along both sides of the center front. Start by finding the next set of lines near the center front. Pinch, finger press, and pin theses lines together. Sew this fold in place directly on the marked line. Repeat this process for the remaining length of fabric on either side of the center front.

After sewing, press the tucks away from center front. Be wary of stretching your fabric: press in an up-and-down motion to avoid warping the fabric and tucks.
Pintucking Fabric for a Yoke Back:
To prepare your fabric for the yoke back, measure the height and width of your yoke back piece. Multiply your width measurement by 2.5; this will be your width measurement for your fabric piece. Add 3" to your height measurement. Cut 2 rectangles of fabric at these measurements. For example, my yoke back piece measured 10" wide by 6" tall. I cut 2 rectangles of fabric that were 25" wide by 9" tall.
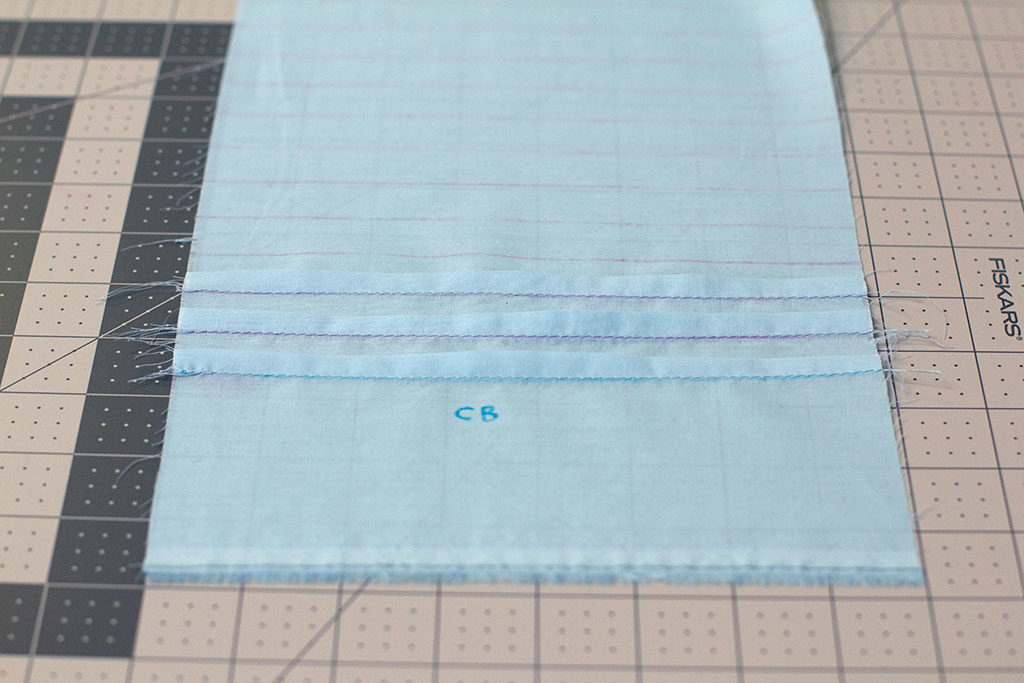
Draw a series of parallel lines 3/4" away from each other along the width of your fabric rectangle. Repeat step 7 to create pintucks throughout the width of your rectangle. After sewing, press the tucks away from the center back.
Layout Tip:
To accommodate closures like the center back button placket on Lynn always leave 3–4" of negative space along the left or right edge of your fabric (depending on your pattern layout).
Tips for Cutting Pattern Pieces
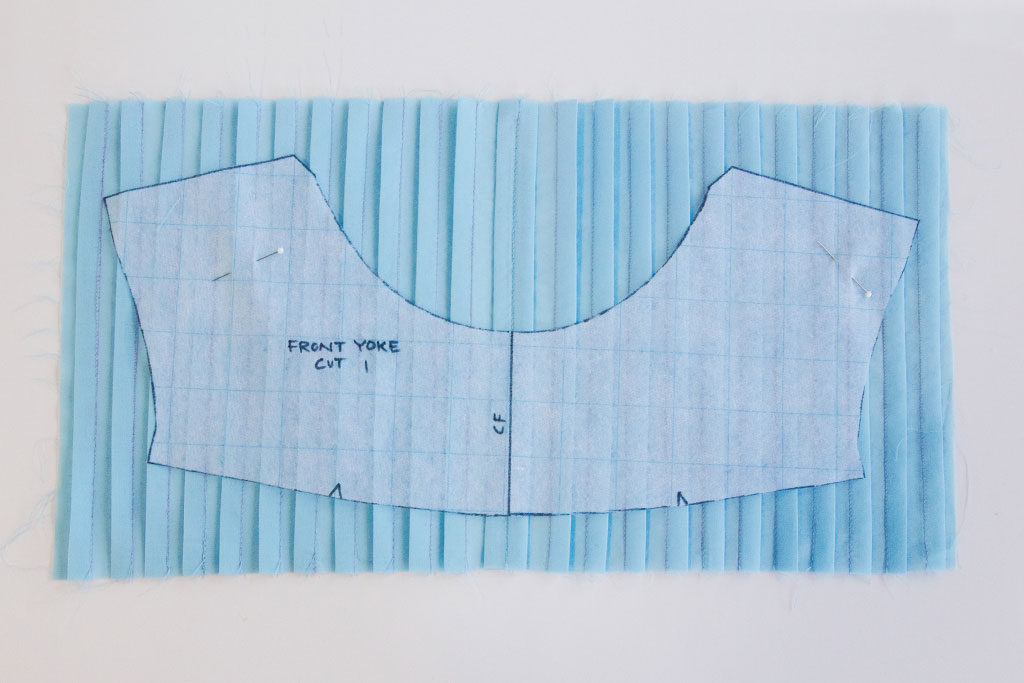
For the yoke front, match up the center front of your pattern to the center front of your pin-tucked fabric.
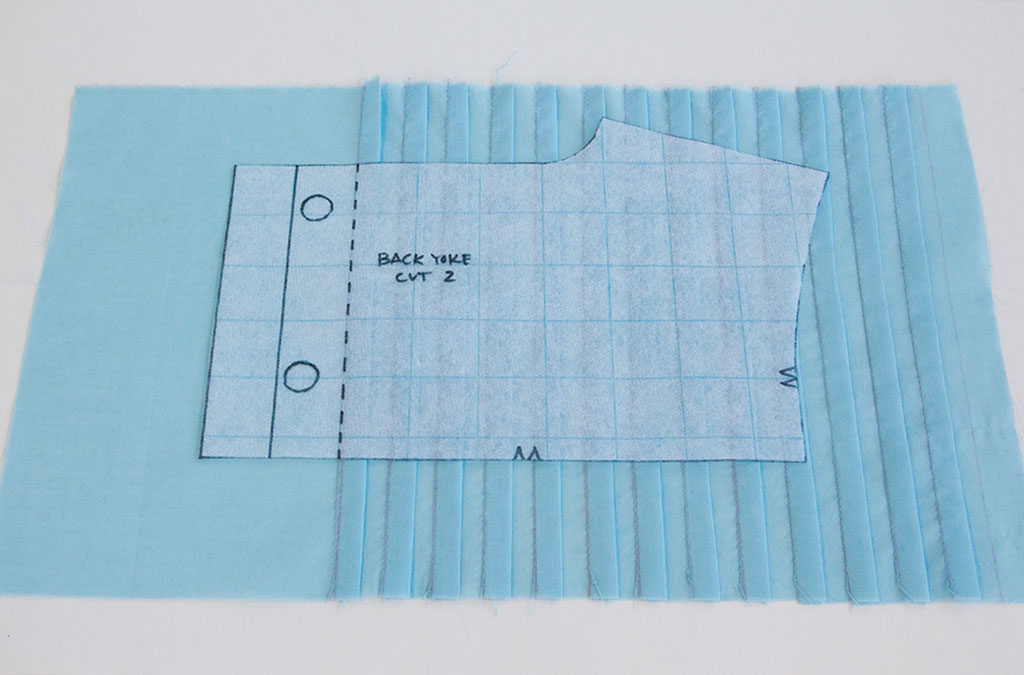
For the yoke back, line up the end of the closure detail with the beginning of the pin tucking.
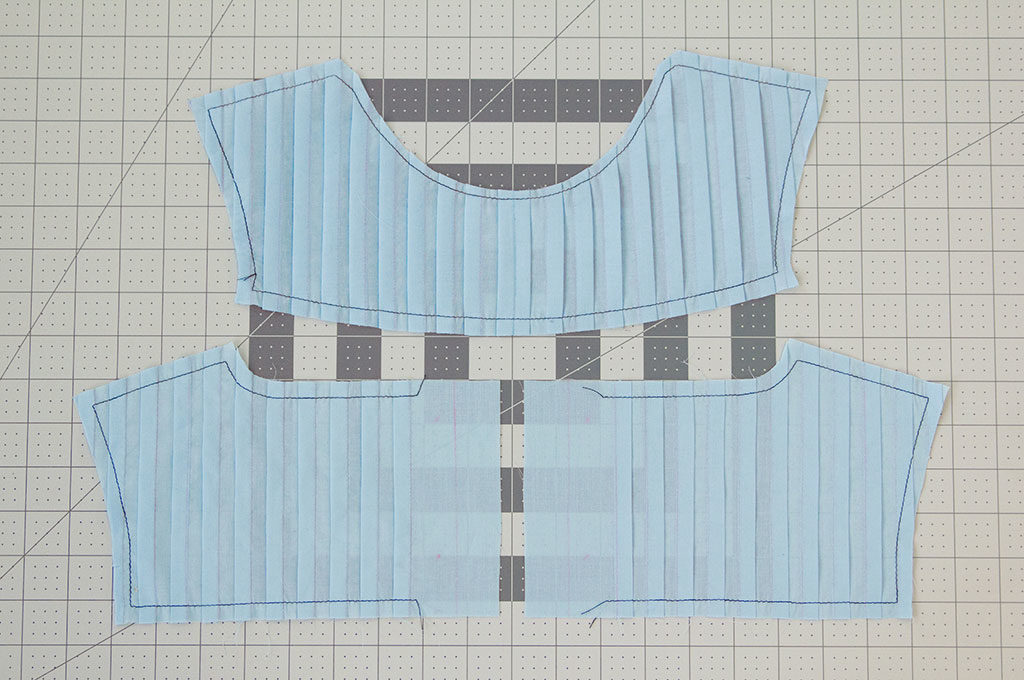
After cutting, immediately staystitch all edges of your pattern pieces at 3/8" seam allowance to keep the tucks in place.