Each month, Seamwork Magazine brings you two new wardrobe-building patterns along with inspirational articles and informative tutorials. Sewists tend to be detail-oriented by nature. We thrive when fussing over the perfect welt pocket or finding the perfect shade of thread to match.
Those times when we really slow down and cherish the details are when we shine the brightest. This series is dedicated to the small details that take your project to the next level. Whether it is a new seam finish or a fun embellishment, take the time to make your next me-made item one of a kind.

This month we take an in-depth look at how to add a button tab to a sleeve for easy cuffing. This technique is perfect for knit shirts, like Jane, or any garment that might look sharp with rolled-up sleeves.
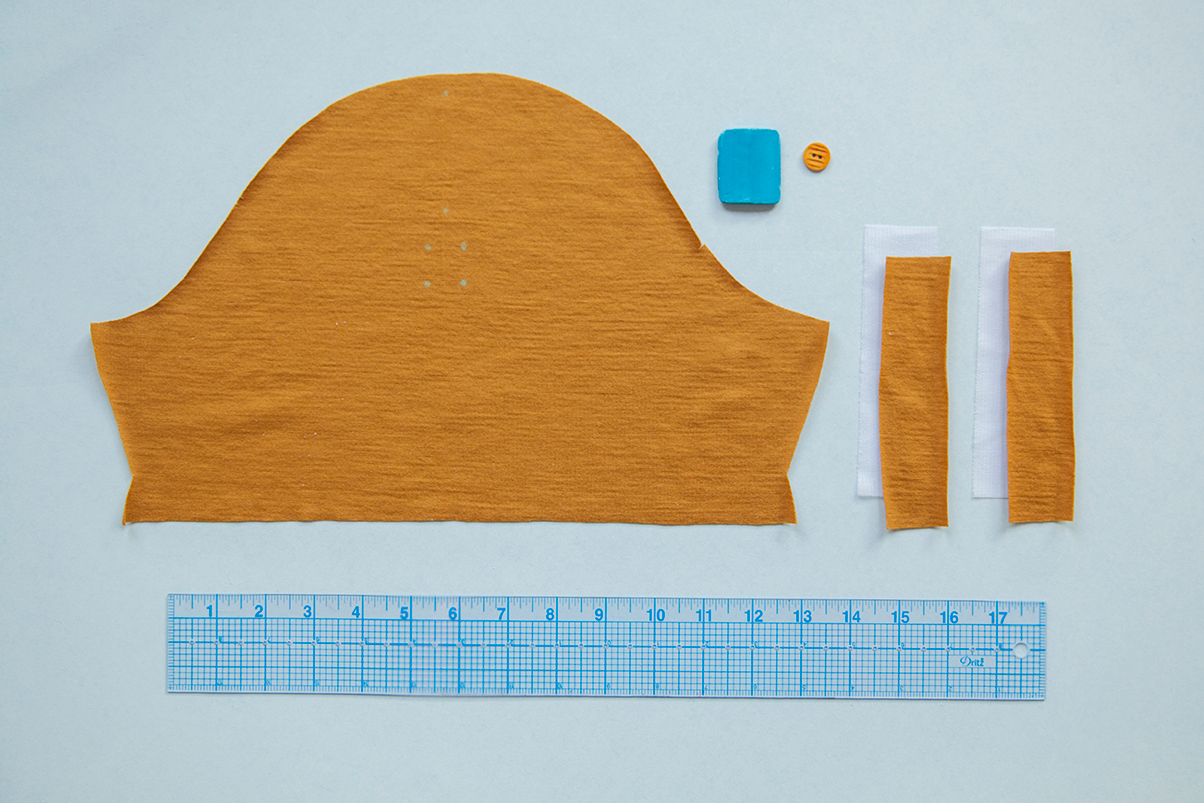
You'll Need
- A sleeve pattern
- Four 5 1/2” x 1 1/2” rectangles of main fabric, for the button tabs
- Two 5 1/2” x 1 1/2” piece of fusible interfacing
- Two buttons between 3/8” and 1/2” wide
- Thread, in matching color
- Marking pen or chalk
- Ruler
Marking the Sleeve Pattern
Before cutting out the sleeve, you’ll need to add placement markings to the sleeve pattern, for the button tabs.
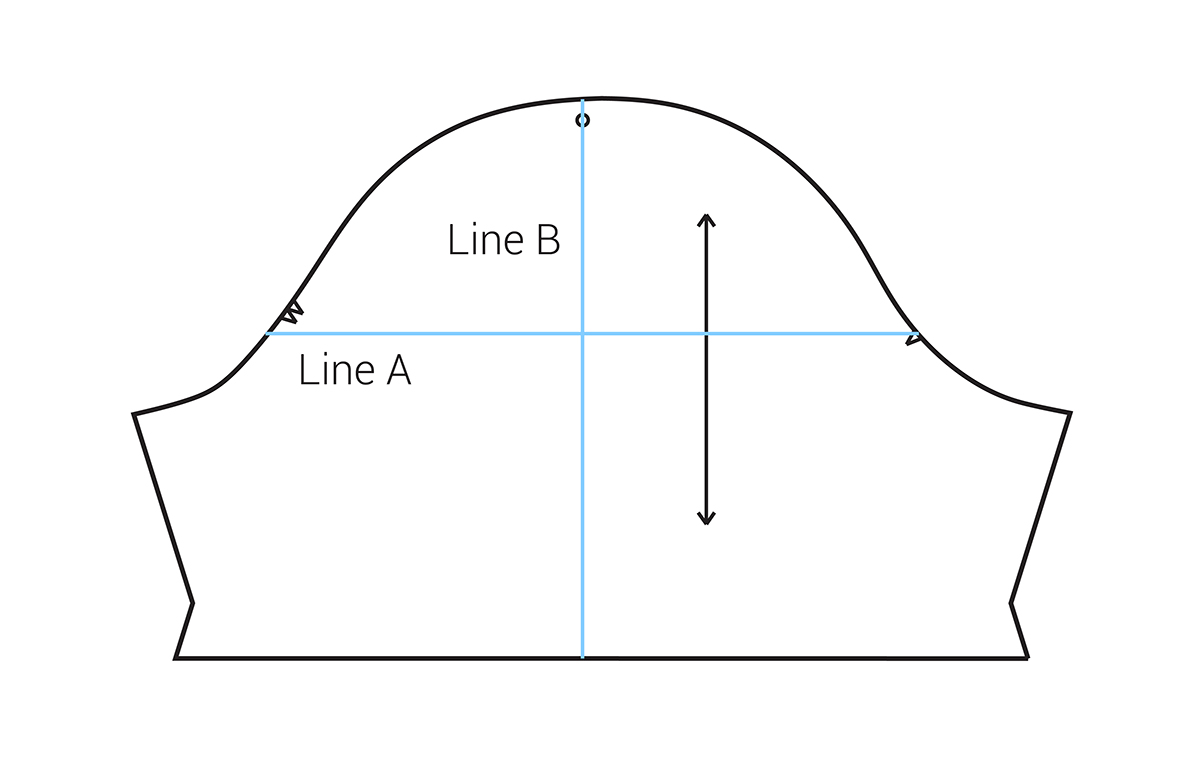
On the sleeve pattern, draw a line perpendicular to the grainline from the single notch on the front of the sleeve cap to the back of the sleeve cap. This is line A.
Draw a line parallel to the grainline from the shoulder marking to the sleeve hem. This is line B.
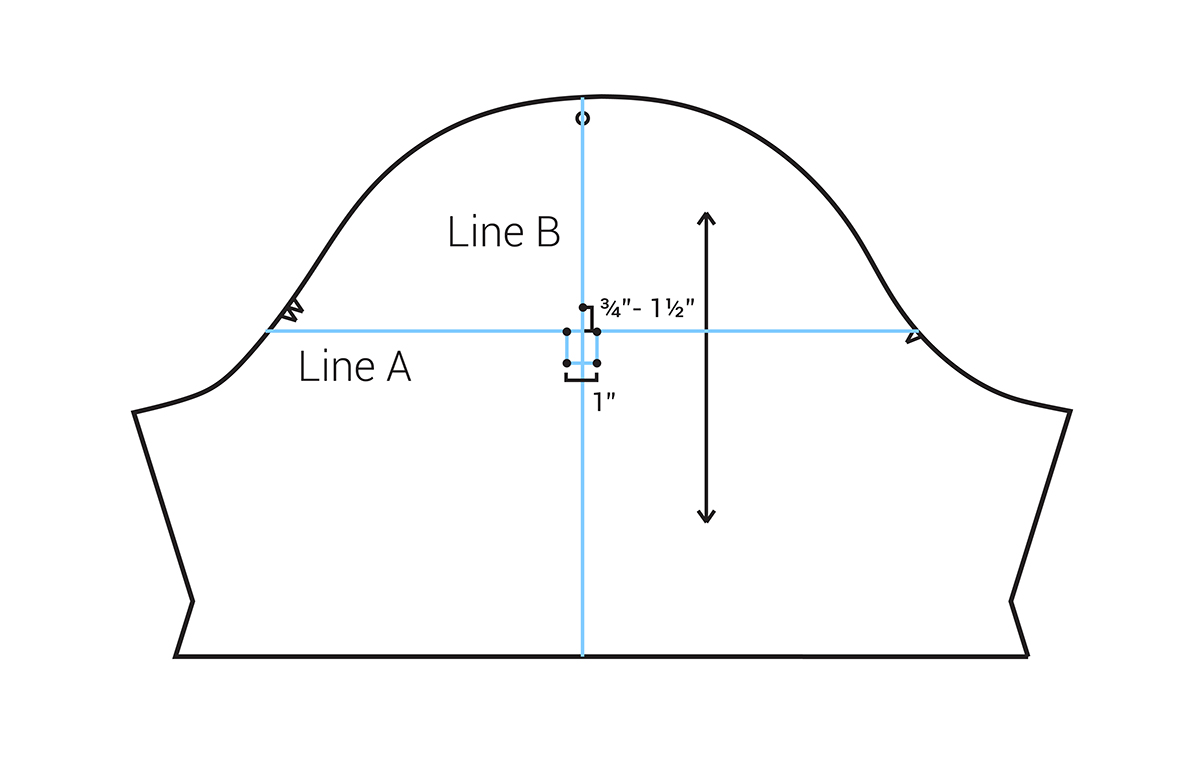
Starting from the intersection of lines A and B, measure 3/8” in either direction along line A. Mark both points. You will now have two markings along line A, 3/4” away from each other. These are the top corners of your square.
Create a new line that is 3/4” down from line A, marking the two lower corners of the square.
From the intersection of lines A and B, measure 3/4” up along line B. Mark. This is your button placement mark.
If you are cutting a size larger than medium, you might decide that you would like your button to be a tad higher than 3/4”. Before sewing the button to the sleeve, try on your garment and make sure you like the button placement.
Assembling the Button Tab
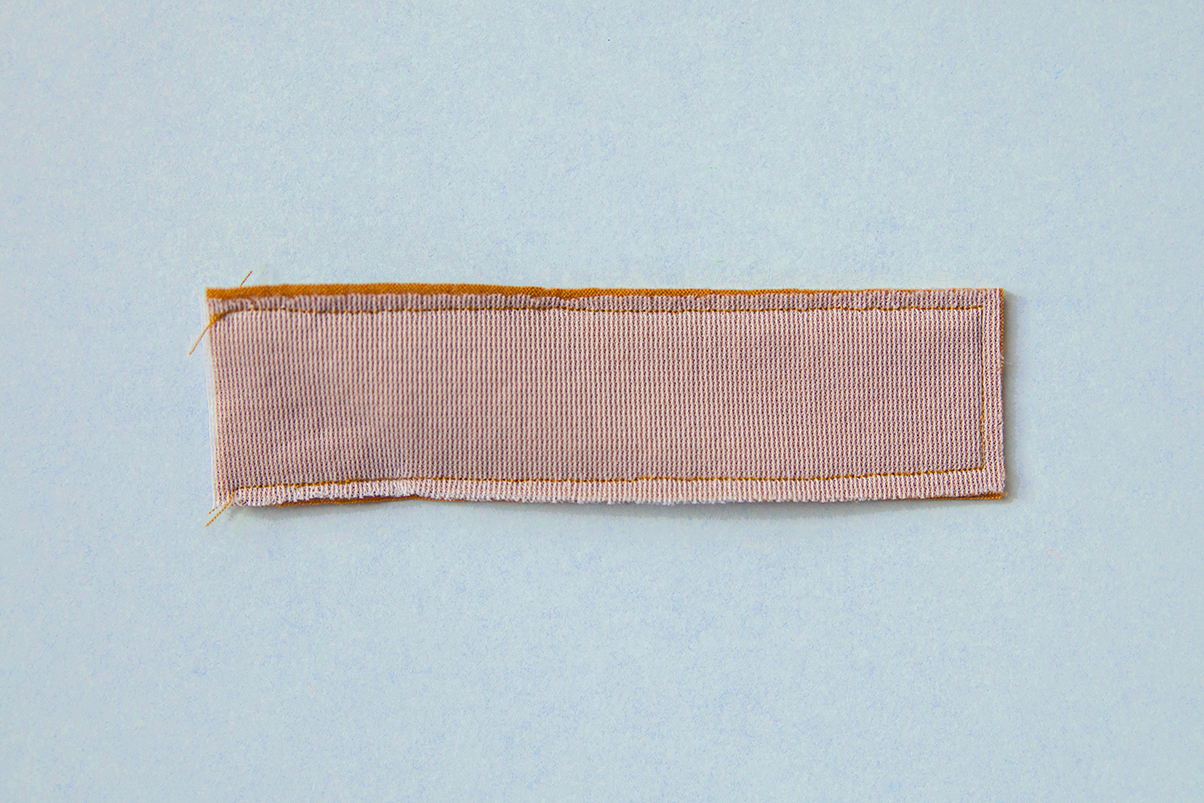
Step | 01
With right sides together, align the two 5 1/2” x 1 1/2” rectangles of main fabric. Pin both long edges and one short edge. Sew along three edges at a 1/4” seam allowance, leaving one short end open.
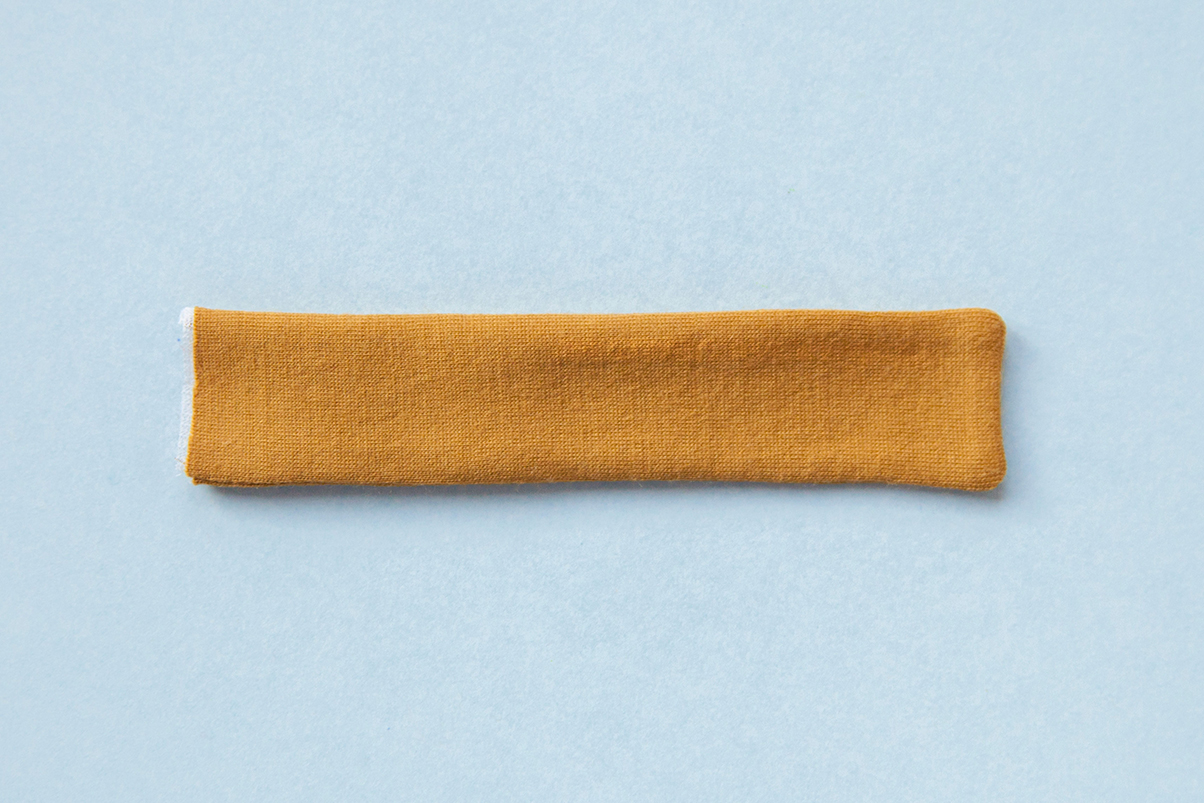
Step | 02
Turn the button tab right side out and press.
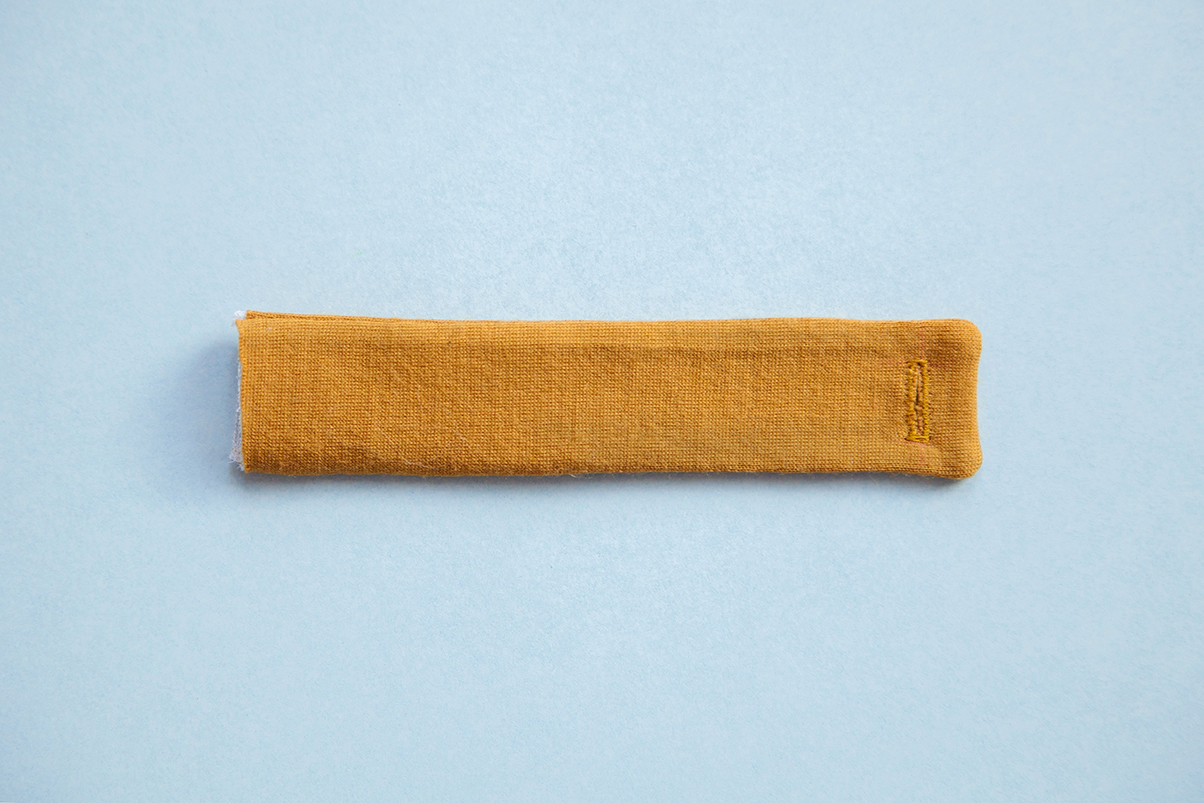
Step | 03
Create a buttonhole at the finished end of the button tab, at the correct size for your button.
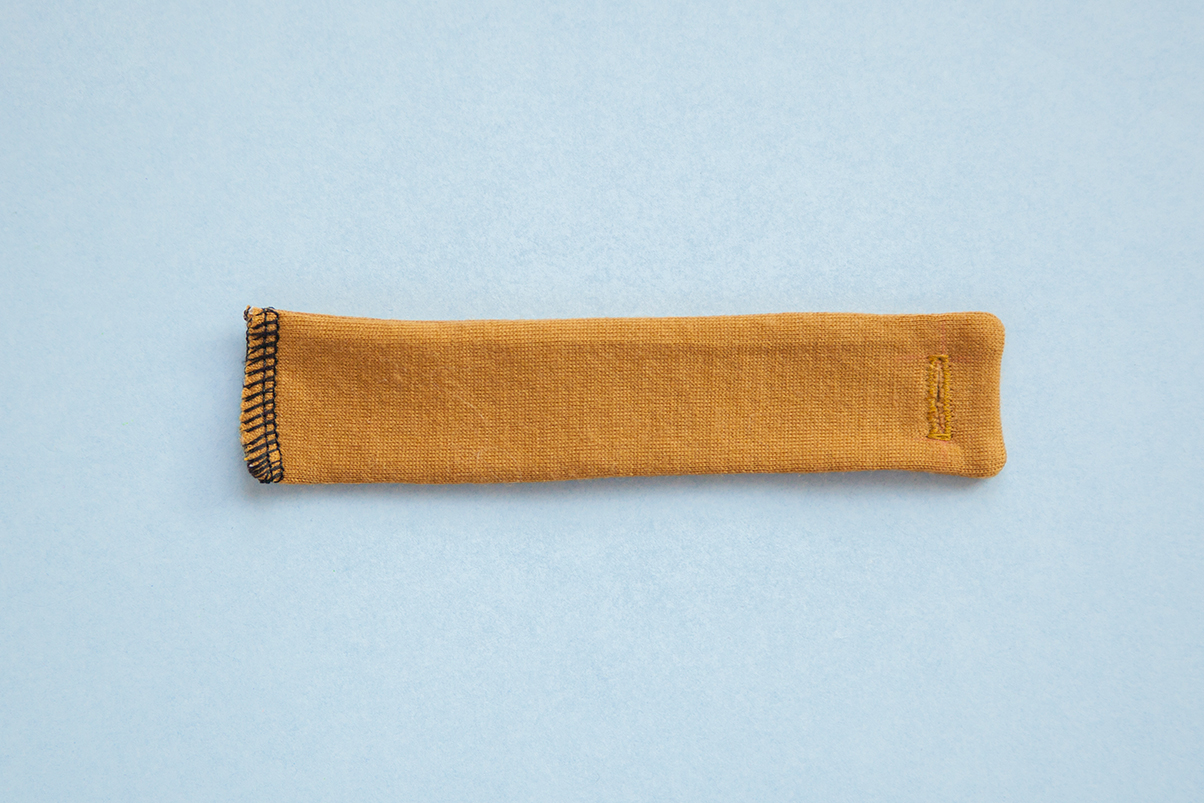
Step | 04
Edgestitch around the three turned edges of the button tab at a 1/8” seam allowance. Finish the raw edges of the unsewn short edge by a serger or zig-zag stitch.
Attaching the Button Tab to the Sleeve.
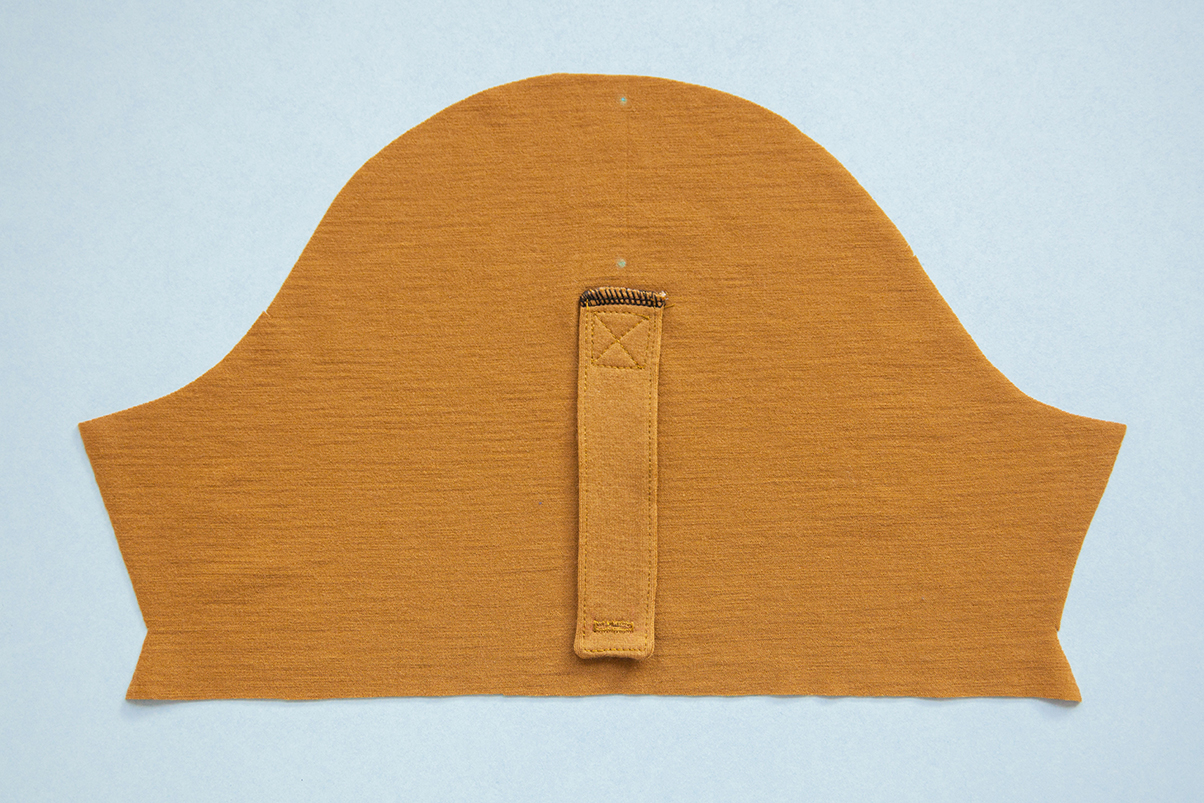
Step | 05
Align the end of the button tab without a buttonhole with the placement markings on the wrong side of the sleeve piece. Pin in place.
Sew the button tab to the sleeve by stitching from each corner placement marking, creating a square shape. For extra stability, pivot at the corners and create an “X” inside the square.
Step | 06
At the button placement mark, sew the button to the right side of the sleeve piece. Note that if you are working with a particularly thin fabric, consider reinforcing the button area with an extra piece of fabric or interfacing on the wrong side of your sleeve.
Continue constructing your garment per the pattern instructions. Once finished, roll up your sleeves, button your button tab, and you’ll be looking oh-so-cool in your cuffed sleeves!


