Sign In
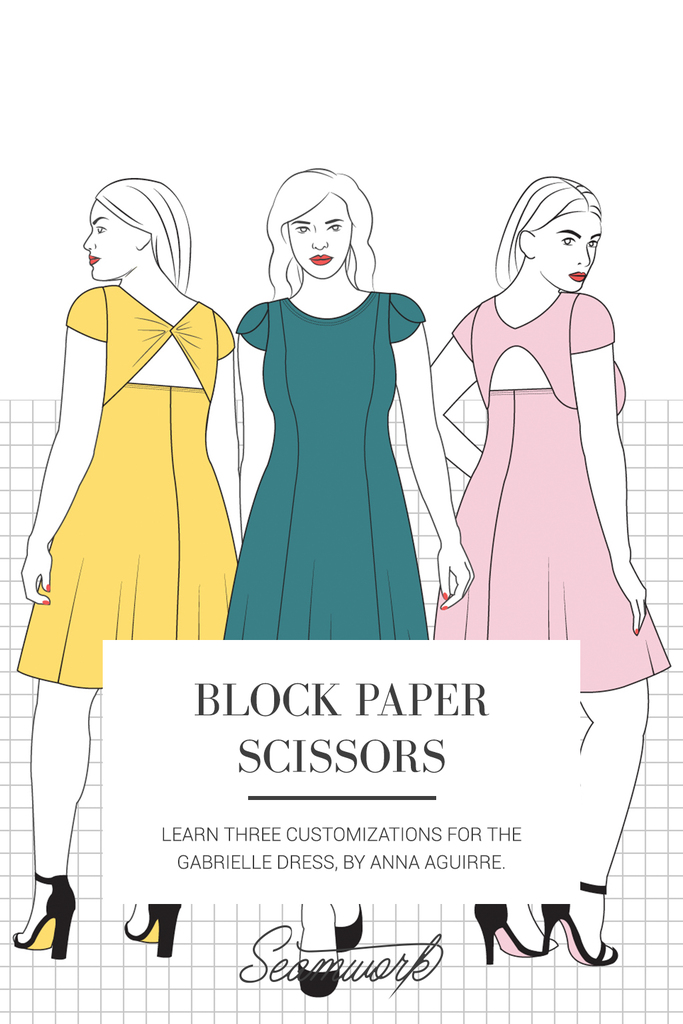
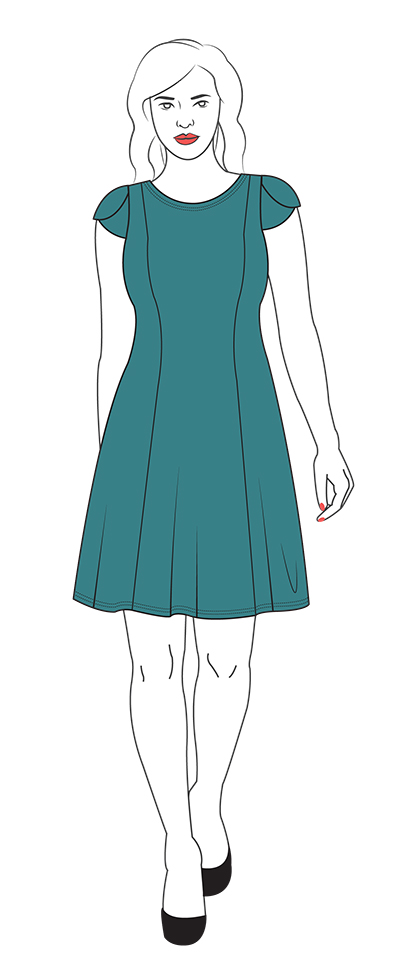
Block Paper Scissors is a monthly column featuring patternmaking hacks that will help you give your Seamwork patterns a custom spin—all you need is paper, a ruler, and a pencil! Each month we walk you through three different pattern hacks so you can create a garment exactly to your preference.
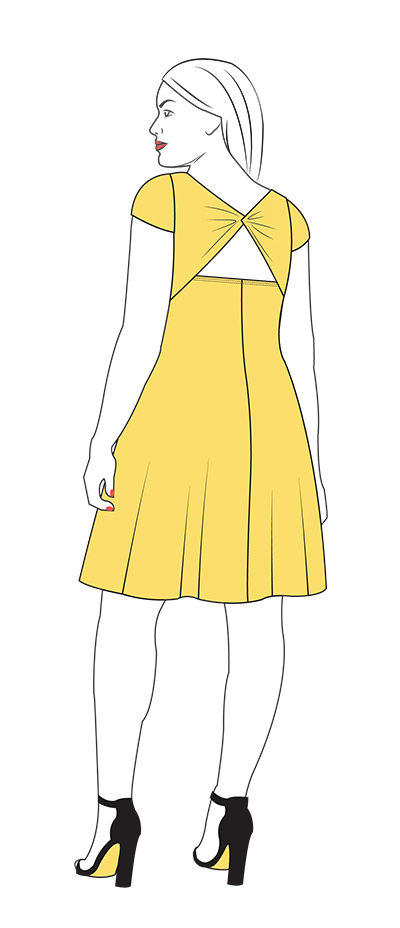
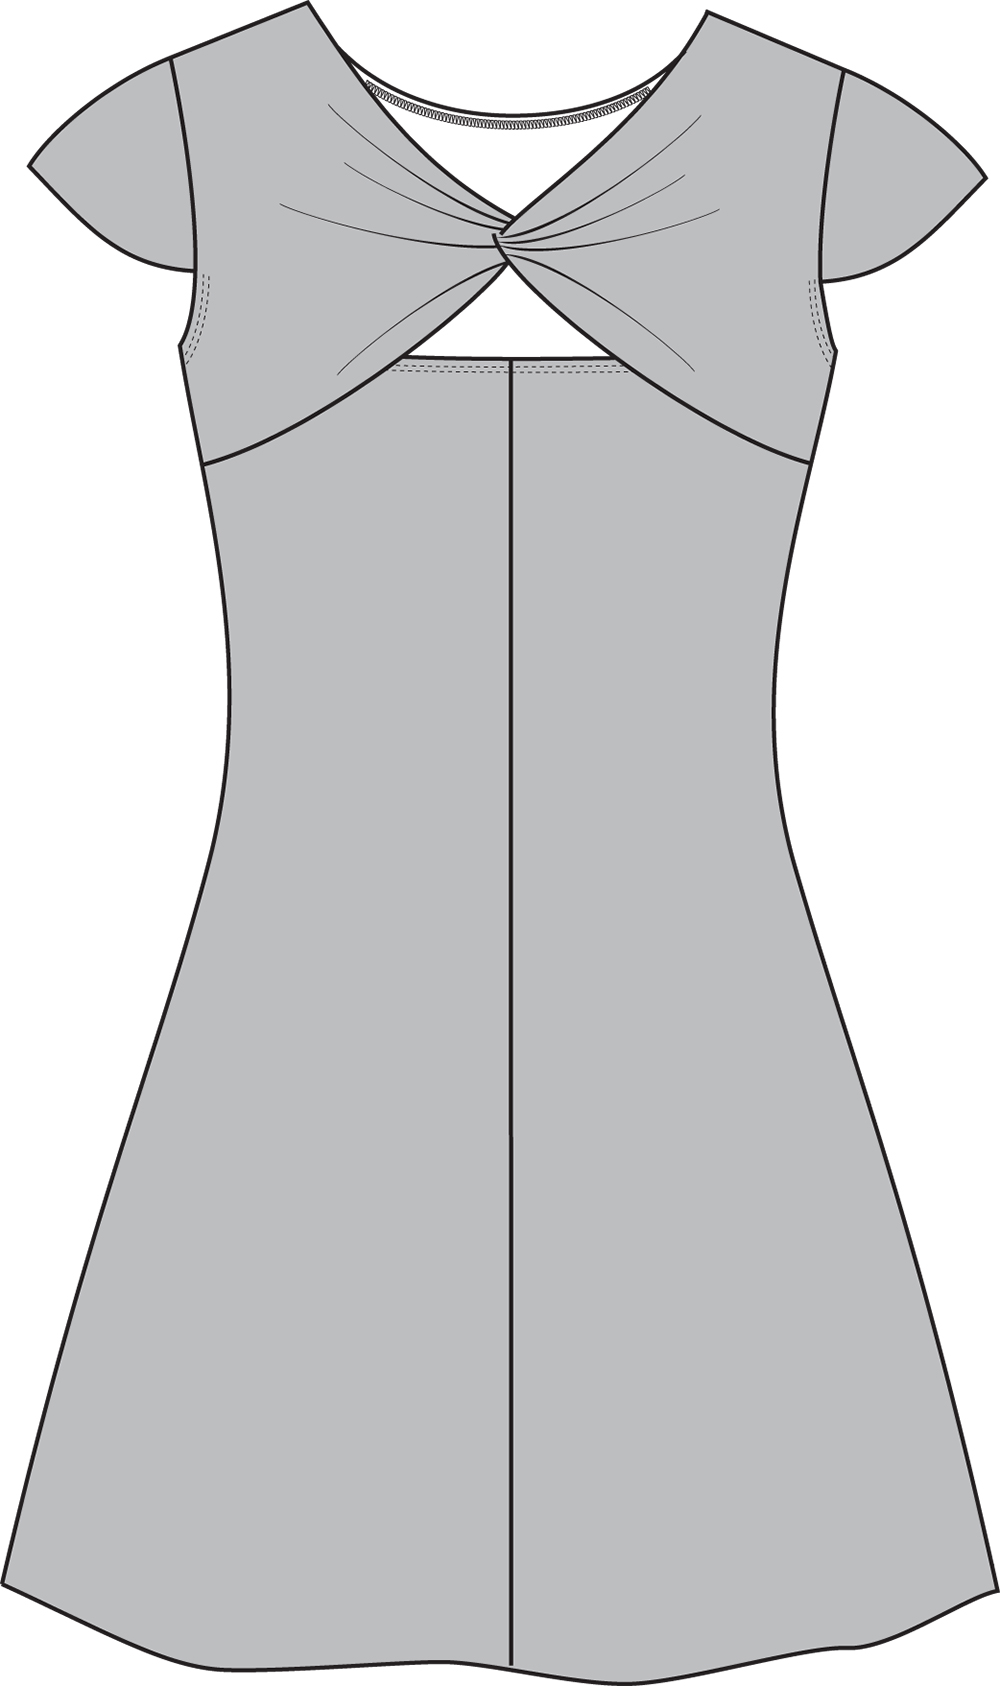
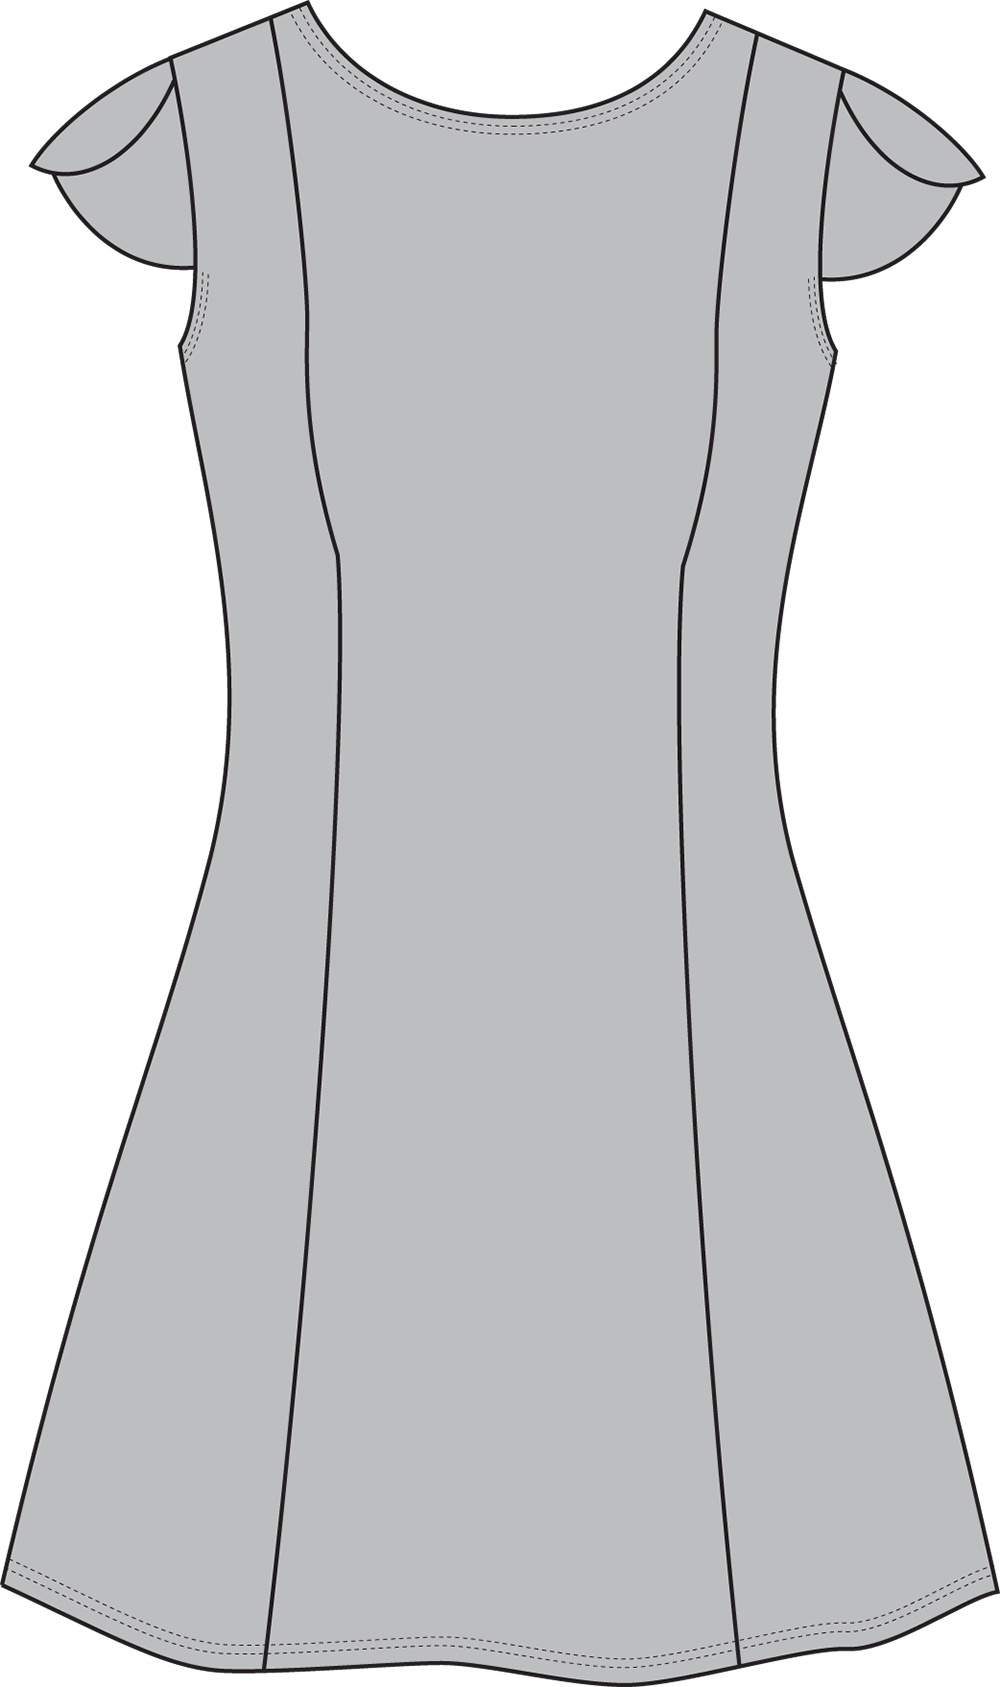
This month we walk you through three different pattern hacks for the Gabrielle dress, which you can mix and match to create a unique garment. Learn how to create a smooth back yoke, a twist back yoke, or a petal cap sleeve.
Note: Be sure to make any fit adjustments before doing the pattern hack.
You'll Need:
- The Gabrielle dress
- Paper
- Pencil
- Scissors
- Clear ruler
- French curve
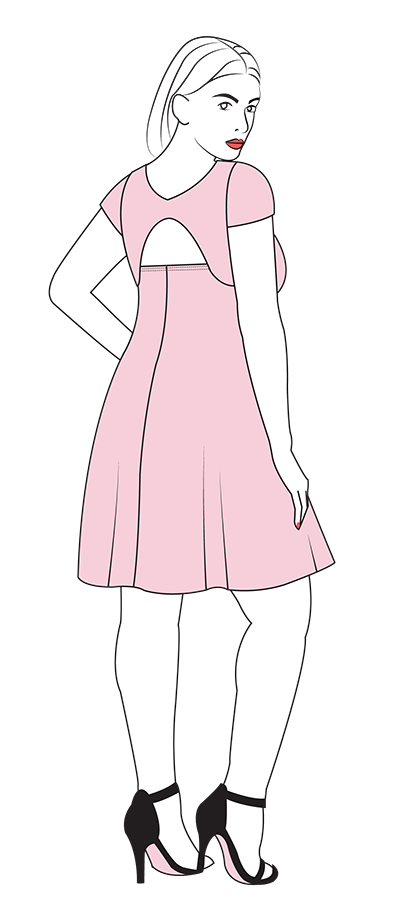
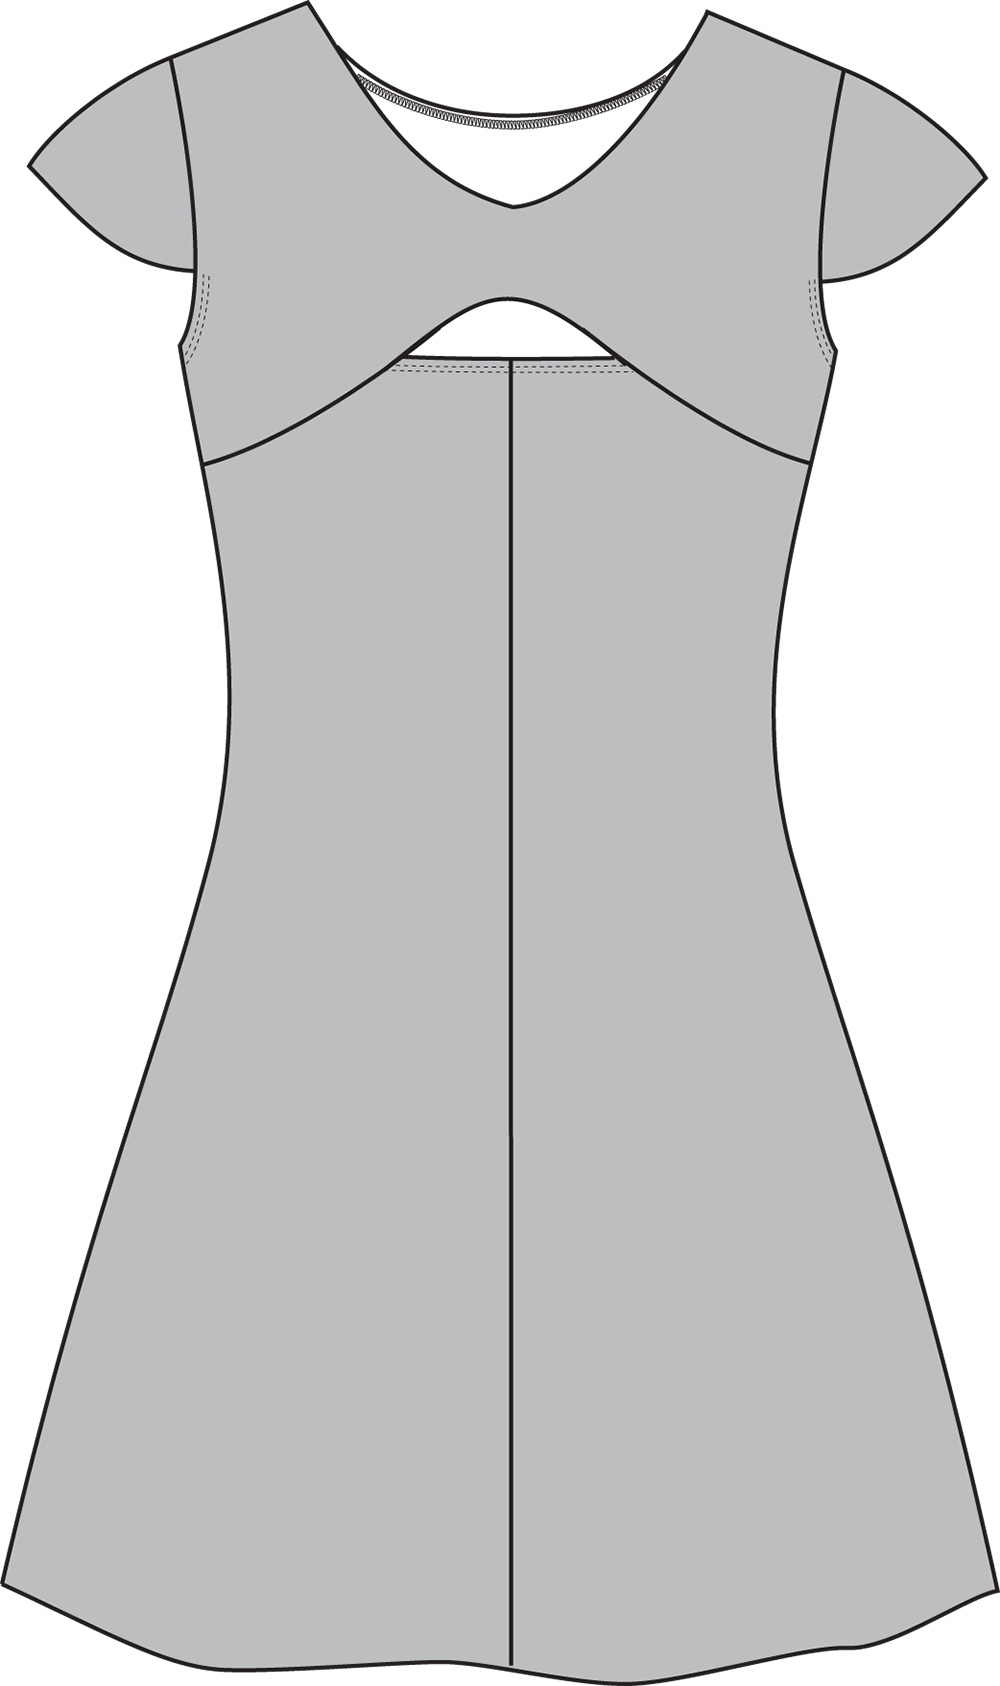
Smooth Back Yoke
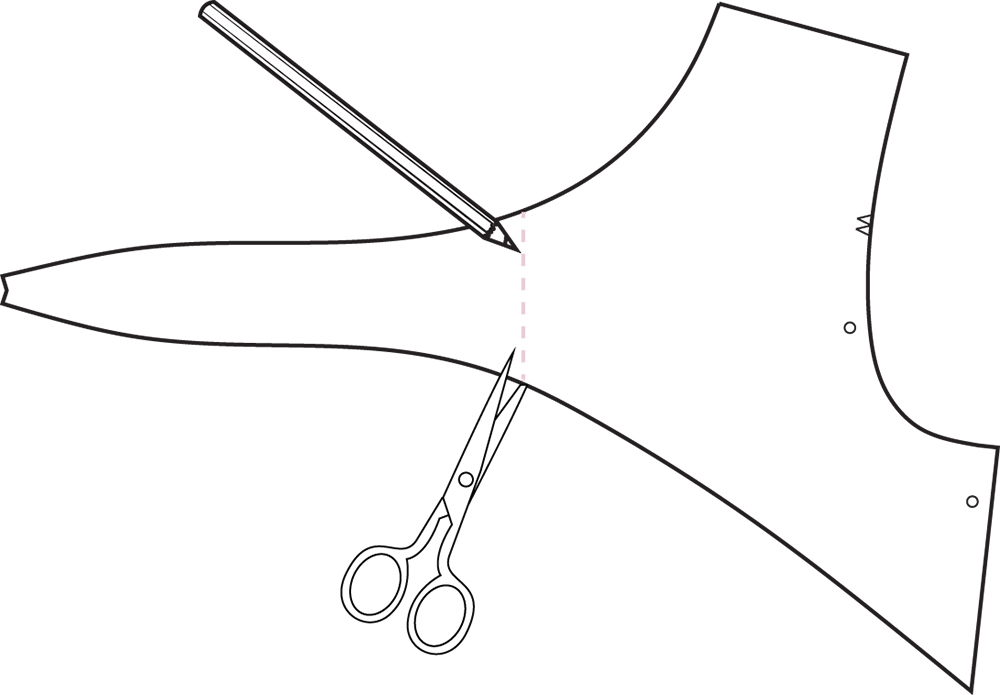
Step | 01
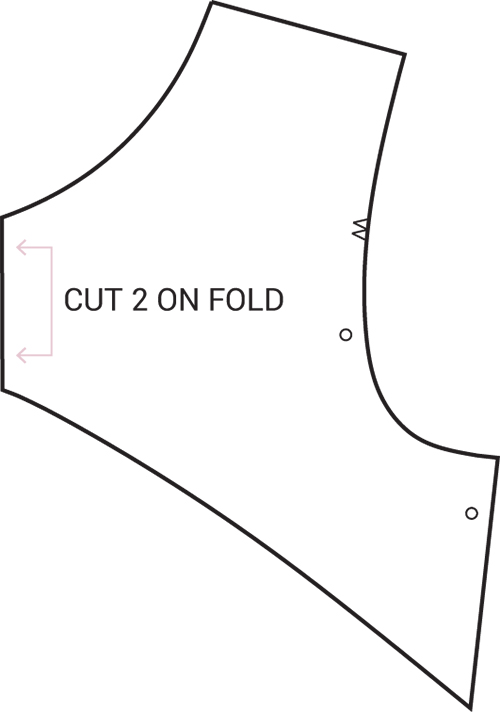
Draw a line at the center back on the back yoke pattern piece (about 9 1/2” [24 cm] for misses sizes, about 10” [25 cm] for plus sizes). Cut along this line to trim off the tie.
Step | 02
Label the pattern piece “cut 2 on fold” along the center back.
Step | 03
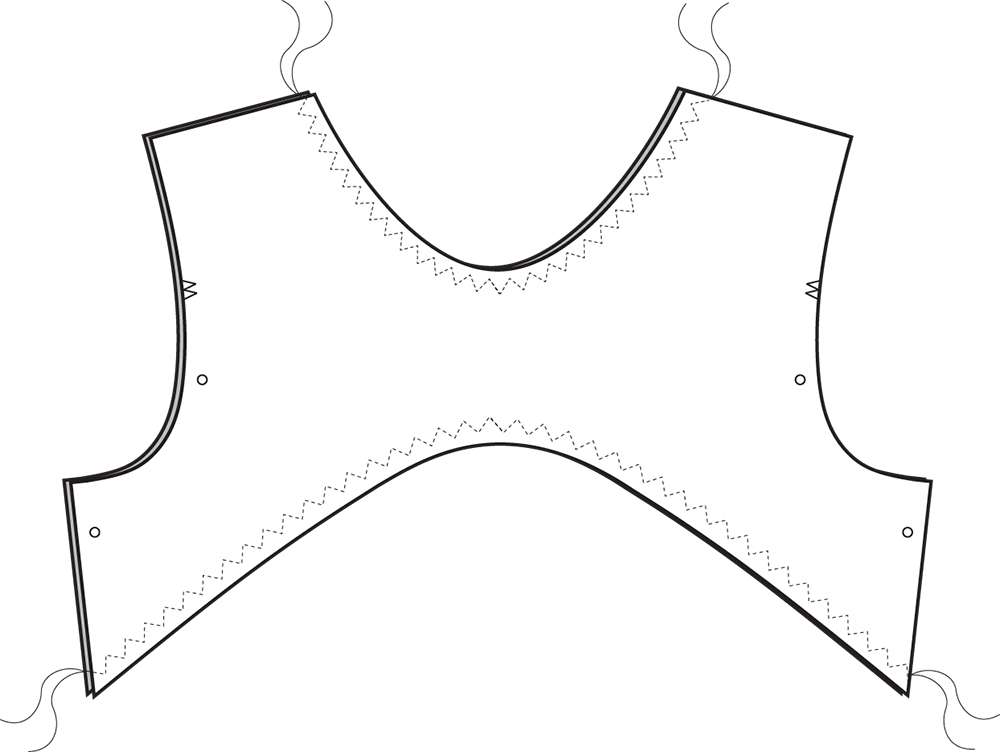
Cut out the pattern pieces in fabric. With right sides together, match the two back yoke pieces at the neckline and bottom curved edge. Pin. Stitch.
Step | 04
Turn the back yoke right sides out.
Step | 05
Attach the back yoke to the dress according to the pattern instructions.
Twist Back Yoke
Step | 01
Follow steps 1 - 4 from the previous section to assemble the back yoke unit.
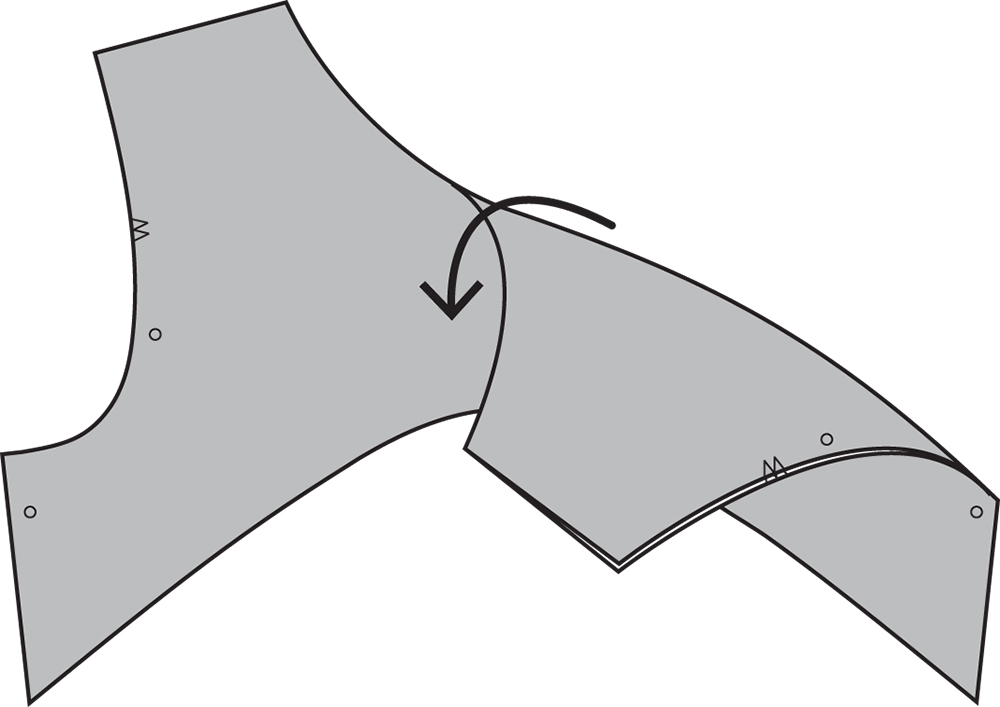
Step | 02
Twist the back yoke at the center back. Depending on the stretch and thickness of your fabric, you can make one or two twists.
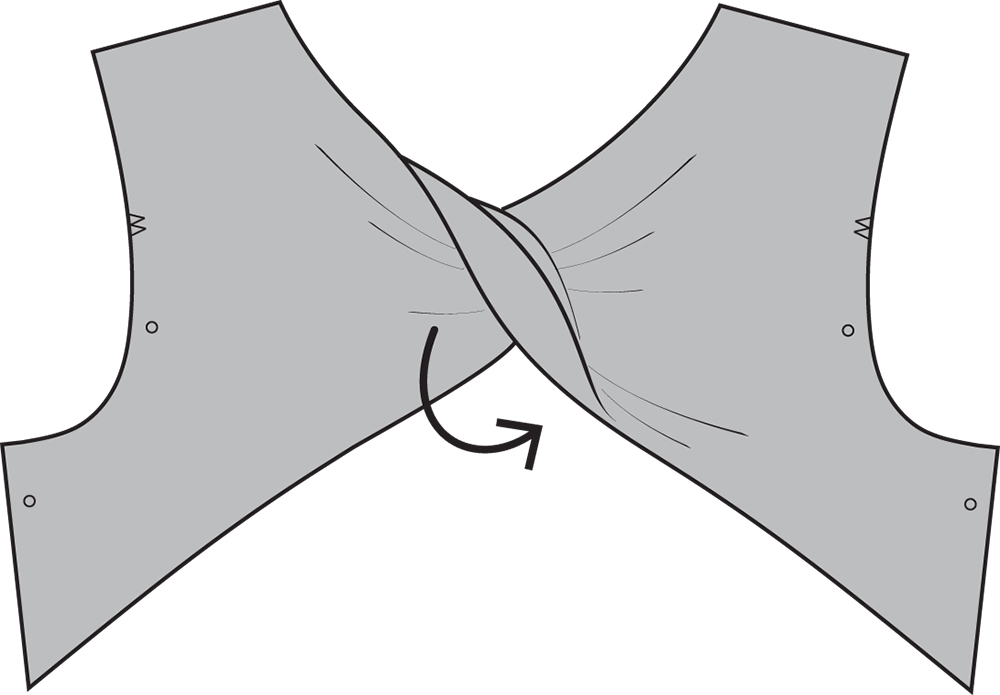
Step | 03
Attach the back yoke to the dress according to the pattern instructions.
Petal Cap Sleeve
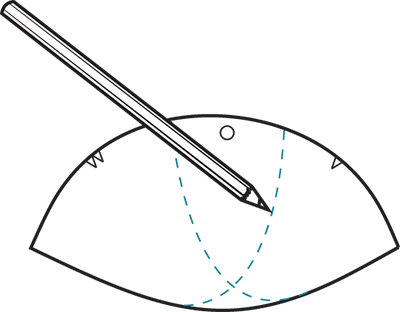
Step | 01
Using a French curve, draw two overlapping curved lines on the sleeve piece, from the hem to the sleeve cap.
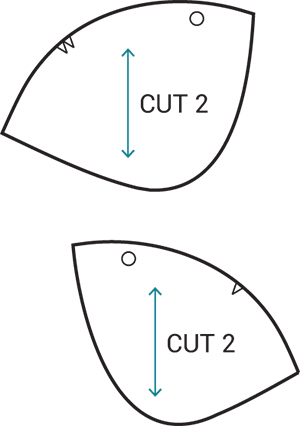
Step | 02
Trace off the sleeve front and sleeve back pattern pieces. Label each “cut 2.”
Step | 03
Cut out the pattern pieces in fabric.
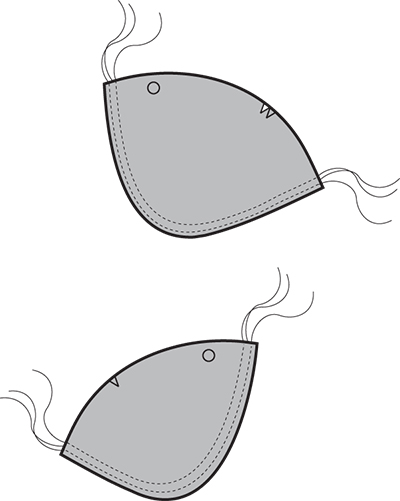
Step | 04
Hem the bottom curved edges of the sleeve pieces.
Step | 05
Match the front and back sleeve pieces together by aligning circles. The front sleeve should overlap the back sleeve.
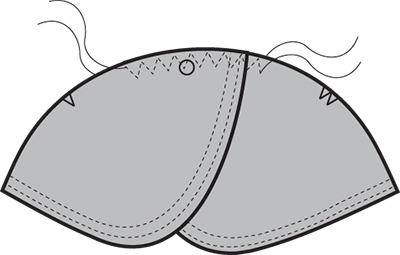
Step | 06
Baste the sleeve caps together.
Step | 07
Attach the sleeve units to the dress according to the pattern instructions.

About the Author
As pattern designer, Anna works hard to make sure our sewing patterns boast both great style and instructions. She believes in the power of chocolate and coffee to cure just about anything.