Sign In
As a couture dressmaker, bias binding is my go-to technique for cleanly finishing a curved edge. But, to me, couture doesn’t necessarily mean more difficult or advanced. It means taking your time to logically work toward the best results, rather than skipping ahead for the quickest ones. Understanding the principles of bias while incorporating a little couture cleverness can help any sewist create a fancy finish that is fun to sew and to wear.

Bias is a little bit magic! It’s most famous for its fluid and stretchy qualities—Madeleine Vionnet’s dresses leap to mind—but bias can also be used to stabilize edges to keep them from stretching. When fabric is cut into strips on the true bias grain, your iron can transform it into a magical finishing technique.
If you’re unsure how bias works, or if your bias binding attempts have been a bit wonky, this guide should offer some insight! I’ll share my thoughts on bias, how to make your own tape, couture secrets of getting it to lay smoothly around curves, and two ways to finish off an edge using double fold bias tape.
Climbing Wall vs. Hammock
Even if you’re a beginner to sewing, you most likely know a bit about fabric grain. To understand the difference between something that is on-grain and something that is bias grain, I like to think of a gridded net of rope hung directly up and down from the top two corners. You could climb up this rope grid and it would remain relatively rigid, strong, and unchanged. This is similar to how fabric works when it is on-grain.
Then, think of this same rope grid hung from two diagonally opposite corners. The rigid squares turn into collapsed diamonds and the climbing wall essentially becomes a hammock! You could lay inside that same rope grid and it would mold to your body for a completely different kind of support. This is similar to what happens on the bias grain.
Creating Double Fold Bias Tape
Bias tape is a narrow strip of fabric that has been cut, stretched, and folded in a way that can cover and strengthen both straight and curved edges beautifully.
Double fold bias tape can be used to enclose raw edges while providing a decorative finishing feature on both the inside and the outside of your project. It can be used to attractively finish seam allowances (Hong Kong finish) but the true magic happens when applying bias tape to curved edges, like rounded hems, pockets, collars, necklines, and armholes.
While a variety of bias tapes can be purchased, creating your own can be a fun way to add a unique touch to your garment. It’s also a great way to use up smaller bits of fabric in your stash.
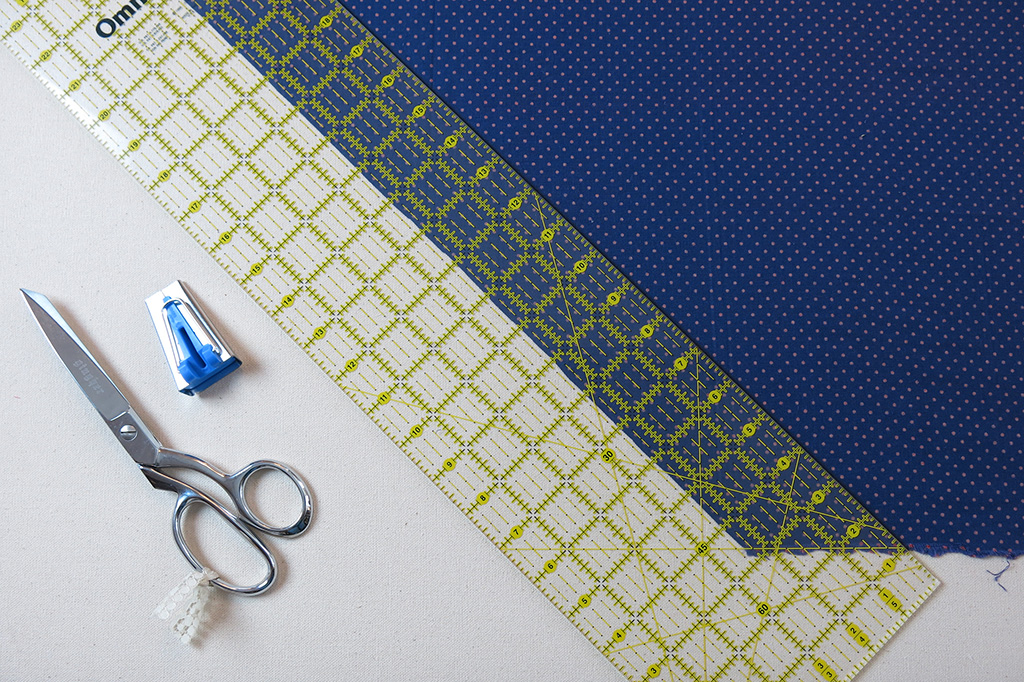
You’ll need:
- Bias strips in self or contrasting fabric
- A steam iron (a.k.a. the magic-maker)
- A 1” bias maker tool
Preparing the bias tape
A 1” bias maker tool will help create 1/2” double fold bias tape. To unlock its magic, cut your fabric at a perfect 45-degree bias angle to the selvage into a long strip that is a generous 2” wide. You’ll notice that the cut edges don’t unravel, which is another fantastic quality of bias.
If you are trying to cover an area that is longer than your strip, piecing a few strips together will be necessary.
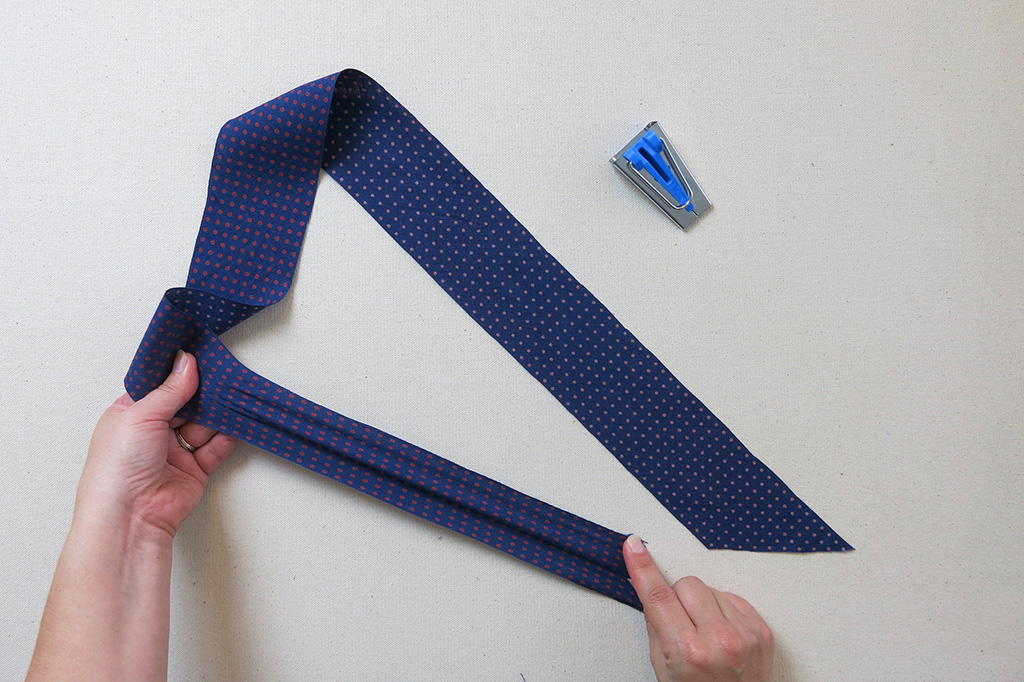
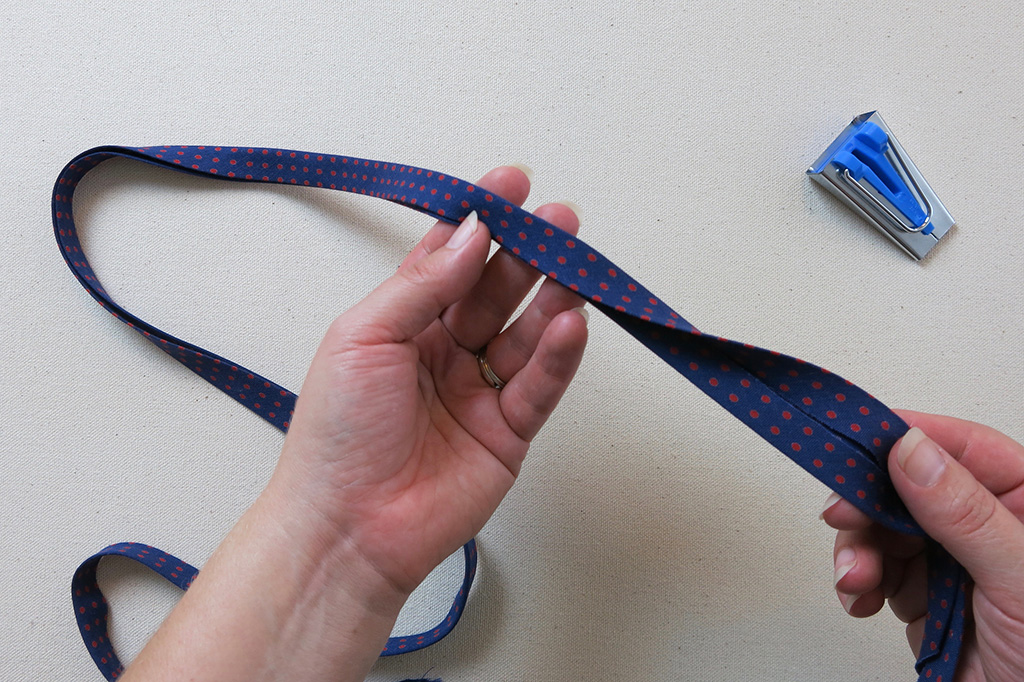
At this point, the bias strip will be s-t-r-e-t-c-h-y. But stretchy can also mean unpredictable and unstable, which is not what we are looking for! Notice how the width of your strip changes as you pull it.
To craft a tape that is stable while keeping the magical fluid qualities of bias, you must stretch the bias with your steam iron before turning it into tape or adding it to the garment. If you don’t, you might end up stretching it during construction, which could lead to an unpredictable experience and a wobbly, inconsistent finish.
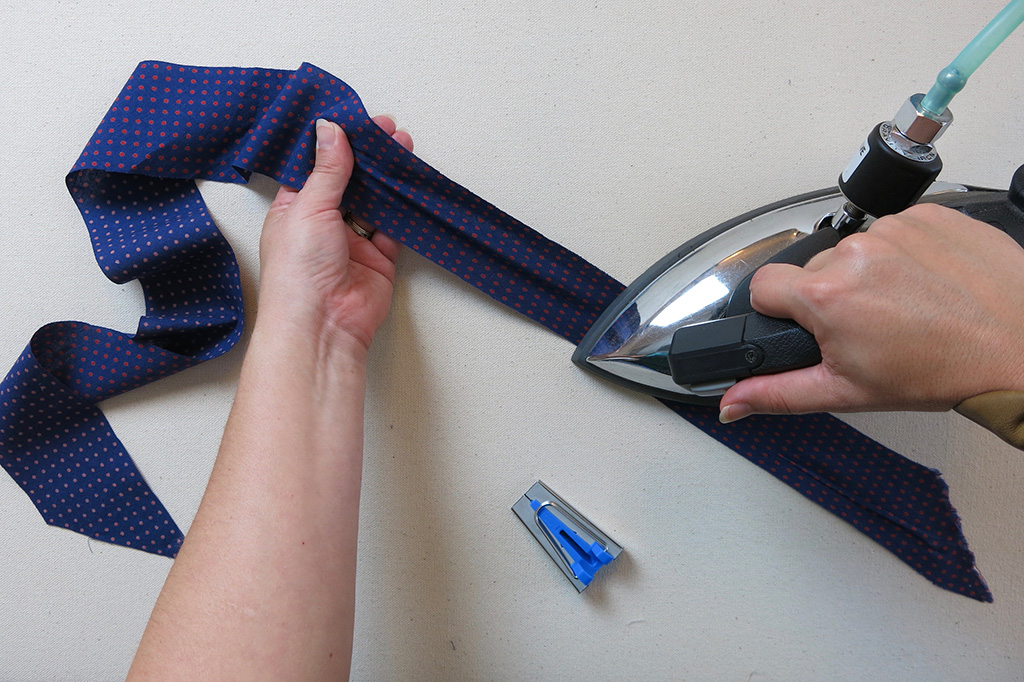
Take your iron and steam press along the strip while giving it a really good stretch. You will notice that it loses a bit of its width during this process, which is why we cut our strip a bit wider than 2”. Width loss will vary by fabric, so test a sample before cutting lots of strips!
Continue to stretch and steam press the strip until the stretchy slack is removed and it becomes a consistent width.
Now it is time to use your cool bias-making doohickey!
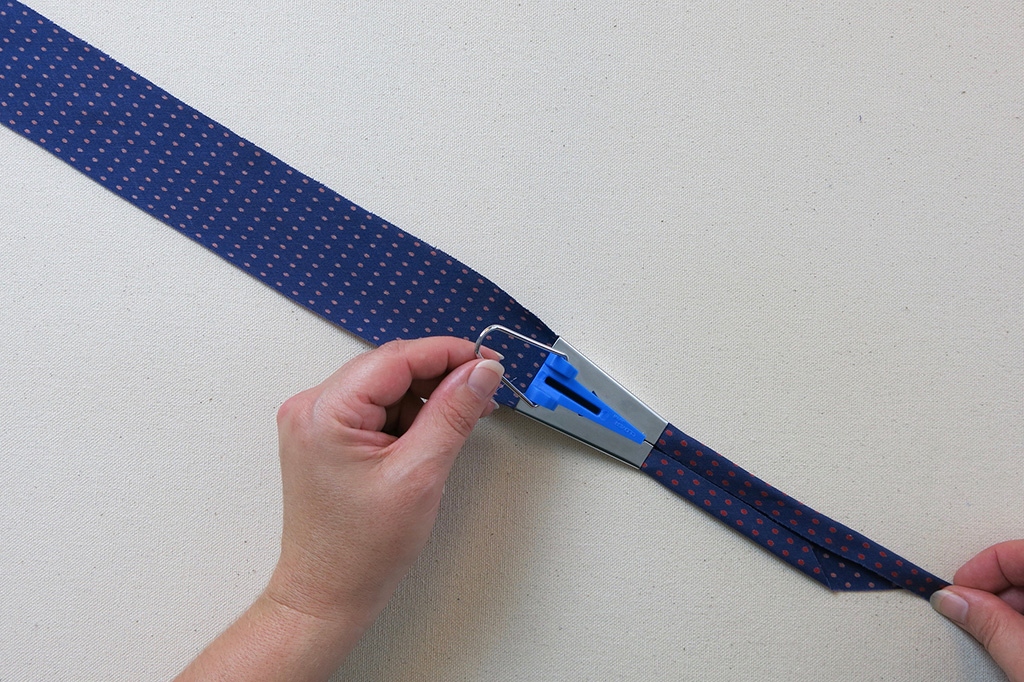
Insert the strip into the wide end and out the small end of your bias tape maker. You often need to stick a pin through the slot to coerce the fabric to come out.
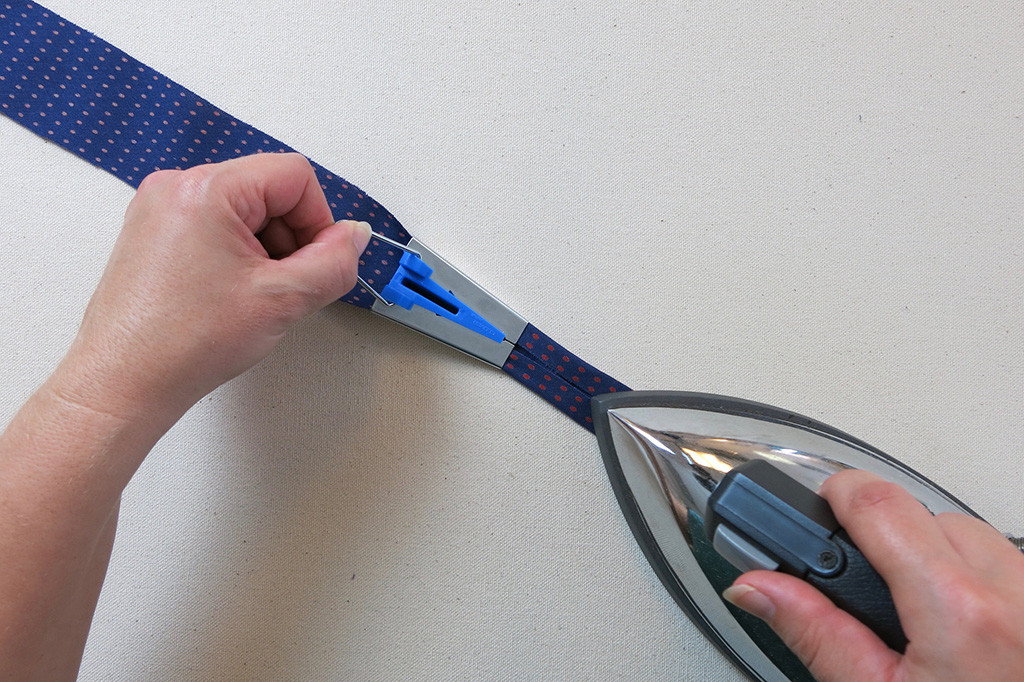
Once through the tool, you’ll see that it’s creating folds. Give the little handle a pull while chasing the bias tape maker with your iron, steaming and pressing the folds evenly along the fabric strip.
This will create 1” single fold bias tape! There are many uses for single fold tape, but there’s one more step to turn this into 1/2” double fold tape. You guessed it: we need to fold it once more!
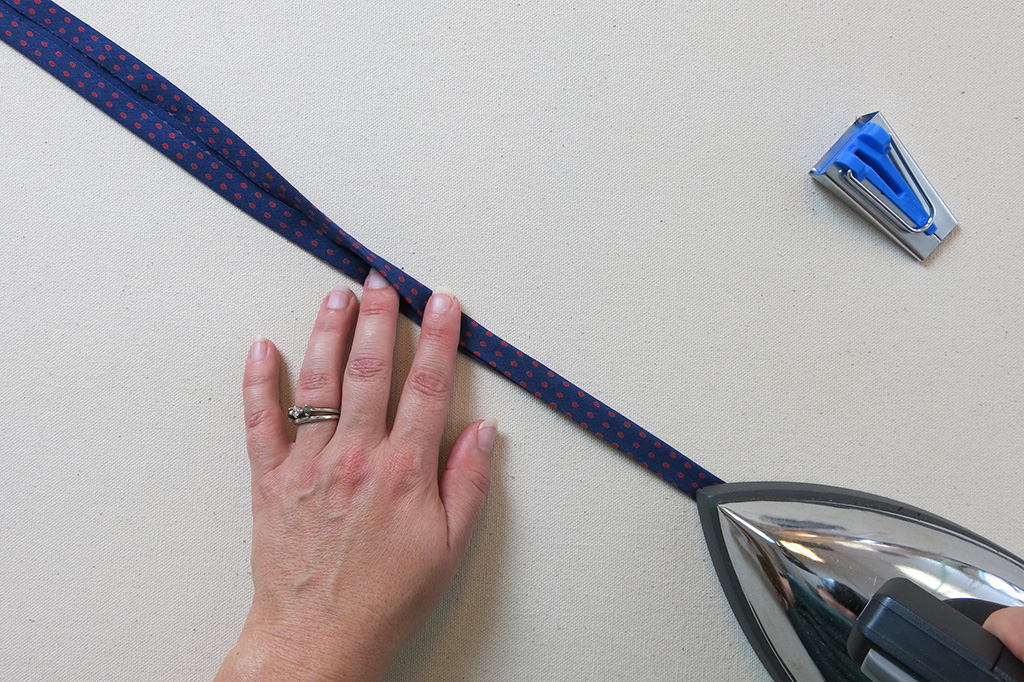
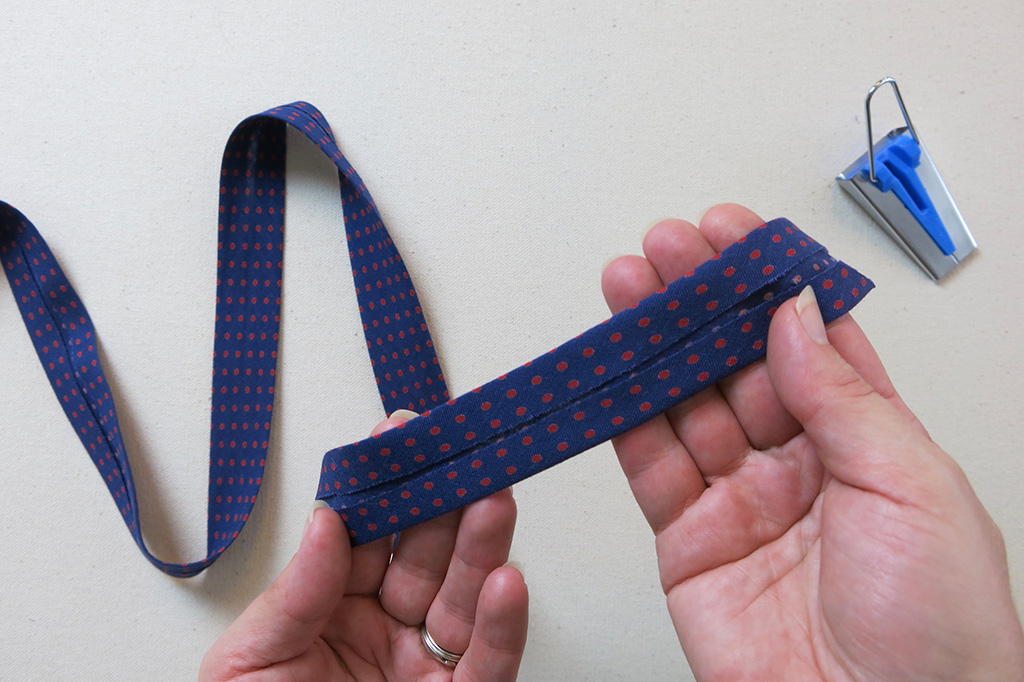
Take the folded strip you created, fold it in half, and press the new fold.
Voilà! You’ve created your own custom, stable, flexible, predictable, couture-quality double fold bias tape!
Shaping the Tape
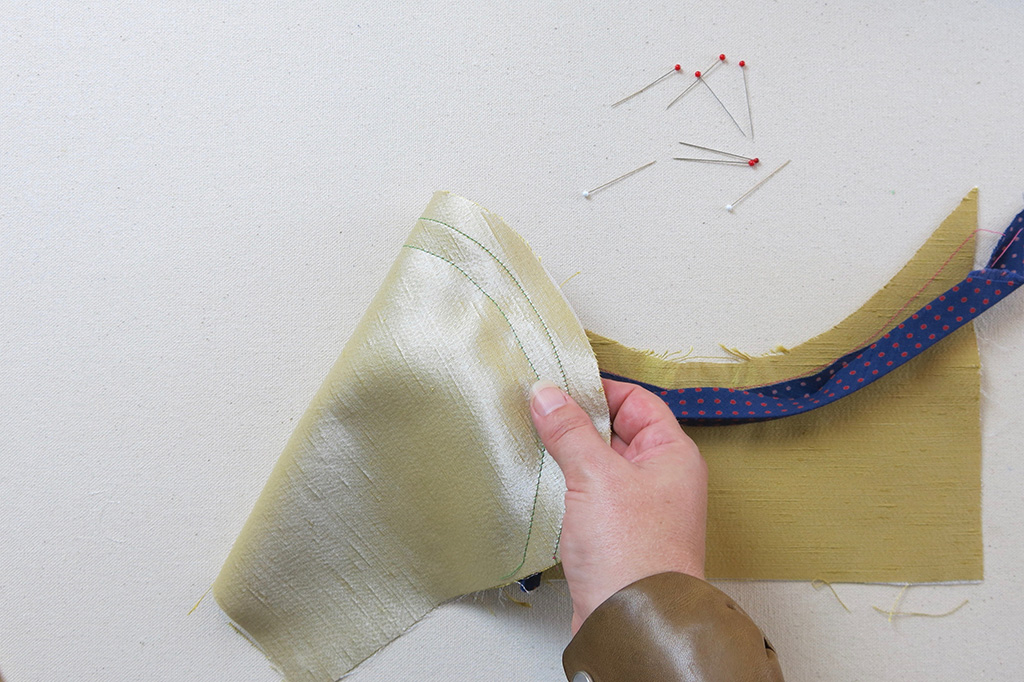
There are few greater satisfactions while sewing than a bias binding that turns smoothly and evenly around an edge without a twist, a pull, a gap, or a ripple. Shaping the tape before beginning to stitch it is the key, and your iron unlocks the magic once again!
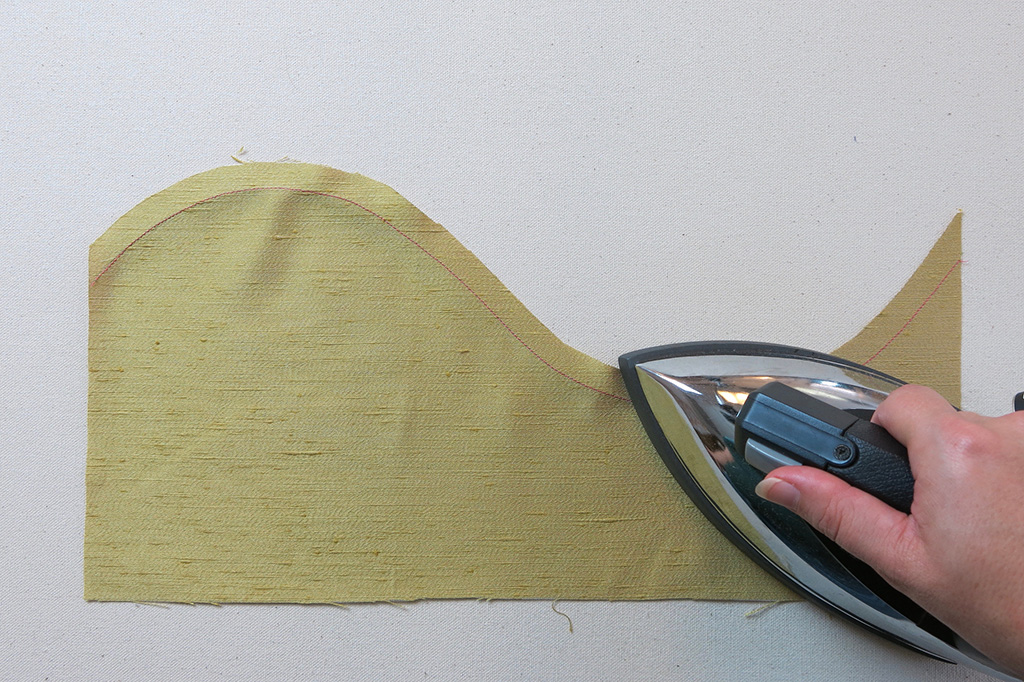
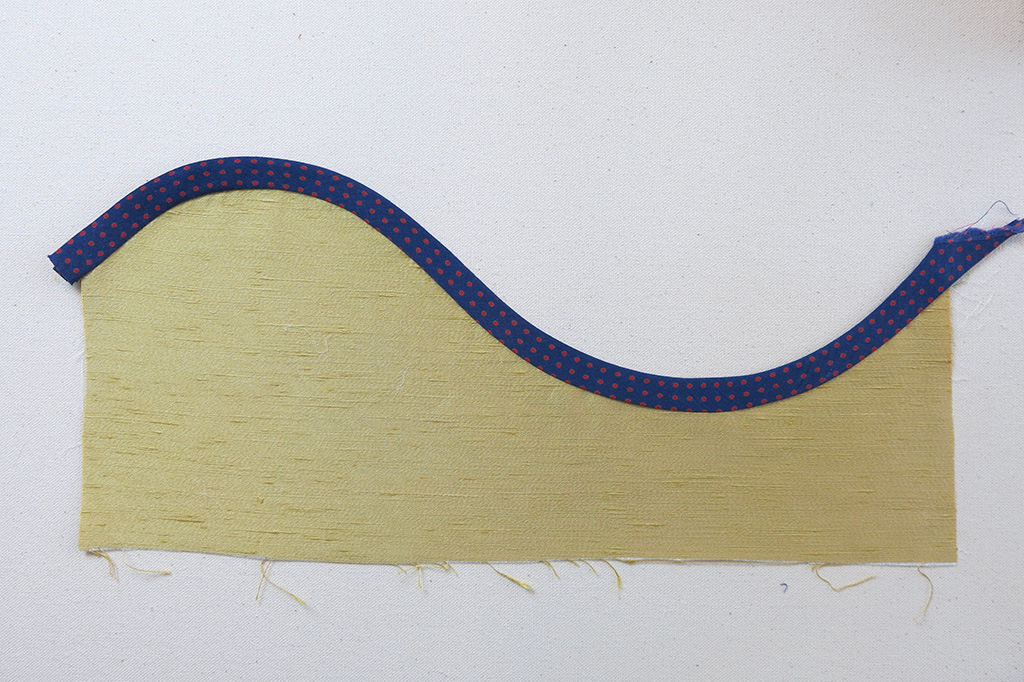
The first step is to staystitch the line that will become the garment’s edge. Press the stitches to allow everything to settle and stabilize.
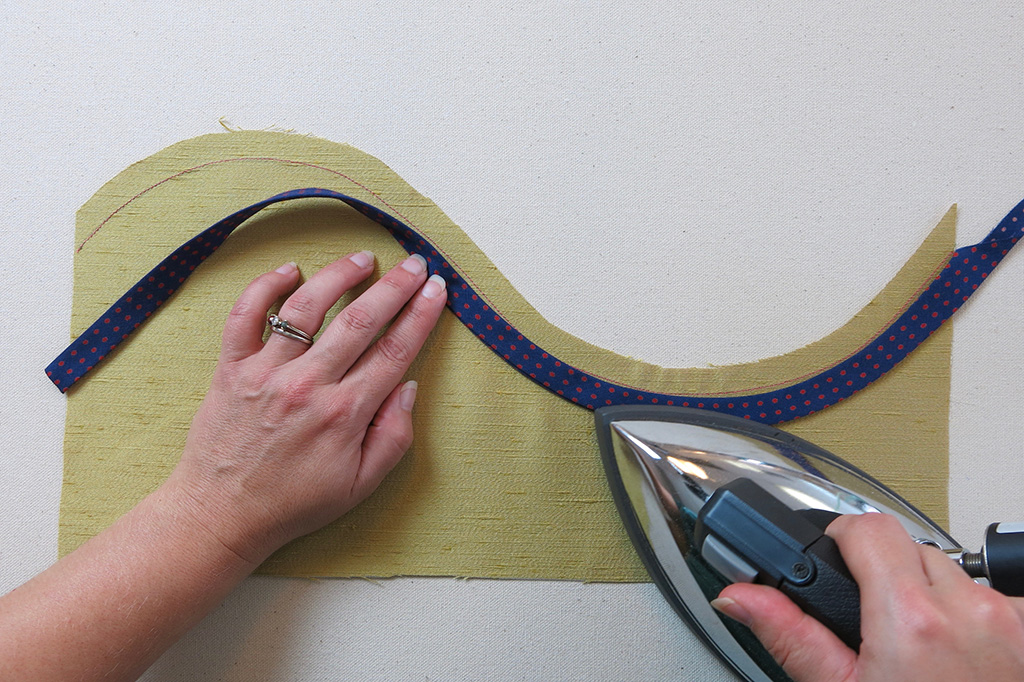
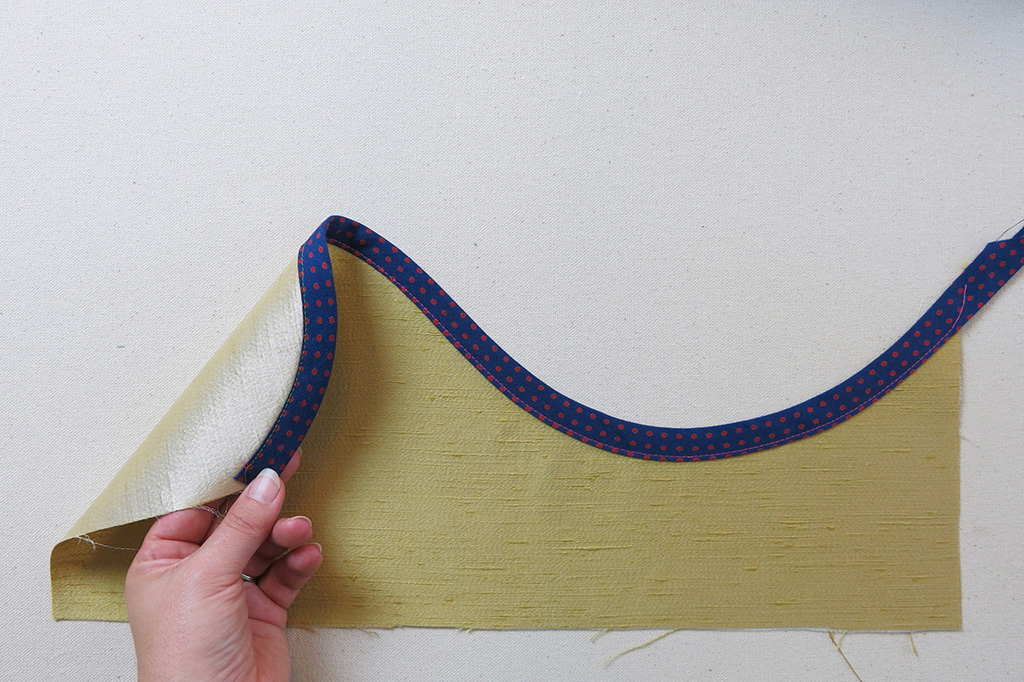
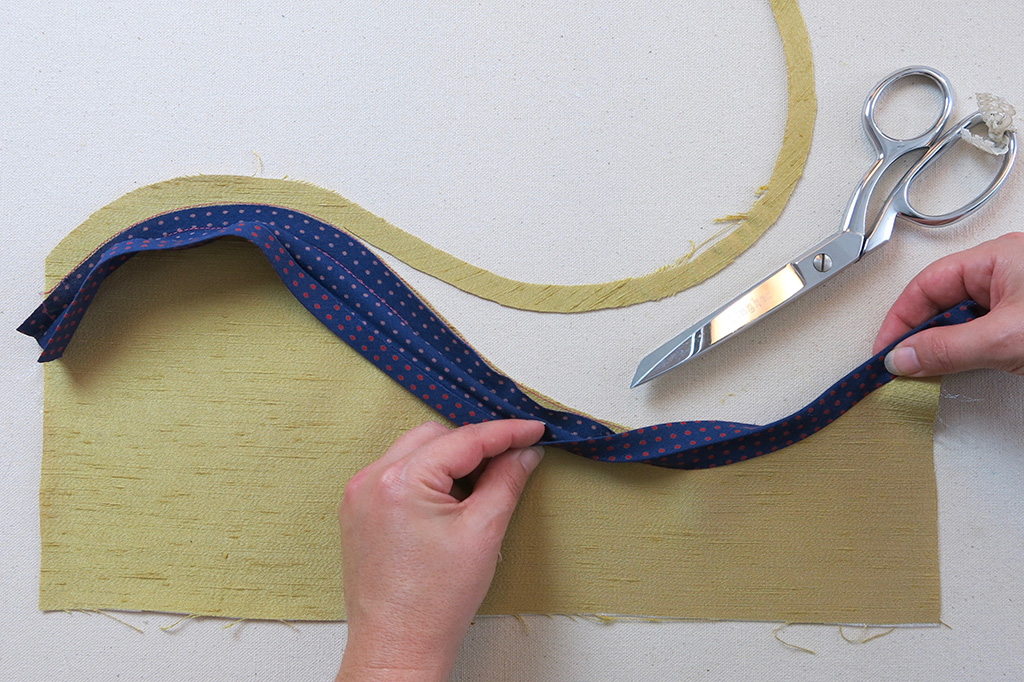
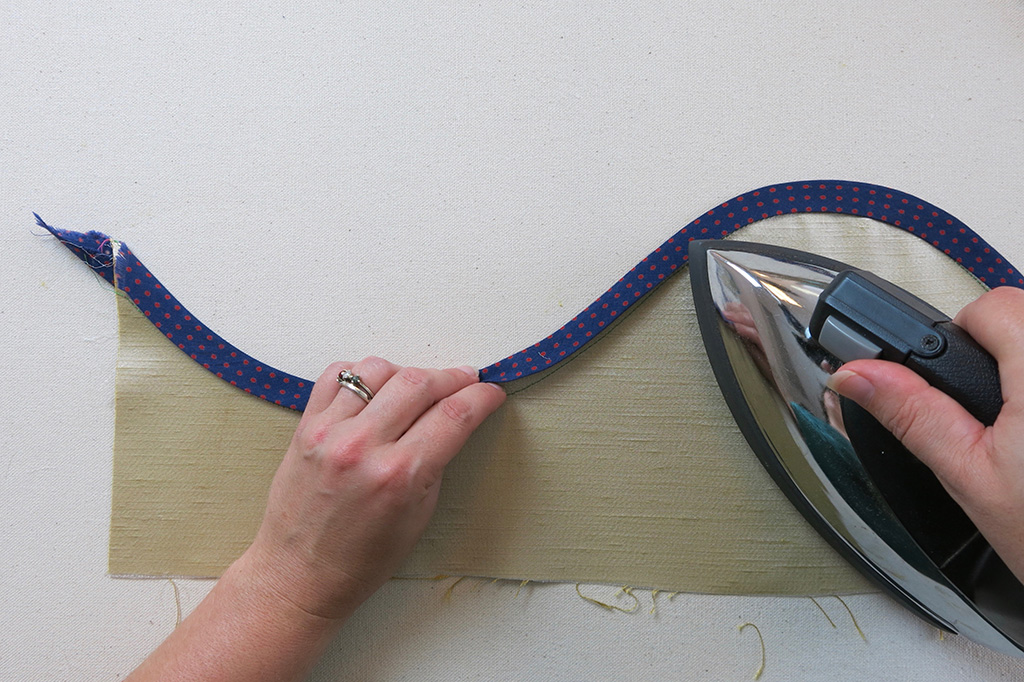
Time to shape the tape! Use your fingers and your steam iron to mold the folded center edge of the bias tape, following the staystitching line to mimic its curves. Training the tape to match your edge might take a little patience—and possibly pins or a press cloth—but you’ll be able to see the magic of bias transforming something seemly straight into a completely custom shape.
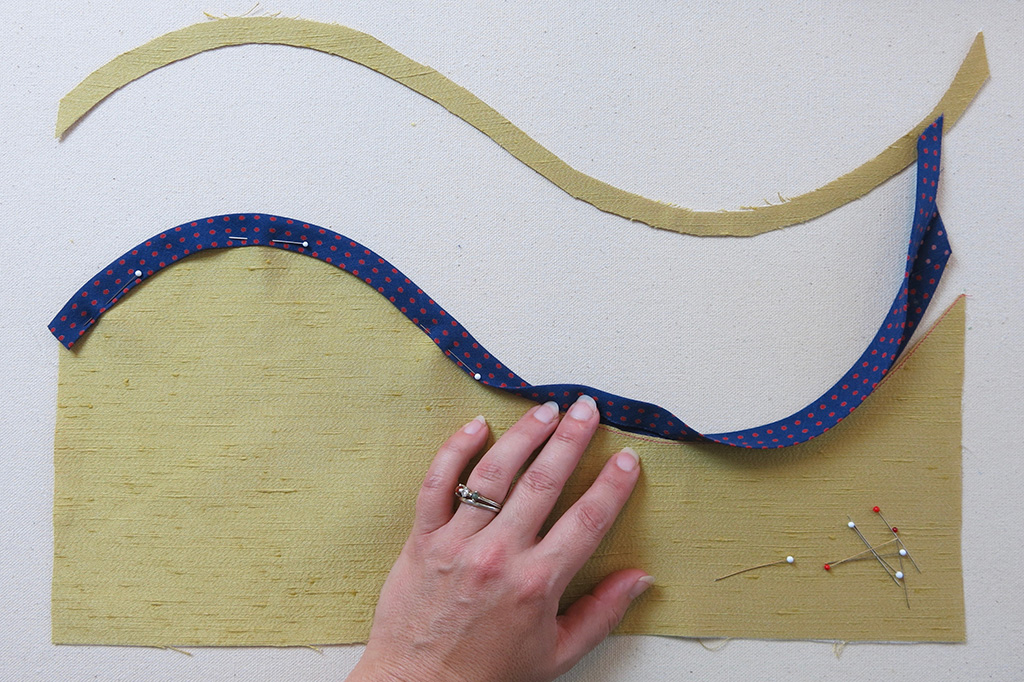
Once the bias tape is both shaped to match the edge and laying flat, let everything cool completely. If you are impatient to pick things up right away, a clapper might be your best friend!
There are lots of techniques to finish curved edges with double fold bias tape. I’ll share two of my favorites!
Quick Edgestitched Finish
If you prefer a stitching line to show on your bias, you can use a quick edgestitch!

Cut off the allowance of the garment just above the staystitching line.
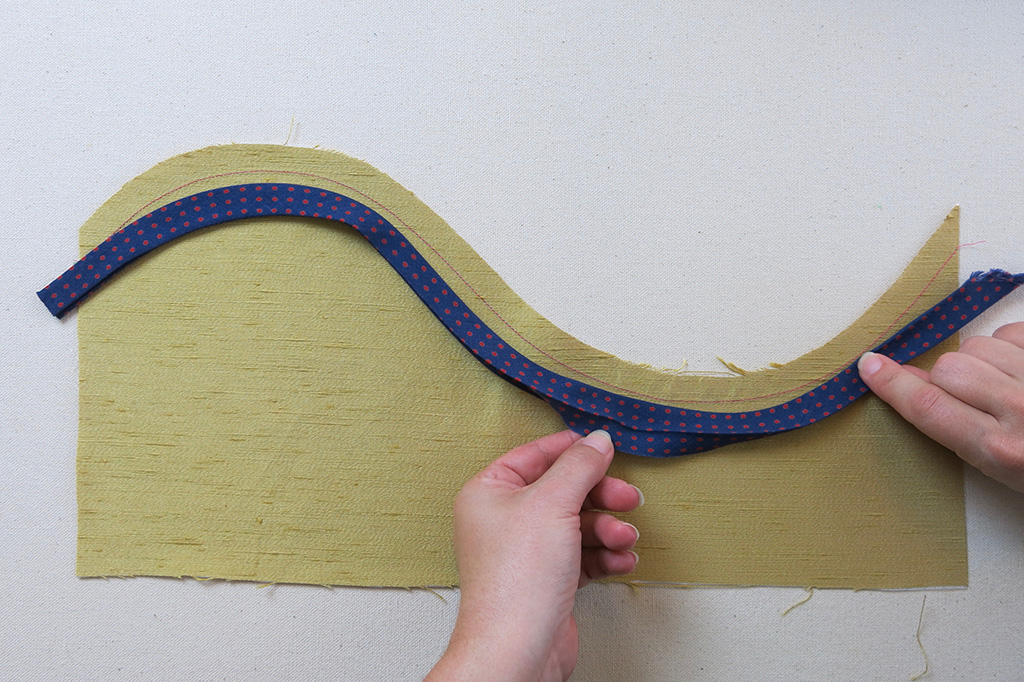
Situate the shaped tape around the edges of the curves with the staystitched edge butting up against the center fold. Press the tape as needed to keep the shape, and pin through all layers near the lower fold.

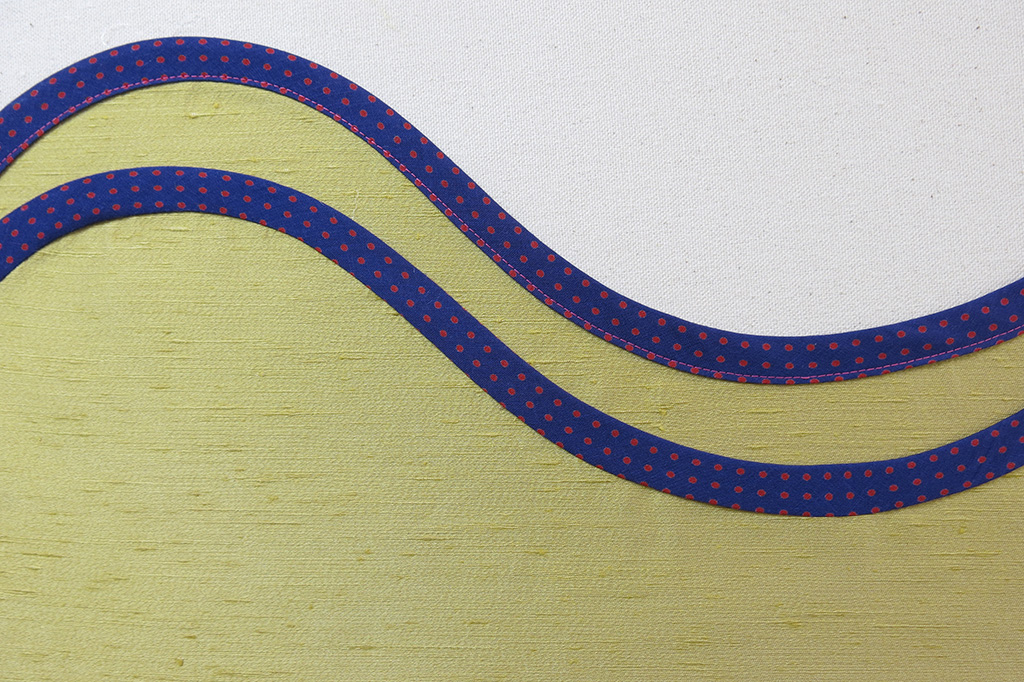
Edgestitch through all layers from the top, making sure to catch everything all the way through.
Give it a final press. Ta-dah!
Invisible Couture Finish
If you’d rather try a cleaner finish, don’t cut off the allowance just yet. The next step is to rearrange the folds.
Of the two lower folds, take the one currently on top and fold its edge around the one underneath. This will put the top fold’s cut edge next to the staystitched line. Once the tape is refolded, give it another shaped press and wait for everything to cool.
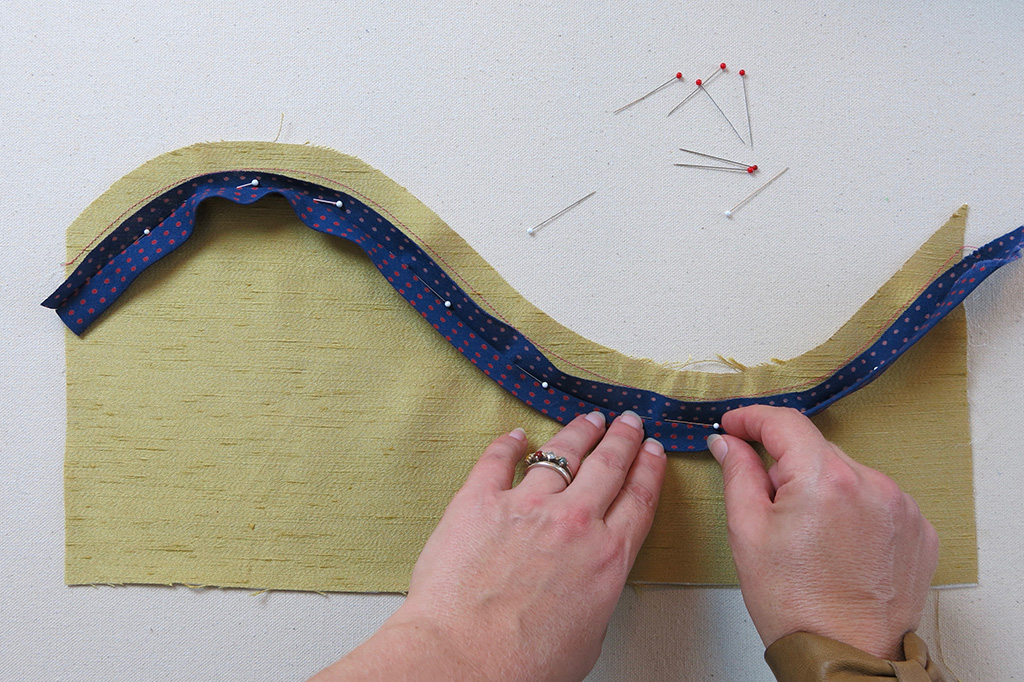
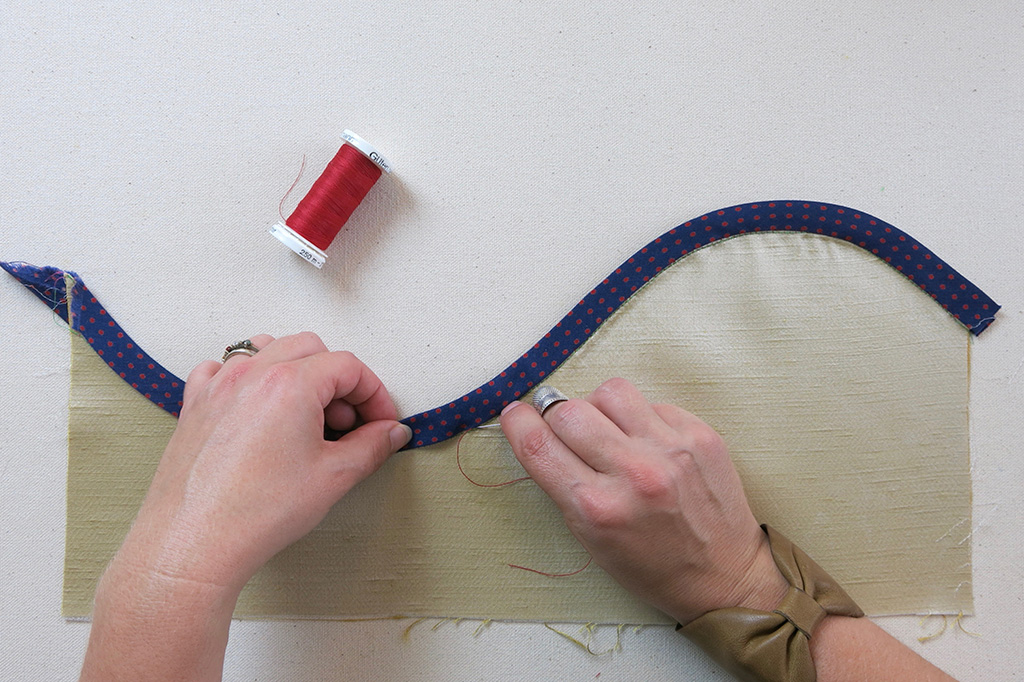
Keeping the cut edge lined up with the staystitching line, open the tape just enough to begin pinning along that first fold. I like to pin with the line as if it were a basting stitch, every 4-6” before adding additional pins in between.
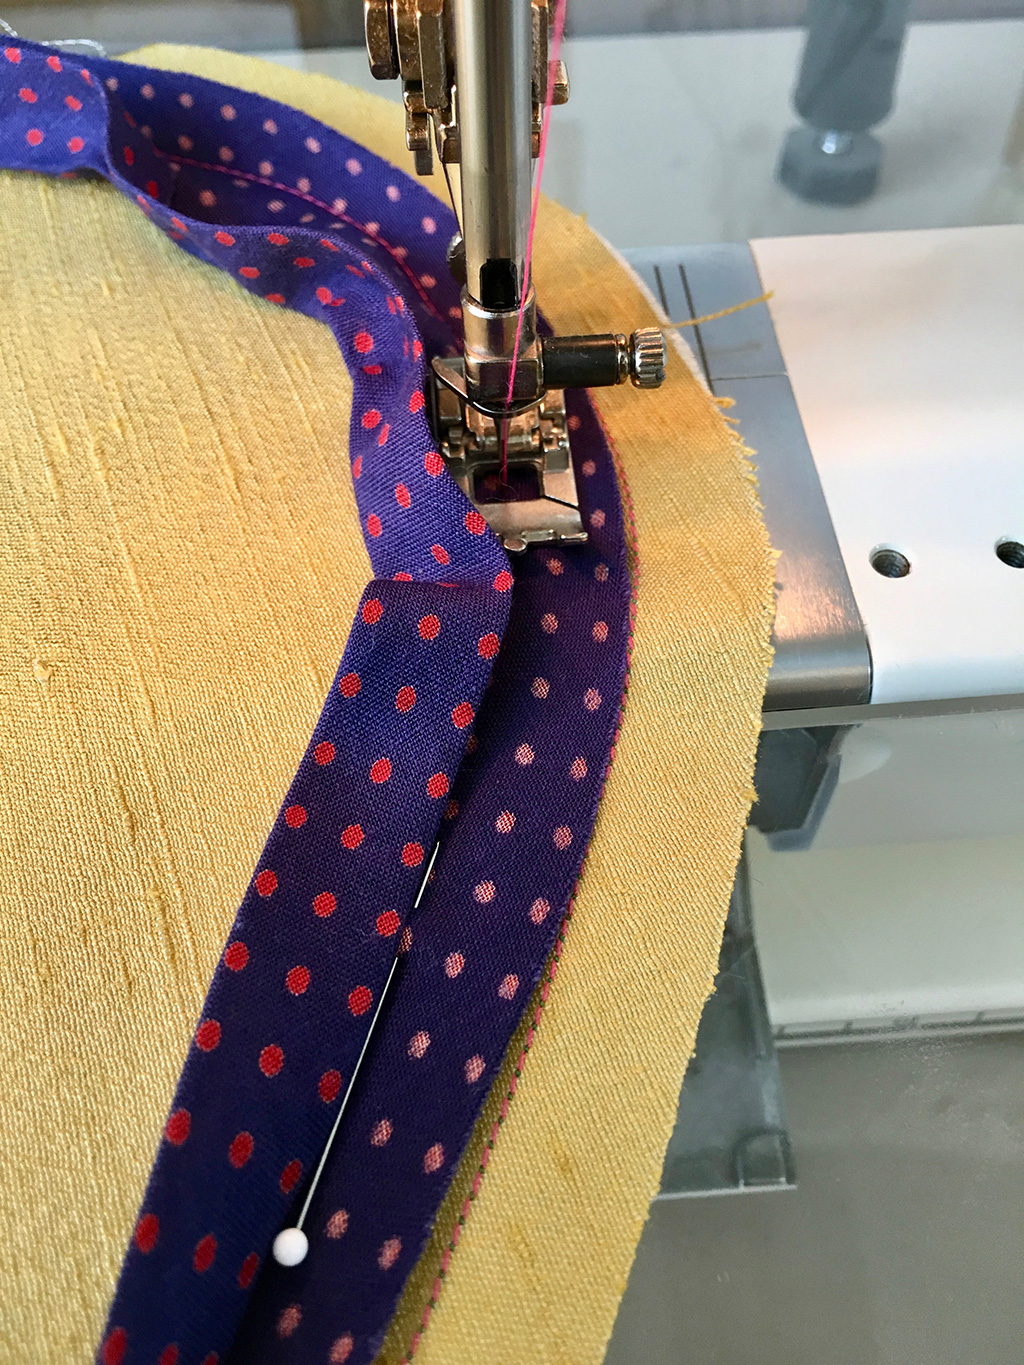
Handling as little as possible but unfolding as needed, stitch along the fold line equidistant from the staystitched line, pulling out pins as you go. You can check the back to see if your lines are parallel.
Next, use the staystitching line as your guide to cut off the allowance before adjusting the bias folds to enclose the edge. A half inch of tape will be seen from both the front and the back side.
Press everything once again while matching the newest stitching line on the back with the loose fold. Slip stitch the fold by hand to the machine stitches for an invisible couture finish.
Give everything a final press and marvel at the gorgeousness!
Fun and Functional
Creating this fun and functional finish doesn’t seem so difficult, does it? The next time you lay in a hammock, you can dream about the magical properties of bias and all the professional-looking finishes you’ll stitch up using decorative double bias bound curves!

About the Author
Brooks Ann Camper first learned to sew when her grouchy college professor learned she had never used an iron. After a career in costuming, Brooks Ann is now a couture wedding dressmaker based in Hillsborough, NC. She loves teaching her unique methods for custom sewing and pattern drafting both in-person and online. Check out her bridal site and blog and learn about her interactive online courses.