Sign In

I am one of those sewists who can’t seem to leave well enough alone. It doesn’t matter the project; I can’t just simply make something straight out of the envelope. Sometimes I only change the recommended finishing technique, but often, I insist on altering the neckline, adding pockets, or embellishing in some fashion.
This is one my favorite parts of sewing my clothing. It is empowering to actualize a vision that is completely my own. And sometimes to accomplish this, you have to do some customization.
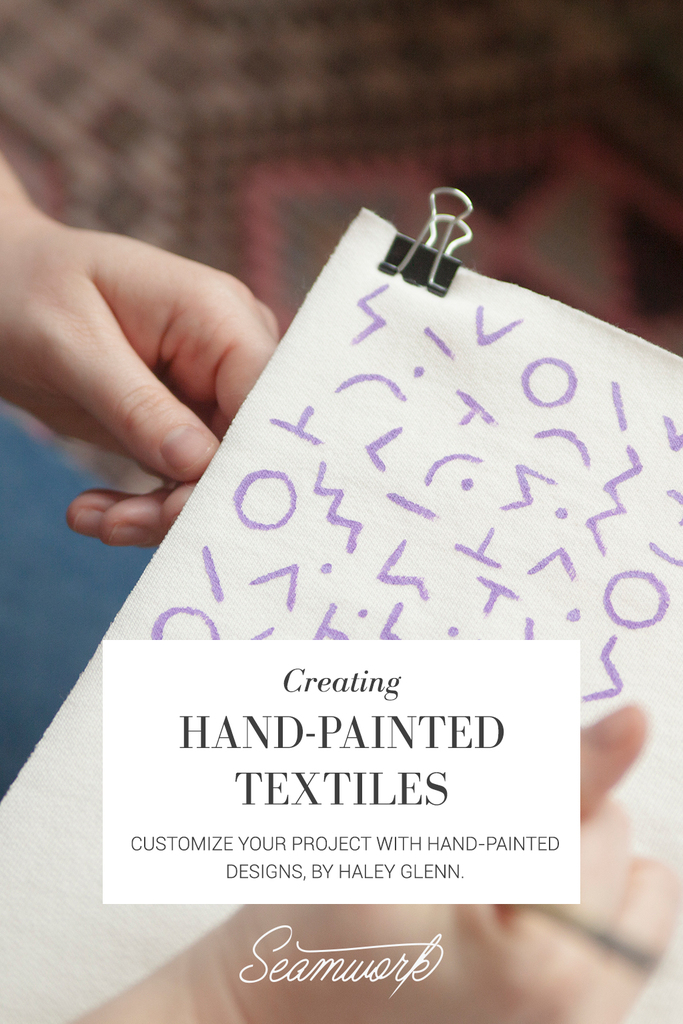
Creating custom printed fabric is an excellent way to add a personal touch to any project. There are so many techniques for creating printed fabric, but one of the best ways to create a dynamic print with plenty of character and variety is to paint your fabric.
In this tutorial, I will walk you through the process of creating custom printed fabrics.
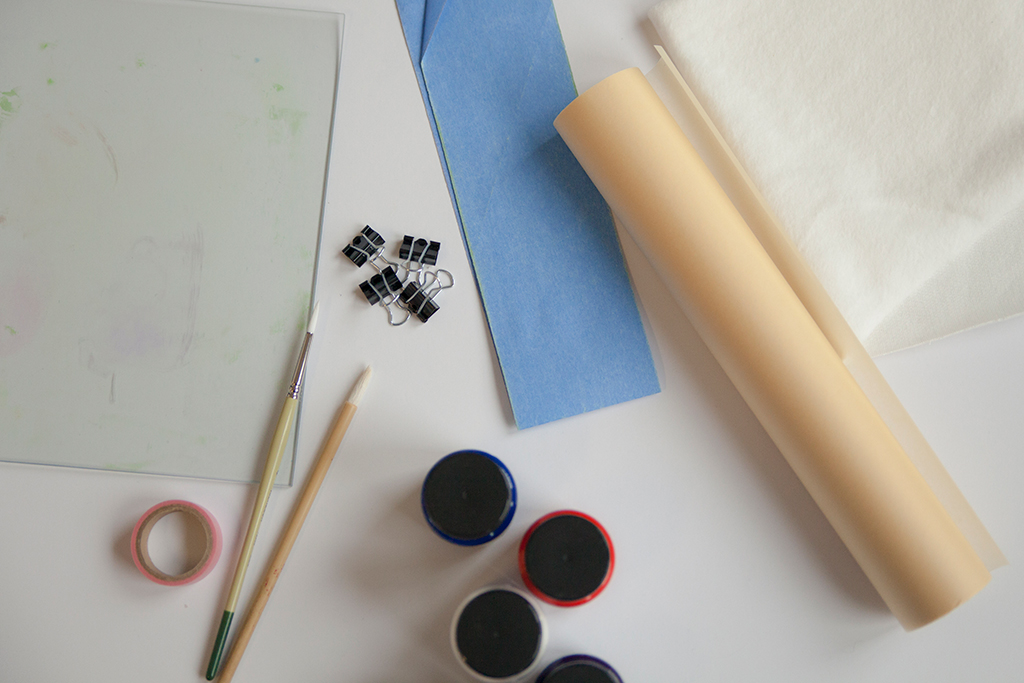
You’ll need:
- Trace paper
- Transfer paper
- Washed fabric
- Water-based ink
- A variety of brushes
- A palette or shallow container
- A large piece of foam core
- Clothespins or binder clips
Plan your design
Before you begin your fabric painting project, it is important to create a design and plan.
If you are new to fabric painting, it is a good idea to start with a small project such as a tank top or simple bag.
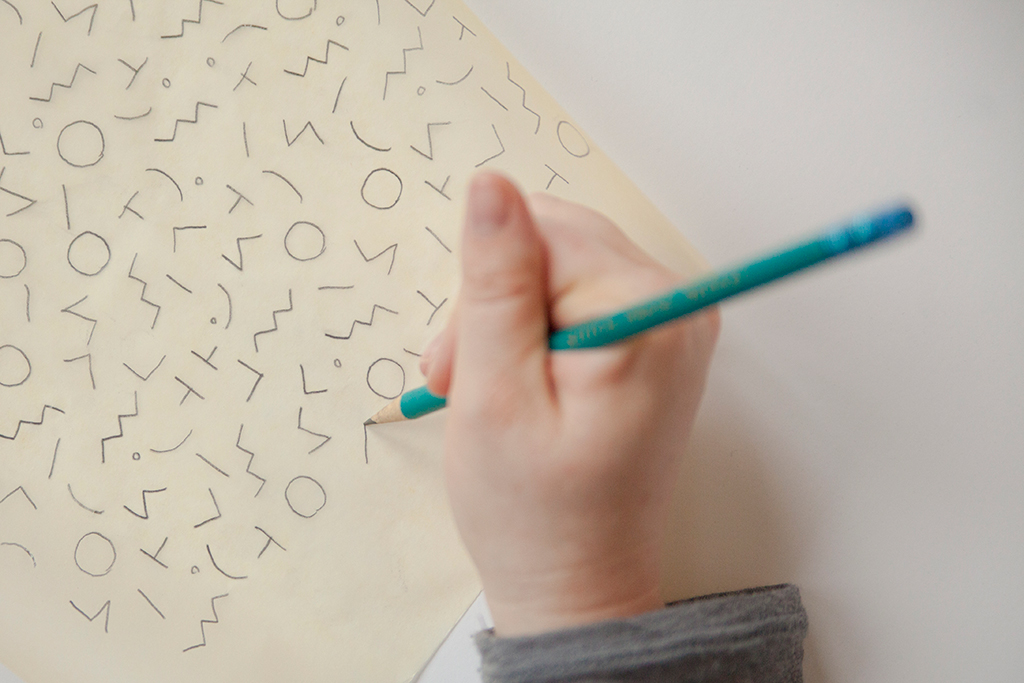
To do this, start by sketching the design you would like to print on a piece of paper. As you draw, consider scale, color palette, and repeat. Make a few different iterations of your favorite design to solidify these details before painting on your fabric.
Once you're satisfied with your design, transfer your drawing to trace paper.
Prepare your fabric
01 | Start by cutting your project pieces from your chosen fabric. By pre-cutting your fabric, you will have the advantage of working with smaller pieces. This will also allow you to be more intentional with your pattern placement. Be sure to save your scraps! They will come in handy during the painting process.
02 | Place the transfer paper face down on the right side of your cut fabric. Pin in place. Place your trace paper with your design on the transfer paper. Pin in place.
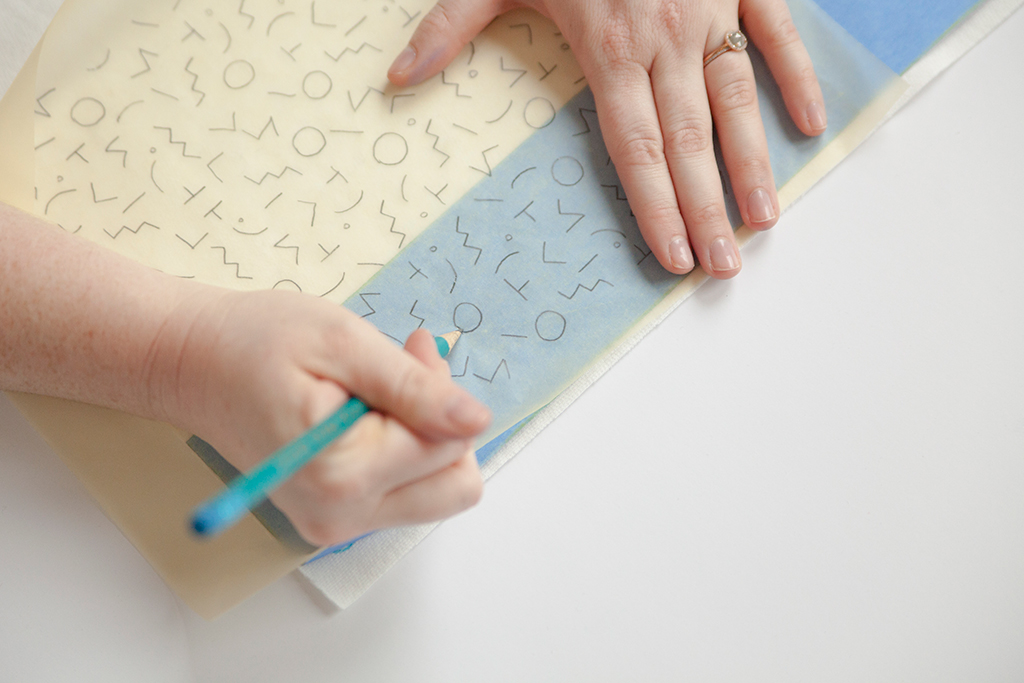
03 | Using a pencil, trace over the lines of your embroidery design.
04 | Remove the tracing paper and transfer paper to reveal your design.
05 | Repeat this process until the desired area is filled in. Also, transfer your design onto a scrap piece of fabric.
Painting your fabric
Now for the fun part! It is time to get painting.
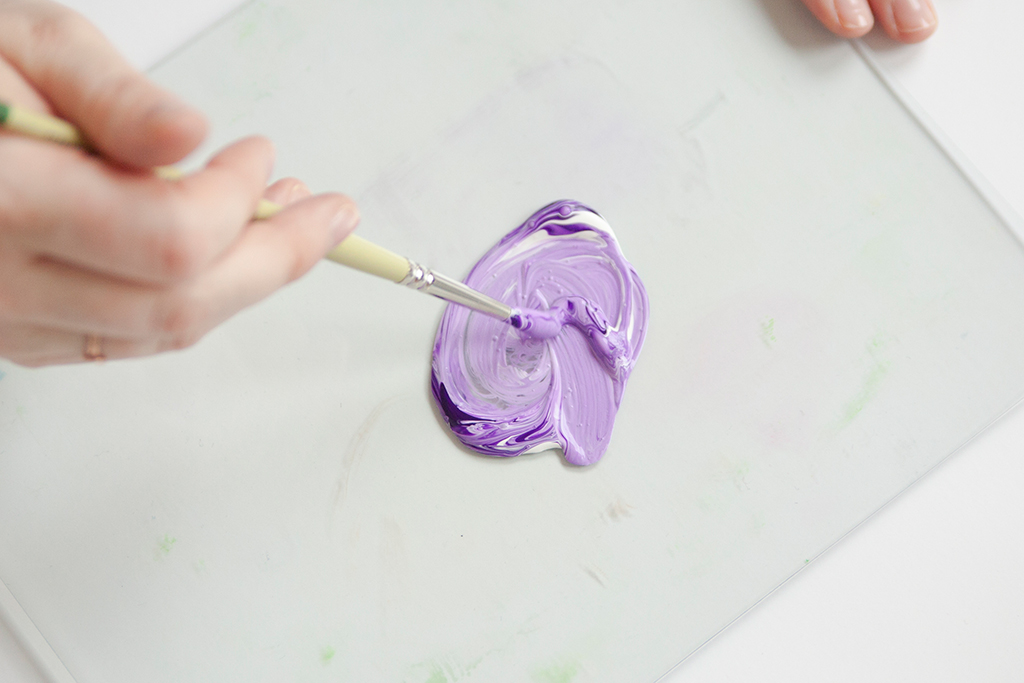
01 | Transfer a small amount of ink to a shallow container or palette. You can use a color straight out of the container or mix a custom shade.
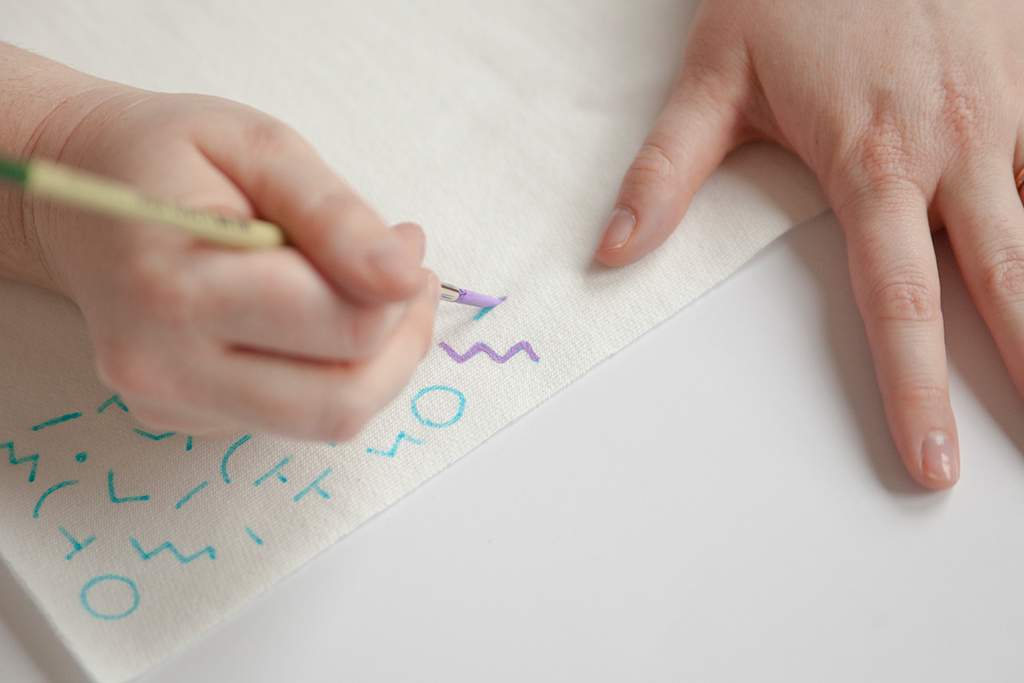
02 | On your printed scrap piece, practice filling in your design.
03 | Once you are satisfied, you can begin working on your cut project.
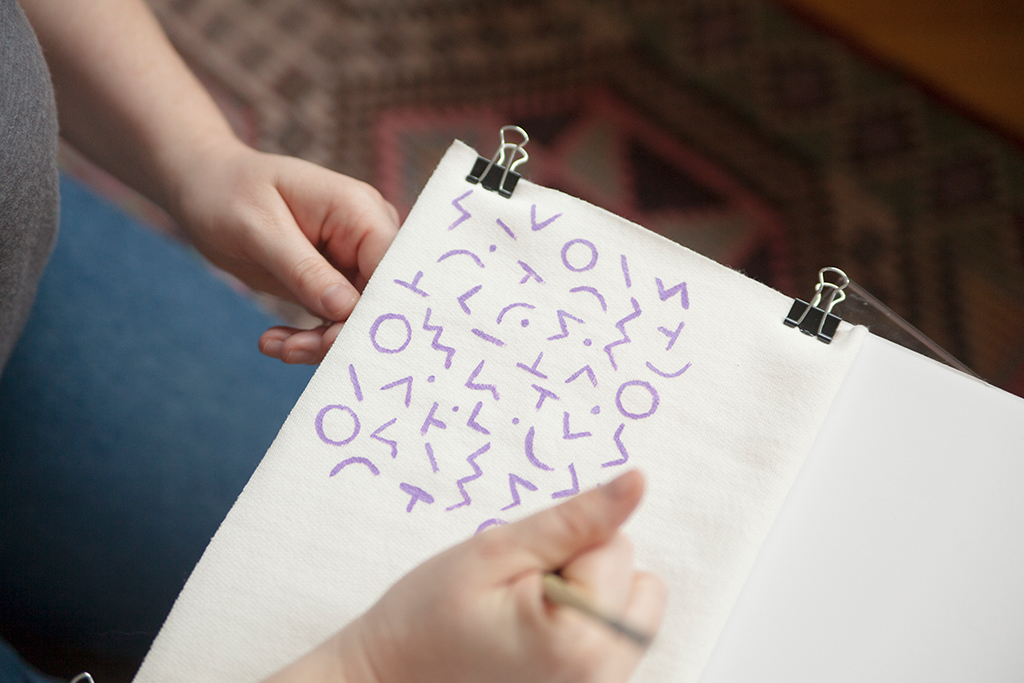
04 | Use clothespins or binder clips to attach your cut project to a piece of foam core. This will help to stabilize your project as you work.
Here are some helpful tips to keep in mind as you paint your fabric:
Work in one color at a time: If your design involves more than one color, wait for the first color to completely dry before you begin working in your second shade.
Work from top to bottom: Working in this direction will help to prevent smudging!
Don’t fuss over perfection: Hand-painted fabrics are flawed by nature; that is part of the beauty of the technique. Embrace little imperfections!
Setting your design
01 | Set your fabric aside to dry; this can take up to two days depending on your fabric and the amount of ink used.
02 | Once the ink is completely dry, use an iron to set your designs in place permanently.
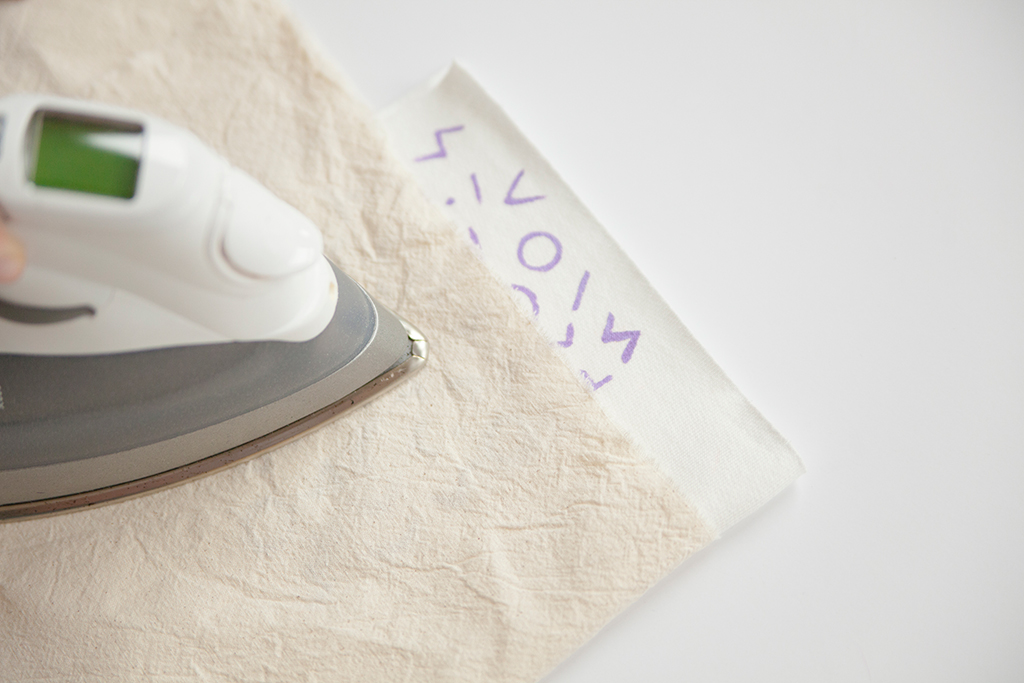
03 | Heat an iron to the highest heat setting your fabric will tolerate. Sandwich your printed fabric between two press cloths, and iron each piece for 3-5 minutes per side.
04 | You can now sew your pattern according to the pattern instructions!
05 | Wash and dry your fabric using normal machine settings. You may find that the look of your printing softens slightly over time. To best preserve the look of your hand-painted textile, wash by hand and hang dry.

About the Author
Five years ago, Haley left the apparel industry to join the world of home sewing. She has been empowering women to sew ever since —first through years of in-person teaching at Sew LA, and now through her writing at Colette. Haley writes tutorials and articles on our blog, and writes and edits for our magazine, Seamwork.