Sign In
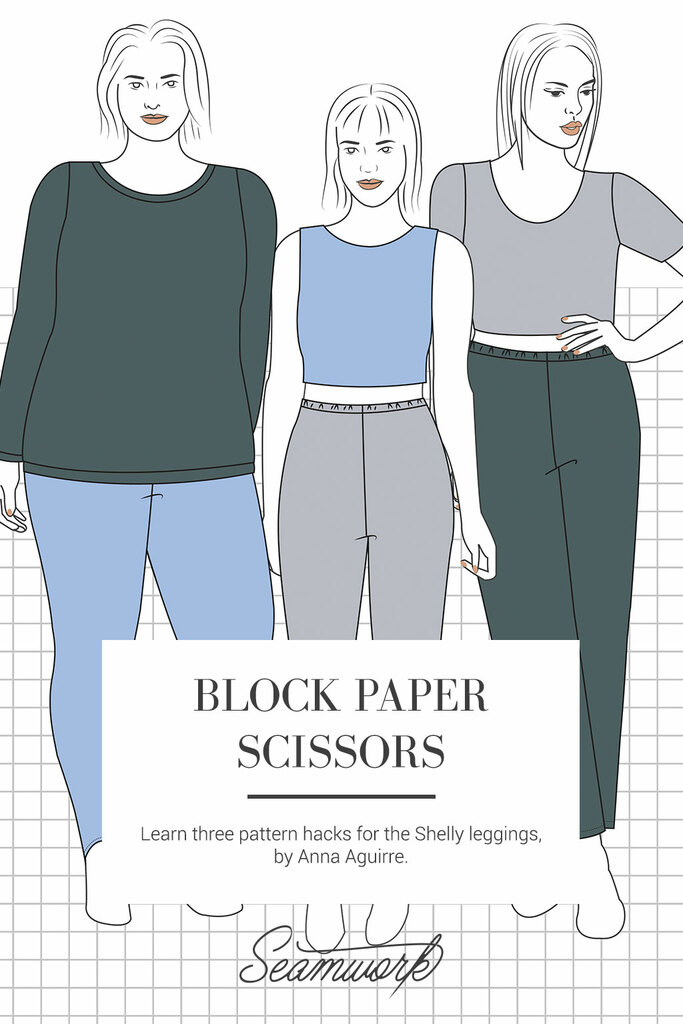
Block Paper Scissors is a monthly column that teaches three pattern hacks. These hacks help you give your Seamwork patterns a custom spin—all you need is paper, a ruler, and a pencil!
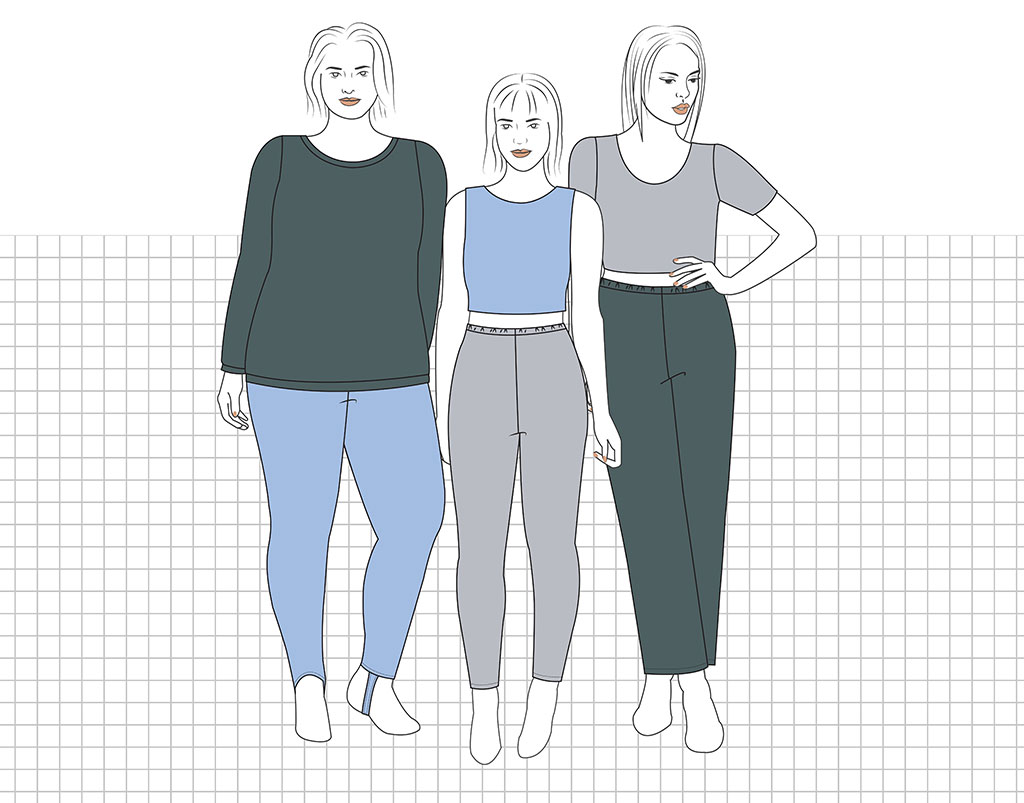
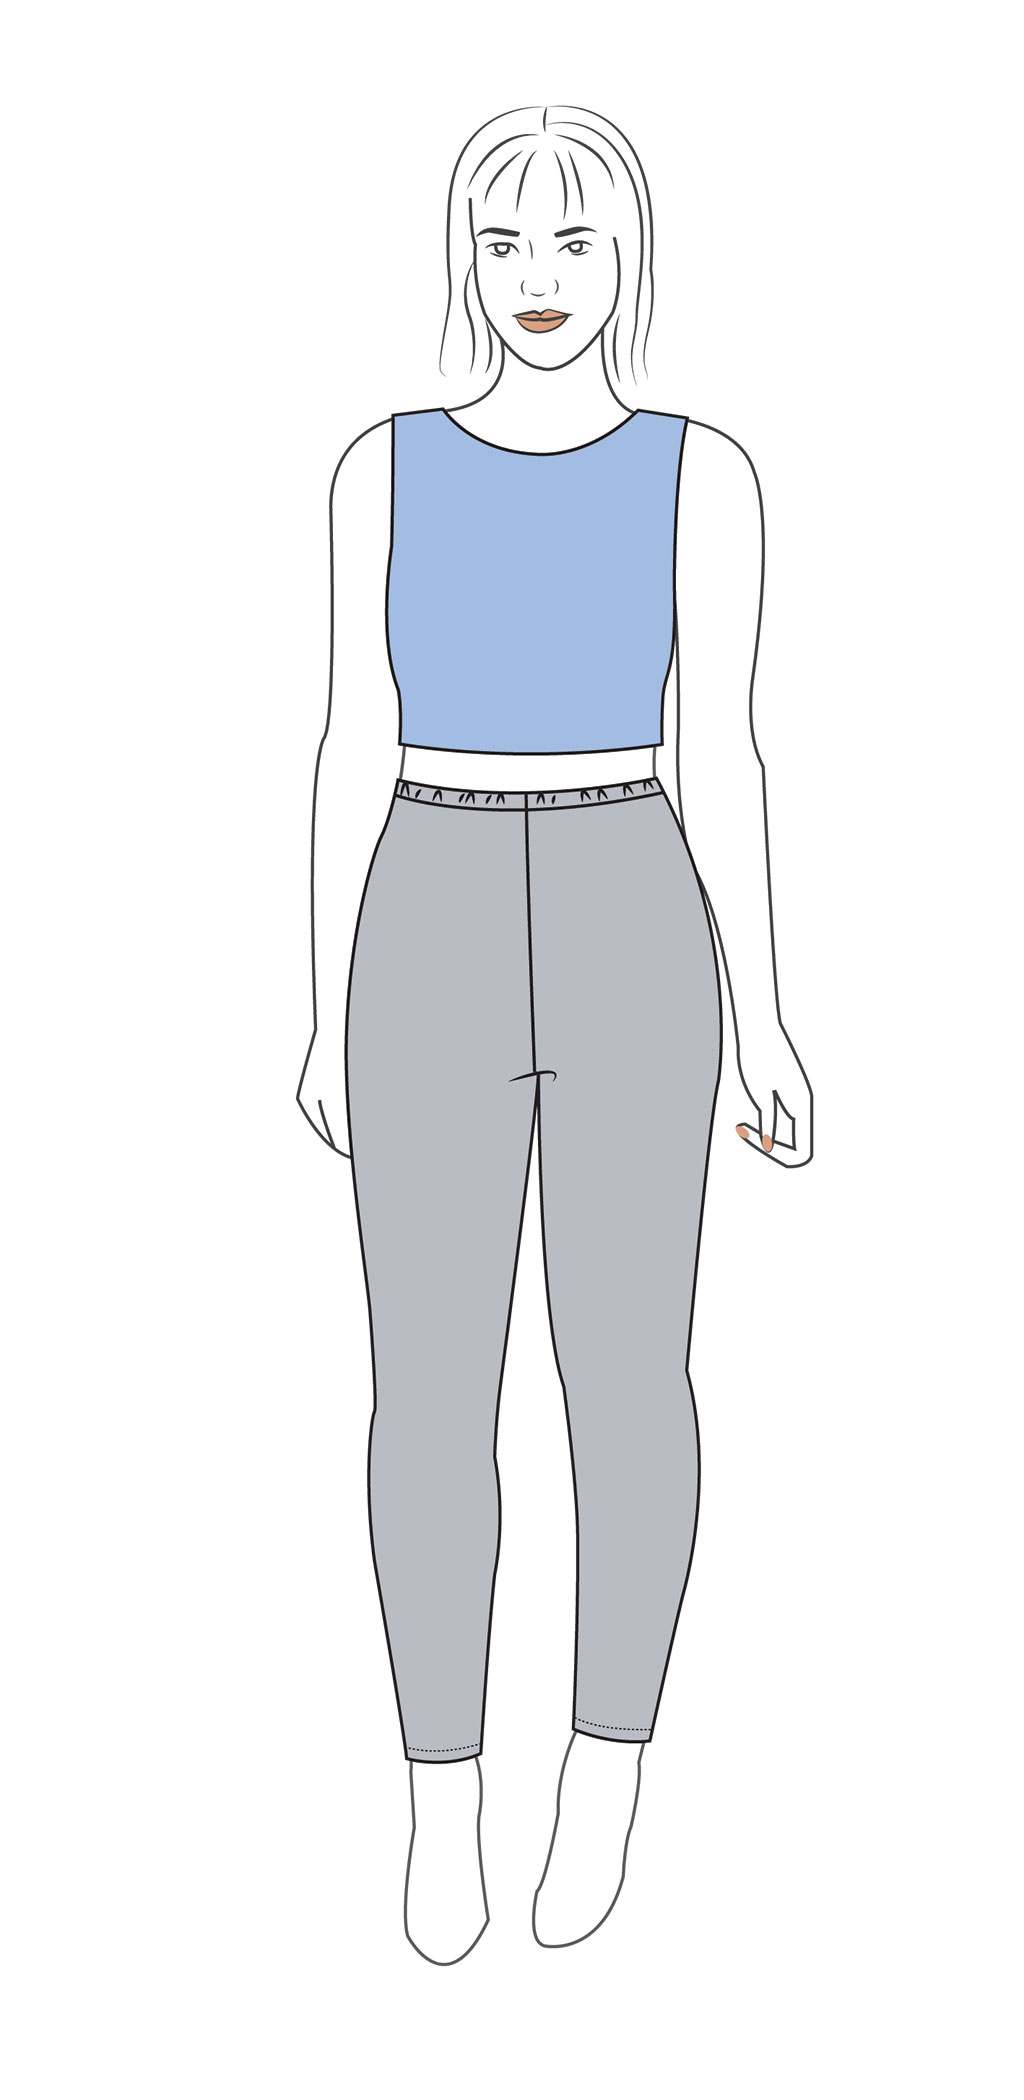
This month we walk you through three different pattern hacks for the Shelly leggings. Learn how to create simple lounge pants, eliminate the waistband, and add stirrups.
Note:
For best results, be sure to make any necessary fit adjustments before hacking your pattern.
Create lounge pants
Step | 01
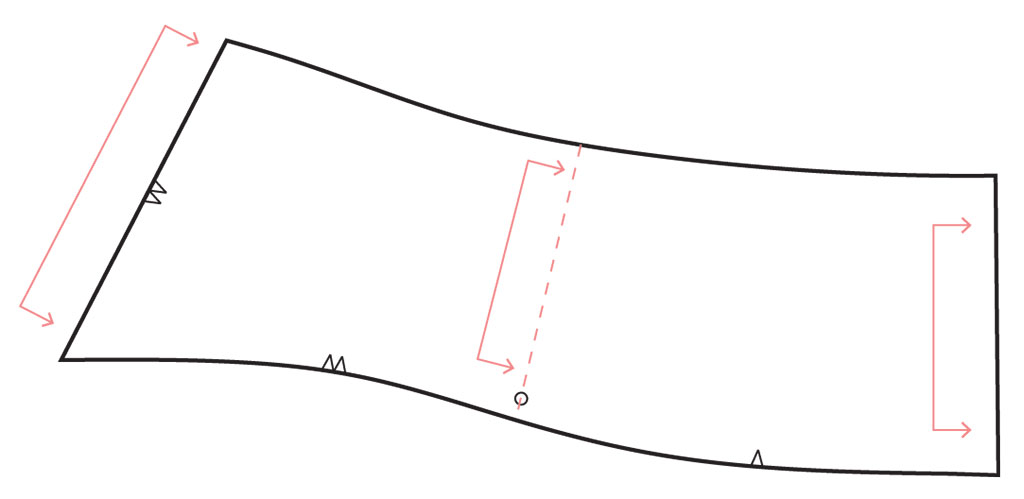
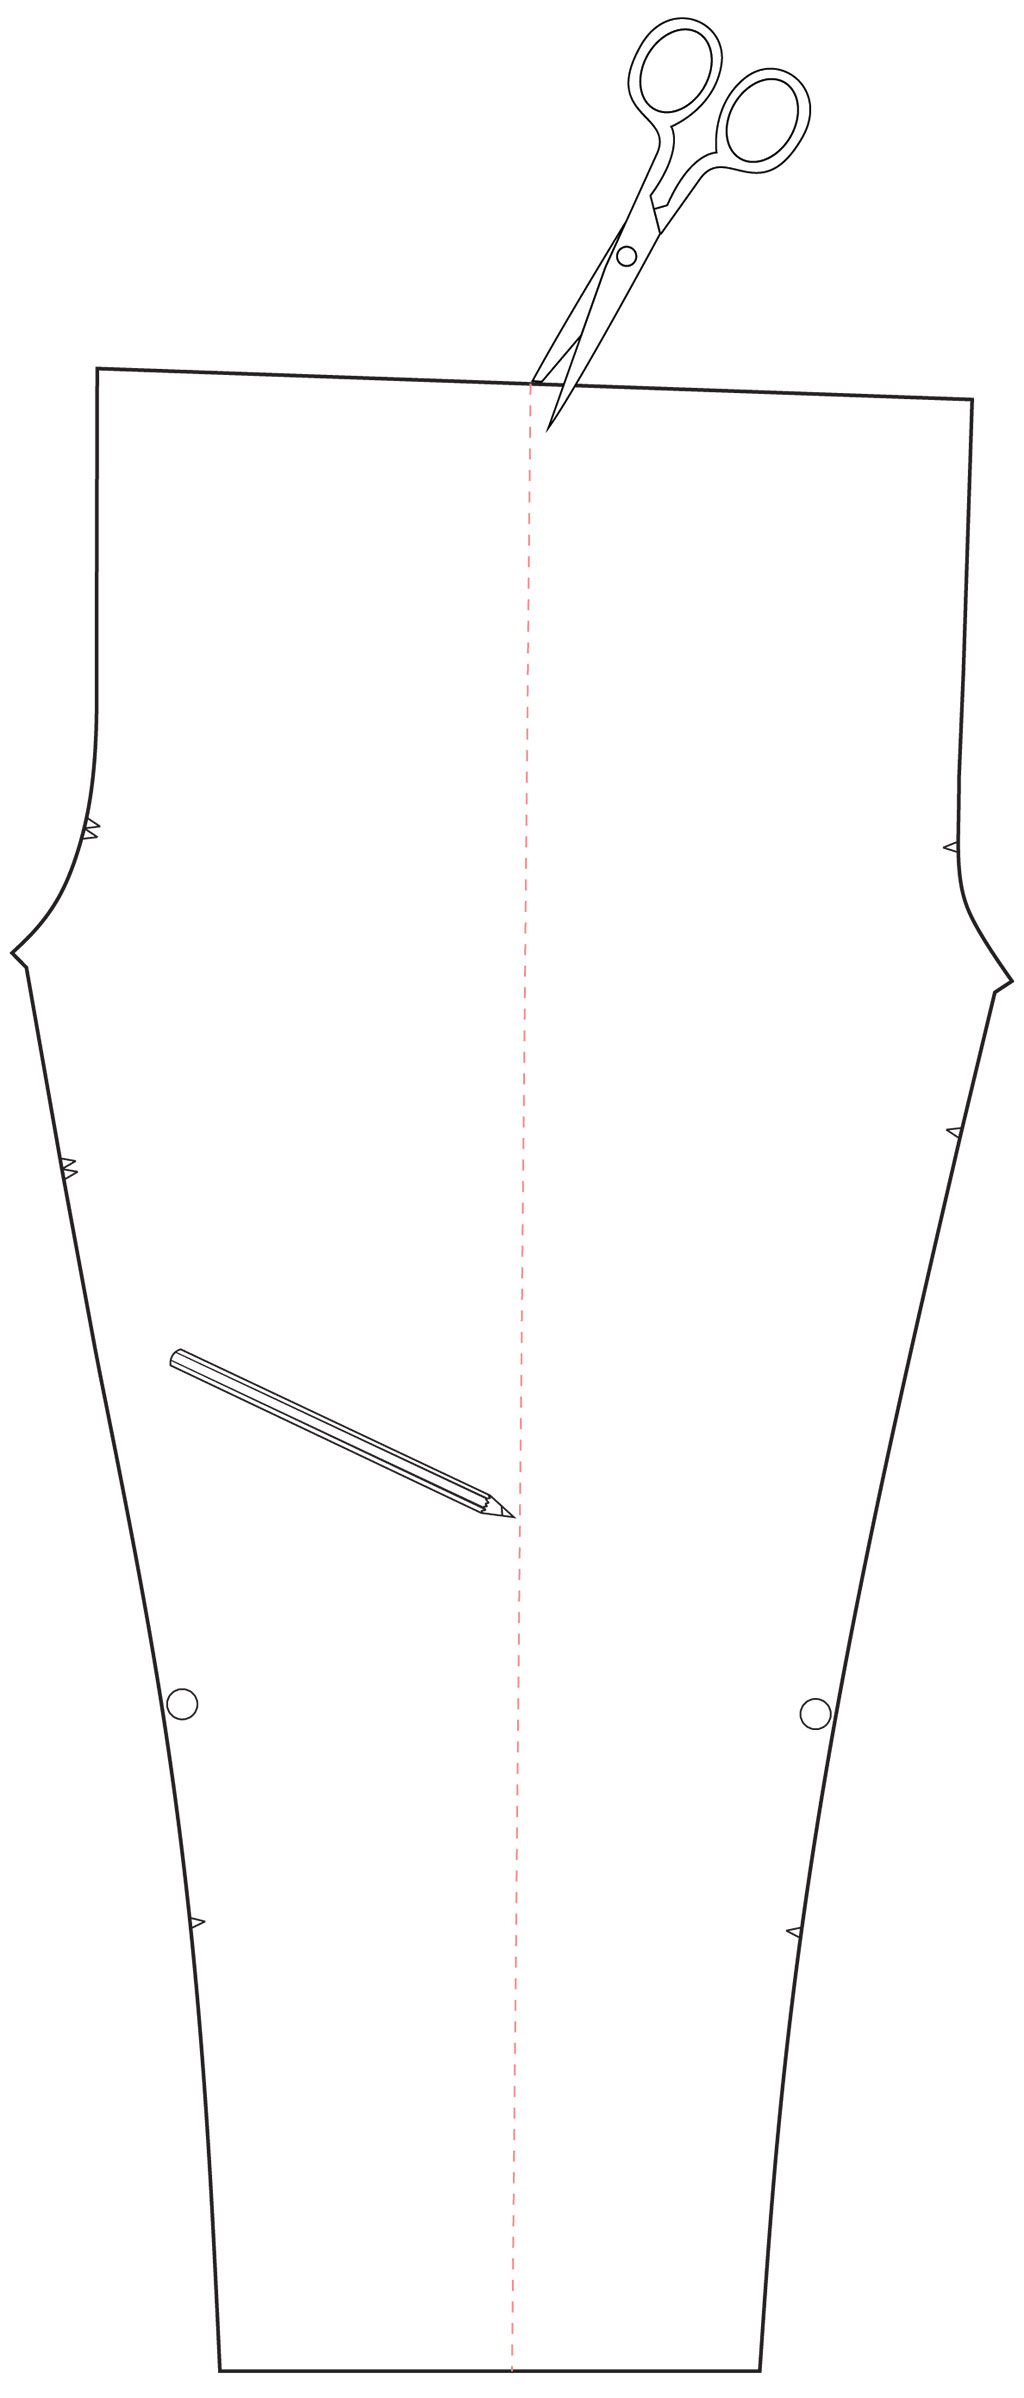
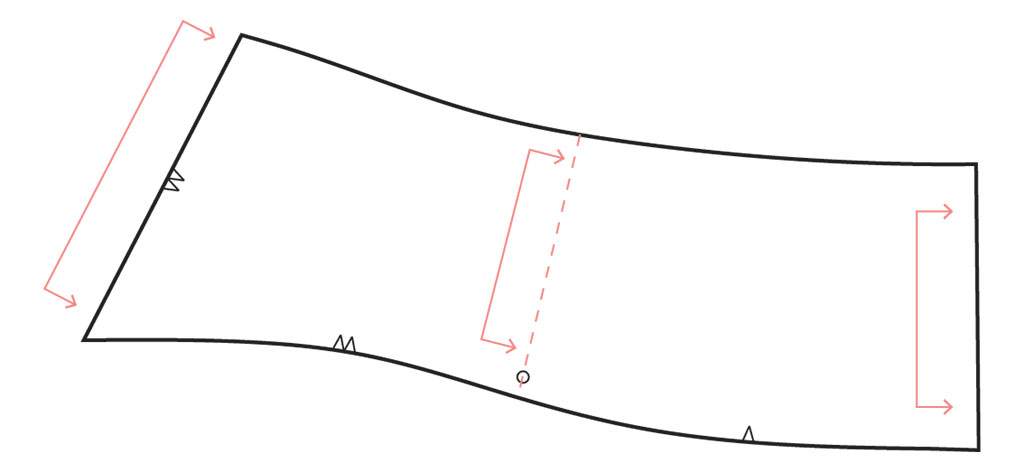
Measure the width of the center front, side (this point is marked by a circle), and center back of the waistband piece (A).
Step | 04
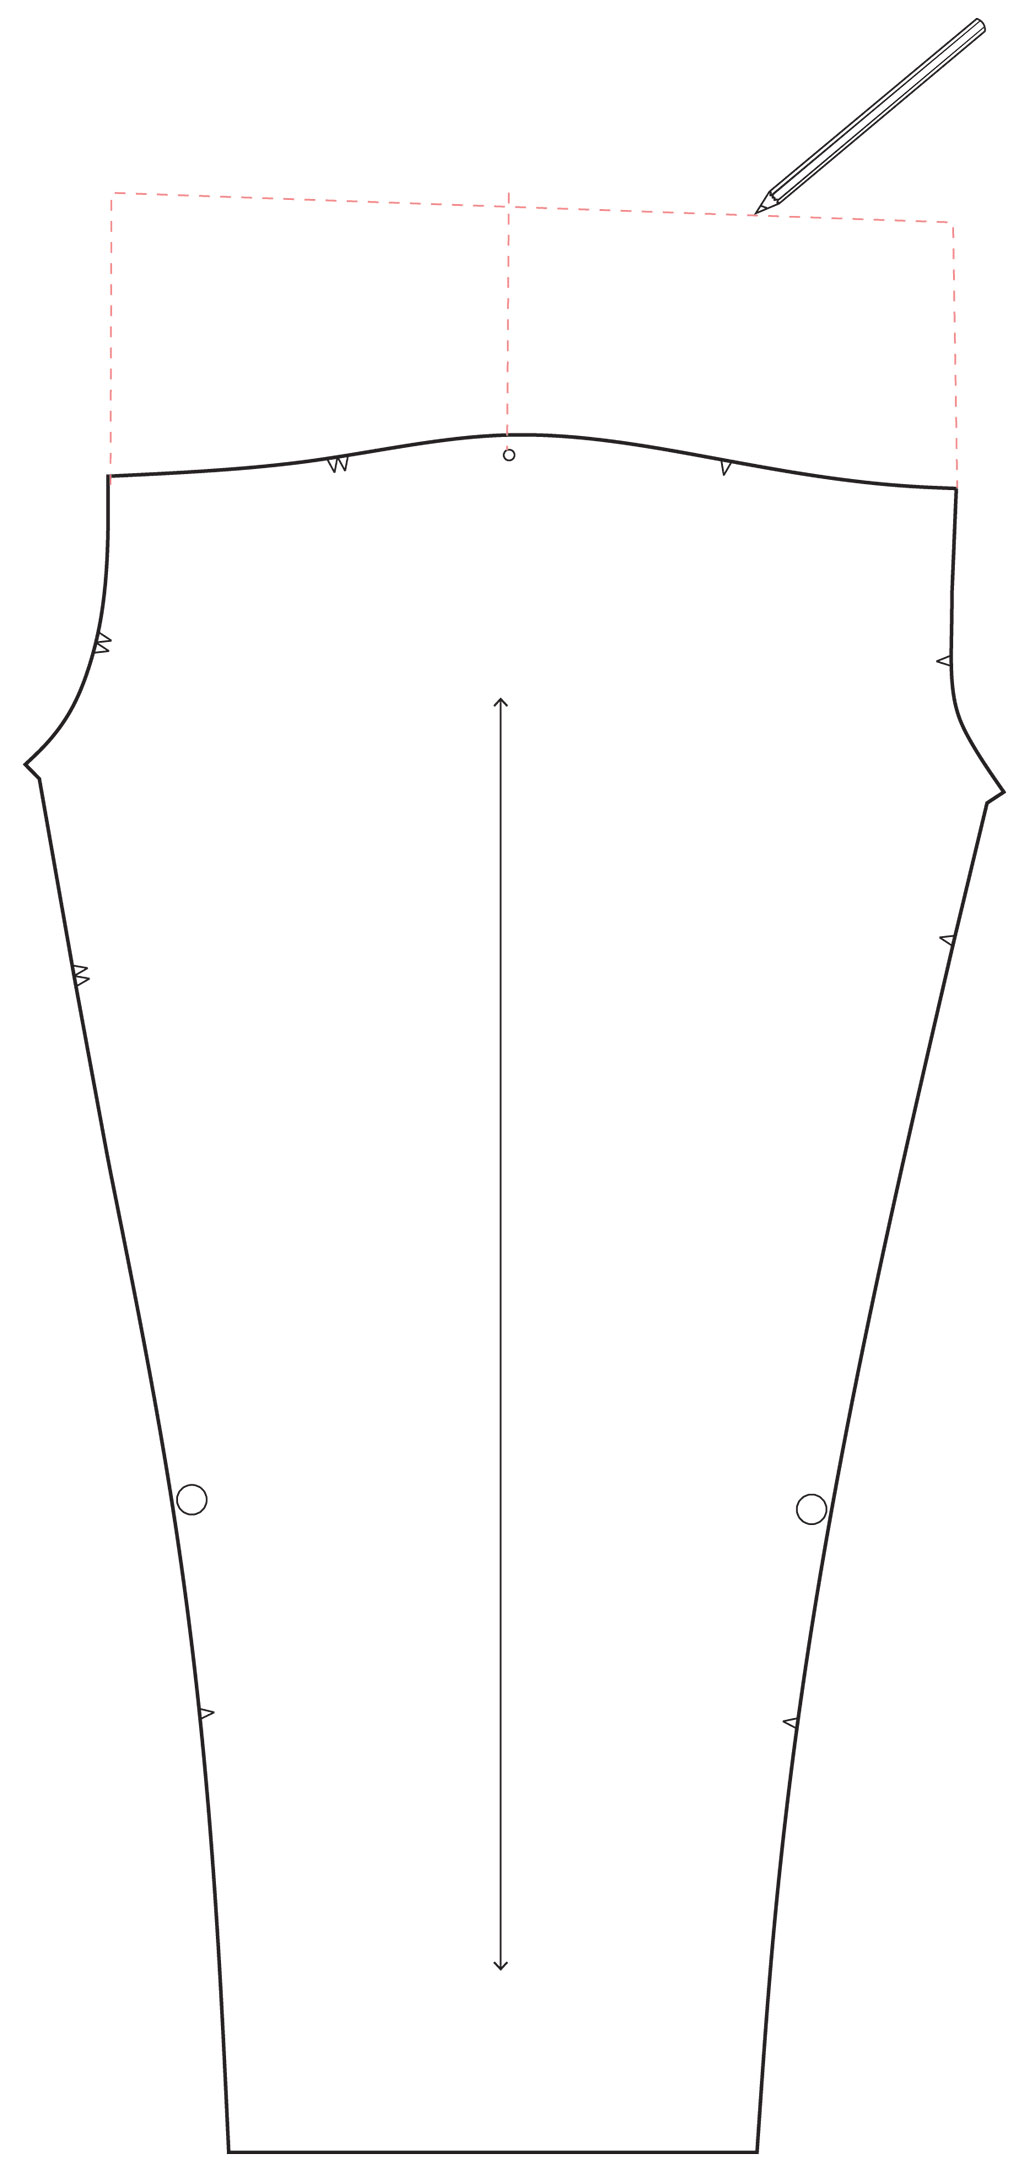
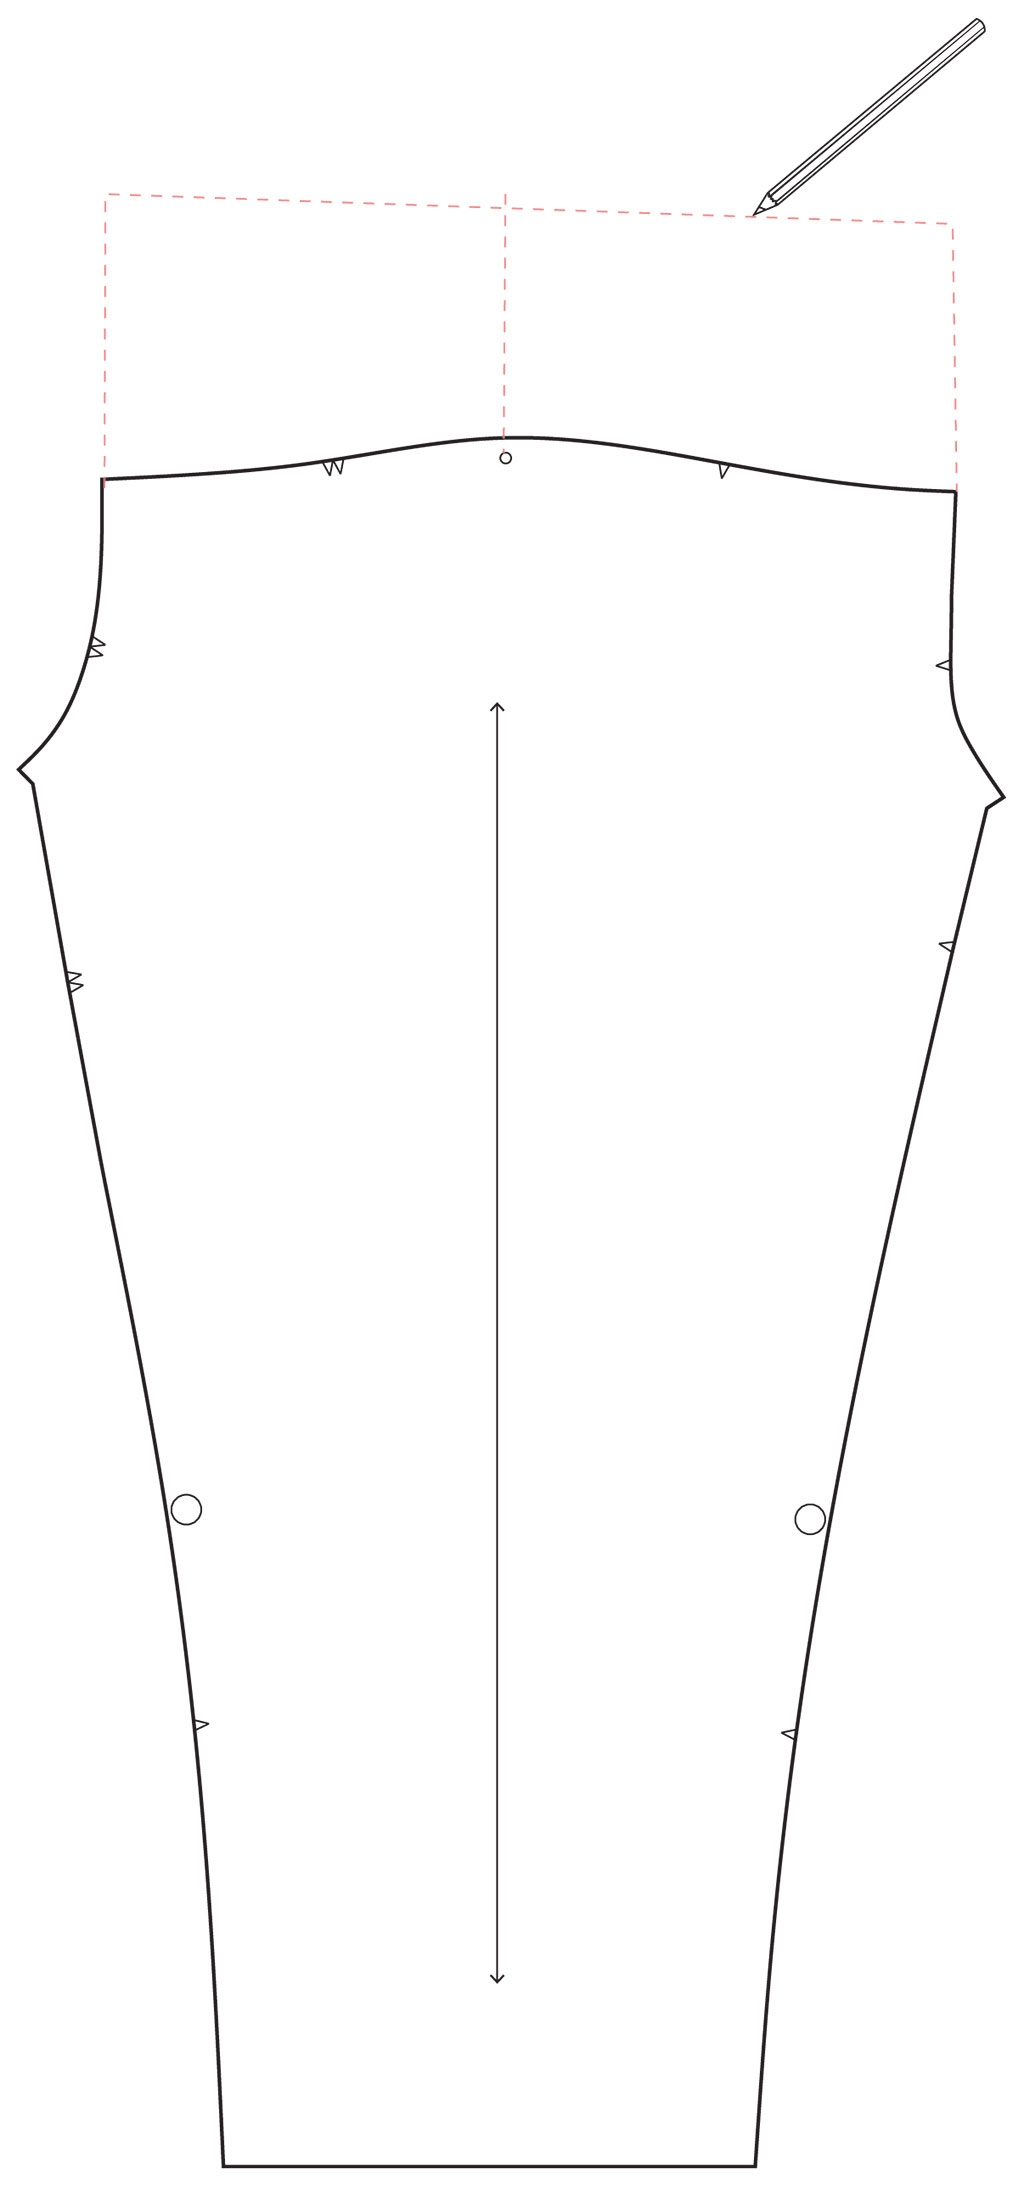
Draw a line down the side of the leg pattern piece (B), parallel to the grainline, from the circle marking at the waistline to the hem. Slash through this line to the hem, but do not cut through the hem.
Step | 02
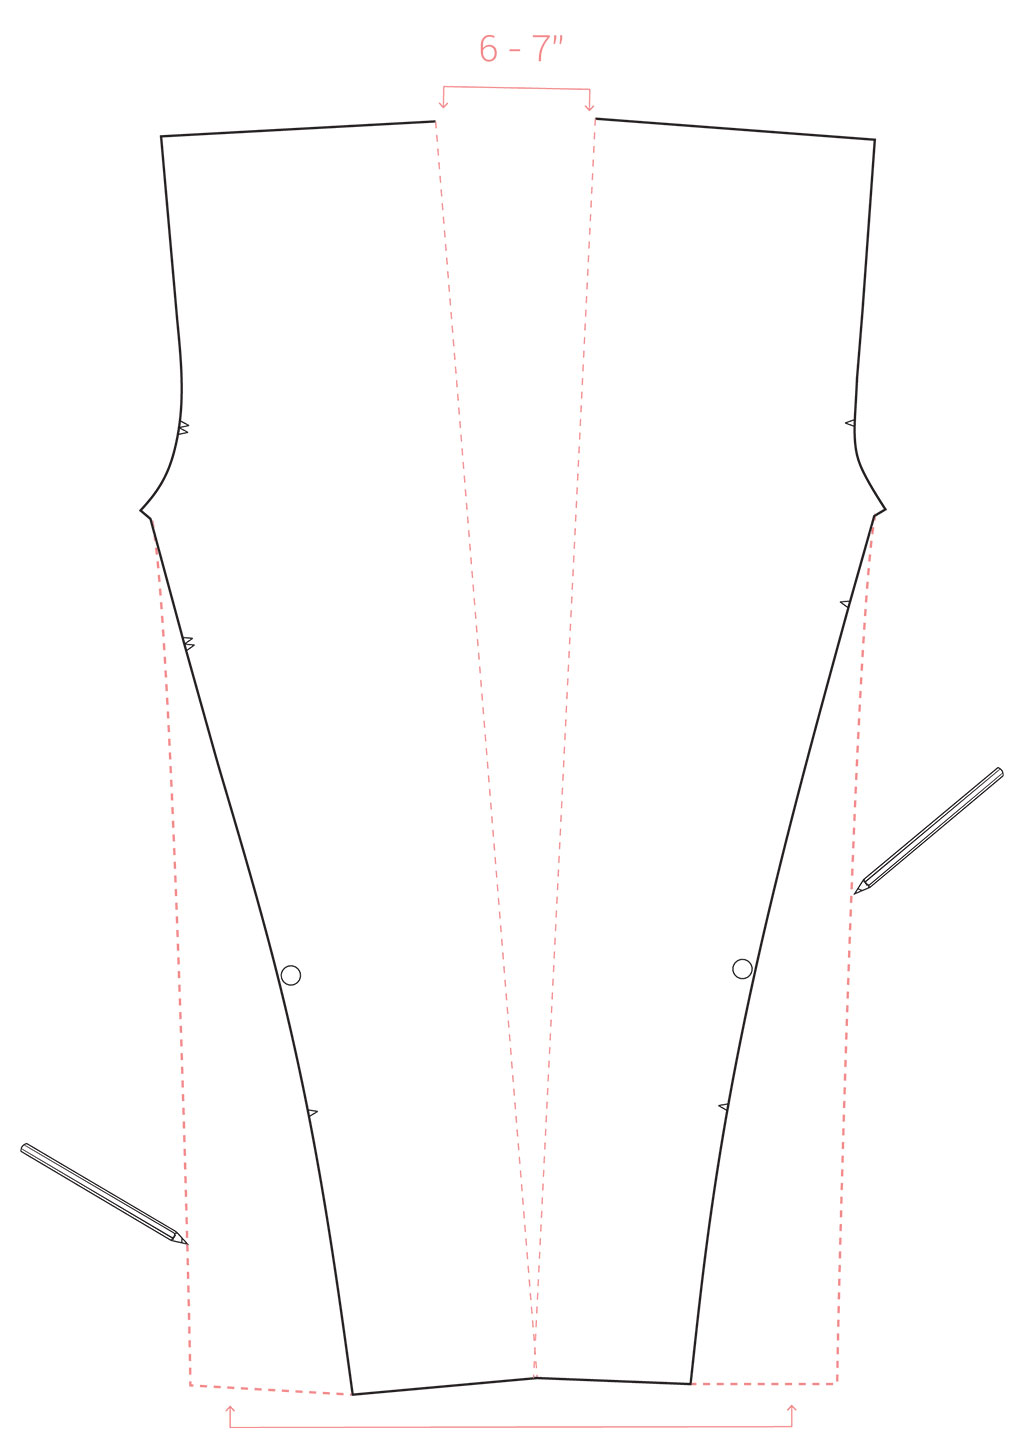
On the leg piece (B) at the waist seam, draw vertical lines up from the center front, side, and center back. The length of each line should reflect the corresponding waistband measurement from step 1.
Step | 03
Draw a straight line connecting the center front and center back lines. This line may cut through the top part of the side leg line. This is your new waistline.
Step | 05
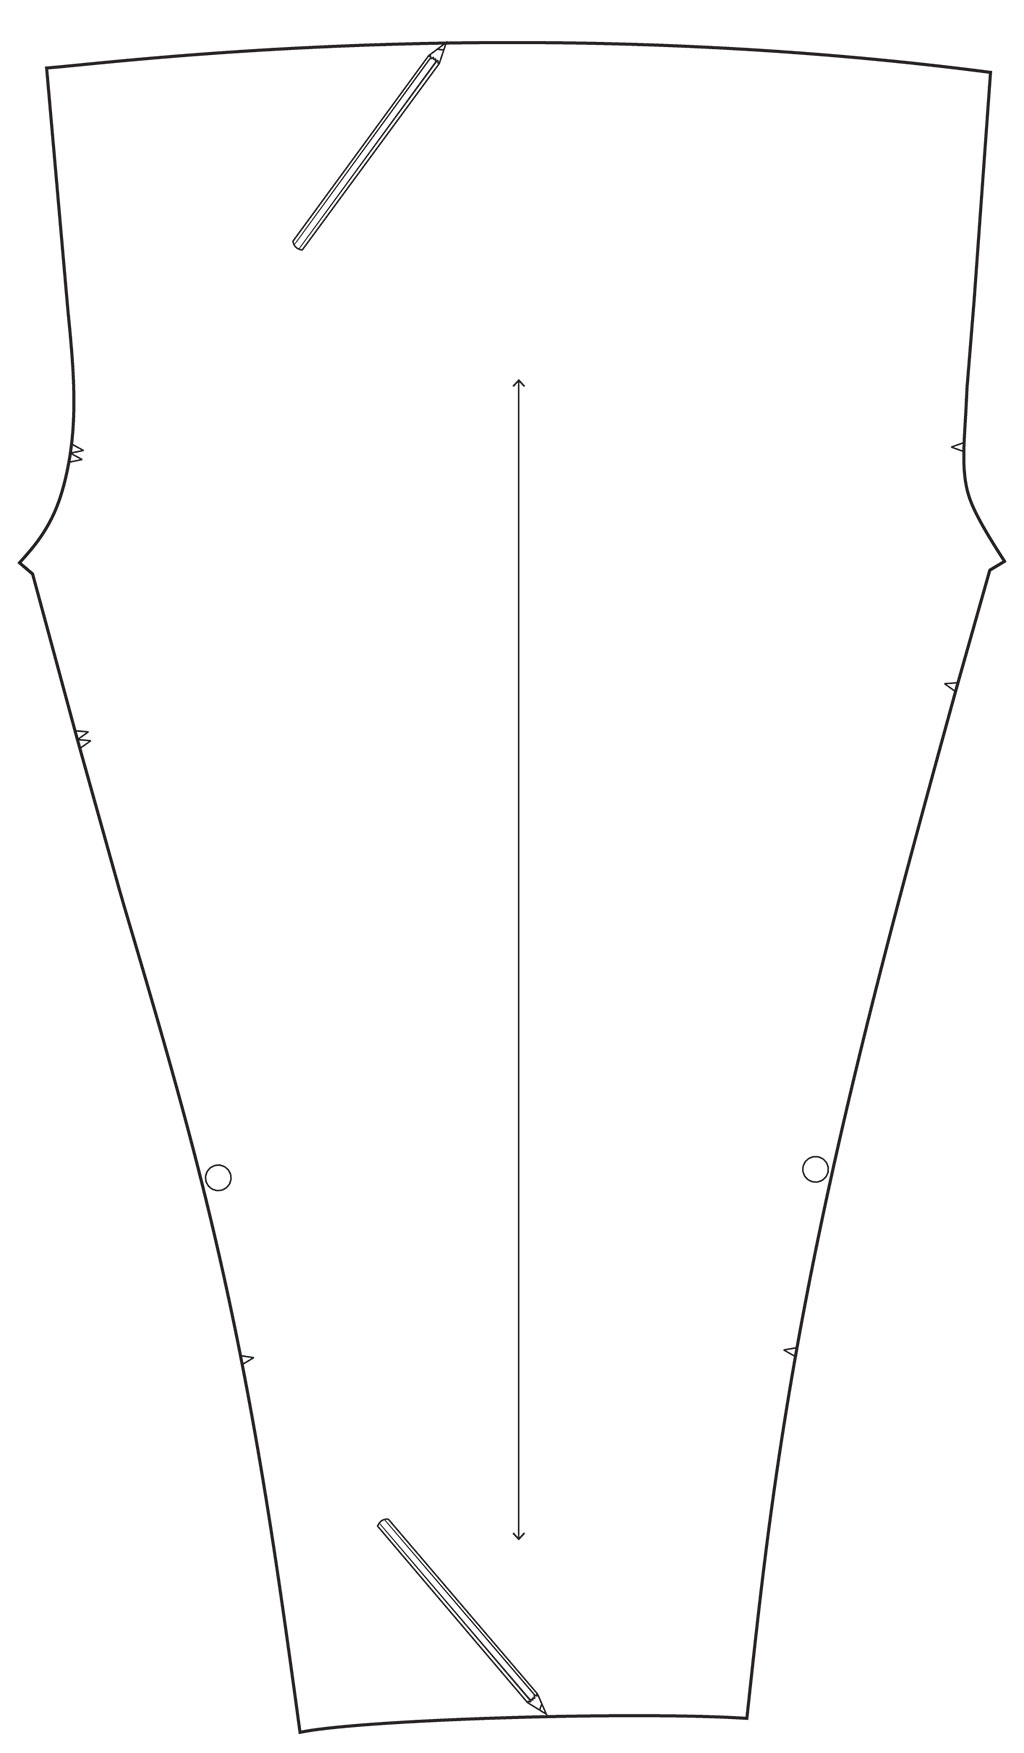
Spread the waistline of the leg pattern piece (B) about 6-7”.
Step | 06
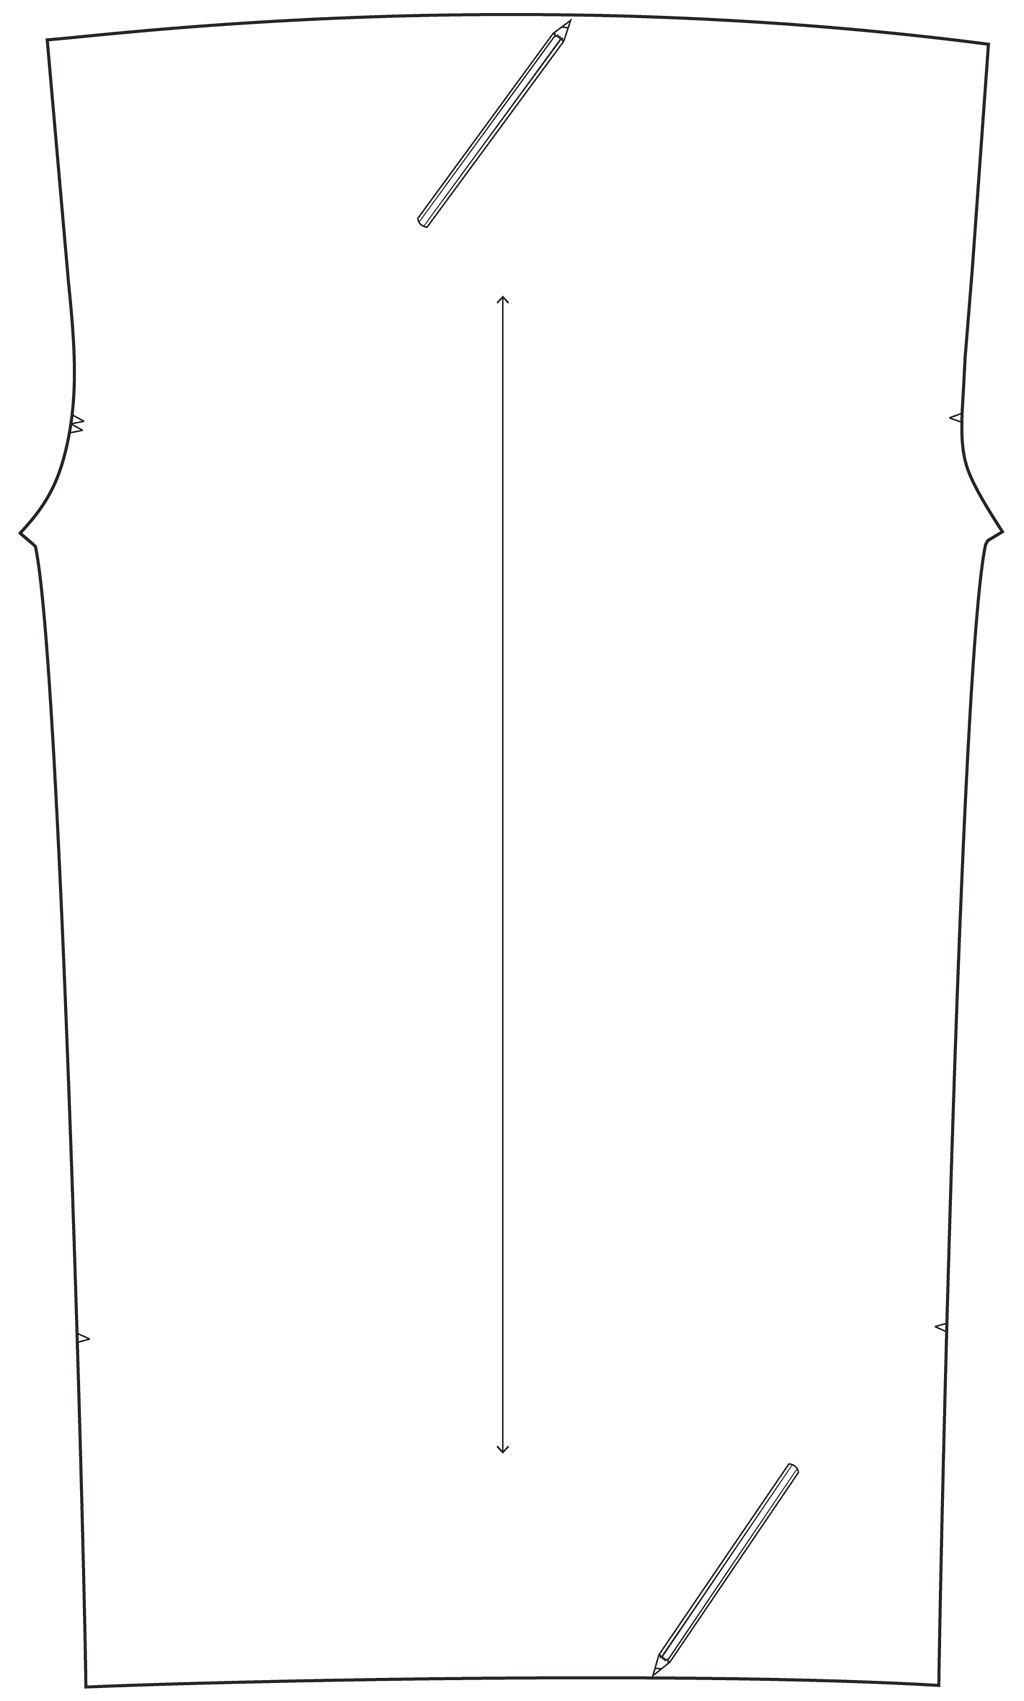
Measure a desired leg opening width for your sweatpants. Determine the difference between the width of the unaltered hem and the desired hem and divide this number in half. Add this amount to each side of the hem.
Step | 07
Blend and draw lines from the front and back crotch to the new hemline to create the sweatpant leg.
Step | 08
Blend a new hemline and transfer notches and markings.
Step | 09
Add an additional 1" seam allowance to the existing 3/8" seam allowance at the waistline of the leg piece (B) to accommodate 1” elastic.
Step | 10
Cut the patterns from your fabric, eliminating the gusset.
Step | 11
Assemble the pattern according to pattern instructions, omitting the section on assembling and attaching the waistband.
Step | 12
Finish the waistband of the pants unit with a serger or zigzag stitch. Fold at 1 3/8” and press.
Step | 13
Stitch the waist at 1 1/4”, sewing through both layers of fabric. Leave a 1 1/2” opening in the back to insert the elastic. This creates the waist casing.
Step | 14
Cut a piece of 1” elastic to the length of your waist measurement. Using a bodkin or safety pin, insert the elastic through the waist casing. Join the elastic creating a continuous loop. Close the casing.
Eliminate the waistband
Step | 01
Measure the width of the center front, side (this point is marked by a circle), and center back of the waistband piece (A).
Step | 02
On the leg piece (B) at the waist seam, draw vertical lines up from the center front, side, and center back. The length of each line should reflect the corresponding waistband measurement from step 1.
Step | 03
Draw a straight line connecting the center front and center back lines. This line may cut through the top part of the side leg line. This is your new waistline.
Step | 04
Draw a line down the side of the leg pattern piece (B), parallel to the grainline, from the circle marking at the waistline to the hem. Slash through this line to the hem, but do not cut through the hem.
Step | 05
Spread the waistline of the leg pattern piece (B) about 3-4”.
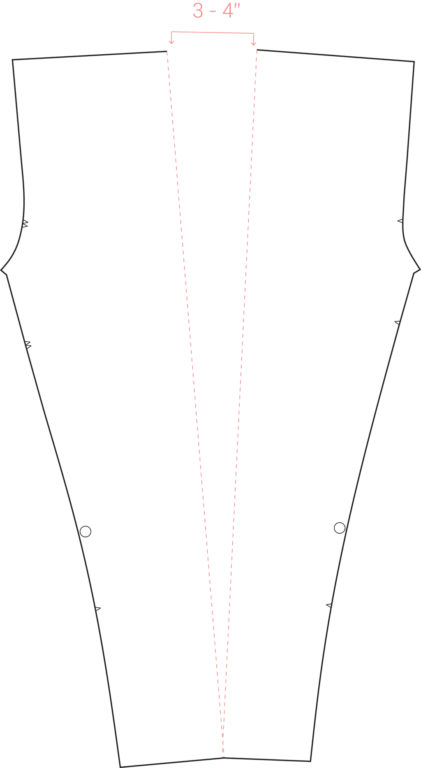
Step | 06
Blend and draw a new waistline and hemline.
Step | 07
Add an additional 1" seam allowance to the existing 3/8" seam allowance at the waistline of the leg piece (B) to accommodate 1” elastic.
Step | 08
Cut the patterns from your fabric.
Step | 09
Assemble the pattern according to pattern instructions, omitting the section on assembling and attaching the waistband.
Step | 10
Finish the waistband of the pants unit with a serger or zigzag stitch. Fold at 1 3/8” and press.
Step | 11
Stitch the waist at 1 1/4”, sewing through both layers of fabric. Leave a 1 1/2” opening in the back to insert the elastic. This creates the waist casing.
Step | 12
Cut a piece of 1” elastic to the length of your waist measurement. Using a bodkin or safety pin, insert the elastic through the waist casing. Join the elastic creating a continuous loop. Close the casing.
Add Stirrups

Step | 01
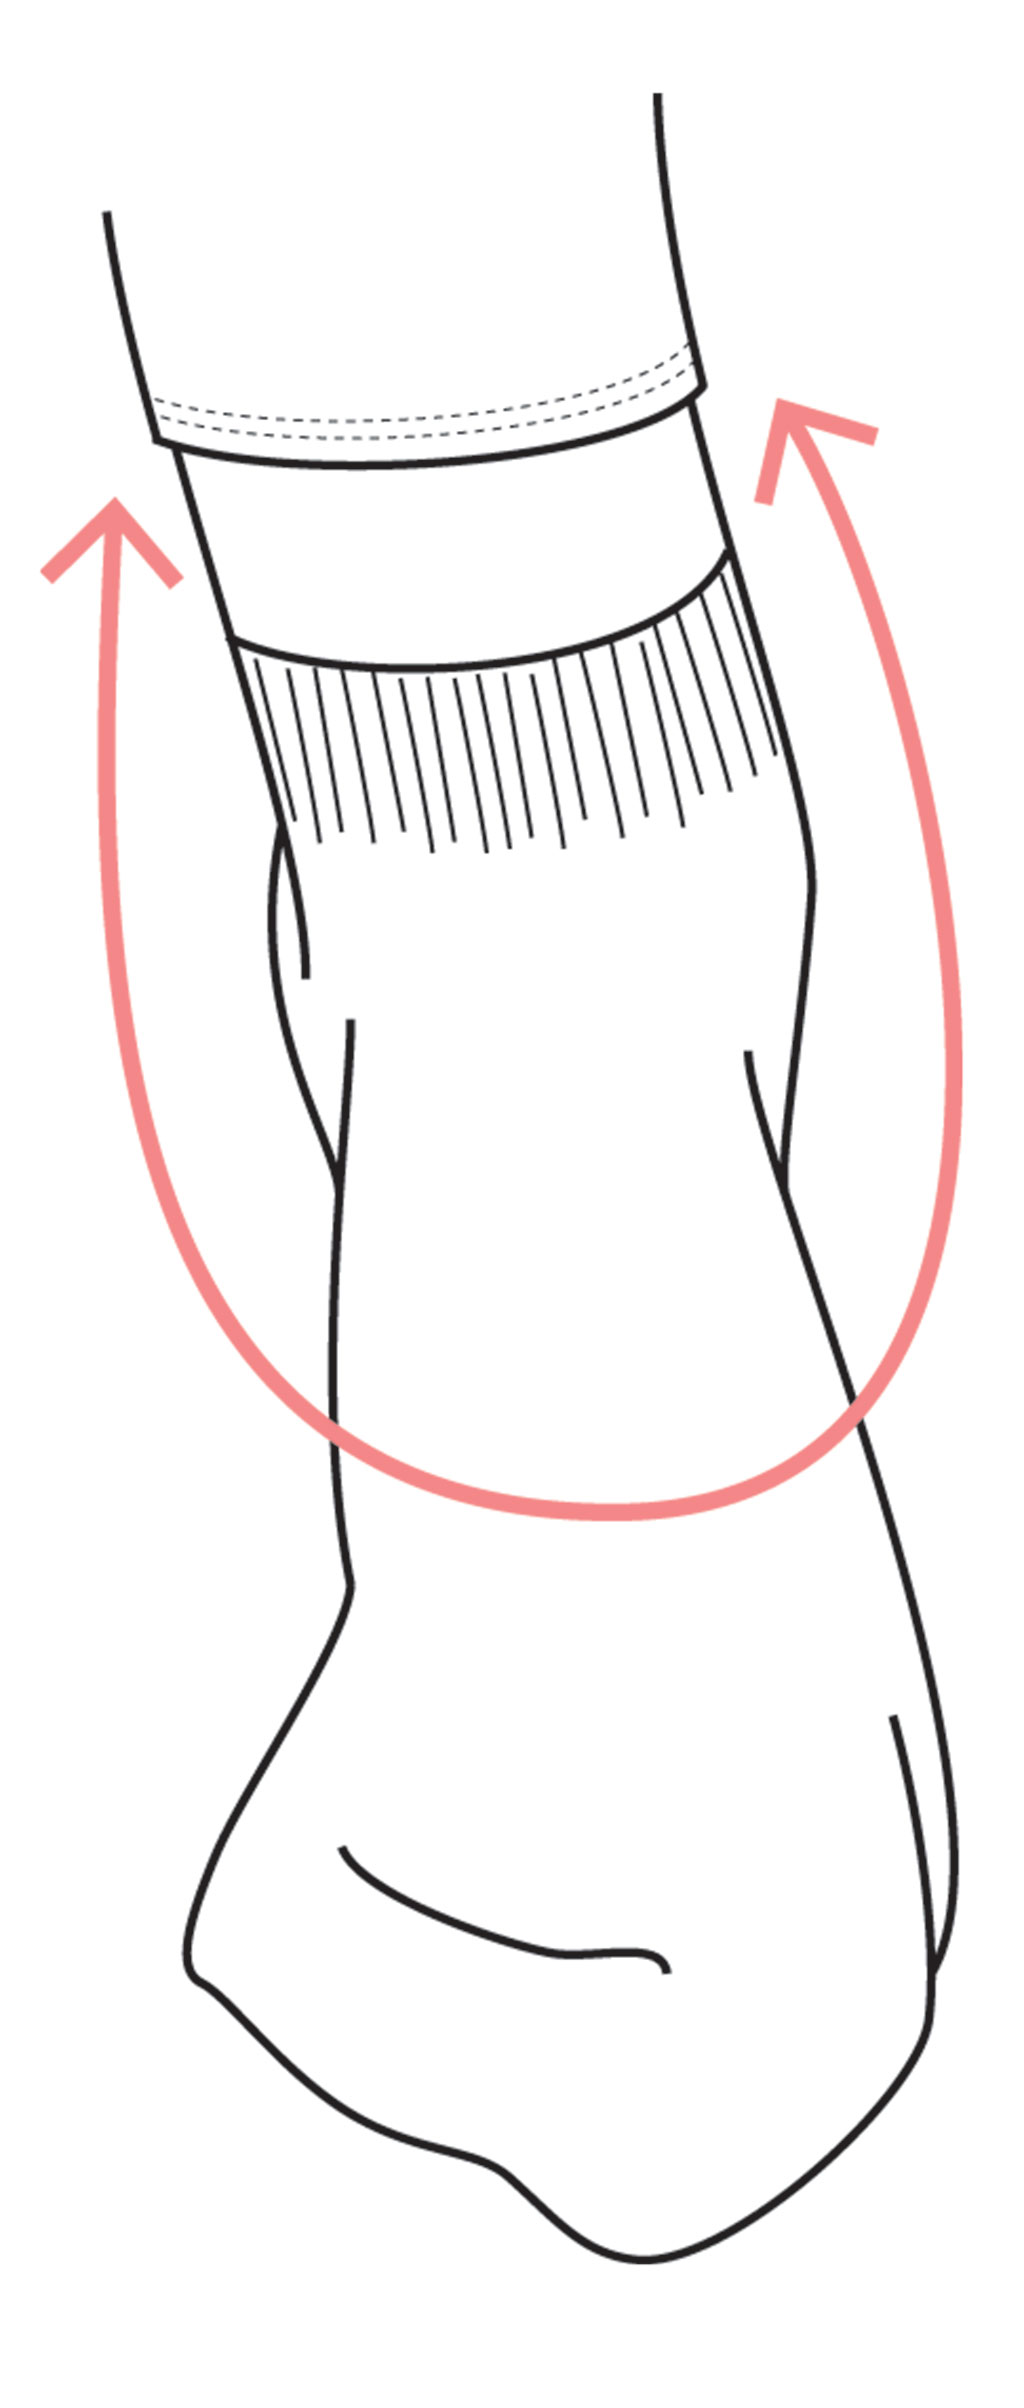
Measure the length around the arch of your foot from the outside to inside, where the inseam will hit.
Step | 02
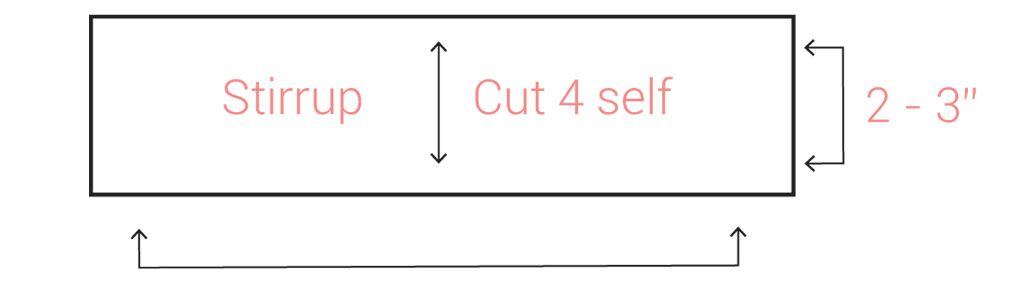
Make a rectangular pattern piece that is the length of the measurement from step 1 by 2-3” wide.
Step | 03
Mark this piece as the “stirrup” and "cut 4 self."
Step | 04
When assembling the pattern piece, with right sides together, sew two stirrup pieces together along the long edges. Turn the stirrup right side out.
Step | 05
Attach the stirrup to the finished leg opening hem at the side and inseam. Repeat for the remaining stirrup pieces.

About the Author
As pattern designer, Anna works hard to make sure our sewing patterns boast both great style and instructions. She believes in the power of chocolate and coffee to cure just about anything.