Sign In
Do you avoid sewing patterns that are cut on the bias? Don’t let a little change in grainline intimidate you!
We have a helpful video for sewing on the bias up on our YouTube channel this month—because the new Everly skirt is cut on the bias. Start by watching this video if you need to brush up on the concept of sewing on the bias.
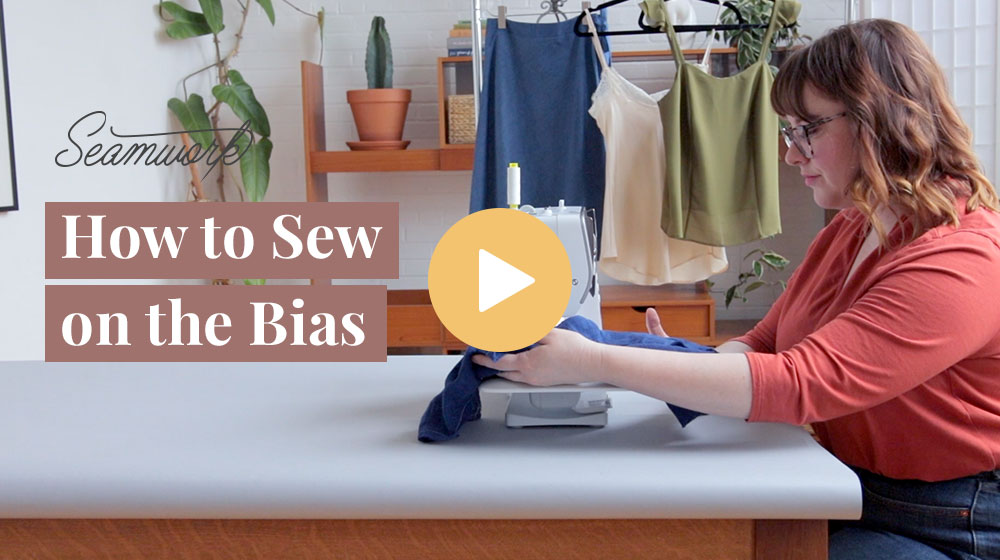
In this video, Haley will explain how the bias works and share some tips for cutting out your pattern pieces, sewing, pressing, and stabilizing. She’ll also give you some ideas for bias-cut projects. If you want to read even more about these concepts, don’t miss our Guide to Working on the Bias article from issue no. 2 of Seamwork.
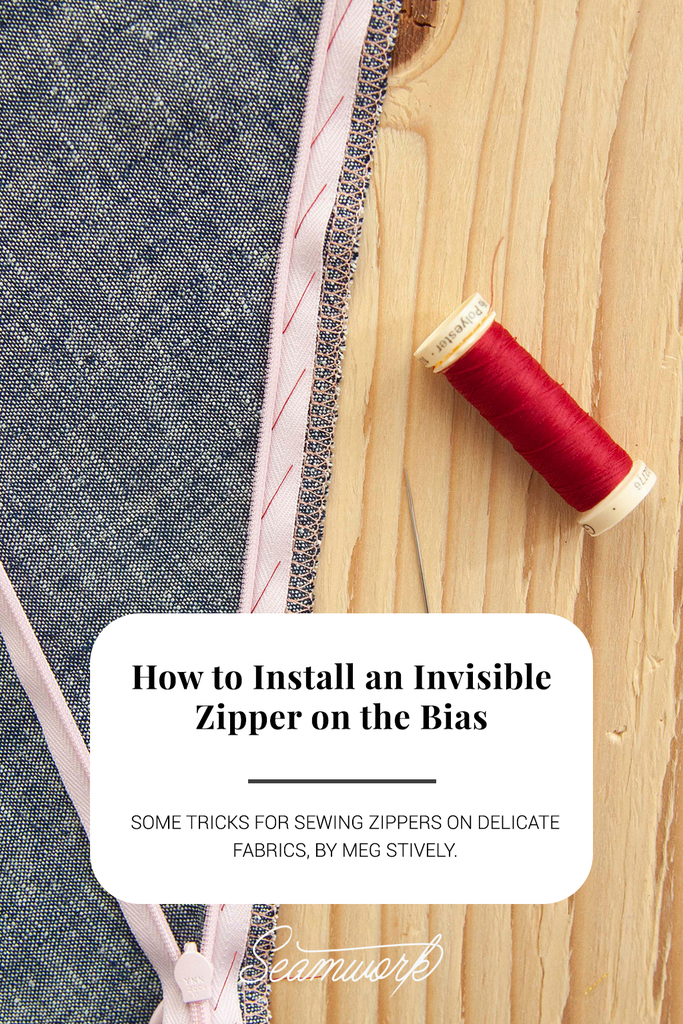
If you already know how the bias works, but you want to install a zipper on a bias-cut project, keep reading! And please note, this tutorial is helpful for any delicate fabric, whether or not it’s cut on the bias.
How to Install a Zipper on a Bias-cut Garment
You'll Need:
- Your pattern
- An invisible zipper
- A needle and thread to sew by hand
- A stabilizer with a bit of stretch: Use knit stay tape or a strip of knit interfacing as a stabilizer, cut to at least 1” more than the length of your zipper.
-
Optional: If you do not want to sew the zip by hand, you will also need an invisible zipper foot. In the Resource Center, we have a separate tutorial for sewing an invisible zipper on your machine.
Bias-cut garments are special because the drape of the fabric moves with your body, creating a delicate silhouette. To make your zipper lay flat and blend into the drape of your fabric, you will want to take a few extra steps while inserting the zipper—specifically, reinforcing with stabilizer and sewing by hand. This is because your garment is cut on the bias, but your zipper tape is not.
Prep the Zipper
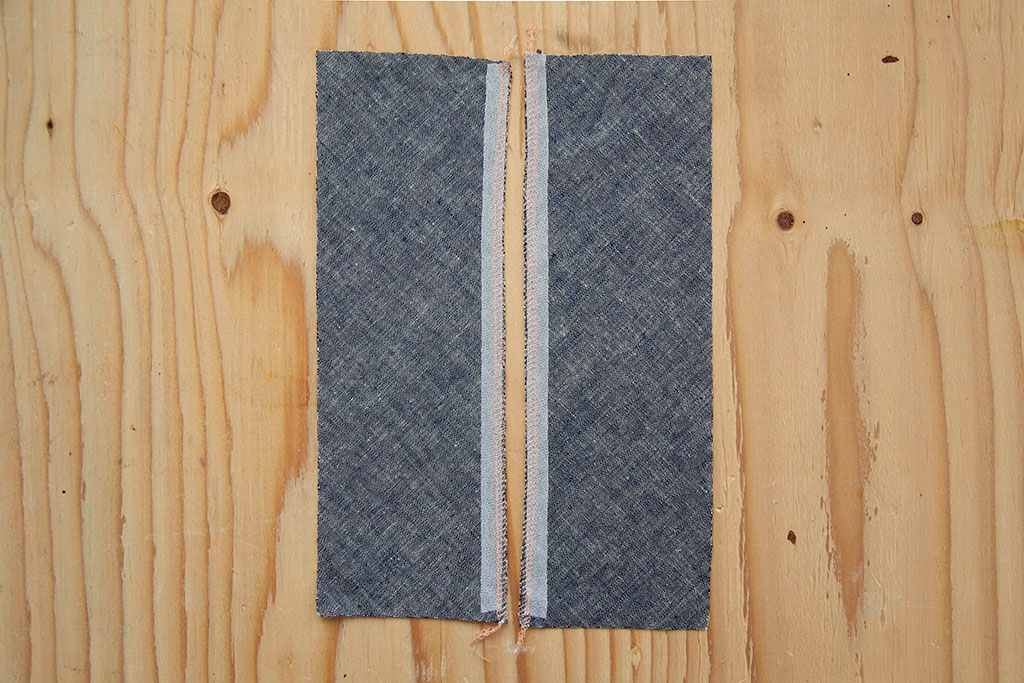
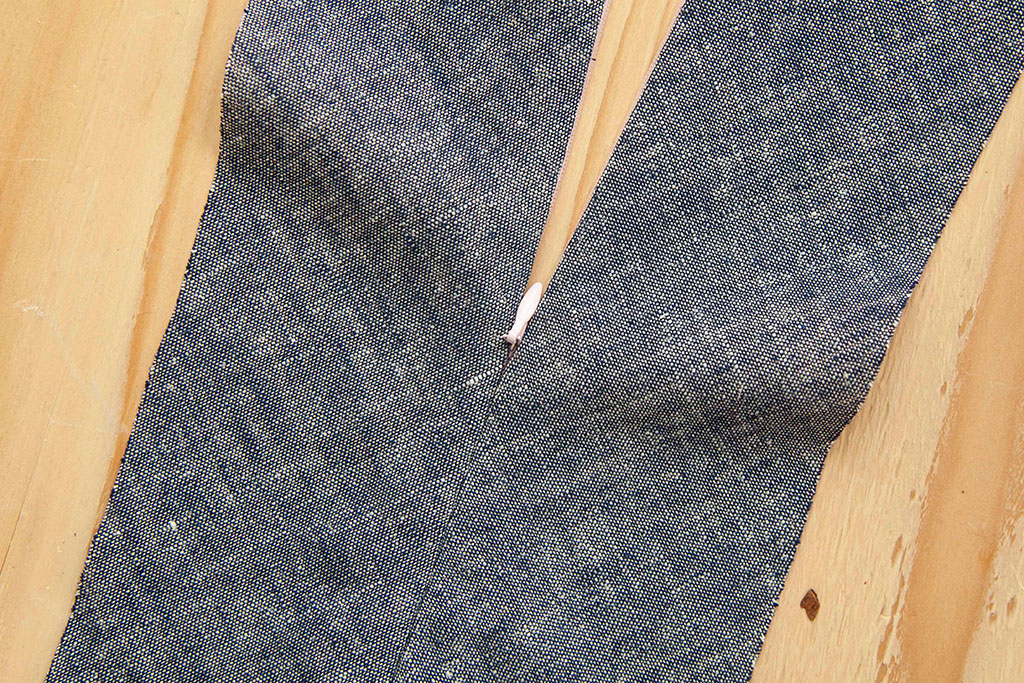
Step 01: Stabilize your zipper opening. Using a stabilizer with a little bit of stretch will add stability without fighting against the nature of the fabric. Apply knit stay tape or knit interfacing to both edges of the zipper opening. Finish the seam allowances using a serger or zigzag stitch.
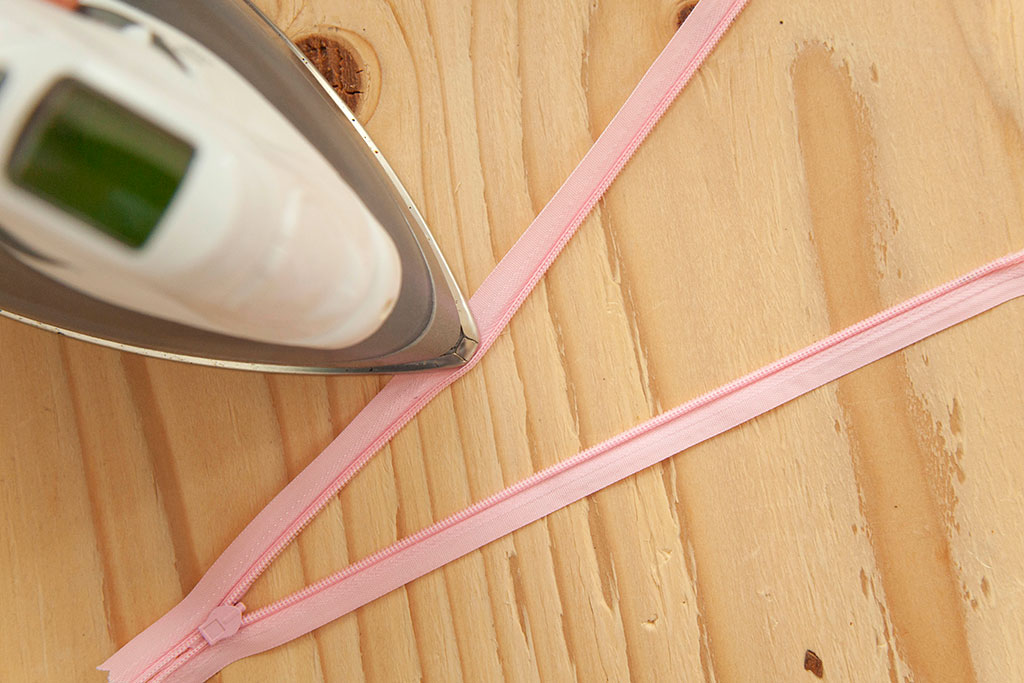
Step 02: With your iron on a low setting, gently press the invisible zipper coils to uncurl them. This is important on a bias-cut garment because it will relax the zipper and reduce tension.
Baste the Zipper
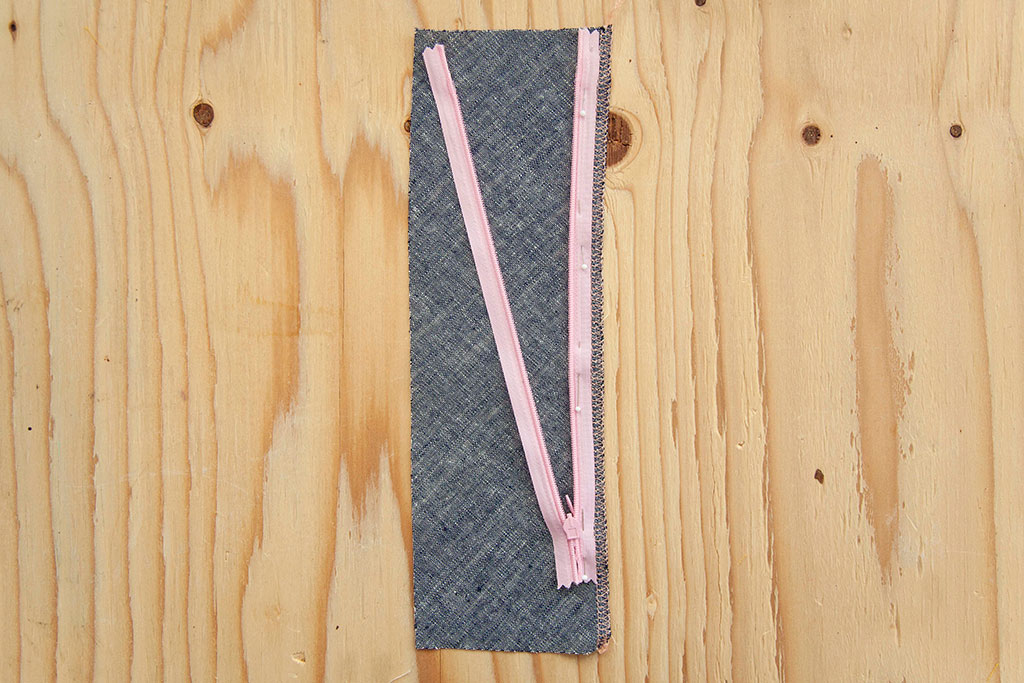
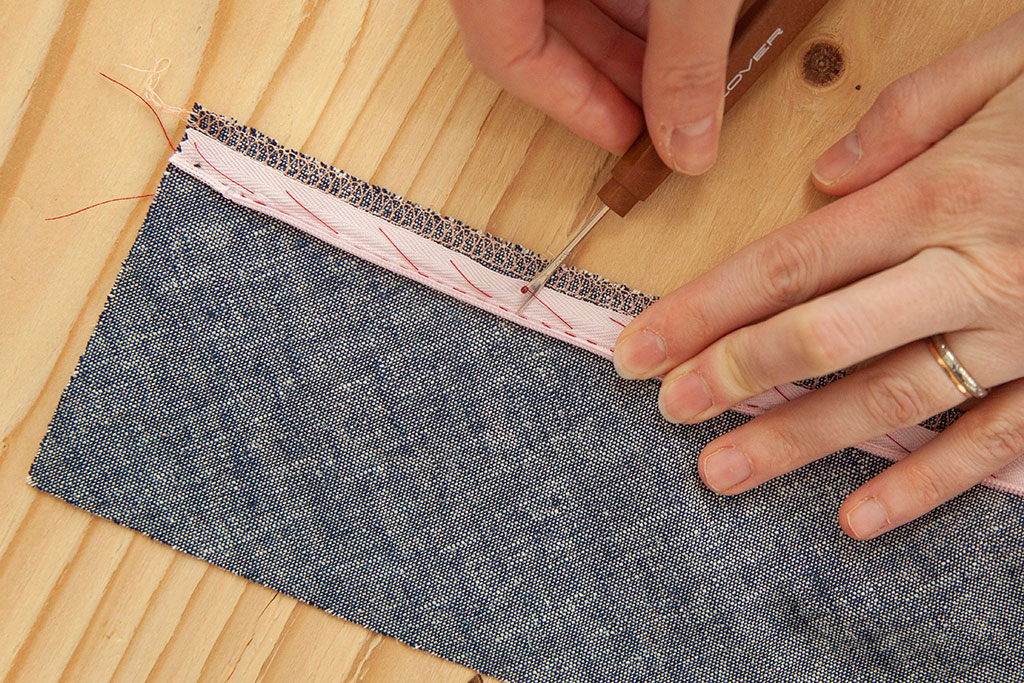
Step 01: With right sides together, pin your zipper to one side of your garment. This means that the zipper will be face down on the right side of your fabric. Adjust the zipper placement to match your pattern’s seam allowance, since invisible zipper tapes are often thinner than 5/8”.
Tip: If you have a tailor’s ham, use it to allow the fabric to fall naturally as you pin. Your fabric might be slippery, so take your time!
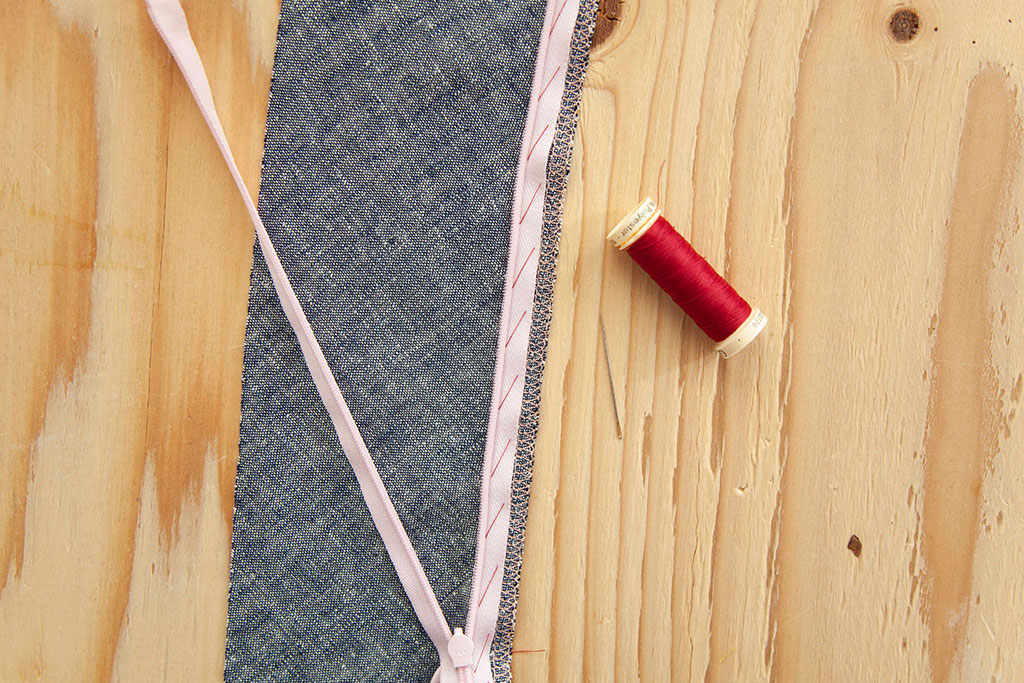
Step 02: Baste one side of your zipper by hand, preferably on the diagonal to prevent puckering. If you want your zipper to look nice, don’t be tempted to skip this step. Basting by hand gives you the most control over your zipper placement, and you can make sure you are honoring the drape of the fabric as you baste.
Sew the Zipper
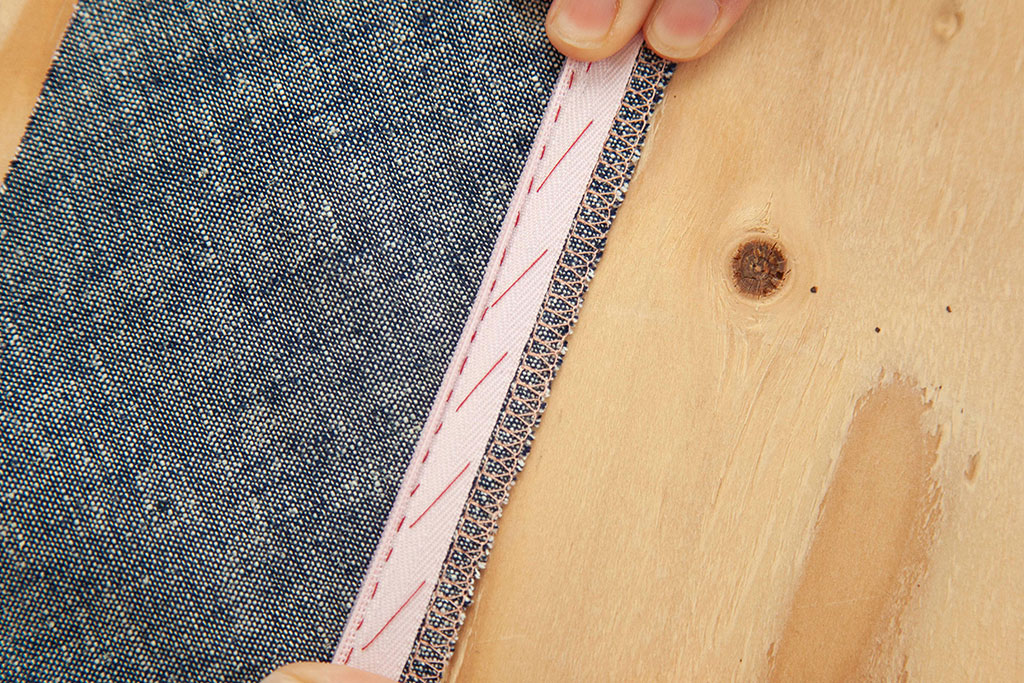
Step 01: Sew one side of the zipper. If you enjoyed the control you had when basting by hand, we recommend hand-sewing the zipper in place—which also means you don’t need to mess with a zipper foot! Use your basting stitches as a guide.
If you are using an invisible zipper foot, align the zipper, so the coil is in the left groove of the foot. Stitch. Don’t pull the fabric as you insert your zipper, or you will undo all the careful work you did while hand-basting. You can see pictures of this in our invisible zipper tutorial—which also has a video.
Tip: Zippers often have subtle markings to help you sew. Keep an eye out for a line close to the zipper coil. It’s a good marker for your stitch line, and very helpful when sewing by hand.
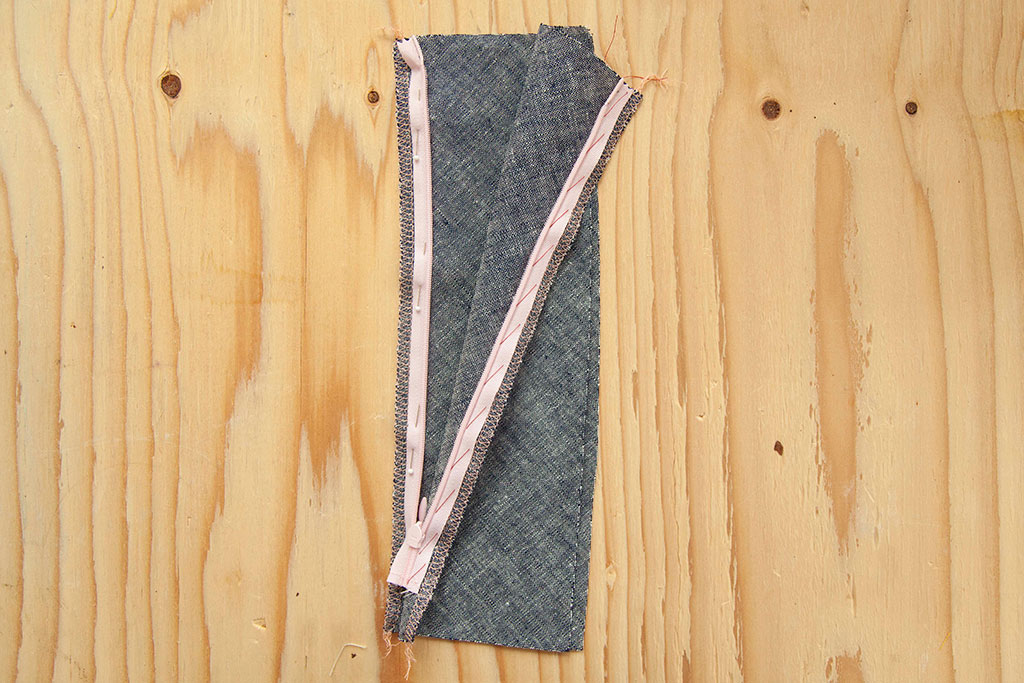
Step 02: Pin the other side of your zipper and baste by hand. Make sure that the right side of the fabric is facing up. After basting, close your zipper to make sure it doesn’t twist.
TIP: If you have a dress form, it’s not a bad idea to pin your garment to the dress form to double check how the fabric drapes with the weight of the zipper while it’s closed. You can also try on your garment (carefully) to see how it looks when it’s on. Now is the time to undo any stitches if you need to.
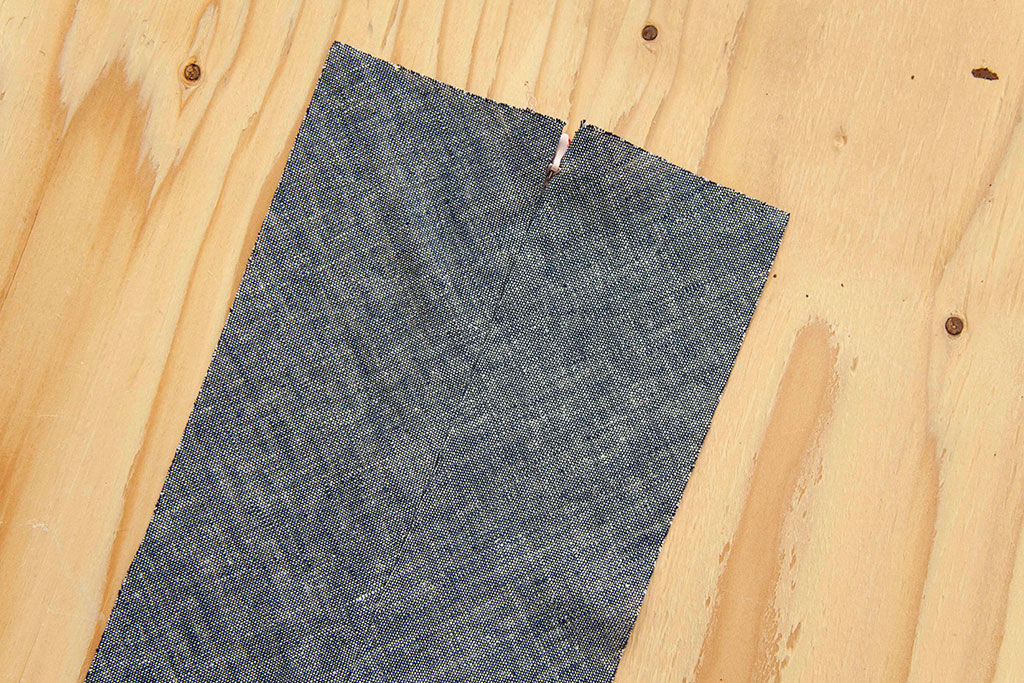
Step 03: Stitch the other side of your zipper by hand.
Or, If you are using an invisible zipper foot, stitch with the coil in the right groove of the foot. Again, you can see pictures and watch a video of using an invisible zipper foot here.
Step 04: Remove all the basting stitches. Since you sewed them by hand, they are very easy to remove.

About the Author
Meg is here to help you. As the managing editor for Seamwork and the smiling face behind our social media, she loves to talk to you about how much fun it is to sew your own wardrobe.