Ever wished that ALL patterns came with pockets? I know I have! There's nothing more frustrating than falling in love with a dress or skirt pattern, only to realize it doesn't have the functional storage you need for everyday wear.
The good news is that with the technique I'm going to share today, you can add side seam pockets to nearly any garment in just 15 minutes. Not only that, but I'll show you a special method that creates clean, smooth pockets without linings that gape or bag out at the hips. Once you learn this technique, you'll be adding pockets to everything in your sewing queue!
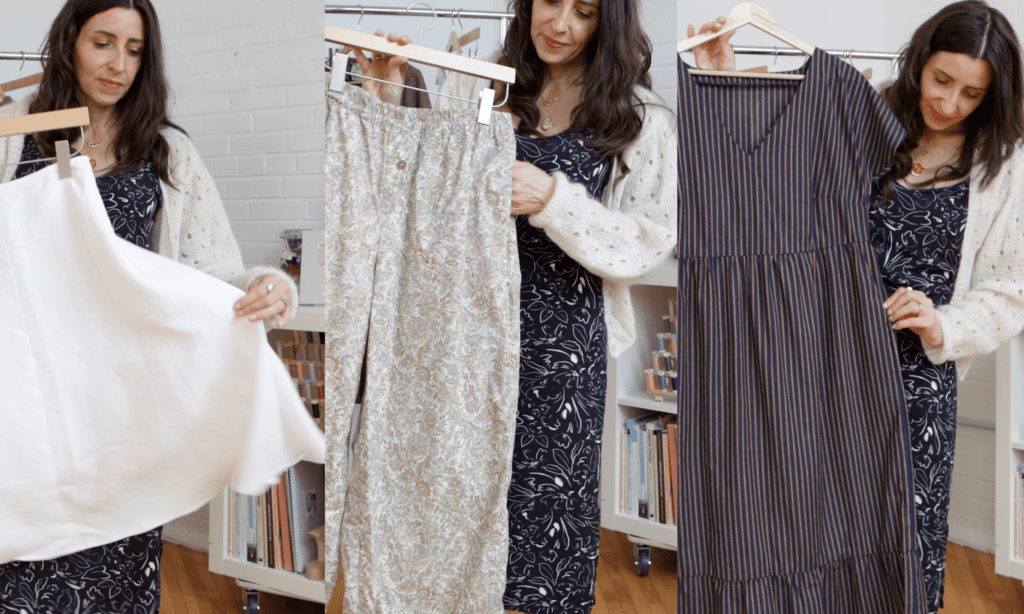
[image-01: Before and after comparison showing a dress without pockets next to the same dress with perfectly hidden side seam pockets]
What Are Side Seam Pockets?
Side seam pockets, also called in-seam pockets, are sewn directly into the side seam of a garment at hip level. Think of them as hidden storage that becomes part of your garment's structure rather than a visible add-on feature like a patch pocket.
Before you get excited about adding pockets to everything in your sewing room, let's talk about when side seam pockets work best. Garments that are fitted at the hip can actually be distorted by pockets—the bulk can create unwanted bumps and pull lines that throw off your silhouette. For fitted garments, you're better off with patch pockets, slash pockets, or welt pockets.
Side seam pockets really shine on A-line dresses, loose-fitting pants, and skirts with some ease through the hips. They even work on some coats and jackets, and can be combined with other kinds of pockets too. They're perfect for casual wear where you want function without sacrificing style.
Essential Tools and Materials You'll Need
Getting started requires just a few simple supplies. First, you'll need a pocket template—you can borrow one from an existing pattern or download a free template online. Once you have a template you like, keep it on hand and you'll be able to add pockets to anything you want.
You'll also need pocket lining fabric, and here's where you can have some fun. I save scraps of lightweight fabrics specifically for pocket linings. Liberty lawn, silk, or rayon challis in fun prints make delightful hidden surprises. You can absolutely use your main fabric too, as long as it's not too bulky.
The key is choosing something that won't add unwanted bulk to your hip area or feel weird against your hand. That's why the same types of fabrics you'd use for linings are ideal—lightweight cottons, silk, rayon, or even cotton lawn work beautifully.
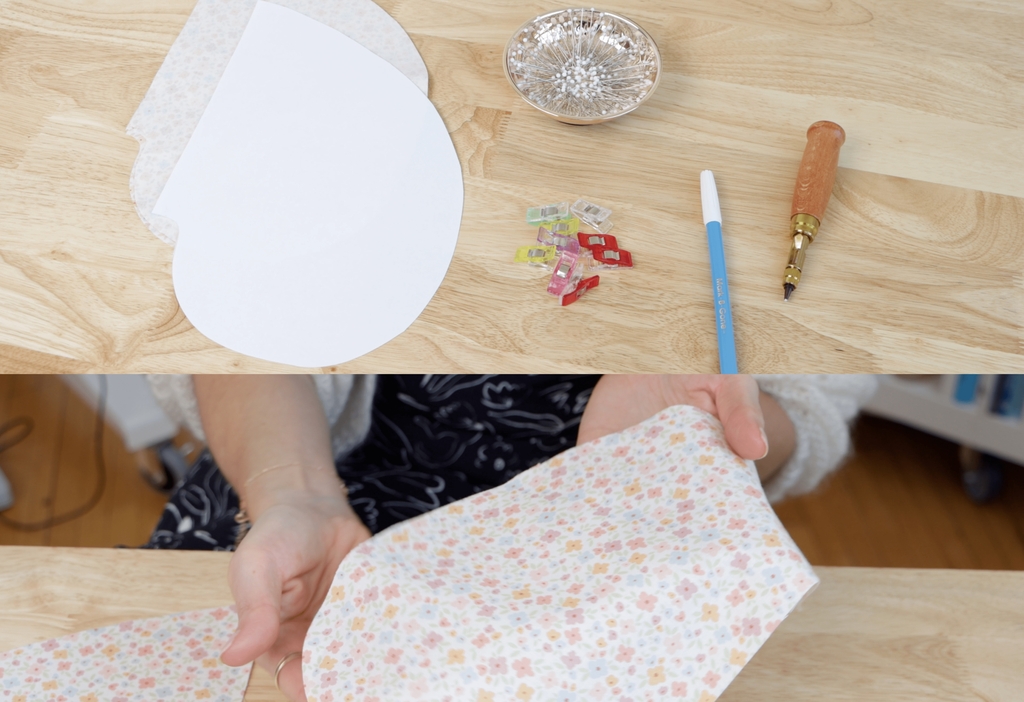
You'll also want pins or fabric clips for alignment—precision matters here more than you might think. A marking tool like chalk or a fabric marker is essential, along with a hole punch for marking pivot points on your pattern piece.
Preparing Your Pocket Pieces
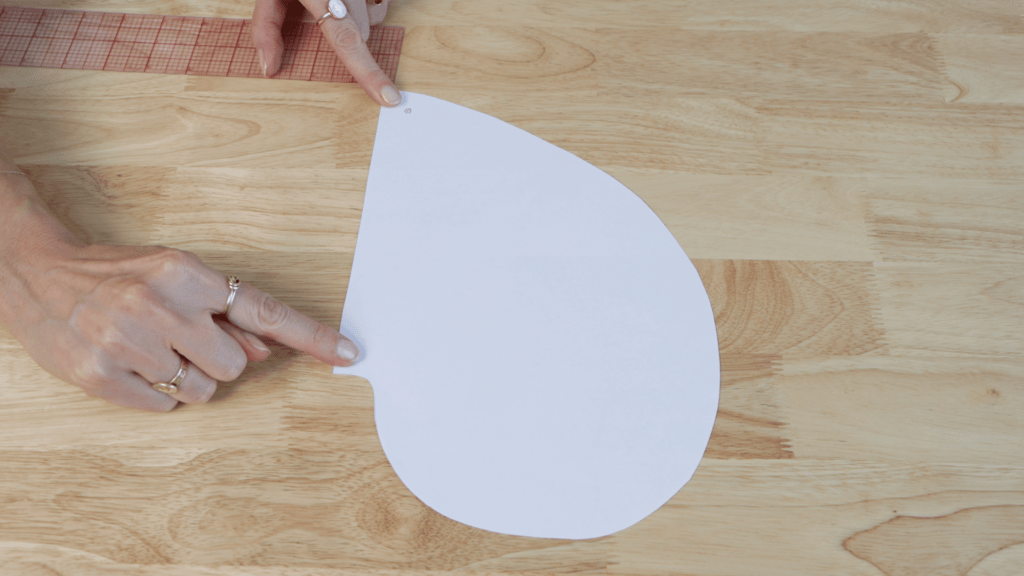
Start by cutting four pocket pieces from your lining fabric. Next, mark the pivot points on your pocket template if they're not already there. Measure 5/8 inch from the top and side seam, then use a hole punch to create a small hole. Do the same on the bottom, 5/8 inch from the bottom and 5/8 inch from the side seam.
Transfer these markings to the wrong side of your cut pocket pieces. You'll use them to create that perfectly smooth look we're after.
I always finish the outer curved edge before installing the pockets—this prevents fraying later and gives you a cleaner finish. Finish all four curved edges now using your preferred method. Don't worry about the straight edge yet; we'll handle that as part of the installation process.
I usually use my serger to finish those edges. If you're worried about the added bulk of serger thread, pinking shears work well too.
Finding the Perfect Pocket Placement
You might be wondering where to place your pocket along the side seam. Pockets are typically placed 3 to 6 inches below your natural waist, but comfort is personal. Take a moment to measure a garment you love wearing and note where those pockets hit your hand. This small step makes a huge difference in how functional your finished pockets will be.
Here's something else to consider: if you're making something short, like a jacket or shorts, make sure those pocket bags won't hang below the hem! Pocket linings may fit perfectly when you lay them flat on the pattern, but don't forget about gravity—those linings will collapse downward.
I actually made this mistake recently on a romper I sewed for summer. I shortened the hem, and the pocket bags ended up peeking out the bottom, so I had to tack them into the hem. Learn from my mistakes and always check that pocket placement before you start sewing!
Installing the Pockets with Precision
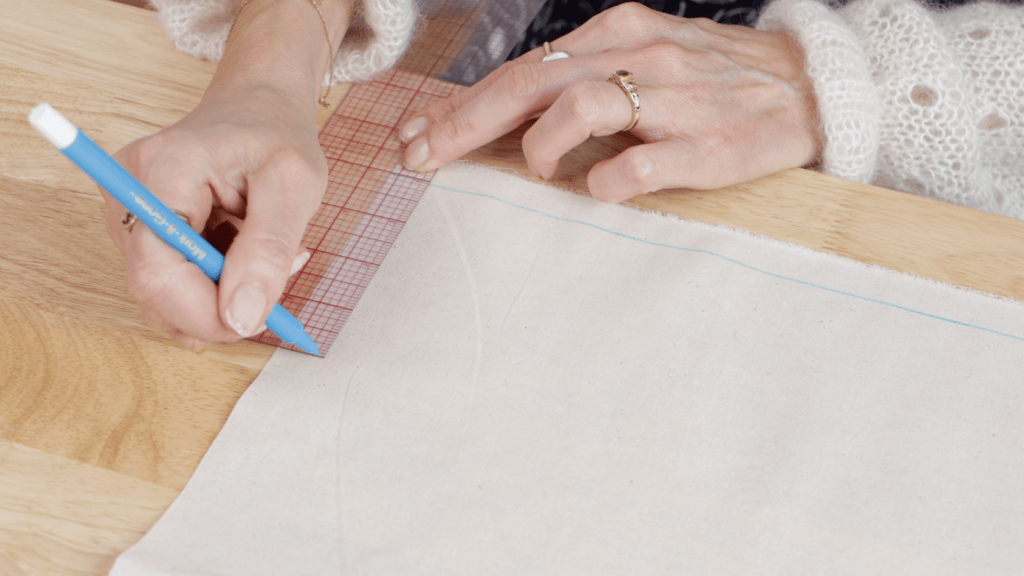
Now comes the part where precision really pays off. With right sides facing, align the straight edge of one pocket piece with your front side seam. The key here is perfect alignment—any wobbles now will show up as crooked pocket openings later.
Repeat this process for the back pocket piece and the opposite side. Double-check that both sides match before you start sewing. We've all learned this lesson the hard way after discovering misaligned pockets during final pressing!
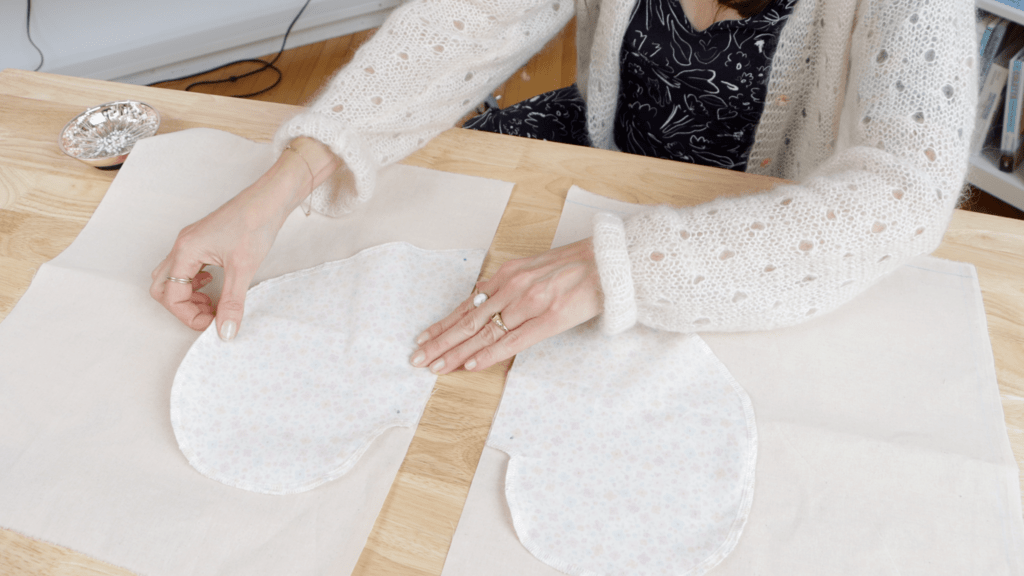
Here's where I'll share a special technique that ensures your pocket lining won't peek out, giving you a smooth, polished look every time.
Sew the pocket to the side seam using a 3/8 inch seam allowance instead of the standard 5/8 inch. This slightly narrower seam allowance creates a small gap that ensures your pocket lining stays hidden on the inside. It's essentially creating a mini extension for your pocket—a simple trick that makes all the difference.
Sew both pocket pieces to their respective side seams using this narrower allowance, then finish the raw edges of your side seams to prevent fraying. You can serge, zigzag, or pink these edges using whatever method you prefer.
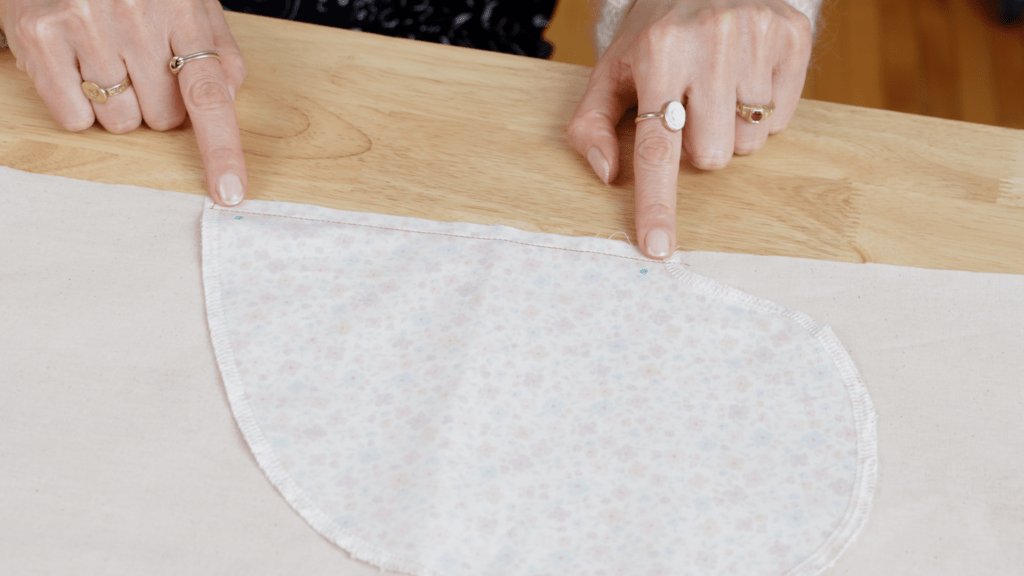
Next, turn your pocket pieces away from the garment and press the seam allowance toward the pocket. This step sets up the next crucial technique that will make your pockets look professional.
The Understitch Secret for Professional Results
Here's where many sewists skip a step that makes all the difference—understitching. Understitch the seam allowance to each front pocket piece only. To do this, sew the seam allowance to the pocket, stitching very close to the seamline.
This creates a flat, crisp line and prevents the lining fabric from rolling outward where it might be visible. It's one of those details that separates handmade garments that look homemade from those that look professionally made.
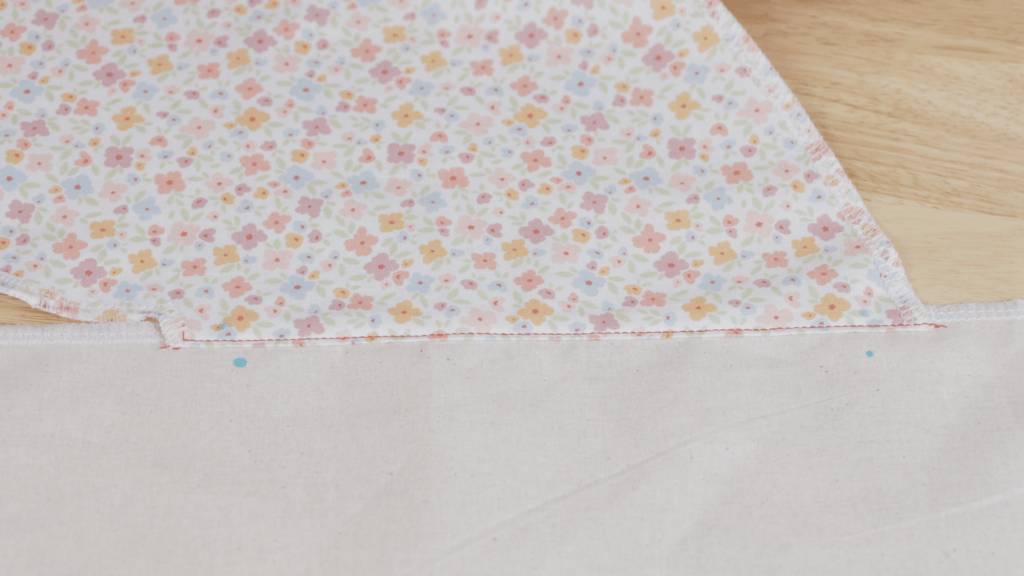
Notice I said front pieces only. That's intentional—you want the pocket to naturally pull toward the front of your body, not the back. This creates a more comfortable and functional pocket opening that feels natural when you reach for your keys or phone.
Creating the Perfect Pocket Shape
Now for the satisfying part—forming the actual pocket! Place your pocket pieces with right sides together and pin along the curved edge. Take your time with this pinning—smooth curves here translate to comfortable pockets that don't catch or pull when you use them.
Here's the critical sewing sequence that ensures your side seams align perfectly. Begin at the top of your side seam and sew using a 5/8 inch seam allowance. When you reach the pivot point you marked earlier, stop with your needle down and pivot.
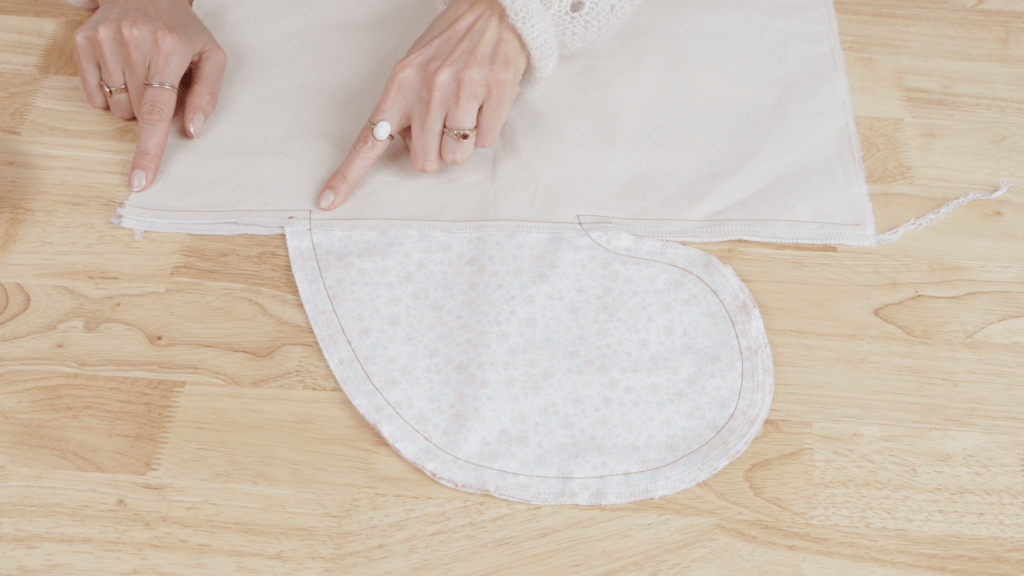
Sew all around the curved pocket edge, maintaining that 5/8 inch seam allowance. When you reach the bottom of the pocket, continue until you're at the second pivot point 5/8 inch from where the pocket ends, then pivot again and sew the remainder of the side seam.
This technique ensures your side seam is continuous while creating a secure pocket that won't pull apart with use. The pivoting points are crucial—they're what create that little 1/4 inch extension of your main fabric, keeping the pocket lining completely hidden.
Finishing Touches That Make All the Difference
Press your seams one final time, pressing the side seam toward the front of your garment. This final press sets everything in place and creates that crisp, finished look that makes your handmade garments look store-bought.
When you try on your garment, your pockets should lie flat against your body with openings that are easy to access but completely invisible when not in use. The pocket bag should have enough room to actually hold your phone, keys, or whatever you need to carry, but shouldn't create bulk or distort the garment's silhouette.
Troubleshooting Common Pocket Problems
Sometimes we run into issues with our pockets, so here are a few quick fixes that can save your project.
If your pocket lining is pulling to the outside, check that you used the correct 3/8 inch seam allowance when attaching the pocket pieces. A wider seam allowance can cause this problem. It could also mean you skipped the understitching step, or your seam allowances weren't pressed properly toward the pocket before understitching.
If your pockets feel too small or too large, remember that placement affects function. Pockets placed too high can be uncomfortable to reach, while ones placed too low might not be practical for everyday use.
The good news is that because the pocket linings are finished separately, it's not that big a deal to remove them, adjust the placement, and start again if needed.
Adding Pockets to Your Favorite Seamwork Patterns
This technique works beautifully with so many Seamwork patterns! Try adding side seam pockets to the Frankie dress for a vintage-inspired look with modern functionality, or give the Kenzie pleated skirt hidden storage that doesn't interrupt its clean lines.
The Benning dress is another perfect candidate—its flowy silhouette has plenty of ease through the hips to accommodate pockets without creating bulk. Even the Joss pants, which already have patch pockets, could benefit from the addition of side seam pockets for extra storage.
Beyond Side Seam Pockets
While side seam pockets are incredibly versatile, they're not the only option for adding storage to your garments. For more fitted pieces, consider learning welt pockets, which create a tailored, professional look on pants, jackets, and coats. Patch pockets are another great option that can become a design feature while adding functionality.
If you want to explore more advanced pocket techniques, read this article on creating professional welt pockets, or watch this video tutorial on adding patch pockets that become design elements. You can also join our welt pocket workshop!
Making Pockets Part of Your Sewing Routine
Once you've mastered this technique, you'll find yourself automatically considering pocket placement when choosing patterns. It becomes second nature to think about where you'll want to put your hands and what you'll need to carry.
Keep your pocket template with your pattern-making supplies, and consider cutting extra pocket pieces whenever you're working with lightweight fabrics that would make good linings. Having a stash of pre-cut pocket pieces makes it even easier to add this functional detail to future projects.
The beauty of this technique is that it opens up so many more patterns for everyday wear. No longer do you have to pass up a beautiful dress just because it lacks pockets—you can add them yourself in just 15 minutes and create exactly the garment you want to wear.
