
 Sign In
If you've ever found yourself wrestling with a slippery fabric that bunches under your needle, squinting to see where you're stitching an invisible zipper, or spending twenty minutes hand-sewing a single button, I have some good news for you. The solution isn't more practice or better lighting—it's having the right presser feet in your toolkit.
Today I'm sharing five presser feet that will transform your sewing from frustrating to flawless. These aren't expensive gadgets that gather dust in your sewing box—they're problem-solving tools that work on almost any sewing machine and will pay for themselves on your very first project.

I'm saving my absolute favorite, most game-changing foot for last, so stick with me. By the end of this article, you'll know exactly which feet to invest in first and how they'll solve the specific problems that have been holding back your sewing.
The Invisible Zipper Foot: Your Secret to Perfect Zipper Insertion
Let's start with the invisible zipper foot, because once you use this little game-changer, you'll wonder how you ever lived without it.
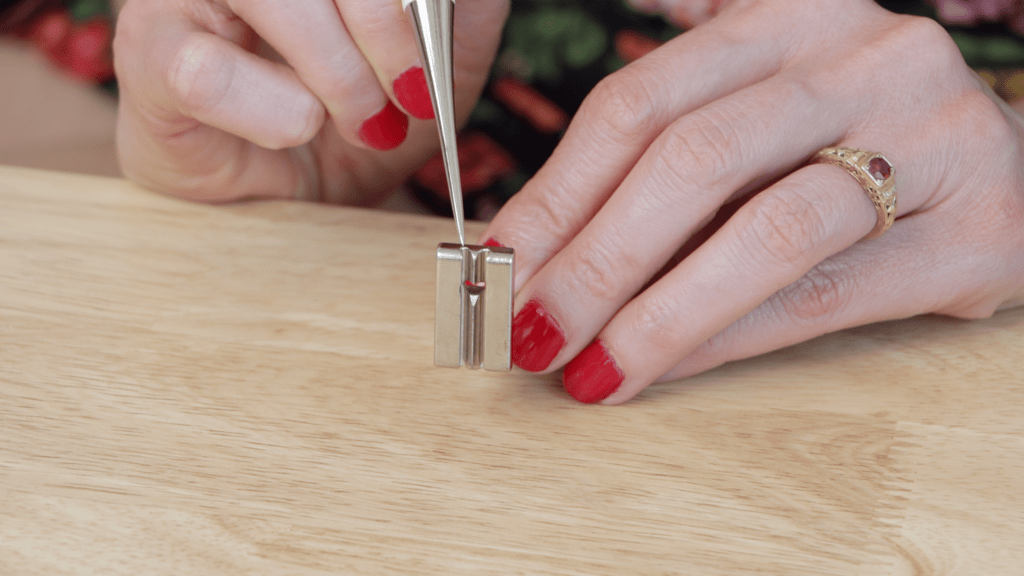
You know that feeling when you're inserting an invisible zipper and you can barely see where you're stitching? You're guessing where the seam line is, trying to get close enough to those coils without hitting them, and half the time you end up with a zipper that's either too loose or—worse—you've sewn right over the teeth. I've been there, and it's maddening.
Here's what makes this foot so brilliant: on the bottom, it has two deep grooves that fit perfectly over your zipper coils. Think of it like railroad tracks—those grooves guide the foot along the zipper while keeping your needle positioned exactly where it needs to be. Instead of wrestling with the zipper and hoping for the best, you're gliding along with precision.
How to Use the Invisible Zipper Foot
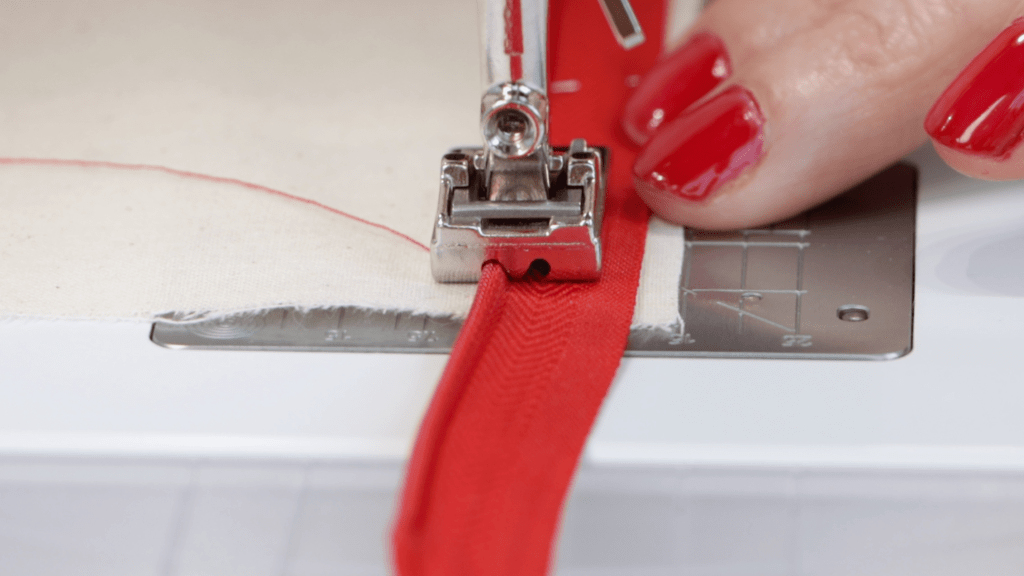
The magic happens because this foot lets you get incredibly close to the coils without actually hitting them. Your regular zipper foot just can't do this. With a standard foot, you're always playing it safe, staying further from the coils, which means your zipper shows more than it should.
Here's my technique: First, I press my zipper tape away from the teeth, just like you normally would. Then I position the right side of my zipper coil in that right groove of the foot. The foot naturally wants to nestle right up against those teeth, so I let it. Now when I stitch, I'm getting right up next to the coils on the seam line, which means when I close that zipper, it truly disappears into the seam.
If you sew garments, bags, pillows—anything that needs a closure—this foot will pay for itself on your very first project. The confidence you'll feel when that zipper lays perfectly flat is worth every penny.
Want to master invisible zippers completely? Check out our workshop on invisible zippers here.
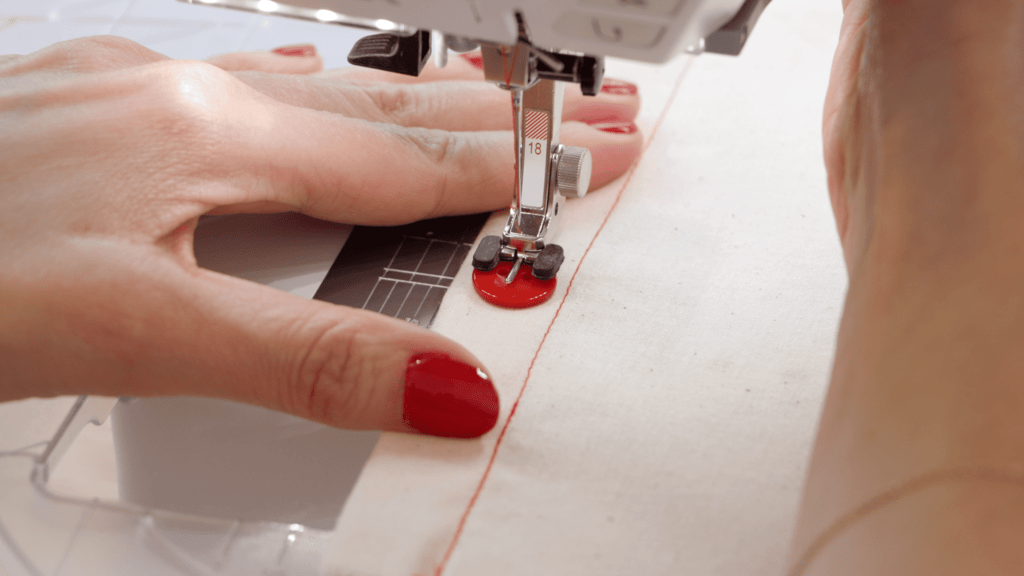
The Quarter-Inch Foot: Precision Without the Guesswork
Next up is the quarter-inch foot, and this one's going to change how you think about precision in sewing.

How many times have you tried to sew a perfect quarter-inch seam and ended up with something that's more like three-eighths here and three-sixteenths there? Or attempted topstitching that starts straight but somehow wanders off course by the end of the seam?
This happens because you're trying to eyeball the distance from your needle to the edge of your fabric, and frankly, that's really hard to do consistently.
The quarter-inch foot takes all the guesswork out. The right edge of this foot sits exactly a quarter-inch from your needle. So all you have to do is keep your fabric edge aligned with the edge of the foot, and boom—perfect quarter-inch seams every single time.
Beyond Quilting: Why Garment Sewers Need This Foot
This foot isn't just for quilters, though they absolutely love it. If you're making French seams, you need that first quarter-inch seam to be precise or your finished seam won't lie flat. If you're doing decorative topstitching, this foot keeps that line perfectly parallel to your edge. And if you're adding binding or trim, that consistent quarter-inch distance makes all the difference between looking polished and looking rushed.
I especially love using this foot when I'm working with multiple layers. You know how binding can shift as you're sewing it? The quarter-inch foot keeps everything aligned because you're using the foot as your guide, not trying to watch the needle and the fabric edge at the same time.
One thing to keep in mind—this foot works best when your fabric edges are clean and straight. If you're working with curves or you haven't trimmed your seam allowances evenly, you'll need to pay a bit more attention. But for straight seams and topstitching, this foot is absolutely foolproof.
The Button Foot: Machine Sewing Buttons Like a Pro
Now let's talk about the button foot, because if you've ever spent twenty minutes trying to sew on a single button by hand, this is going to feel like magic.
Personally, I do not like sewing buttons on by hand. First of all, it takes forever. Second, I always find that my threads get tangled. And third, buttons are usually one of the last steps in sewing, so I often find myself rushing at that point.
When you sew buttons on by machine, you save time and sanity without sacrificing quality. In fact, the buttons will be more consistent and actually work better.
The Secret to Professional Button Attachment
The button foot clamps your button in place and keeps it from shifting while you zigzag through the holes. It's specially designed to hold the button firmly, so you can place the button exactly where it needs to go with no worry about slipping.
Here's another cool feature: many button feet have a little middle toe that lands between the holes of the button. The zigzag stitches go over this spacer, creating some extra lift. This gives the buttons a little extra space to account for the thickness of the fabric you'll be buttoning through. In other words, it creates a thread shank automatically.
If your button foot doesn't have that little toe, don't worry—you can insert a toothpick between the holes to give your button the same room to move.
Set your machine to a zigzag stitch that's just wide enough to go through your button holes—usually about 3 to 4 millimeters. Keep your stitch length at zero so you're just going back and forth, not moving forward. I like to start by hand cranking the first one or two stitches, just to make sure my width is set correctly. I've cracked quite a few buttons by diving in without double checking, and that can spell disaster when you have the exact number of buttons you need!
Take about eight to ten stitches, then switch back to straight stitch and do a few tiny stitches in place to lock everything down.
The Edgestitch Foot: Your Key to Professional Finishes
The edgestitch foot might just become your most-used specialty presser foot once you see what it can do.

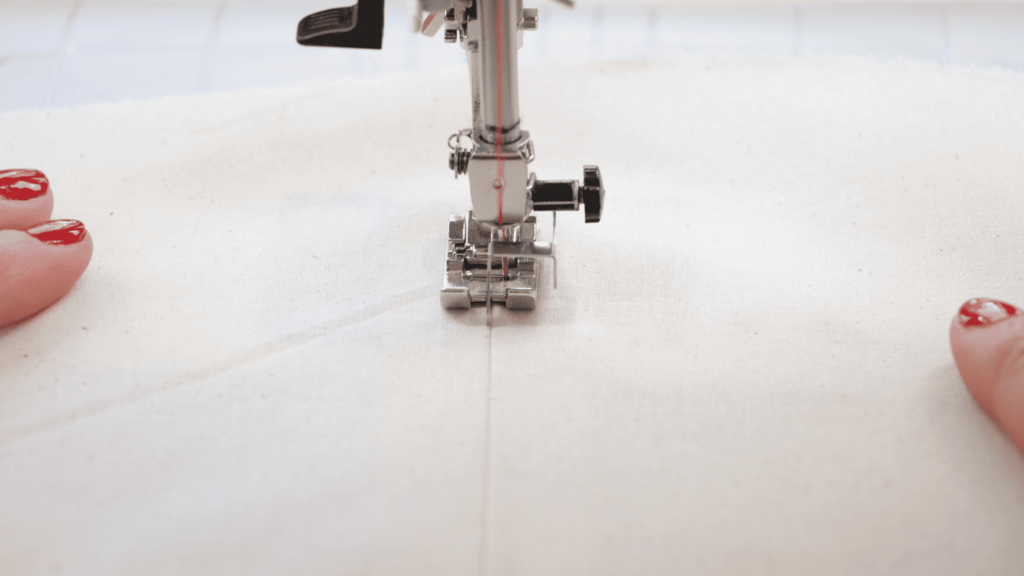
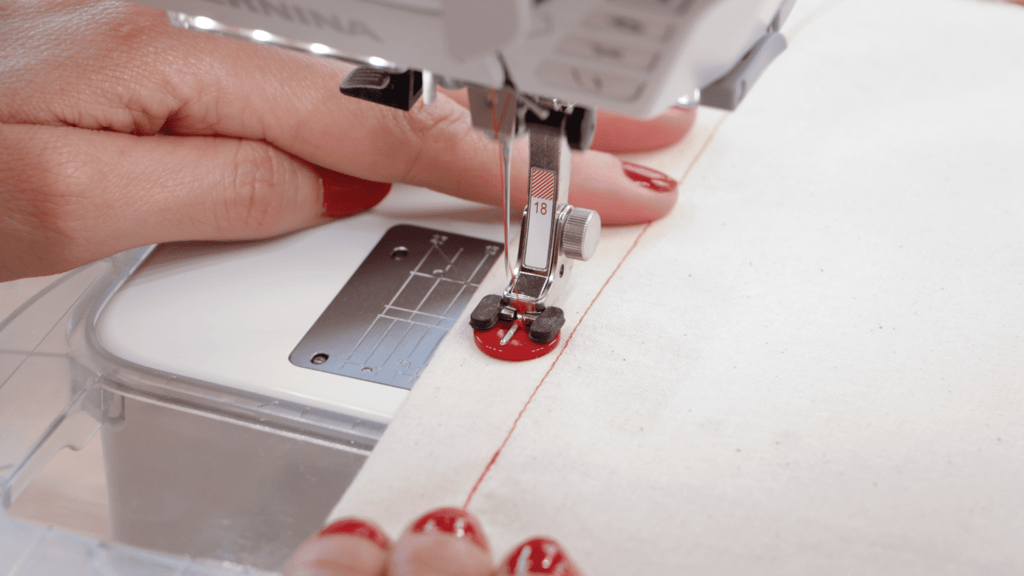
This foot looks similar to the quarter-inch foot, but it's designed for much more precise work. The key feature is that vertical metal plate that extends down from the foot. That plate acts like a fence, running along the edge of your fabric or fold and keeping your stitching perfectly parallel.
Multiple Techniques, One Versatile Foot
The most obvious use is edgestitching—you know, that line of stitching you see running close to the edge of collars, cuffs, waistbands, and topstitched seams. Without this foot, you're trying to keep your needle a consistent distance from the edge by eye, and that's surprisingly difficult.
With the edgestitch foot, you position that metal guide right against your edge or fold, and your needle automatically stays in the perfect position. You can adjust exactly where your needle falls by moving it left or right—most machines let you adjust needle position, which gives you complete control over how close to the edge you want to stitch.
But here's where this foot really shines—hemming. When you fold and press a hem, you can use the edgestitch foot to stitch it down from the wrong side of the garment. That vertical plate runs right along the fold, keeping your stitching line perfectly straight and ensuring you catch the hem evenly all the way across.
You can also use this foot for stitching in the ditch—that's when you stitch right in the seam line where two pieces join together. The metal guide sits right in that valley created by the seam, and your stitching becomes practically invisible from the right side.
The Walking Foot: The Ultimate Problem Solver
Now let's talk about the walking foot—my absolute favorite and the one I saved for last because this one's going to solve problems you might not even realize you have yet.
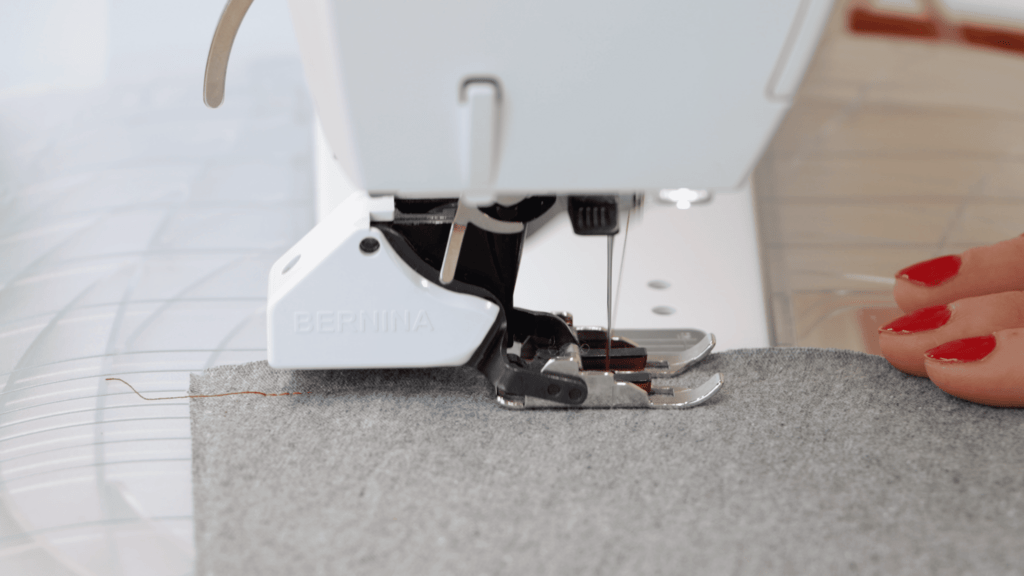
Your sewing machine's feed dogs—those little metal teeth under your presser foot—do a great job of moving a single layer of fabric through the machine. But when you're working with multiple layers, especially if they're slippery or stretchy, the top layer can shift and bunch up while the bottom layer moves along smoothly. You end up with puckers, uneven seams, and layers that don't line up at the end.
The walking foot solves this by adding what amounts to a second set of feed dogs on top. It's like having hands gently pulling your fabric from above while the regular feed dogs push from below. Both layers move at exactly the same speed, which means they stay aligned perfectly.
Why Knit Sewers Can't Live Without This Foot
This is absolutely essential if you're sewing with knits. I cannot stress this enough—if you work with knit fabrics, this foot will change your life. Knits have this annoying tendency to get pulled down into the throat plate, especially lightweight ones like jersey or modal. They stretch and distort, they form horrible puckers, and sometimes they even jam up your machine completely.
With the walking foot, your knits glide through smoothly without stretching or distorting. The foot holds them gently in place while the dual feed action keeps everything moving evenly. You'll get flat, smooth seams that will leave you feeling impressed with yourself.
But the walking foot isn't just for knits. If you're trying to match plaids or stripes across a seam, this foot keeps the layers from shifting so your patterns line up perfectly. When you're quilting and working with batting between two layers of fabric, the walking foot prevents that sandwich from getting bunched up and puckered.
Perfect for Slippery Fabrics Too
And it works beautifully with slippery fabrics like silk or rayon. These fabrics love to slip and slide around, making it really hard to sew a straight seam. The walking foot grips both layers gently but firmly, so they move together as one unit instead of sliding around independently.
One thing to remember—the walking foot is a bit bulkier than your regular foot, so it doesn't work quite as well for tight curves or intricate detail work. But for straight seams and gentle curves, it's unbeatable for smooth, even stitching. I know some people even leave their walking foot on pretty much all the time.
The walking foot also has a guide bar that you can use for quilting parallel lines. Set the bar to your desired distance, run it along your previous line of stitching, and you'll get perfectly spaced quilting lines every time.
Put These Feet to Work on Real Projects
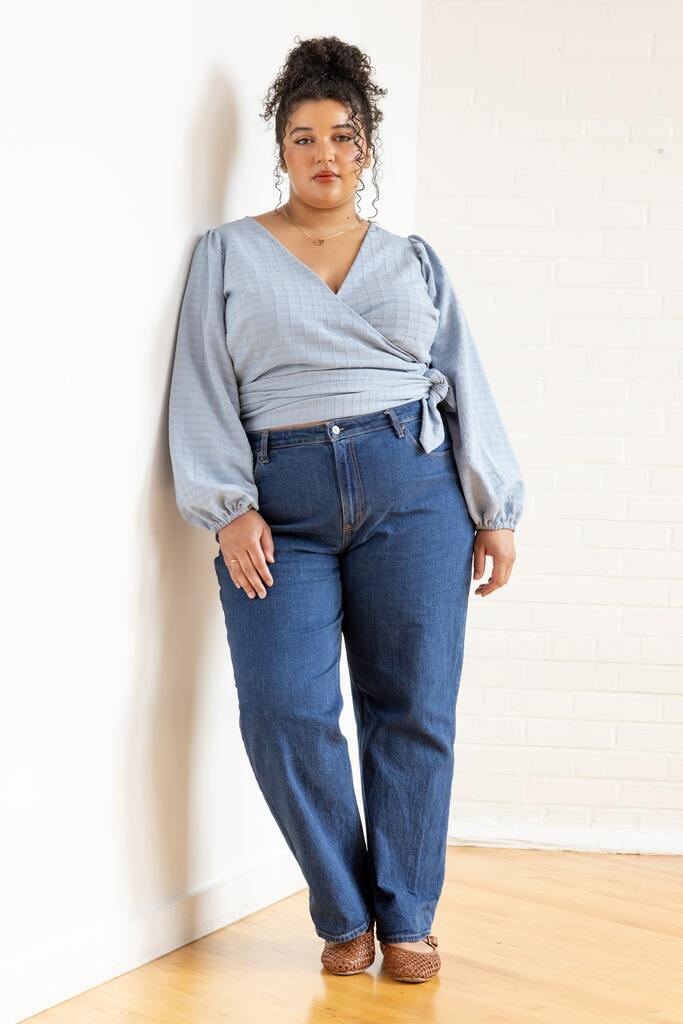
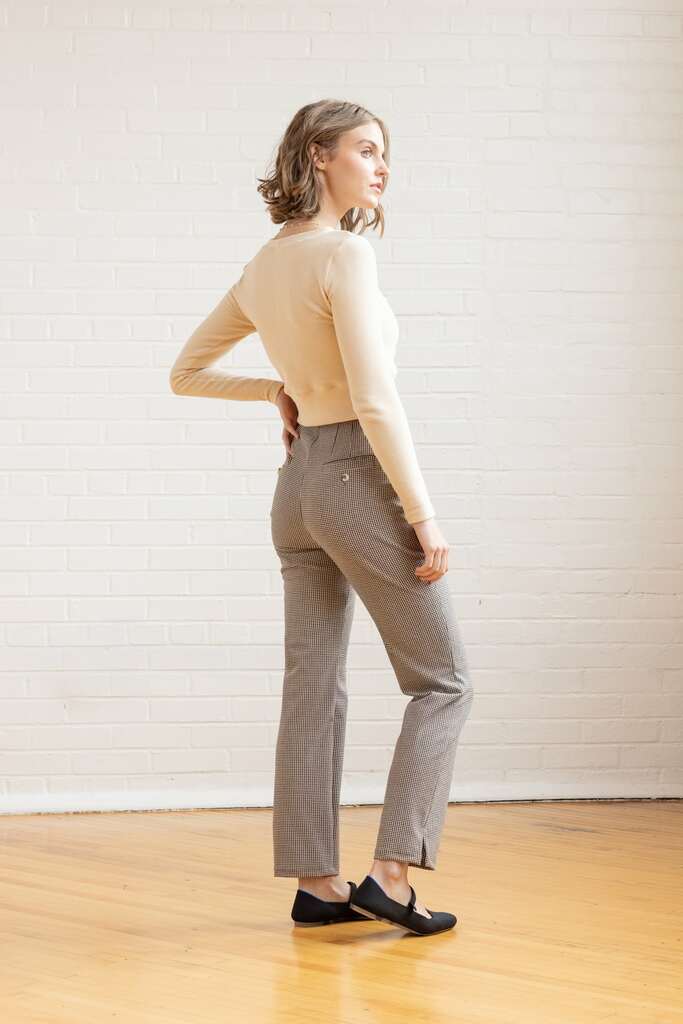
Speaking of putting these feet to work, we have some patterns that are perfect for practicing these techniques. The Lars cigarette pants are designed for stretch wovens and close with an invisible side zipper—exactly what that invisible zipper foot was made for. Plus they have sophisticated welt pockets with button closures, so you could practice with both the invisible zipper foot and the button foot on one project. That edgestitch foot would be perfect for topstitching those double-fold hems.
The Idra wrap is another stunning pattern with billowing long sleeves and a beautiful v-neckline. The front bodice is lined with radiating pleats that create elegant shaping, and the back neckline is finished with bias tape—another place where you could use that edgestitch foot.
Your Next Step: Choose Your First Specialty Foot
If I had to pick just one specialty foot to start with, it would definitely be the walking foot. It solves the most problems across the widest range of fabrics and projects. But honestly, each of these feet addresses such specific frustrations that you'll probably find yourself wanting all of them eventually.
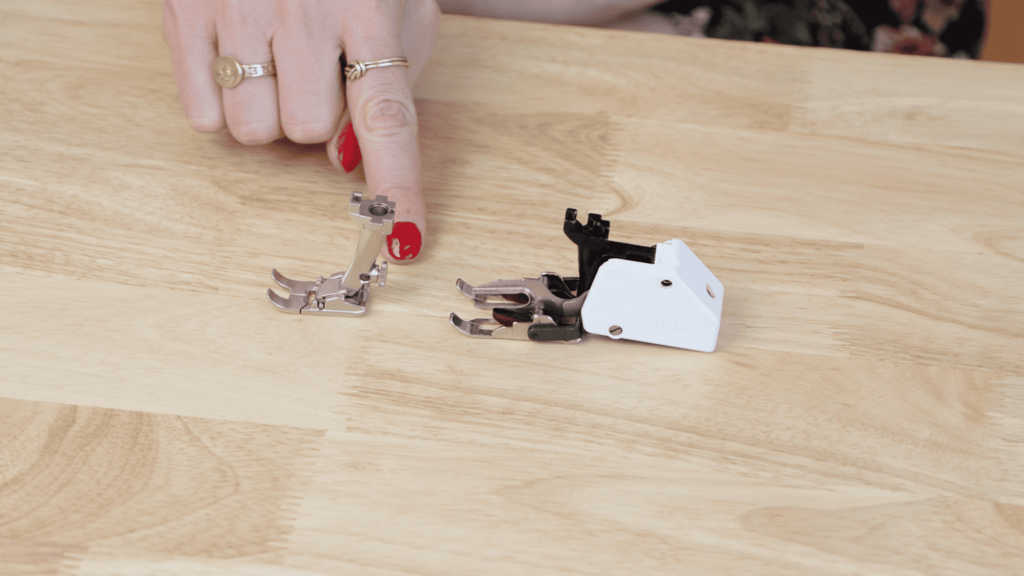
The beautiful thing about presser feet is that they work on almost any sewing machine—you just need to make sure you're buying the right attachment system for your machine. Most feet are available in snap-on, low shank, high shank, and various brand-specific attachments.
These tools aren't just about making sewing easier—they're about building your confidence. When you know your invisible zippers will lay flat, your topstitching will be straight, and your knits won't pucker, you'll find yourself taking on more challenging projects and feeling proud of your professional-looking results.

