
 Sign In
Ever turned a handmade garment inside out and cringed at what you saw? Those frayed, messy seams can make even the most carefully sewn piece look unfinished. I get it—you've spent hours perfecting that fit, choosing the perfect fabric, and executing every construction detail, only to have those raw edges undermine all your hard work.
Here's what separates amateur sewing from professional results: it's all in how you handle those raw edges. And here's the thing—you don't need a serger to achieve that clean, polished look that makes people ask "Did you really make this yourself?"
I'm going to share five seam finishing methods that work with any sewing machine to give you garments that look just as good on the inside as they do on the outside. These are the same techniques I've been using for over 25 years, and they're absolute game-changers for creating a handmade wardrobe that rivals anything you'd find in stores.

Why Seam Finishing Actually Matters (Beyond Just Looks)
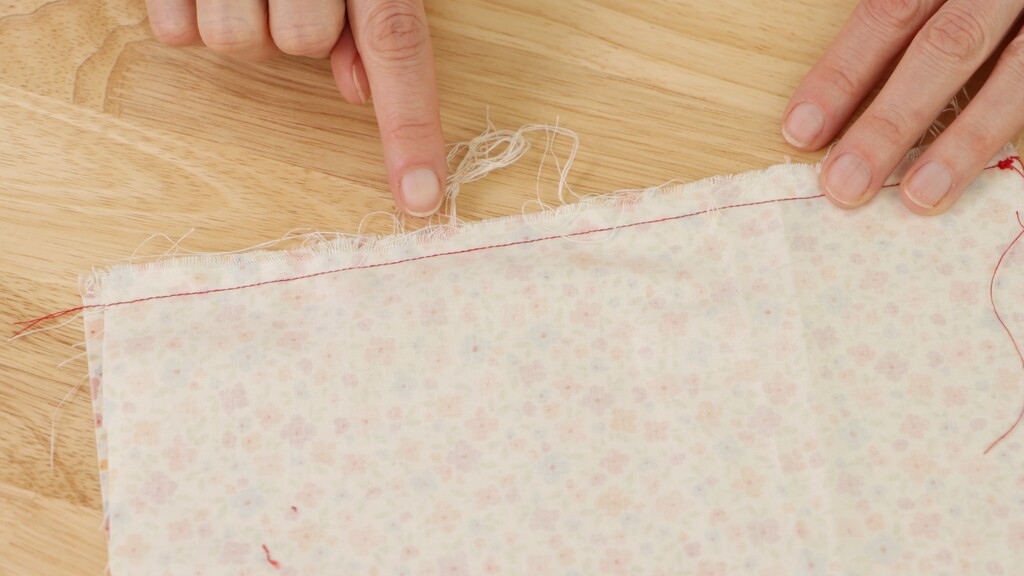
Before we dive into techniques, let's talk about why seam finishing matters beyond just aesthetics. Those loose threads aren't just messy—they're evidence that your fabric is slowly unraveling toward your seam line. Once that raveling reaches your stitching, your seam loses its grip on the fabric, leading to gaps, holes, or complete separation.
I learned this lesson the hard way with a linen dress I made early in my sewing journey. I thought I could skip seam finishing because "it's just the inside," but after a few washes, loose threads started working their way to the outside, creating snags and an overall shabby appearance.
Finished seams also prevent fraying threads from getting caught in zippers or creating snags on other garments in your closet. Think of seam finishing as insurance for your handmade clothes—it's what makes the difference between something that lasts one season and something you'll treasure for years.
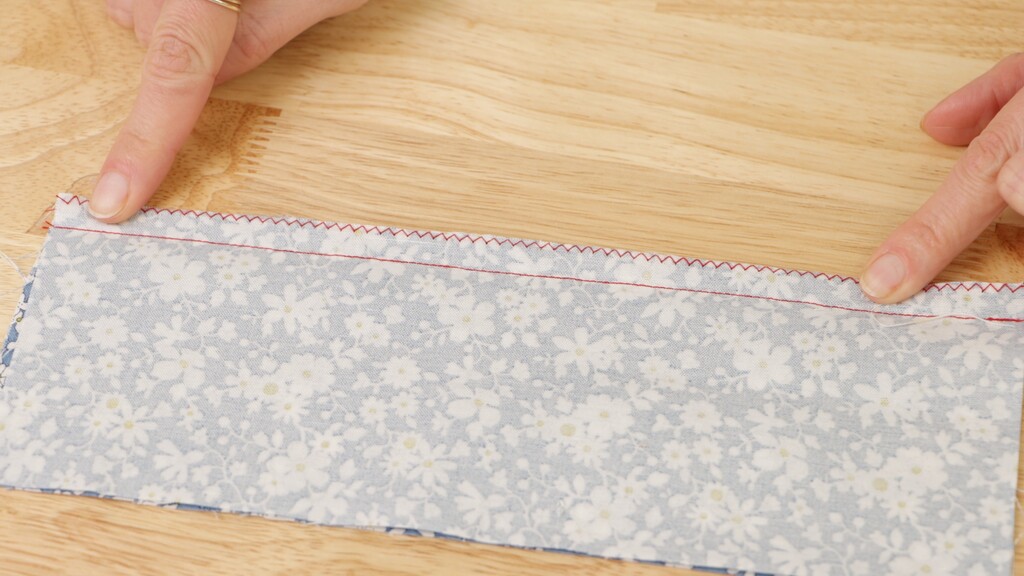
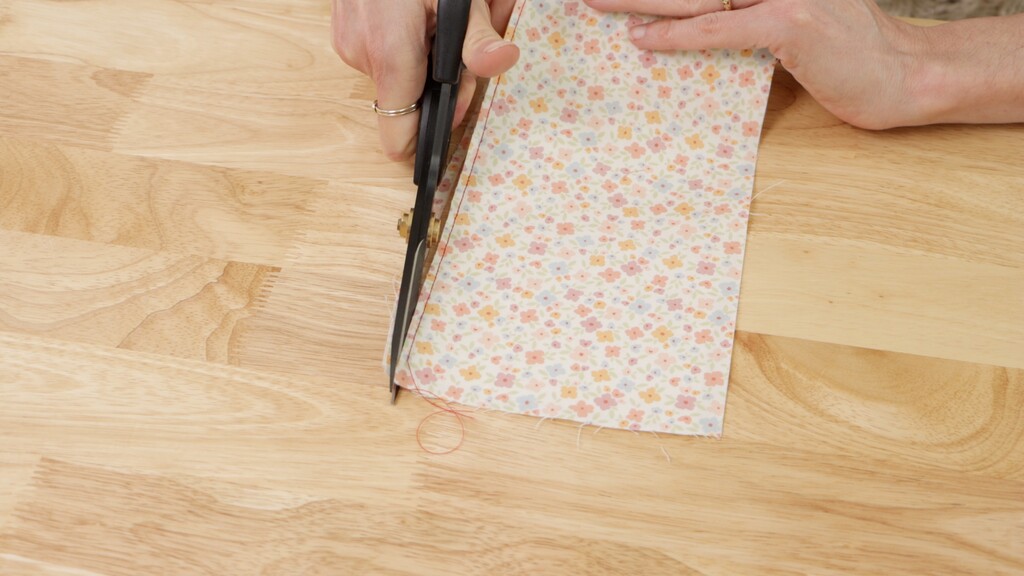
Pinked Seams: The Underrated Powerhouse
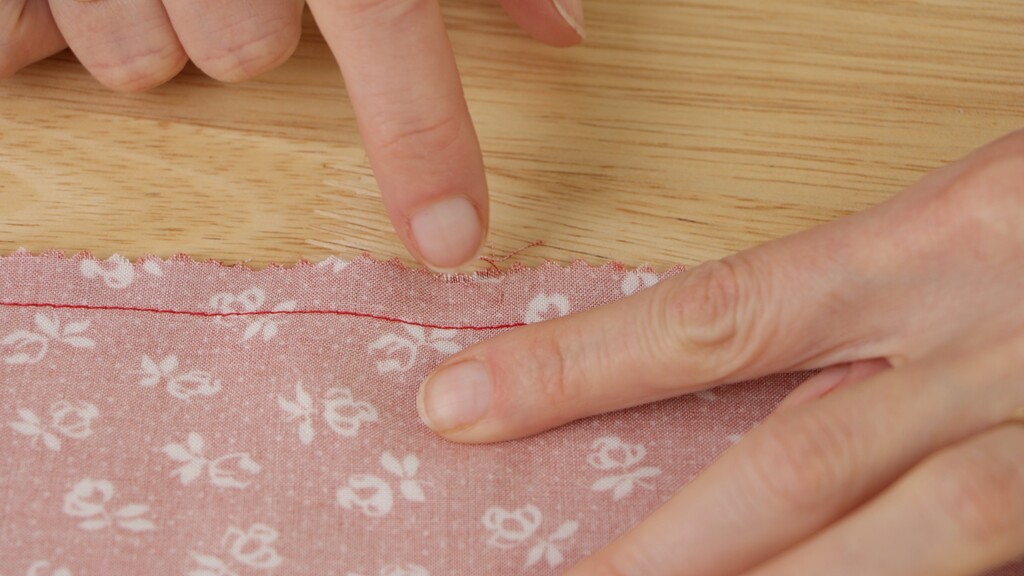
Let's start with the simplest technique that most sewists overlook—pinked seams. You might think pinking shears are just fancy scissors, but they're actually working with the science of fabric construction. When you cut a zigzag edge through woven fabric, you're essentially breaking the grid pattern that allows threads to pull out easily. Each little zigzag point anchors the threads around it, dramatically reducing fraying.
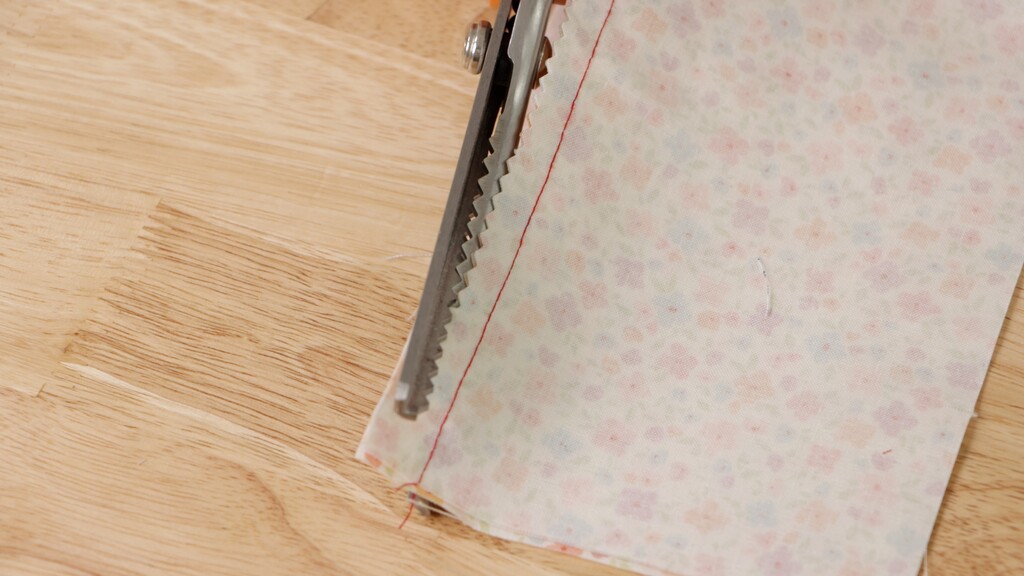
Here's what you need to know—this only works on woven fabrics because of that grid-like weave structure. On knits, pinking shears are basically useless since knit fabrics don't fray the same way. When you're using pinking shears, don't just hack away at your seam allowances. Instead, cut with confident, smooth strokes, letting the blades do their work. You want clean, sharp points, not raggedy tears.
What Works Best
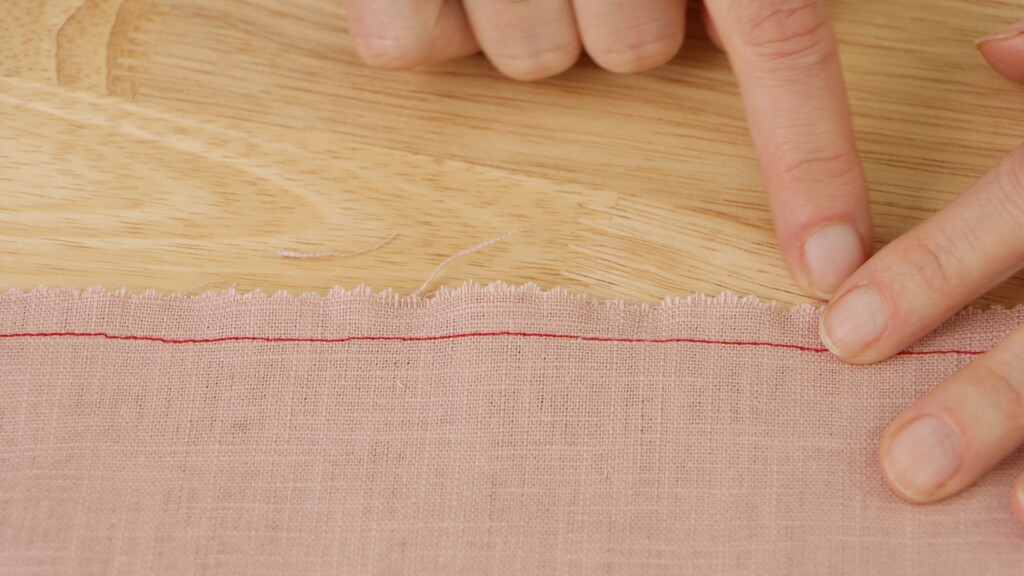
Pinked seams shine on lighter weight, tightly woven fabrics like cotton lawn, silk, and crisp shirting. You'll get mixed results on thicker fabrics like denim or canvas—the bulk makes it harder to get clean cuts. And here's something that might surprise you—looser wovens like rayon and linen will still fray even with pinking because those loose weaves just can't hold the zigzag pattern effectively.
That's exactly why testing is so crucial with this technique. Cut a small piece of your fabric and pink the edge. If threads start pulling out immediately, this method isn't right for that particular fabric.
Perfect Patterns for Pinked Seams
The Katiusca tank top would be a great choice for trying pinked seams. It's quick to sew, doesn't take much fabric, and works beautifully in those crisp woven fabrics pinked seams work best with. Or consider the Reed dress—with its timeless shift silhouette and minimal complicated techniques, pinked seams would make this a quick and satisfying project.
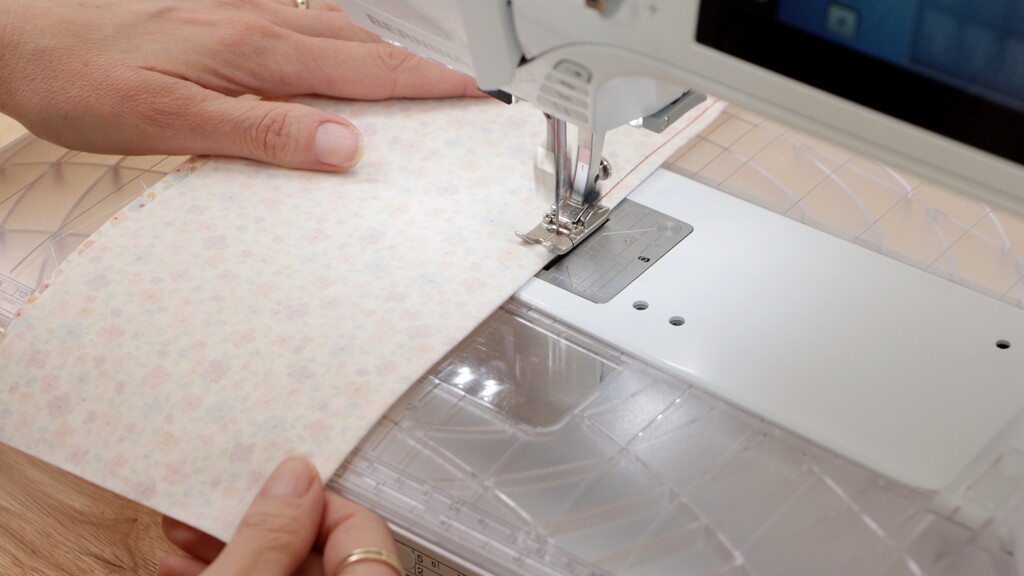
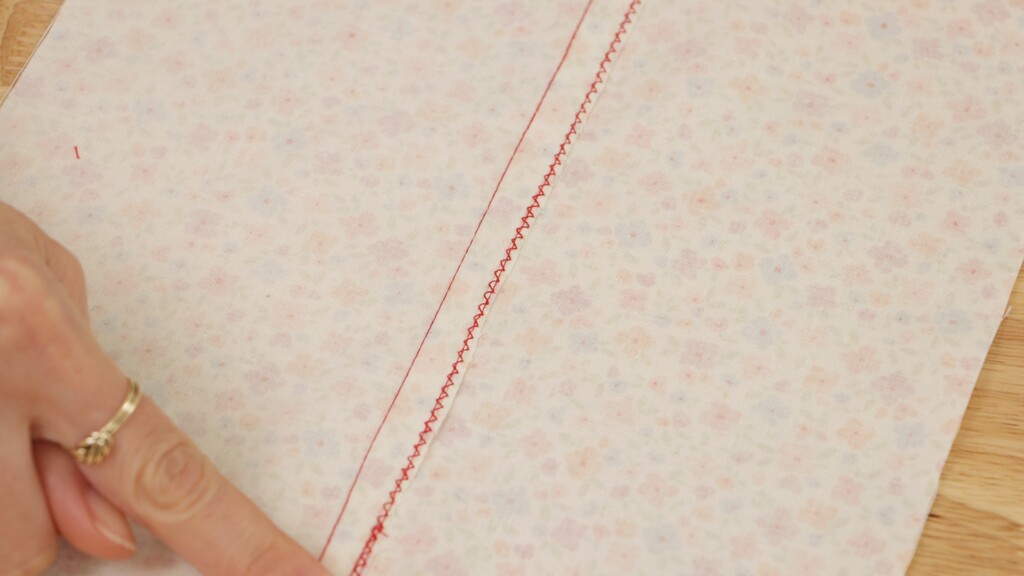
Zigzag and Faux Overlock: Your Reliable Go-To
Zigzag finishing is probably the most accessible technique since most modern machines can make a zigzag stitch. The secret to success is testing first—grab some scrap fabric and experiment with your zigzag width before touching your actual garment pieces. You're not trying to create decoration here; you're trying to lock down those raw edges just enough to prevent fraying.
Troubleshooting Tips
If your zigzag stitches are creating tunneling or puckering, try loosening your upper tension slightly. For stitch length, heavy fabrics usually need longer stitches while delicate fabrics need shorter ones to prevent the stitches from pulling away from the edge. And if you're getting skipped stitches, check that you're using a fresh needle that's appropriate for your fabric weight.
Some machines also have what's called a faux overlock stitch, which basically mimics what a serger does. If your machine has this option, it's worth testing—it often gives a cleaner finish than a basic zigzag.
Best Applications
The zigzag and faux overlock techniques work well for light to medium weight fabrics, though they can look a bit bulky on very fine fabrics. For heavyweight fabrics like canvas or denim, you might need to adjust your presser foot pressure to help the fabric feed evenly.
The Hansie top is perfect for practicing zigzag finishes. It's a woven tee with cut-on sleeves that's become a total wardrobe staple. Using zigzag stitch finishes would make this an even quicker sew.
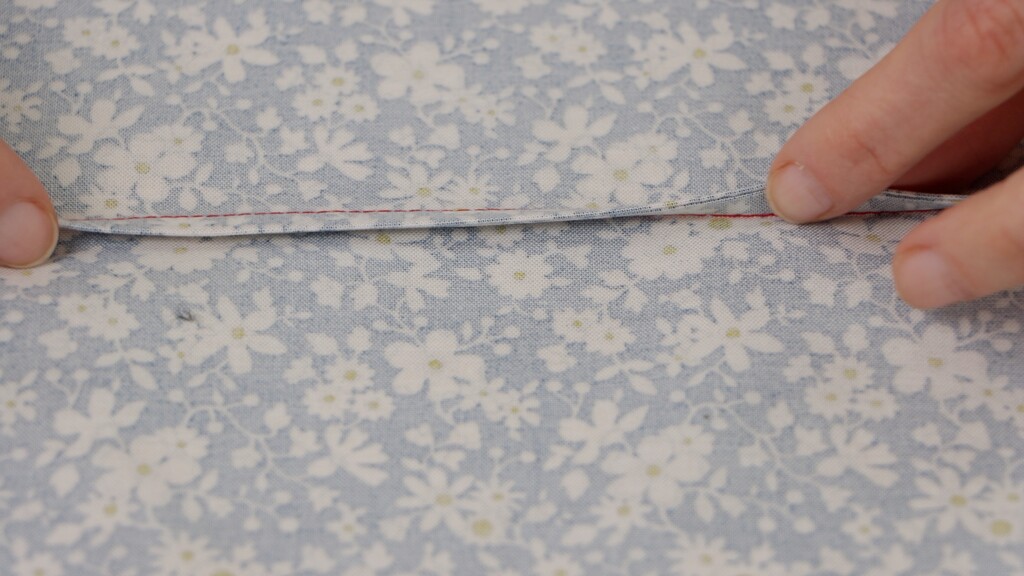
French Seams: The Delicate Beauty
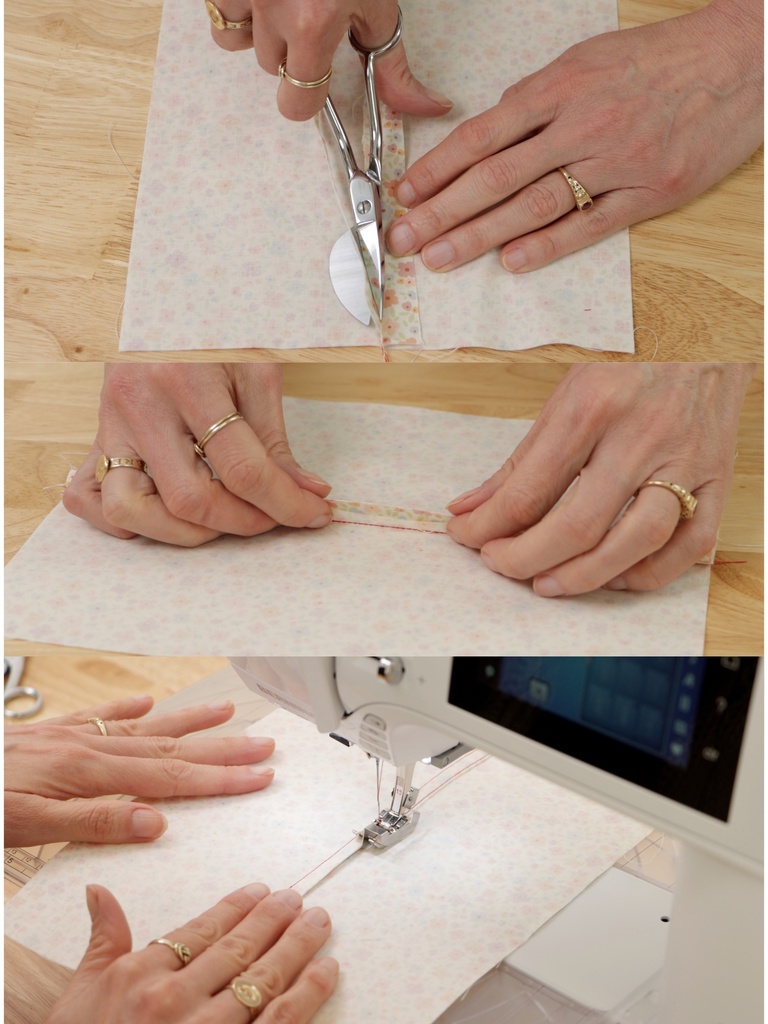
French seams are essentially seams sewn twice, encasing the raw edge completely within the seam itself. The result is incredibly neat and delicate—perfect for lingerie, blouses, and anything where the inside might be visible. Think of it like creating a little fabric envelope around your raw edges.
The Two-Step Process
Here's how it works: start by placing your fabric pieces wrong sides together—yes, wrong sides, not right sides like usual. This trips up a lot of people because it feels backward. Sew at a 3/8 inch seam allowance, then trim that seam allowance in half. This trimming step is crucial—if you skip it, your finished seam will be too bulky.
Press the seam flat to one side, then fold the fabric so the right sides are now together. Here's where the magic happens—stitch again at 1/4 inch, which encases those raw edges completely inside the seam. Press to one side and you're done. The math works out perfectly—3/8 minus the trimmed portion equals exactly 1/4 inch of seam allowance left to work with.
Important Considerations
One thing that catches beginners off guard is that French seams actually use up more seam allowance than regular seams. Make sure your pattern has at least 5/8 inch seam allowances, or you'll run into trouble. French seams are ideal for sheer or lightweight fabrics where regular seam finishes might show through.
The Bo top is a wonderful option for French seams, especially if you're making it in a sheer fabric. That wide, breezy silhouette paired with elegant French seams creates something truly special. Or try them on the Joss pants—using upgraded seam finishes on simple patterns is such an easy way to elevate your sewing.
Flat Felled Seams: Built to Last
For situations where you need serious durability, flat felled seams are your answer. These are the seams you see on quality jeans and tailored shirts—strong, sturdy, and built to last. They're more time-consuming than other finishes, but worth it when you need that extra strength.
The Traditional Method
Start with right sides together and sew at 5/8 inch. Your pattern will tell you which direction to press the seam—this isn't arbitrary, it's usually based on how the seams will lay on the body. Trim one seam allowance to half its original width, creating a stepped effect that reduces bulk.
Press the seam toward the trimmed side, then fold the untrimmed allowance under so it wraps around the trimmed one. You want that fold to just cover the raw edge without creating excess bulk. From the wrong side, edgestitch this fold in place.
The Easier Alternative
If traditional flat felled seams seem too fussy, try the faux version. Sew and trim just like before, but instead of folding and edgestitching, just zigzag the seam allowances and press them flat. Then from the right side, topstitch at 3/8 inch. You get that classic flat felled look with less work and slightly less bulk.
The Brookes skirt is perfect for practicing flat felled seams. Just like on classic jeans, you can use them on the back yoke and side seams. Or if you're feeling ambitious, the Audrey jacket actually calls for faux flat felled seams throughout the construction—it's built right into the pattern.
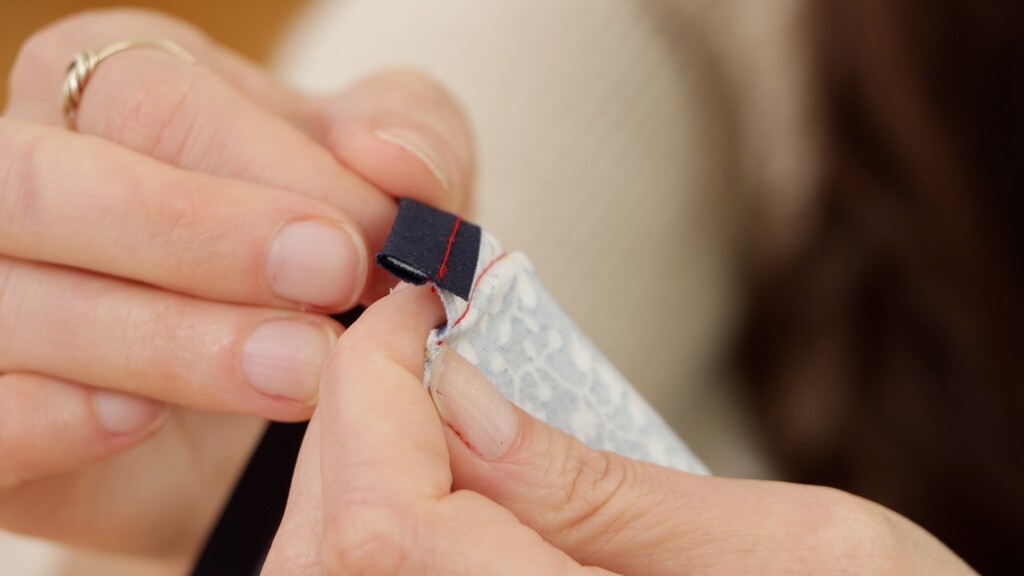
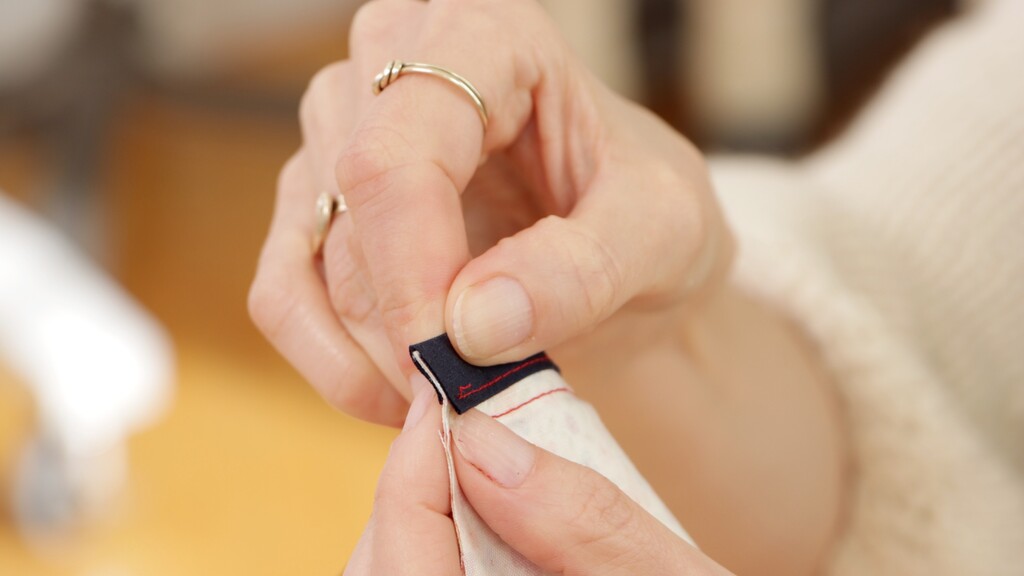
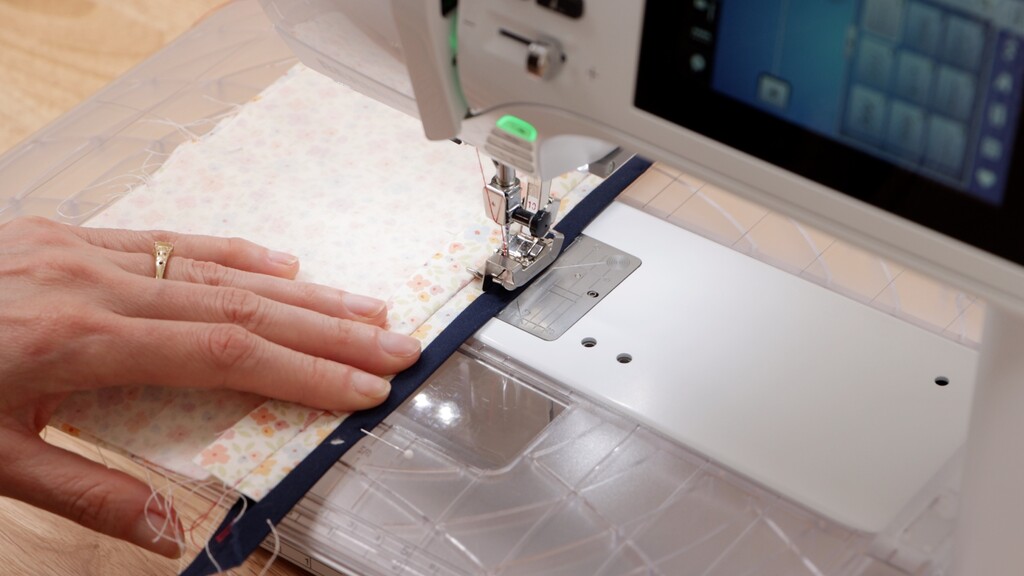
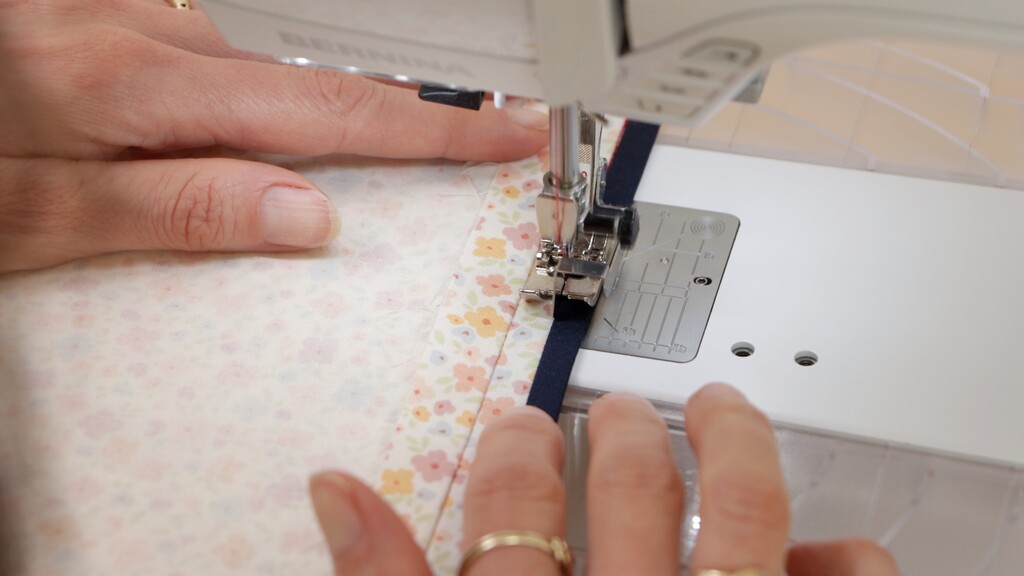
Bound and Hong Kong Seams: Couture-Level Finishing
For unlined garments where you want the inside to look as polished as the outside, bound seams and Hong Kong finishes are game-changers. These techniques use bias tape to encase raw edges, creating a couture-level finish.
Bound Seams
Bound seams work well when you're finishing seam allowances together. Cut 2-inch bias strips and create double fold bias tape. If you've never made your own bias tape, Read this article for a complete tutorial on creating perfect bias binding.
Unfold one edge and align it with your raw seam allowance, then sew at 1/2 inch. Wrap the binding around the raw edge and stitch the fold in place. The result completely encases those raw edges.
Hong Kong Finishing
Hong Kong finishing is similar, but each seam allowance gets bound separately, and the binding on the wrong side isn't folded under, which reduces bulk. Begin by pressing your seam open, then take 1-inch bias strips and bind each seam allowance individually.
When choosing between bound seams and Hong Kong finishing, consider the garment construction. If your pattern calls for seams to be pressed open, Hong Kong is usually the better choice.
The Indigo car coat would look stunning with bound seams—imagine opening that coat and seeing perfectly finished seams instead of raw edges. Same with the Baz wrap coat—those bound seams would make it feel incredibly luxurious.
Choosing the Right Technique for Your Project
The beauty of these techniques is that you can choose the right one for each project. Each one serves a purpose, and mastering all five gives you incredible flexibility in your sewing.
The real magic happens when you stop seeing these as separate techniques and start thinking of them as tools in your sewing toolkit. Just like you wouldn't use a hammer for every job, you don't need French seams on every garment. The goal isn't to use the fanciest technique possible—it's to choose the one that best serves your fabric, your timeline, and your vision for the finished garment.
Once you start incorporating proper seam finishes into your sewing routine, you'll never want to go back to raw edges. Your garments will not only look more professional, they'll last longer and feel more special every time you wear them. And isn't that what creating a handmade wardrobe is really about?


