
 Sign In
There's nothing quite like the feeling of slipping into a perfectly sewn flannel shirt on a crisp fall morning. Flannel gives you that ideal combination of durability and softness—it's sturdy enough for everyday wear while staying incredibly cozy against your skin. But here's the thing: choose the wrong weight flannel or skip a few essential prep steps, and you could end up with garments that shrink dramatically, stretch out of shape, or develop that dreaded pilling after just a few wears.
I've been there! I once made what I thought was the perfect flannel shirt that fit beautifully until its first trip through the washing machine, when it transformed into an unintentional crop top. Not exactly the look I was going for.
Today I'm sharing five essential tips that'll help you select quality flannel and work with its unique characteristics so you can create beautiful, polished pieces that actually hold their shape over time.
Understanding Flannel: More Than Just Soft Cotton
Originally, flannel was made from either carded wool or worsted yarn, but modern flannels come in wool, cotton, or synthetic fiber versions. The fabric can be woven with either a twill or plain weave, then it's napped or brushed to create that signature softness we all love. That brushing process gives flannel its cozy texture, but it's also what can make it tricky to work with if you don't understand a few key techniques.
The beauty of flannel is that it gives you the best of both worlds—durability and comfort. When you choose quality flannel and handle it correctly, you'll create garments that become wardrobe staples for years to come.
Tip One: Choose the Right Flannel for Your Project
Not all flannels are created equal, and picking the wrong type can make or break your project. The key is understanding the difference between cotton and wool flannel, plus how weight affects both quality and performance.
Many modern flannels use cotton to give you that softness while avoiding wool's intense heat-saving properties. Cotton flannel is perfect for pajamas, casual shirts, and lightweight robes where you want comfort without overheating. If you're making outerwear or pieces for truly cold weather, wool flannel's ability to hold in your natural body heat during long winter days might be exactly what you're looking for.
The Weight Test That Changes Everything
Whether you choose cotton or wool, the fabric's weight tells you everything about quality. You can expect medium-quality cotton flannel to weigh at least 5 ounces per square yard. This weight works beautifully for classic plaid shirts, everyday pajama sets and robes, tunic tops, and casual skirts.
High-quality cotton flannel typically weighs over 6.5 ounces per square yard and works well for more structured pieces like chore shirts, shackets, and tailored skirts or shirtdresses. Wool flannels are much heavier, generally ranging from 10 to 20 ounces per square yard—perfect for tailored garments on the lighter end and outerwear on the heavier end.
This matters because cheaper flannel is more prone to stretching and that dreaded pilling that makes everything look worn out way too quickly. The good news? You don't have to guess at quality—there's a simple test you can do right in the store.
The Squeeze Test That Saves You Money
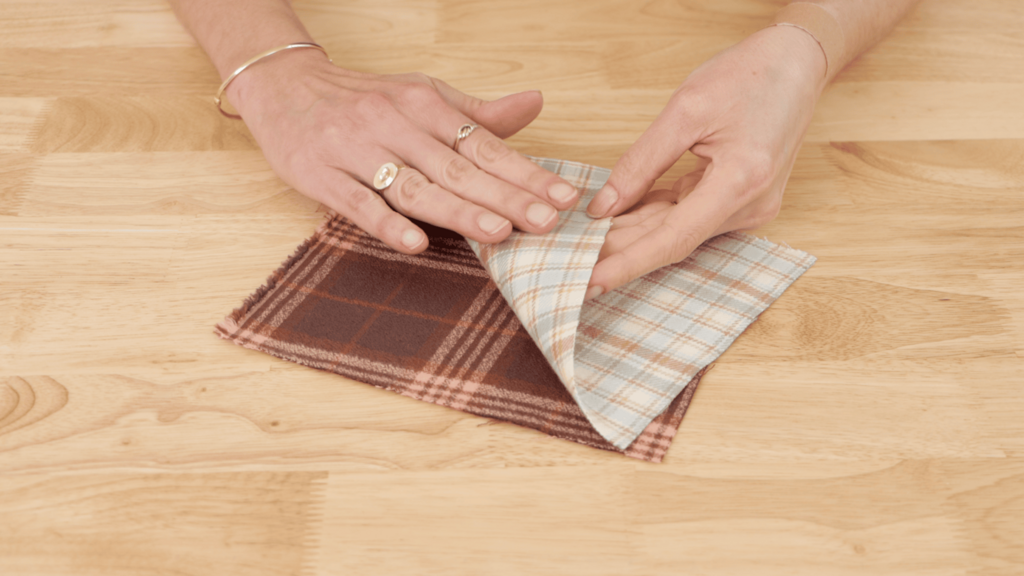
I call this the squeeze test, and it'll save you from buying fabric that looks great on the bolt but falls apart after one wash. Grab a corner of the fabric and squeeze it tight in your fist for about five seconds, then release it on a flat surface. Good quality flannel will spring right back to life—it bounces back with body and loft. Cheap flannel stays crushed and wrinkled.
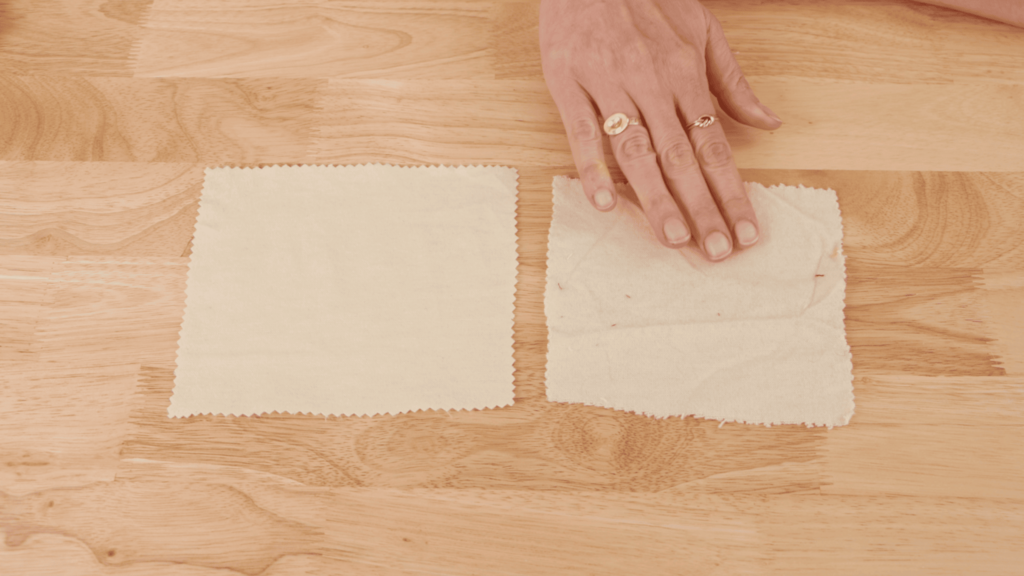
While you're at it, rub that corner between your fingers. Quality flannel feels substantial and cushioned, not papery or thin. If it's brushed flannel, press your thumb down and rub in small circles—the nap should fluff back up evenly without leaving a bald spot or coating your finger in lint.
Trust me, spending thirty seconds doing this test will tell you everything you need to know about whether that flannel will give you quality results or frustrate you from the first seam.
Tip Two: Always Pre-Wash Your Flannel (Learn from My Mistakes!)
This step is absolutely crucial, and I learned this the hard way with that crop top situation I mentioned earlier. Flannel can have a loose weave, and the looser the weave, the more it tends to stretch when you're sewing and shrink when you wash it later. If it's going to shrink, you want it to happen before it's stitched together, not after.
Wash and dry your flannel at least once on the warmest setting that's safe for your fabric. For cotton flannel, that usually means hot water and high heat in the dryer. Here's a pro tip that's saved me countless times: wash and dry a small test swatch repeatedly to make sure it won't continue shrinking after multiple washes. Some flannels need two or three wash cycles to fully stabilize.
A spray starch or a product like Flatter by Soak will also help control stretching during construction. When you get to sewing, increasing your stitch length slightly helps accommodate any remaining stretch in the fabric.
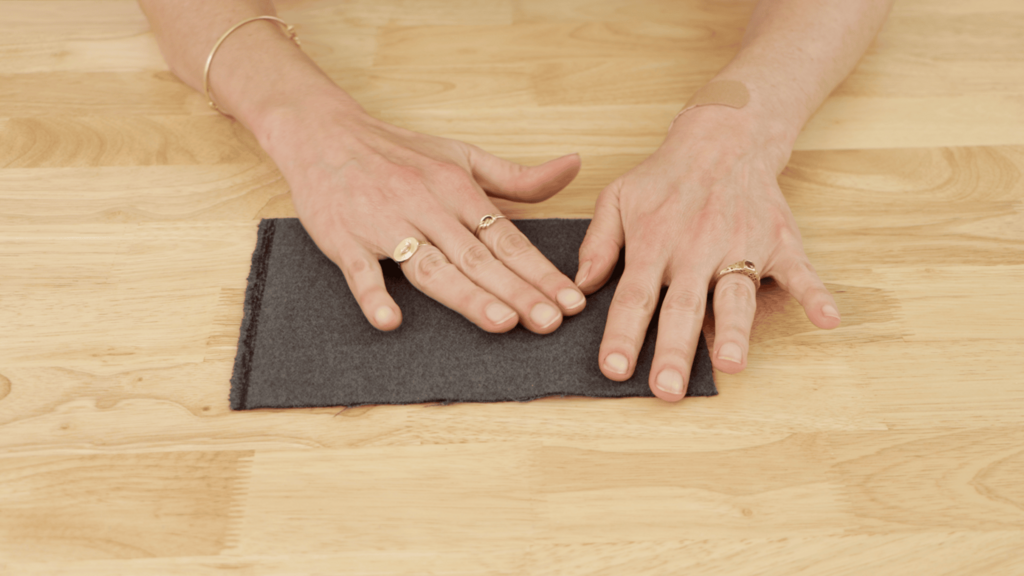
Tip Three: Master Flannel Cutting Techniques
Flannel can be slippery and stretchy, making precise cutting more challenging than with other fabrics. I've found that a rotary cutter paired with a self-healing mat is the easiest and most accurate way to cut flannel. The rotary blade slices through cleanly without the lifting and shifting that can happen with scissors.
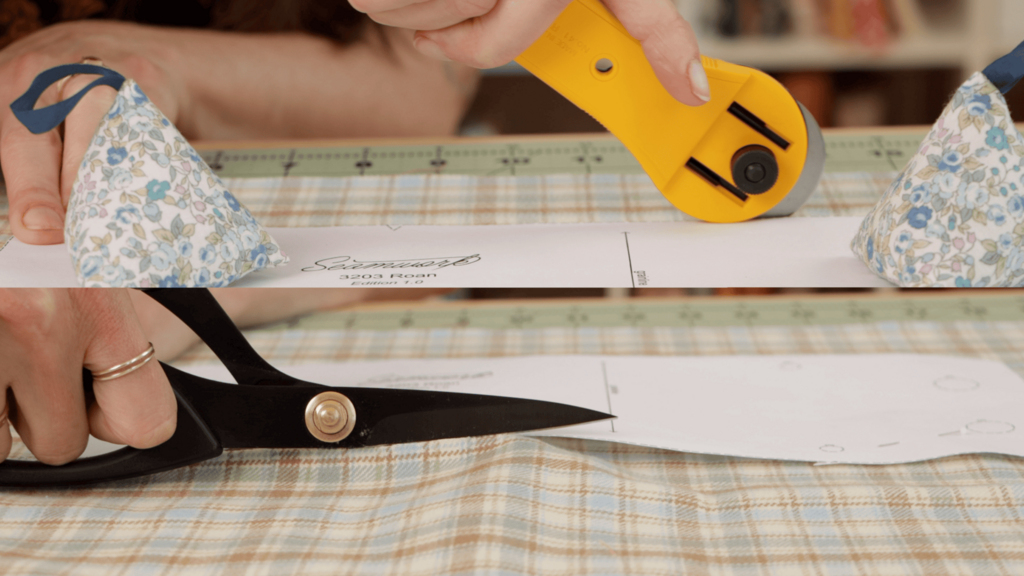
If you're using scissors, make absolutely sure they're sharp and take your time to ensure clean, even cuts. Dull scissors will create ragged edges that fray even more.
Speaking of fraying—flannel frays easily, so cut your pieces a little larger than you normally would. Consider increasing your seam allowances by about 1/4 to 1/2 inch. This gives you room to work with if the edges fray during construction and also accommodates any slight stretching that might happen as you sew. You can always trim excess seam allowance later.
I like to use pattern weights instead of pins when possible, because pins can distort the fabric as you cut around them. If you do use pins, place them perpendicular to your cutting line and remove them just before your blade reaches them.
Tip Four: Press with Care (No Traditional Ironing!)
This is where a lot of people go wrong with flannel. Don't iron it in the traditional sense—moving the iron back and forth over flannel will create stretching, especially when you add heat and steam to the mix. Instead, press the fabric by placing the iron down for a few seconds, then lifting it and moving to the next spot. Skip the steam setting entirely—the moisture combined with heat can really distort your fabric.
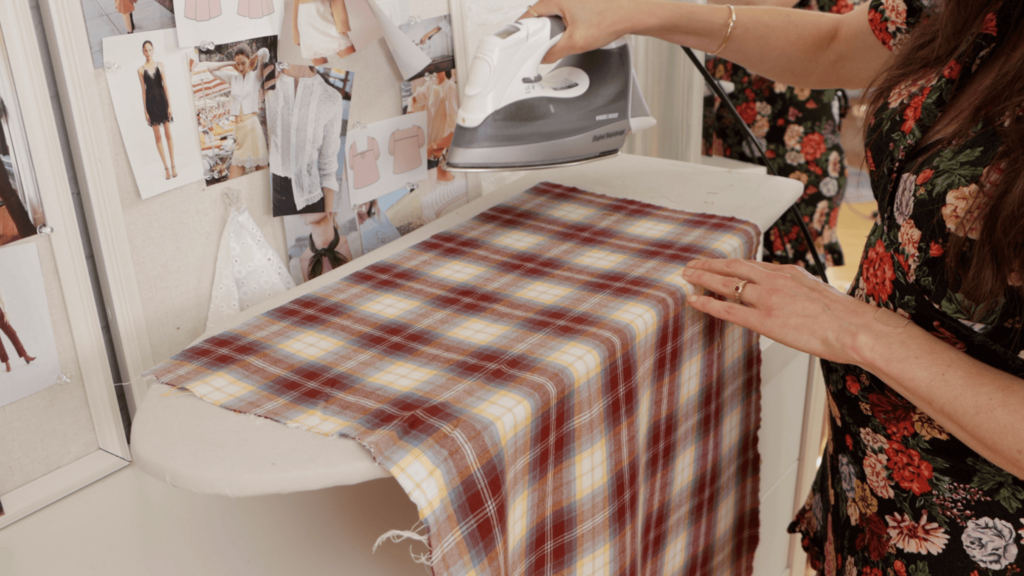
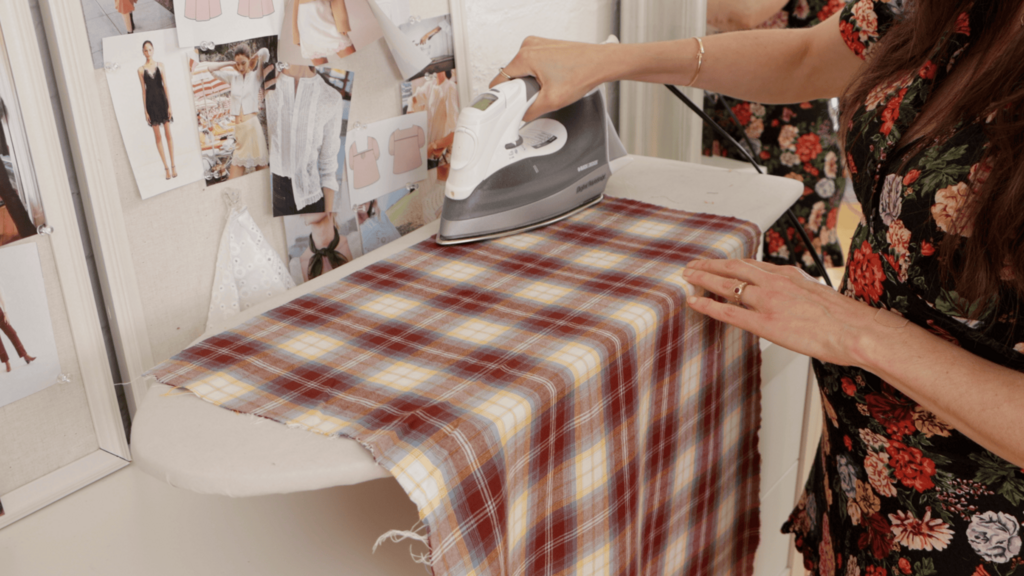
When you're pressing seams, always follow the nap direction (I'll explain more about nap in the next tip). Pressing against it can flatten the fibers and completely change the texture. Think of it like petting a cat—you want to go with the grain, not against it.
For flannel, I prefer using a press cloth to protect the surface, and I keep my iron on a medium setting. The goal is to set your seams without damaging that beautiful brushed texture that makes flannel so appealing.
Tip Five: Mind the Nap (This Changes Everything!)
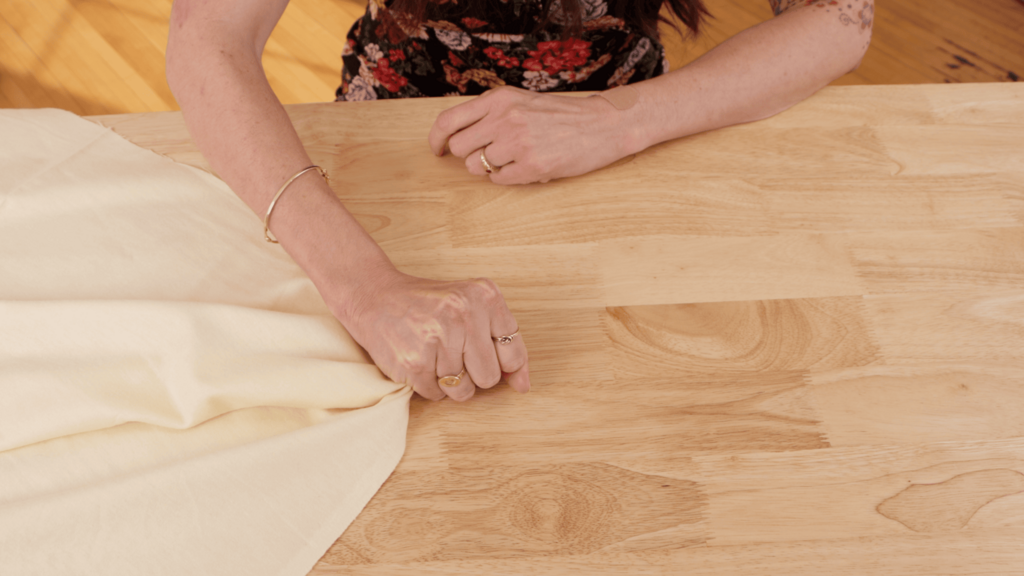
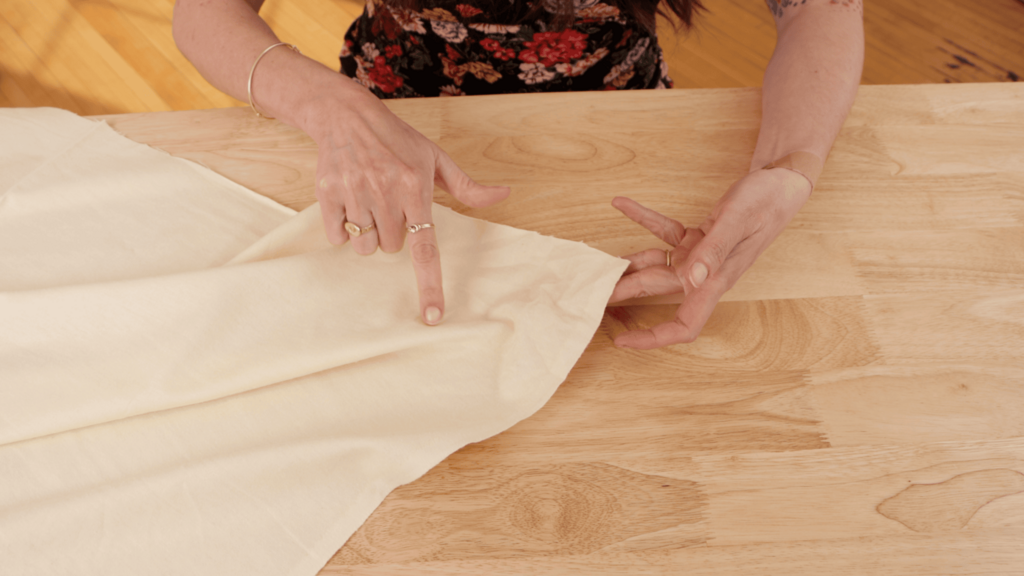
Understanding and working with flannel's nap can make or break your finished garment. The brushed effect that flannel is known for creates that soft texture, but it also has a directional quality, similar to pile in carpet. This is called the "nap" of the fabric.
You can easily tell flannel has a nap by running your hand over it in different directions. One direction feels smoother than the other—the smoother direction is the correct direction for the nap. Here's why this matters: the nap affects how light hits the fabric, which can make the color and texture look completely different depending on its direction.
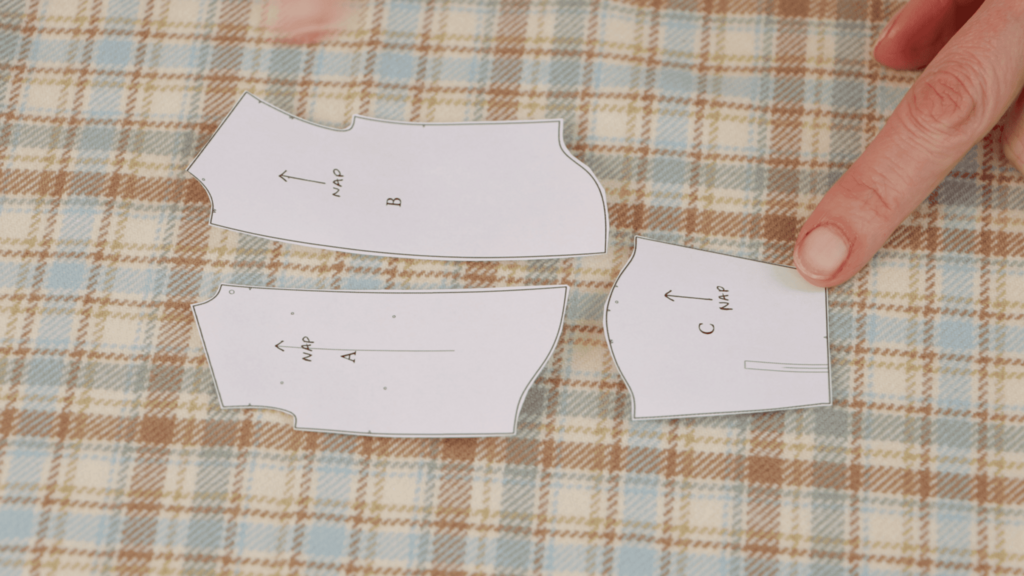
When you're cutting your pattern pieces, all of them must be oriented in the same direction to avoid this mismatched appearance. This means you'll need extra fabric compared to what the pattern envelope suggests, typically about 10–25% more depending on your layout. But trust me, it's worth it for a garment that looks cohesive and polished.
I find it helpful to mark the nap direction with a little arrow on each piece as you cut them. This saves you confusion later when you're ready to sew.
Choose the Right Patterns for Flannel Success
When you're selecting patterns for flannel, simple silhouettes will give you pieces that become comfortable wardrobe staples for years to come. Flannel works beautifully with relaxed fits that don't fight against the fabric's natural drape. If you're working with a flannel that pills easily, choose patterns with minimal friction points—avoid tight-fitting designs around areas that rub together frequently.
The Leif pajamas are an obvious but excellent choice for flannel. With their relaxed, gender-neutral fit, this set is designed for cozy nights and effortless lounging. They're basically the perfect introduction to sewing with flannel.
For something you can wear out of the house, try the Roan tunic. Whether you're looking for comfort or a stylish statement piece, this oversized button-down has details that add sophistication while maintaining that loose fit for maximum comfort. Made in flannel, it becomes a cold weather staple you'll reach for constantly.
The Aims blouse offers a romantic take on the flannel button-up with its oversized fit, raglan sleeves, and beautiful gathers on the lined yoke. Since it's free this fall, it's an easy choice for adding drama to your wardrobe.
And here's something unexpected—flannel trousers! The Ani trousers with their pleated front and tapered fit could look as sharp as a pair of wool trousers but with added drape and softness. Just choose a heavier weight cotton or wool flannel so they read as sophisticated pants rather than pajama bottoms.
Your Flannel Journey Starts Here
Flannel truly gives you the best of both worlds—durability and incredible softness. When you understand how to choose quality fabric and work with its unique characteristics, you'll create garments that become treasured pieces in your handmade wardrobe.
The key is remembering that flannel wants to be treated gently but confidently. Pre-wash it thoroughly, respect its nap, press carefully, and choose patterns that work with its natural drape rather than against it. These simple adjustments will transform your flannel sewing from frustrating to fantastic.

