Sign In

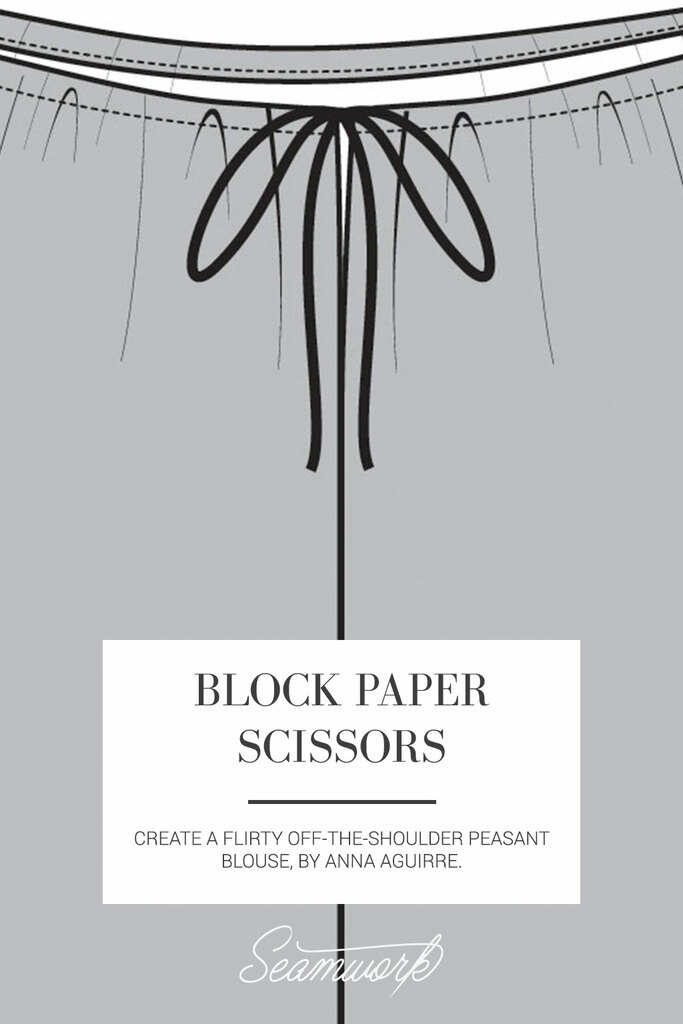
Block Paper Scissors is a monthly column featuring patternmaking hacks that will help you give your Seamwork patterns a custom spin — all you need is paper, a ruler, and a pencil!
This hack creates an off-the-shoulder variation on the Perry bodice. With this variation, inspired by a peasant blouse, you will be ready for all sorts of summer fun. Get some sun on your shoulders with this adorable hack.
Note: Be sure to make any fit adjustments before doing the pattern hack.
You'll Need:
-
Perry front bodice, back bodice, and sleeve - Tracing paper or pattern paper
- Pencil
- Yard stick
- Scissors
- 2—3 yards of 1/4” drawstring
- All other materials as required by pattern
How to:
Step | 01
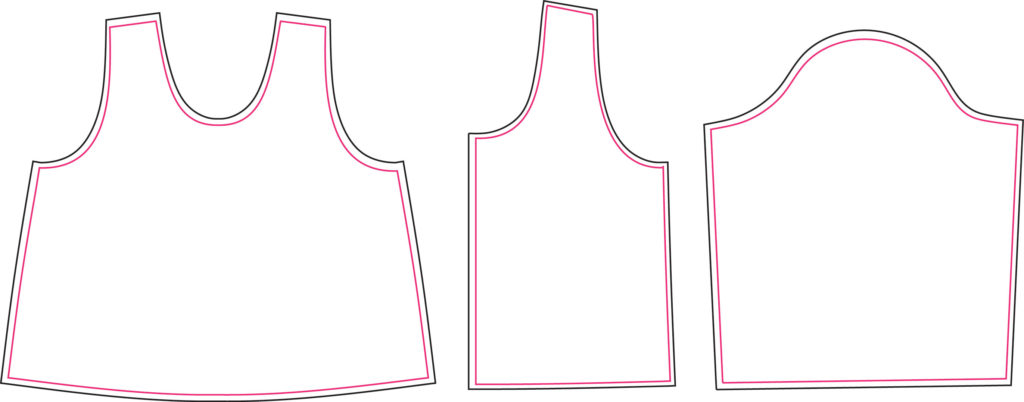
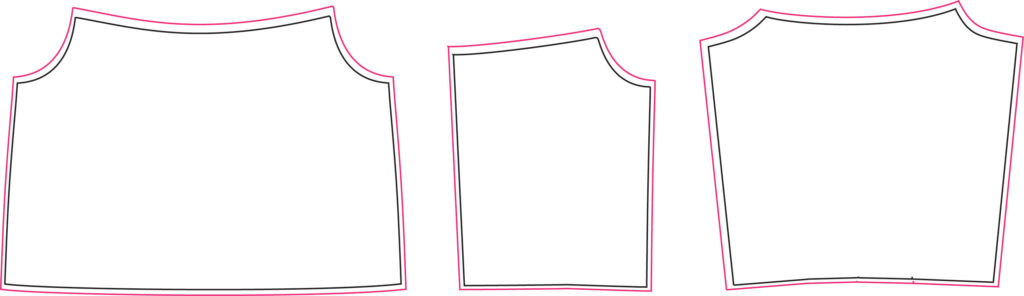
Trace off the bodice front, bodice back, and sleeve pieces. For the bodice front, flip the pattern piece over and align the centers. Trace off the second half so that you have one bodice front piece. Remove the 3/8” seam allowances from all the pieces and the 1/2” seam allowance on the neckline.
Step | 02
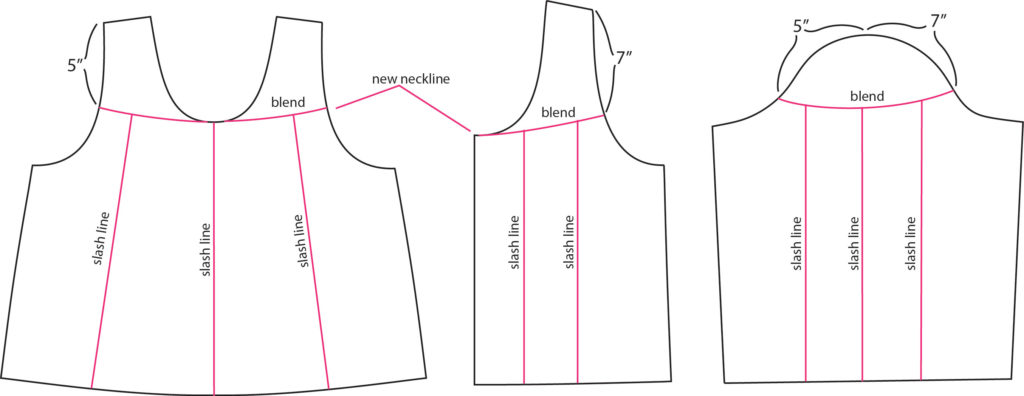
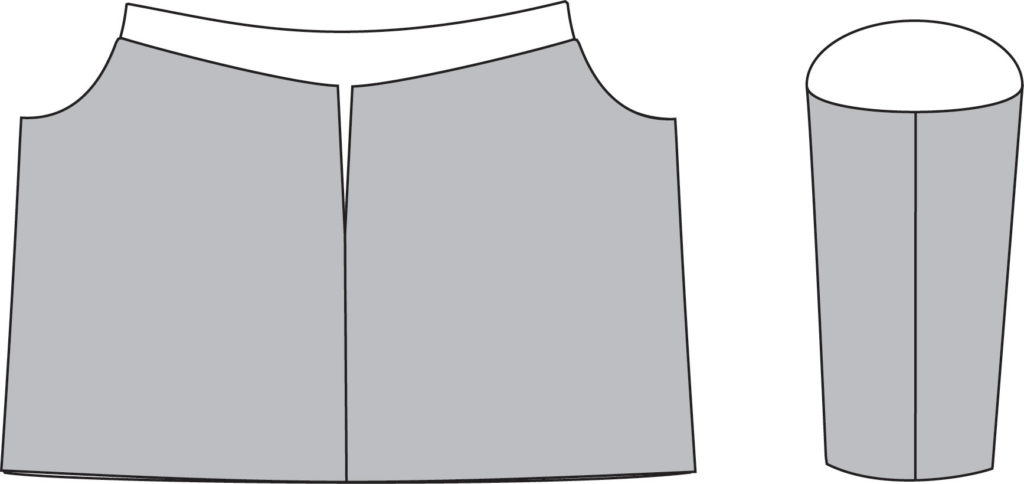
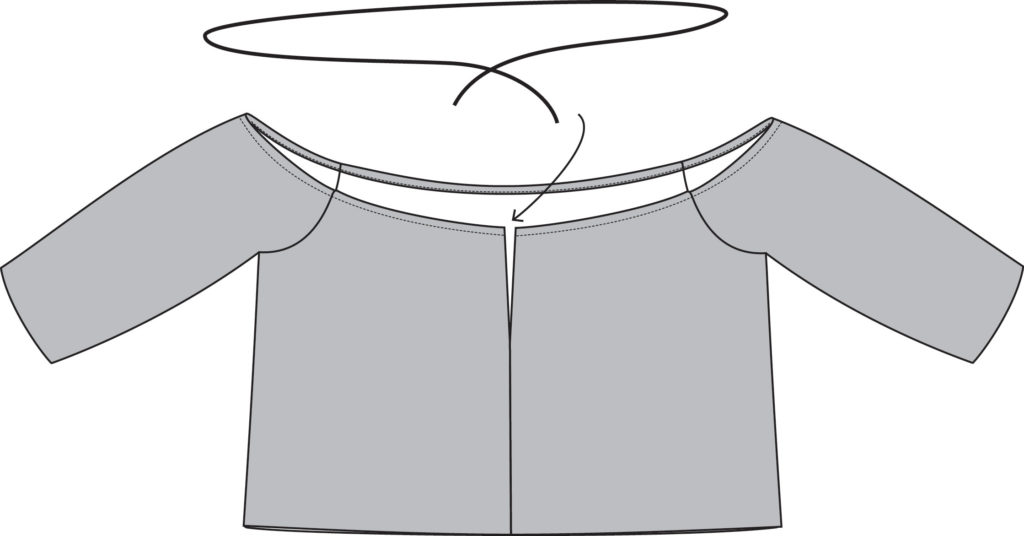
Draw in your new neckline and slash lines on all pieces. On the front bodice, measure approximately 5” down from the shoulder at the armscye. Blend from the armscye to the center front neckline. Do the same for the bodice back, approximately 7” down from the shoulder. On the sleeve, measure the equal distance down from the shoulder point on the front and back sleeve sections. Draw slash lines on all pattern pieces: one at the center grain line (the back bodice does not need this slash line) and two on either side of the center grain line, halfway to the side edges of the pattern pieces.
Step | 03
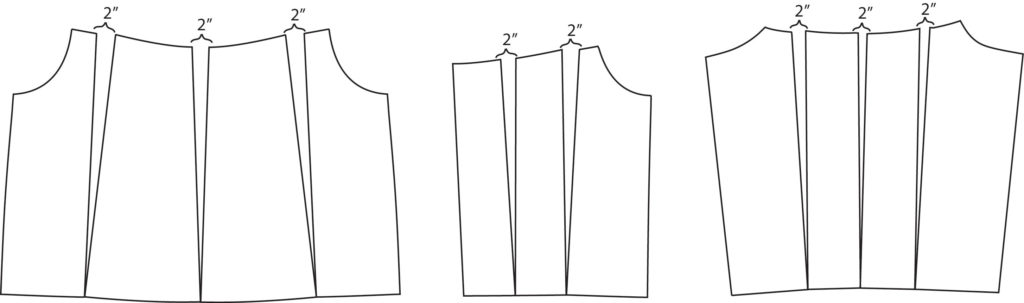
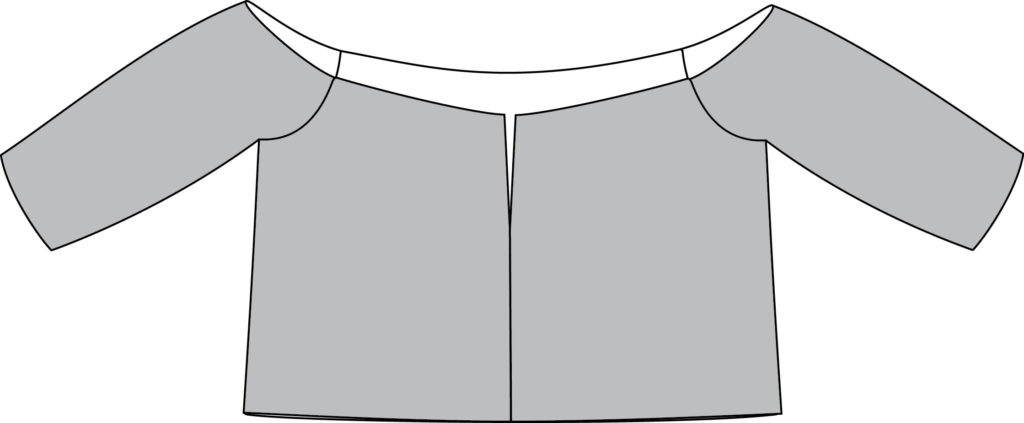
Cut along the slash lines, from the neckline to the waistline, to but not through the waistline. Spread the neckline at each slash line by approximately 2”. Trace off the new pattern pieces with the new pattern shapes, making sure to blend the necklines and waistlines.
Step | 04
Add 3/8” seam allowance to all the seams. Add 1/2” seam allowance to the necklines.
Construction notes:
Step | 01
Assemble the bodice front and back together according to the instructions. Assemble the sleeves separate from the bodice.
Step | 02
Attach the sleeves to the bodice, matching the notches, under arm seams and side seams.
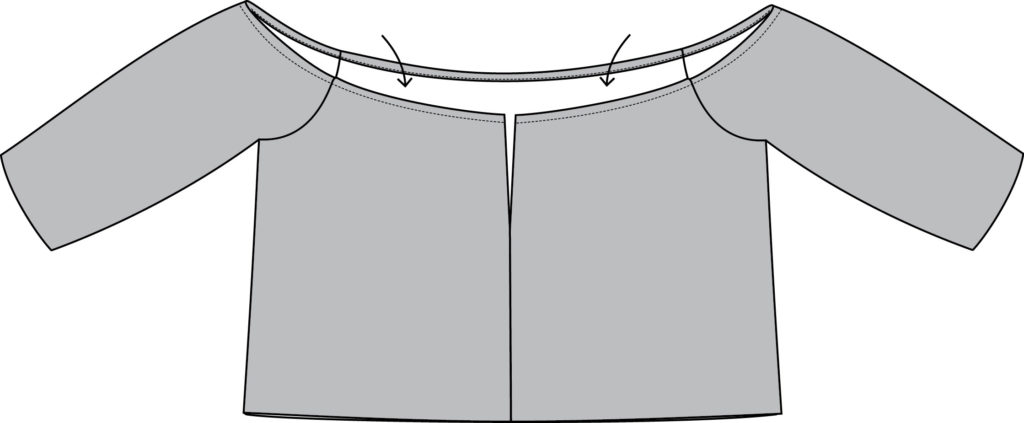
Step | 03
Fold the neckline seam allowance to the wrong side at 1/2”. Topstitch along the raw edge, creating a casing for your drawstring.
Step | 04
Using a safety pin or bodkin, thread your drawstring through the casing at the center back neckline.
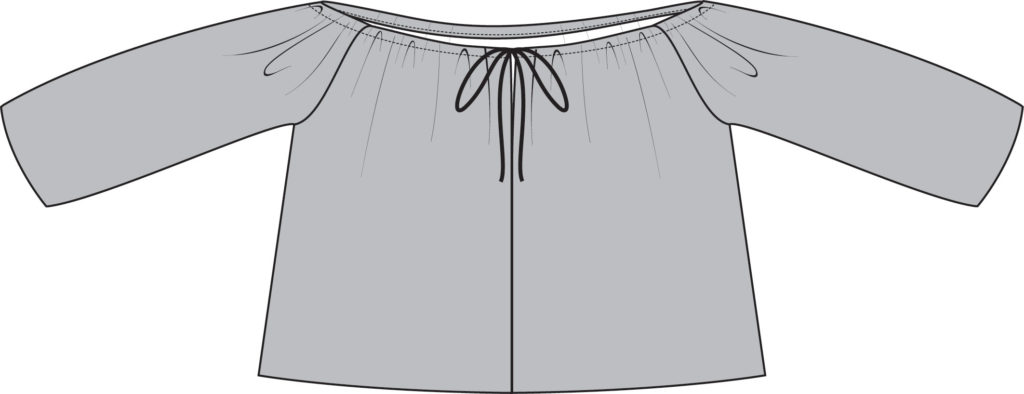
Step | 05
Adjust the length of the drawstring at the center back neckline and tie to secure. Continue with the instructions for finishing the sleeve and attaching the bodice to the skirt or shorts.

About the Author
Anna works hard to make sure our sewing patterns have the best instructions out there. She believes in the power of chocolate and coffee to cure just about anything.