
 Sign In
How to bind knit edges: the ultimate guide
Binding has a special place in my heart. I find that binding is often the neatest, tidiest, most professional looking finish on openings like necklines and armholes. I’ll always swap a facing for a binding when I can.
Having grown up sewing almost entirely with wovens, it wasn’t until I really got into knits a few years back that I discovered the many binding options out there when working with these special fabrics. Now I use knit bindings all the time.
In honor of Moneta Month, I wanted to show you several methods you could use to substitute bound edges on your Moneta.
Straight out of the envelope, Moneta is finished with either a lining for the sleeveless version (we have a video to show you how), or a simple hemmed finish.
Both of these are great finishes that work well with the design, but binding gives you a few more options. You might prefer the look of binding, you might find it helps if your fabric is a little saggy, or you might want to use it to add a little contrasting color to your edges.
In this article, I will detail 4 different ways you can use strips of knit fabric to finish edges on knit garments, including 1 band method and 3 different binding methods.
Bands vs. Binding
First, let’s clear up a little terminology.
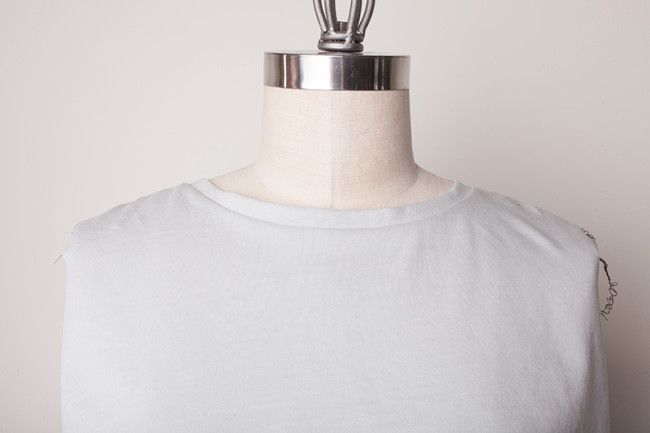
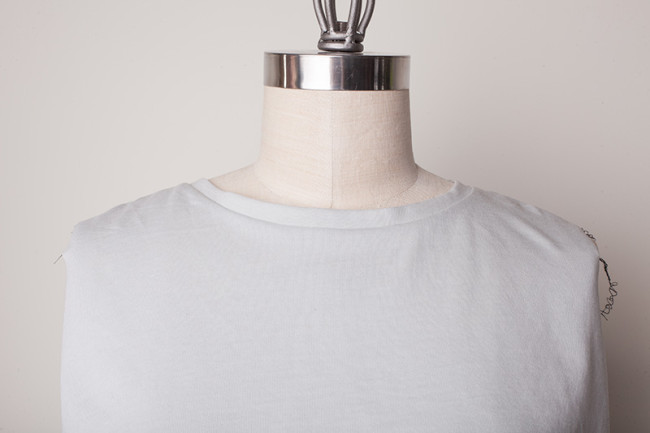
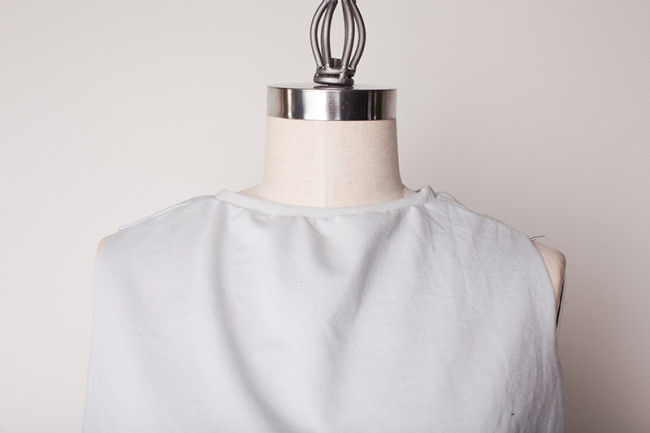
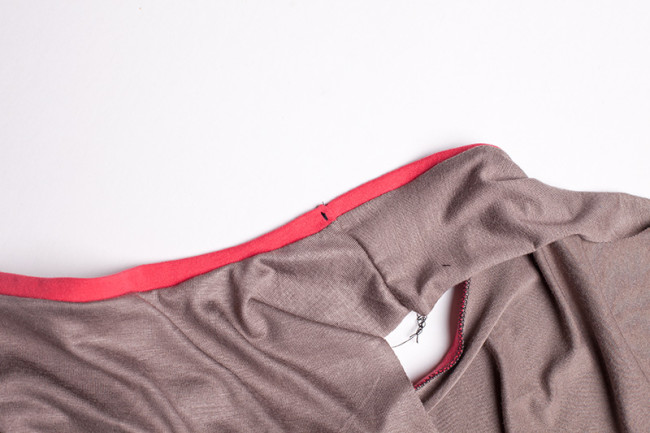
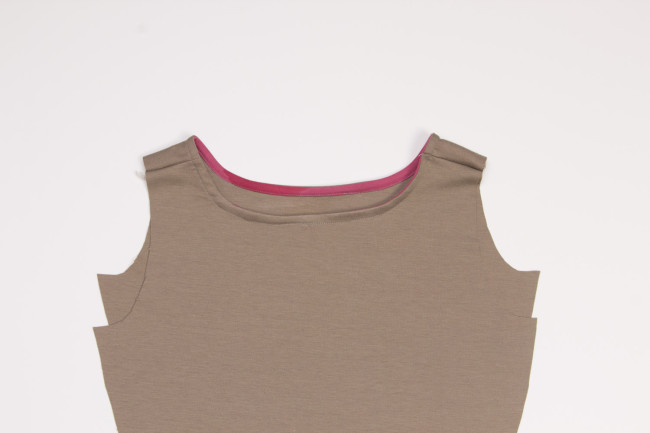
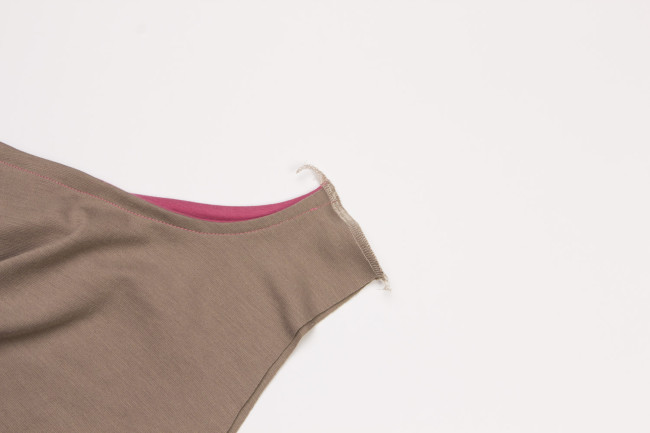
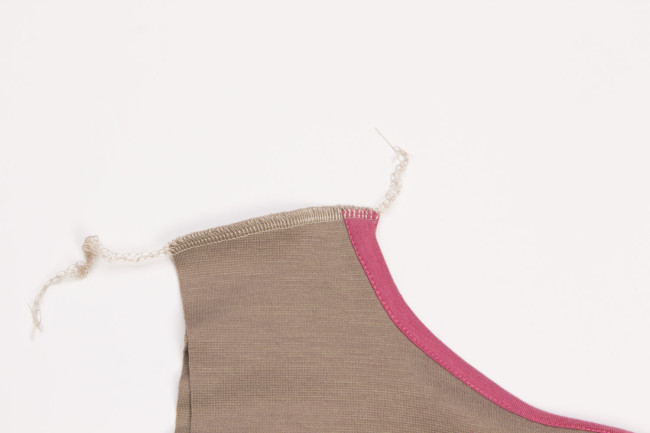
A band is a length of fabric that’s folded in half and stitched into an opening. The seam allowance is turned to the wrong side. If you look at any t-shirt you own, it will probably have a band around the neck. It is usually sewn in the round. The grey bodice above has a band.
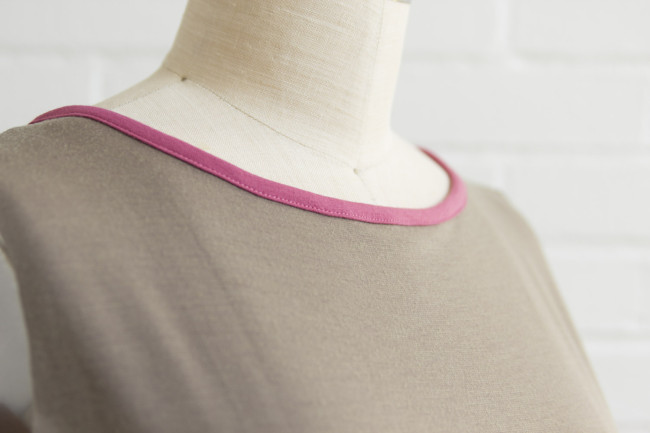
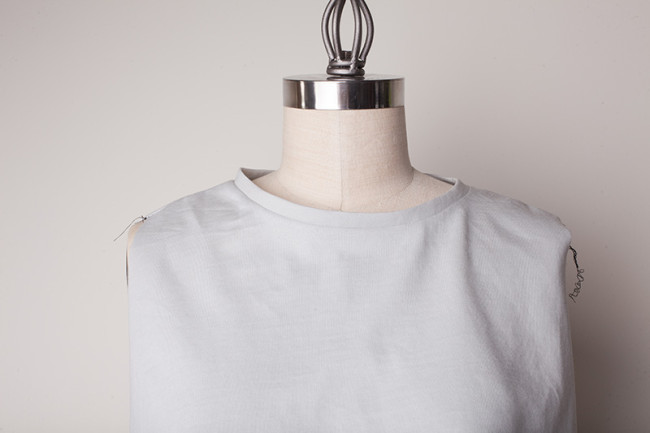
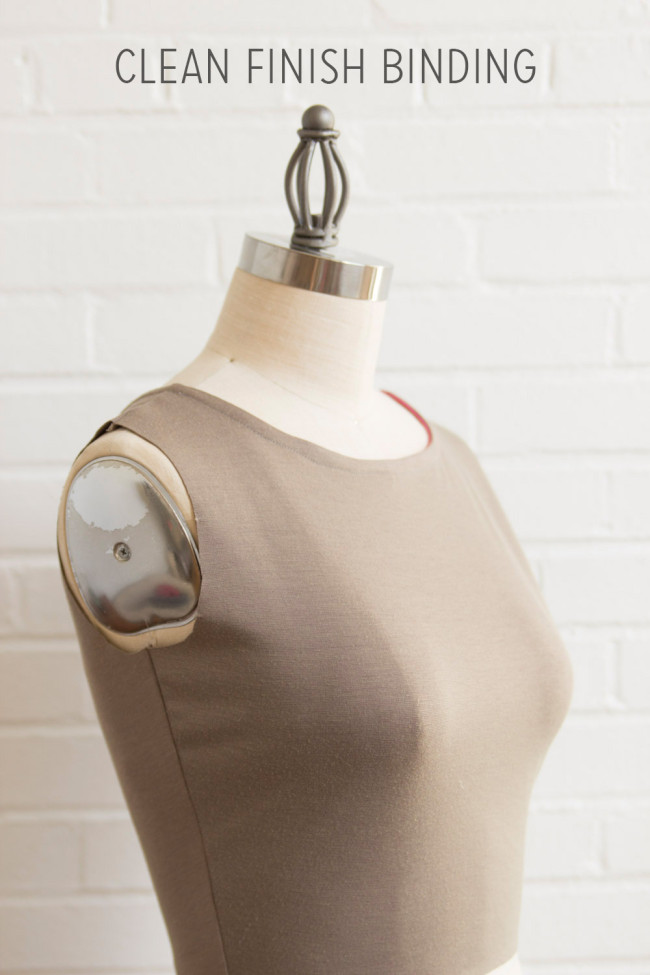
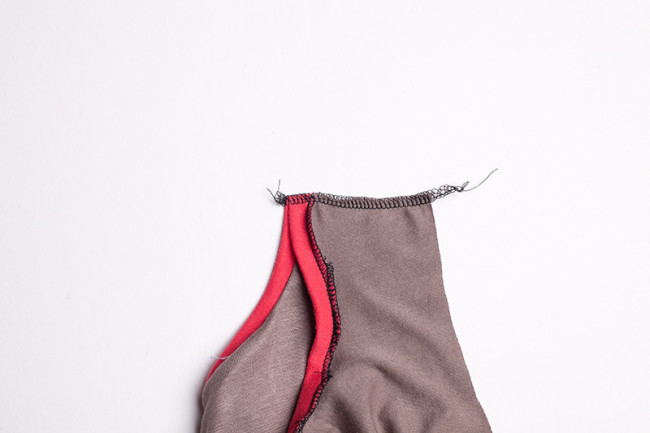
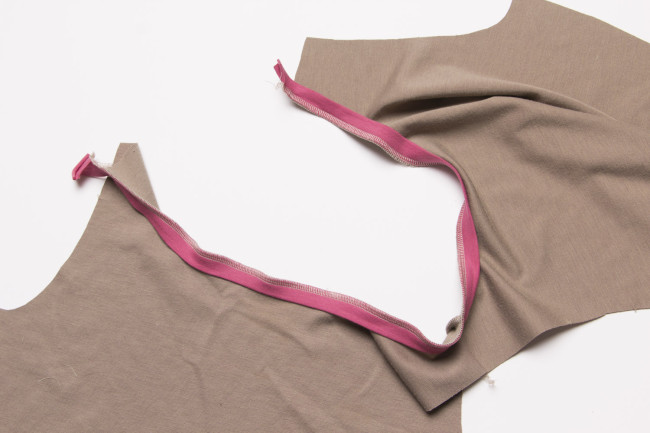
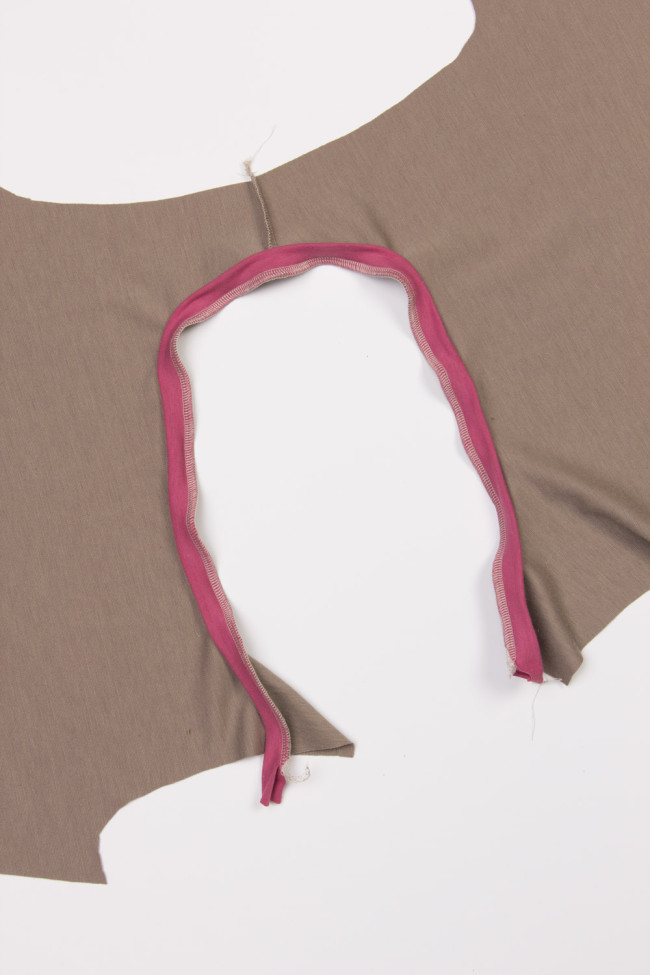
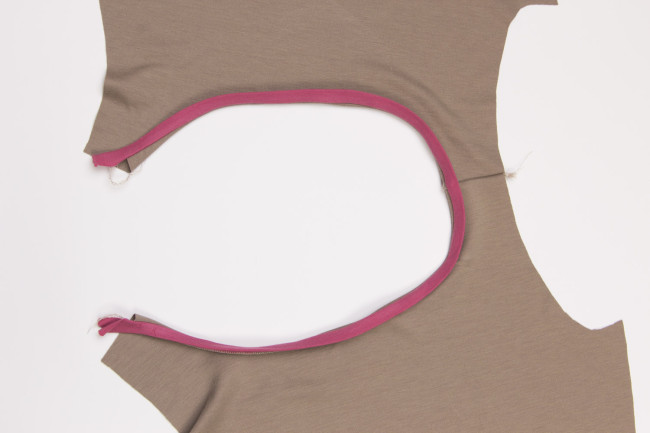
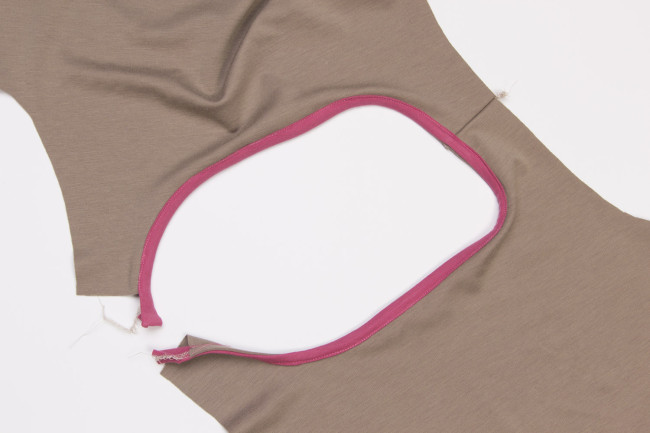
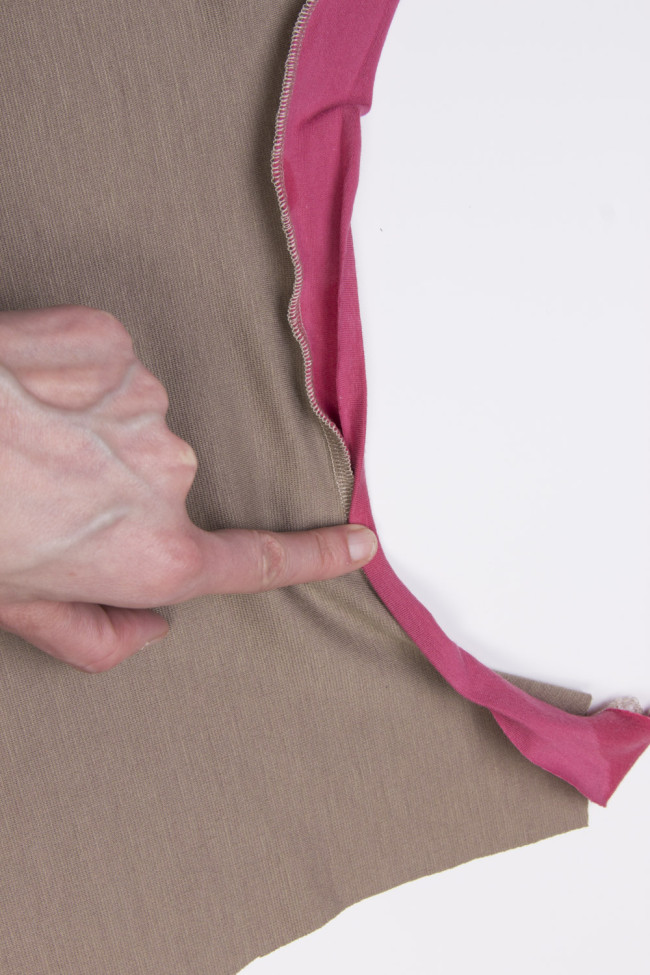
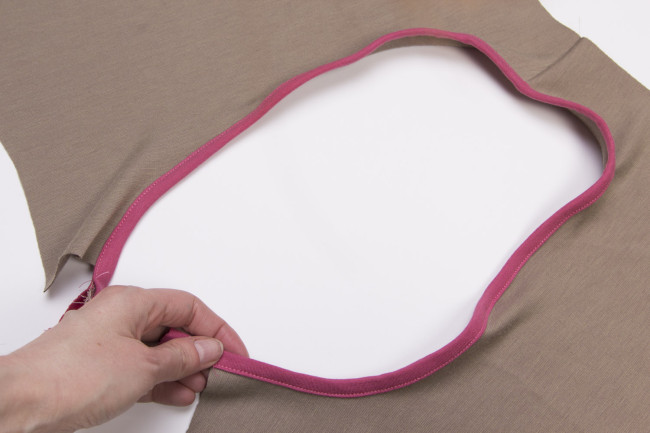
A binding has a similar function, but looks more like the bias binding you’d find on a woven garment. All the seam allowances are tucked inside and hidden. In knitwear, it is usually not sewn in the round. Instead, one seam is left open (such as a shoulder seam), the binding is sewn to the edge, then the remaining seam and binding are closed at the same time. The brown bodice below has binding.
Both of these finishes serve the same purpose. They cover up the raw edge of a circular opening and give you a neat finish. We’re going to cover both of these methods, since they are usually interchangeable.
Bands
A knit band is a pretty common treatment. You’ll see it on almost any t-shirt neckline, but it can also be used on other types of garments or in armholes.
Because armhole curves tend to be deep curves, I like to keep bands in this area narrow, perhaps 3/8″ or less when finished. This will help to prevent gaping.

Again, bands are sewn in the round. That means that the opening is already sewn into a complete circle, the band is also sewn in a circle, and then the band is sewn into the neckline in a continuous line of stitching.
The downside to this is that the band must be cut and constructed at a specific width before sewing it into the opening. It usually needs to be a little smaller than the opening to prevent gaping, but if it’s too small, you get puckering.
The challenging thing is that it’s hard to know exactly how much smaller to cut it because every knit fabric is a little different. My rules of thumb are these: (1) Cut the band about 10% smaller than the opening to start, and (2) pin it to the opening and check the fit before you sew.
The worst case scenario is that you have to take it out and sew it again.
Self Fabric Band
How to:
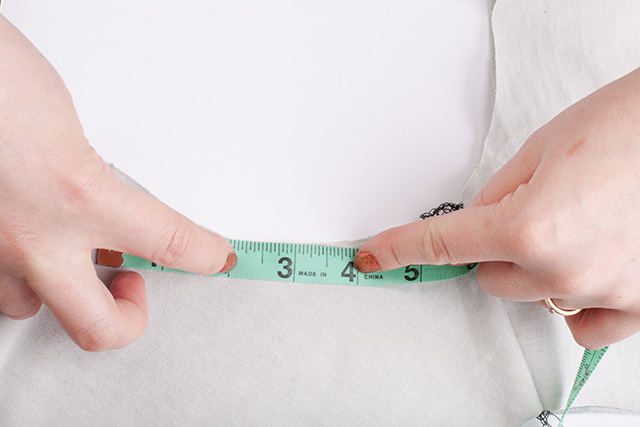
1) Measure the opening, such as the neckline or armhole. Use the following formula to determine the length of your neckband piece: Length of neckband = length of opening x 0.9
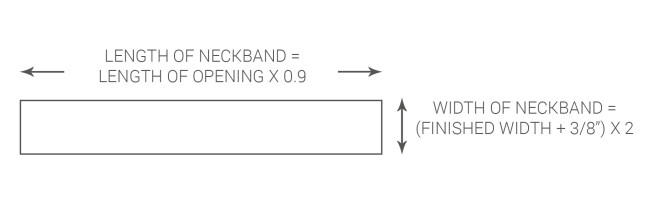
2) Decide on a finished width for your band. For tight curves or small bands, choose 3/8 inch. For wider neckbands, choose 1/2 or 5/8 inch. Use the following formula to calculate the size of the neckband piece you will cut. Neckband piece width = (finished width + 3/8″ seam allowance) x 2. Draw a rectangle using the two measurements you calculated above.
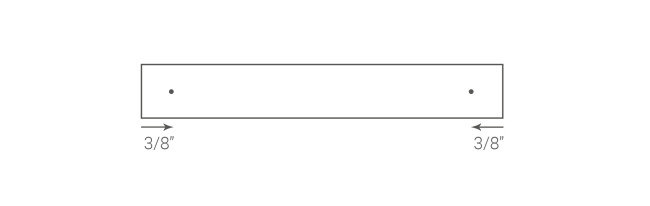
4) Find the lengthwise center of this piece. Draw a point 3/8 inches from each widthwise edge along this line.
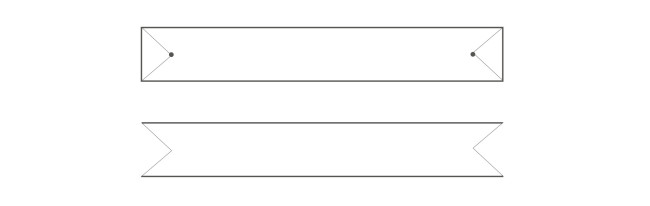
5) Connect this point to the corners of your rectangle. This divet in the pattern piece will help the band conform to the shape of your neck a bit more. Cut this piece from your fabric.
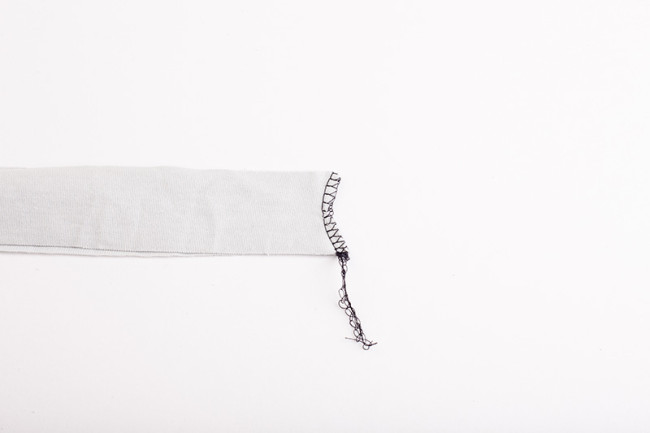
7) With right sides together, stitch the short ends of the band together.
8) Fold the band in half lengthwise, with wrong sides together.
9) With right sides together and raw edges aligned, pin the band to the opening, aligning the seam with a shoulder seam or center back seam. Check the fit of the band (see the troubleshooting section below) before stitching the band to the opening using an overlock.
10) Turn the seam allowance of the band to the inside.
Troubleshooting
Before you sew, always carefully pin the band into the neckline. Use plenty of pins to get the band seated in the neckline as much as possible.
Does your neckband gape at the shoulders and seem to stand straight up? That means your band is too large. Trim it down and try again before sewing it in.
Is it making the garment pucker and pull towards the neck? That means it’s too small. Cut a new band that’s a little larger.
Binding
Binding is basically just like a bias tape binding on a woven garment, at least in terms of the various ways it can be applied.

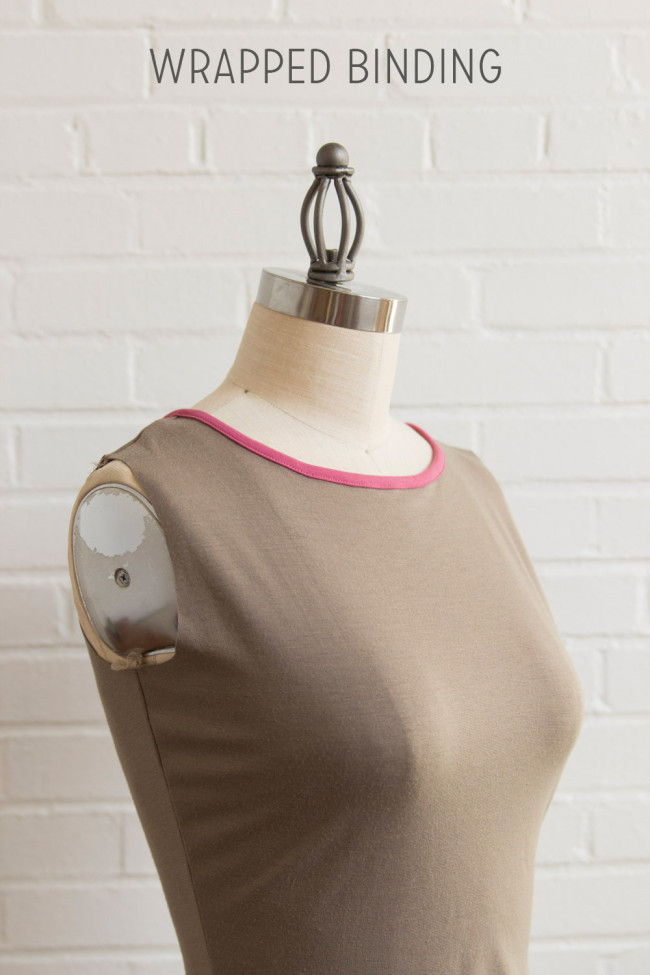
It can be sewn and turned to the inside like a facing (clean finish binding); turned to the outside (seam covering binding); or wrapped around the raw edge (wrapped binding).
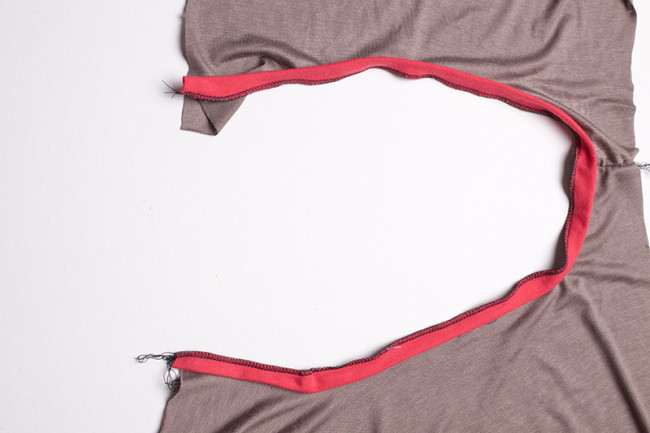
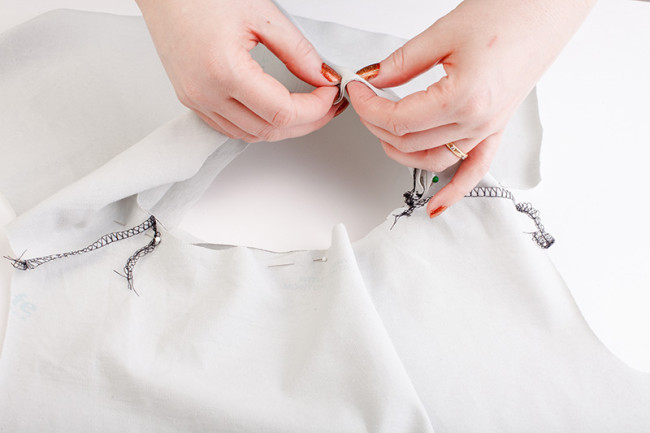
Binding is usually sewn into an opening before it’s fully closed. For example, if you’re sewing a neckline, leave one shoulder seam open, apply the binding, then close up the shoulder seam. The binding will be enclosed at the same time.
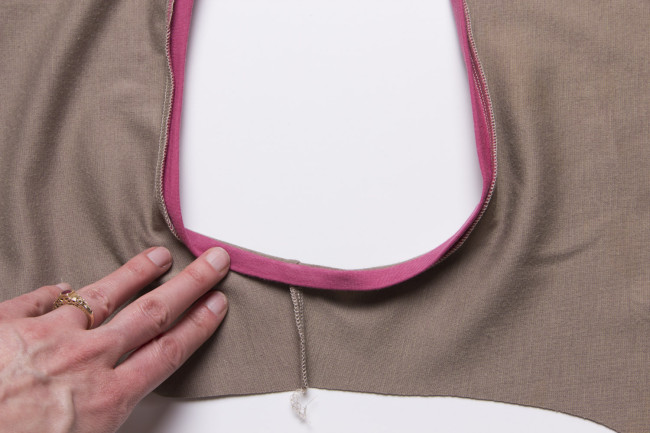
Use a bar tack to hold the seam allowance of the binding down. This makes it less conspicuous from the outside.
The great thing about binding is that it doesn’t need to be cut to a specific size before you sew.
For each of these methods, we’ll create binding with a finished width of 3/8 inch and seam allowances of 3/8 inch.
Clean finish binding
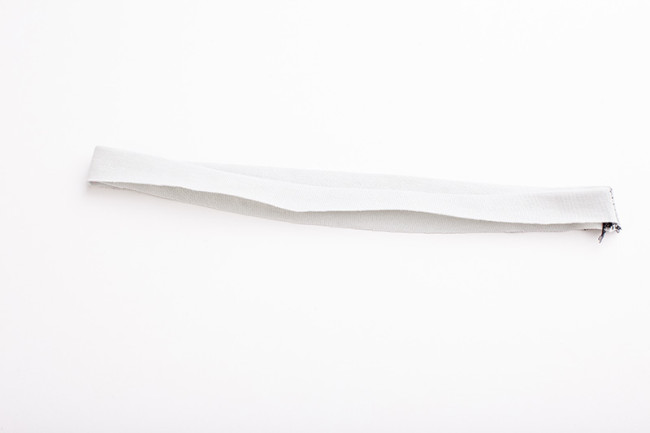
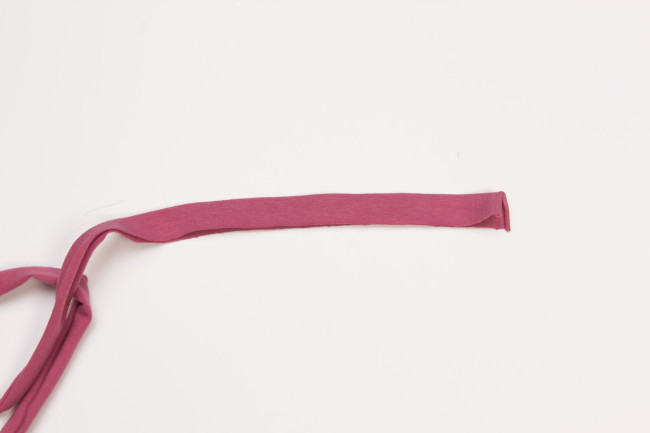
1) Cut a strip of fabric 1 1/2 inches wide. It should be longer than the opening you are sewing it to.
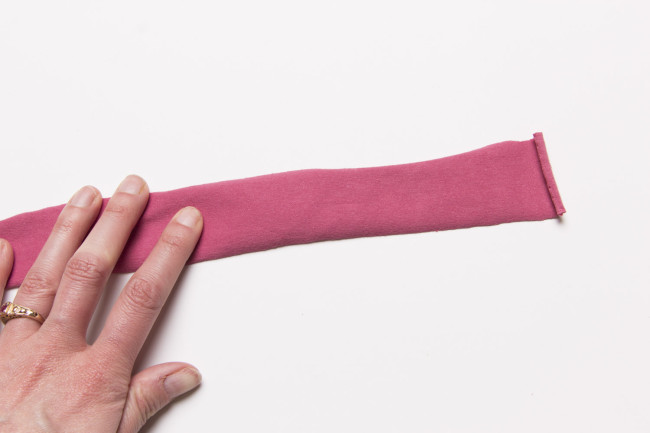
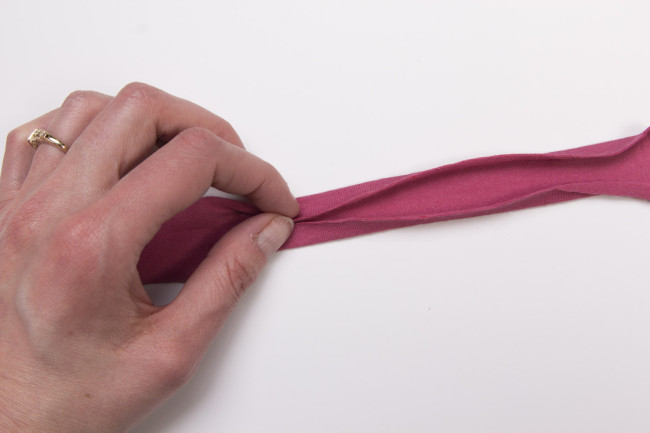
2) Fold the binding in half lengthwise, wrong sides together.
3) With right sides together, stitch the binding to the edge.
4) With right sides together, stitch the remaining seam closed, also closing the binding. Reinforce with a bar tack.
5) Turn the binding to the inside of the garment, folding along the seamline.
6) Edgestitch the band in place (see below for options).
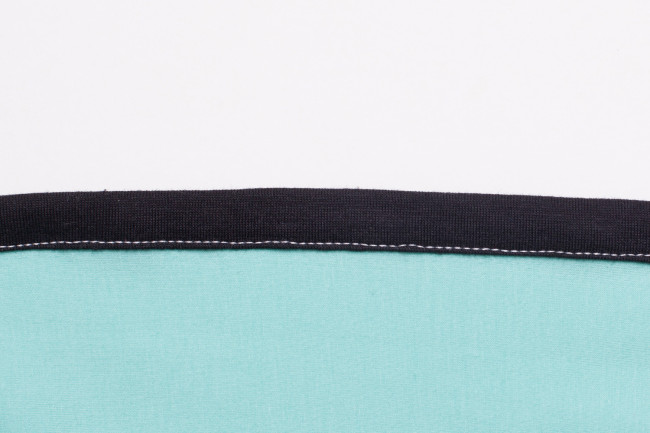
Seam covering binding

1) Cut a strip of fabric 1 1/2 inches wide. It should be longer than the opening you are sewing it to.

2) Fold the binding in half lengthwise, wrong sides together.
3) With right side of the binding facing the wrong side of the garment, stitch the binding to the edge.
4) Turn the binding to the right side of the garment, folding along the seamline. Press lightly.
5) Edgestitch the binding in place (see below for options).
6) With right sides together, stitch the remaining seam closed, also closing the binding. Reinforce with a bar tack.
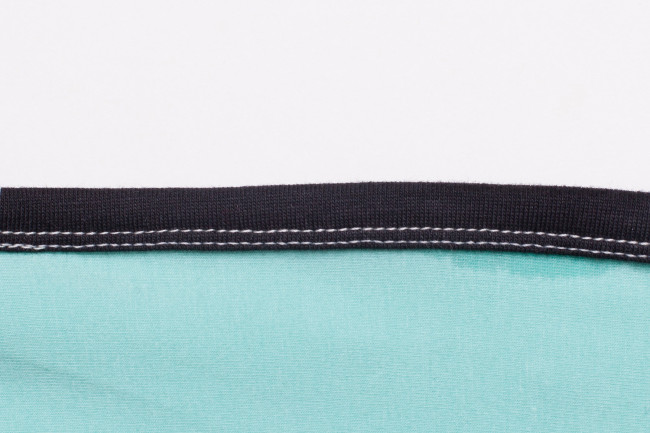
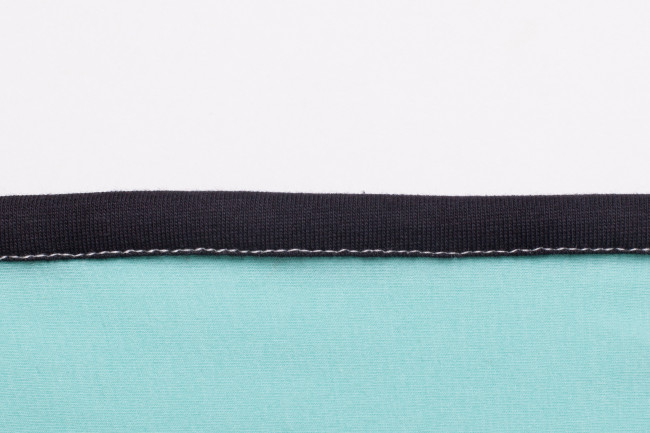
Wrapped binding

1) Cut a strip of fabric 1 1/2 inches wide. It should be longer than the opening you are sewing it to.
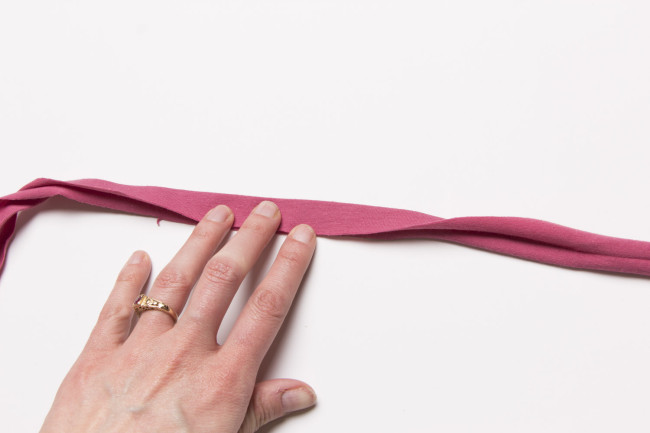
2) Fold the binding in half lengthwise, wrong sides together. Press to form a crease.
3) Fold the lengthwise edges toward the center and press to form two more creases. If you have sewn with bias tape, this should look familiar.

4) Open up the binding. With the right side of the binding facing the wrong side of the garment, stitch the binding to the edge using a 3/8 inch seam allowance.
5) Wrap the binding along the raw edge, tucking the raw edge of the binding beneath.
6) On the right side, edgestitch the remaining fold of the binding in place. Edgestitching on the right side of the garment means you do not have to worry about catching the edge perfectly on the underside. (see below for edgestitching options).
With right sides together, stitch the remaining seam closed, also closing the binding.
Edgestitching
If you have a coverstitch machine, edgestitching is no big deal. You can just use the chainstitch feature to edgestitch your binding in place.
If you don’t, try edgestitching with a twin needle. It will allow your binding to stretch and imiitates the look of a coverstitch.
Or, use a single needle and stitch in place with a straight stitch (for openings that don’t require a lot of stretch) or a very narrow (0.2mm wide) zigzag stitch. If you like the look of a straight stitch but are worried about your thread breaking, try stretch thread, which has built in elasticity.
Discussion time!
So now we’ve covered 4 ways to finish: a band, a clean finish binding, a seam covering binding, and a wrapped binding. We’ve also talked about troubleshooting band necklines, and how to edgestitch your knits.
What’s your favorite way to finish knit edges? Do you like bindings, bands, linings, or another method?
You might also be interested in:
-
The Colette Guide to Sewing Knits: Written by our friend Alsyon Clair, our book on knits covers a wide range of techniques for sewing knit fabrics – with a serger or without. -
Moneta pattern: Shown above is the bodice for Moneta, one of our all-time best-selling patterns. -
Mabel pattern: Want something even simpler to try out knit techniques? Mabel is fast, simple, and fun.

