
 Sign In
I still remember my first time sewing swimwear. I was so intimidated by the stretchy fabric, the tiny seam allowances, and the thought of wearing something I made to the beach (where it would be, you know, very visible and very wet). But after years of being incredibly disappointed by ready-to-wear swimsuit options, I decided to take the plunge.
That first swimsuit wasn't perfect, but it changed everything for me. Sewing swimwear has become one of my favorite things to create, and honestly, one of my sewing superpowers. There's something incredibly empowering about wearing a swimsuit that actually fits your unique body.
Today, I want to pass that swimwear love on to you by sharing my top five secrets for sewing your own beautiful, comfortable swimwear. These are the things I wish I'd known from the beginning that would have saved me so much trial and error!
Secret #1: Always Choose Four-Way Stretch for One-Piece Suits
One of the biggest mistakes beginners make is using the wrong type of stretch fabric, especially for one-piece swimsuits. This can lead to uncomfortable suits that restrict movement or, worse, split at the seams!
Swimwear patterns are drafted with negative ease, which means the finished garment measurements are actually smaller than your body measurements. This negative ease helps the swimsuit hug your curves and stay in place, but it requires fabric with excellent stretch and recovery.
There are two types of stretch fabric you'll encounter:
Two-way stretch fabric will stretch from selvage to selvage (horizontally) but doesn't offer much stretch in the length of grain (vertically). This can work for some simpler two-piece suits, but I've learned the hard way that it's never suitable for one-piece swimsuits.
Four-way stretch fabric stretches both horizontally and vertically, making it ideal for all swimwear, especially one-piece suits. I almost exclusively use four-way stretch now—it's just more forgiving and comfortable.
Beyond stretch direction, look for fabrics that are mostly nylon (around 80-90%) with a significant amount of Lycra or spandex (10-20%). Natural fibers like cotton absorb water, literally dragging you down in the pool or ocean!
When I made my first two-piece suit, I specifically chose a four-way stretch fabric even though it's not a one-piece. The vertical stretch made the high-waisted bottoms much more comfortable when sitting down or moving around.
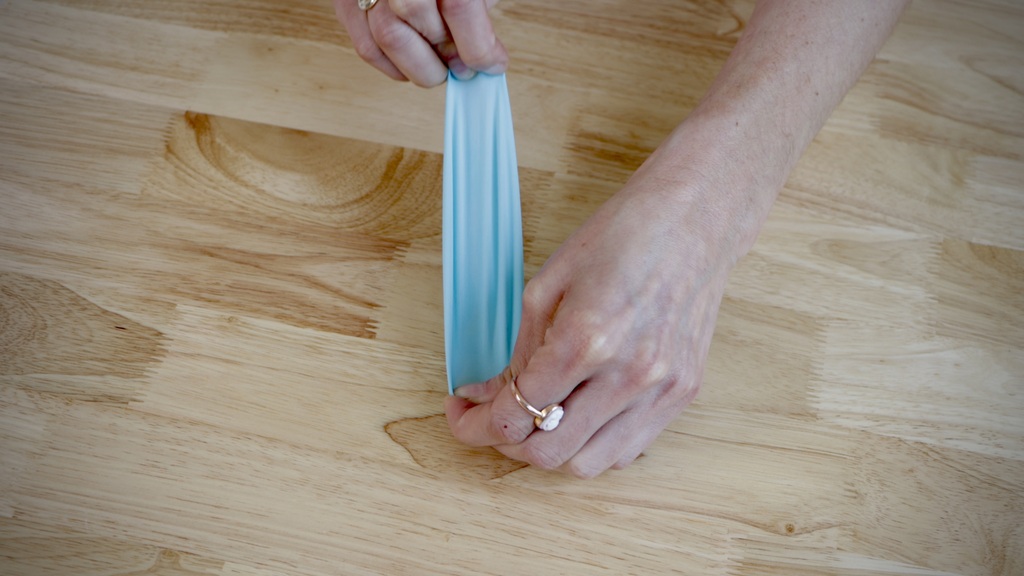
Before cutting into your fabric, always do these four tests on swatches:
1. Water test: Soak the fabric in water. Does the color bleed? If so, keep looking.
2. Stretch test: Is it two-way or four-way stretch? Make sure it matches what your pattern requires.
3. Print test: If the fabric is printed, check if the print cracks or distorts drastically when stretched.
4. Opacity test: Does the fabric become see-through when wet or stretched?
My go-to sources for quality swimwear fabric are Spandex House, Spandex World, and The Fabric Fairy.
Secret #2: Use Heavier Lining for Light-Colored Suits
Nothing ruins beach confidence faster than realizing your light-colored swimsuit becomes see-through when wet. This is where strategic lining choices make all the difference.
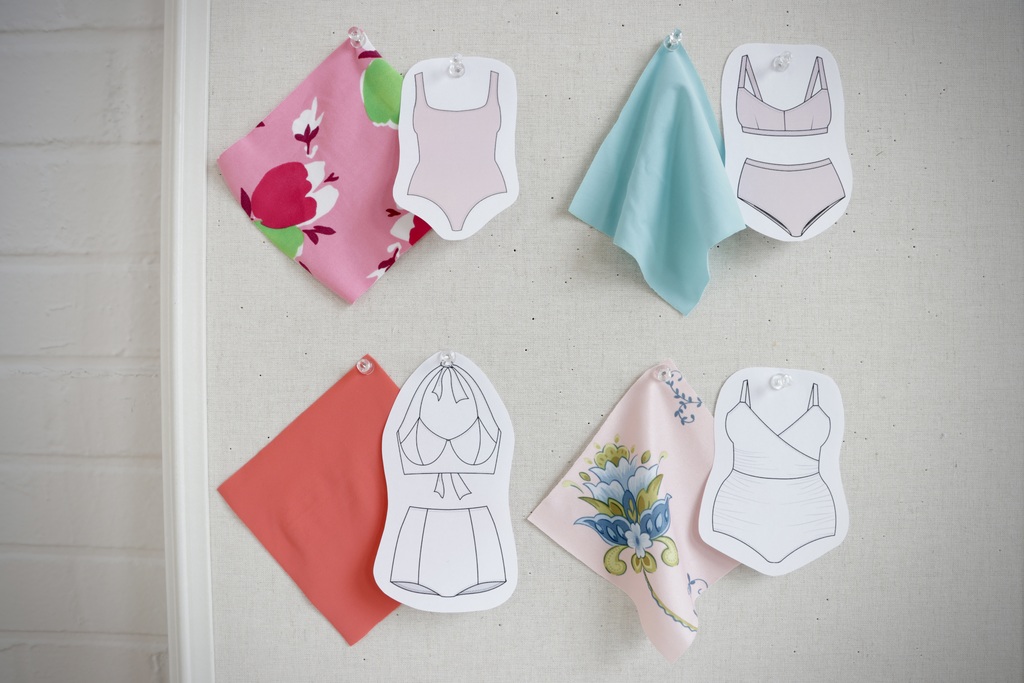
For example, let’s say you wanted to make a a pale pink Maggie swimsuit. I’d choose a
substantial lining specifically because light colors tend to become transparent when wet. The extra opacity would give you complete confidence that the suit would remain modest in any condition.
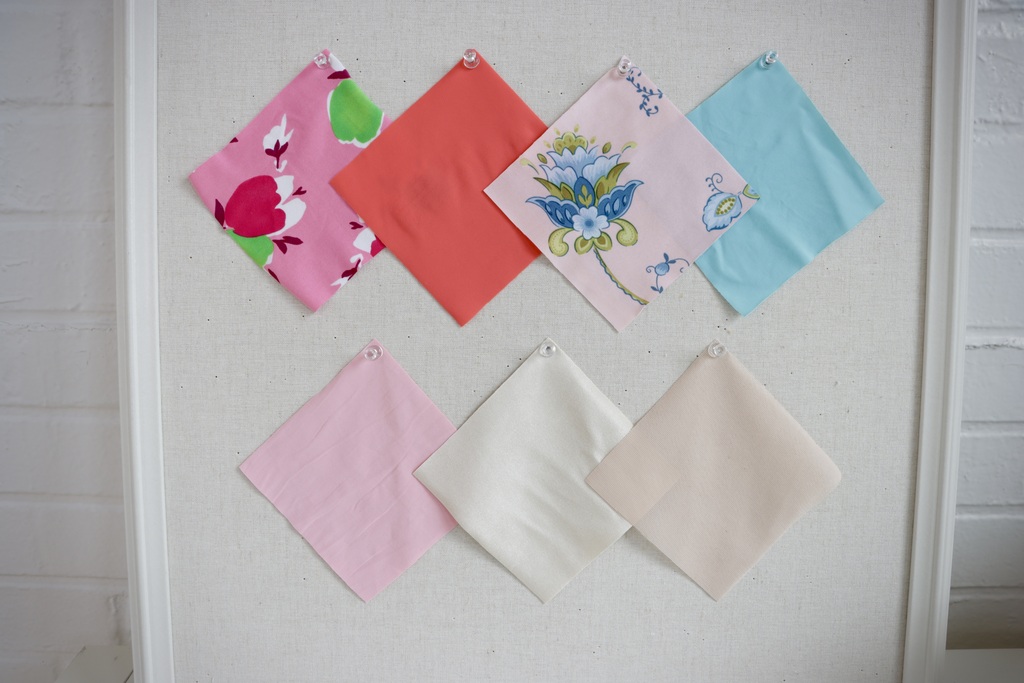
Swimwear lining usually has a similar fiber content to your main fabric, with nylon and spandex blends being most common. But they come in varying weights and opacity levels:
Lightweight linings work well if your main fabric is already stable and opaque (like dark colors or heavy prints). These feel less bulky and dry faster.
Substantial linings add compression and extra opacity. Always choose these when using:
- Light colors (white, pastels, etc.)
- Fabrics that become semi-transparent when stretched
- Areas where you want more support or shaping
You can also mix and match lining weights in different areas of your swimsuit. For instance, you might want more substantial lining in the bust and bottoms, but lighter lining elsewhere for comfort and flexibility.
When purchasing lining online, don't just go by the product photos. Read the description carefully for weight information, and if possible, order swatches first. Holding the lining against your main fabric in natural light can reveal potential transparency issues before you commit to cutting.
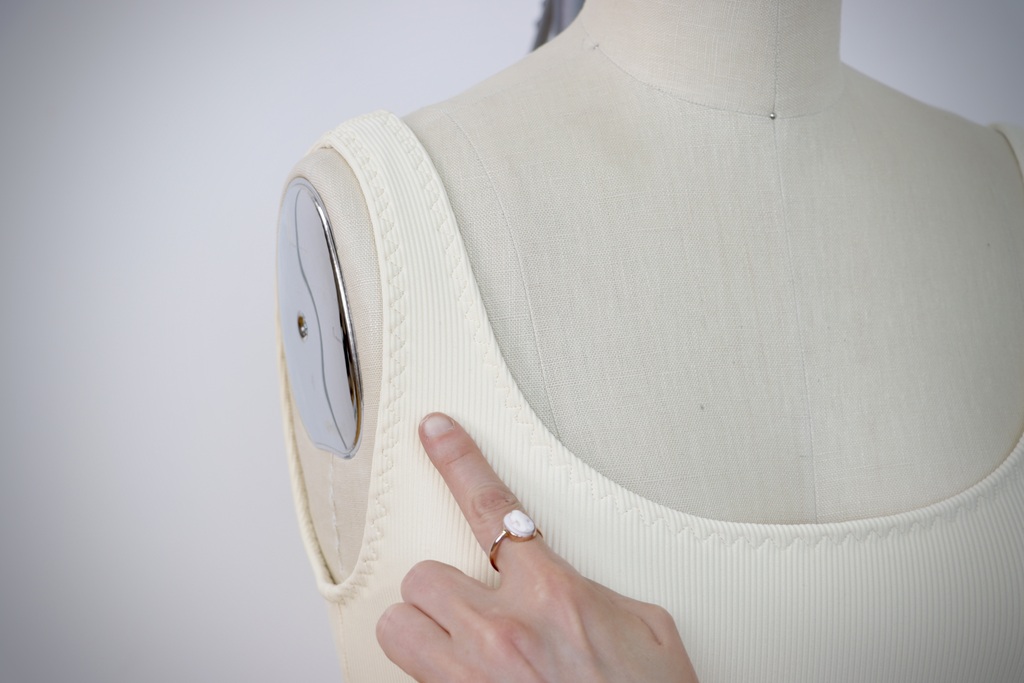
Secret #3: Stabilize High-Stress Seams with Internal Elastic
The secret to swimwear that stays in place and lasts season after season isn't just in the outer construction—it's in the internal reinforcement techniques most people never see.
Adding elastic to key seams prevents stretching out over time and provides crucial support in high-stress areas. This technique made the biggest difference in the longevity of my swimwear projects.
Here's where to add internal elastic and why:
Under bust seams: Adds support and lift, especially important for larger cup sizes. For my For example, adding elastic in an underbust seam can provide gentle lift without the
bulk of underwires.
Shoulder straps: Prevents straps from stretching out and slipping down over time. Nothing is worse than constantly pulling up your straps at the beach!
Center back seams in bottoms: Helps the suit hug your curves and prevents the dreaded saggy bottom after swimming.
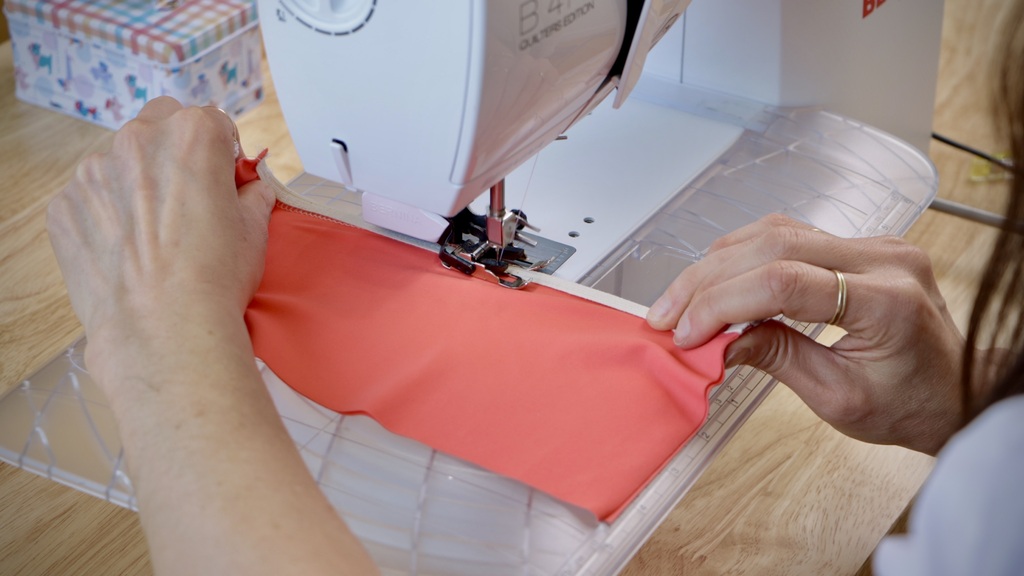
Here's exactly how to add internal elastic to a seam:
1. Sew your seam using a serger or zigzag stitch first
2. Cut elastic slightly shorter than the finished seam length (about 10% shorter)
3. Clip the elastic to the seam allowance, stretching the elastic to match the fabric length
4. Attach it using a zigzag stitch, stretching evenly as you stitch
5. The elastic should pull the seam in slightly, creating a subtle shaping effect
This invisible reinforcement makes your swimsuit so much more supportive without changing its appearance from the outside. I now add internal elastic to every swimsuit I make, even when the pattern doesn't specifically call for it.
Secret #4: Cut Printed Fabric in a Single Layer for Perfect Pattern Placement
Nothing ruins a beautiful swimsuit faster than an unfortunately placed print motif! This secret has saved me from so many awkward situations.
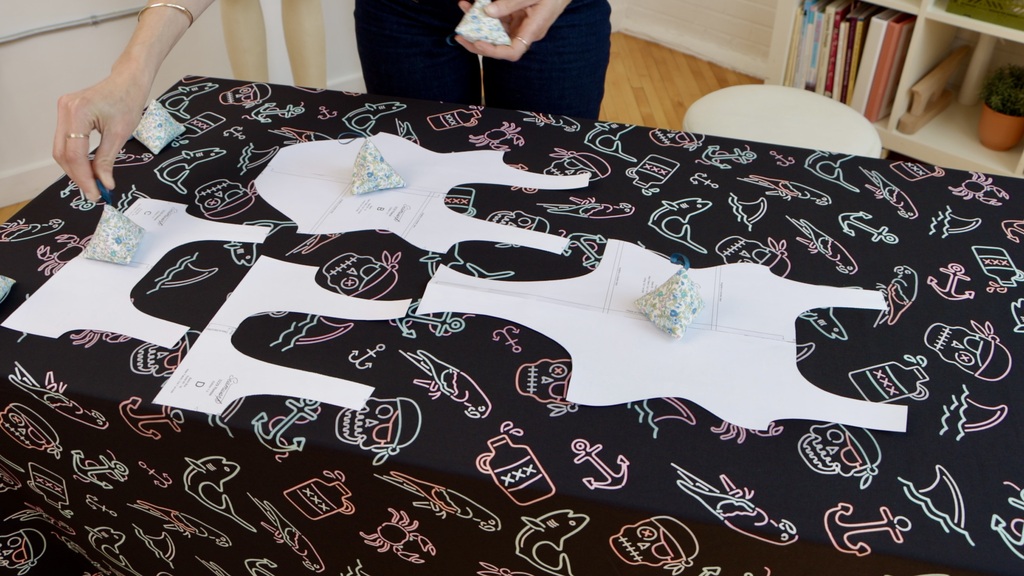
When I made a floral print swimsuit years ago, I took extra time to strategically place each pattern piece on the fabric. Because it’s worn so close to the body and swimwear prints are sometimes quite bold, this can really change the look of your suit.
Always cut printed fabric in a single layer (not folded) so you can control exactly where each motif will appear. Here's my strategic approach to print placement:
For bottoms:
- Avoid placing large motifs directly over the crotch area
- Center symmetrical prints for a balanced look
- For directional prints, make sure they're oriented correctly (no upside-down flowers!)
For tops:
- Center any interesting parts of the print on the bust pieces
- Be mindful of where flowers, faces, or other distinct motifs will land
- Ensure any patterns align at center front seams
For one-piece suits:
- Look at the entire suit as a canvas and plan accordingly
- Consider elongating motifs that flow from top to bottom
- Avoid cutting bold patterns at unflattering body points
When working with stripes or geometric patterns, spend extra time matching patterns across seams. This attention to detail elevates your homemade swimwear to a professional level.
Here's my process:
1. Lay out ALL pattern pieces before cutting anything
2. Take photos of your layout to reference
3. Use plenty of pattern weights to hold things in place
4. Use a rotary cutter for clean, precise cuts
5. Cut notches outward rather than inward to avoid weakening the fabric
This careful cutting approach takes a bit more time, but the results are so worth it—no more swimsuits with awkwardly placed flowers or faces!
Secret #5: Master the Three-Step Zigzag for Elastic That Lasts
The difference between swimwear that lasts one season versus many years often comes down to one thing: how you attach the elastic. This was a game-changer for me.
While many patterns recommend a regular zigzag stitch for topstitching elastic, I've found that the three-step zigzag (sometimes called a multi-step zigzag) creates a much more durable finish that can withstand repeated stretching, sun exposure, and chlorine.
The three-step zigzag creates three small stitches for every zigzag, distributing tension more evenly across the elastic and fabric. This prevents the dreaded "popped stitches" that can happen with regular zigzags, especially around leg openings or armholes where the elastic gets stretched frequently.
Here's my foolproof method for applying elastic with a three-step zigzag:
1. Clip the elastic to the wrong side of the raw edge, evenly distributing the fabric along the elastic (mark quarter points on both the elastic and fabric edge for even distribution).
2. Use a serger or a wide and short zigzag stitch to initially attach the elastic and fabric together.
3. Turn the elastic to the wrong side of the garment.
4. Switch your machine to a three-step zigzag stitch (check your manual if you're not sure which one this is).
5. Topstitch everything in place using the three-step zigzag, stretching gently and evenly as you sew.
Set your three-step zigzag to about 5.0 width and 1.5 length for the perfect elastic finish. This setting provides enough stretch while still looking neat and professional.
The three-step zigzag also lays flatter against the skin, which means more comfort when wearing your suit. No more elastic edges that dig in or create marks!
Ready to Dive In?
Sewing your own swimwear is truly empowering. There's nothing quite like wearing a swimsuit that fits your unique body perfectly and reflects your personal style. These five secrets focus on the specific techniques that will elevate your swimwear sewing from "homemade" to "wow, where did you get that suit?"
Ready to take the plunge? Check out our full class, How to Sew a Two Piece Swimsuit. You'll learn how to sew our Maggie swimsuit pattern step by step. This cute two-piece has a flattering scoop neckline, wide-set straps, high-waisted bottoms, and a cheeky cut at the legs.
In the class, you'll see each step from the instructions in action, plus get all our tips and tricks for working with swimwear fabric and notions. We’ll walk you through inserting swimwear elastic, working with lining, and all the construction techniques you need to know.

