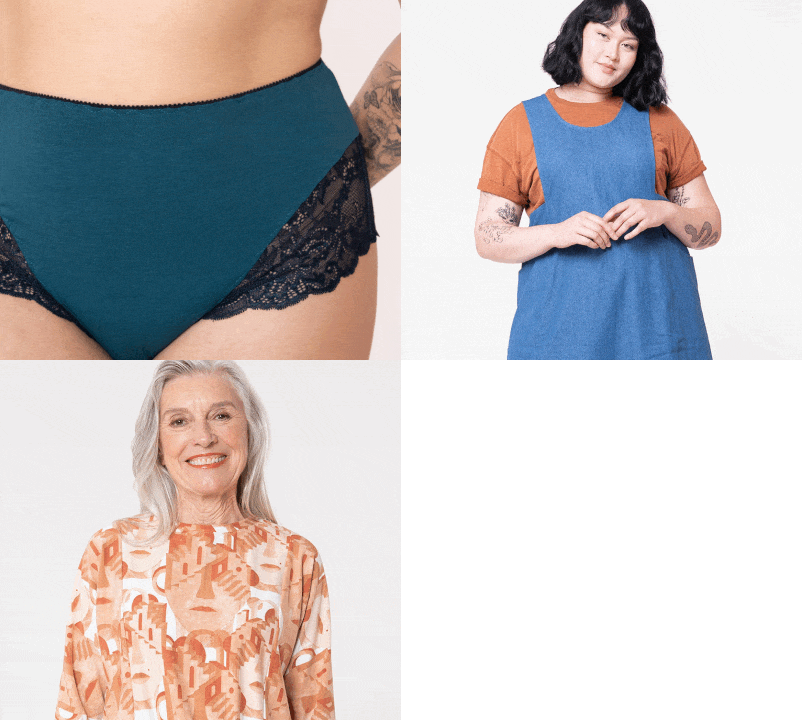
Sometimes, you’re left with these long, awkward strips of fabric after cutting out a project. Maybe you are cutting out some special lacy fabric, earthy yarn-dyed cotton, stretch velvet, or even bright quilting cotton—they’re such pretty fabrics that you don’t want to throw them out. Well, look at what those lanky fabric scraps can become—scrunchies!

You’ve probably seen a bunch of scrunchie tutorials, but most instruct you to sew tubes and struggle to turn them right side out. This tutorial has a little magic trick to sew your scrunchies in a continuous loop. Want to see how it’s done?
The best way to follow this tutorial is to watch the video to see how Haley’s magic trick works, so check it out on our YouTube channel.
You’ll Need:
- Fabric scraps that are at least 18” by 3” (45.7 cm by 7.6 cm)
- 8” (18 cm) lengths of elastic, 1/4” (6 mm) or 3/8” (10 mm) works best
- Safety pin or bodkin
- Thread
Cut Your Fabric

The size of your scrunchie depends on your preference, but here are some tried and true sizes.
- For a mini scrunchie cut a 18” x 3” (45.7 cm by 7.6 cm) rectangle
- For a classic scrunchie cut a 28” x 4” (71.1 cm by 10.2 cm) rectangle
- For a jumbo scrunchie cut a 40” x 6” (101.6 cm by 15.3 cm) rectangle
You can experiment with the sizes of your rectangles to get different looks. As a general rule, keep the height between 3 and 6 inches (45.7 cm and 101.6 cm). Keep the length between 2 1/2 and 6 times the length of your elastic.
Practice Some Sewing Magic

Start by sewing the short ends of your rectangle right sides together using a 3/8” (10 mm) seam allowance.

Finger press the seam allowance open. While you’ll rarely have an excuse to avoid pressing your seams with an iron, scrunchies are an exception. A neatly pressed scrunchie isn’t that impressive, so feel free to finger press and skip the iron.

Place the loop you just created on your work surface with the seam allowance down and the right sides together. Fold the top layer into rough thirds toward the center to reveal the lower layer's cut edge.

Then fold the lower layer in half right sides together, placing a pin at the seam allowance so those match up.

Starting with a backstitch, sew using a 3/8” (10 mm) seam allowance. Make sure you are only sewing through two layers of fabric at a time.

Once you start approaching the end of that length, stop sewing and lower your needle, then pull more of your loop through the channel you just sewed.
This is the magic trick! You keep pulling more fabric from the loop to sew.

Sew to about 2” (5.1 cm) away from where you started, ending with a backstitch.


Reach through that gap, then pull the scrunchie right side out.

Using a bodkin or safety pin to feed the elastic through the channel. Try not to get the elastic twisted, but it doesn’t particularly matter if it does.
Secure the elastic in a loop by backstitching over the overlapped ends a few times.

To finish, tuck the raw edges at the gap towards the inside of the channel, then edgestitch.
And there’s your scrunchie! If you had fun sewing this little hair accessory and want to take your scraps to the next level, download the Drew headband pattern. It's so fun to make, and we have another tutorial on our YouTube channel here.
Do you like to see tutorials like this? Leave a comment on our video and let us know, and we'll make more.
Love the article? Pin it for later.


