Sign In
Sometimes, when you serge a seam, you’re left with a pesky little tail of serger thread at the beginning and end of your seam.
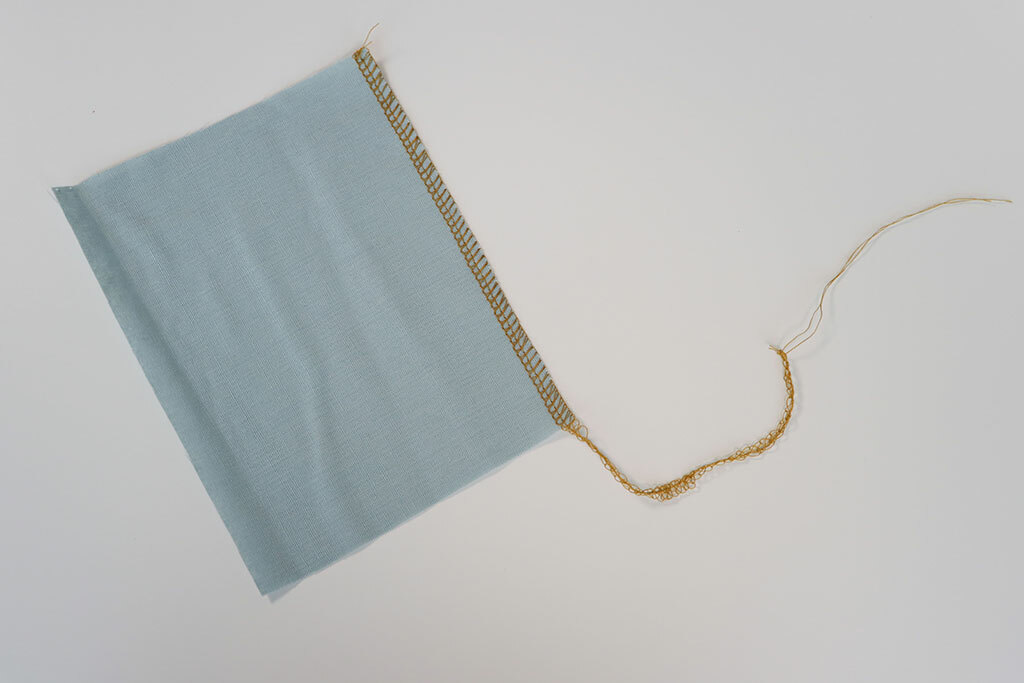
If that seam is not secured by another seam, you need to secure the serger tail yourself, otherwise, your serging will unravel.
Here are 5 different ways to deal with those annoying little tails your serger leaves on your seams.
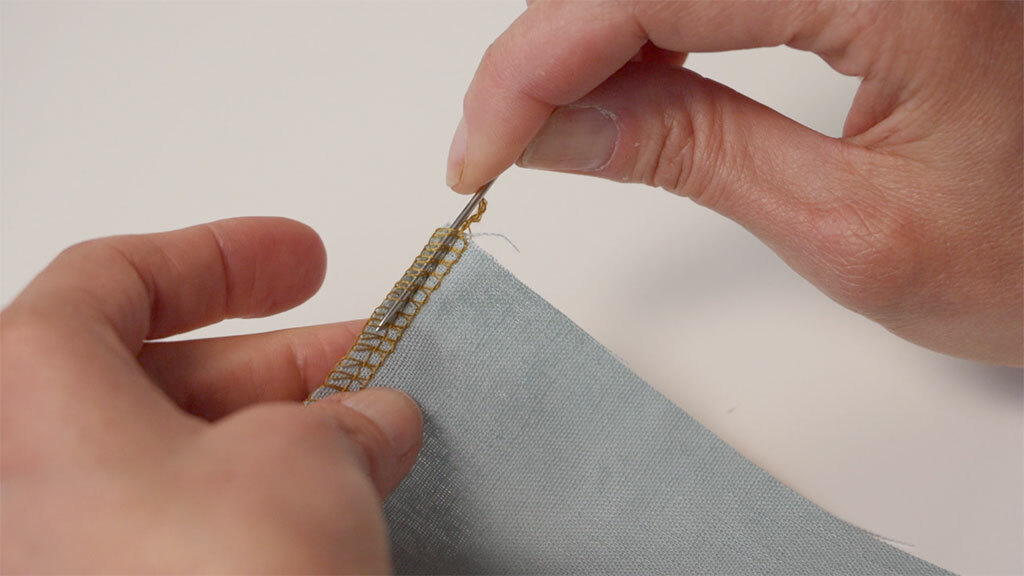
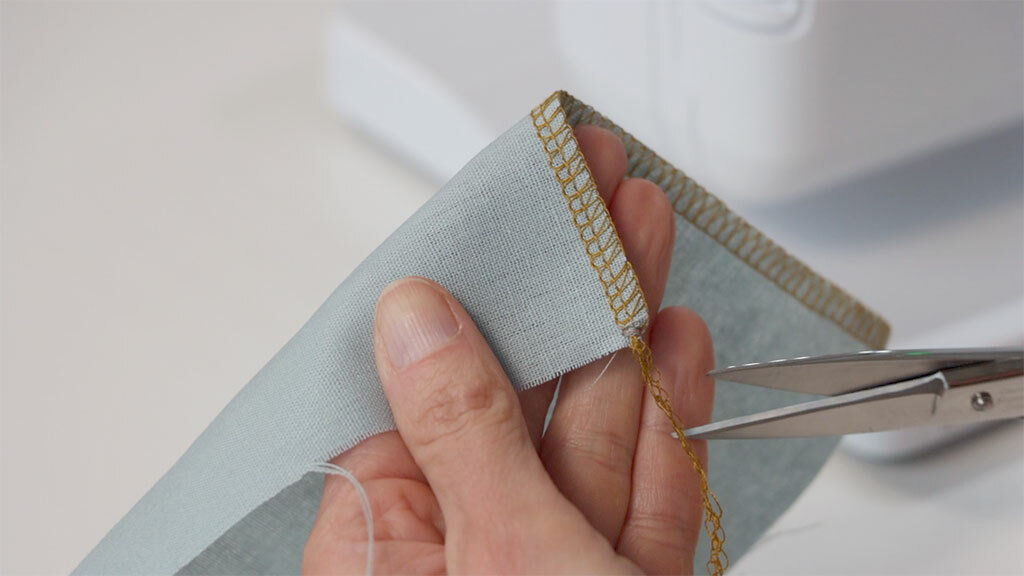
1. Use a tapestry needle. You can use a tapestry needle to thread the end of the tail back into the serging. If you’re a knitter, you’ll be familiar with this technique.
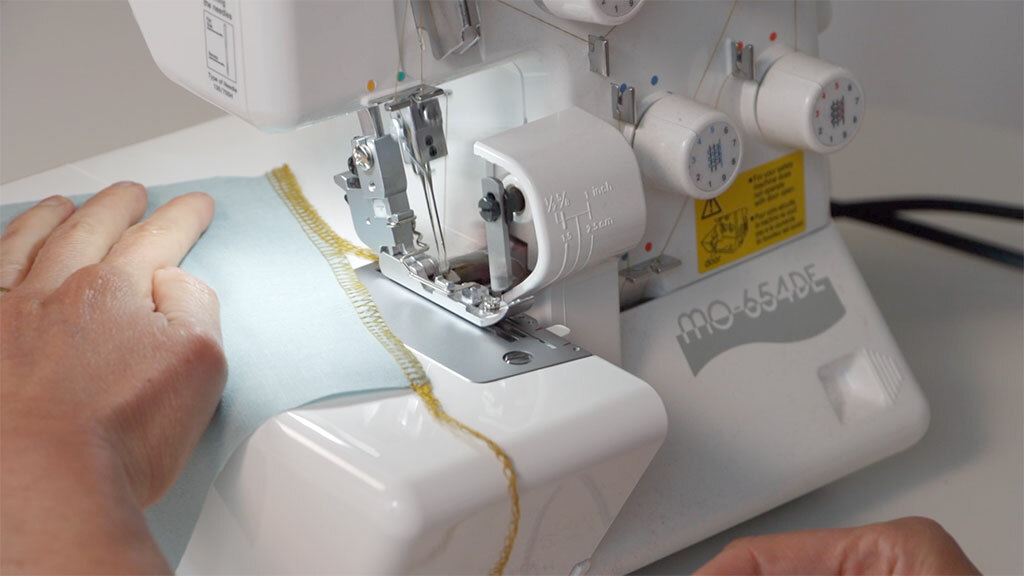
2. Turn and serge. Start by serging as normal, and when you get to the end of your seam, serge a few stitches over the edge. Lift your presser foot, flip your fabric over, and lower your presser foot. Then serge for a while and go off the edge.
3. Zigzag or bartack the edge. After serging, go back to your regular sewing machine and sew a few zigzag stitches or a bartack at the ends of your seams.
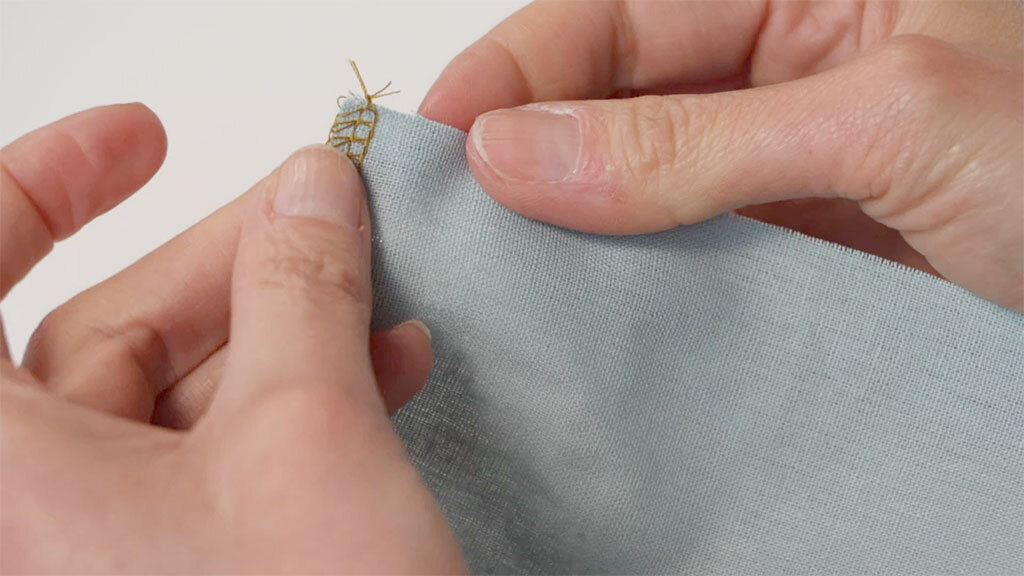
4. Tie the ends in a knot. Just create a knot at the end, either by knotting the whole thing or by isolating each thread and tying a smaller knot.
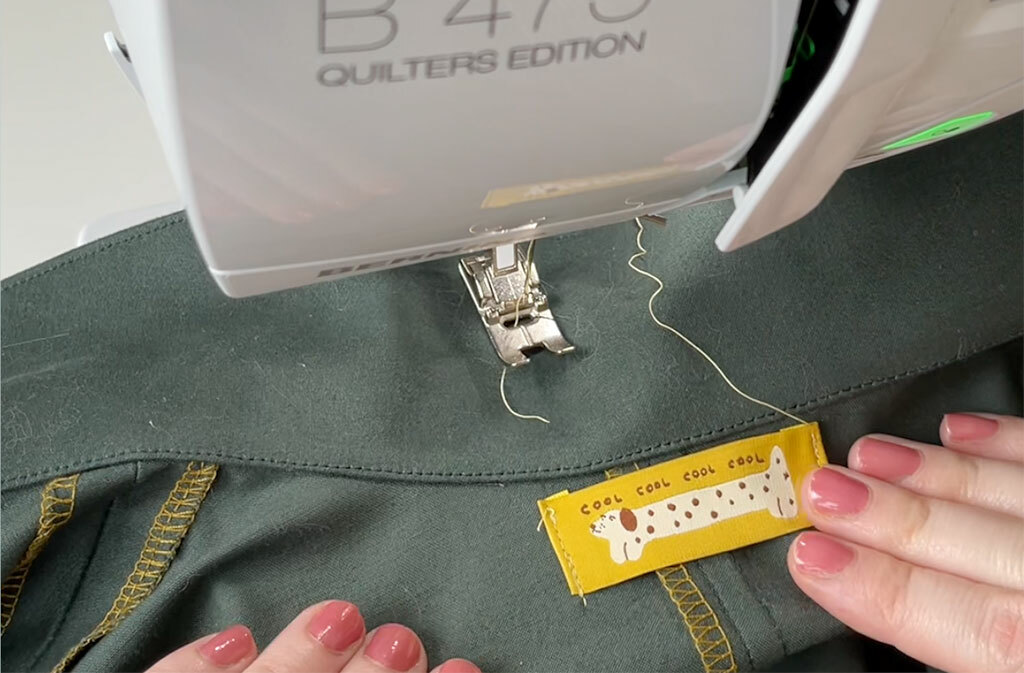
5. Use a garment tag. On a neckline, you can cover the area where you overlap your serged stitches with a cute garment tag! This tag is from our friends at Blackbird Fabrics.
How do you secure your serger tail? Comment and let us know your favorite method!
Love the article? Pin it for later.