
 Sign In

Apparel fastenings are details that we often take for granted. We don't consider that details like snaps and zippers are modern inventions created in the last two centuries. Maybe it is because, as sewists, we often dread installing these fastenings. Snaps are no exception to the list of modern sewing inventions that we sometimes look at with dread. Snaps were not invented until the late 19th century. They gained popularity because of their ease in use, as well as their durability. Today, snaps are commonplace in our closets.
The fact of the matter is, snaps are easy to install, especially when you have the know-how and proper tools! They offer easy use and strength, just as they did before, but now they come in a variety of finishes and sizes to suit individual tastes and projects.
The Anatomy of a Snap
Set-in snaps consist of four parts that work together to create a strong closure.
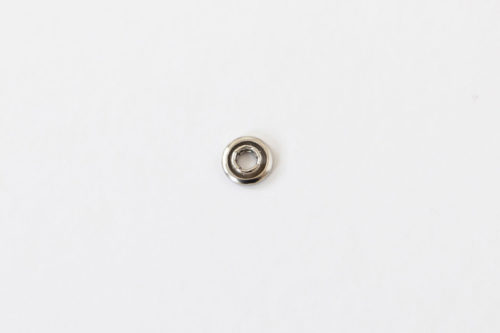
The Socket
The socket is the female component of the snap. The socket is round with a small hole in the center. One side of the socket is slightly raised; this is the side that attaches to the snap cap.
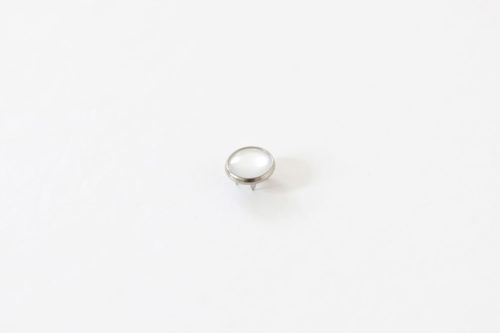
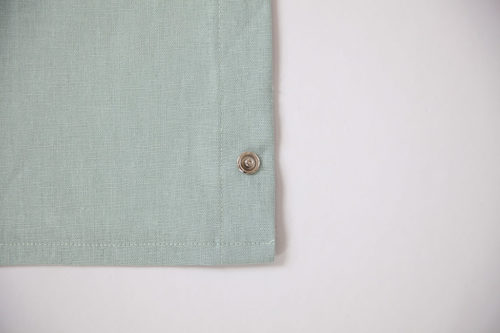
The Snap Cap
The snap cap is the decorative part of the snap. This is attached to the outermost layer of the project. Snap caps come in many varieties, different metal finished, painted, and shell or plastic inlay. Though most snaps are round, some novelty snaps can be found in a range of shapes.
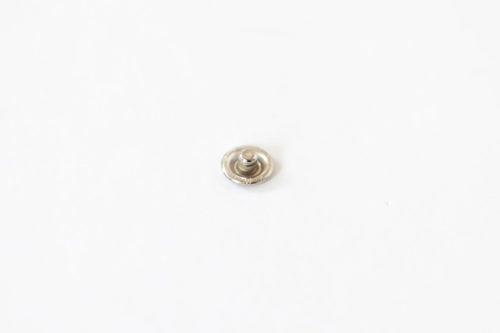
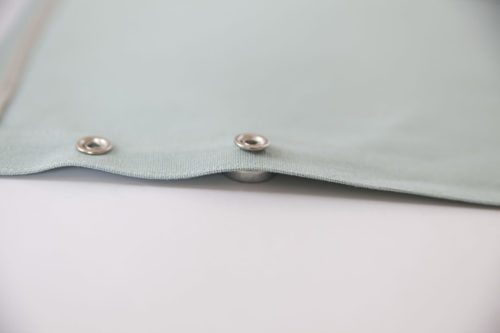
The Stud
The stud, sometimes referred to as the ball, is the male component of the snap. The socket and the stud interlock together to form a strong yet easy-to-use closure. The stud is attached to the fabric using the open prong.
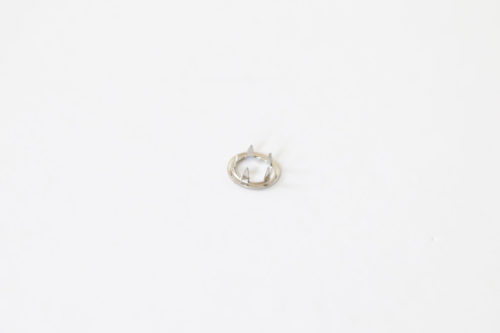
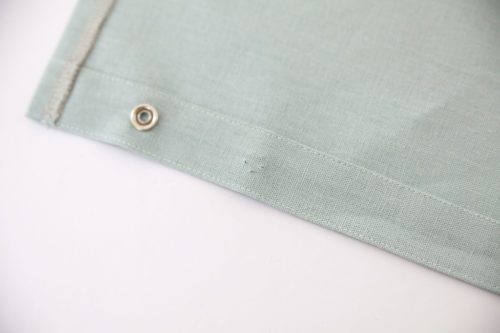
The Open Prong
The open prong is used to attach the socket part of the snap. The pronged ring is the innermost part of the snap and has a smooth surface. This ensures comfort since this unit is what lays closest to the body.
Preparing Your Project
Snaps are often one of the very last steps to a sewing project, but early preparation is absolutely key. Take into consideration the weight of your fabric and how many layers the snap prongs will be passing through. If your fabric is medium weight or lighter, you will want to interface the area where the snaps are will be applied. Snaps are best used in areas where the prongs will be passing through at least three layers of fabric or interfacing. Sew-in or fusible interfacing can be used to reinforce your project. Using woven interfacing will improve the strength and quality of your finished product, as non-woven interfacing products have a tendency to tear easily and lose their integrity after a few washings.
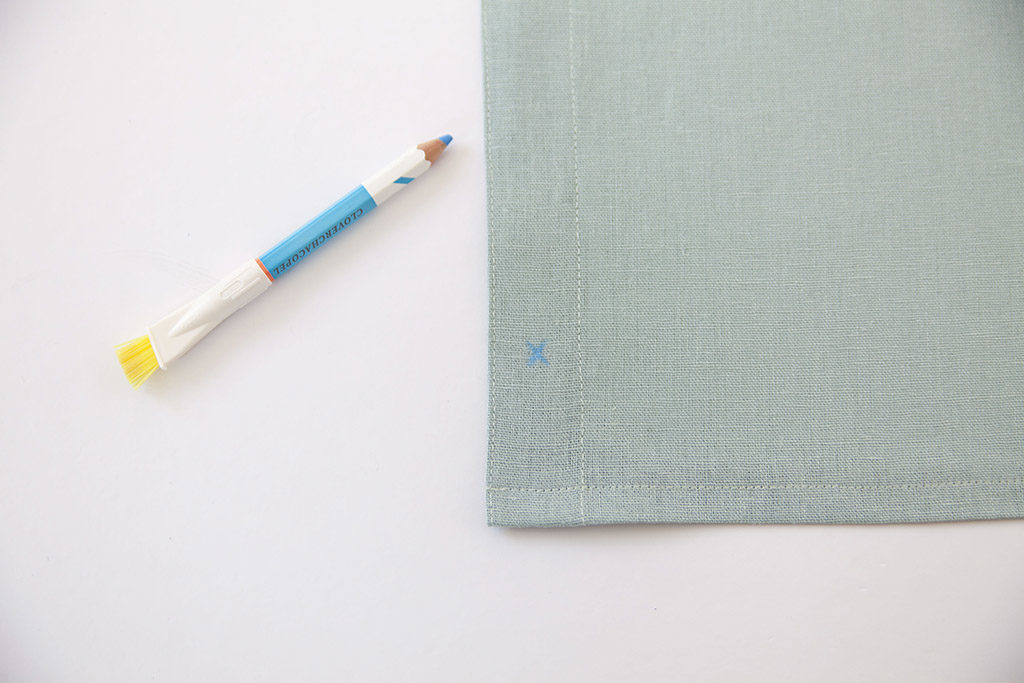
Marking your snap placement will provide precision. When marking snap placements, be sure to mark the front and back of each piece. Use a water-soluble marking tool to ensure you will not leave permanent marks on your project. The center position of the snap is the most important point to mark. It can be useful to mark this with an "x," with each segment of the "x" the diameter of the snap being used. This method of marking allows you to be more exact by using two forms of registering to place the snap.
Choosing a Tool and Installing Snaps
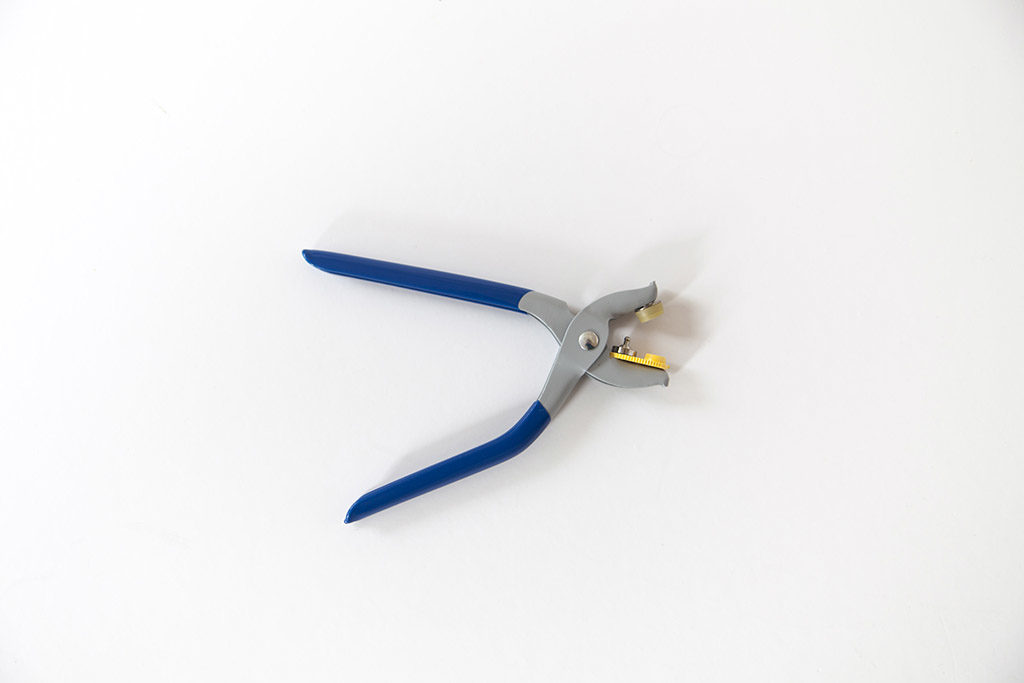
When setting snaps at home, you have two basic tool options: snap fastener pliers or a hammer and anvil. Often times the setting tool is specific to the snap based on brand and size. Make sure that your snaps are compatible with your snap setter of choice.
How to Install with Snap-Fastening Pliers
After marking your fabric and pressing it to remove any creases or wrinkles, begin by setting the cap/socket side of the snap.
Step | 01
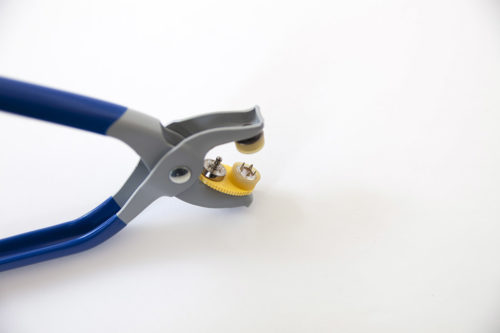
Place the snap cap right side down on the plastic platform with the metal prongs facing up. Then place the socket into the opposing plastic ring. The raised side of the socket should be facing the snap cap. Press firmly on the socket to firmly secure in pliers.
Step | 02
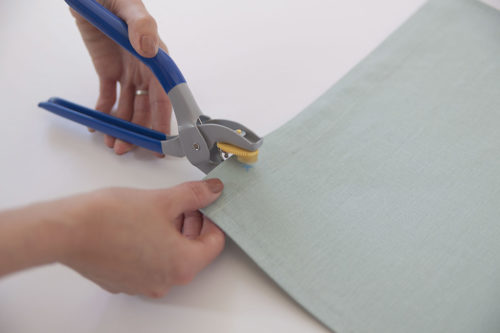
Place your fabric into the jaws of the pliers with the right side of the project facing the snap cap aligning the snap with the markings on project, and squeeze slowly and firmly.
Step | 03
This same method is employed to set the opposite snap. To set the stud side of your snap, place the stud face down on the plastic platform. Place the open prong opposite of the prongs facing towards the stud. Press firmly in place.
Step | 04
Place your fabric in the jaws of the pliers with the wrong side of the project facing the open prongs, lining up the snap with the placement markings. Squeeze the pliers slowly and firmly.

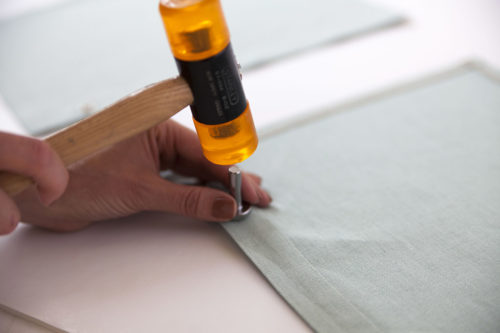
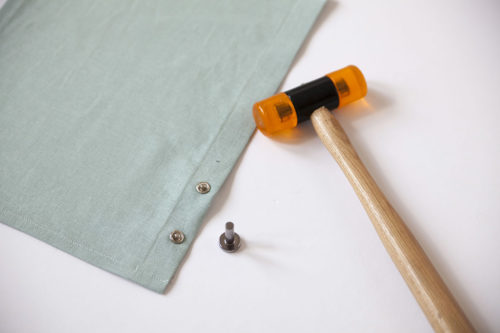
How to Install with Hammer and Anvil Snap Setter
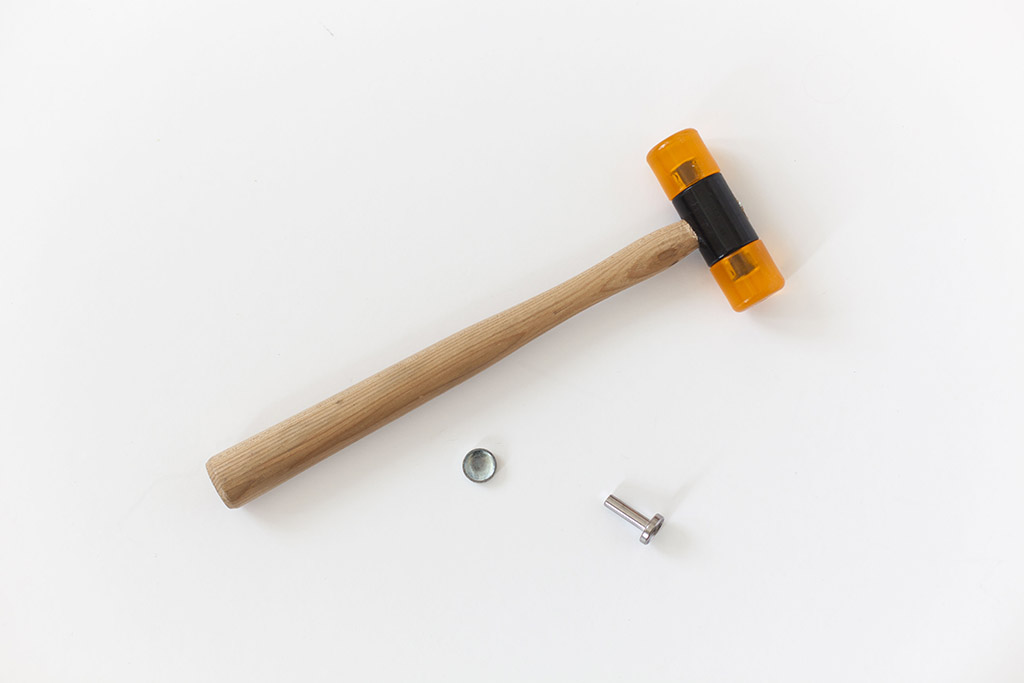
The second option available for setting snaps at home is a hammer and anvil tool. This method requires three tools: a metal cup used to hold the unit in place during installation; a metal anvil used to drive the two components together; and a rubber mallet used to deliver the necessary force. The metal cup and anvil can be purchased as a set and are specific to the snap’s size.
Step | 01
Start by securing the snap cap and socket side. Place the snap cap right side down in the metal cup, and place outer fabric right side down over prongs, taking care that the placement markings are aligning with the snap. Press down to push prongs through the fabric.
Step | 02
Place the socket over the prongs, with the sunken side facing up.
Step | 03
Cover the socket with the anvil and use the mallet to pound the snap into place.
Step | 04
Now secure the stud and ring side of the snap. Place the open-prong ring on the metal cup. Make sure that the prongs are facing up. Using the placement mark to align and place the inner fabric wrong side down over the prongs, pressing to secure. Lay the stud right side up over prongs. Cover with the anvil and use the mallet to hammer the components together.
Make sure the force being provided with the mallet is even, so your snaps will set evenly and entirely. When impact is made with the anvil, the flat surface of the mallet should be parallel to your work surface.
Customizing Snaps
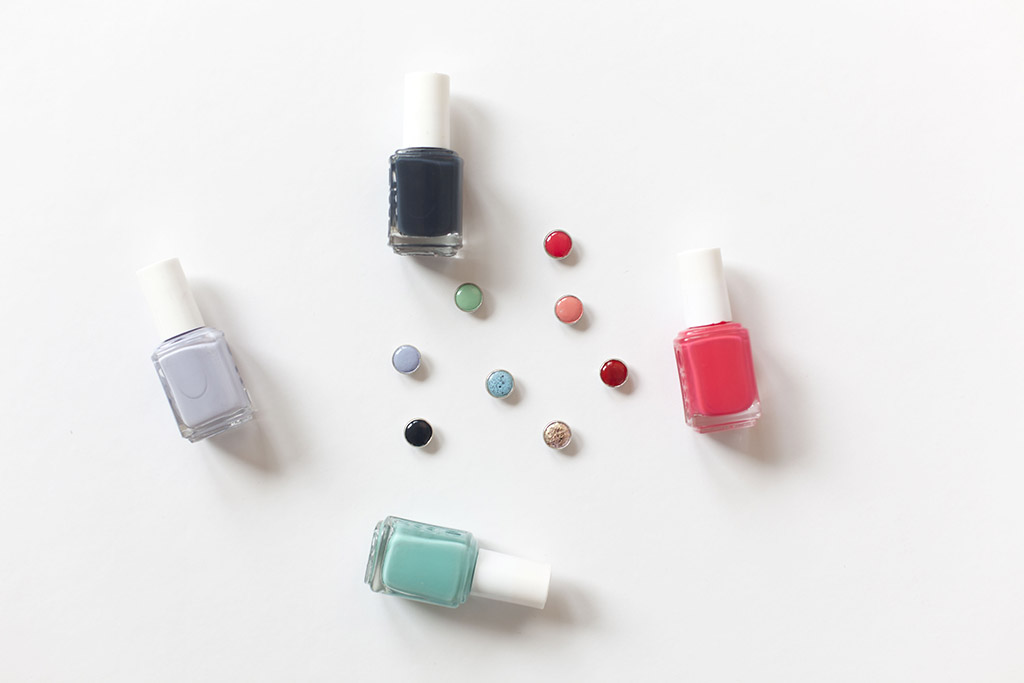
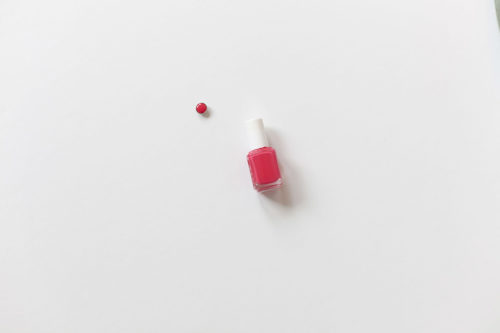
Painted snaps add a custom touch to your project.
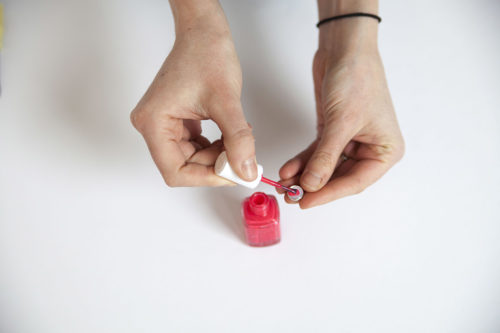
You can also adorn your snaps with a customized color or design by using enamel paint. Many craft stores carry no-bake enamel paint in the jewelry-making section; unlike most enamel paints, these do not require baking and will air set in 24–36 hours. A more common household item that can be used is nail polish. Here are some tips for creating durable customized snaps.
This technique can be used on both metal and plastic inlayed snaps. The inlayed snaps offer a controlled area while applying the paint, and the metal edge helps protect snaps from chipping.
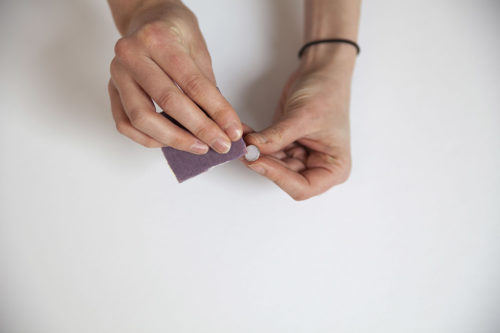
Step | 01
Roughen the surface of the snaps. You can do this using low grit sandpaper or a nail file. Be thorough so the paint adheres to the snap better.
Step | 02
Clean the surface with a damp cloth to remove any debris. Allow the snap to dry completely.

Step | 03
Apply thin layers of nail polish, drying between coats. This will prevent the paint from bubbling.
Step | 04
To prevent smudging, dry for 12–24 hours before setting the snap. The hammer and anvil setting tool is gentler on the painted surface of the snap. To further protect the painted surface during setting, place a small scrap of fabric between the metal cup and the snap cap.
Snap Embellishment Ideas
- Use a clear or matte topcoat to add additional interest and texture.
- Try a glitter topcoat.
- Use a toothpick to create polka dots, hearts, or other fun shapes.
Final Tips
Make sure that the snap components are properly centered in the snap-setting device. Otherwise, this may result in crooked setting. This is the case if the prongs of the snap are sticking out instead of nesting with their corresponding piece.
The correct pressure is of the utmost importance. If your snap is loose and appears to be pulling away from your project, not enough pressure was applied while setting.
Try using additional force when setting your next snap. Some signs that you are applying too much pressure include cracked or dented snap cap, and torn fabric. Instead, try delivering less pressure with the hammer or pliers.
Always test your snaps on test fabric before applying snaps to your finished product. Different fabrics may require more or less pressure depending on their thickness and the density of the weave. Always purchase a few more snaps than you think you will need. Snaps can be tedious to remove; practicing before committing to the final product is something you will never regret!
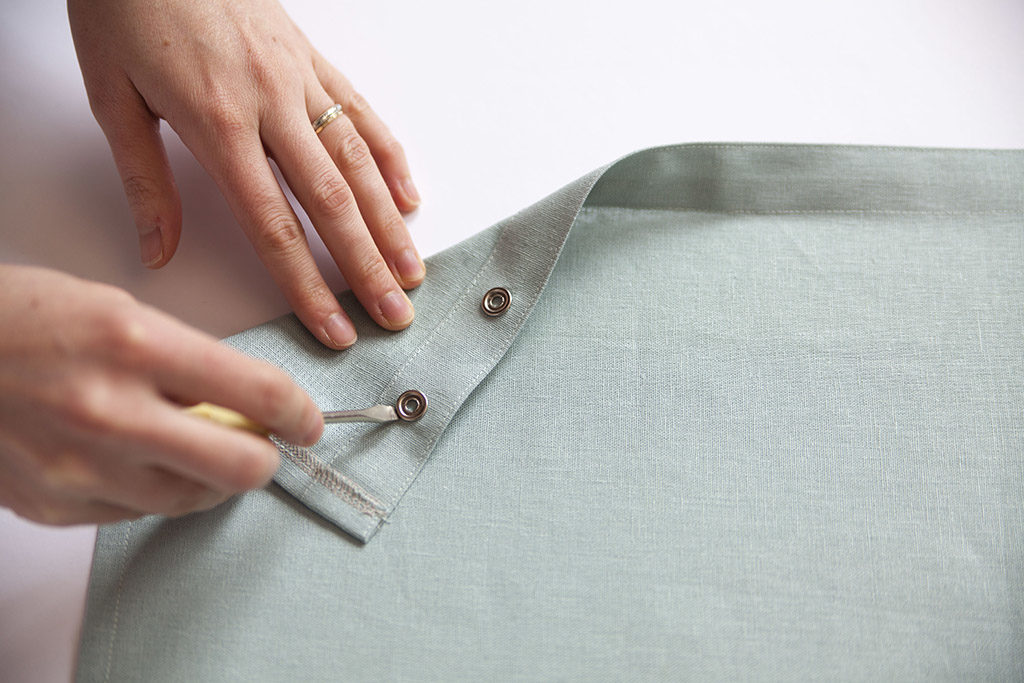
A small flat-head screwdriver used for servicing your machine can be helpful.
To remove snaps, a flat-head screwdriver can be used to carefully lift the socket and stud away from the prongs fastening them to the fabric. Gently work your way around the perimeter of the snap, gradually lifting it away from the fabric. If the snap is proving to be very stubborn, try flipping the project over and lifting the pronged side with the flat-head screwdriver. Once released, discard the used snap.

About the Author
Haley Glenn is a staff writer for Seamwork. She is a professional sewing writer and teacher based in Portland, Oregon.

