Sign In
I reckon most sewists have heard that ironing is the side to side motion of the iron—and not to be done when sewing—while pressing is an up and down motion, and the only right way to handle the iron when sewing.
What’s the practical truth behind this seemingly over-fussy bit of sewing etiquette? After all, every sewist has, at times, gotten away with ignoring these pronouncements, often with much improved efficiency.
At issue is the risk of distorting what's being ironed. Yet what's being left out is the iron's power to precisely shape bits and pieces, and in ways that only skillful iron movement can provide. For example, a sewist can slightly favor one side of an edge seam over the other to hide the seamline. Or they can just press the seam allowances open in the first place, which requires very precise and minute arrangement of the fabric layers to perfectly center the stitches between them.
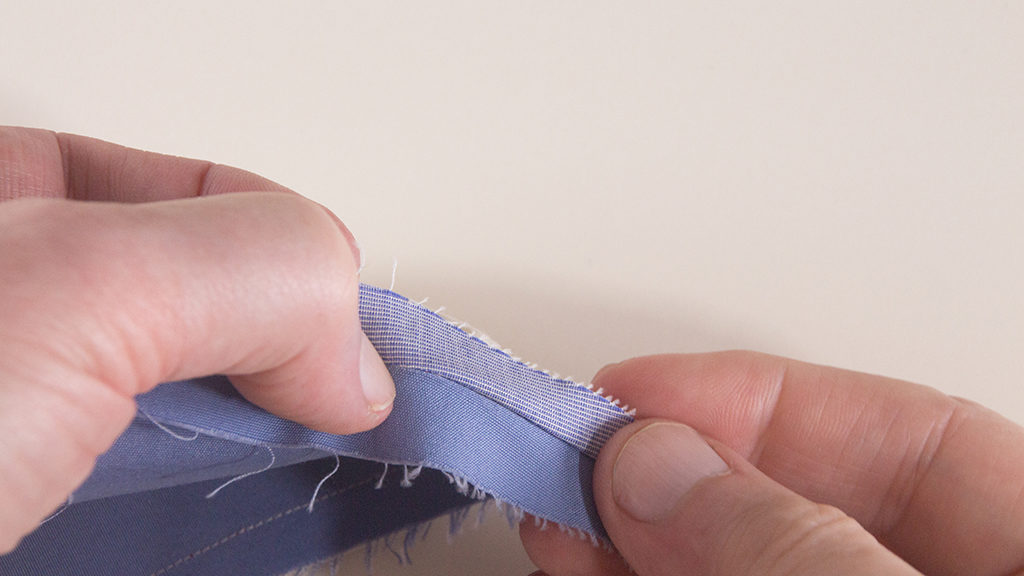
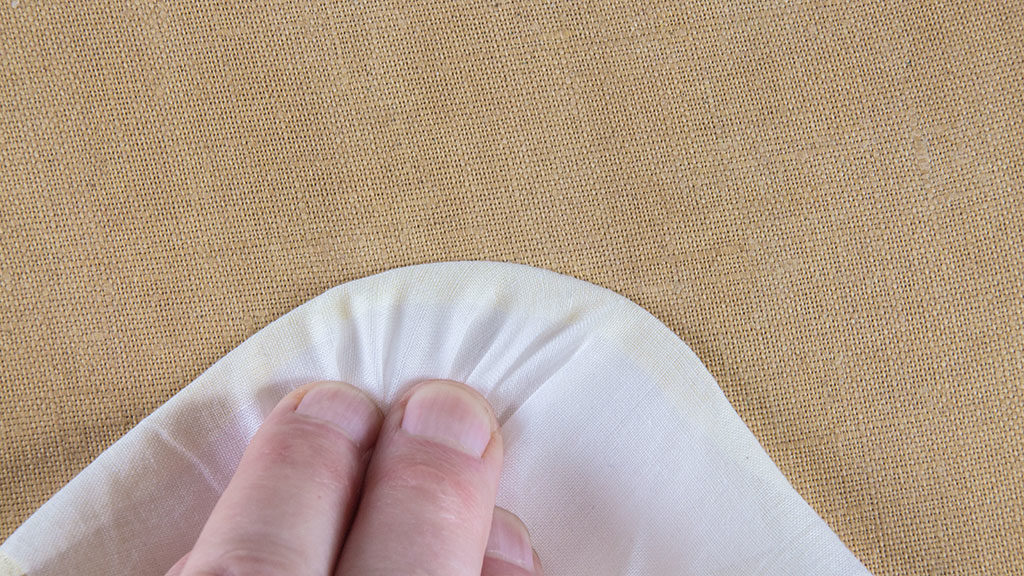
Finger pressing a seam.
Of course, this is often managed without an iron, by the so-called finger pressing method. But that only really gets the job done if you wriggle the layers between your fingers to fully separate them exactly at the seamline, and then burnish across them with a fingernail to make the creases … so perhaps this should better be called finger-ironing? And how is this done with an iron, if not with some subtle and precise sideways and forward movement of the tip as you slide it along the seam?
It seems more useful to me to distinguish between ironing—that thing we do with laundry and finished clothing—and what we might reasonably call iron-work, those iron-moving skills we necessarily develop—or wish to develop. Moreover, it's important to learn to get ever-better results when we're applying an iron to our sewing.
This article is about iron-work and the complementary tools essential to getting the most from any iron. Let's start with the iron itself by exploring exactly how to modulate and control the distortion that can be created when it's moved across undefended fabric.
Exploration
It will serve you well to have a wider range of control over what you and your iron are doing than simply the choice between moving sideways or not. There's no question you can stretch or distort fabric with an iron while you're flattening, smoothing, and creasing with it. Occasionally, that’s exactly what you want to do, to one extent or another, when making sewn, or to-be-sewn, fabrics behave. To get the best results, you’ll want to spend some time playing with your iron to gain an understanding of—and control over—how you wield this important tool.
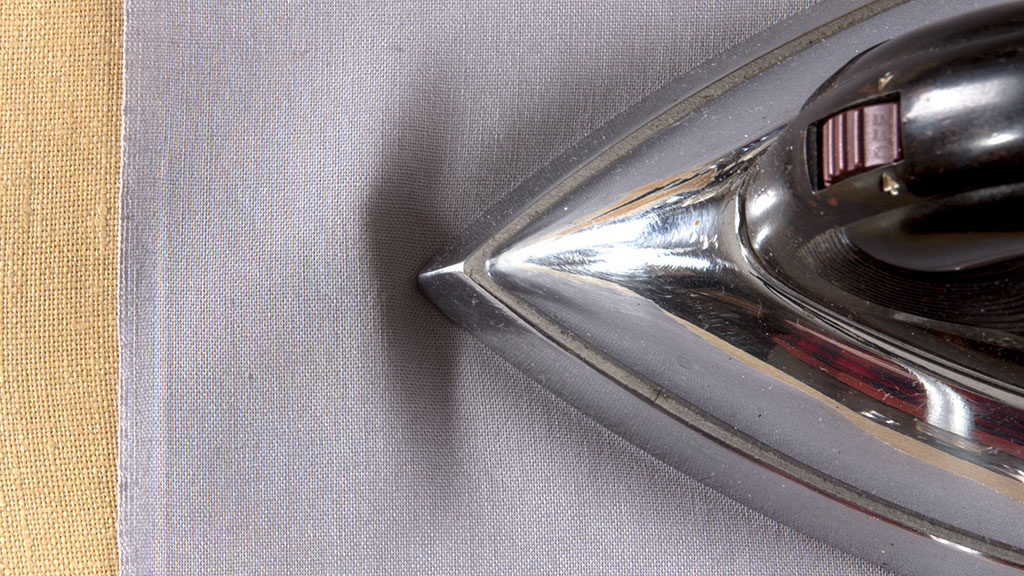
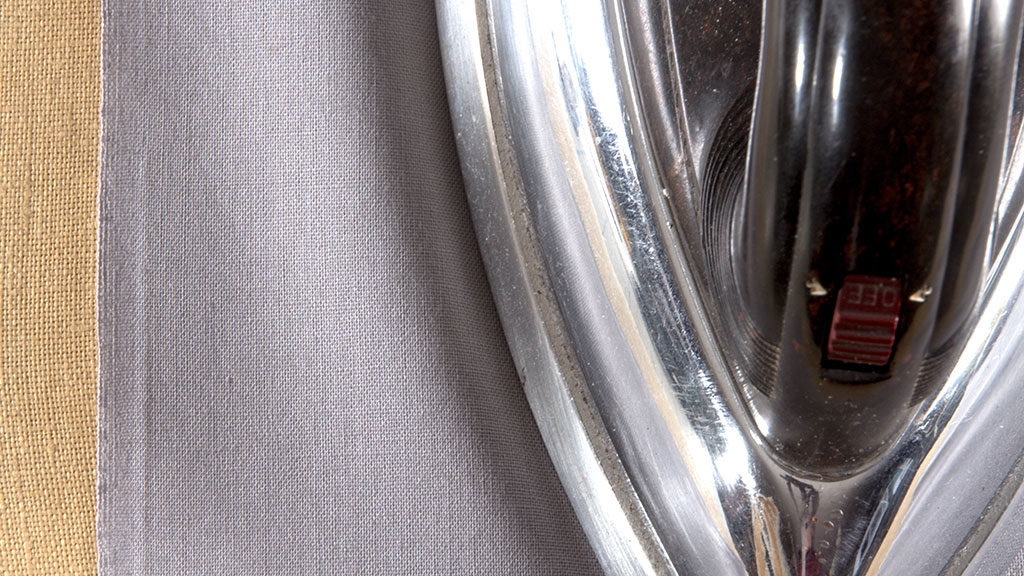
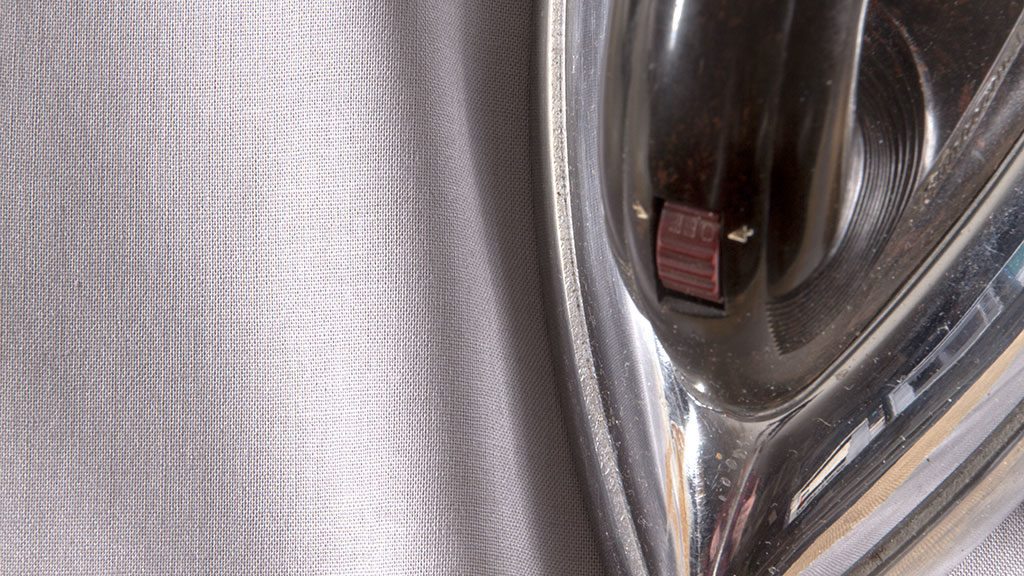
An iron sliding over fabric while held in the following positions: parallel to the movement (top), perpendicular to the movement (center), perpendicular to and tilted toward the movement (bottom). Note the differences in distortion.
Here you can see the same piece of fabric being slid over with an iron, where the sliding motion goes from right to left. In each case, the iron and fabric both start from the same position and the full weight of the iron is on the fabric. As you can see, exactly how the iron is held or positioned has a dramatic impact on how much the fabric is both distorted and shifted toward the left.
I suggest trying out for yourself exactly what’s illustrated in these photos. You can use a cold iron, some simple fabrics you commonly sew with, and your usual pressing surface. Closely observe these and many other variations in iron position, tilt, and movement. Try changing the amount of weight you let the iron exert on the fabric. Experiment with moving with, across, and diagonal to the fabric grain. Then try the same with the heat turned on.
Some Questions to Ask Yourself As You Explore
As you get to know your personal range of options for manipulating fabric with your iron, here are some questions to consider:
What's the maximum pressure, direction, and type of sideways movement you can manage and still create no permanent distortion when the iron is hot, and with each of your fabric types?
Would a few well-placed pins, or just holding down the fabric with your free hand as you move the iron, significantly increase how much movement you can get away with?
Do you notice a difference when you're really paying attention to how the fabric moves underneath the iron? Compared, say, to how ironing the laundry feels … even if you're a very careful ironer and have already observed much of this, does careful attention change how the iron affects your fabric?
The Importance of Ironing Board Covers
How easily do your fabrics slide across your board? A well-washed easily removable cotton, linen, or hemp ironing board cover with a slight texture, like drill cloth or canvas, will offer some resistance and is the best overall choice for an ironing board cover. Coated, metallized covers reflect heat back and reduce absorption, which throws off the recommended settings and advice.
Prepping Yardage
What you learn from these explorations will change the way you treat washed and dried yardage before cutting. There's obviously a great temptation to iron these big rectangles as you would laundry, so that you can get the job done with reasonable speed. And so you can, once you've calibrated your fabric prep touch and awareness, probably in some contrast to your normal laundry iron handling.
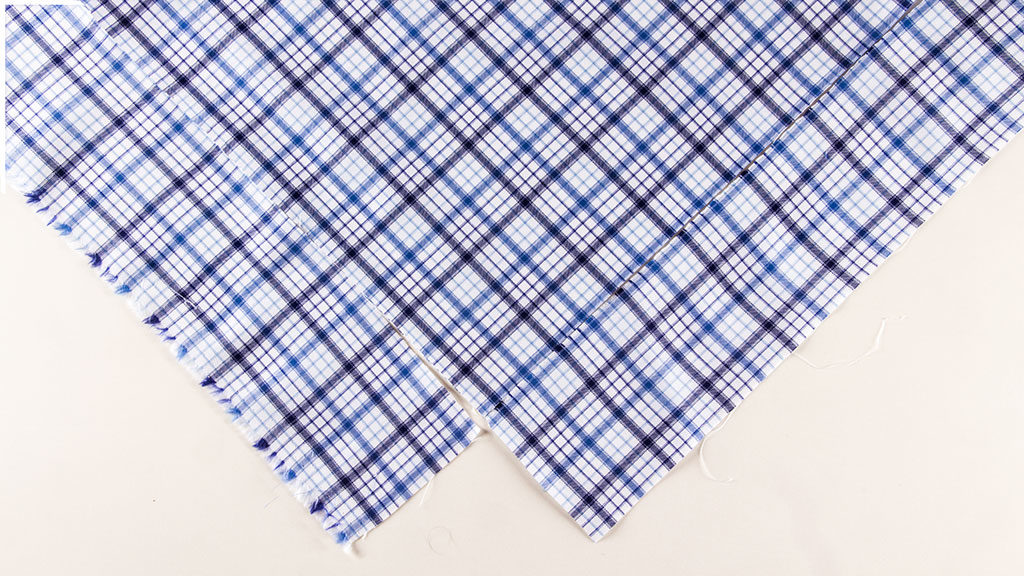
The impact of ironing on pre-cut fabric is most obvious with plaids. Slight distortions during the ironing process can visibly affect the grain in both directions.
A quick, careless sideways ironing can pull both grain directions of an unwashed cotton out of alignment. Imagine how much more likely it is that random, laundry-like ironing of a rumpled, just-dried length would result in plaids that are impossible to match.
As with every sort of craft, the path to better results is to become as regular and consistent in your movements as you can, whatever you're doing. When prepping a fabric like this, carefully arrange each workable section in an exactly similar way on your padded surface. Move the iron across it in exactly the same way and direction, and regularly check the pattern against some reference or ruler, to produce as uniform a result as you can expect.
This part of the clothes-making process is actually one of my favorites; it's when I really get to know and fall in love with—all over again and often in a whole new way—whichever of my stash gems I'm about to sacrifice to the wardrobe. It's a lovely, calming, and centering way to bid bon voyage.
Essential Tools
A Minimal Toolkit
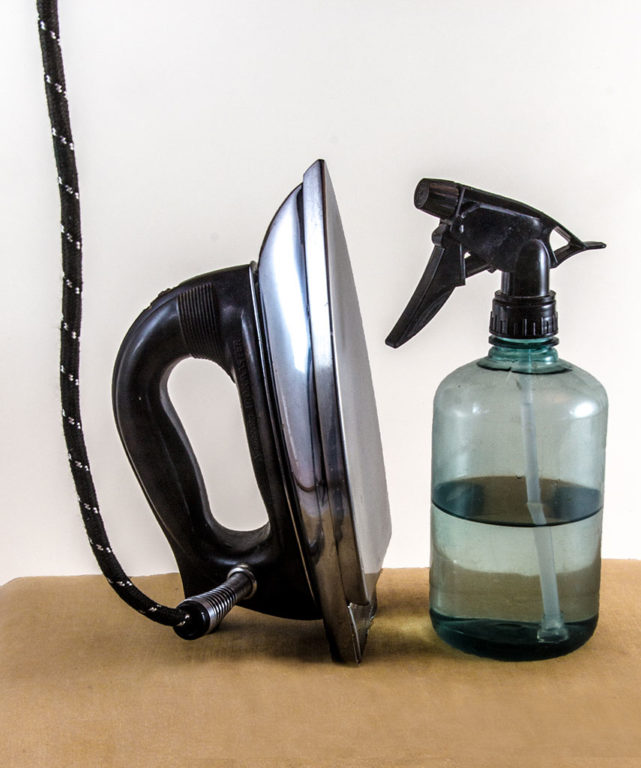
Consider a dry iron. Steam can be supplied with a spray bottle.
1. Iron with steam source. I have little hope (or wish) of encouraging anyone to give up their steam iron, but as dry irons are still available (and vintage ones often still work perfectly), I do think they are worth considering, at least for sewing. For one, dry irons have no holes underneath to imprint or catch on the work. Indeed, moisture (steam) on the work can be much more precisely managed when you add it separately. Also, cleaning is much easier and there's no maintenance. My Sunbeam works exactly the same now as when I got it 30 years ago, and back then it was already at least 30 years old. Note how the cord in the picture at the beginning of this section goes straight up? That's because I hook it through a loop hanging from the ceiling above my workspace and life is so much better. Try it!
The key thing about steam is that it should be gone, the fabric completely dry, before the just-pressed work is moved. So, too much steam over too big an area is simply wasted time, plus it becomes a temptation to move things too soon.
2. Padded surface. A homemade rectangular flat padded surface, is perfect for almost all flat, right side construction iron work, including prepping short-ish yardage—and it's easily portable. I can hardly remember where my ironing board is.
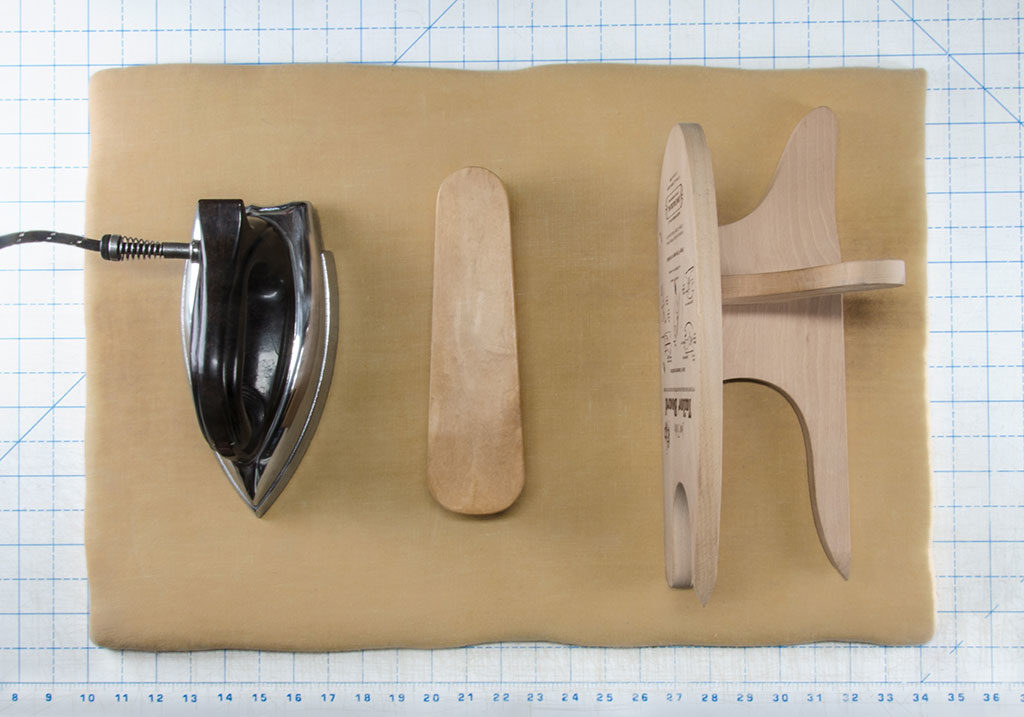
A padded surface, clapper (center), and edge- and point-presser (right).
3. Clapper. A clapper is perfect for adding pressure against drying fabric that doesn't need more heat. It can also be pressed against details that need a really hard crease.
4. A multi-shaped edge- and point-presser. This tool is used for opening seams. Note: clear unfinished hardwood (no firs) makes the ideal, tried and true hard pressing surface, so both your clapper and your edge- and point-presser should be made from one of these types of wood.
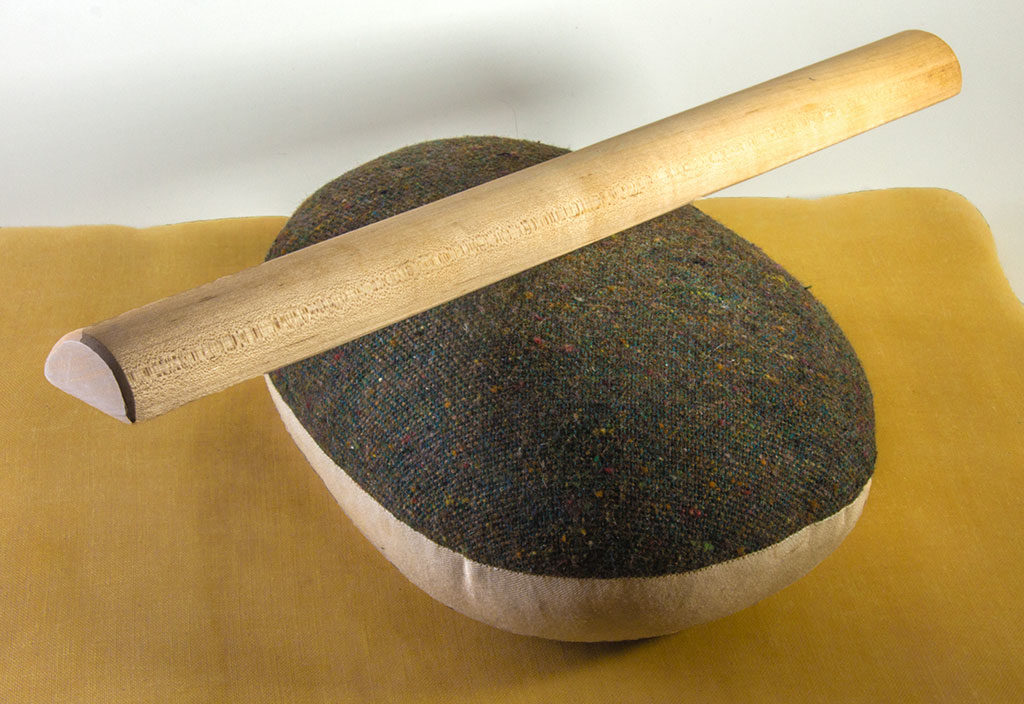
A tailor’s ham (lower) and pressing aid for long straight seams (upper).
5. Tailor’s ham. A tailor’s ham is a tightly stuffed pillow that is used when pressing parts of a garment that must curve around body contours. The ham is used for any curved finishing, as at darts and hip-level side seams.
6. Pressing aid for long straight seams. This tool, a bit like half of a wooden dowel, is a convenient luxury. It is used to press open long straight seams, as on pant legs and straight skirt seams. The curve means no imprints when pressed from either side.
The examples shown in this section cover just about any need. Keep these basics near your iron, and you will be equipped for most projects. And keep this rule of thumb in mind, one I found in a treasured old sewing book:
To avoid imprints of seams and edges, place the garment against a hard surface when pressing from the wrong side and against a thick and softly-padded surface when pressing from the right side.
Press Cloths
There are endless reasons why you might want to put something between your work and your iron, or underneath the work, or even both. Here are the substances I keep on hand and the main reasons why.
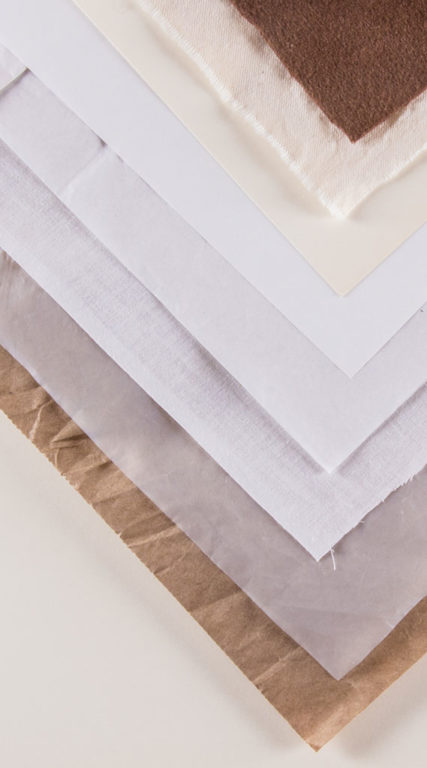
Press cloths consisting of, from top to bottom: thick wool
(1), cotton drill (2), heavy paper (3), regular
paper (4), tissue paper (5), cotton organdy (6),
Teflon (7), brown wrapping paper (8).
1. Wool. A thick, felty wool is perfect under any work that needs more padding than normal, such as details made from the same wool. You can consider this example as also representing self-fabric (namely a scrap of the garment or fashion fabric), which is often just the needed weight and texture.
2. Cotton drill. This is your default for mid to heavy fabrics.
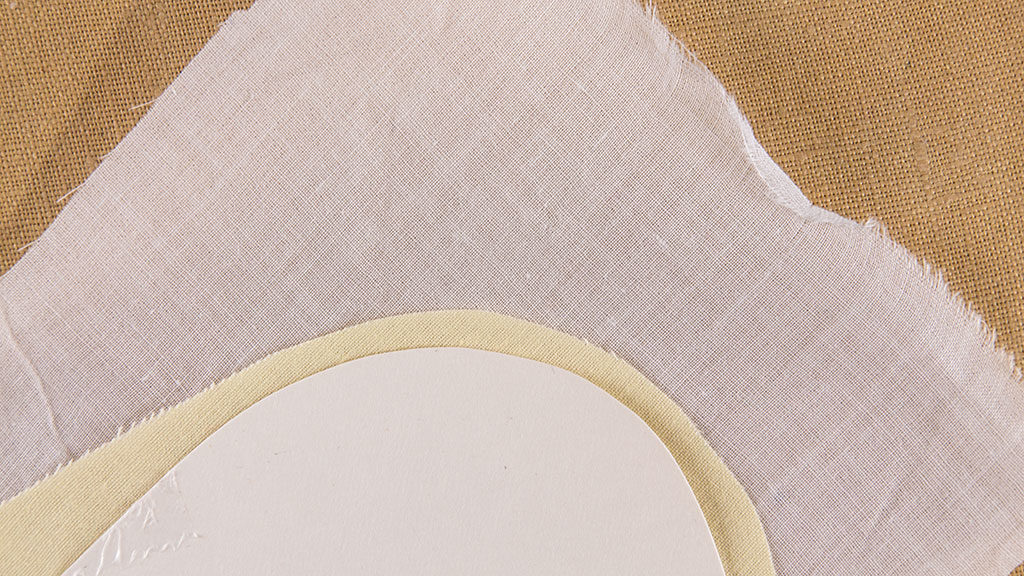
Use heavy paper to create a pressing template for your fabric. To help your fashion fabric conform around a pressing template, a piece of cotton organdy is sometimes used.
3. Heavy paper. Heavy paper or thin art board is perfect for making pressing templates. You can use a piece of cotton organdy to help pull your fashion fabric around the template for a crisp line.
4. Regular-weight paper. Regular paper is an excellent, handy default paper to keep on hand. Since it doesn't stretch, it will do a much better job of keeping fabrics underneath from stretching sideways than a fabric press cloth. If it doesn't move, neither will the fabric underneath.
5. Tissue paper. As an alternative to regular paper, tissue paper is often just as good, somewhat transparent, and comes in bigger sheets.
6. Cotton organdy. Cotton organdy is quite transparent, flexible (unlike paper), and perfect for helping out with template formation.
7. Teflon sheets. Use Teflon sheets to keep fusibles, adhesives, starch, and spray finishes from ever touching your iron.
8. Brown wrapping paper. Brown wrapping paper is also perfect for keeping fusibles, adhesives, starch, and spray finishes from ever touching your pressing/ironing surfaces. You can also use packing paper to similar results.
All these but the Teflon can be completely or selectively pre-moistened for precision steaming.
Additional Tools
Here are a few other items I find indispensable.
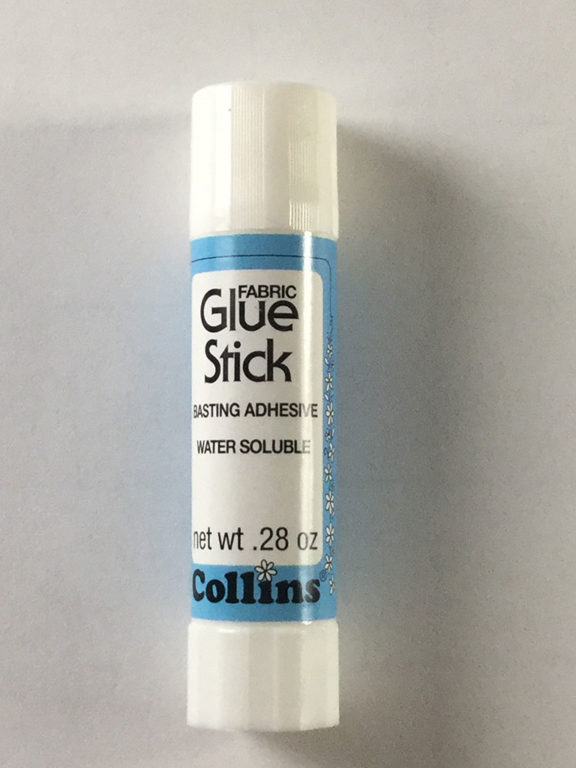
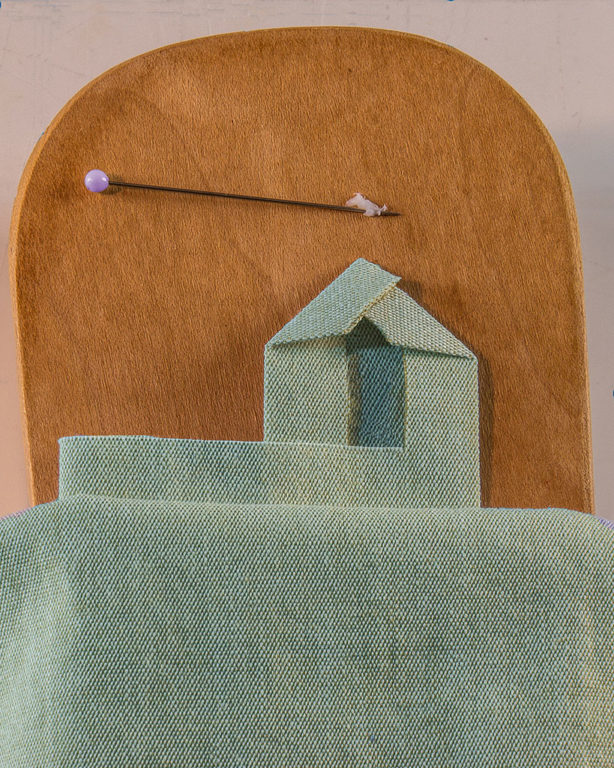
1. Glue stick. A glue stick is such a great help, especially when pressing details into shape or when positioning such details in place for stitching down. Make sure to use one that is washable and acid-free. A tiny drop on the end of a pin can grab just the right amount and deliver it to the precise location. This is what I always do when forming, say, a placket point, pressed of course on my clapper for the sharpest creases, and when positioning it on the sleeve. I always apply a press to dry the glue, and using a pin allows you to drag under any stray threads at this time.
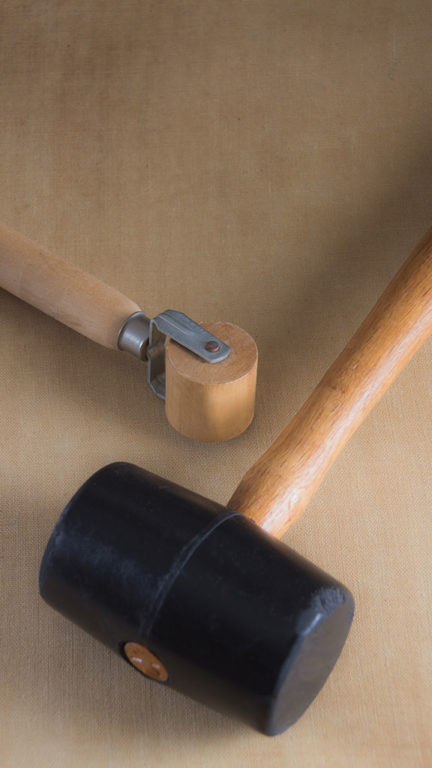
2. Mallet and roller. This little wallpaper or sheetrock tape roller comes in handy when dealing with any materials that really don’t want heat (leather, poly fleece, etc.), because it applies pressure without causing shifting. Pair this roller with a glue stick for handling those materials that don’t like heat.
Whenever a bunch of seams or edges are stacking up and just won't get flat enough, I always test out the application of a good whack with a serious, but soft-ish, mallet. The work should be well-supported underneath, of course! Like, on the floor. A cloth on top can sometimes make a difference.
Well-pressed seams can elevate any project to a new level. More than that, your iron is one of many tools that can shape, form, and manipulate fabric to help you achieve your desired look. After years of experimenting with many, many tools, this is the toolkit I’ve created for tackling any garment. No matter the fabric, seam type, or project, this list should have you covered.

About the Author
David Page Coffin was an editor at Threads Magazine for 18 years. He's the author of three sewing books and two Craftsy classes. Find out more and connect with him at shirtmakingwithDPC.com.