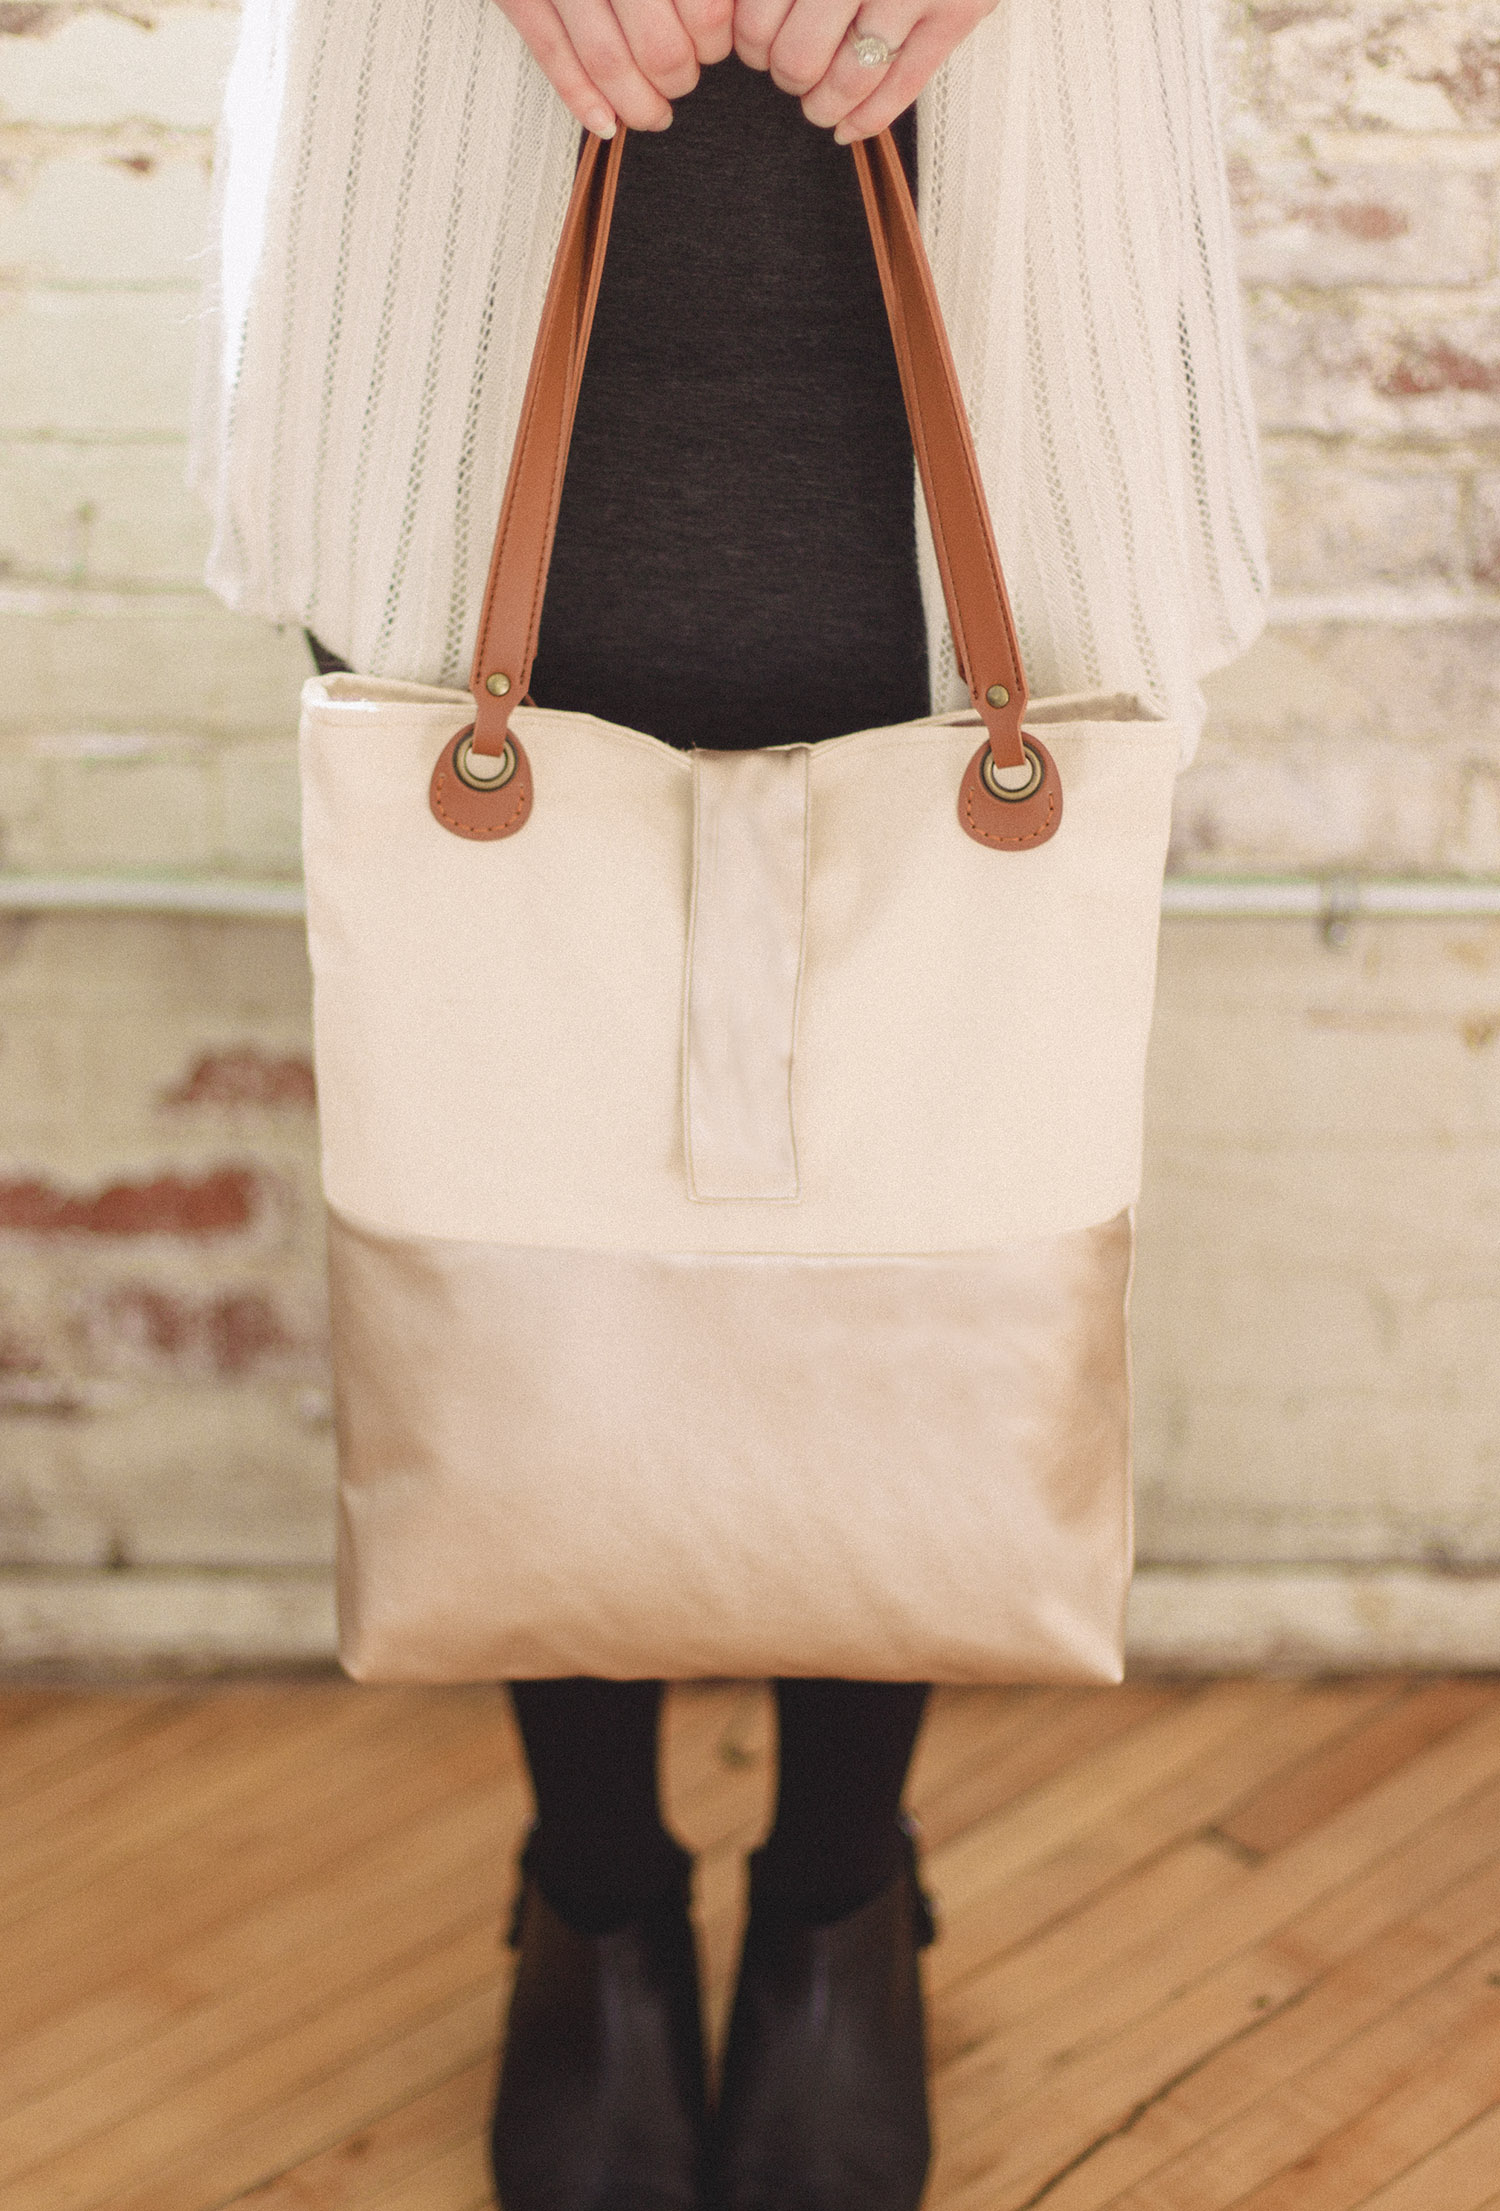
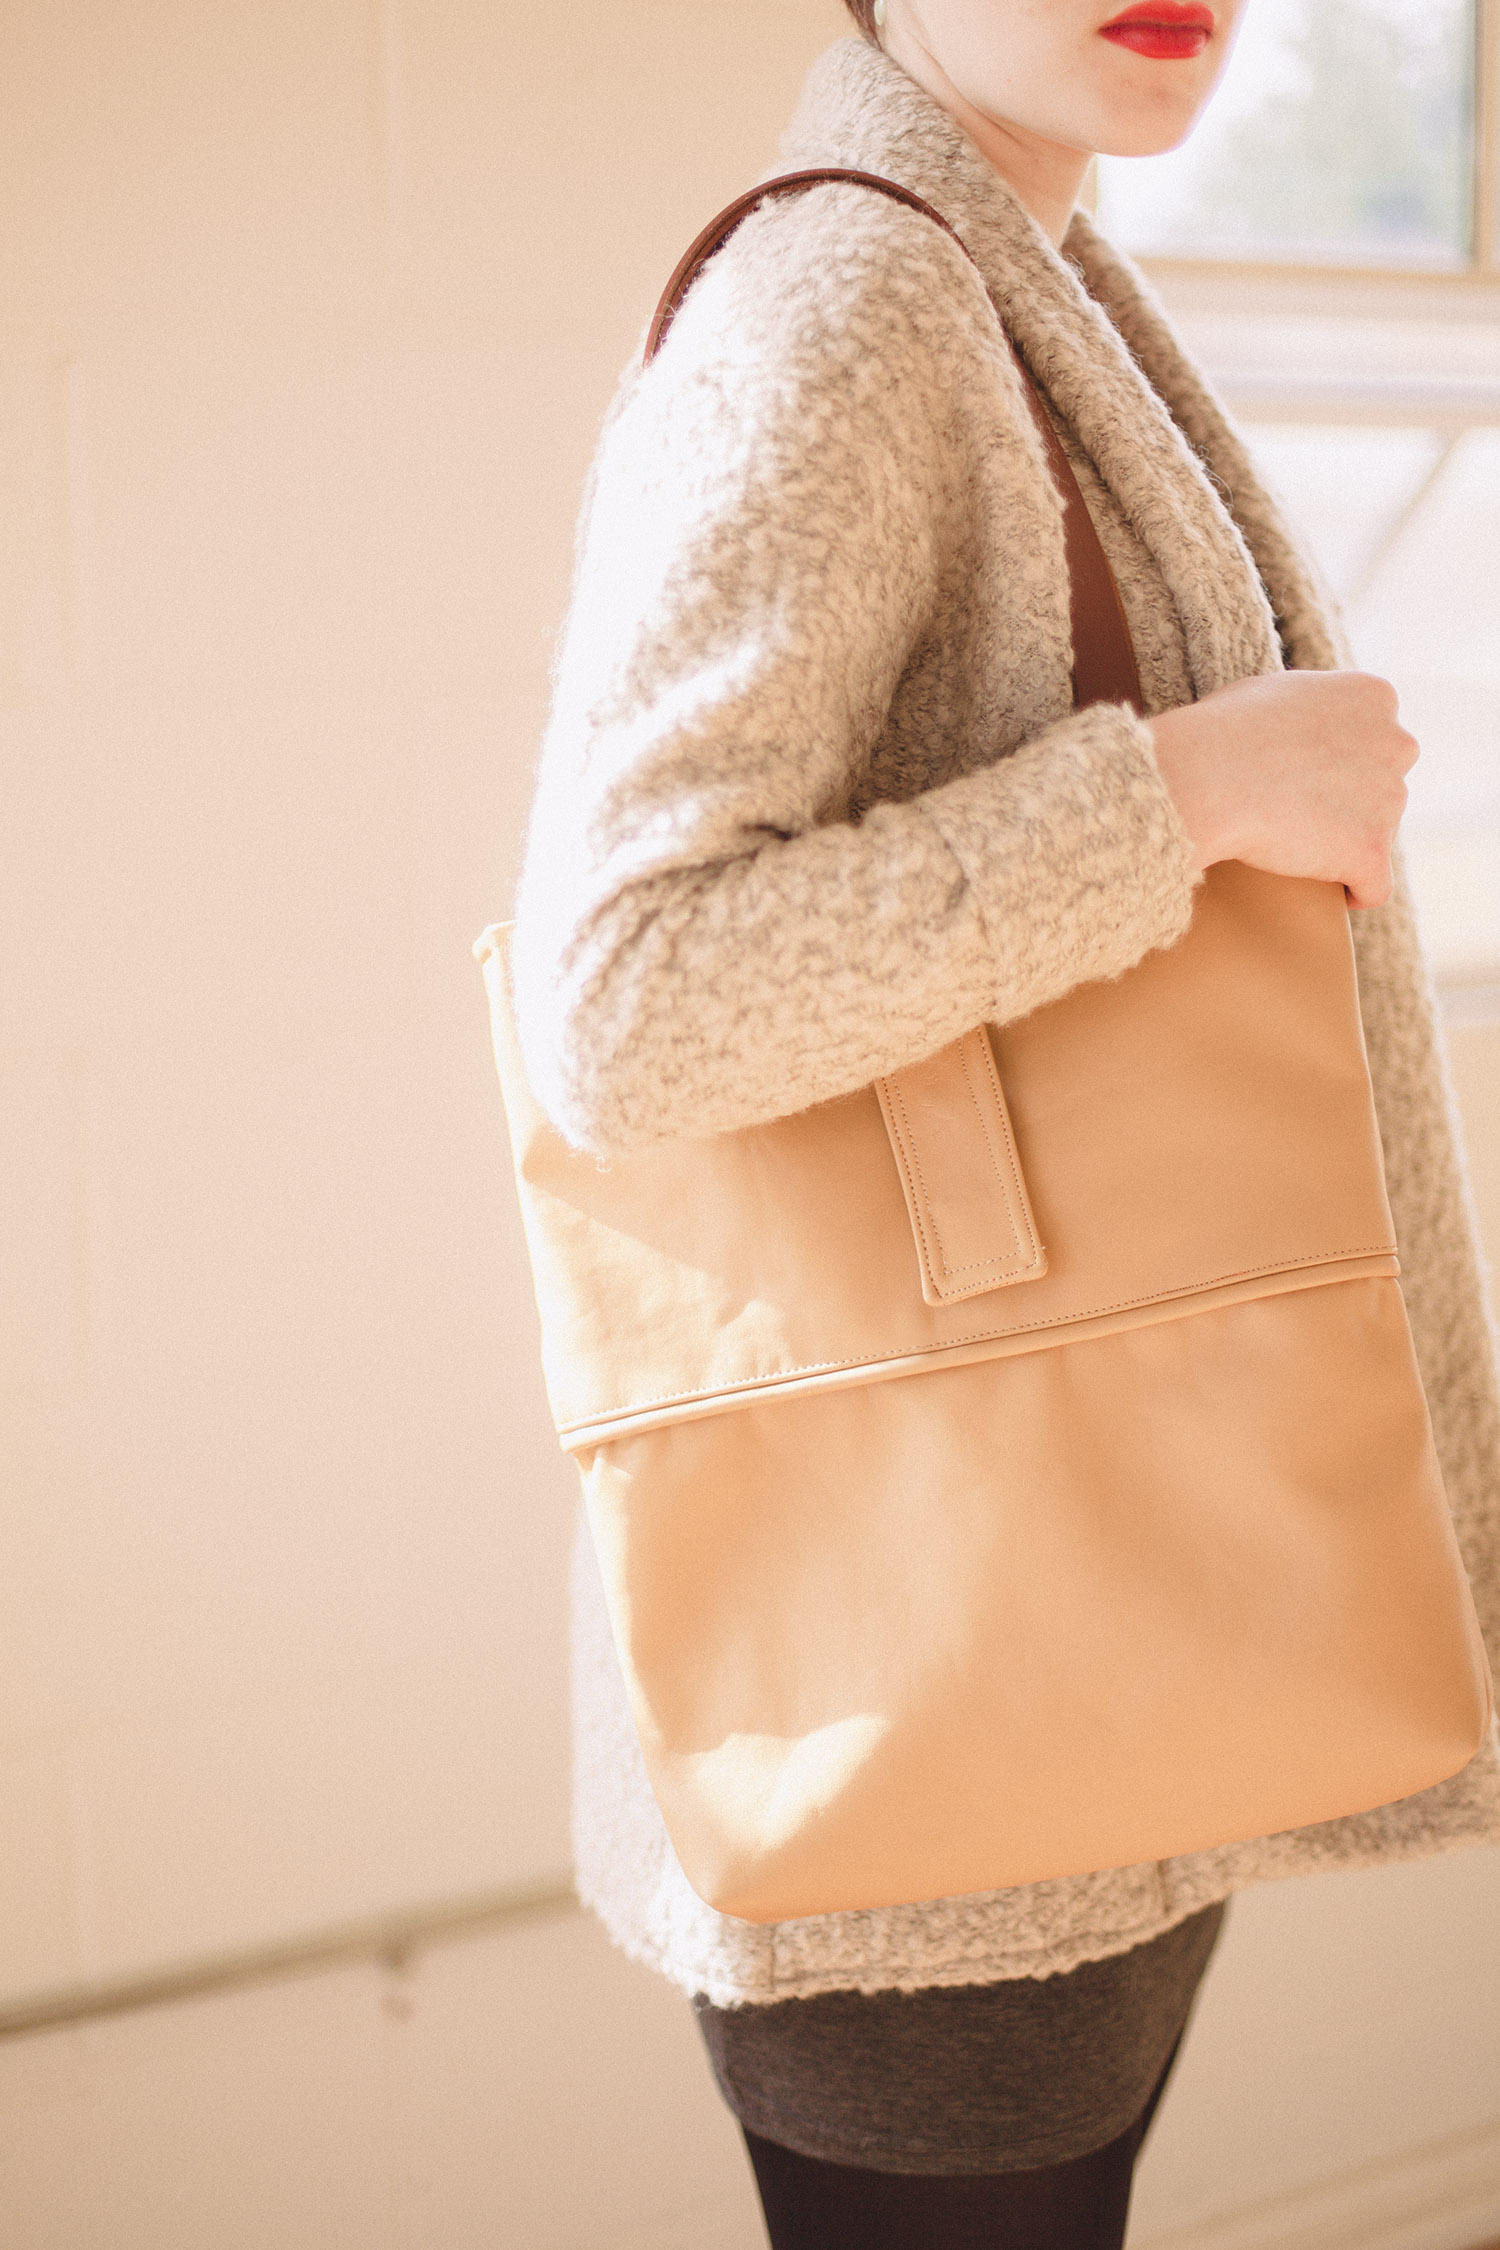
Making a bag seems like a fairly easy and straightforward project; after all, many people launch their sewing careers by stitching up simple totes out of cute cotton prints. But making a tote bag doesn’t have to be relegated to the world of beginner projects; by paying special attention to the materials and details you can make a beautiful custom bag that will last for years.
The secret to making gorgeous totes, evening bags, satchels, and more comes from the planning stages. It's one of the things that makes bags such rewarding projects. You have the opportunity to completely change the look and feel of your bag by varying your fabric, adding details, and swapping hardware.
01 Section
Choosing Your Fabric
Your material will make or break your bag. For the shell, choose heavy-weight fabrics such as leather, faux leather, vinyl, duck canvas, waxed canvas, or wool coating.
The home decor section of your local fabric store is an ideal place to search for bag-making fabric. The heavy, durable fabrics you'll find there are not always a good choice for making clothing, but their sturdiness makes them perfect for bags of all kinds.
In this section, you'll often find leather pieces, vinyl, canvas,
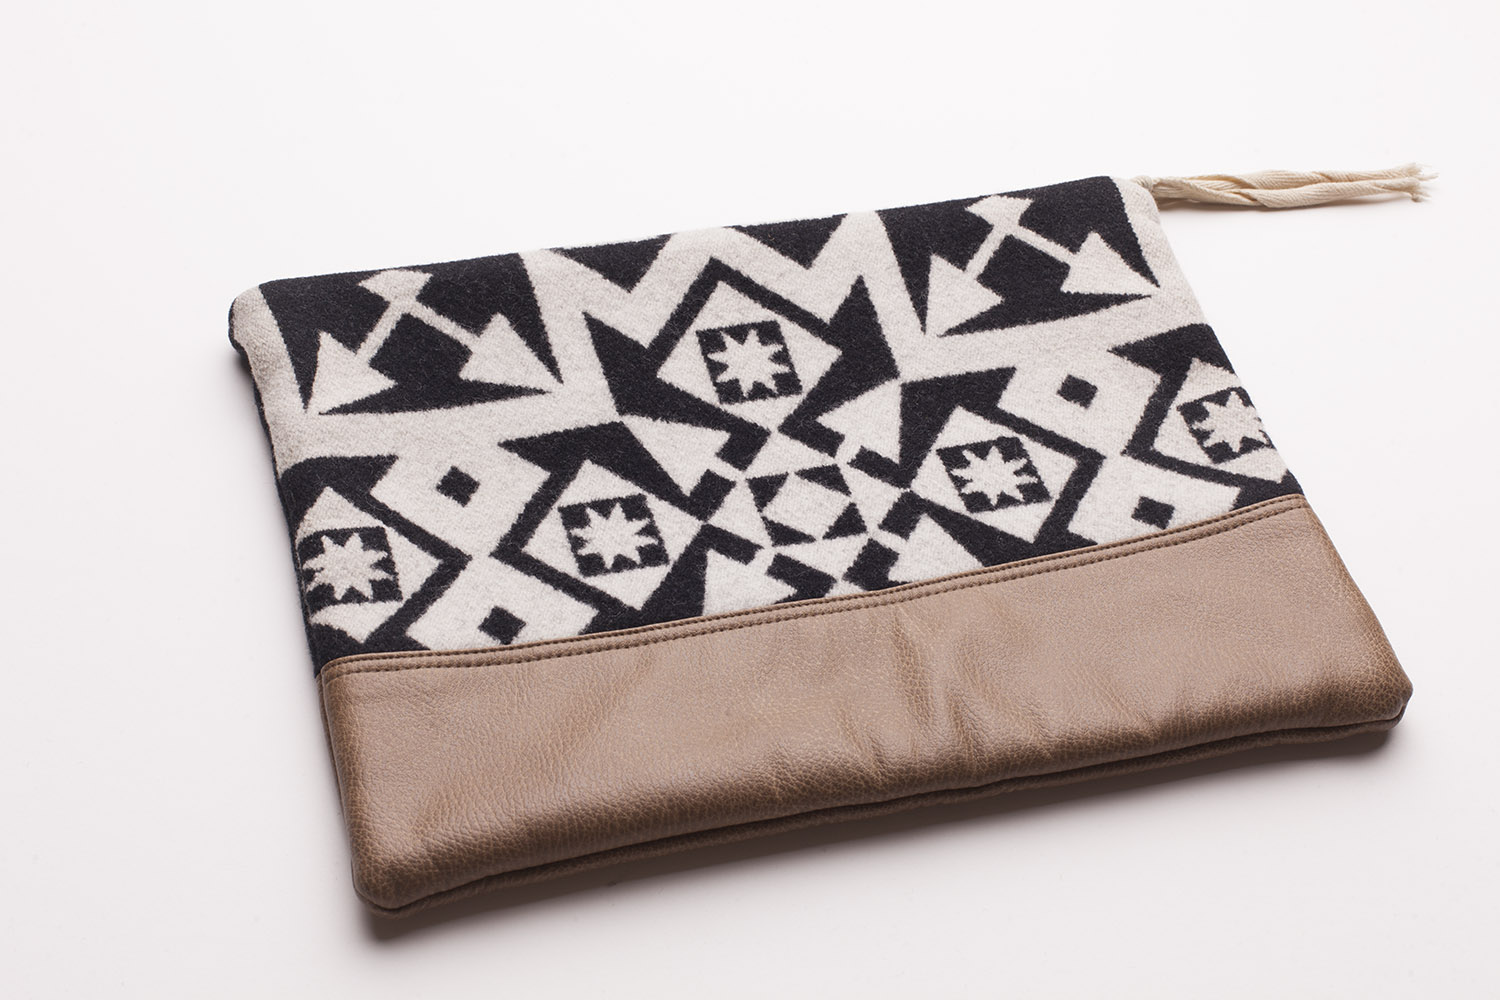
heavy velveteens, tapestry fabrics, and wool upholstery fabric. Any of these can be repurposed for bags due to their sturdy weight and durability. The laptop case shown above was created with Pendleton jacquard wool and faux leather. The instructions for this case are available in the book Hand Stitched Home. You can learn more about Pendleton and read an excerpt from this book in this issue.
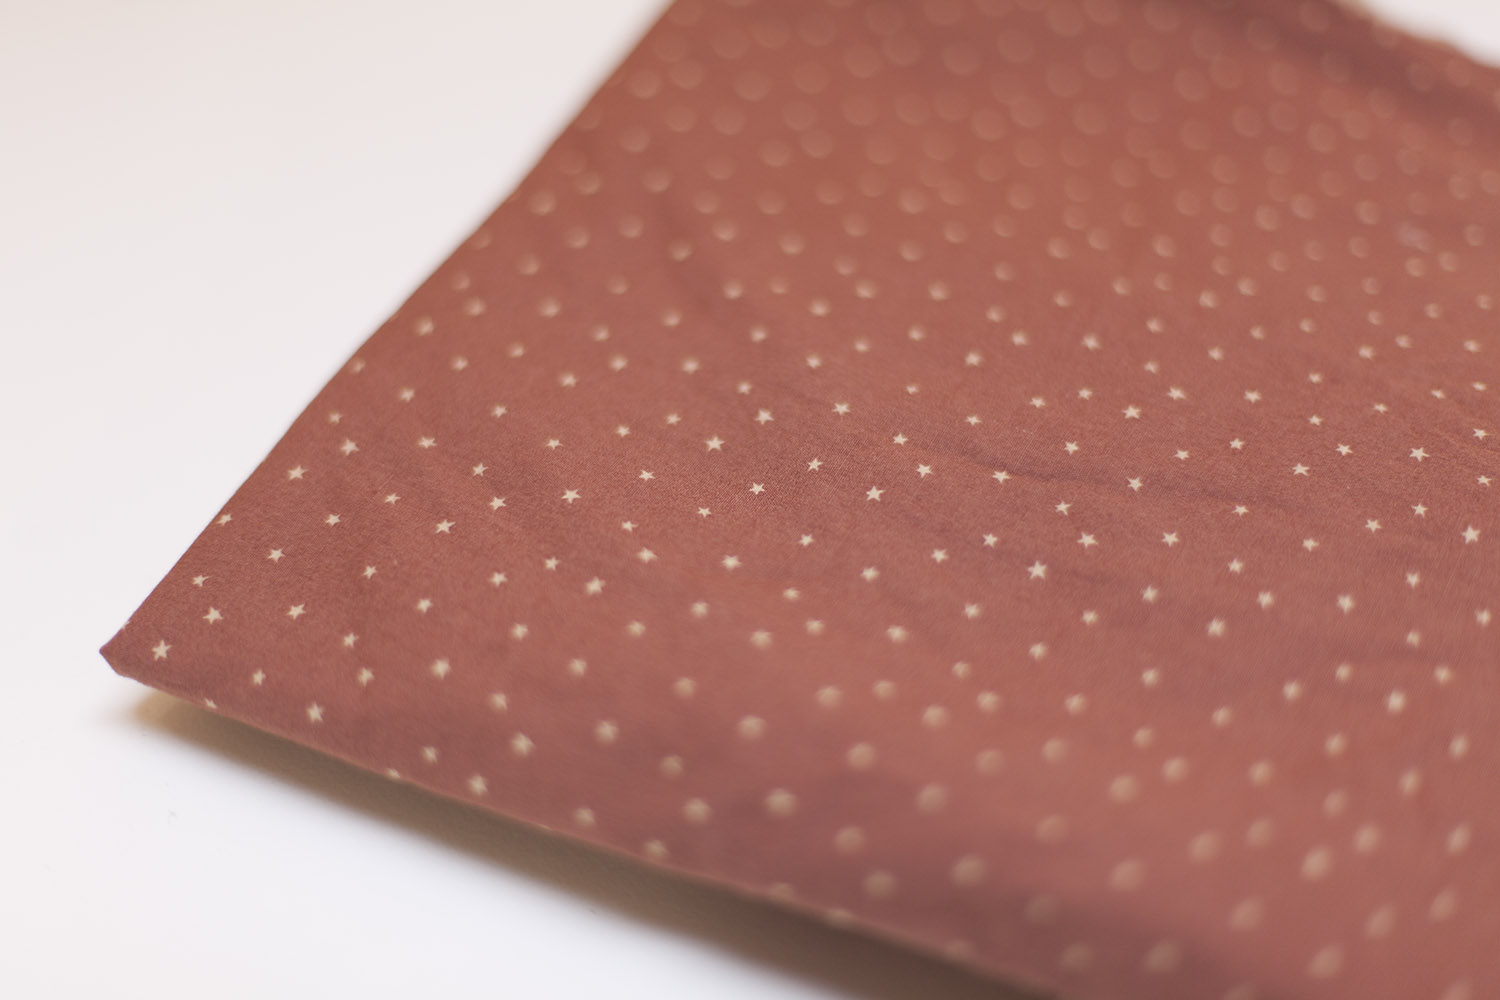
Quilting cotton can be perfect for linings
Quilting cottons are tempting to use and surprisingly durable, but they are usually too lightweight for most bag projects. The result is a crumpled-looking bag.
If you’re still itching to use that adorable printed quilting cotton in your fabric stash consider backing the fabric with a lightweight fusible interfacing for increased durability and sturdiness. Or why not save the lightweight cotton for a pop of pattern as the lining of your bag?
02 Section
Sewing with leather and vinyl
If you want to make a truly beautiful, professional-looking bag, try sewing with leather or imitation leather. It's easier than you might think when you make a few tweaks to your sewing.
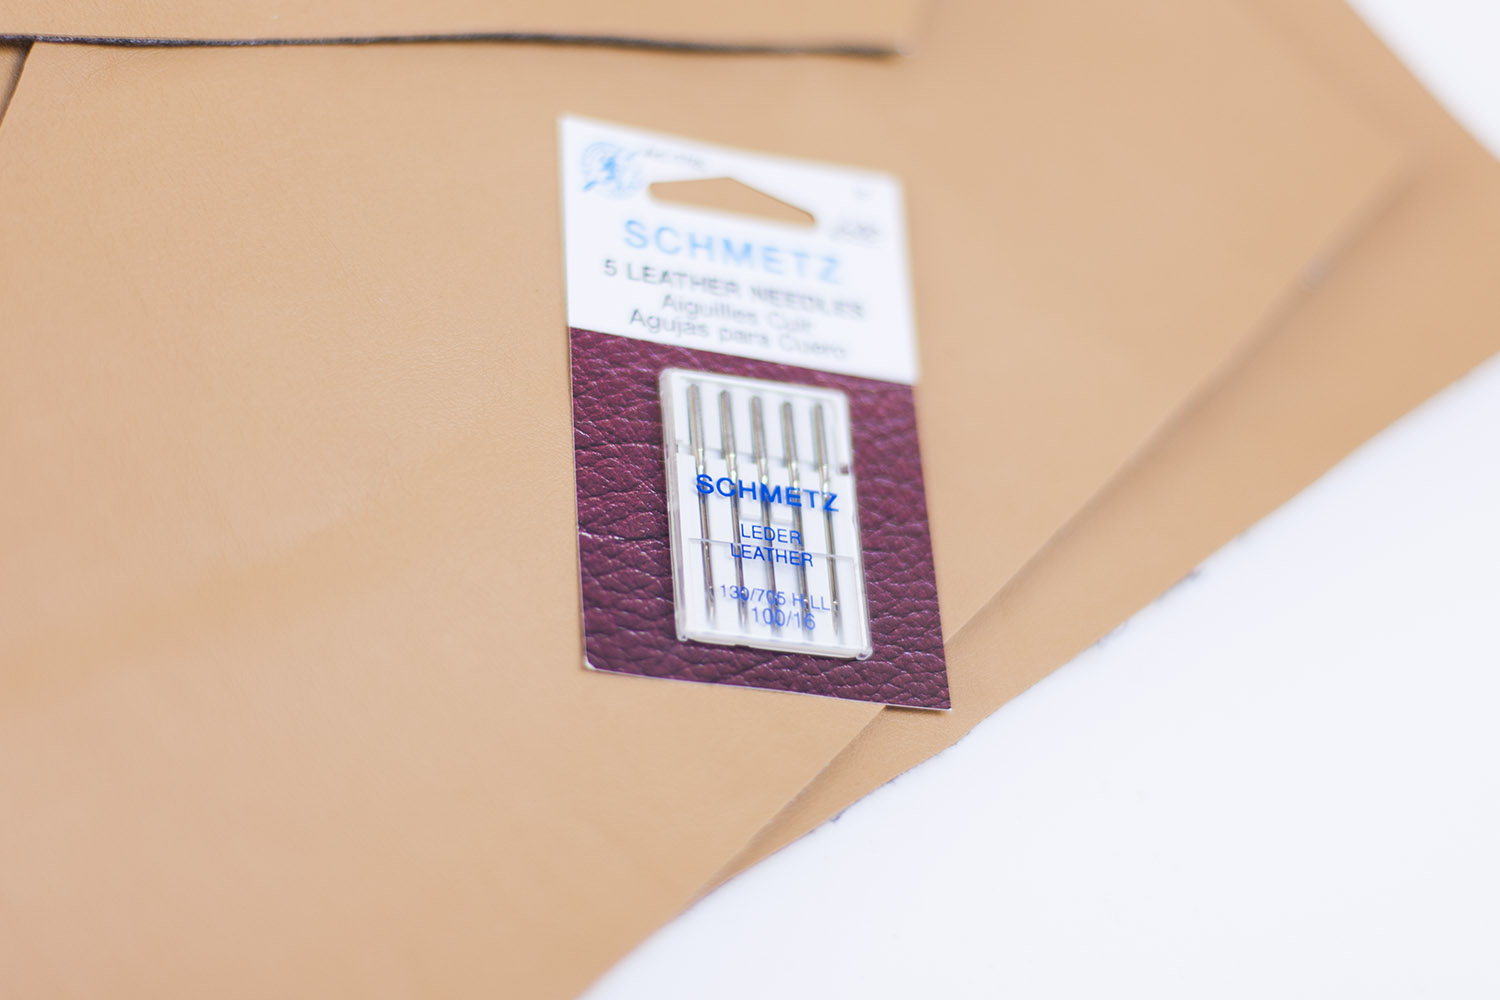
Leather Needles
Purchase a leather needle for use with either leather or vinyl fabric. Leather needles will help your machine work through these heavy fabrics.
Leather machine needles feature a cutting point that allows the needle to puncture the leather or imitation leather. They should not be used with other textiles, so be sure to switch your needle if you're combining leather with a woven fabric.
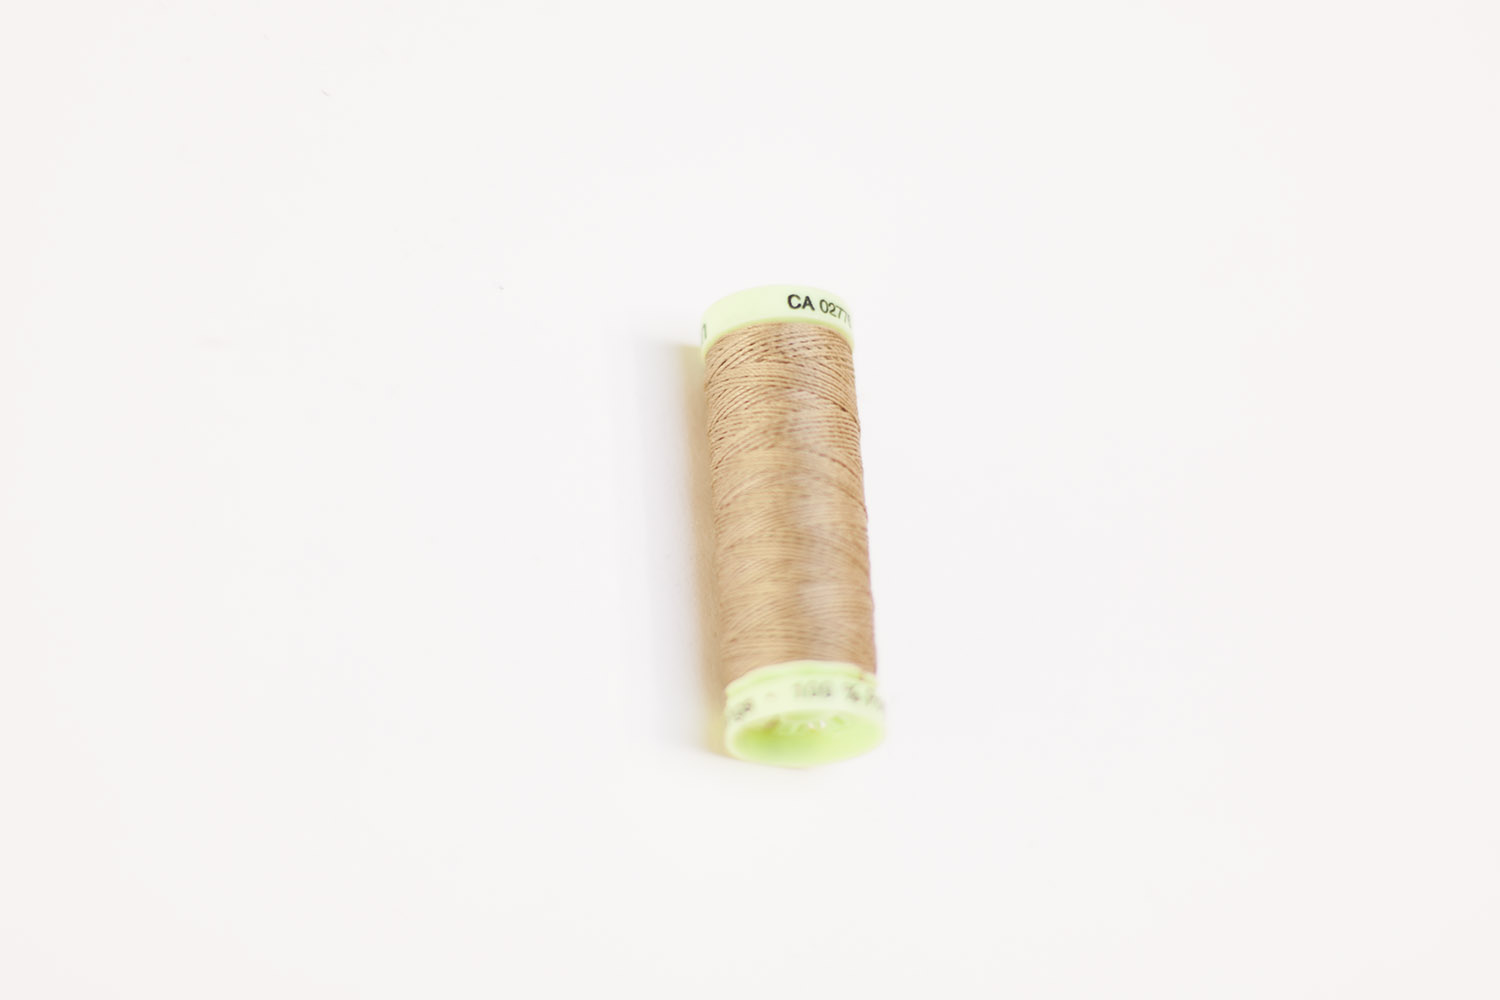
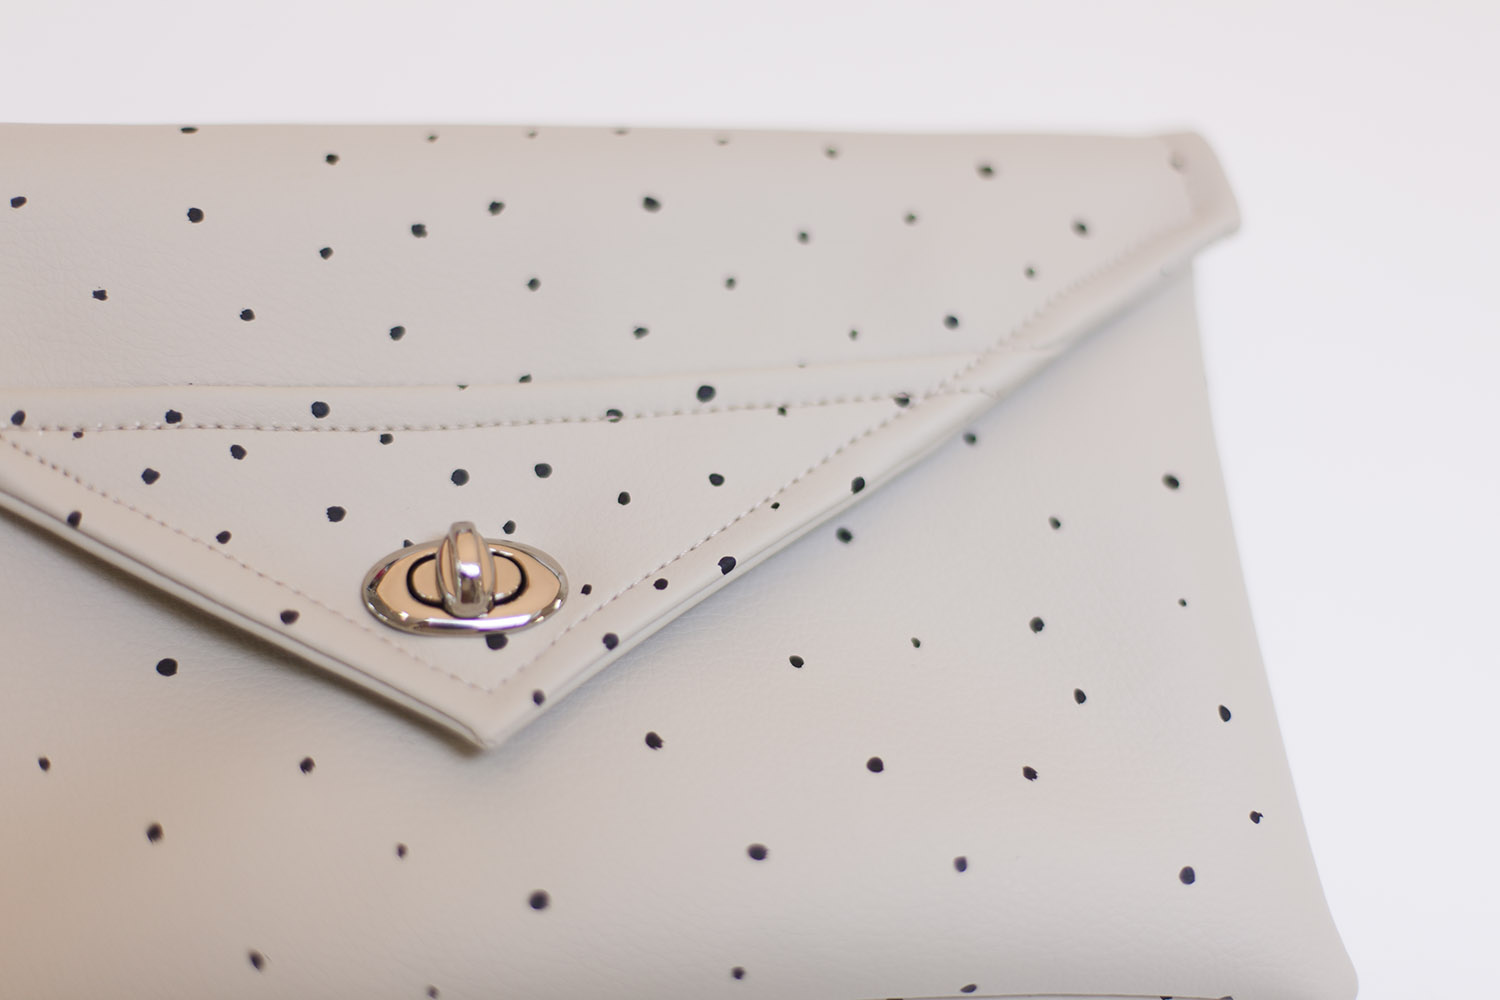
Heavy thread for neat topstitching
Look for a heavy polyester thread, sometimes labeled "heavy thread" or "topstitching thread". These thick threads will help your bag to last, and also form neat topstitching on the outside of the piece. Use this thread for the top of your stitching, with polyester all purpose thread in the bobbin.
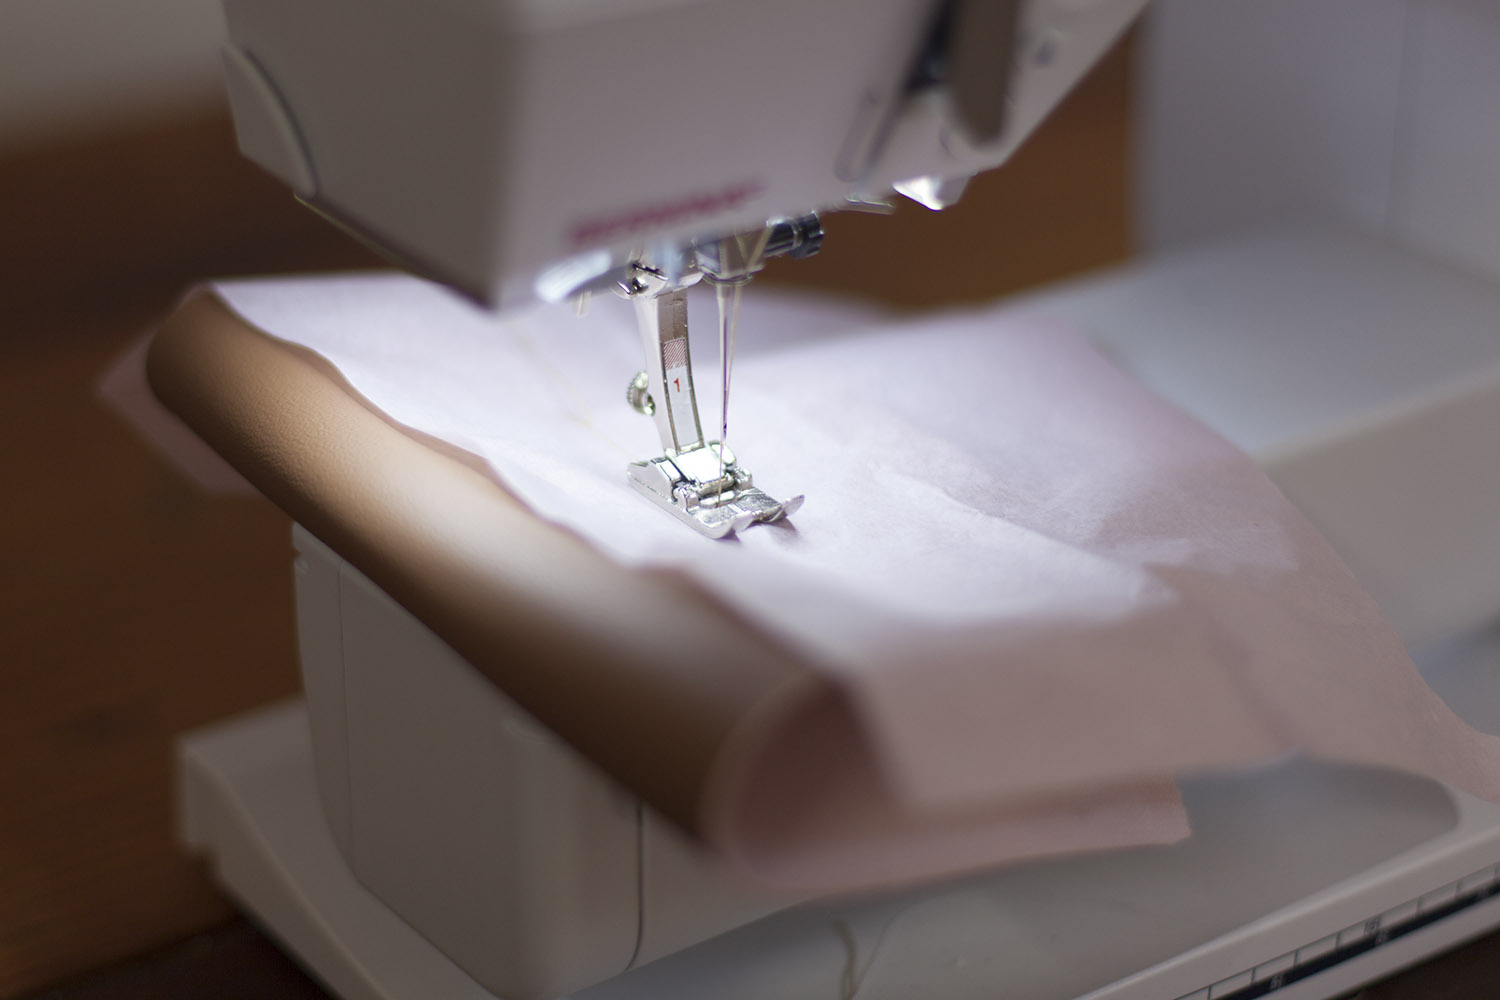
Prevent sticking
If you find that your leather or vinyl fabric is sticking to your machine as you sew, try a teflon-coated foot or a rolling foot. Though some sewists use a walking foot with leather and faux leather, it can sometimes slightly damage the surface texture. Test this on a scrap before proceeding.
If you don't own either of these presser feet, try sliding tissue paper between the material and your machine. It will prevent the surface from sticking, and can be torn away when the seam is finished.
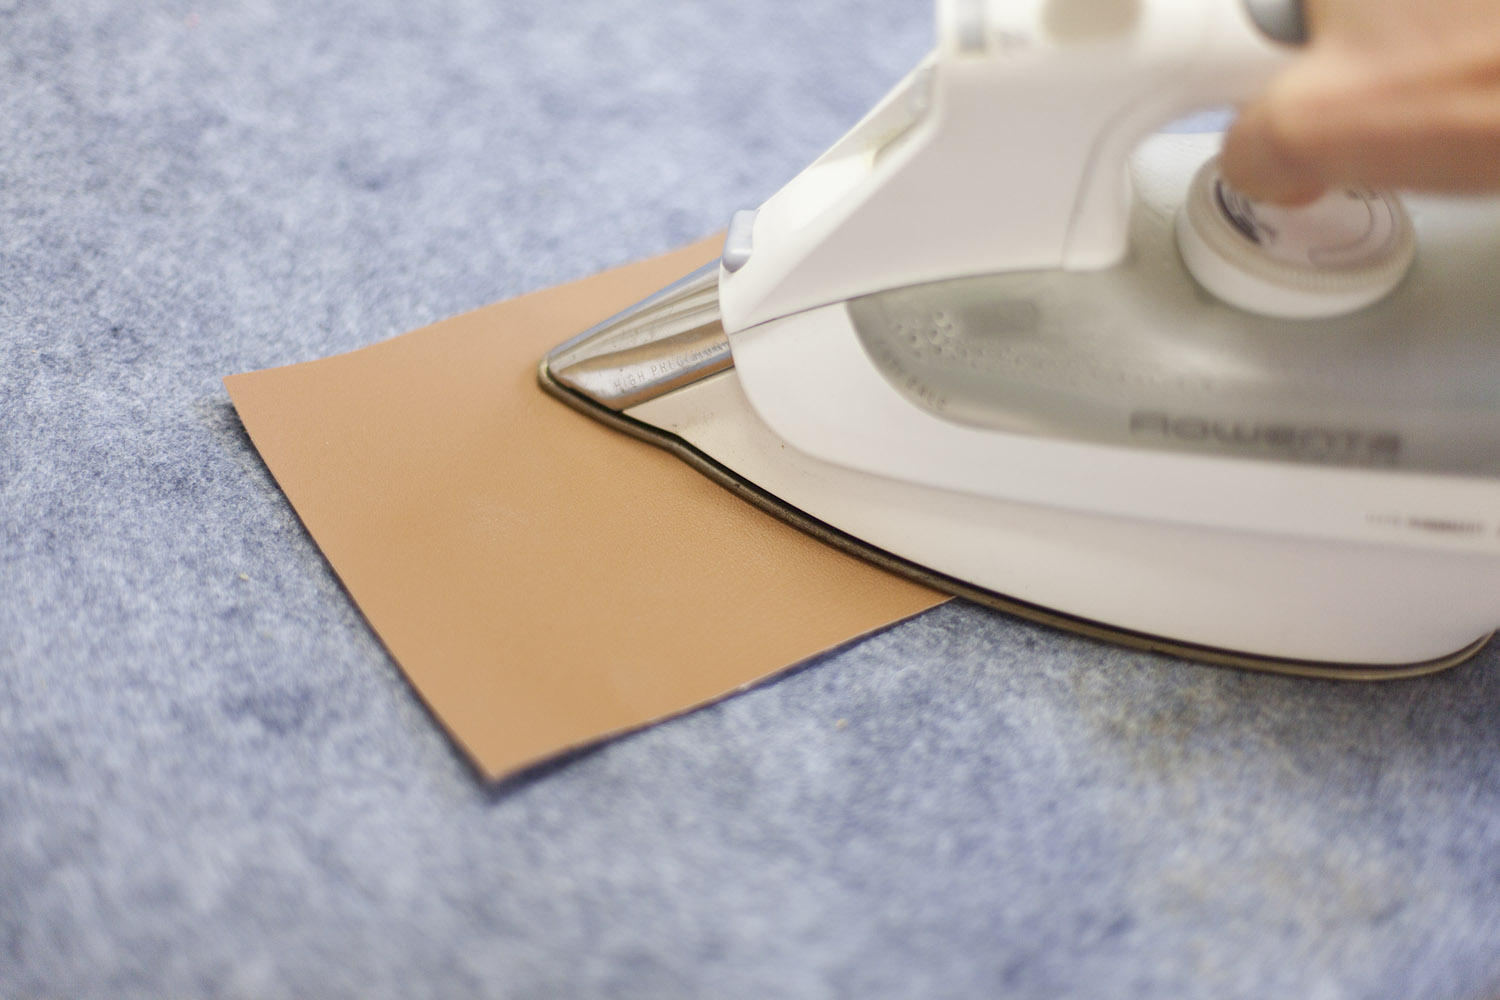
Heat testing
If you plan to use an iron, test the heat on scraps before beginning. Set your iron to the synthetic setting or slightly hotter, and turn off steam. Cut small swatches and apply heat for increasing lengths of time to check for damage. Fold pieces and try pressing the folds flat to check for cracking.
Always use a press cloth when pressing vinyl or leather.
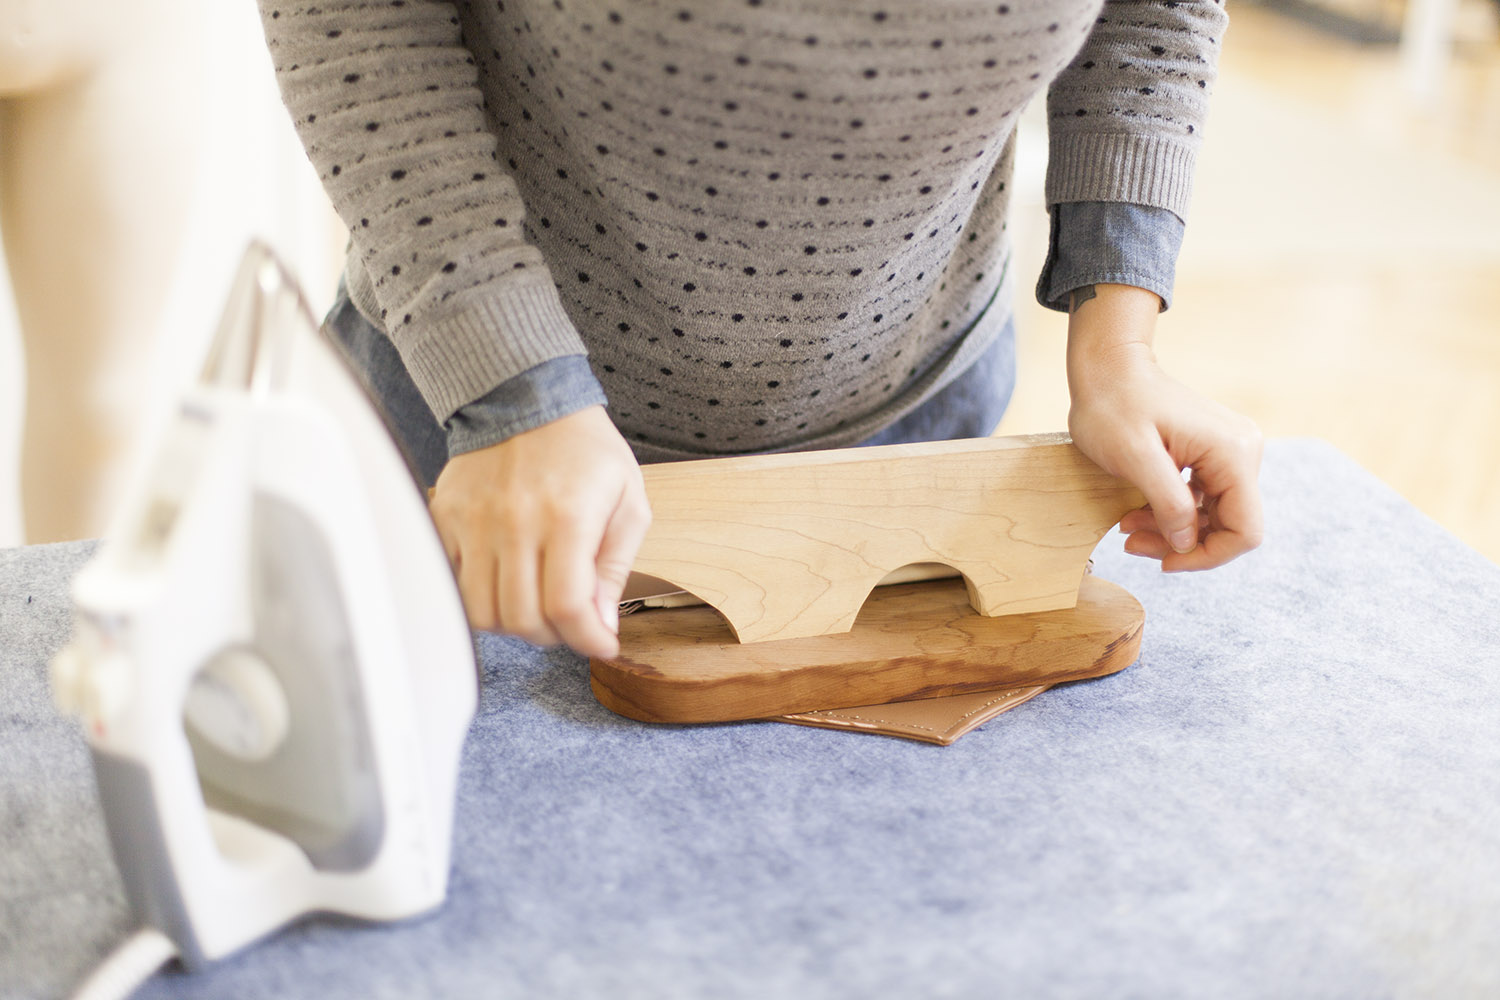
Applying pressure for flat seams
Use a clapper to apply pressure to seams rather than using excessive heat. Give your seams a small amount of heat if your test squares can handle it, then apply pressure onto the seam using the clapper. Hold it in place and continue to apply pressure for 10-30 seconds.
Topstitching seams after flattening can help them stay flat.
03Section
Fine Details
Hardware such as grommets, rivets, feet, and buckles may seem fussy to install, but it can instantly transform a plain, boring bag into a stylish, sophisticated tote. Customize your bag by swapping in some of these hardware touches.
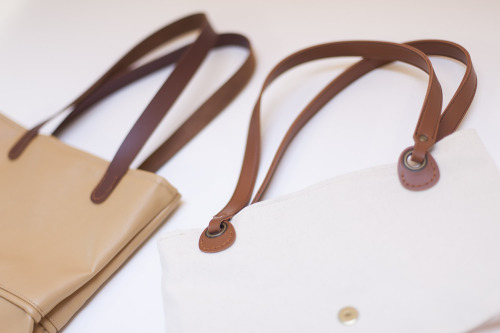
Straps
Though you can make your own straps, purchased bag straps can save you time and look highly polished. Purchased straps often have pre-punctured holes, making them easy to attach with a heavy thread.
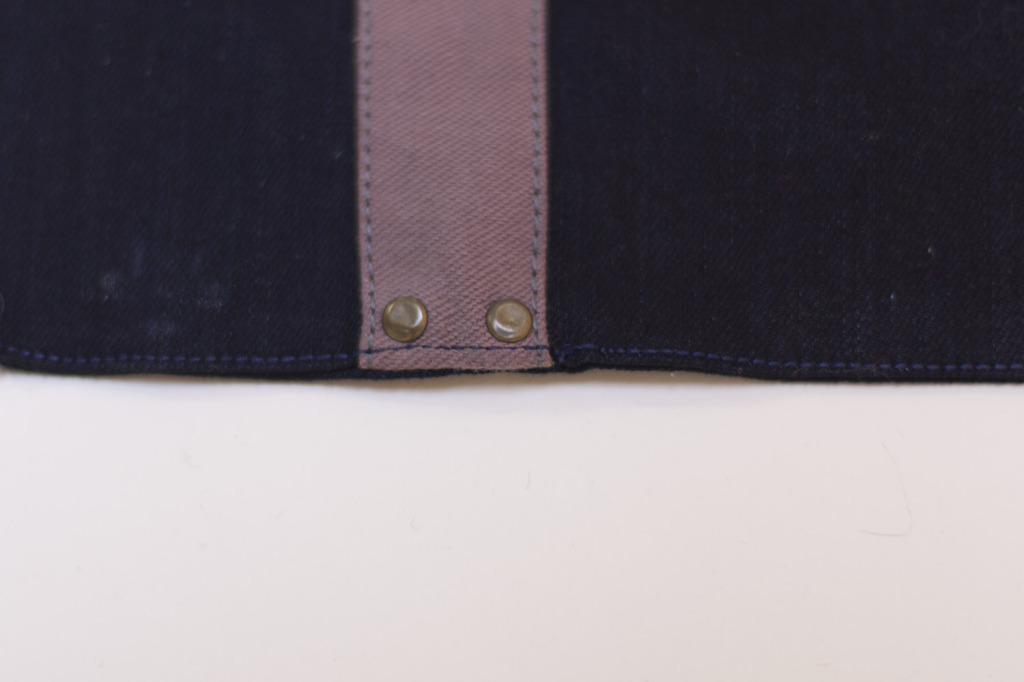
Rivets
Rivets can be used to reinforce stress points on a bag, just like the rivets you find on a pair of jeans. Jiffy rivets are small rivets that are easy to install with a soft-tip hammer or mallet. Learn how to install Jiffy Rivets at sewalongs.com
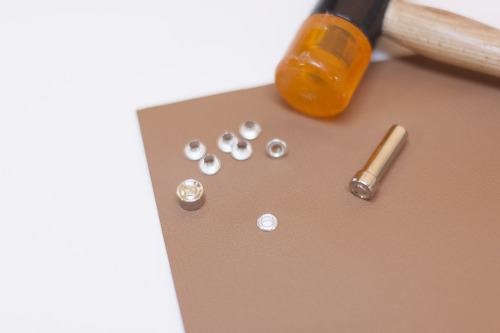
Eyelets and grommets
Grommets or eyelets can be used as reinforcement in a similar way to rivets, or they can be used to thread straps or chains through your bag. Grommet setting kits and tools are available at most major fabric stores.
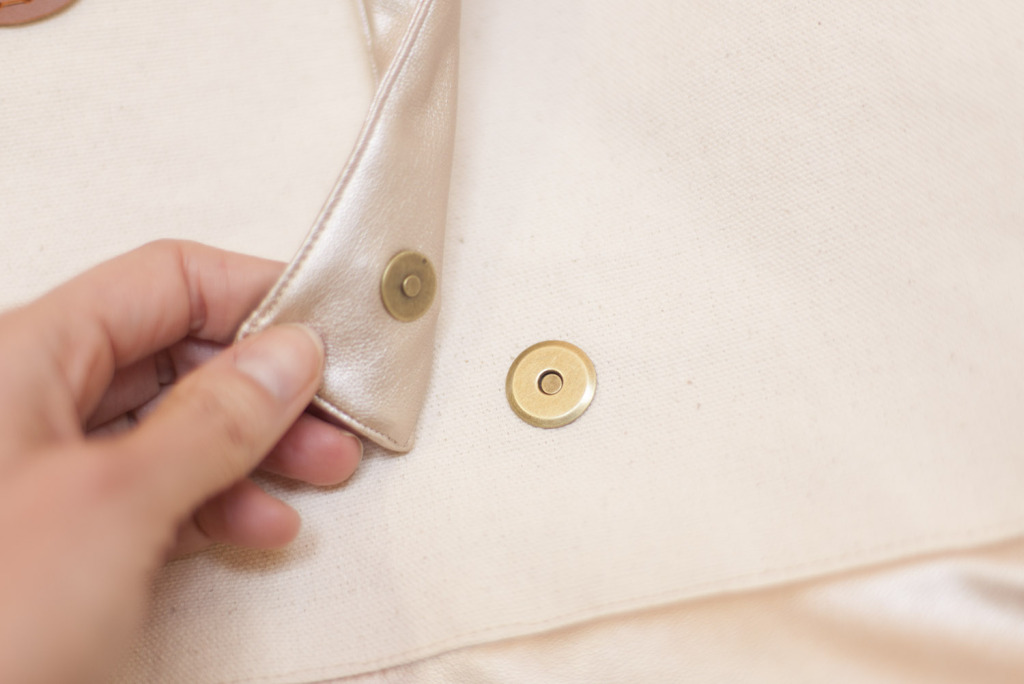
Magnetic snaps
Magnetic snaps allow you to quickly open and close your bag, and they're a cinch to install. Learn how at sewalongs.com
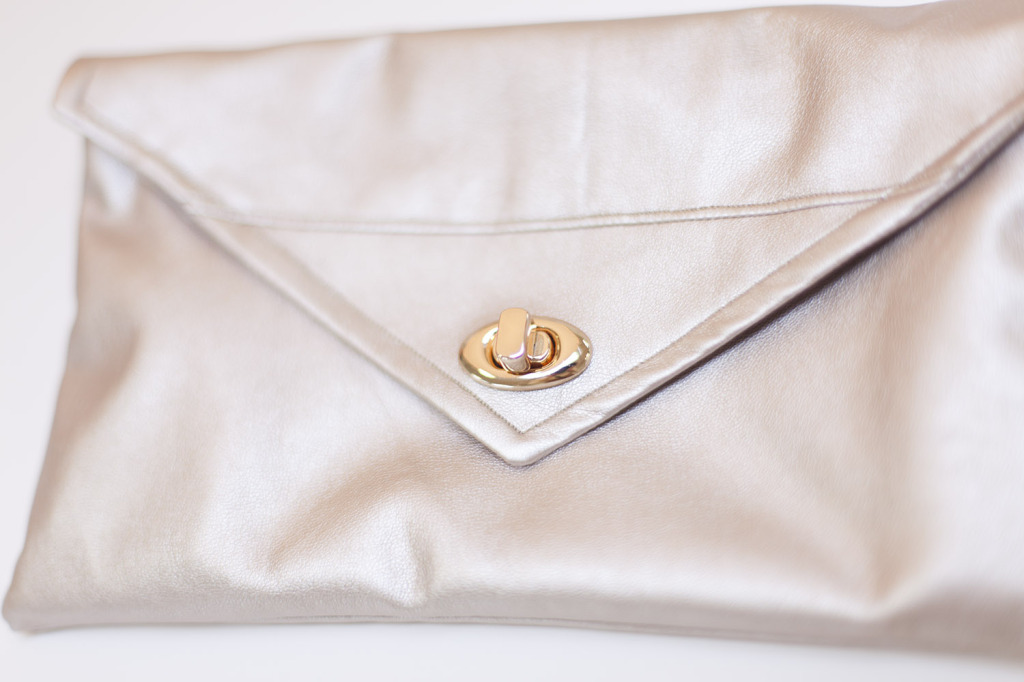
Turn locks
Turn locks have a luxurious, classic, and feminine appearance but they're actually no more difficult to install than snaps. See our article this month on how to install a turn lock.
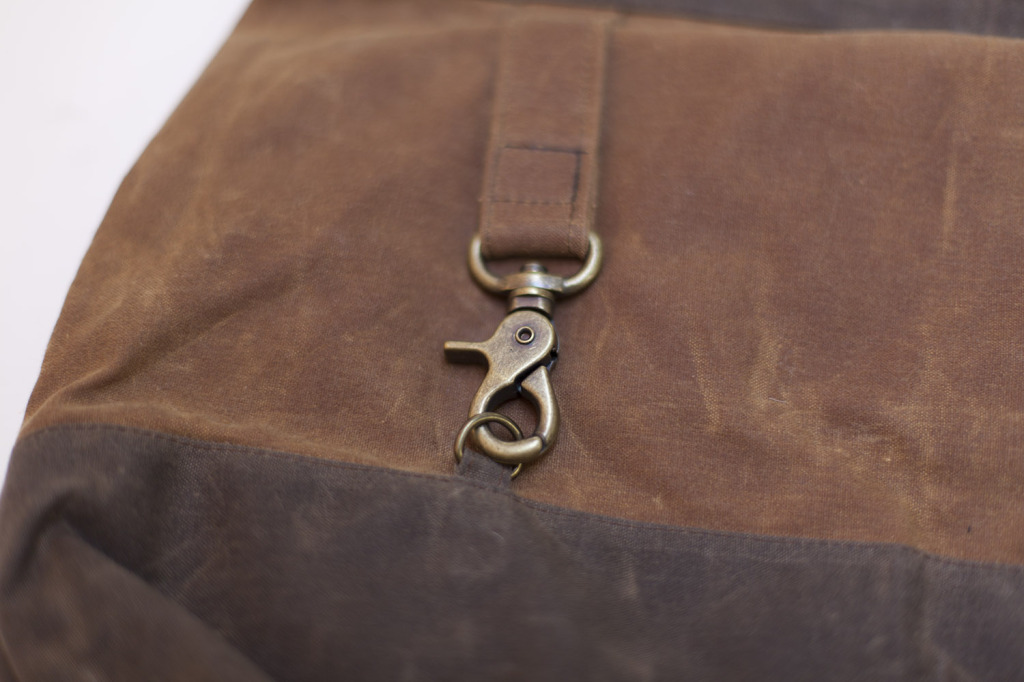
Clasps
Rings and clasps can be used to create removable straps. D-rings like this are easy to install in any seam with a simple loop of fabric.
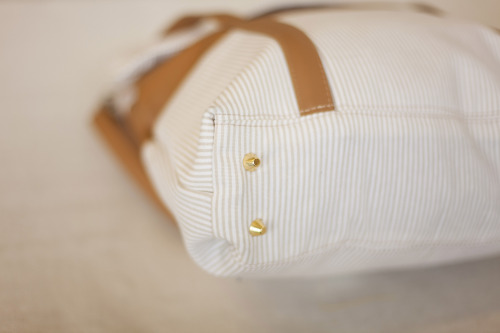
Feet
Metal feet help a bag to stand upright, and also elevate it to keep it clean over time. You may add feet to any bag with a flat bottom.
Make it Last
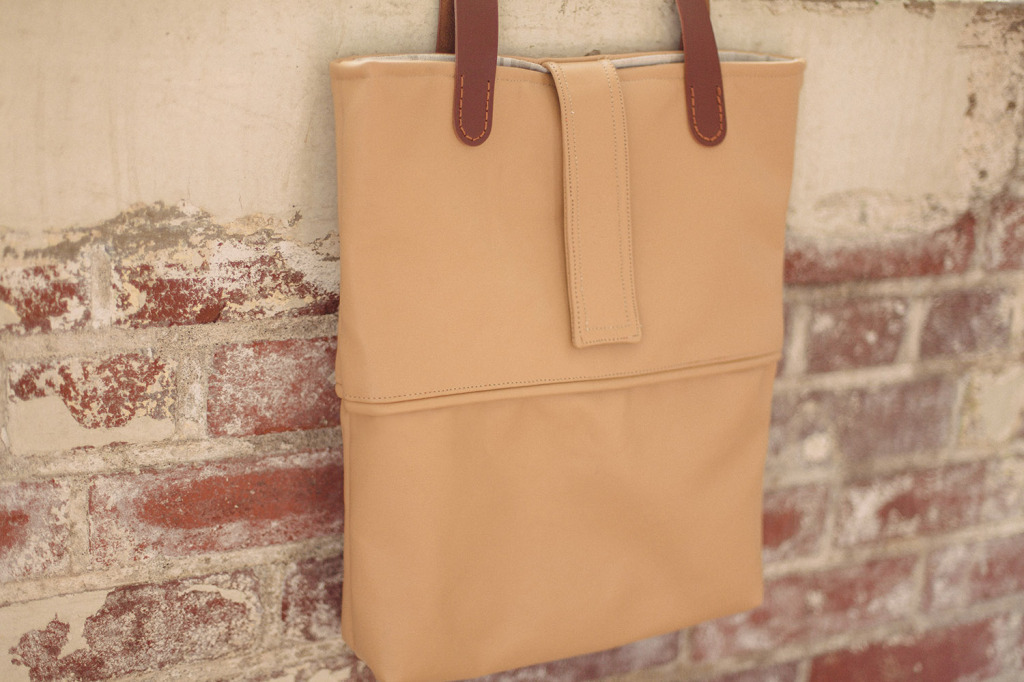
To add extra durability and waterproofing finish your bag with a coat of spray on stain and water repellent such as Scotchgard™ brand.
