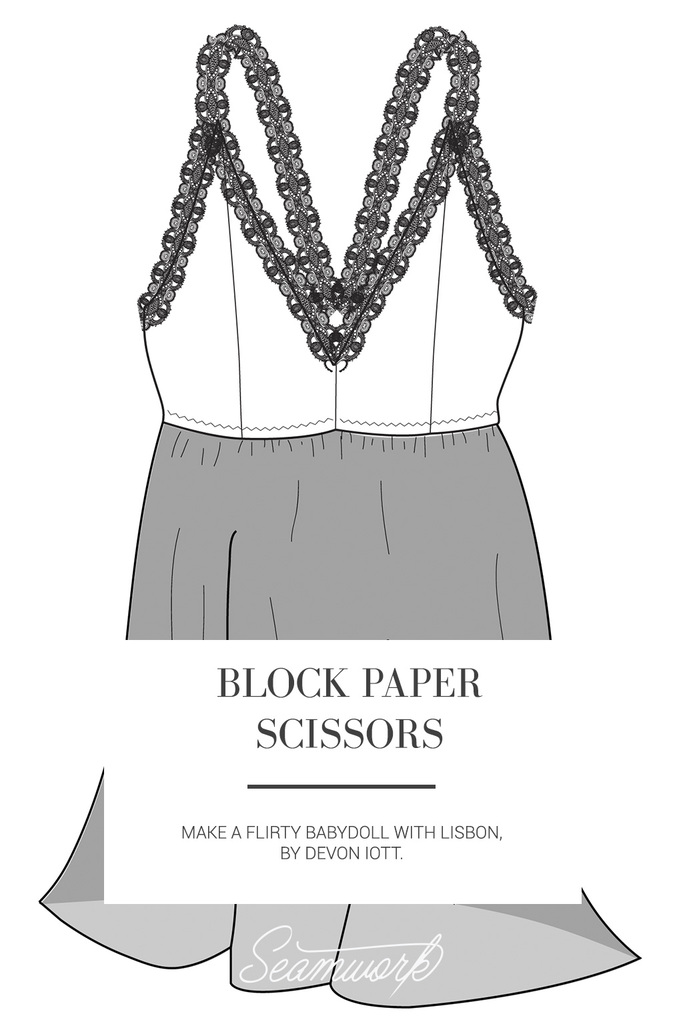
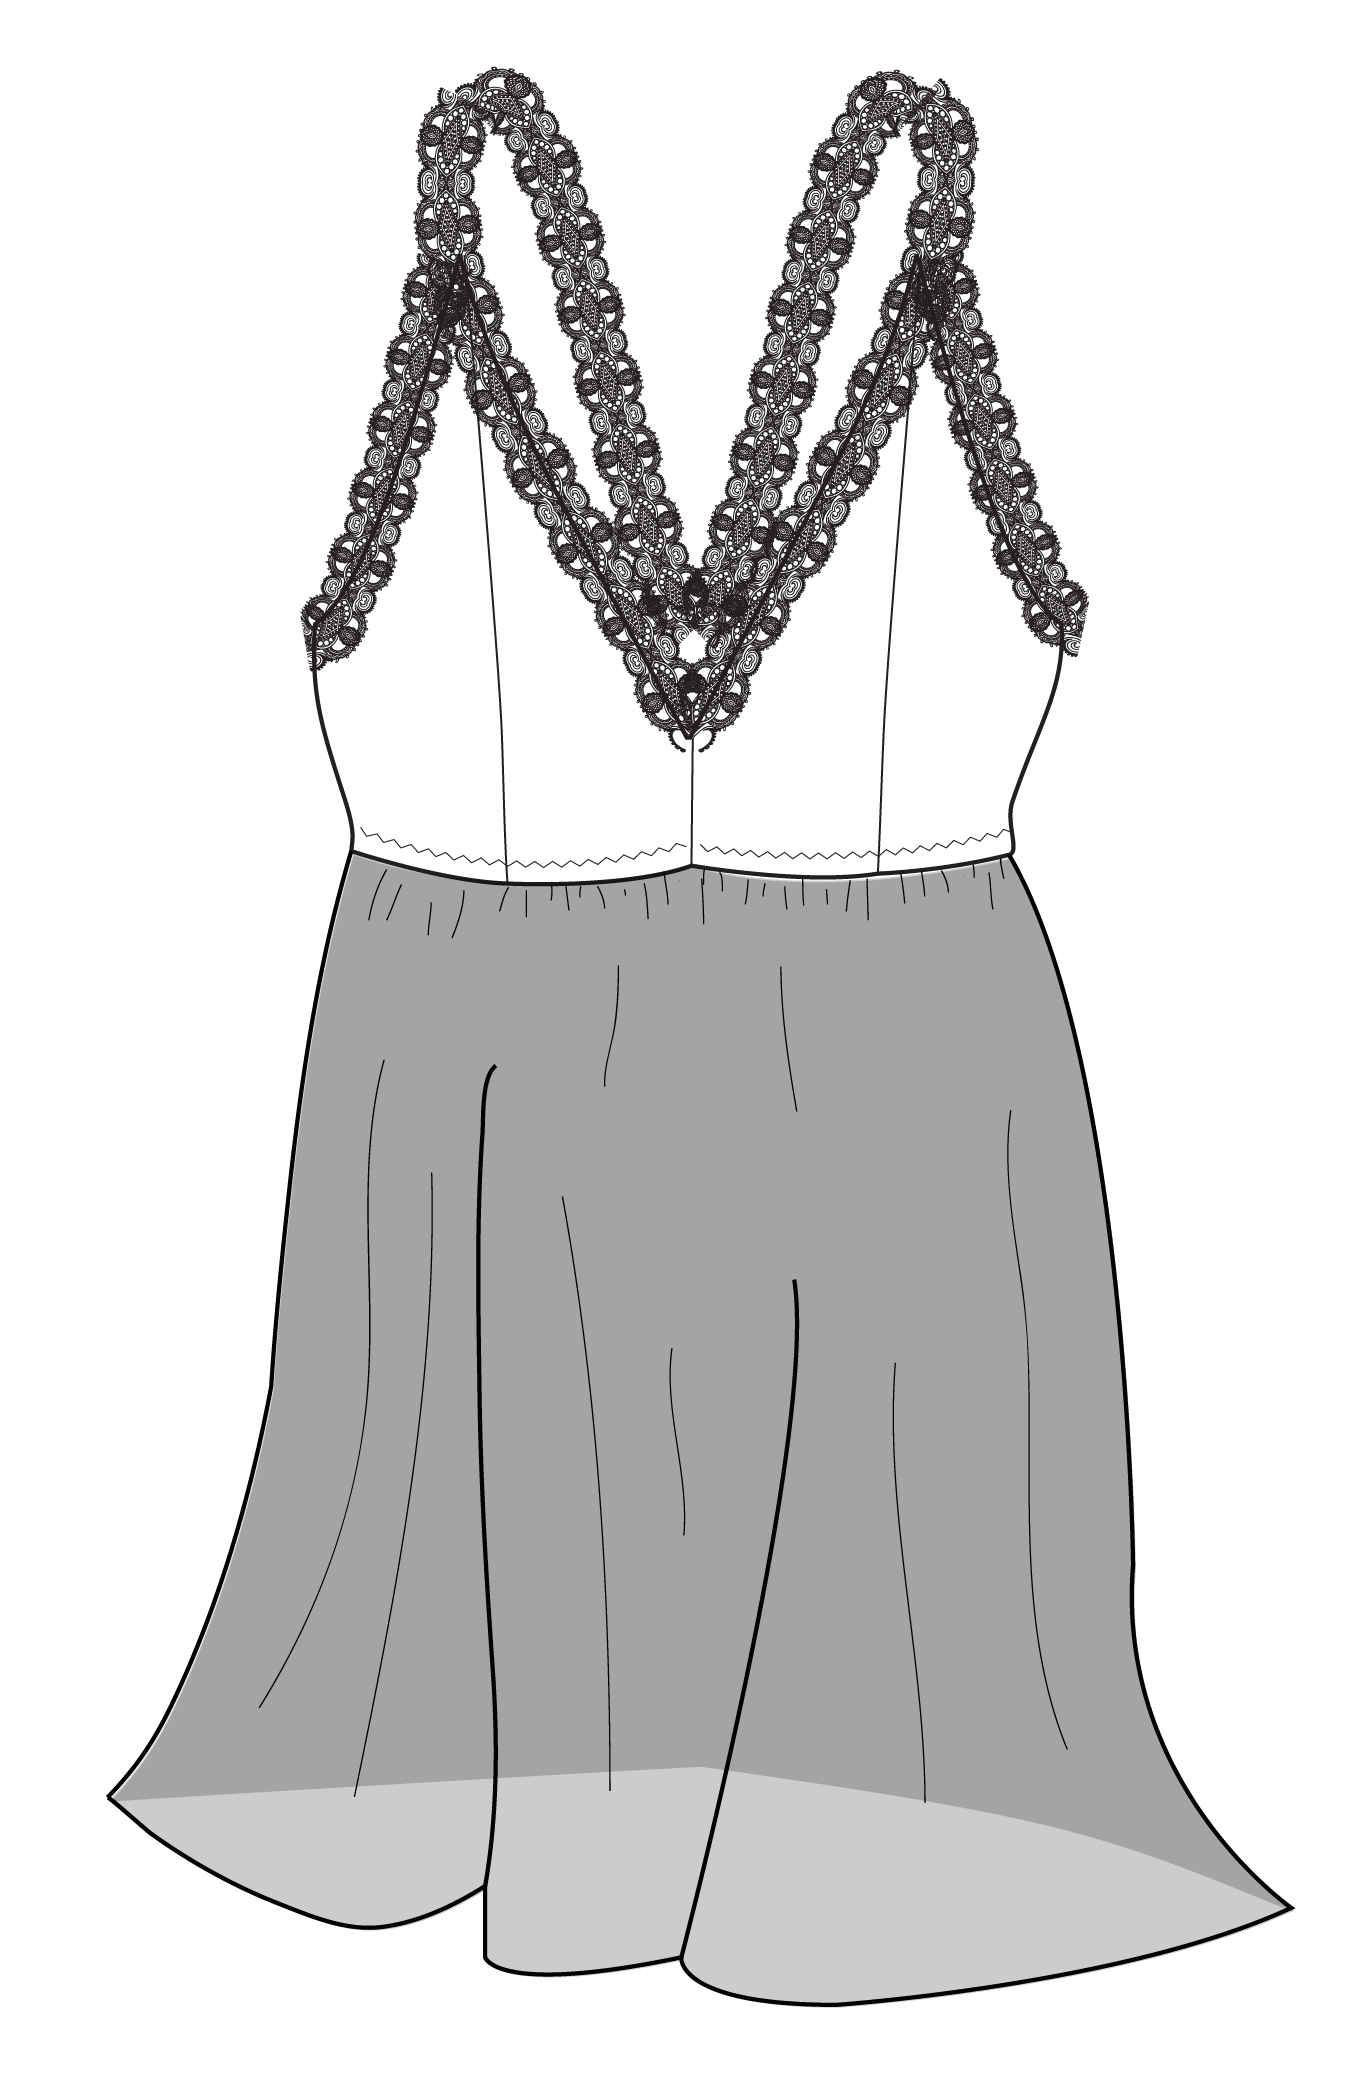
Block Paper Scissors is a monthly column featuring patternmaking hacks that will help you give your Seamwork patterns a custom spin—all you need is paper, a ruler, and a pencil! This pattern hack transforms the sleek lines of the Lisbon Slip into a flirty baby-doll silhouette. With the addition of lingerie elastic and some strategic zigzag stitching, the bodice becomes a figure-hugging soft bra that supports a floaty, hip-skimming skirt. Use translucent chiffon or voile for the skirt to achieve maximum levels of sass.
Materials
- 1/4–1/3 yd. bodice fabric
- 1 yd. chiffon or voile for skirt
- 1–1½ yd. 5/8” plush lingerie elastic
- Lace in yardage required by pattern
Note: for steps 1–4, it will be easiest to first make a muslin from the waist up to determine exactly where you’d like the lower edge of the bodice to fall. Measurements will vary based on bust size and personal preference.
How to:
Step | 01
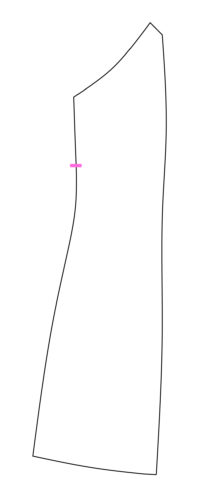
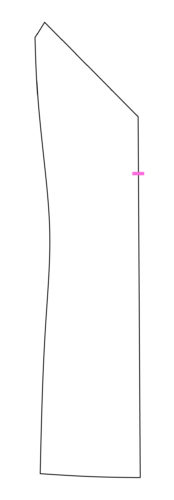
Determine the desired bodice length at the front underarm. Add 5/8”. Measure this distance down the underarm edge of the side front.
Step | 02
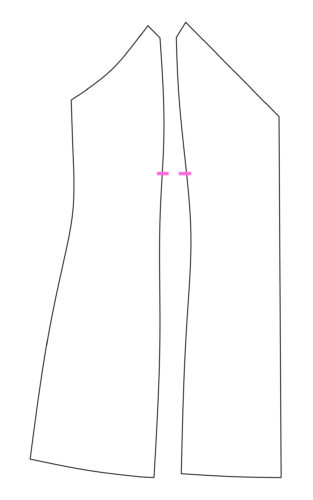
Measure from just under the collarbone, over the bust apex and down to the desired length (just under bust). Add 5/8”. Measure this distance down the bust edges of the side front and center front.
Step | 03
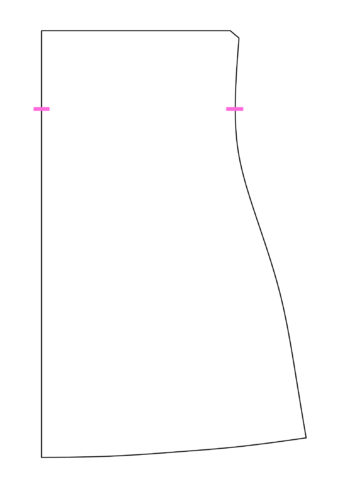
Determine the desired bodice width at the center front. Add 5/8”. Measure this distance down the center front edge of center front piece.
Step | 04
Using the measurement from step 1, measure down both sides from the top of the back piece, marking the back length.
Step | 05
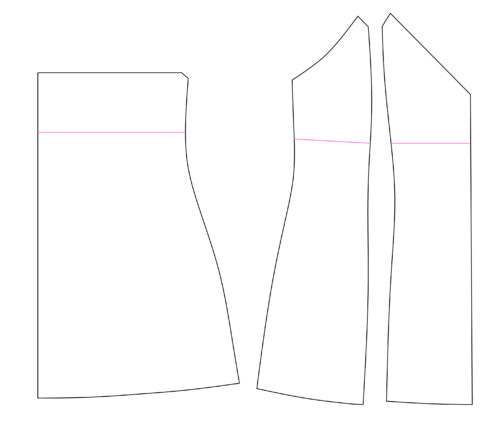
Draw the new bottom edges by connecting the marks on each side. Be sure to transfer the grainline into the upper half. Cut.

Step | 06
Determine the desired length of the skirt by measuring from the placement of the bottom finished bodice to just past the hips. Add 1¼”. This is L. Add 10” to your hip measurement. This is W. Cut skirt pieces L x W.
Sewing Notes
Step | 01
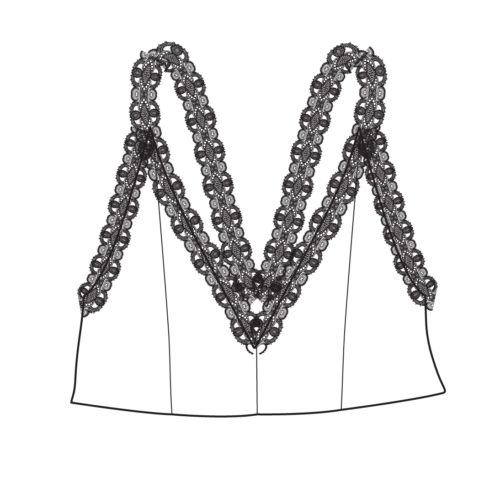
Assemble all the bodice pieces and add lace straps as instructed in the pattern.
Step | 02
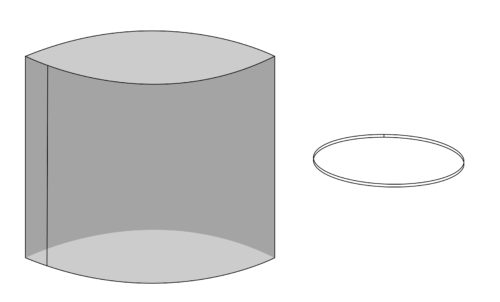
Following the pattern instructions for a French seam, and sew the short ends of the skirt together. Cut the piece of lingerie elastic to fit around ribcage, plus 1”. Overlap ends by ½” and stitch together with a zigzag.
Step | 03
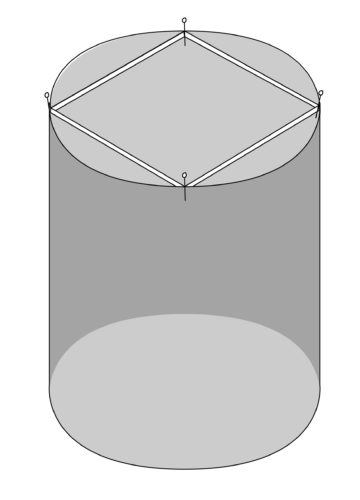
Divide both the skirt and elastic into four equal sections and mark. Pin the skirt with the wrong side against the non-plush side of the elastic at marks.

Step | 04
Using a medium zigzag, stitch the elastic to the skirt along the bottom edge of elastic, stretching the elastic to fit the fabric as you sew. Trim the fabric close to the stitching. Turn the skirt, so that elastic is on the outside.
Step | 05
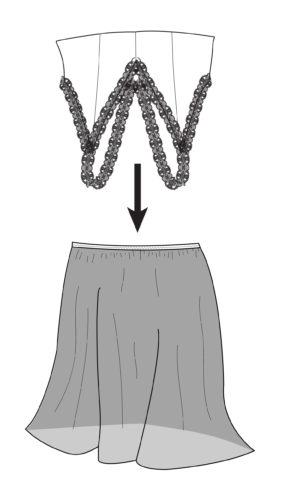
Divide the bottom edge of the bodice into four equal sections and mark. Turn the bodice upside down and put it inside the skirt, so that the bodice and skirt are right sides together and the bottom raw edge of the bodice is aligned with the top edge of elastic. The skirt should be sandwiched in between. Align the seam in the skirt with the back center seam in the bodice. Pin at marks.
Step | 06
Using a medium zigzag and stretching the elastic to fit the bodice fabric, stitch the elastic to the bodice. Be careful not to stretch the bodice fabric. Trim the bodice edge close to the stitching.
Step | 07
Flip the skirt down. Fold the elastic up on the inside to cover the raw edges. From the outside and using a wide three-step zigzag, stitch through the center of the elastic, stretching so that bodice is flat as you sew.
Step | 08
Hem the skirt with a baby hem, rolled hem, or more lace. The hem allowance is 5/8”. Finish attaching straps.

About the Author
Devon Iott is a sewing teacher that works for Husqvarna Viking and Pfaff brand sewing machines. She blogs at Miss Make and lives in Nashville, Tennessee with two chickens and a cat.
 Related Articles
 Best Articles